Home
Home PC Game Trailers
 News
News Menu
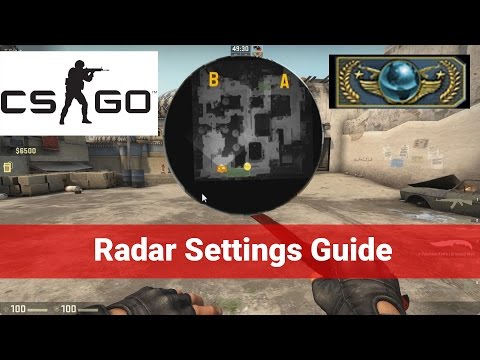
Menu[Top 10] CSGO Best Radar Settings That Give You An Advantage
Updated: 06 Jan 2023 11:45 pm

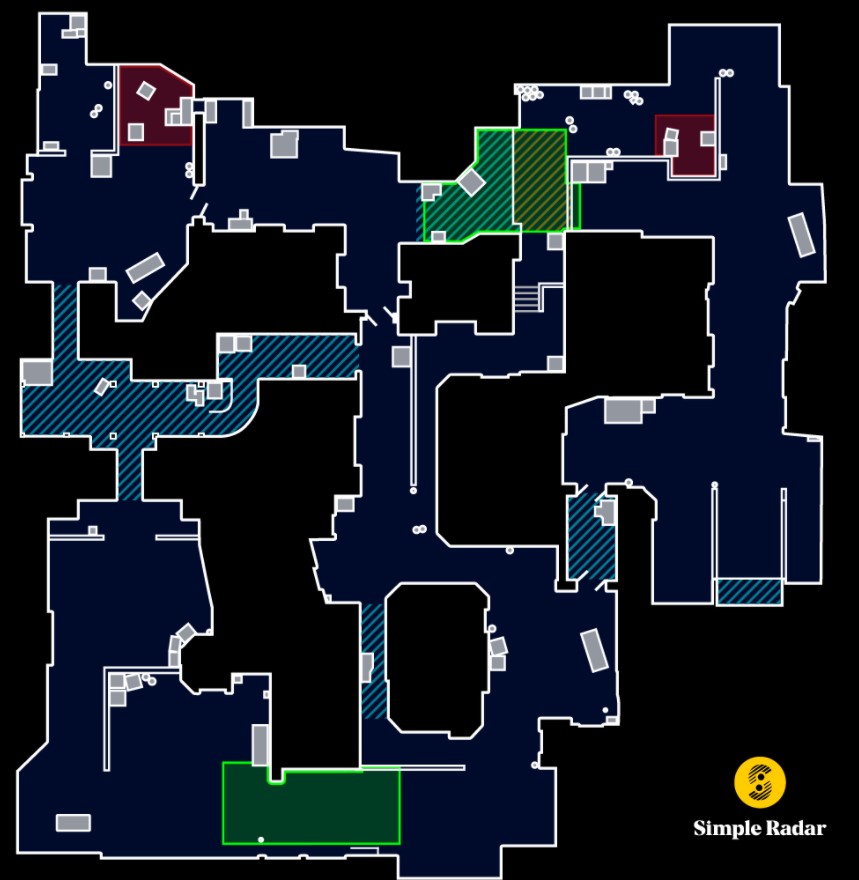
Should I leave my radar as is?
 BY: Rudy Gonzales
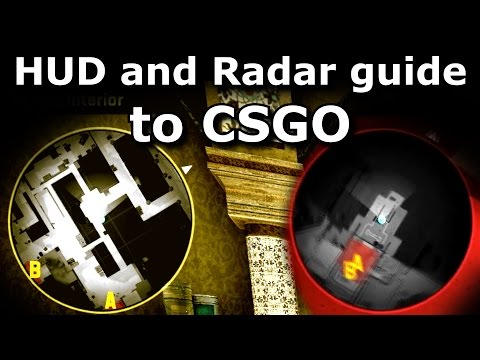
The radar is an extremely useful tool in CS:GO. With the proper adjustments, it can depict your location, surroundings and offer directions exceptionally well.
Changing the radar size, map size, and player icon are just some of the few options at your disposal. For example, leaving the radar at its default settings often means part of the map will be cut off, but fortunately, you can easily fix that.
All you need to do is enter these commands into the console (after enabling it via the main menu; usually ~), or use a script via local config. Here then are some of the top radar commands in CS:GO today.
10. Radar Hud Size

 RHS (1:14)
If you’re having a hard time checking the radar because it’s too small, or if the radar is distracting because it’s too big, you can change the size via console. Remember, this command focuses more on the size of your radar (the black circle) rather than the size of the map.
How the RS Gives You An Advantage
- Locate yourself on the map with greater ease
- Locate your teammates with greater ease
- Locate enemies (when applicable) with greater ease
How to change the RS
- cl_hud_radar_scale x
- (Where x ranges from .8 to 1.3; default number set to 1)
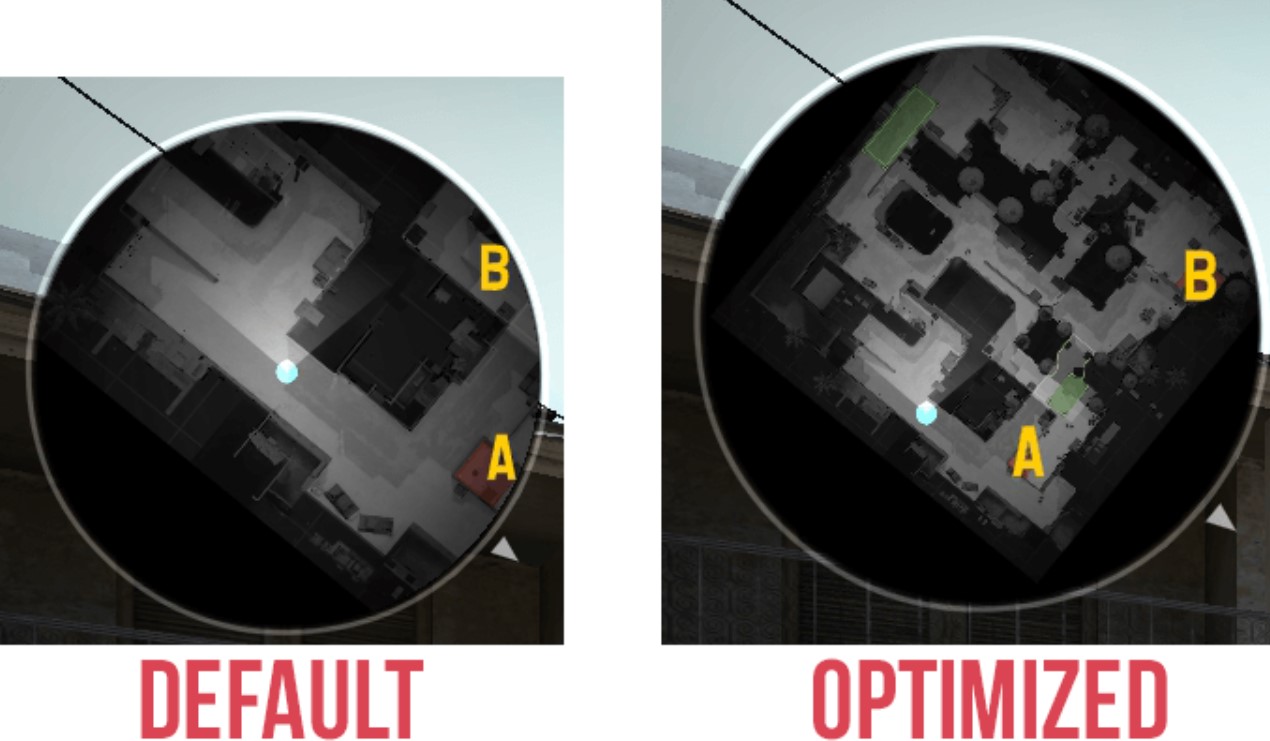
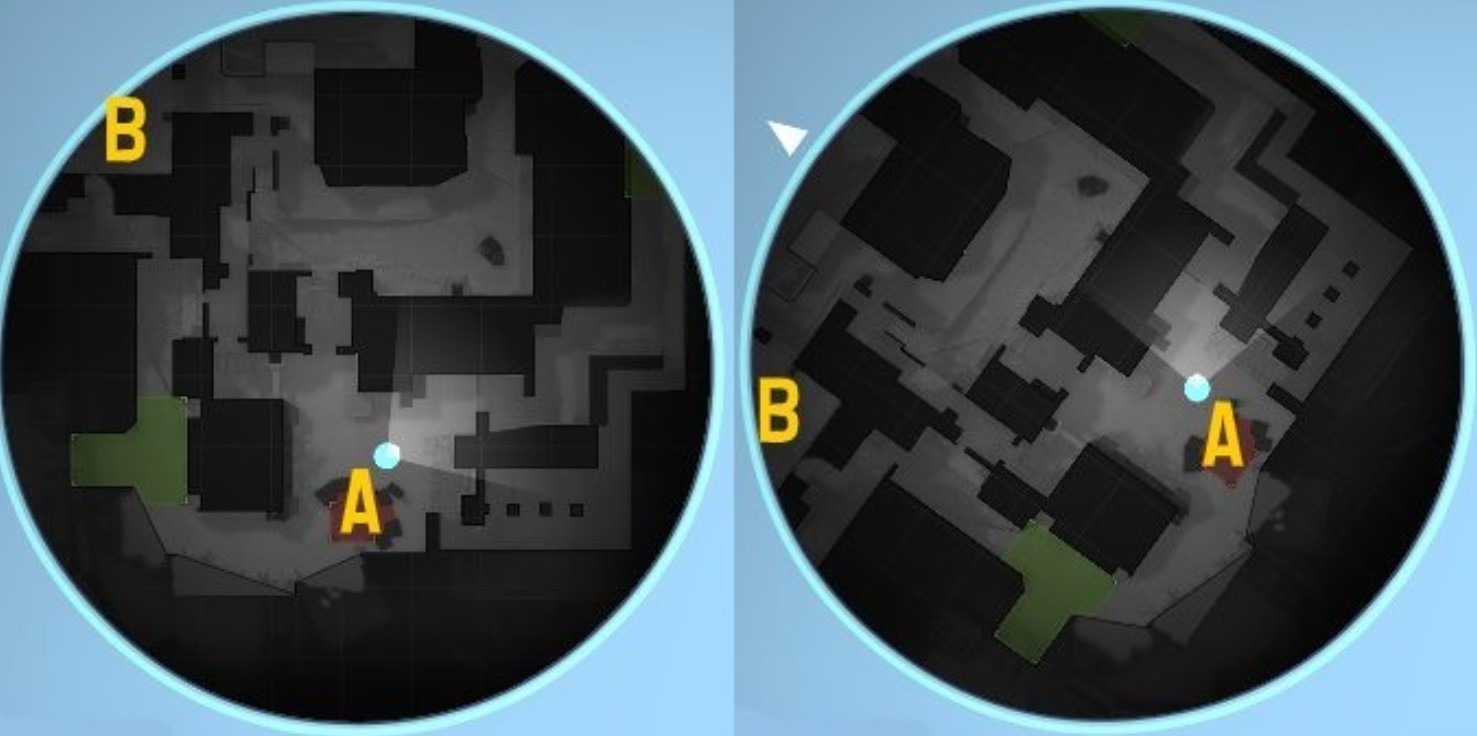
9. Radar Map Size
RMS (4:11)Like the radar, you can also change the size of the map. To do so, simply increase or decrease the corresponding values. This may help with tracking players. However, if you feel it’s too big, I’d suggest playing around with it along with the radar hud command.
How the RMS Gives You An Advantage
- Certain areas of the map are easier to spot
- Determine your location with greater ease
- See the full layout of the map by decreasing its size
How to change the RMS
- Cl_radar_scale x
- (Where x ranges from .2 to 1; default number set at .7)
8. Radar Icon Size
RIS (2:55)A simple, yet effective command to change the size of your icon. With .6 as the default, the icon is small, but noticeable. Going from .6 to 2, you may see a significant difference, but the difference between 1 and 2 may be negligible. Nevertheless, I’d recommend playing with the hud and radar scale to see which one fits your preference.
How the RIS Gives You An Advantage
- Locate your position with greater ease
- Better understanding of your surroundings (potentially)
- Track movement more easily
How to change the RIS
- Cl_radar_icon_scale_min x
- (where x ranges from .6 to 2; default number set at .6)
7. Rotate/Static Radar
 R/S Radar (3:19)
By default, your radar will rotate as you move along. However, some players find this slightly distracting; catching a glimpse from the corner of their eye every now and then. On the other hand, a rotating radar helps you recognize the corners of a map faster. While I do think it has a positive impact (either way), your main focus should still be on your player model and surroundings.
How the R/S Radar Gives you an Advantage
- With rotation on, it may be easier to follow along the map
- With a static radar, it may be less distracting
- With a static radar, the attention is slightly shifted toward the player icon
How to change the R/S Radar
- cl_radar_rotate 1 (on/default)
- cl_radar_rotate 0 (off)
6. Change the Radar Icon Color (MM only)
 RIC (2:43)
Like crosshairs, you can change your icon’s color. Although this time, there is no need for the console command. Instead, you can change it from the play menu by scrolling over your avatar. The biggest downside is that it only works for matchmaking games (not third-party servers) and you may have to update it every now and then.
How the RIC Gives You An Advantage
- Increased visibility
- Easier to track
- Easy to try out
How to Change the RIC
- From the main menu, go to the play option. From there, scroll on your profile pic and you should see a pie chart
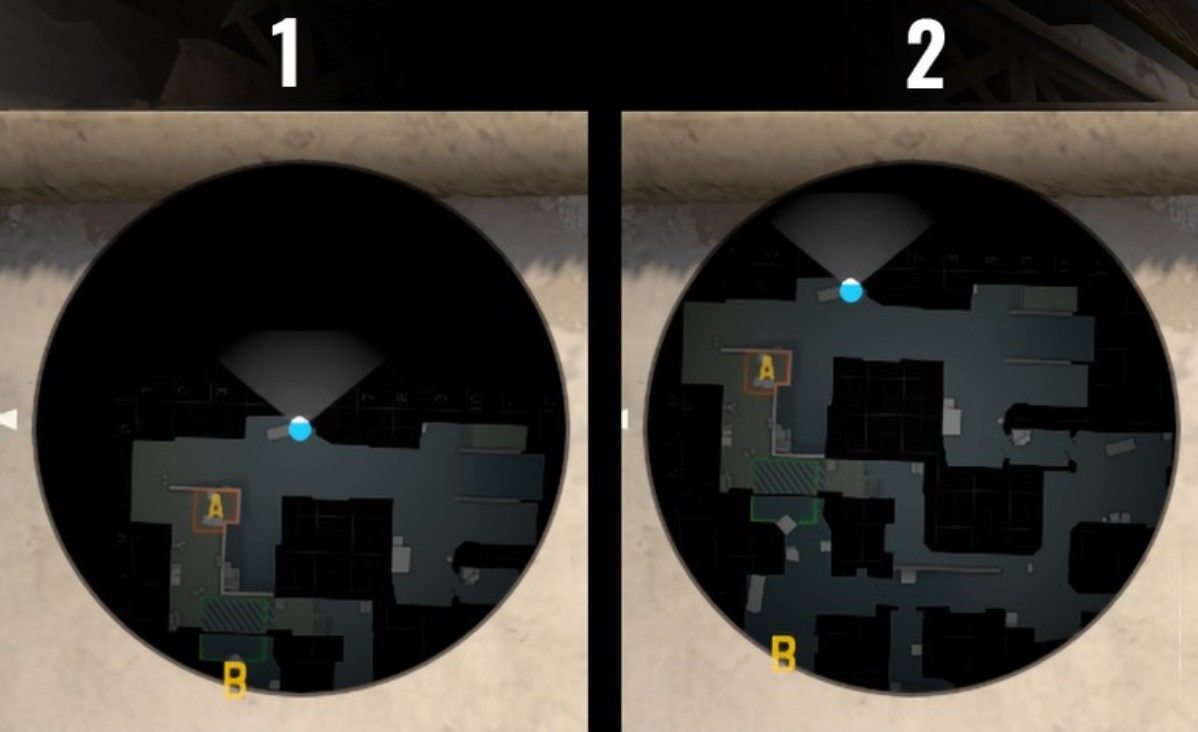
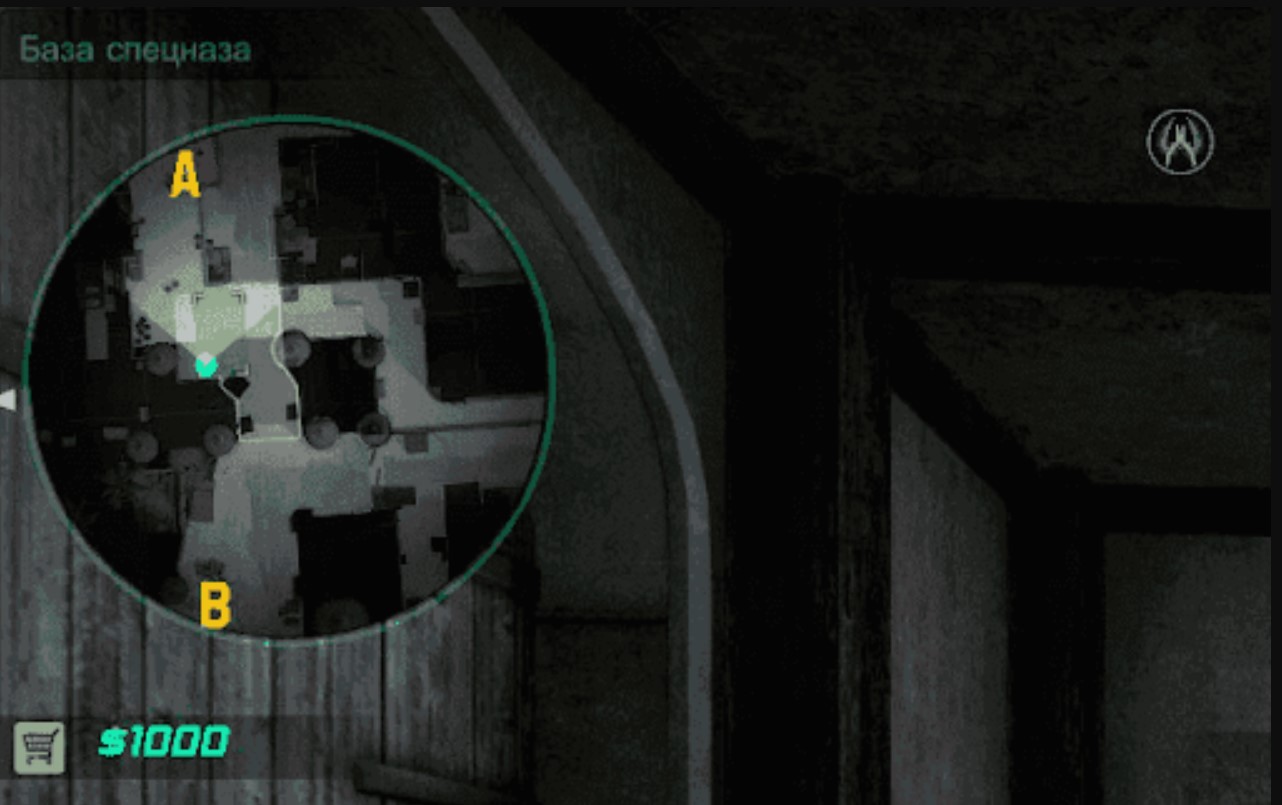
5. Center/Versatile Radar
 C/V Radar (0:20)
By default, this option is left on. Sometimes, however, when the radar is centered, it will cut off part of the map. If your radar tends to be smaller, you’ll also get a more consistent view of the map’s layout if you leave it off. Remember, the central point is based on the radar rather than the map.
How the CVR Gives You An Advantage
- Better view of the overall map
- Fewer cutoffs
- If left on, some parts of the map are zoomed in
How to Change the CVR
- cl_radar_always_centered 1 (on/default)
- cl_radar_always_centered 0 (off)
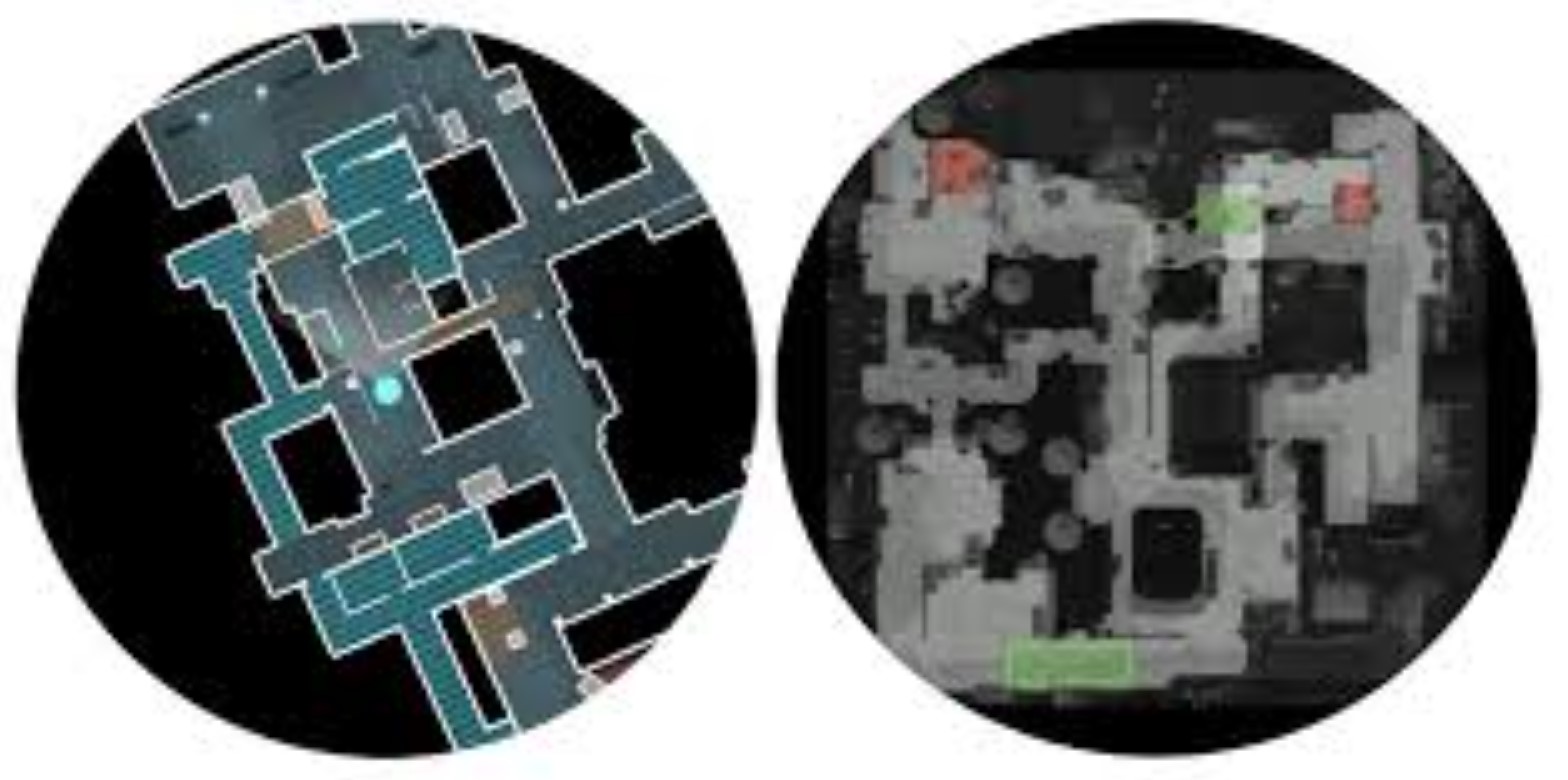
4. Square Radar with Scoreboard
 SR with Scoreboard (4:55)
When you check the scoreboard, not only will you see a square radar, but the whole map as well. This is useful during pauses or breaks; seeing where you died, where your teammates were, spotting enemies, locating trades, etc. While this particular radar is helpful, it may be better to config your radar so that it shows the same layout every time.
How the SRS Gives You An Advantage
- See every part of the map
- Static; potentially less distracting
- Fairly visible
How To Apply the SRS
- cl_radar_square_with_scoreboard 1 (on/default)
- cl_radar_square_with_scoreboard 0 (off)
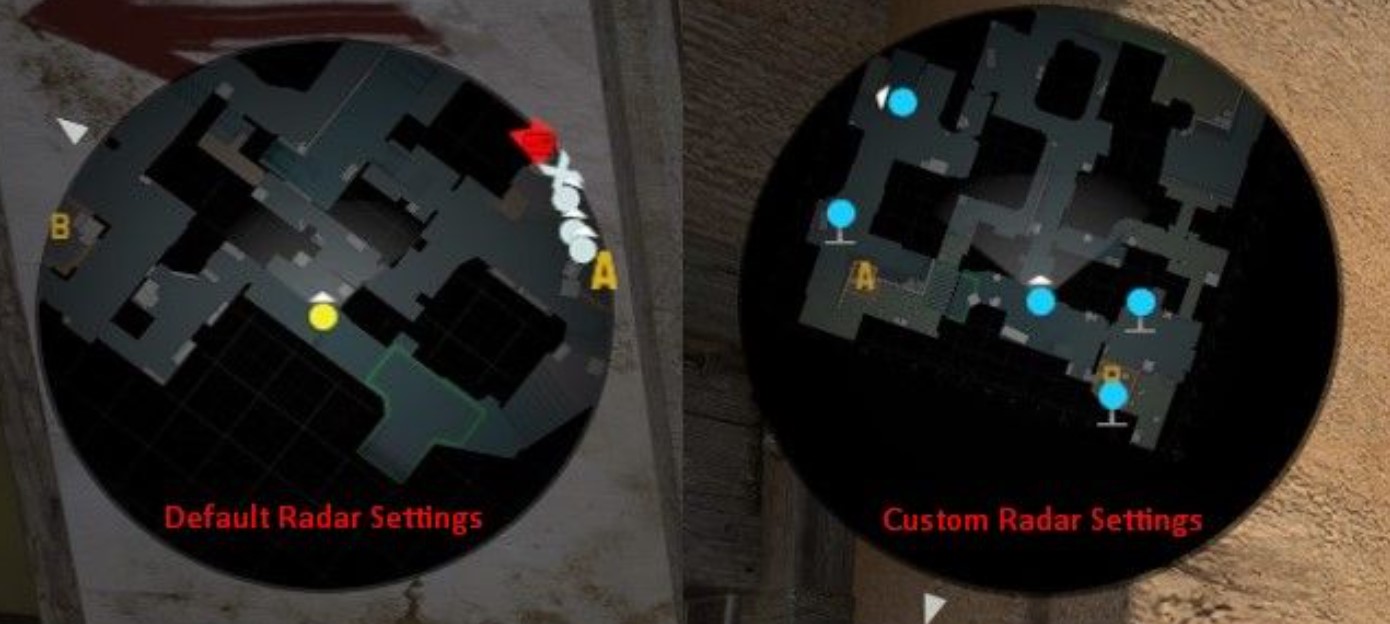
3. Colored/Lettered Teammates
 C/L Teammates (2:46)
A simple command that gives your teammates different radar colors. You can also identify them using letters. Not only will your teammates stand out, but so will you.
How the CLT Gives You An Advantage
- Greater player visibility
- Greater teammate(s) visibility
- Better distinction between you, your teammates, and your enemies
How To Apply The CLT
- cl_teammate_colors_show 1 (different colors only)
- cl_teammate_colors_show 2 (different colors and letters)
2. Radar Zoom Bind
 Check the video description for the script.
There are a variety of ways to do this, but below is one example. Basically, you’ll press one of two keys to either zoom in or out of your radar. Sometimes, for example, you’ll be able to see the whole map, but have difficulty pinpointing your location or vice versa, thus needing two (or more) viewpoints. Also, check out the video to see another RZB in action. You can easily find other custom radar binds online as well.
How the RZB Gives You An Advantage
- Instantly change from one angle to another
- Choose almost any key
- Easy to setup
How To Apply The RZB
- bind k "incrementvar cl_radar_scale 0 1 0.25 (where k is any key)
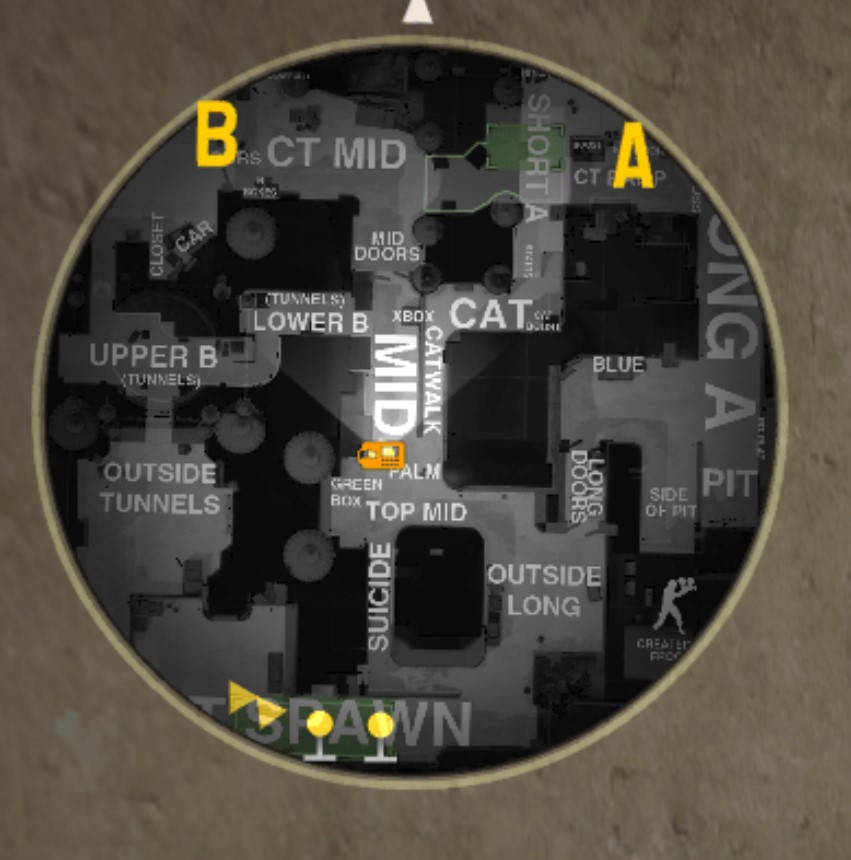
1. Default Radar Settings (Backup)
 Check video description
Before I end this article, I’d like to give the default settings in case you want to go back or end up using it. While the default radar does not always show the whole map, it does offer good visibility for certain areas depending on your location. It also shows where you, your teammates, and your enemies are fairly well. In the description of the video, you’ll see the default radar settings along with another recommendation.
How the DRS Gives You An Advantage
- Good starting point
- Zooms in on your location
- Decent overall visibility
How To Apply the DRS
- cl_radar_scale 0.7
- cl_hud_radar_scale 1
- cl_radar_icon_scale_min 0.6
- cl_radar_always_centered 1
- cl_radar_rotate 1
- cl_radar_square_with_scoreboard 1
You may also be interested in:
- [Top 15] CSGO Best Knife Skins That Are Freakin Awesome!
- The Best CS:GO Tips - How to Become a Killing Spree Machine
- [Top 10] CS:GO Twitch Streamers
- The 10 Best Riflers In CS:GO
- [Top 15] CSGO Best Aimers
- [Top 15] CSGO Best AWP Skins That Are Freakin Awesome!
- CSGO Cases Guide: CSGO Best Cases To Open
- Top 5 CSGO Best Betting Sites in 2020
Share this Article:

Image Gallery

Radar settings modified
Example #1
- Log in or register to post comments