Overwatch 2: How To Play Tracer Effectively
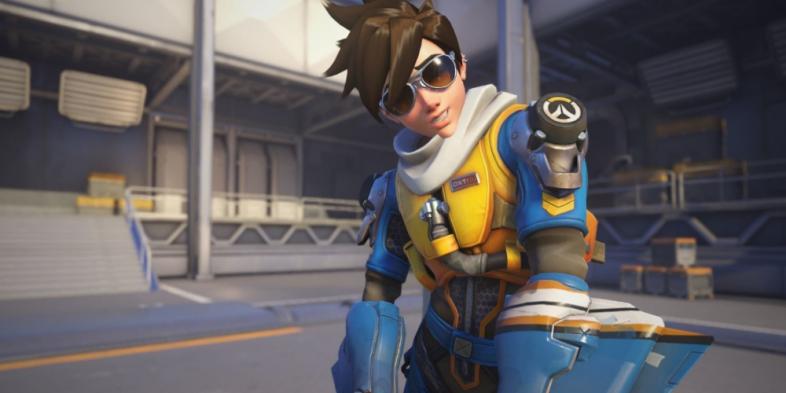
Who Is Tracer?
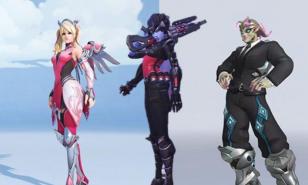
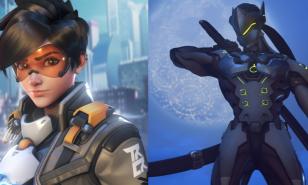
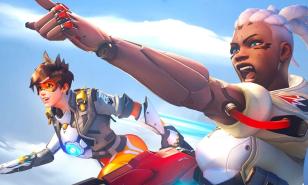
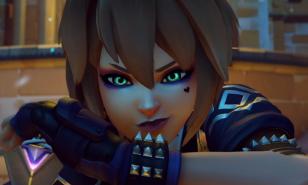
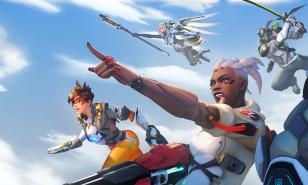
Tracer is one of the DPS heroes in Overwatch 2. Recently, she got a mythic skin, which saw a small spike in her popularity. I see her more often, and everyone is always wearing that skin. While her popularity is high, you should hop on the train and learn how to play Tracer since she’s a valuable DPS with an interesting play style.
Tracer Intro
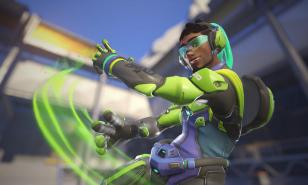
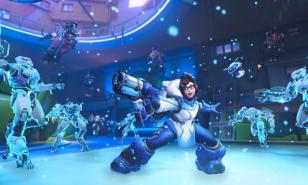
Tracer is a flanker who moves fast and does moderate damage. She doesn’t do consistently high damage like Soldier 76, but her short bursts can wipe out squishy targets. Her kit consists of her pulse pistols, blink ability, recall, and pulse bomb ultimate.
Tracer, in general, is not a hero that strives for combos. She plays more independently. With that being said, there are still great combos you can use to capitalize on her kit. For example, Zarya’s graviton surge with Tracer’s pulse bomb.
DPS is the most interesting role because of how many different kits there are. Tracer’s kit seems simple, but to use it effectively, you need to have a solid understanding of her movements. Here are fifteen tips to help you play Tracer more effectively.
15. Run Run Run
Tracer is an extremely fast DPS hero. Running and blinking are two things you’re going to do for the majority of your gameplay. Whether you’re running to an enemy or blinking away from danger, you’re going to need to stay on your toes throughout the entire game. Don’t slack off. Run, run, run.
You should always be moving. There almost never should be a case where you’re sitting on the payload and pushing it. Instead, you should be moving into the enemy backline and taking out whatever squishies you see. If you’re always on the move, you’re probably doing an okay job.
Jump between the enemy backline and your team for the best results. You should be putting pressure on the enemies instead of just shooting at the tank. I’ll talk more about that later, but for now, just know the basics of Tracer: run and shoot at priority targets, and always keep yourself moving.
14. Blinks Overview
Blinks are the three little dashes Tracer gets that recharge every three seconds each, so it takes nine seconds overall to get all of them back. The ability teleports Tracer in the direction you’re moving. As tempting as it is to burn all of your blinks, you should try to save at least one in case you get into trouble.
The reason you want to save one is because you never know when an enemy will pop up out of nowhere, ready to take your life. If you have a blink readily available, you’re not in a bad space. All you have to do is blink away from trouble, and then you’re safe.
Although this isn’t a foolproof plan, it’s better than having no plan at all. Your escape plan is part of knowing how to play Tracer. Don’t jump in if you don’t know how you’re going to jump out.
13. Pulse Pistols Overview
Tracer’s pulse pistols are her short-range automatic weapons. Two pistols that do high damage up close but don’t do much from afar. Tracer is a hero meant to be played close to the enemy, so don’t shy away from the danger. You should be up in their faces as much as possible; otherwise, you might not have a great impact on the game.
Her pulse pistols are far from the highest damage-doers of the DPS. You need to keep that in mind as you play her. Don’t play her like you would a hitscan, or even Genji, for that matter. Genji, another flanker, can still be deadly at long range. Tracer is the opposite.
The pulse pistols are your primary weapon and only way of doing damage outside of her ultimate and default melee. Don’t beat around the bush; do damage, and do it quickly.
12. Health
Tracer has the lowest health in the game. Having only 150 health, Tracer can get one shot by most DPS in the game, especially if they have a damage boost. If you take even a bit of damage, you’re risking getting one shot by most heroes. Even Kiriko players can one-shot you with a headshot.
You need to be mindful of your health at all times. You can’t play around; one wrong move and you die. Instead of charging in and acting like you’re Reaper, you should be more calculated about your moves. Attack from high ground, sneak around the back, or blink behind the enemy in a quick move to stun them.
No matter what method you choose, you shouldn’t be giving the enemies a chance to take shots at your health bar. You need to keep yourself safe by attacking through different methods instead of playing like most of the DPS in the game.
11. Using Your Environment
After giving you an overview of your health, I’d like to give you another tip to help you stay alive. Use your environment. The Overwatch maps are meant to be used to their full extent. Don’t stay in the open all the time. I’d recommend not staying in the open unless you have to, since you’re so prone to one-shots.
For example, cars are a cover you can use. There are cars on many of the maps, such as Midtown. Midtown is a more recent map that you should get a feel for if you’re going to succeed on Tracer. Midtown is an overall good map for Tracer because of how much cover there is.
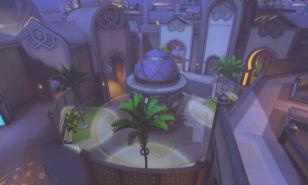
Oasis is another example of a good map with an interesting environment. Oasis has countless obstacles you can use to your advantage. Take the time to look around each map and find new spots to hide or use to flank.
10. Targets
As a Tracer player, you need to know which targets to prioritize. You shouldn’t be firing at the tank all the time; let your tank handle the enemy tank. You should be focusing on the squishies, like the enemy supports. Zen and Ana are perfect targets for Tracer.
Enemy support heroes are the ones you want to focus on most, but you can also target enemy DPS. The tank is a good target, but it’s better for Tracer to aim for the ones she can kill in a moment’s notice. To capitalize on your kit the most, you should be fighting the enemy supports since they’re the easiest to kill.
Knowing who to target is arguably one of the most important parts of Tracer’s kit. You need to know what to do and when to do it. The longer you hesitate and think, the more likely your target is going to get away.
9. Working With DPS
You are not the only DPS on your team. Keep in mind that you have another DPS you need to work with. For example, a popular DPS hero is Widowmaker. She is picked all the time, to the point where I’m tired of seeing her. You need to know how to work with Widowmaker instead of being isolated. As much as Tracer is independent, Overwatch 2 is a team game.
Your second DPS is going to be doing damage too. Since you have a better view than them (depending on who the second DPS is), you should be following through on their damage. Yes, you should be getting solo kills, but if you can help out your second DPS, then you should help out your second DPS.
A game of Overwatch is never one thing. You’re never only doing solo kills or only helping your DPS. The more well-rounded you are, the better. This applies to more than just Tracer. If you pay attention to your team and their needs, you’re going to become a better player. Follow up on the damage your second DPS does and finish the kill they’re trying to get; it’ll make the gameplay flow smoother.
8. Finishing Kills
As mentioned in the previous tip, you should be helping your other DPS finish off eliminations. However, you need to know how to finish off your kills too. Tracer is a special case where she has the speed to outrun her opponents. If they’re low on health, you shouldn’t wait around. You should chase them.
I’ve seen many Tracers let kills go because they are low on health and the target is getting away. It is a risk to go after a target while you are low on health, but remember they’re low on health too. Chase them and finish the kill if you know they’re alone and you have an escape plan.
As much as it sucks to die, as Tracer, you can get back to the fight faster than most heroes. Yes, dying will kill the momentum of the fight, but at least you can rest easy knowing you can get back faster than every other hero on your team (depending on who is playing).
7. Pulse Bomb Overview
Pulse bomb is Tracer’s ultimate, and although it isn’t the most powerful ultimate in the game, it can do high damage if stuck to the right target. It can instantly kill squishies or anyone else under 300 health. For tanks, it won’t do as much unless they’re already at least half health.
Pulse bomb is hard to land, depending on who you are facing. Tanks are easy targets because they are so big, but the downside to that is that you’re likely not going to secure the kill. Tanks are meant to take those big bursts of damage without going down. Instead, you should aim for the squishies.
Even throwing it on the ground in between the squishes is a good tactic because you can separate them and potentially secure a kill. You don’t need to stick it on for it to be useful. Block off paths and cause the enemies to panic. From there, you can secure the kills. Be careful not to get too close; a pulse bomb will kill you if you’re in range.
6. Pinging Targets
As Tracer, you get to see where all the enemies are. You’re going to be playing behind them for the majority of the game. You should ping enemies that are flanking, standing off to the side, hiding, or in any other position that is worthy of note. Knowing where your enemies are can give your team a massive advantage.
Don’t be a silent Tracer player. By being silent, you’re increasing your odds of failure. Instead, use the ping system to give your teammates an advantage. This will especially help your second DPS. Pinging enemies will help bring dangerous situations to their attention.
5. Helping Your Supports
Your supports are going to be fighting for their lives in the backline. However, it isn’t your responsibility to help them since you’re going to be in the enemy’s backline for most of the game. With that being said, you shouldn’t abandon your supports and never help them. Sometimes finishing off kills is how you help your supports, and sometimes it’s blinking back to help them if they get jumped on. It depends on the situation.
Instead of focusing on most situations where you won’t be around the supports, let’s focus on the situations where you will be. When you are near your supports, you should be helping them, because the tank cannot do that. Your second DPS can, but they may be preoccupied. That means it falls on you. With your speed and damage, you can protect your supports.
Also, to make your support’s lives easier, you should get your own health packs whenever you can. You move so fast and have such low health that you can find health packs very quickly. Your supports might be caught up in trying to keep the tank alive during a team fight. Be aware of the situation and try to make life easier for your supports.
4. When To Switch
Tracer is an overall good pick in Overwatch 2023. However, she gets countered by the one-shot heroes dominating the games right now. Hanzo and Widowmaker are two of the most-picked DPS heroes. Kiriko is another hero who can easily finish off Tracer. As a Kiriko player myself, I cannot tell you how many Tracers have tried to attack me only for them to die. It’s not that I’m good or they’re bad or anything like that; it’s simply the fact that I need fewer shots to kill Tracer.
I hate telling people to switch since, at the end of the day, it’s just a video game. Your enjoyment is the most important thing. However, sometimes you’re not going to have fun if you’re playing Tracer into a Widowmaker who one-shots you every time you try to jump on her. Unfortunately, in modern Overwatch, one-shots dominate the game.
So, if you’re getting hard countered, you should switch. Not only for the sake of your team but for the sake of your mental health too. Your sanity will thank you, and your team will too. Be mindful of how often you’re dying, and make sure you switch when you have to.
3. Stealth
Tracer relies on stealth to keep herself alive. Her footsteps are mostly light, but they are obvious when they're in a quiet area. Since Tracer is using quiet areas to get around, she should be mindful of her blinks and footsteps. When sneaking up on an enemy, try crouching to keep yourself quiet, even though it costs you some speed.
Along with that, you should study the maps to find the best flanking spots. I mentioned it earlier with the environment tip, but it applies here as well. Knowing the best flanks is essential to playing Tracer effectively. Instead of sticking to the same flank, you should make your gameplay dynamic. I’ve noticed the newer maps have many interesting flank routes, like the Antarctic Peninsula and the Shambali Monastery.
Stealth is an essential tool you should use because you have low health. It seems like everything ties back to her low health, huh? It’s true: if you get the jump on your target, you have a higher chance of killing them. They won’t get the first shot, which increases your odds drastically.
2. Blink + Melee
One advanced tactic is the blink and melee combo. It’s hard to do because you need to be precise and also know when to blink. You need to have a good feeling for how far your blink goes in order to do this. If you undershoot or overshoot, you’re not going to secure the kill. This method is used when someone has low enough health that only a melee is required to finish them off, but you’re reloading and out of range.
You’ll see these videos on TikTok of Tracer players combining their melee with their blink to create a deadly combo. What you need to do is spot the fleeing target, blink once (or twice, depending on how far they are), and then melee at the same time. This will guarantee a kill as long as you’re moving in the right direction and timing the melee well.
Sometimes it’s easier to just reload and land the final shot, but it’s also useful to know the melee combo because you never know when the target will get support. They could be healed by the time you reload, aim, and fire. If they’re gaining distance, they’re going to be harder to kill because of your fall-off damage. So although the melee and blink method is hard, it is one worth knowing for certain scenarios.
1. Recall
You probably noticed I avoided talking about recall throughout this entire list. I wanted to save it for the end. Although recall isn’t that complicated, you need to know when to use it. It has a long cooldown, but it’s your most vital survival tool since it restores your health to what it was a few seconds prior.
Recall shouldn’t be used the second you do an ounce of damage. You should wait until you really need it. But there’s also a middle ground, because if you wait too long, you risk dying to an unexpected shot or enemy. You need to get a feel for the situation and know when to use it.
The only way to get better is to practice, which could take some time. As long as you are aware of your surroundings and your health, you will have a solid idea of when you should use recall. If you are attacking one enemy, I would recommend not using recall until you are lower than 100 health. If you are attacking more than one, you can use it more liberally since you’re more likely to take random bursts of damage.
You May Also Be Interested In:
- Log in or register to post comments
 Home
Home PC Game Trailers
 News
News Menu
Menu


