Home
Home PC Game Trailers
 News
News Menu
Menu[Top 5] Path of Exile Best Bosses To Farm
Updated: 14 Dec 2023 4:48 am

Triumph over giants, demons, and nightmares is the key to unlocking the most coveted treasures in Wraeclast.
 BY: Bruno C.
Every early league there’s a rush to get to the best bosses to farm, as the ones who get there first have a temporary monopoly on their loot drops. And with every change in the meta, the priorities change. But there are always bosses that are more profitable than others, despite being worse fights, and the opposite is true, when demand is low, the cost of entry falls to the ground, and suddenly the fight becomes worth doing. And here is a list of the best 5 bosses to farm, bang for your buck.
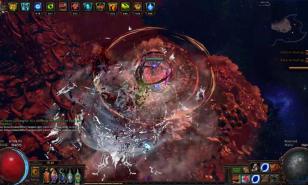
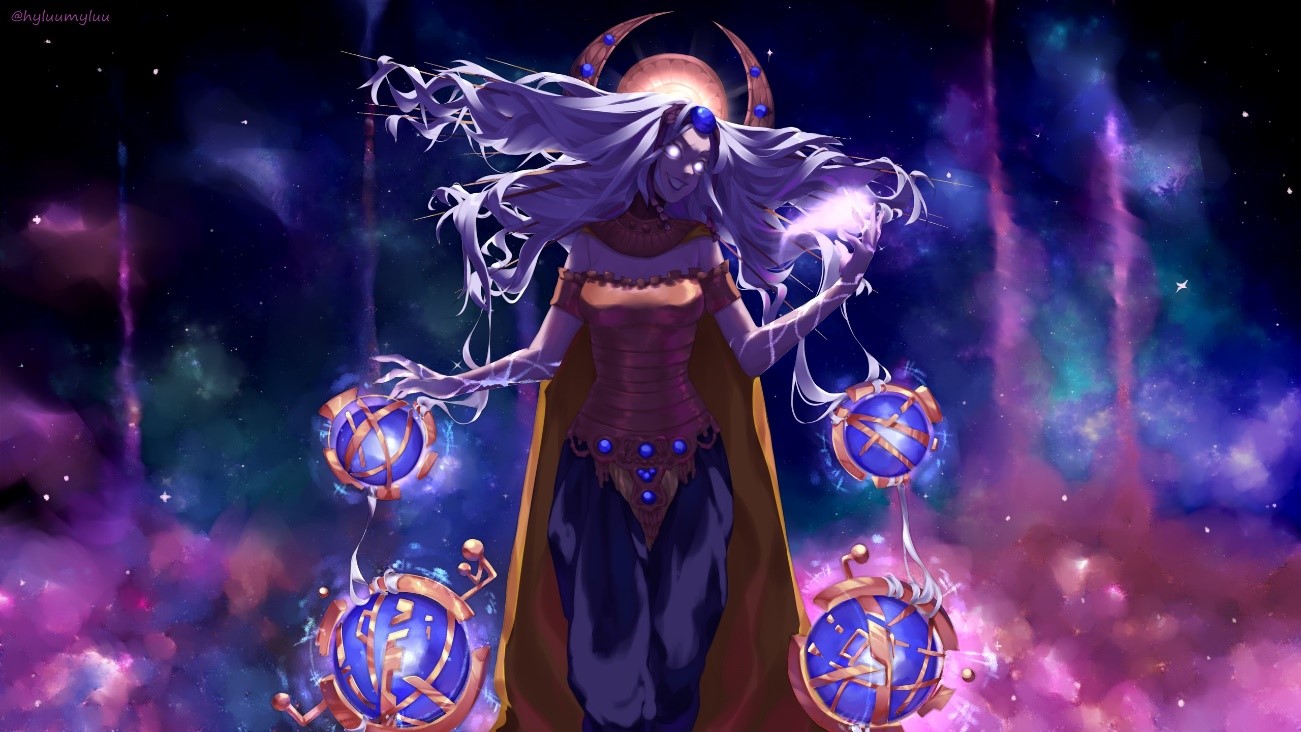
5. Uber Elder

One of the first major bosses introduced to PoE, a staple in the game now, has not fallen behind other bosses in regards to its power and difficulty. It’s still one of the hardest fights in the game, if you don’t have hundreds of millions of damage to instantly phase them out.
The fight consists of two bosses, Elder and Shaper, and you have to kill both. On the Uber Uber version (unlocked through a keystone on the Atlas Passive tree, like all other Uber bosses), they’re even more insane, having new attacks, being a lot tankier, and dealing so much damage it’s nearly impossible to tank anything.
And though it is a really good boss to farm, the cost of entry is huge, and the variance in rewards is massive as well. You absolutely want to have at least 15 to 20 sets to start things, because if you hit a bad streak, you’re divines deep in debt.
What valuable items can you get?
- Voidforge, one of the best elemental swords in the game, worth a dozen divines.
- Voidfletcher, one of the best quivers, especially with good corruption.
- Sublime Vision, high variance price jewel, that should always be sold unidentified.
- Double Curse Impresence, high variance amulet that should be sold unid.
- And Watcher’s Eye, the most used unique in the game, with the highest variance. Sell unid.
How it works:
- In order to confront Uber Elder, which comprises both Elder and Shaper, players must utilize the specified fragments in their map device. These fragments are attainable through the defeat of The Shaper and The Elder, and they are also tradable among players. You need 2 from each, Fragments of Knowledge and Shape from Shaper, and Fragments of Terror and Emptiness from Elder.
- As for the arena, it remains consistent with the setting known as the Absence of Value and Meaning. The unique aspect is that the character's journey commences within The Shaper's Realm, and from there, they take a portal to the final arena.
- During the battle, one of the bosses will become invulnerable in a cyclic fashion, alternating between The Elder and The Shaper for every 25% of health lost. Once the health intermission phase is reached, both bosses will become vulnerable. The player can eliminate The Shaper, but The Elder cannot be slain; instead, reaching 0% health triggers a death cutscene.
- Throughout the battle, Volatile Anomalies and Madness Propagators will continuously appear, taking turns every 20 seconds. These creatures create damaging vortex ground or eldritch decay pools on the floor, which persist for the entire duration of the fight. To prevent these hazardous areas, players must defeat the Madness Propagators, as Volatile Anomalies cannot be attacked but can be strategically walked through to detonate them in a safe location.
- Upon every 25% health loss for both bosses, The Elder or The Shaper will summon additional monsters. At 25% and 75% health, The Elder will conjure multiple Null Portals. Importantly, The Elder refrains from attacking during this intermission phase. Similarly, at 50% health, The Shaper channels a monster portal, as seen in his regular fight. During this intermission phase, The Shaper also doesn’t attack.
Video guide by Zizaran: https://www.youtube.com/watch?v=gfDtpUSXJx8
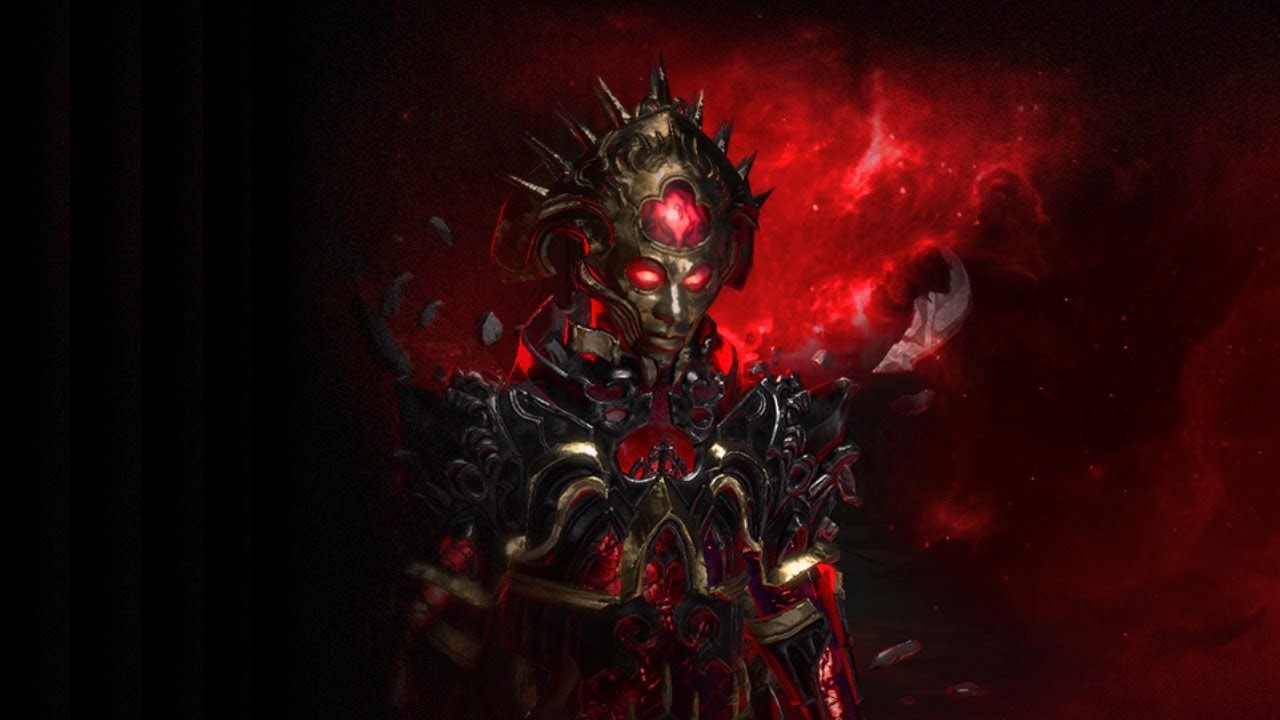
4. Searing Exarch

Exarch is one of the newest bosses added to the game, back in 3.17, and then made ‘Uber’ in 3.18. It can be one of the hardest fights, with a really crazy ‘ball phase’ that you have to dodge a bunch of rolling balls coming to you. This time, Maven is there to help you defeat him, and will clear some of the balls.
Exarch has a relatively high price of entry, but it is one of the easiest bosses to farm fragments for, as all it requires is completing 28 maps, less if you are lucky and proc one of the notables in the Atlas Tree.
But the key’s price being so high, means it’s sometimes worth it to just sell it in bulk to some bosser, if you’re a mapper. But as a bosser, you definitely want to stock up at least 50 to 100 keys before doing your farming session, as Exarch also has a high variance. Difference is, it drops so many possibly profitable items that the gamble will eventually pay out. But it’s not a guaranteed profit, and as such, you want a buffer.
What valuable items can you get?
- Dawnbreaker, a perfect roll can sell for several divines.
- The Annihilating Light, with perfect rolls and a good corruption, you can make bank.
- Dissolution of the Flesh, perfect roll sells for a dozen divines
- Crystalized Omniscience, at base, will sell for around 15 Divines, with perfect rolls, over 20.
- Eldritch Currency: Chaos, Annulment, and Exalted. They sell in bulk for a LOT, and make up a big chunk of your profit.
- The big ticket winner and reason for such high variance in results, the Forbidden Flame. These jewels can sell for 50 chaos or for 150 Divine orbs.
How it works:
- To go head-to-head with Searing Exarch, players need to slot the Incandescent Invitation into their map device. This special invite becomes available after taking down The Black Star and completing the related quest. Then you'll start seeing tradeable versions of the Incandescent Invitation dropping from the boss in the 28th T14+ Map that's influenced by the Searing Exarch. You can rinse and repeat this every 28 maps thereafter. The battle takes place in an arena known as the Absence of Patience and Wisdom.
- Logging out during the Rolling Meteor phase will typically make the phase start over. If you leave the arena or meet your demise during this phase, the Exarch's animations might glitch out, making it invisible. Minions like Summon Skeletons, Totems, and Frost Wall can be deployed as a physical barrier to intercept and destroy Rolling Meteors. Do keep in mind that this tactic triggers an area-of-effect explosion, so you might still get hit if you're too close. For those with teleportation movement skills like Flame Dash, you're in luck – you can glide through the Rolling Meteor walls without taking damage.
- Now, a word of caution: steer clear of the "Buffered" invitation mod that grants 13% increased Quantity of Items found in this Area, 8% increased Rarity of Items found in this Area, and has the Monsters gain (40-49)% of Maximum Life as Extra Maximum Energy Shield prefix. If you don't consistently damage the boss or during phases when the boss is immune, like the Rolling Meteor Wall Phase, the boss will recharge to full Energy Shield. This mod significantly beefs up the boss's effective health, so it's not advisable for builds with low damage output.
Video guide by Zizaran: https://youtu.be/jWfmHDJVdME
3. Sirus
Probably one of the most hated fights ever created, with so much downtime and bullshit deaths that most players are happy to never walk into the Awakener’s arena ever again.
And because that is the case, the fragments you need to access the fight can be rather cheap in comparison to the amount of money you can make with this fight. That is, if you can stomach his storms and his bullshitery.
While Sirus has a rather high degree of variance in his drops, it’s a lot more guaranteed profit than Uber Elder or Exarch, as you will often get a Thread of Hope in about every fifth fight. And these are your money makers.
What valuable items can you get?
- The Saviour, a really good sword that will often sell for a few divines, especially early in the league.
- Awakened Gems (only on Uber Sirus), which can net you some massive profit, but high variance.
- Oriath’s End, a ridiculously OP flask that will sell for at least a dozen divines, if not more.
- Thread of Hope. Here, you wanna sell them unidentified, as they go for 3~4 divines per, because people are fishing for Massive Threads, that sell for 30+ Divines. But the odds are super low, so this is how you make guaranteed profit, if the RoI may be lower.
How it works:
- You can take on Sirus at the Eye of the Storm, and to access this location, use the Crest of the Elderslayers in your map device. These crests are obtained by defeating and acquiring each conqueror map fragment.
- Sirus, the Awakener of Worlds, p a multi-phase showdown in Path of Exile. In the first round, known as the Outer Storm, he'll zap you with a rotating laser-like Storm Beam and toss out those pesky stationary Storms to dodge. After a wild Cataclysmic Meteor Shower intermission, Sirus brings on the Beacon of Madness phase, dishing out his Die Beam and summoning those tricky Wormholes. Then comes the Unnatural Disaster intermission with its rotating beams and energy waves. In the grand finale, The Last Embrace, Sirus combines all his previous tricks and throws in the Meteor Run move, making you dodge meteors and multiple attacks as the fight gets more intense. Knowing these moves is key to toppling Sirus.
Video guide by Zizaran: https://www.youtube.com/watch?v=KJtSPumsl0o
2. Maven
Now we are getting into the most profitable and safest bosses to farm. Not only is Maven relatively easy, even Uber version, compared to every other boss, but she has a guaranteed drop that covers (on Uber) around 35% of the cost of entry already. And when you bulk sell, that will cover over half of the cost, easily.
She can be a tough fight if you suck at memory games, because she has a couple of those, but they’re really simple once you get into the groove of things. Her fight is definitely a waltz, and you need to learn the steps, but you’ll have more success if you can just explode her instantly, of course.
Maven has several phases but they don’t take long, letting you finish a full Maven fight in less than 5 minutes on a mediocre build. And she has some insane big ticket items, alongside her guaranteed safety net. You would need a bad streak of over 50 kills to come out losing, and even then, you’re more than likely making a profit through Elevated Sextants and Orbs of Conflict.
What valuable items can you get:
- Legacy of Fury early league can go for a couple Divines, especially well-rolled.
- Impossible Escape jewels have a massively high variance, from 40c to 45 Divines.
- Echoforge, also a massively high variance, can sell for upwards of 50 divines.
- Awakened Gems. From 20c to 100~150 Divines, if you get Awakened Enlighten.
- Progenesis. The most broken flask in the game, will, at minimum sell for around 30 Divines, badly rolled.
- Elevated Sextants and Orb of Conflicts make up for the bad runs and will nearly guarantee the cost of entry, which can be rather expensive.
How it works:
- Players must use the The Maven's Writ with the map device to fight the Maven. The writ can be formed by collecting Crescent Splinters from fights within The Maven's Crucible.
- Starts out in this phase; The Maven is targetable and teleports around the arena. The Nucleus rotates around the arena and uses its own skills. The Maven's health is fully recovered each phase, and occurs three times.
- In the Memory Game phase, Maven teleports to the middle of the arena, gaining invincibility. After a short delay, she designates three sections of the arena (Left, Right, Top) with a purple flash, a mechanic used in Maven Phases 2, 3, and the Final Phase, with a cooldown of 60 seconds. In the Memory Game Blast, she charges up an arena-wide attack, and the player must replicate the Memory Game pattern by stepping on the correct sections, which will flash green if chosen correctly. Stepping on an incorrect section will make it flash red and expedite the charge-up. Successfully completing the game or entering the charged-up section triggers an explosion, causing substantial physical damage converted to all elements, applying Ignite, Shock, Freeze, and dealing Lightning Damage over time.
Video guide by Zizaran: https://www.youtube.com/watch?v=sn9v-89L8VA
1. Shaper
By far the most profitable boss, as in, you’ll never, ever, make a loss. It doesn’t matter if you fail 30% of the time and never finish the fight, you’ll still not make a loss. Because the price of entry is so low, and you are guaranteed one of the Fragments of Shape or Knowledge, they sell for almost 1.5 the cost of entry to the fight.
And there’s a reason for that. Shaper is an annoying fight. It’s not difficult, even Uber, per se. But it’s long and annoying, with several intermissions and long phases to both start the fight and progress through it.
As such, not a lot of people enjoy doing the fight, making it more and more profitable for those who don’t mind the slog. And with such guaranteed profit, anything extra that you get will simply skyrocket your Return on Investment!
What valuable items can you get:
- Dying Sun, a really good flask that can sell for a couple divines if well rolled, and a lot more early league.
- Starforge, an insanely strong weapon that can sell for several divines if well rolled.
- Orb of Dominance, sells for a divine or so.
- Shaper’s Touch, a really high demand pair of glove, that you should corrupt for good implicits, that can make it be worth dozens of divines.
- Sublime Vision. These babies you sell are unidentified, and this is the bread and butter of your profit. Though it’s a low drop rate, they sell easily for over 15 Divines Unid. They have a high variance and can be worth 10c or 150 Divines.
How it works:
- The fight consists of multiple phases. Before the Shaper encounter begins, the player must defeat four side bosses at the nexus. After that, a portal opens to the Shaper's arena. The Shaper himself has three phases. At the end of the first and second phases he banishes Zana and the player to a passage while he heals up. The players must traverse the passage and return to the arena to begin the next phase. The Shaper recovers health slowly between phases.
- Between each of the Shaper phases, Zana and the player must traverse an area filled with monsters and kill a boss at its end. Those areas use randomly chosen tile sets, and appear to be thin, floating islands in a sea of stars. At the end of the area, there is a boss that players must defeat, after which a portal opens up that returns players to the main arena.
- The Shaper slowly regenerates his health during the between phases, so it's recommended to complete them as quickly as possible. Once The Uncreated/Unshaped is killed, this regeneration stops, and the between phase is complete.
Video guide by Zizaran: https://www.youtube.com/watch?v=gfDtpUSXJx8&t=1s
You may also be interested in:
Share this Article:

- Log in or register to post comments