Home
Home PC Game Trailers
 News
News Menu
Menu[Top 3] Team Fortress 2 Best Scout Loadouts
Updated: 11 Dec 2023 2:21 pm

Be the best around cause nobodies there to keep you down! Except experience of course
 BY: Cameron D.
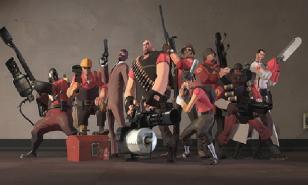
Back in the 60’s Scout was the (literal) street fighter champion of Boston who used speed to his advantage. Speed is incredible when used right, but when used poorly you can end up running into danger instead of opportunity. And by danger I mean instant death in the video game Team Fortress 2.
Though nothing beats good old skill and experience for the fast Boston boy, many loadouts give you a significant advantage and help close the skill gap between you and the enemy. So remember, grass grows, birds fly, sun shines, and brotha? Use the…
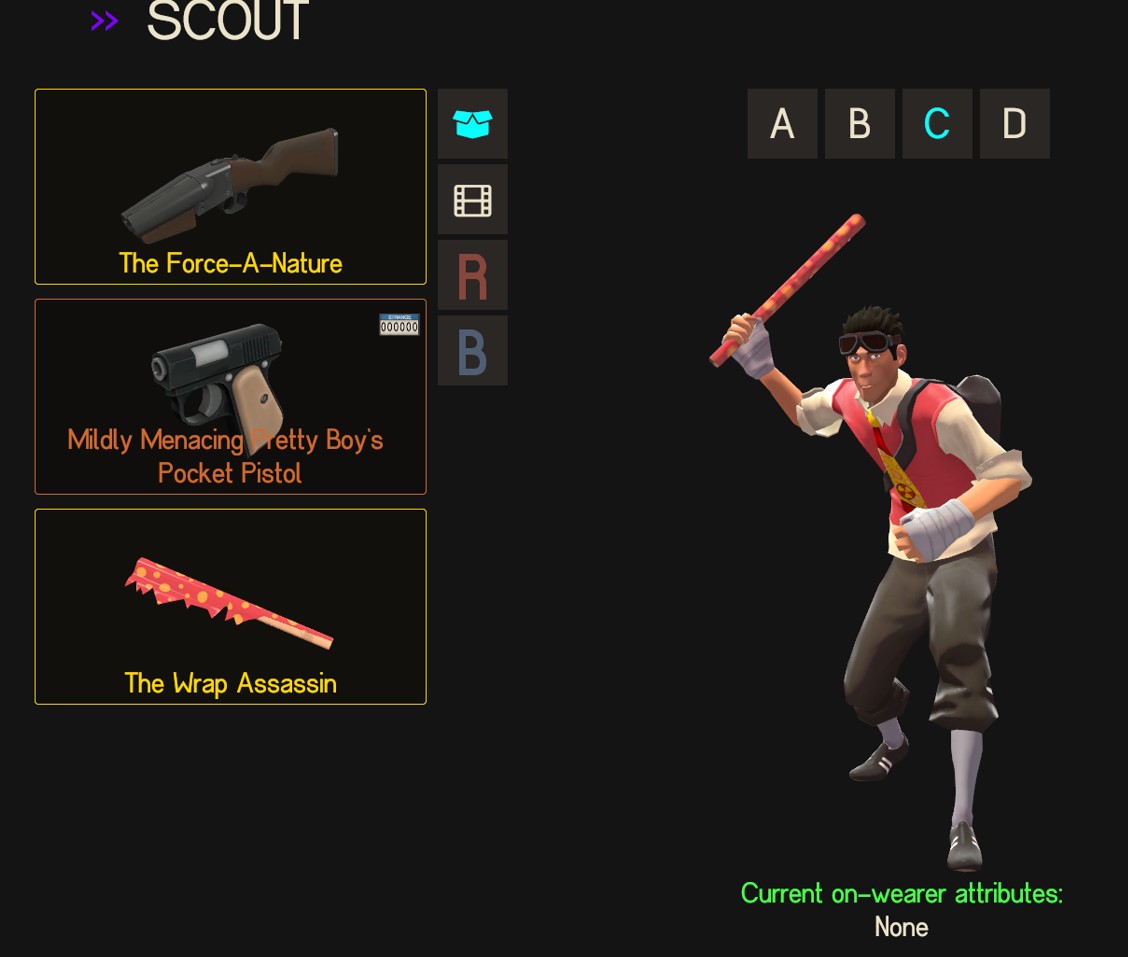
1) The Force a Nature
 One of the big disadvantages of moving so quickly is that it makes landing shots difficult. Because none of the Scout’s weapons can one-hit-kill an enemy, landing multiple shots is necessary for securing kills, hence the high skill curve for the class. If you can’t do this, then doing well as Scout is nearly impossible.
Thankfully, however, there’s a powerful shotgun weapon that comes with the class that under the right conditions makes killing enemies a breeze. And because the Scout is fast enough to determine when and where it’s time to fight, it’s useful on virtually every map and game mode.
Loadout:
- The Force a Nature: It reduces the shot’s per clip from 6 to 2, but makes up for it with an increased pellet count (and therefore damage), faster firing speed, and most importantly, knockback upon him.
- The Pretty Boy’s Pocket Pistol: Very similar to the stock pistol in function with three fewer bullets per magazine, a slightly faster firing speed, and 3 health for every bullet hit.
- The Wrap Assasin: It’s a melee weapon useless at being a melee weapon. But you can throw a Christmas ornament that deals moderate damage at a range
Playstyle:
- The Force a Nature’s knockback can effectively stun enemies, especially if they hit a wall on the first shot, making the follow-up shot easy to land. Additionally, the knockback can be used to do a super-jump, and the extra mobility allows you to be even choosier with your engagements
- While it’s a powerful weapon, the Force a Nature only having two shots means it suffers in an extended engagement. The Pretty Boy’s Pocket Pistol makes for a fantastic finishing tool when reloading the shotgun would take too long
- Because the Force a Nature has powerful knockback, it’s unlikely you’ll ever need to use a melee weapon. This makes it so that the Wrap Assasin has zero downsides and its upside makes you far more effective at medium range, where the Force a Nature suffers most.
2) Special Delivery
 When you are in the zone, Scout can dominate enemy players and give a feeling of invincibility. Unfortunately, this isn’t always going to be the case and with a low health pool, Scout is incredibly punishing when mistakes are made. By default, anything from a stray rocket to a melee hit will have him running for either a health pack or a medic and a panicked Scout who lives more than 10 seconds is usually a dead Scout.
If you feel Scout is too punishing to play, there’s a special loadout that can act as training wheels for those who can’t quite master strafing and double jumps.
Loadout:
- The Shortstop: Where Scout’s scatterguns fire a cone of 10 pellets, the Shortstop fires a tight packet of 4 pellets that are twice as strong and can be fired much faster. With a four-shot clip and rapid reload, you can take extended fights at a medium range.
- The Mad Milk: This throwable bottle of milk explodes on any impact and coats anyone in the area with milk, giving the Scout a 60% lifesteal effect with all weapons. This helps sustain the Scout and can also extinguish him if he’s set on fire
- The Holy Mackeral: This is the same as the stock bat except it shows each melee hit with it in the kill feed and updates it to a kill if the opponent is killed by the fish. Though this may seem trivial, it has a secret advantage…
Playstyle:
- The tight spread of the Shortstop allows the Scout to flourish as a mid-range fighter at the cost of close-range damage. Only go up close for a couple of meatshots if the opponent is weakened, or a Sniper or Engineer who will die in two hits.
- The extra healing of the Mad Milk is so powerful, it can singlehandedly win fights. If an enemy engages you with it, try to buy time until it recharges or run away to a safe area of the map
- A common trap new Scouts fall into is backpedaling directly into spies during engagements. While he possesses no weapons to directly prevent a backstab, the Mad Milk and Holy Mackeral can track spies, with Mad Milk working best on regular cloak and the Holy Mackeral being effective in tracking spies using the Dead Ringer which fakes their death in the kill feed (but not for the fish hit tracker!)
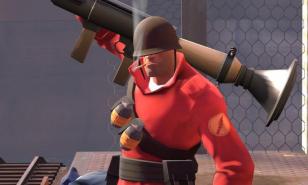
3) Freelancer
 Both of the former loadouts help to close the skill gap between a newer Scout player and an experienced one, yet it’s possible to outgrow both. For some of you out there, the best loadout is the one that maximizes Scout’s effectiveness in exchange for a high risk. There’s no telling when the best time to go all in is, it’s just a feeling you get when you're ready.
With this loadout, you can rise above some of the best Scouter players out there and become one of the most overpowered killing machines in an FPS
Loadout:
- The Scattergun: Though functionally it’s almost the exact same as the stock shotgun used by Soldier, Pyro, Heavy, and Engineer, it deals more damage at close range, enough to kill Soldiers in two shots at close range.
- The Winger: With less than half the clip and only slightly more damage per shot, this is a high-risk weapon as an offensive tool with limited usage. Where it makes a huge difference is its boost to jump height, allowing Scout to stay in the air longer and opening up high ground and flank routes.
- The Boston Basher: Technically this is a straight upgrade to the stock bat if you never miss the enemy as it deals extra bleed damage to them. A missed hit however will damage you with the same bleed damage over time
Playstyle:
- This playstyle is for highly aggressive players that specialize in killing the highest-priority targets; Snipers and Medics. The element of surprise should be used for every engagement and plan on killing enemies before they kill you with opportunities to run from engagements being far more rare.
- Never engage enemies from mid-range unless you know for certain they’re at low health. This loadout does best with team coordination over voice chat so you know enemy positions and health.
- Because the Medigun builds uber quickest if your not fully overhealed and the Boston Basher deals self-damage, you can help your friendly Medic build it quickly before the enemy Medica can, a game changer when it works.
You may also be interested in:
Share this Article:

- Log in or register to post comments

![[Guide] 25 Team Fortress 2 Tips and Strategies](https://www.gamersdecide.com/sites/default/files/styles/308x185-scale-crop--more-top-stories/public/ttn2qucekku21.jpg "25 Tips and Strategies for Team Fortress 2's Current Meta")


")