Home
Home PC Game Trailers
 News
News Menu
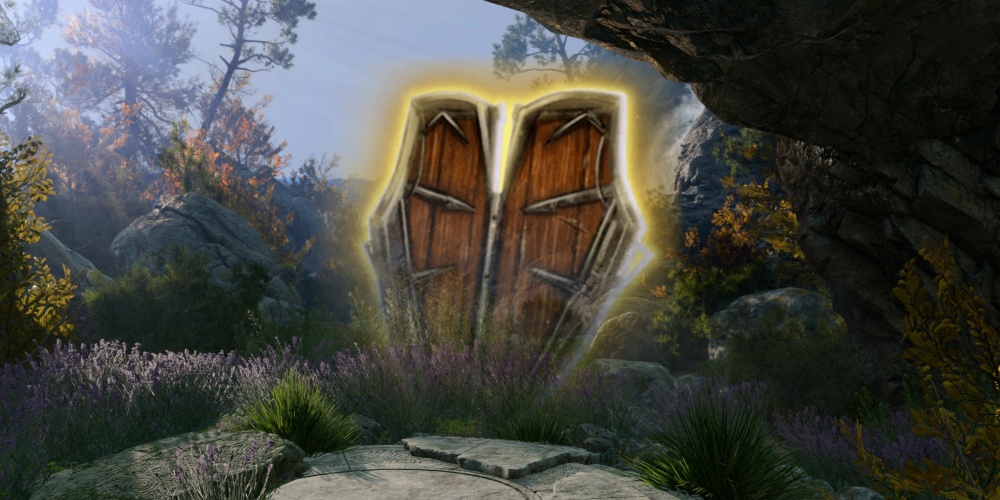
Menu[Top 10] Baldur's Gate 3 Best Shields (Early To Late Game)
Updated: 12 Dec 2023 7:26 pm
Don't underestimate the power of a good shield.
 BY: Jadzia B.
10. Scrapwood Shield
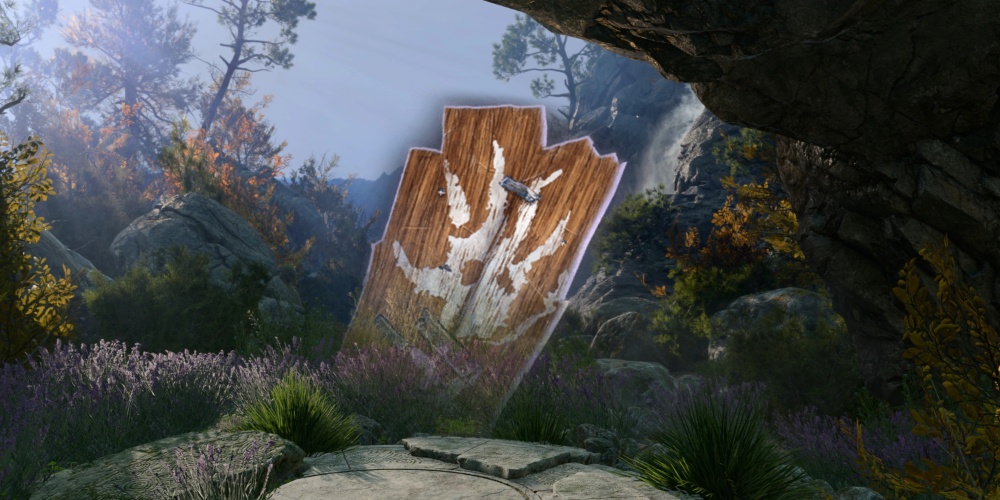
“A hand-like symbol is artlessly painted on the front of this wood shield.”
The Scrapwood Shield is a common shield that can be found in Act 1 of the game.
This shield is great for early-game protection as it adds a +2 to your armour class and can be easily found throughout the Goblin Camp. Whilst it’s not the most powerful, it’s easy to acquire and provides a nice amount of protection.
Shield Details:
- Armour Class: +2
- Effects: None
- Value: 4 Gold
- Weight: 2.7
How To Get The Scrapwood Shield:
Found in the Shattered Sanctum in Act 1. You’ll either find this shield strewn around the area or held by Novice Mrak and Devout Mezzka.
9. Shield +1
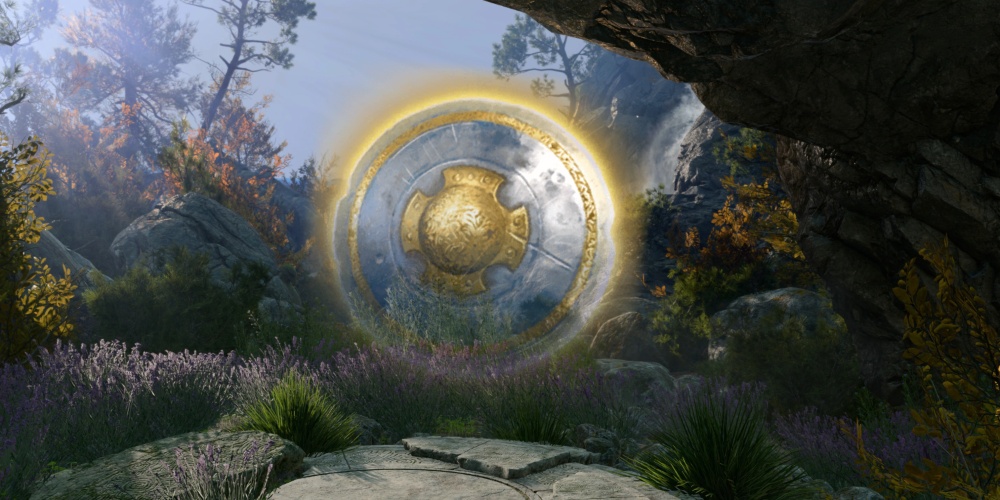
“Though dented in many places, this shield shines like new.”
The Shield +1 is a rare shield that can be found in Act 3 of the game.
Whilst this doesn’t have any special effects like other shields on the list, it does provide one extra point to your AC which can come in very handy. It has a high value and can be found easily in Rivington or traded by many merchants.
Shield Details:
- Armour Class: +3
- Effects: None
- Value: 300 Gold
- Weight: 2.7
How To Get The Shield +1:
Found on a shelf inside The Rivington General in Rivington. Another is located behind Akabi in the Circus of the Last Days in Rivington. It can also be looted from a Sarcophagus in the Hhune Mausoleum and bought from multiple vendors.
8. The Real Sparky Sparkswall
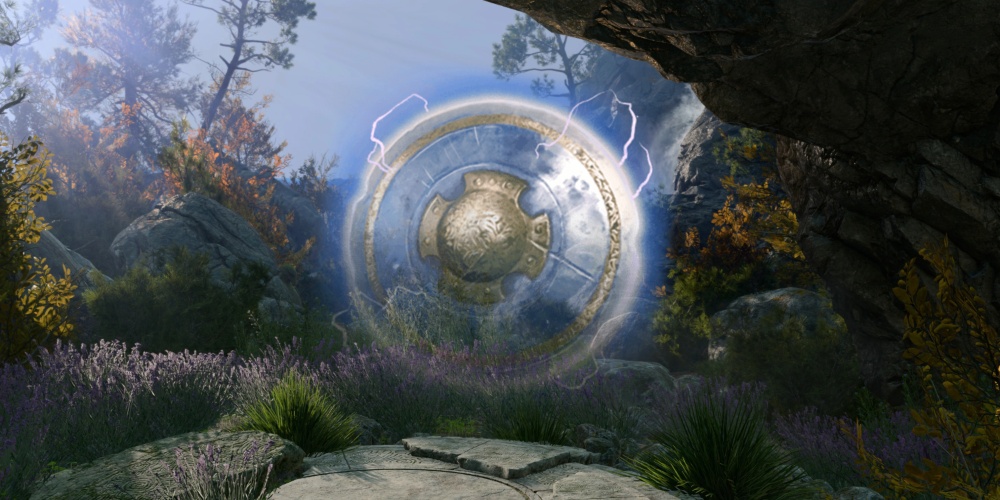
“Is there anything as beautiful as lightning striking all around you?' Yrre the Sparkstruck said, letting lightning strike all around them.”
The Real Sparky Sparkswall is an uncommon shield found in Act 1.
What sets this shield apart from the other basic shields is its Lightning Aura which is an action that can deal 1d6 to nearby enemies. It’s a neat little effect that can deal that extra little damage when you’re surrounded.
Shield Details:
- Armour Class: +2
- Effects: Lightning Aura - An action that lets you release a blast of electricity that Jolts nearby enemies and possibly deals 1d6 Lightning Damage.
- Value: 70 Gold
- Weight: 2.7
How To Get The Real Sparky Sparkswall:
Found inside a heavy chest at the Grymforge (X:-693 Y:419)
7. Glowing Shield
“Soft, loving whispers emanate from this shield. Though barely audible and spoken in some long-forgotten language, they make you feel safe.”
The Glowing Shield is an uncommon shield found in Act 1 of the game.
Whilst this shield provides the same Armour Class bonus as many of the other shields, it has a helpful effect called Loving Protection that gives you some temporary hit points when you take damage below 50% hit points. It’s found very early into the game too!
Shield Details:
- Armour Class: +2
- Effects: Loving Protection - Once per Short Rest, if you are below 50% hits points and take damage, you gain 8 temporary hit points.
- Value: 70 Gold
- Weight: 2.7
How To Get The Glowing Shield:
Found in a chest on a slope behind the Goblin Camp teleportation circle. (X: -54, Y: 462)
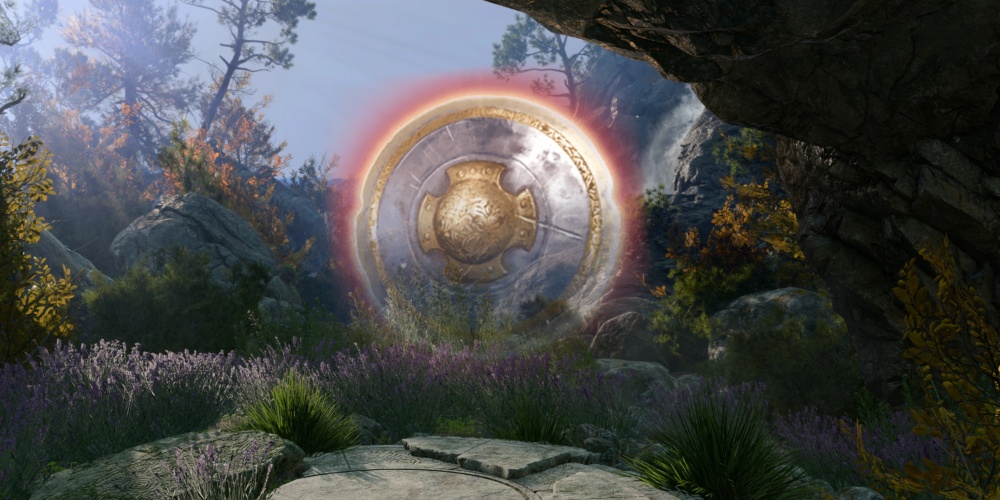
6. Adamantine Shield
“The dull shine of the adamantine promises this shield could take a thousand beatings - and still look as good as new.”
The Adamantine Shield is a rare shield found in Act 1 of the game.
This shield is great because it has a lot of useful effects. These are passive defences, too, meaning that they’ll occur without you having to select them as an action. One of the best perks of this shield is that enemies can’t land those nasty critical hits on you.
Shield Details:
- Armour Class: +2
- Effects: Adamantine Shield - When a melee attack misses you, the attacker is sent Reeling for 2 turns.
- Shield Bash - When a foe hits you with a melee attack, you can use your reaction to knock it Prone unless they succeed a Dexterity Saving Throw.
- Attackers can't land Critical Hits on the wearer.
- Value: 190 Gold
- Weight: 2.7
How To Get The Adamantine Shield:
Found at Grymforge (x:558 y:409) during The Adamantine Forge Quest. You’ll need the Mithril Ore and the Shield Mould.
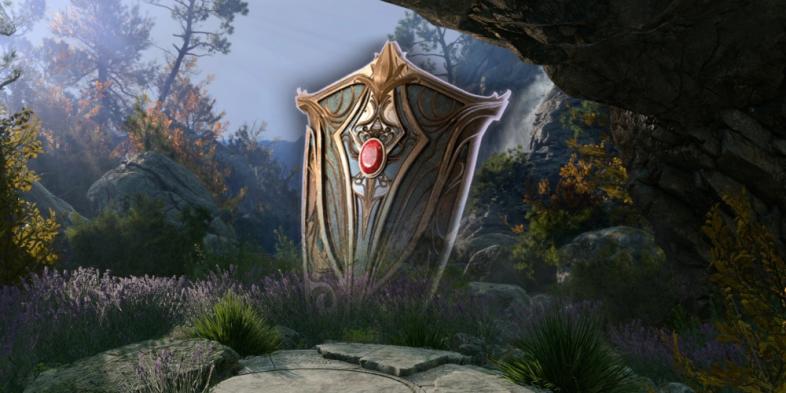
5. Adbel’s Trusted Shield
“The Absolute's power radiates from this shield, invisible waves of energy beckoning to the Branded.”
Abdel’s Trusted Shield is a very rare shield found in Act 3 of the game.
Much like the other shields, this one has several useful features, including an extra spell. It also grants a reaction that allows you to knock enemies prone after a melee attack, making it great for defences.
Shield Details:
- Armour Class: +2
- Effects: Shield Bash - When a foe hits you with a melee attack, you can use your reaction to knock it Prone unless they succeed a Dexterity Saving Throw.
- Spell - Protection From Missiles
- Value: 570 Gold
- Weight: 2.7
How To Get Abdel’s Trusted Shield:
Found in Golbraith's Cellar (X: -152, Y:-64) in the Lower City.
Players receive it from Golbraith after talking with him. Tell him you can help his son and insist on taking it from there. He will gift you Abdel's Trusted Shield.
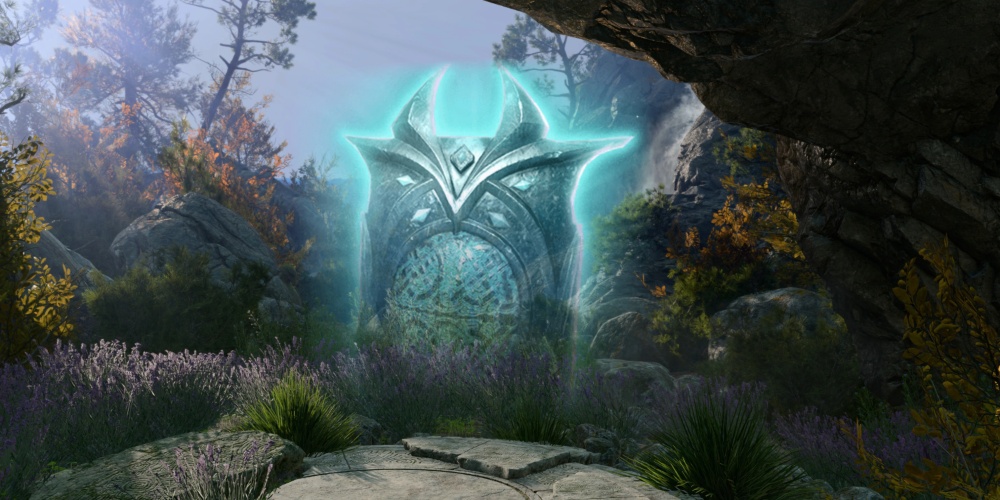
4. Ketheric’s Shield

“In the theatre of dreams, Ketheric killed his wife every night. That wasn't how things happened... but always upon waking, he would glare into the dark, long-faced and solemn, and he would think: 'I keep you alive with my memories, beloved. I kill you with what I've become.'”
Ketheric’s Shield is a rare shield that can be found in Act 2 of the game.
As this shield is boss loot, it comes with some powerful perks. Whilst it does have a basic armour class, it comes with a handy +1 bonus to Spell Saves and Spell Attack rolls! You also gain an advantage on Dexterity Saving Throws, which not many shields offer.
Shield Details:
- Armour Class: +2
- Effects: Arcane Enchantment - You gain a +1 bonus to Spell Save DC and spell attack rolls.
- Shield Bash - When a foe hits you with a melee attack, you can use your reaction to knock it Prone unless they succeed a Dexterity Saving Throw.
- Advantage on Dexterity Saving Throw Checks
- Value: 300 Gold
- Weight: 2.7
How To Get Ketheric’s Shield:
Dropped by Ketheric Thorm after he’s been defeated.
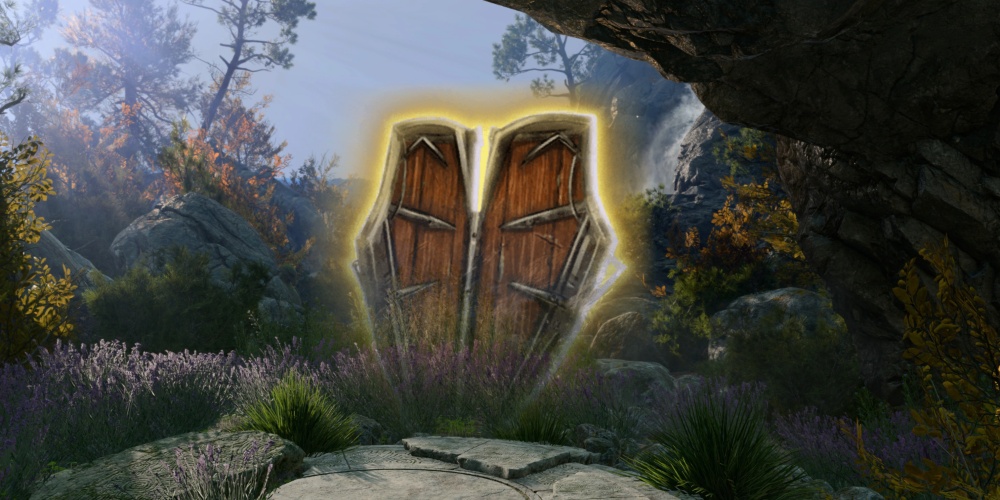
3. Shield of The Undevout
“Where once this shield would protect the rallying forces of good - now it pushes them back, crushing them against their allies until they pop.”
The Shield of The Undevout is a very rare shield found in Act 3 of the game.
This shield, whilst demanding a bit of a fight to get it, is a pretty great shield for this act. One of the best features of this shield is the fact it gives you an extra spell slot, making it useful when trying to give your spellcasters some extra protection.
Shield Details:
- Armour Class: +2
- Effects: Dreadful Hewer - Your foes have a Disadvantage on Saving Throws to resist your spells or actions that inflict Fear.
- Additional Spell Slot - You gain 1 Level 1 spell slots.
- Shield Bash - When a foe hits you with a melee attack, you can use your reaction to knock it Prone unless they succeed a Dexterity Saving Throw.
- Value: 570
- Weight: 2.7
How To Get The Shield of The Undevout:
Dropped by That Which Guards in the Bhaalist Crypt.
2. Sentinel Shield
“Clever enchantments dance between the grooves of this shield, which emanates a magic of heightened awareness.”
The Sentinel Shield is a rare shield found in Act 2 of the game.
Whilst this shield possesses many of the qualities of most other shields at this level, it has an amazing effect called Heightened Awareness which gives a powerful +3 bonus to Initiative rolls. It doesn’t stop there. This effect also gives you an advantage on Perception Checks!
Shield Details:
- Armour Class: +2
- Effects: Heightened Awareness - Gain a +3 bonus to initiative rolls and Advantage on Perception Ability Checks.
- Shield Bash - When a foe hits you with a melee attack, you can use your reaction to knock it Prone unless they succeed a Dexterity Saving Throw.
- Value: 570 Gold
- Weight: 2.7
How To Get The Sentinel Shield:
Dropped by Lann Tarv at the Moonrise Towers.
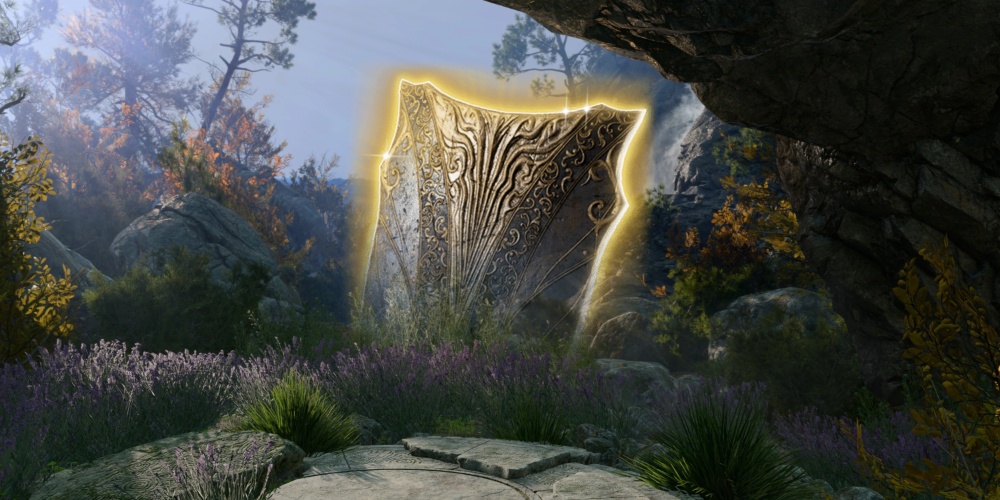
1. Viconia’s Walking Fortress

"'Walking Fortress' is a defensive technique reliant on a shield of this caliber. It involves upsetting your opponent, who just wants to land a single blow.”
Viconia’s Walking Fortress is a legendary shield found in Act 3 of the game.
This shield is great as it has one of the highest Armour Class bonuses of all the shields. It also boasts a variety of special features. It has a super powerful reaction that deals 2-8 Force damage and comes with an extra spell and bonus action! It’s a tough fight to get it, but it’s definitely worth it.
Shield Details:
- Armour Class: +3
- Effects: Rebuke of the Mighty - When a foe hits you with a melee attack, you can use your reaction, dealing it 2~8 Force damage and knocking it Prone unless they succeed a Dexterity Saving Throw.
- Spellguard - You gain an Advantage on Saving Throws against spells. Spell Attack Rolls against you have a Disadvantage.
- Reflective Shell - Reflects any projectiles targeted at you to their point of origin.
- Spell: Warding Bond
- Value: 760 Gold
- Weight: 2.7
How To Get Viconia’s Walking Fortress:
Found in the House of Grief in the Lower City.
You must defeat Viconia in the Daughter of Darkness quest.
You May Be Interested In:
Share this Article:

- Log in or register to post comments


")


![[Top 10] Baldur's Gate 3 Best Multiclass Builds That Are Powerful](https://www.gamersdecide.com/sites/default/files/styles/308x185-scale-crop--more-top-stories/public/baldurs-gate-3-best-multiclass-builds-that-are-powerful.jpg "[Top 10] Baldur's Gate 3 Best Multiclass Builds That Are Powerful")


![[Top 5] Baldur's Gate 3 Best Shadowheart Builds That Are Powerful](https://www.gamersdecide.com/sites/default/files/styles/308x185-scale-crop--more-top-stories/public/baldurs-gate-3-best-shadowheart-builds-that-are-powerful.jpg "[Top 5] Baldur's Gate 3 Best Shadowheart Builds That Are Powerful")


![[Top 5] Baldur's Gate 3 Best Gale Builds That Are Powerful](https://www.gamersdecide.com/sites/default/files/styles/308x185-scale-crop--more-top-stories/public/baldurs-gate-3-best-gale-builds-that-are-powerful.jpg "[Top 5] Baldur's Gate 3 Best Gale Builds That Are Powerful")


![[Top 5] Baldur's Gate 3 Best Astarion Builds That Are Powerful](https://www.gamersdecide.com/sites/default/files/styles/308x185-scale-crop--more-top-stories/public/baldurs-gate-3-best-astarion-builds-that-are-powerful.jpg "[Top 5] Baldur's Gate 3 Best Astarion Builds That Are Powerful")


")