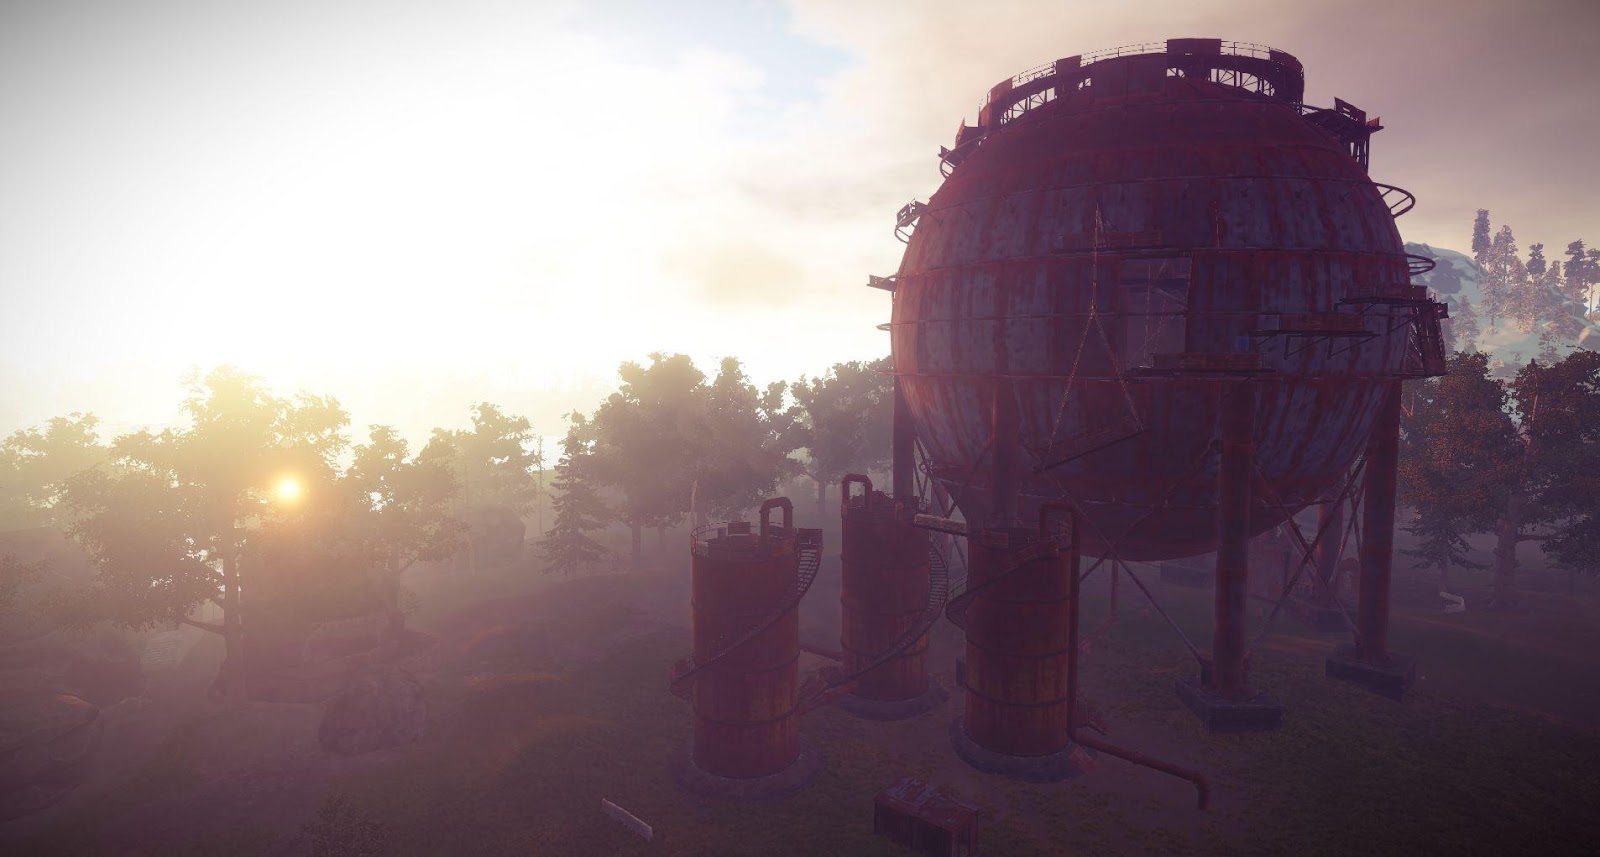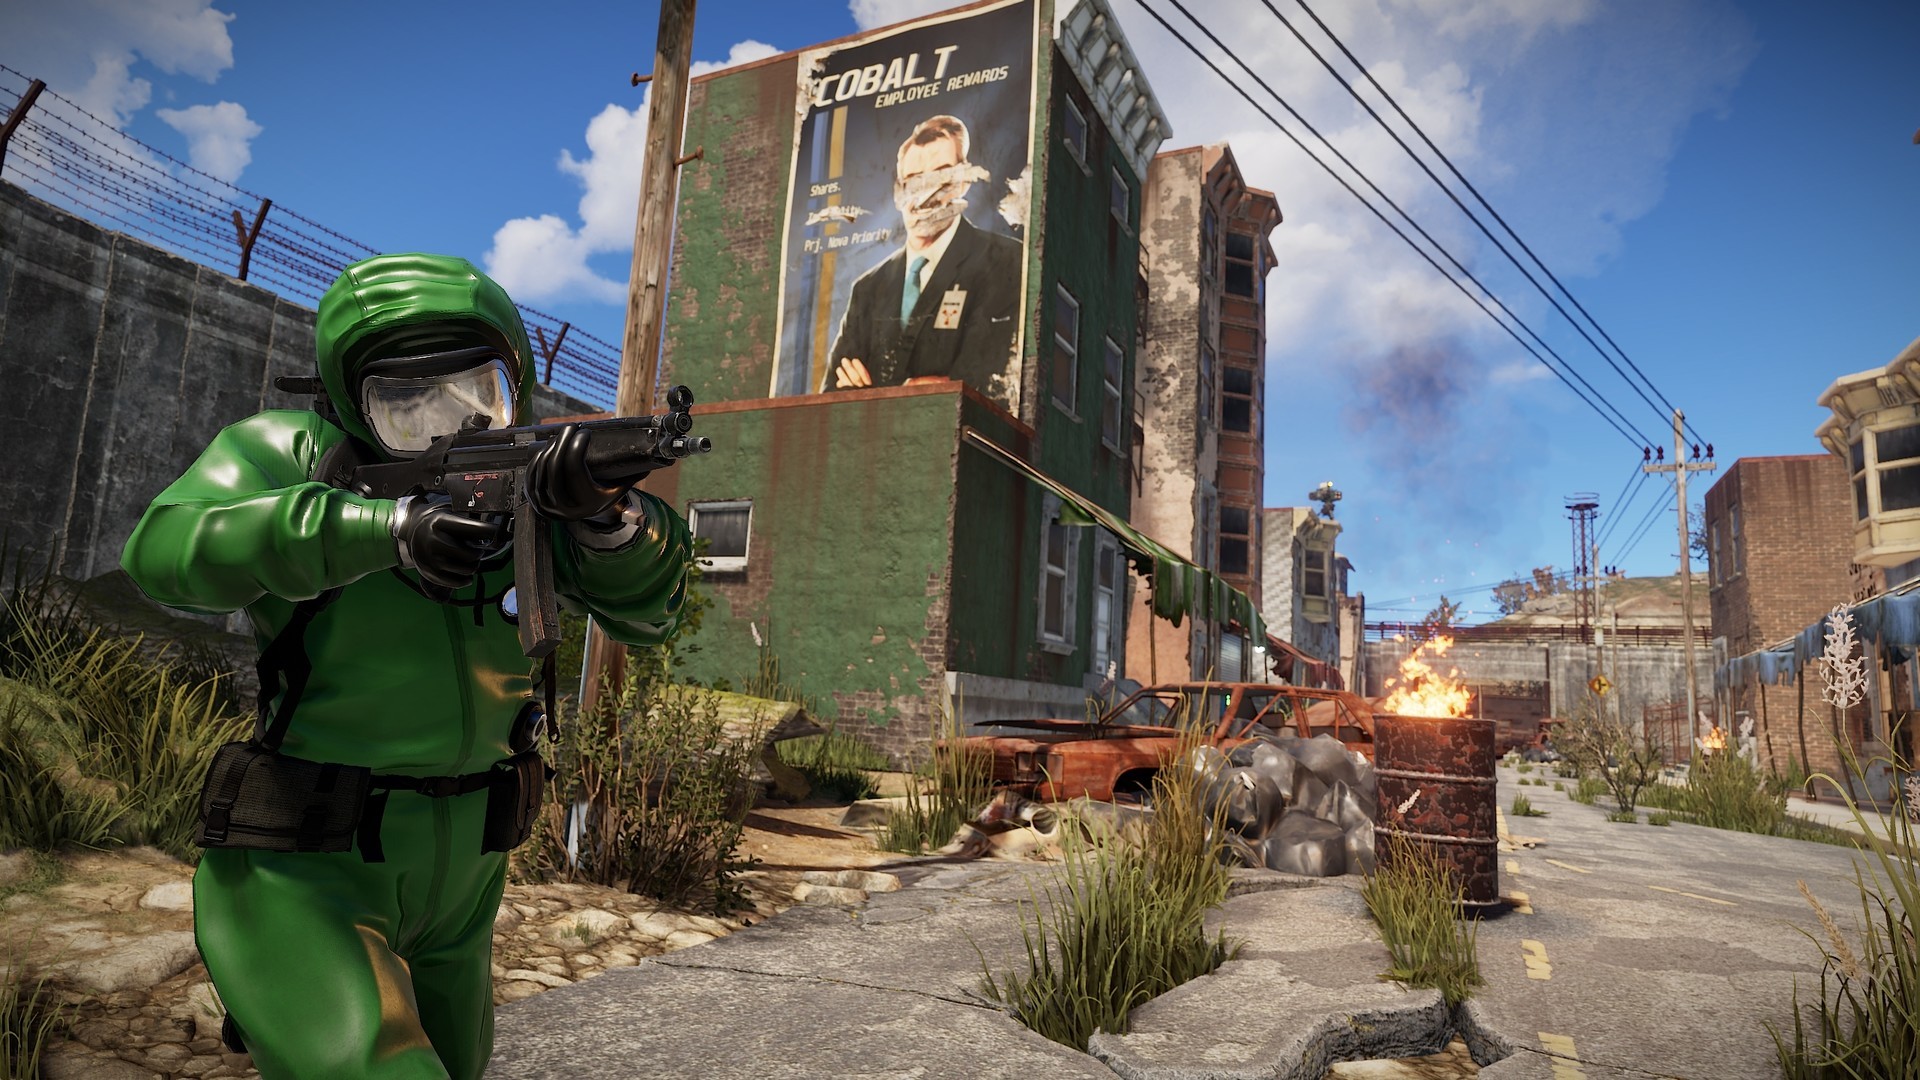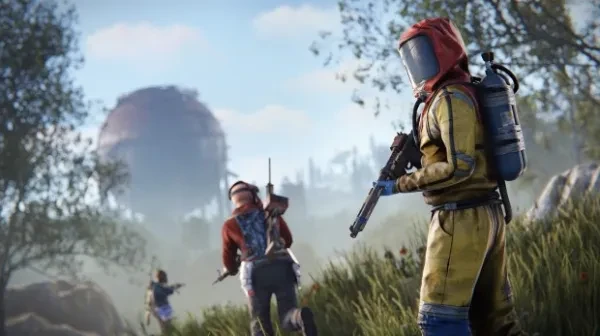
There are many different settings in Rust that can help improve your FPS. In this article I will go over the best settings in Rust to help with FPS in 2023.
It is very important to make sure you have the settings down right to give you that competitive edge over other players by having smoother frames while maintaining a good looking game.
I’ll start with a few key Windows specific settings.
1. Windows Game Mode.
Windows game mode is a setting that is on by default when using windows. You will want to make sure this is turned on. This setting allows for windows to optimize your PC for most games. It makes a noticeable difference with Rust.
- You can turn this setting on by typing Game Mode into your windows search bar, or by going to Settings -> Gaming -> Game Mode.
2. Xbox Game Bar.
This is another setting that windows usually has on by default. You will want to turn this one off. It is an overlay for recording clips, receiving xbox invites etc. Unless you are playing a game that requires you to have it on to receive invites or messages, it isn’t worth it. It can make your FPS in games take a big hit.
- You can turn this off by typing Xbox Game Bar into the windows search bar or by going to Settings -> Gaming -> Xbox Game Bar.
3. Hardware-accelerated GPU Scheduling.
Hardware acceleration helps to reduce latency and improve performance. Turning this on will help your games perform better.
- You can turn this on by typing Graphic Settings into the windows search bar or by going to Settings -> Display -> scroll down and click on Graphics Settings.
If Hardware Acceleration isn’t an option, in this same Graphics Settings window you can click on the Browse and find your .exe file for Rust to manually add it. Then you can click on it once added and choose High Performance.
4. Windows Power Plan.
Windows Power Plan helps to further boost your performance in game, especially if you use a mechanical hard drive and not an SSD. This will help with any stutters in the game that may be happening.
- Turn this setting on by typing Power Options into the windows search bar or go to Control Panel -> Hardware and Sound -> Power Options. If there is a “High performance” option choose that. If there isn’t, you can click Create a Power Plan and choose the high performance option.
Now for the settings actually within Rust itself. We will start with the options tab.
5. Max Gibs.
The Max Gibs slider adjusts how much debris will be shown when an object is destroyed. This can have a very big impact on your FPS.
- You will want to turn this all the way to zero to max out your FPS. Having extra objects in game that need to be rendered as they are destroyed is unnecessary when trying to optimize performance.
That was the only one in the options tab that makes a difference with your FPS. The UI tab, audio tab and controls tab are all personal preference as well.
The next tab we will go over is the Screen tab.
6. Mode.
The screen mode setting is deciding what “mode” you want your screen in. Usually it’s a choice between exclusive (fullscreen) or borderless.
- Lately there has been a big increase in FPS while using Borderless mode. It has been boosting players' FPS by almost 20 in some cases.
7. Vsync.
Vsync is a setting that synchronizes the refresh rate and your monitor's frame rate. It is used to help with screen tearing.
- It is best to leave this setting off as it can have a negative effect on FPS in most games.
8. FPS Limit.
The FPS Limit is used to limit how much FPS you will get while in-game.
- The best thing to do with this setting is just leave it at 0. Sometimes when the game tries to limit the fps it can result in lower FPS.
- Keep limit fps in background and limit fps in menu off as well.
Now onto the most important tab of them all, the Graphics tab.
9. Graphics Quality.
This option will allow you to change the overall quality of your graphics in Rust.
- I like to keep this setting around 3 as it gives the best balance of performance and maintaining the games look. There isn’t a noticeable difference in the FPS making it go lower than 3. Raising it to the higher settings will most likely spike your FPS a slight bit.
10. Render Scale.
Render scale is a slider to control what percentage of your screen renders your resolution at.
- You will always want to leave this at 1. If you turn it lower it will result in your game being blurry and unplayable
11. NVIDIA DLSS
This setting is designed to help display higher resolution through image reconstruction.
- It is best to leave this setting off. In Rust it can result in far out trees, powerlines, etc. being blurry and messing with the game's image.
12. Shadow Cascades.
This is designed to enhance the effects of shadows and make a better shadow map resolution.
- You want Shadow Cascades set to “No Cascades”.
13. Max Shadow Lights.
Max shadow lights stop light from bleeding through walls.
- Turn Max Shadow Lights to 0. This is a very important setting to keep to 0 because it won’t only have an effect on your overall fps, it will make shadows not bleed through objects and illuminate the surroundings. This greatly hinders your ability to see at night if you put it above 0.
14. Water Quality & Water Reflections.
These settings are exactly what they sound like. The image quality of water as well as the reflections from light on the water.
- It is best to keep these both turned to 0 as they will have an impact on the game and can be distracting when looking at players in the water.
15. Shader Level.
The Shader Level is the overall quality of the way the terrain looks.
- It is best to keep this turned up if possible. It doesn’t have much of an impact on your FPS and it will make the game look much cleaner across all of the terrain.
16. Draw Distance.
Draw distance is how far you can see.
- You want to keep this maxed out at 2500 if you can as it will help with seeing this such as airdrops. This can have an impact on FPS though, so if you are looking for max FPS you may want to lower it a bit. But this is one that definitely helps having up at least a little.
17. Shadow Distance.
This settings controls how far you can see shadows from.
- You will want to keep this setting turned all the way down to 50 as it will help with FPS as well as letting you see enemies easier who are trying to hide in shadows.
18. Anisotropic Filtering & Parallax Mapping.
These settings are used to help distant objects look sharper and improve the look of textures when viewed at steep angles.
- These settings both don’t make a visible difference in the way things look in game but they do hurt the FPS a tiny bit. So it is best to have them both turned all the way down.
19. Grass Displacement.
Grass displacement is a setting that parts the grass when items or players are in it.
- Grass Displacement has a minimal impact on your FPS and can make a huge difference in finding items quickly that drop in the grass. This could result in finding a gun in a PvP fight much faster. I’d recommend keeping it on.
19. Grass Shadows.
Grass shadows are extra shadows added onto the grass.
- Grass Shadows just add unnecessary shadows onto the grass which takes a toll on your FPS and makes it more difficult to spot items. It is best to keep this setting off.
20. Nvidia Reflex Mode.
This is a setting designed to help with overall latency and performance.
- It is best to keep this setting on as it can provide a slight improvement in your latency and FPS.
21. Max Tree Quality & Max Tree Meshes.
These settings control the overall quality of your trees and how they look.
- These two settings can make a very big difference in the way your trees look. If they are turned down it can make it more difficult to see through trees and make them look blocky.
- I would recommend keeping both of these settings turned to the max if your FPS allows it. Turning them down doesn’t make a huge difference in FPS and is well worth the extra visibility you get out of it.
23. Particle Quality, Object Quality, Terrain Quality, Grass Quality, Decor Quality.
These settings are all designed to help improve the overall mesh qualities of the different qualities listed.
- These ones are all less impactful than the tree ones in terms of helping the quality for PvP. However, they can still make the game look better at a very low FPS cost.
- If you are searching for absolute maximum FPS, you can turn them down. If you want the game to still look a tad bit better and suffer maybe a few FPS, max them out.
Now onto the image effects. These are all a bit more preference aside from the Aliasing.
24. Anti-Aliasing.
Anti-Aliasing is meant to help smooth jagged edges.
- The best option for this is to typically leave it turned off. It makes the images look blurry and takes a hit on the FPS.
Last but not least, the experimental tab. You will want to keep all of these turned off aside from the optimized loading.
25. Optimized Loading.
This setting helps you load into the game faster, which can be crucial in PvP if you are being raided or get kicked out of the game for some reason.
- I would keep this turned on to at least partial. It doesn’t take a hit on FPS and can improve your load speeds.

