Looking to git gud in Team Fortress 2? Afraid of the skill and competition you will find going up against seasoned veterans of an eleven-year-old game?
Well worry no longer, these tips and tricks are perfect to not just get you started, but to also help polish the skills you may already have, allowing you to go toe to toe with the best in the server.
Settings/General Game EtiquetteFirst off, your settings matter when trying to achieve the edge in TF2. This fast-paced FPS puts your reflexes to the test at every second, every decision in each gunfight matters. Under your “Advanced Settings” tab you will want to enable the following:
- “Fast Weapon Switch”
- “Play A Hit sound Everytime You Injure An Enemy”
- “Display Damage Done As Text Over Your Target”
- “Accumulate Combat Text Damage Events Into A Single Number”
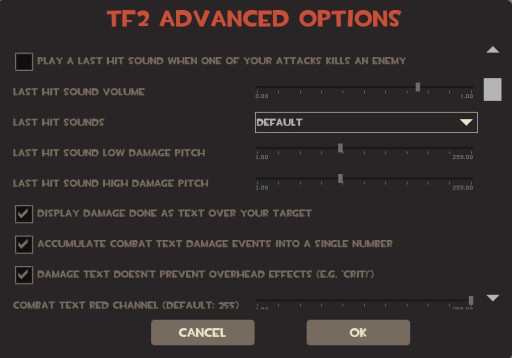
Advanced Options Page
The name of each setting does a pretty good job of explaining itself, but why use them? What do they do to improve your gameplay? These settings help to greatly heighten your game sense and track when you damage an enemy along with how much damage you have done unto them. This will help you figure out whether to disengage an enemy or to keep pushing them and send them straight back to the spawn room.
- Learn health totals, by learning health totals, accompanied with the previously mentioned settings enabled, you will be able to see how much health a specific enemy has left during a fight.
- When fighting a group of enemies, it is always best to go for the medic. This will cripple the entire enemy team as their main source of healing is no longer available. Also, if you attempt to kill another enemy and a medic is present, there is a good chance the medic can out-heal the damage you are outputting leading to your inevitable death.
- When hopping into a game it is important to know exactly what sort of role you are looking to fill. If you want to strictly play the objective, you can go with the Scout for its increased capture/push time or equip the pain train to eligible classes speeding up their capture/push time. On the other hand, if you want to be a slayer and look to survive and do damage, you need to center your class around damage output and resistance.
- Getting to the action in a match is very important which is why having an Engineer with an active teleporter is also very important. If the Engineer on your team has a level one teleporter at spawn it is very slow to teleport people to the exit and a line will often form of people waiting to teleport. You can easily change your class to an Engineer, step out of spawn, upgrade your teammates teleporter and then return to your desired class. This helps not only the friendly Engineer, but your entire team as it is easier for them to get into the fight upon respawn and push back the enemies.
- Each match has some pesky snipers looming around every corner, in many cases it is in your best interest to jump around corners so the sniper waiting with a charged shot must try and adjust their reticle to track your head. In many cases, this little act will save your life and allow you to fight on!
- There is a custom map known as tr_walkway. This map spawns a stream of enemy bots that you can practice hitting your shots against. If you are looking to work on air shots, headshots, or trickstabs, this is a great place to start.
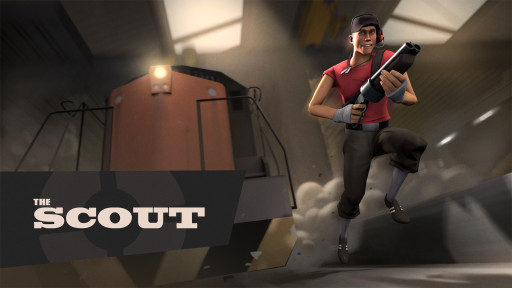
The Scout escaping train
- As the fastest class in TF2, the Scout also has the lowest total health. Therefore, you need to use his speed to your advantage when it comes to running from a fight, dodging incoming rockets, or getting to the objective.
- The default scattergun the Scout carries can be very lethal if you manage to hit your shots. There is potential to do well over 100 damage in a single shot, but on the other hand you can do a measly couple hit points worth. If you can get up close and hit your shots the Scout has potential to be extremely deadly and throw off the enemy team.
- The Scout has the highest base capture/push multiplier. If a Scout is on the objective it is counted as though there are two people on the objective.
- Being the fastest yet most fragile class, the Scout can easily overextend into situations where they will be killed. It is important to be aware of how many enemies are around you along with having a constant plan of escape in mind incase you begin to get overrun.
- Getting bodies to the battlefield is a big part of winning a game of TF2. A Scout is fast enough that they can get to the battle in about the same time it would take for them to wait for the teleporter to cool down and then take it to the exit. Therefore, it is important to let the other, slower classes, use the teleporter before you do.
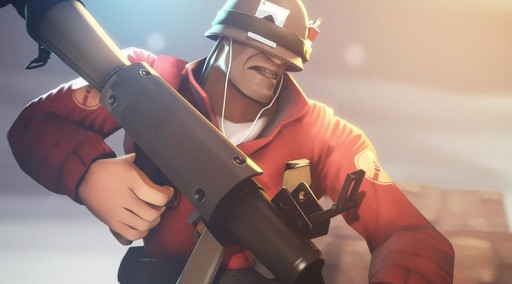
The Soldier gearing up
- Finding ways to be mobile with slower classes can make all the difference. The solider, although slow, has a high health pool, 200, and the ability to rocket jump. Rocket jumping allows you to travel larger distances in a shorter amount of time than just walking would. There are countless servers dedicated to practicing and teaching players how to rocket jump.
- Rockets do splash damage, do not be afraid to aim at the floor. If a Scout keeps jumping around and you are having trouble hitting them, just try to predict their movements and put a rocket straight into the floor, the splash damage will hit them and hopefully get you the kill.
- In many cases the more damage potential the better, but there are some cases where ditching the default secondary, the shotgun, can be in your best interest. If you plan on rocket jumping around the map while in search of the enemy medic, it may be best to switch out the shotgun for something like the gunboats to reduce the damage you take while rocket jumping.
- When you are going up against an enemy Soldier or Demoman flying around the map it can become frustrating to kill them. It is important to take time to learn the speed of the rockets you fire and be able to predict where the enemy will be during their flight. Being able to do this allows you to land airshots on these enemies and stop them mid-flight.
- Due to the Soldier’s ability to fly in on unsuspecting enemies, there is a playstyle known as being the roamer. This means that the Soldier will just roam on their own around the map in search of opportunities to pick off enemies that are alone or simply jump in on the medic.
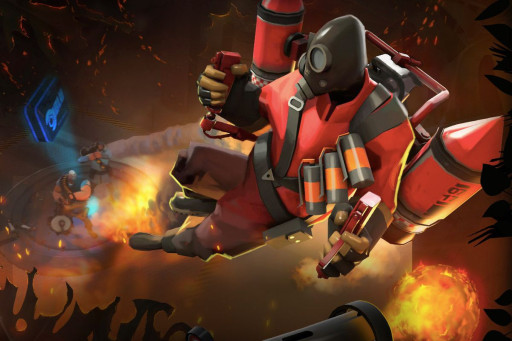
The Pyro taking flight
- One of the most useful abilities of the Pyro is being able to spy-check. This simply means bursting a little flame on each person who appears to be on your team, if they ignite then they are an enemy spy disguised as a teammate. This can help save your team from being backstabbed at key points in a match.
- Help the Engineer! Engineer nests of teleporters, dispensers, and their beloved sentry are prime targets for a spy to try and sap. The Pyro can help the Engineer by not only checking the nearby teammates to see if they are a spy, but also equip weapons such as the neon annihilator to remove sappers from friendly buildings while the Engineer is away.
- If you choose to be a more aggressive Pyro, learn to use your entire arsenal to your advantage. You can have a loadout similar to the Degreaser, Flare Gun, and Axtinguisher. Each one of these weapons benefit one another. Degreaser has faster switch time, flare gun has a 100% critical chance against burning enemies, and the extinguisher mini-crits burning targets.
- The alternate fire of the Pyro’s flamethrower is a compressed air blast which can push back enemies and extinguish teammates. This is a very important tool as it allows you to separate an numbered player from the medic numbering them and can save a teammates life by stopping the burn damage they were sustaining.
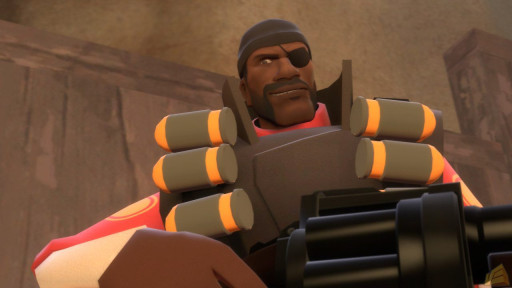
The Demoman smiley face
- The Demoman does just what his name suggests, demolishes. This class is perfect to take out an Engineer who has a sentry nest set up at a key choke-point in a map.
- Aside from being an explosives expert, the Demoman is also given a few different types of shields that grant a demo-charge along with resistances to certain kinds of damages. These shields can be used with any sword and you can become a Demoknight in the battlefield.
- Learning to directly hit your target with a pipe from your grenade launcher is a very helpful ability. Directly impacting your enemies increases the damage done to them by the launcher.
- As the Demoman you will have access to his sticky launcher, this weapon will allow you to set traps around the map which you can detonate anytime you want. These sticky traps are very helpful when trying to defend the objective.
- Much like the Soldier rocket jump ability, the Demoman can use his sticky launcher to propel himself across the map in a short amount of time.
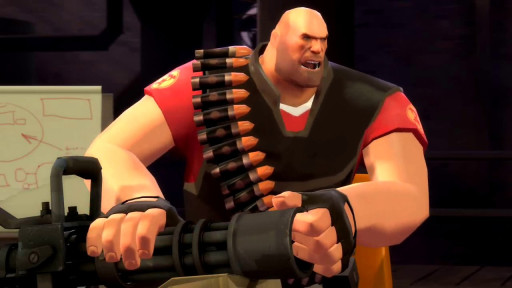
The Heavy gearinug up for battle
- The Heavy is a high priority target for most Spy’s because of the high health and slow move speed. It is important to always watch your back and spy-check teammates around you.
- Heavy is a big man with a big appetite, but it is always nice to share your food with others. A secondary weapon replacement the Heavy has in known as the sandvich, which can replenish the health of whoever eats it. You can either use this yourself or share it with an injured teammate, so they can continue to fight off the enemy.
- The melee options for the Heavy grant a wide range of buffs while active. It is important to use whatever pair of fists you deem fit for the situation, if you want to absorb a lot of damage then the Fists of Steel are for you, but if you want to move quickly around the map then the Fists of Running Urgently should be your choice.
- With the highest health total in the game coming in at 300 health, 450 while over healed, the Heavy can take a beating. Use this health total to help absorb some incoming damage and let the injured or more fragile classes escape a sticky situation.
- As the Heavy, you move extremely slow and therefore it is easy for a sniper to click on your head with a fully charged shot and put a swift end to your rampage. It is best to be constantly moving to make the click a little tougher.
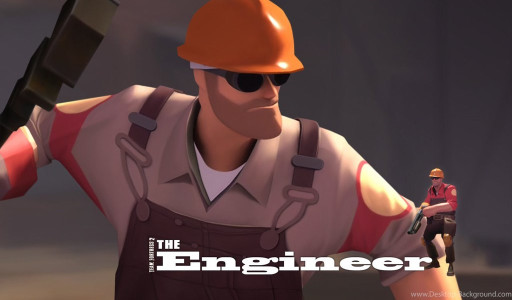
The Engineer, the hard hat spcialist
- There are two main play-styles as the Engineer, the nest-Engineer and the combat-Engineer. As the nest-Engineer you will pick a spot and make sure your buildings stay active, as the combat-Engineer you have a mini-sentry at your disposal and are free to run around the map with a shotgun in hand.
- The Engineer can easily change the entire flow of a match. With the appropriate placement of your sentry at a choke-point or an active teleporter keeping the enemies busy fighting off the endless stream of teammates fresh out of spawn, the Engineer needs to keep their buildings up to have a huge impact. When your buildings go down it is important to quickly get them back up and helping the team.
- There is a high possibility that your team will have other Engineers on it, if this is the case it is important to help them build and protect their buildings. If you have excess metal and all your buildings are at level 3 then go help level up another set of friendly buildings.
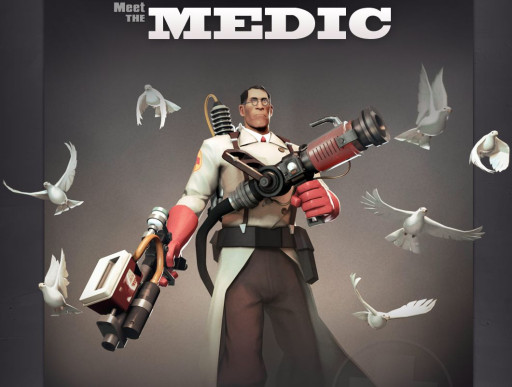
The Medic and his pigeons
- The beam of your medigun used to heal teammates can only go so far, so what happens when a teammate is out of reach but is about to die? Well there is a weapon known as the Crusader’s Crossbow which will heal teammates if they are shot by it. This will allow you to save teammates that are out of medigun range.
- There are multiple mediguns which all provide a different kind of buff once the ubercharge meter is full. It is important to realize which one is most helpful depending on the situation. If the enemy team has multiple sentry guns set-up it is best to use the standard uber overs something like the Kritzkrieg.
- It is important to prioritize your healing targets, from those who are most injured, to those who are burning and about to die. Make sure you do not keep healing the same person when they are almost full on health while someone near you is close to death.
- To quickly build your uber, you should focus on healing those who are injured over continually overhealing a single teammate.
- There is an option within your advanced settings which will allow you to click only once to continually heal a teammate instead of having to hold down your right click. This makes it easier to not lose track of your target because of a finger slip.
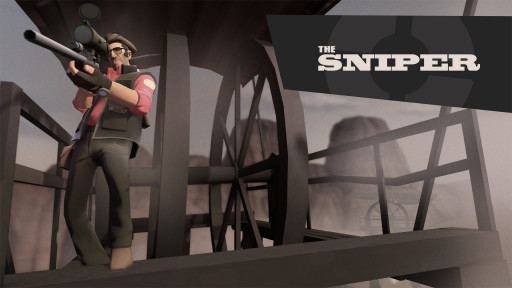
The Sniper in a high place
- An uncharged scoped headshot does exactly 150 damage if the enemy does not have bullet resistance. This means that a single uncharged headshot can kill five of the nine classes the instant you scope in.
- If you are not good with scoped weapons you can always take a stab at using the huntsman. This weapon is a replacement for the default sniper rifle and is a bow and arrow that cannot be zoomed. This weapon allows the sniper to be more aggressive and the hitboxes for this weapon are slightly bigger than that of the default sniper.
- Being able to quickly headshot an enemy is extremely important. You will be placed in situations which call for a quick flick of the mouse to accurately track someone’s head and allow you to get the killshot. This is something that takes quite a bit of practice which can be done against bots.
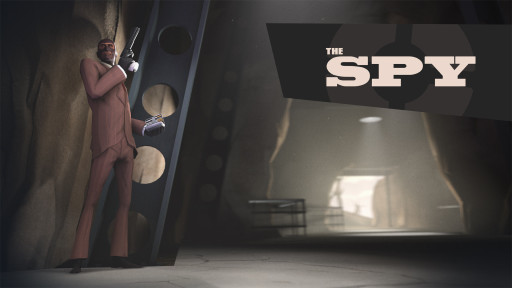
The Spy behind a pillar
- As the spy you will find yourself behind enemy lines with opportunity to stab countless enemies. It is important to realize which enemies you should attempt to stab before others. As usual, it is best to backstab the medic first, cutting off the health supply of the enemy team.
- Using the appropriate cloaking watch is very important. Each of the watches have special attributes that can come in handy depending on the situation you find yourself in.
- Since you will need to get behind the enemy to really make an impact, you should learn every route on a map that way you know which ones are less populated giving you the opportunity to flank your targets.
- When a Spy saps a building it renders it inactive, as long as the sapper is not removed by an engineer or a specially equipped pyro, until the building is ultimately destroyed. By sapping the buildings, you are giving your teammates an opportunity to destroy them and continue with the match.
- When you choose a disguise from your Disguise Kit it is important to keep movement speed in mind. The Spy will never be able to go faster than his default speed but can go slower. This means that if you disguise as a scout you will be moving much slower than other scouts on the battlefield, but if you disguise as a heavy you will move the same speed as any other Heavy.
Now that you understand how the game works, proper game etiquette, and general class tips and tricks, you are ready to spawn in and kick some butt! As usual, to master a game takes patience and practice, remember each one of these tips and you can speed up that process. Go out there and capture the intel maggot!
