As obvious as it may seem, your ship is going to be your most important tool in Sea of Thieves. In order to loot, sail, and battle, you will need to have a decent grasp of how your ship works. Luckily for you, this guide will go over all the tips and details that you will need to be a successful pirate.
1. Choose The Right Ship
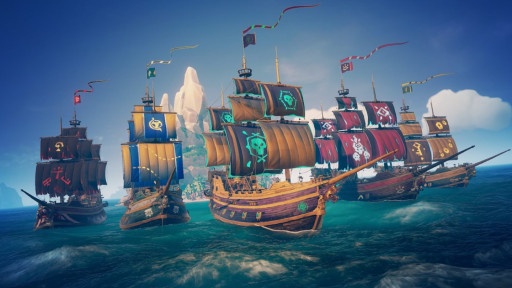
When launching Sea of Thieves, one of the first things you will have to do to get into a lobby is choose your ship. While there are only 3 options, it is very important that you do not choose the wrong one. For 1 or 2 players, always choose the Sloop. It is going to be near impossible to manage a Brigantine on your own, nevermind a Galleon. 2 players could get by on a Brigantine, although for beginners it is not something I would recommend.
For 3 players, the Brigantine will be your best option. It will be much easier to control than the Galleon, which will need 4 players to keep under control. Unfortunately, the Galleon will not be necessarily easy to control for beginners, even with 4 players, but it is the only option so it will have to do.
Tip: the key actions to take as the solution
- Read how many players the game recommends for a specific ship
- Never have less players than the max you can have on a specific ship (unless you are playing solo. In that case stick to the Sloop only)
2. Make Sure All Players Help Raise The Anchor
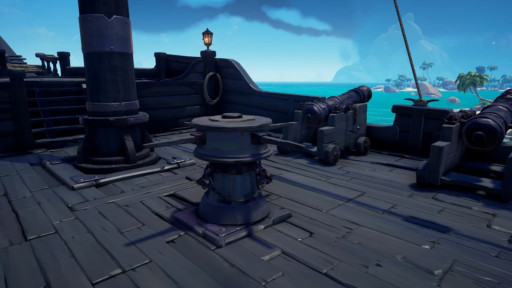
This may seem like an obvious point, but you will quickly find that a lot of teammates do not contribute to sailing like they should. You may find that you are the only one pulling the weight of your whole crew, but things will go much, much faster if you get everyone to help raise the anchor.
This can take a long time to do alone, especially on the Galleon, and if everyone helps out, you can get right back to sailing towards your plunder. Unfortunately, if you are sailing alone, then everything will have to be managed solo, although it may be easier than trying to rally your fellow pirates together for such a small task.
Tip: the key actions to take as the solution
- Make sure all players are on board when raising the anchor
- Don’t be afraid to tell your ship-mates to help out
3. Everyone Should Help With The Sails
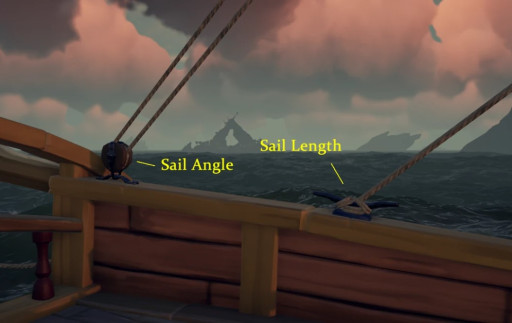
Similarly to the Capstan, the sails are something everyone should help out with. This will become especially apparent when sailing on a Brigantine or Galleon. It is best to have one person steering the ship, while the other players are raising and turning the sails in the required directions. This will make things much faster, and prevent crashing into islands and rocks.
Having one player on each sail will be the most efficient, and even having two players raise the same sail for better speed will work out perfectly. If you are a solo Sloop, I would not worry about this, as the sail is positioned right next to the wheel, making it easy to adjust while sailing.
Tip: the key actions to take as the solution
- Again, DO NOT be afraid to make your ship-mates help out
- Have multiple people helping with each sail if possible
4. Keep Your Sails In The Wind
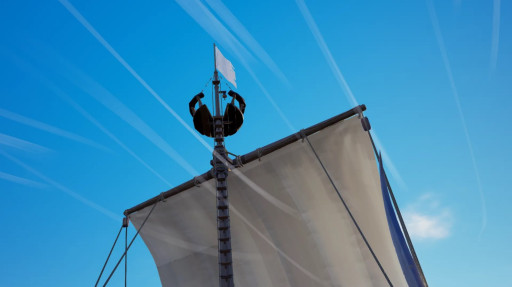
Now that you are finally at sea, you can begin making each trip as efficient as possible. When you are on your ship, you will see wind blowing into your sail. This will be a very important mechanic when it comes to sailing, battling, and escaping. Rotating your sails until the wind puffs it out will make your ship move much quicker.
If the wind is blowing at your sails instead of into them, then there is nothing you can do to get it into your sails. Your ship will go a bit slower, but as long as you stay on top of rotating the sails, this will not be a huge problem. Just like with raising and lowering the sails, having all players on deck for this mechanic will be the best option.
Tip: the key actions to take as the solution
- Try to keep the wind blowing in your sails for speed
- If the wind is blowing at your sails, rotate your sail sideways to prevent some slow down
5. Keep Your Water Barrel Full
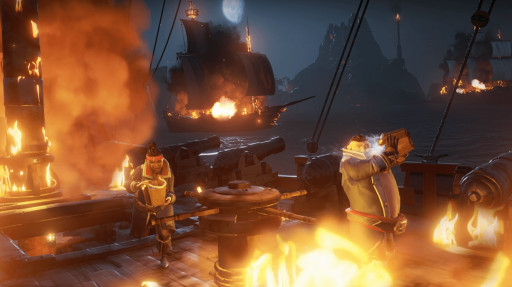
This may not seem like the most important thing to throw in here so early, but I find that it is important for new players to understand, as they may be targeted by more advanced players. It's very simple. Just head downstairs in your ship and locate the Water Barrel. Use the lever on the side to fill the barrel with water. Scooping the water with your bucket will save your ship from flames during a battle.
Tip: the key actions to take as the solution
- Always remember where the bucket is on your ship
- Keep the water filled at all times to put out sudden flames
- You can also use the water to fill your own ship to keep the Chest of Rage from exploding
6. Keep Your Barrels Organized
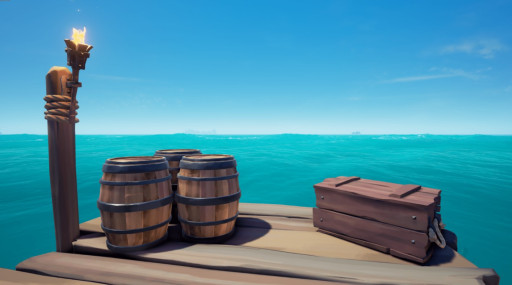
On your ship, you will find an assortment of barrels. These are the food barrels, wood barrels, and cannonball barrels. Each type of barrel will start with some resources for you, with amounts varying depending on your ship size. Of course, you can always add more to your barrels as your play session progresses.
Knowing which barrel is which and where your resources are located inside will make your life way easier, and I would recommend starting out by organizing your barrels. In the tips I will explain how I set these up on my sloop to give an idea of what you may want to do with your own barrels.
Tip: the key actions to take as the solution
- Top cannonball barrel - All cannonballs, chain shots, firebombs, and blunderbombs
- Bottom cannonball barrel - All flares and fireworks (or blunderbombs as well if you do not plan to use them
- Top food barrel - All fruits and other cooked food you plan to eat
- Bottom food barrel - All bait, fish, and anything else you want to sell
7. Always Have A Storage Crate On Board

Have you ever thought about how nice it would be to just steal every resource possible from every island in the game? Well you are in luck, because the storage crate does exactly that. Just grab this thing and walk up to a barrel, and you will be given the option to take every resource available from the barrel. Then, just empty them into your own barrels aboard your ship, and move on with your plundering.
There are a few ways you can go about finding a storage crate. One way is just finding it as loot, whether you sunk a skeleton ship, or it is just sitting on an island. You can also get them from Skeleton Captain quests, and finally, the easiest way is just buying one from the Merchant Alliance at any outpost. Hold on to the barrel and take everything you can find.
Tip: the key actions to take as the solution
- Purchase a storage crate at the start of your game if you have the gold to do so
- Loot all of the barrels on the outpost
- Leave the crate somewhere you can easily access and won’t forget it when you dock at an island
- Always empty the crate into your barrels
- These can also be helpful in arranging your barrels at the start of your game
8. Turn Off Your Lanterns At Night
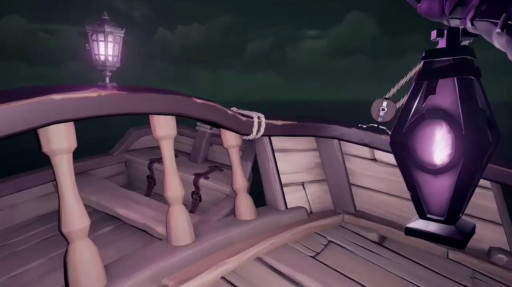
As somebody who forgets to do this, but also uses a bright glowing sail so it doesn’t matter, I can confidently say this will save you at night time. When all your lanterns are on, players can see you from much further away, just like when you spot a ghost ship off in the distance. It is straightforward, but still, make sure to turn off your lights at night. You will not be fully invisible but it will still help that much more.
Tip: the key actions to take as the solution
- Simply shut off all of the lanterns on your ship
- Do not worry too much about the lanterns below deck as you may need them to navigate downstairs
9. Be Careful With Gunpowder Barrels
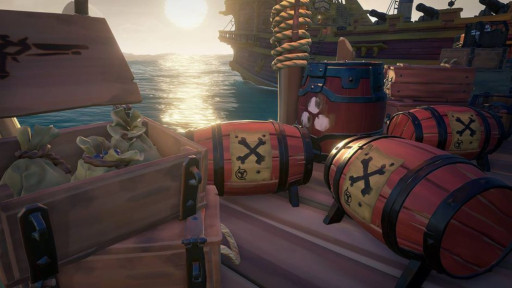
I know it may seem like I’m stating the obvious here, but I can’t stress enough how important it is to avoid gunpowder barrels. I know how fun they are as I try to blow them all up when I can, and I even boast the “Master Skeleton Exploder” title, but always be on the lookout for these, and never blow one up too close to your ship, even if it's on land.
It is very common for players to row over to your ship with one or place one in the water in front of your hull, and just touching one with your ship blows it up, dealing massive damage to your hull. If you see a Stronghold Barrel, well, good luck. One of those can sink you in one go. New players should be wary of all forms of gunpowder barrels, no matter how fun they are.
Tip: the key actions to take as the solution
- Always look out for one of these if you see some barrels floating in the water
- You can see these from a distance as they will have a small glint like other loot
- Keep these far away from your hull
- The gold is not worth storing them on your ship at the risk of blowing it up
10. Use Your Harpoons For Loot
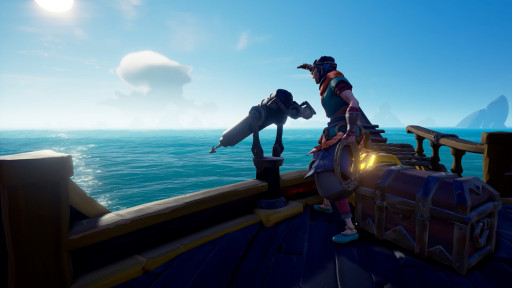
As we begin to move into more advanced tips, I would like to make one last early game point to always use your harpoons to collect loot. If you are an advanced player, this may sound obvious, but when I started I carried every skull, chest and gem right up that ladder. It is much easier and faster to pile up all your loot and then harpoon it all. The loot will land right on the ship, saving lots of time, especially on solo.
Tip: the key actions to take as the solution
- Pile up all loot in line of the harpoon
- Shoot at the loot with the harpoon to save yourself time
11. Know Where Your Valuable Loot Is
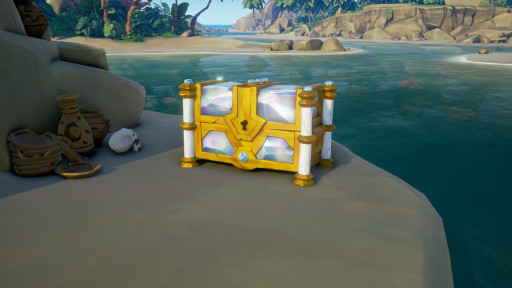
One of the worst feelings in Sea of Thieves is completing a Fort of Fortune, Fleet of Fortune, Fort of the Damned, or wherever the Chest of Fortune is during that season, and then getting to an outpost to sell and your Chest of Fortune is gone. But it was just right there wasn’t it? Well, someone most likely snuck onto your ship and slipped away with the chest.
I would recommend hiding it where you will not forget to sell it. One example of a hiding spot is around that half wall behind the quest table on the Brigantine. As long as you know the loot is there and keep checking, you should be okay, but always look out for those pesky gold snatchers.
Tip: the key actions to take as the solution
- Keep your valuable loot like the Chest of Fortune in a good hiding place
- Make sure it isn’t so hidden you forget about it (would not be my first time)
12. Beware Of Players Hiding On Your Ship
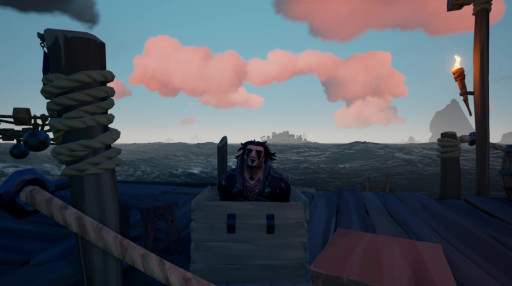
Speaking of that secret little spot behind the quest table on the Brigantine, always keep an eye out for players camping out on your ship. This is a very popular spot for players to hide and they will use some emotes such as the barrel hide to keep out of sight. There is not much to say here, but it is important to remember, and keep looking out for your loot as that is what they are there for.
Tip: the key actions to take as the solution
- Always check the good hiding places for players
- If you see something out of the ordinary (a barrel that maybe doesn’t belong), don’t be afraid to toss a Blunderbomb at it just in case
13. Put Your Loot In A Convenient Place
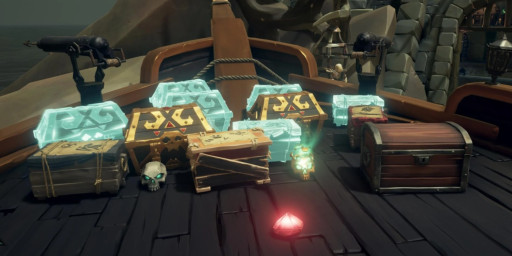
Building on to the last couple of points, I would recommend always keeping your loot somewhere convenient for you. When I started out I kept my loot underneath the deck on the bed in my Sloop, but I now keep my loot directly next to my harpoons at the front of my ship. Part of it is convenience after harpooning loot, but also it makes selling much, much faster.
For players who own a captained ship, keeping everything piled up near the front and unloading it all at the sovereign is very efficient. To add on to that, players with more experience should not worry too much about having their loot out in the open, as you should know by now that other players will attack you whether they can see your loot or not.
Tip: the key actions to take as the solution
- Put your loot in a convenient spot for you
- I recommend piling it up near the bow to make selling faster
14. Learn How To Dock Your Ship
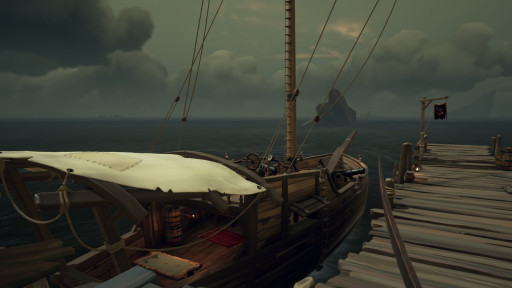
On a list of tips that all players should know about their ship in Sea of Thieves, a game where sailing your ship is half of what you do, learning how to dock sounds a lot like something that should have been mentioned earlier. However, I believe that dropping the anchor in almost any way or position will just about do as long as you can hit your loot with the harpoon.
Where this mechanic really comes in handy is when docking at an outpost or the Reaper’s Hideout to sell. Knowing exactly when to raise your sails and drop your anchor is important for speed. What I would recommend is stopping at the sovereigns with your ship’s bow hanging over the dock to make unloading the loot from the front of your ship (if you used my tip) much quicker.
Tip: the key actions to take as the solution
- Plan when you will raise your sails ahead of time (practice your sails!!)
- Make sure your bow is over the dock
- Do not drop your anchor too late or you will crash
15. Raise Your Sails To Turn
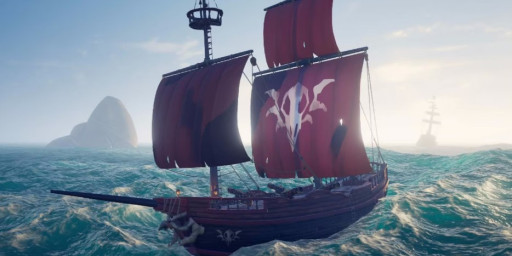
I have seen guides point out to specifically leave your sails down when turning, but I have to disagree. If you are going fast enough, leaving the sails down while turning will take much longer and even just slightly raising the sail when you turn will be far more efficient. However, I would not recommend raising the sails all the way to turn especially on solo, as you may slow down too much.
Tip: the key actions to take as the solution
- When you must turn, raise the sails rather than keeping them lowered
- You may have to raise them more depending on how sharp your turn is
- Don’t forget to lower them again, as I have a few times
16. Never Anchor Turn
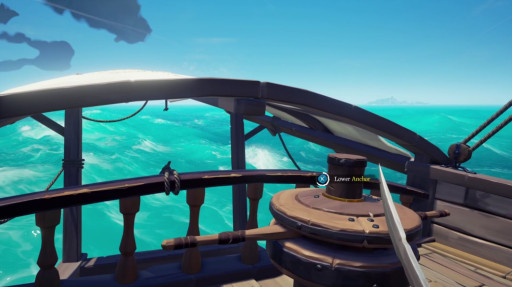
Okay, despite what the hardcore players might tell you, please bear with me here. Anchor turning is just not as glorious as some people make it sound. I know on paper it makes total sense, but in practice it can prove to be very difficult to pull off smoothly. I would still just stick to the sail raising.
On a Galleon and Brigantine this anchor takes too long to raise again, and on a solo Sloop you may find the same problem. The only scenario where this is even really practical is when outrunning a Galleon on a Sloop as they can’t really pull this off. Otherwise, it is kind of a waste of time in the grand scheme of sailing.
Tip: the key actions to take as the solution
- Not much to say other than do not do this
- If you are on a 2 player Sloop, it is manageable, but otherwise not worth it
17. Spin When Fighting A Megalodon
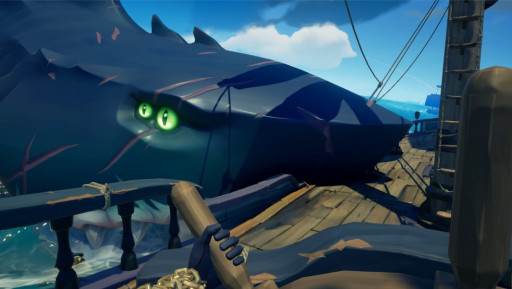
This is a simple yet important one to remember. All I really need to say is make sure your sails are up and you are slowly spinning while fighting the Megalodon. It will be much easier to get as many hits in as possible. Just make sure you aren’t spinning at the max speed cause then you will have a much harder time landing shots.
Tip: the key actions to take as the solution
- When a Megalodon spawn, raise your sails
- Slightly turn your wheel so you are rotating as you fight the Megalodon
18. Utilize Your Harpoon In Naval Battles
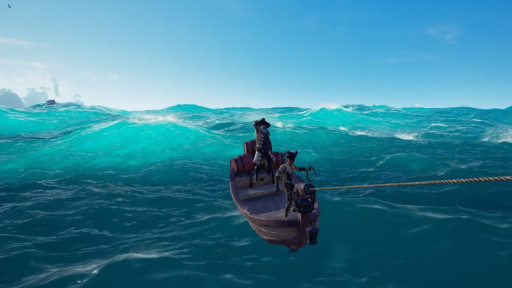
If you are a more advanced player, I am sure you already know this, however I think a lot of people forget about the perks of having a harpoon in ship combat. This may not be the best for PVP, as most players try to either keep their distance or smash straight into each other, but for skeleton ships this is a whole different story.
A very easy way to take down Skeleton Galleons that some players might not realize is that you can just nail them with your harpoon, then pull yourself along with their ship. This can be used to fix yourself right beside them and load them with cannonballs, or even board their ship very easily.
Tip: the key actions to take as the solution
- Get close enough to the enemy ship to harpoon
- Reel yourself into their ship and attack
- Feel free to jump back and forth between your ship and their’s
19. Master The Storms
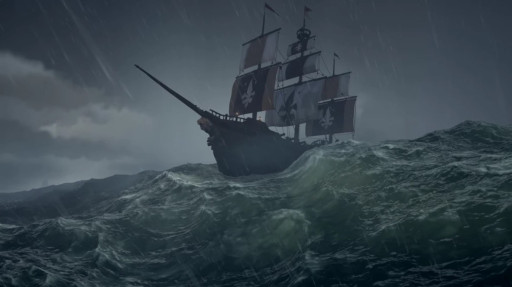
There is not much I can say to necessarily help you with this one, as it just requires a lot of practice. Sailing into the storm is such a pain, and you must be able to keep yourself straight enough to make it out on the other side where you want to be. The fact that compasses do not work makes them much harder, and often you will end up at the complete wrong island.
You will also have to practice splitting your time between steering and bucketing water without getting too far off course, and if the storm is really bad then you may have to worry about patching up some holes as well. If you can avoid a storm, definitely do it, but if not, just keep practicing your sailing and you should be okay.
Tip: the key actions to take as the solution
- Avoid the storm if you can
- If you are only there for Stormfish, drop your anchor so you do not crash
- Try to keep your ship straight and learn not to rely fully on the compass
20. Forget About The Anchor
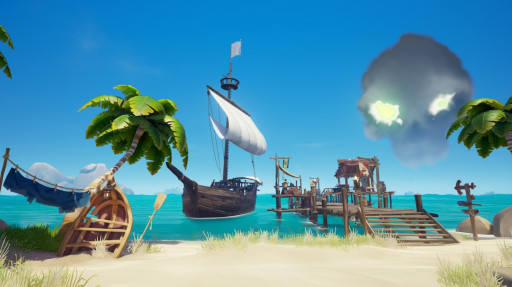
Okay, the title here may be misleading. Do not completely forget about your anchor, however, do realize that it is not as useful as it may seem. I have already warned against anchor turning, and now I will say that you do not even need it to park your ship. That is, if you are not in the Devil’s Roar. If you are, then you have to drop the anchor to avoid drifting away in an earthquake.
Everywhere else on the map though, you can easily just raise your sails ahead of time, and drift into your desired stopping place. This will come in handy when trying to make a quick escape, or if you are on solo and do not have time to raise your anchor. There is no harm in dropping it, but if you are comfortable with docking and you know how to use your sails, then this method will be much more convenient.
Tip: the key actions to take as the solution
- Raise sails ahead of time to drift up to the island
- This will make rotating your ship when you leave easier
- Ignore this tip if you are in the Devil’s Roar


