
You have only 2 ring slots. A pixellated bead of sweat forms on your farmer’s brow - there are too many rings to choose from! Too many buffs, too many effects, and too much cost-benefit analysis! But no worries, dear reader - here, we count down the top 15 rings to carry with you throughout your game, with the ones best suited to your early game as well as the ones you should pick up as you naturally develop your stats in Stardew Valley.
Note: the statements of early/mid/late game will vary depending on your play style. If you prefer to focus on farming or other aspects of Stardew Valley, you may find that these assertions are inaccurate and may not obtain these rings until later into your game, and vice versa.
15. Small Glow Ring & Small Magnet Ring (early game)

These are likely the first rings that you’ll come across, which makes sense since they’re so useful! Although not the fanciest rings, both are solid additions to your SDV kit and make mining a lot easier. Take your first opportunity to upgrade to the regular-sized versions of these rings, though!
Effect: emits 5 tile radius circle of light & increases magnetism (the radius for collecting dropped items) by 1 tile, respectively.
Where to find: completing the Night Fishing & Adventurer’s Bundles (respectively), opening fishing treasure chests (both), killing Slimes in The Mines before floor 40 (Glow Ring), breaking boxes and barrels in The Mines (Magnet Ring).
14. Sturdy Ring (early game)

Hopefully, you’ll have all the materials needed for this one after your first couple of mining trips, and it’ll definitely make combat in those early stages a lot more convenient as you learn what different buffs mean and which ones to avoid more than others!
Effect: halves the length that negative buffs are active.
Where to find: crafted with Combat Level 1 (2x copper bar, 25x bug meat, 25x slime)
13. Amethyst Ring (early game)
Amethyst’s aren’t just for Abigail to eat, y’know! Being able to rebuff your enemies as you get a grip on mining (and, more importantly, finding that ladder…) is a vital skill in the early stages of the game, and this ring is pretty easily attainable!
Effect: increases knockback by 10%.
Where to find: purchasable from the Adventurer’s Guild after completing the “Initiation” quest for 1,000g, opening fishing treasure chests.
12. Emerald Ring (early-mid game)
Especially helpful if you’re trapped using a weapon with a speed debuff in the early game when materials are sparse, the Emerald Ring is often worth the 5,000g from the Guild (although, all the better if you can find it for free whilst fishing…)
Effect: increases weapon speed by 10%.
Where to find: purchasable from the Adventurer’s Guild after reaching floor 80 in The Mines, opening fishing treasure chests.
11. Ruby Ring (early-mid game)

At the same price as number 12, the Ruby Ring is a solid addition for those mining trips where you’re grinding monster kills for the Guild achievements.
Effect: increases attack by 10%
Where to find: purchasable from the Adventurer’s Guild after reaching floor 80 in The Mines, opening fishing treasure chests.
10. Glowstone Ring (mid-game)

No, no, not Minecraft glowstone. The Glowstone Ring combines the effects of the upgraded versions of the rings at number 15, and can even stack with either of these rings to make things that much easier! If you really want a 20-tile radius circle of light around you, that can be arranged!
Effect: emits 10 tile radius circle of light and increases magnetism by 2 tiles.
Where to find: crafted with Mining Level 4 (5x solar essence, 5x iron bar)
9. Crabshell Ring (mid-game)

One of the easier enemy milestones to complete, the Crabshell Ring is a cute (albeit slightly morbid) ring that’ll give you the abilities that imitate the pesky little creatures.
Effect: increases defence by +5.
Where to find: reward from the Adventurer’s Guild for killing 60 Rock Crabs.
8. Vampire Ring (mid-game)
Unless you’re going on a spree, this one might not seem to be that worth it, but trust me - when you’re in the Skull Cavern, you take what you can get.
Effect: gain two health after killing a monster.
Where to find: reward from the Adventurer’s Guild for killing 200 Bats.
7. Savage Ring (mid-late game)
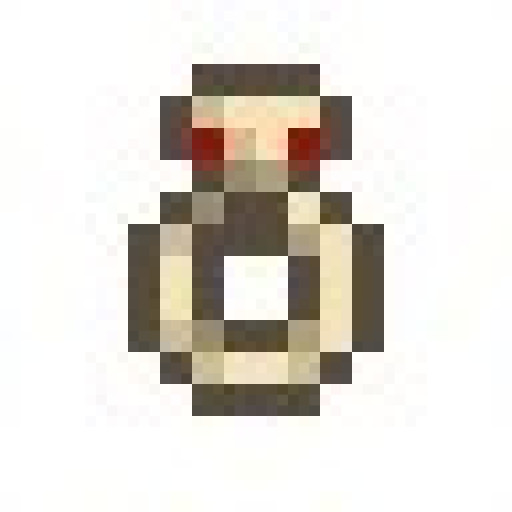
Again, perfect for those sprees in the overrun areas of The Mines and the Skull Cavern alike. This ring seems to give you that so-called “adrenaline rush” of the kill.
Effect: gives a 3-second speed +2 buff after killing a monster
Where to find: reward from the Adventurer’s Guild for killing 150 Void Spirits.
6. Burglar’s Ring (mid-late game)
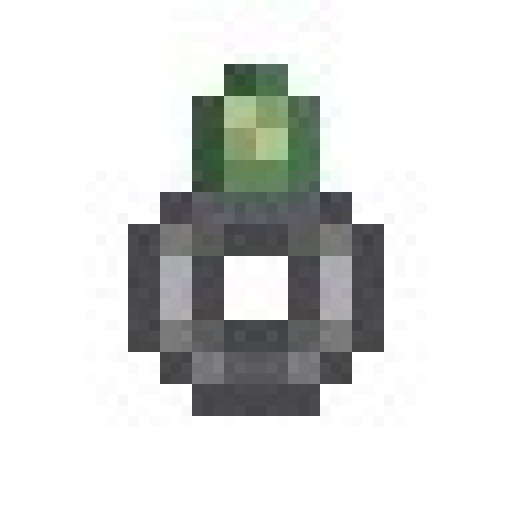
Perfect for grinding enemy drops for crafting, this ring doubles the chance of enemies dropping items which… still doesn’t guarantee a drop, but certainly increases your chances! If you can stand to kill all those cute little Dust Sprites, that is.
Effect: monsters have 2x the chance to drop items.
Where to find: reward from the Adventurer’s Guild for killing 500 Dust Sprites.
5. Thorns Ring (late game)

Although this ring looks more like that cool origami trick your friend used to show you in maths class, it’s a neat ring that implements the traditional thorn effects in many combat video games. An eye for an eye, my friend.
Effect: monsters take damage equal to the damage they inflict upon the player.
Where to find: crafted with Combat Level 7 (50x bone fragments, 50x stone, 1x gold bar)
4. Ring of Yoba (late game)
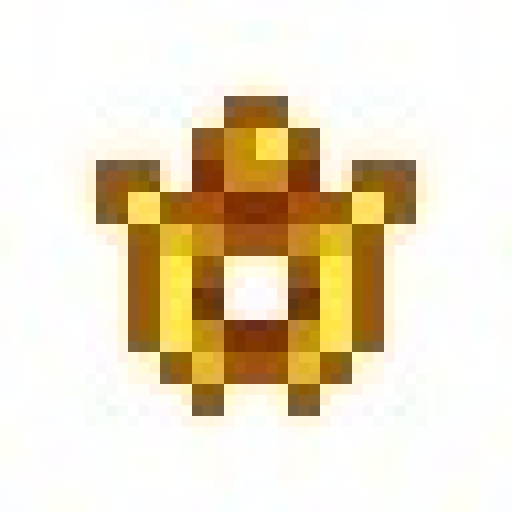
Although the crafting elements aren’t overly expensive, it might take you a little while to reach this combat level… however, when you do, you’re gonna thank God (or, I guess, Yoba) that you had this little guy on your Skull Cavern grinds.
Effect: chance to receive Yoba’s Blessing buff after taking damage. This buff gives you 5 seconds of invincibility.
Where to find: crafted with Combat Level 7 (5x iron bar, 5x gold bar, 1x diamond)
3. Phoenix Ring (late game)

Somewhat interchangeable with the Ring of Yoba, the Phoenix Ring will do exactly as its namesake does - bring you back to life from the brink of death. Don’t be too reckless, though - you’d hate to lose all that progress because you forgot this ring can only do it once a day! Maybe bring another ring to switch out after this one’s been used.
Effect: restored to 50% health after being knocked out (limit to once per day).
Where to find: chests in the Volcano Dungeon, which can be accessed on Ginger Island after unlocking Willy’s Boat
(note: quest to fix Willy’s Boat is given after completion/sale of Community Centre, requires 200x hardwood, 5x iridium bars, and 5x battery packs plus 1,000g per trip).
2. Slime Charmer Ring (late game)
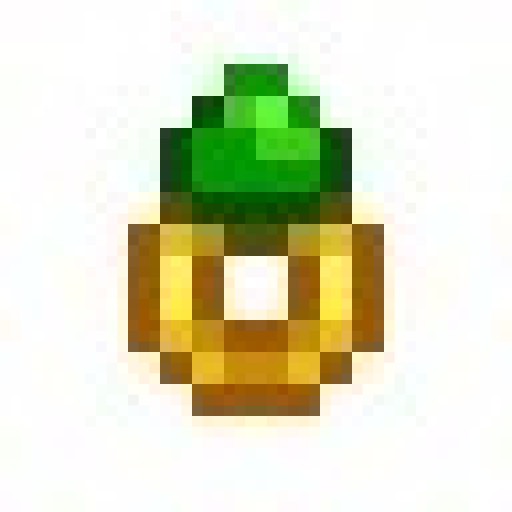
Slimes. Are. Everywhere. And if you have a slime hutch, which is often more of a late-game activity, this little guy will be a lifesaver (and mean you get to avoid one of those clunky safe-hutch designs). Plus, it’s probably gonna take you a while to reach 1000 kills anyway - if you’re avoiding slimes as I do, at least.
Effect: stops damage from slimes and prevents the Slimed buff.
Where to find: reward from the Adventurer’s Guild for killing 1000 slimes.
1. Iridium Band (late game)
The Iridium Band is the final form of our beloved Magnet and Glow rings, with the Ruby Ring thrown in for good measure! Besides the iridium costs, it’s also a fairly modest ring to craft, and certainly a trusty all-rounder companion in your ventures down below…
Effect: combines the effects of the Glow Ring, Magnet Ring, and the Ruby Ring (ie. light ring, magnetism increase, and attack increases 10%)
Where to find: crafted with Combat Level 9 (5x iridium bar, 50x solar essence, 50x void essence), opening fishing treasure chests.
You may also be interested in:
- [Top 5] Stardew Valley Best Weapons and How to Get Them
- [Top 15] Stardew Valley Best Mods of Today
- [Top 15] Stardew Valley Best Farm Layouts
- [Top 10] Stardew Valley: Best Crops
- Stardew Valley Best Wife Guide - Who To Marry
- Top 11 Games Like Stardew Valley for PC
- Stardew Valley Best Farm. Which Stardew Valley Farm is Best?
- Stardew Valley Best Fishing Spots (Top 5)
- Stardew Valley Best Farm. Which Stardew Valley Farm is Best?
- [Top 15] Stardew Valley Best Armors

