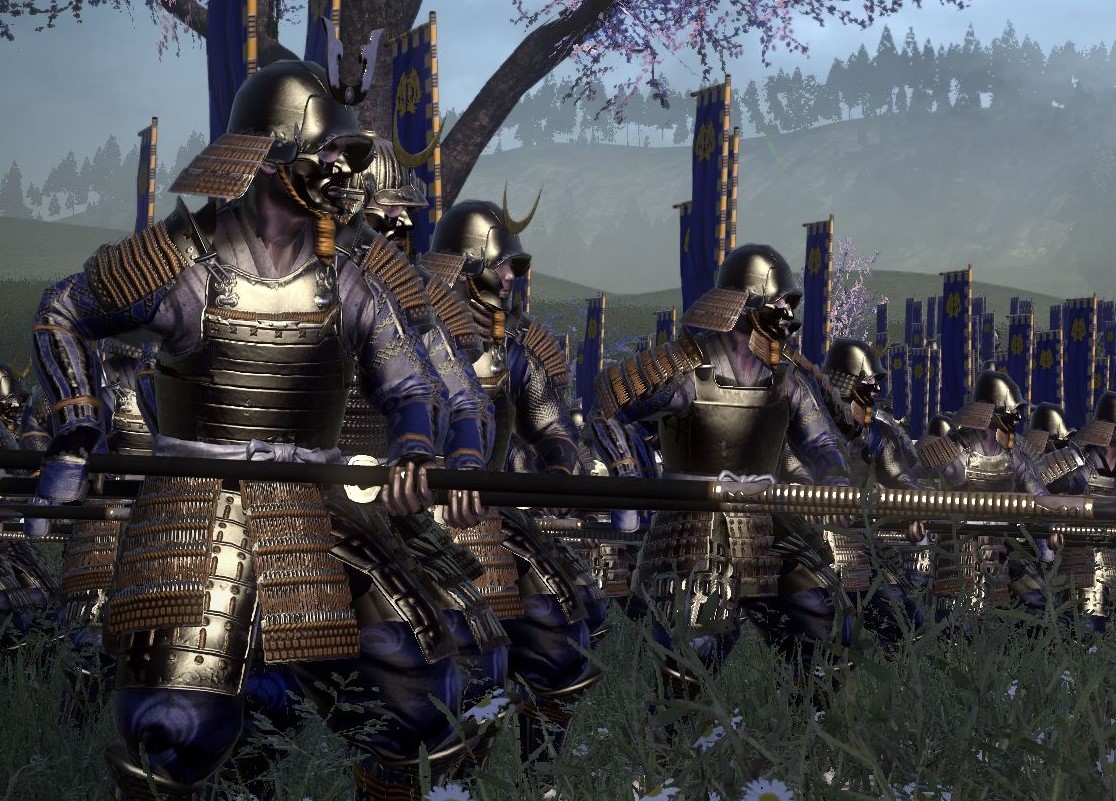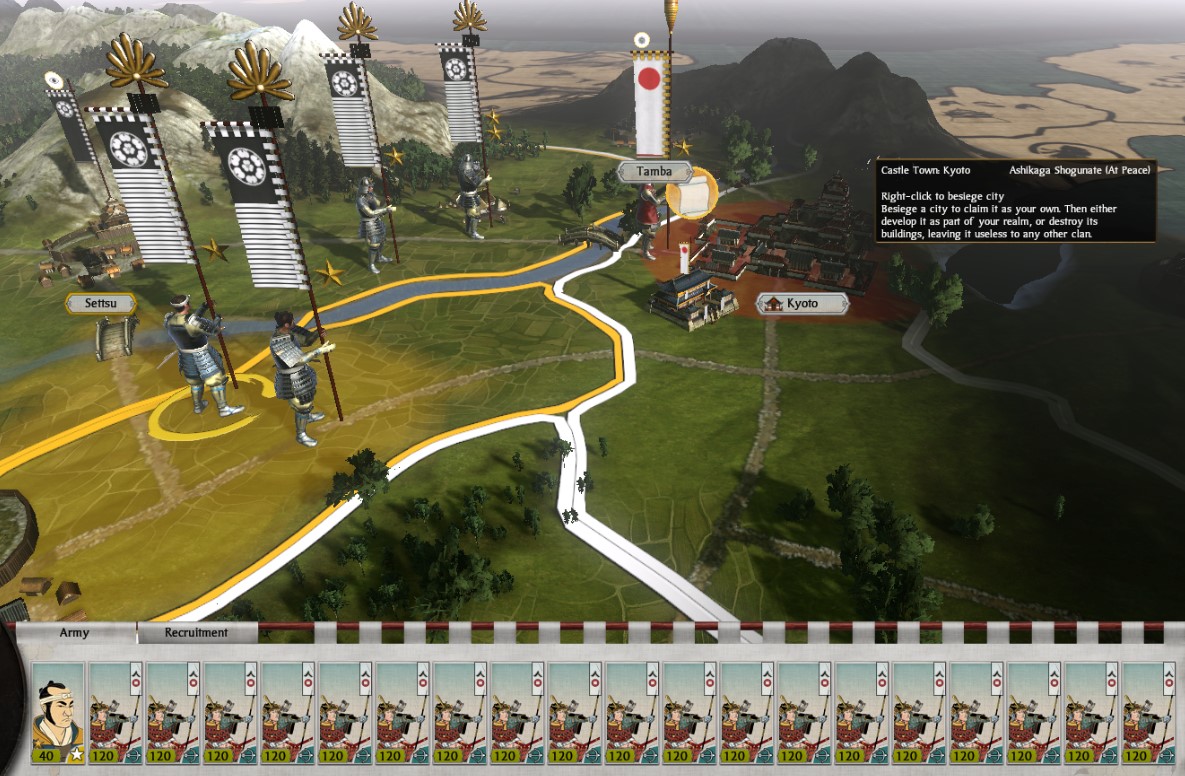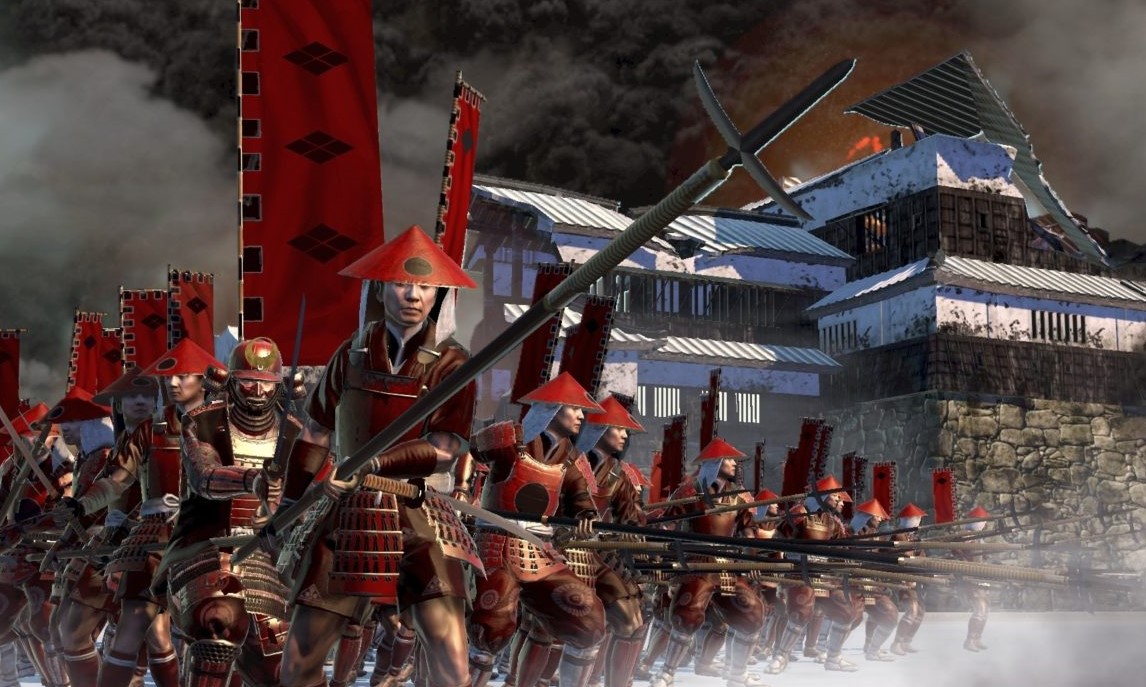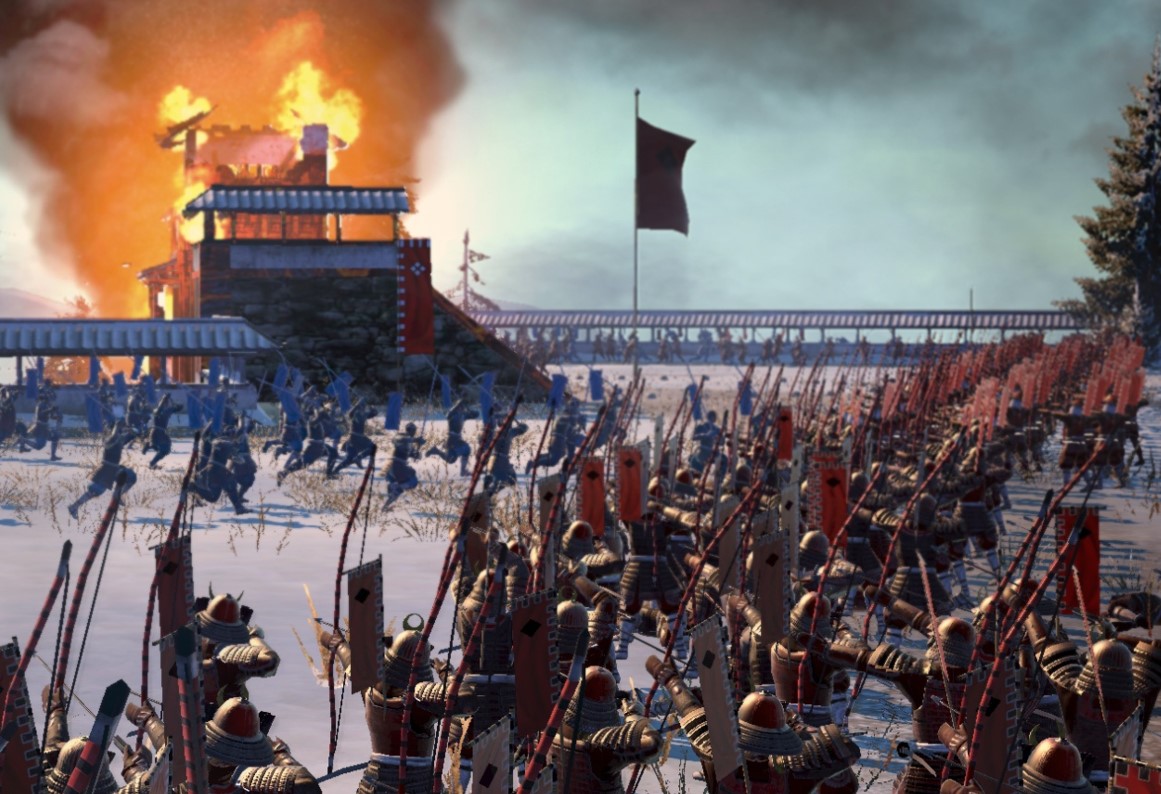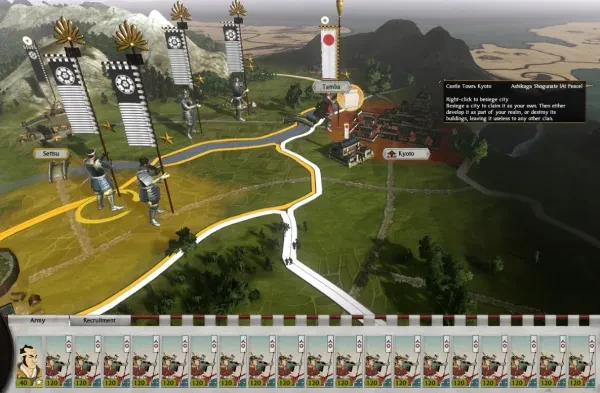
Army composition is extremely important in Shogun 2, and a lot of it is based on the clan you’ve chosen and the type of unit you like. Almost every unit in the game is viable (except for artillery), and if you play them right, all of them can be useful. However, there are definitely some powerful units, and some extremely powerful army compositions.
10. Peasant Doomstack
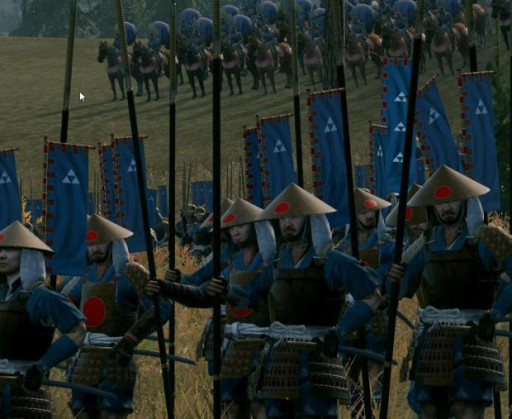
At the start of any Shogun 2 campaign, you find yourself without the technology and too poor to field any high-quality units. Getting your meager army up to a full twenty stack is difficult enough without trying to put four Katana Samurai in it.
Enter the Peasant Doomstack. Simply fill your twenty slots with as many Yari and Bow Ashigaru as you can. Because Yari Ashigaru are so cost-effective with their Yari Wall ability, any other low tier army (and a lot of higher tier ones) can be defeated with this army composition as long as you play it right.
The main strategy of this build is to use your Bow Ashigaru to counter skirmish the enemy archers, entice the enemy to attack, and to damage the melee units before they close with your own. Hopefully, you’re able to stop your Yari Ashigaru from taking too much damage from the enemy archers before the enemy reaches your lines.
Then, pop Yari Wall as late as possible but before they reach you and watch as your dirty peasants poke the other dirty peasants (and samurai) to death with their long pointy sticks. Your archers will continue to fire, and when the enemy breaks, use your General to cut them down as they flee.
Peasant Doomstack Strengths:
- Cheap
- Easy to recruit
- Very effective under the right circumstances
Peasant Doomstack Details
General
10-12 Yari Ashigaru
8-10 Bow Ashigaru
9. Flank and Spank
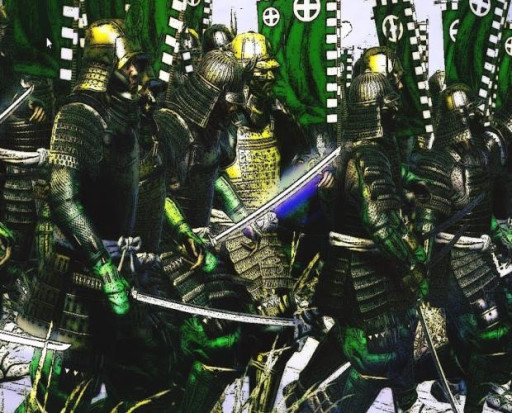
Once you’ve conquered a few provinces and your technology and buildings are a high enough tier, then you can start using samurai units in your armies. For my early mid-game army compositions (and this is contingent on what clan you’ve chosen), I like to throw a few Katana Samurai into the mix of Yari and Bow Ashigaru. They’re relatively cheap and easy to recruit, and they pack a punch.
Place the Katana Samurai on the flanks of your army, just behind your line of Yari Wall Yari Ashigaru. Play the beginning of the battle the same as you would with the Peasant Doomstack composition, with your Bow Ashigaru counter skirmishing and shooting the enemy melee infantry.
Then, once both front lines engage, sweep the Katana Samurai around the edges of the line and flank into the exposed enemy fighting your Yari Ashigaru. This will wipe out basically any infantry units, no matter what they are, and then continue to attack down the line of enemy until they’re all dead or running.
Now, if your enemy is spamming Bow Ashigaru, don’t worry! Simply use your Katana Samurai to attack the archers directly, because any Yari Ashigaru that turn around to fight will get blended by blood-crazed maniacs with swords that are butchering their friends. Plus, it frees up your Yari Ashigaru to pull their own flanking move.
Flank and Spank Strength
- Still cheap
- Extremely versatile
- Will cut through low tier armies easily
Flank and Spank Details
General
2-4 Katana Samurai
8-10 Yari Ashigaru
6-8 Bow Ashigaru
8. The Rush
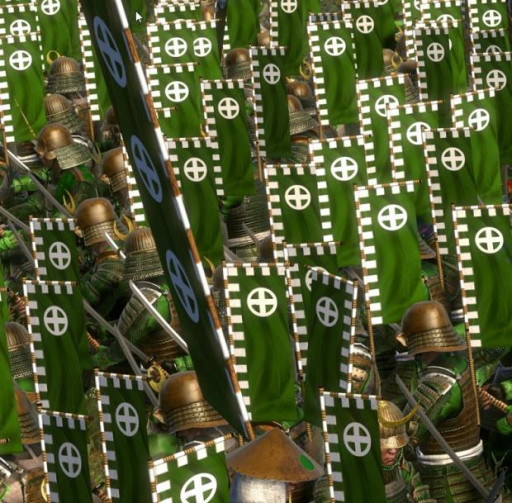
This army composition works best if you’re playing as either Shimazu, the clan with the best Katana Samurai, but you can do it with any clan. Once you’ve gotten a few koku in your pocket and you’ve developed your provinces a little, you can start fielding majority samurai armies.
For this army composition, Katana Samurai are again your preferred choice. They’re relatively well-armored (especially if you’ve got a blacksmith building chain in your recruitment province), they’ve got excellent attack skill, and they can beat basically anything except cavalry in a straight up fight.
Now, after replacing most of your Yari Ashigaru with Katana Samurai, you’re finished with the preparation. Keep a few of your Yari Ashigaru in the army, as they are an extremely good anti-cavalry tool and Katana Samurai really don’t like fighting cav.
For deployment, place some of your Katana Samurai in the center of your battle line, with a Yari Ashigaru or two on either side of them. Next, place the rest of your Katana Samurai just a bit behind and offset to your Ashigaru. They will again act as a flanking or attacking force. Now, rush your opponent, making sure to keep your formation as you move.
Choose targets for your center Katana Samurai, and make sure to place your Ashigaru into Yari Wall if engaging infantry, although it’s not as important if they’re fighting cavalry. The Samurai in the center should easily kill whatever they’re up against, and the other Katana Samurai on the flanks can either help the Yari Ashigaru defeat their enemies or attack the enemy archers. The Yari Ashigaru should either be protecting the Samurai from cavalry attacks or holding a few enemies in place so the Katana Samurai can gank them
The Rush Strengths
- Extremely effective against low and mid-tier armies and should even do well against some high-tier armies
- Very high attack power, you don’t need any specialty ranged or spear units
- Cavalry are unnecessary
The Rush Details
General
6-10 Katana Samurai
4-6 Yari Ashigaru
4-6 Bow Ashigaru
7. The Rush+
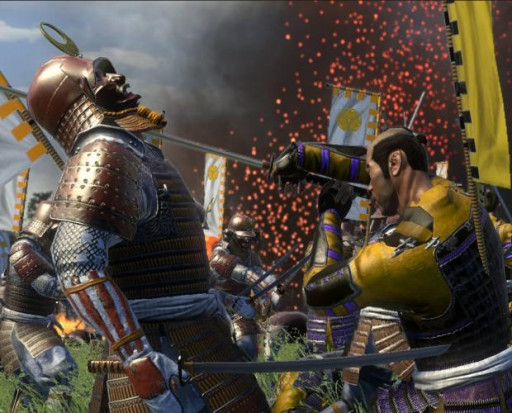
When it comes to rush builds, adding No-Dachi Samurai and some Yari Cavalry goes a long way to making them the most efficient they can be. The No-Dachi Samurai makes the composition as punchy as it can be, and the Yari Cavalry, although more expensive, brings a lot of anti-cavalry potential as well as a fast, powerful unit that can charge down archers and routing units.
If we cut down some of the Bow Ashigaru and replace them with Yari Cavalry and the No-Dachi Samurai, and keep a couple Yari Ashigaru, then it’s a much more streamlined and efficient army. The Bow Ashigaru could even be removed altogether, however keeping a few ranged units makes taking forts easier.
This army composition is used basically the same as the previous one, however instead of using Katana Samurai on the flanks, we’ll use the No-Dachi Samurai. The Yari Cavalry will also be on the flanks to protect the No-Dachi from enemy cavalry and to flank around the main enemy army to chase down archers.
The main battle line is made up of Katana Samurai, with a couple Yari Ashigaru mixed in to protect from cav. They should make short work of any Ashigaru and samurai, or at least fix them in place. The No-Dachi Samurai will then flank around and murderize anything that’s already in contact with your line, causing massive casualties and routing them off.
The Rush+ Strengths
- Can defeat any tier army and should cut straight through anything low tier
- Extremely high attack power
- You don’t need to worry much about using ranged units
The Rush+ Details
General
2-4 Yari Cavalry
2-4 No-Dachi Samurai
8-10 Katana Samurai
1-2 Yari Ashigaru
6. Noblesse Oblige
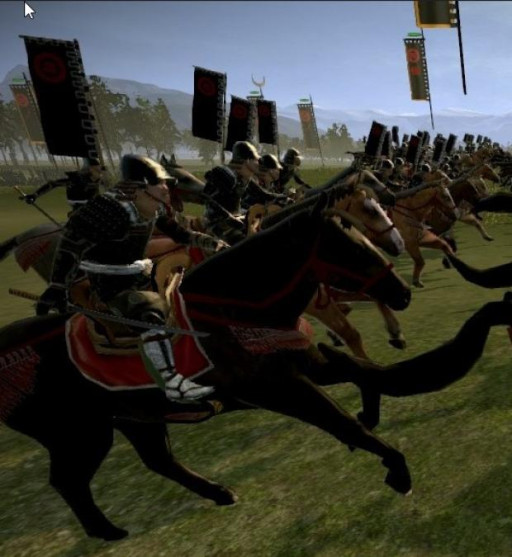
Cavalry is a very powerful tool but requires finesse for it to be used correctly. A full cavalry army could never work in Shogun 2, as spear and naginata units are too common and can defeat any horsemen in a straight up fight. However, if you have a few infantry units to tie up the enemy spears, then cavalry is an extremely powerful force.
This army composition takes advantage of this by pairing a variety of cavalry with a mix of Yari Ashigaru and Naginata Samurai, or Katana Samurai. These infantry units aren’t meant to deal much damage but are the anvil that the hammer of your horsemen pound against. For this to work, you need Katana Cavalry as well as Yari Cavalry, although if you’ve taken Kyoto Great Guard could work as well. The Takeda clan also has access to Fire Cavalry that are basically just better Yari Cavalry, so use those if you’re playing them.
Basically, once your front line has contacted the enemy and tied up the spear units, your Yari Cavalry will seek out any enemy cavalry or ride with the Katana Cavalry to kill the archers, charge lone sword infantry, and hammer the enemy in contact with your melee troops. This build requires a lot of micromanagement so your expensive cavalry doesn’t get isolated by a bunch of dudes with pointy sticks, but an experienced player can do this well enough.
Noblesse Oblige Strengths
- Extremely mobile
- Devastating flanking and charges
- There really shouldn’t be any enemies escaping to fight again
Noblesse Oblige Details
General
4-6 Katana Cavalry
2-4 Yari Cavalry
2-4 Naginata or Katana Samurai
4-6 Yari Ashigaru
5. Shadow Warriors
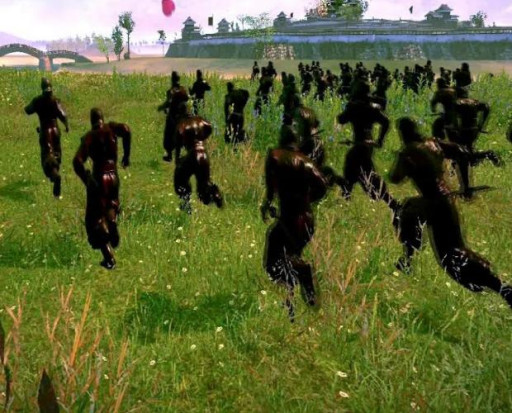
Everyone can agree, ninjas are extremely cool. Using ninjas to jump out of the shadows, throw bombs at your opponents, and then charge them in the back is even cooler.
This composition relies heavily on Kisho Ninjas, both because they’re a powerful unit in the right circumstances and because they let every Shogun 2 player live out their childhood fantasies.
For this build to work, you need a relatively balanced army. Any samurai infantry can work, but I prefer Naginata Samurai because of their versatility and high armor. Good archers are important as well, so Bow Samurai or Bow Warrior Monks will work well for this. Finally, to round out the traditional part of our army, we’ll take Yari Cavalry to kill enemy cavalry and flank charge infantry.
Now, we add our ninjas. Because of their training, they can deploy outside of the deployment zone, so if the map works for this and you’re the attacker, feel free to position them near the enemy formation. Depending on what you want, you can split your Kisho Ninjas and put them on both sides of the enemy or group them all up on one flank.
Timing is everything for this build. What you need to do is advance your main force towards the enemy, while at the same time slowly moving your Kisho Ninjas closer. Then, once your main force has engaged with the enemy’s army, your ninjas strike. Depending on how the main battle is going, you can either use them to attack the enemy back lines or the infantry engaged with your army.
If you choose the back line archers, a straight up charge will be better, so pop the Stealth ability and run your Kisho Ninja right into them. A ninja will beat an archer any day.
If you choose the infantry, move the ninja just close enough to the enemy infantry, and watch the fun. The bombs they throw are extremely satisfying and they should devastate your enemies. Then charge them in to clean up the scraps.
Shadow Warriors Strengths
- Needs good timing but extremely effective when pulled off
- A balanced army that will do great but has a powerful secret weapon
- Very good in offensive sieges, as Kisho Ninja are great climbers, and the Stealth ability is good for sneaking up to a fortress
- Bombs are fun
Shadow Warriors Details
General
2-4 Yari Cavalry
4-6 Naginata Samurai
4-6 Bow Samurai
4-6 Kisho Ninja
4. Balance
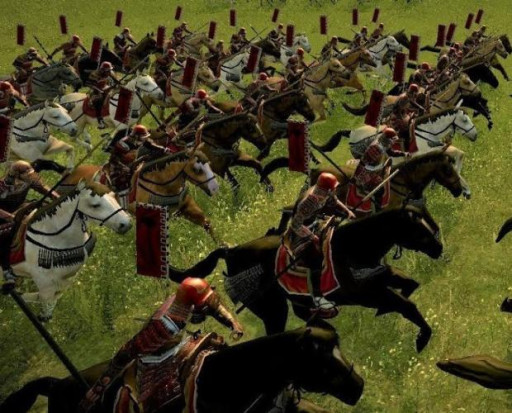
Because of the fine-tuning Creative Assembly did with Shogun 2, there’s almost a rock paper scissors hierarchy with the units. Spear beats horse, horse beats sword, and sword beats spear. Obviously, there’s much, much more to this, but the basic concept applies. Keep your cavalry away from spears and charge them into sword infantry and archers, etc.
This balancing means that although there are a few stand-out units that are more powerful than the rest, they can be countered through good planning and skilled micro. In the end, it means that a balanced army, with a good mix of units, can defeat most other armies, even if they are spamming a lot of one thing.
In this composition, you need to bring good melee infantry, such as Naginata Samurai or Katana Samurai or both, good ranged units, such as Bow Samurai, Bow Warrior Monks, and good cavalry, which means you should bring Yari Cavalry.
The way to play this build is pretty much self-explanatory: you use your Bow Samurai to snipe out high-value targets, the Naginata Samurai or Katana Samurai attack the enemy infantry or defend against cavalry, and the Yari Cavalry cause havoc in the back lines or seek and destroy enemy cavalry or their General.
Balance Strengths
- Highly versatile and able to deal with most threats
- Good for pretty much any clan
- Can play defensive sieges, offensive sieges, and field battles extremely well
- Effective in all terrain
Balance Details
General
4-6 Yari Cavalry
8-10 Naginata Samurai or Katana Samuri
4-6 Bow Samurai
3. Pike and Shot
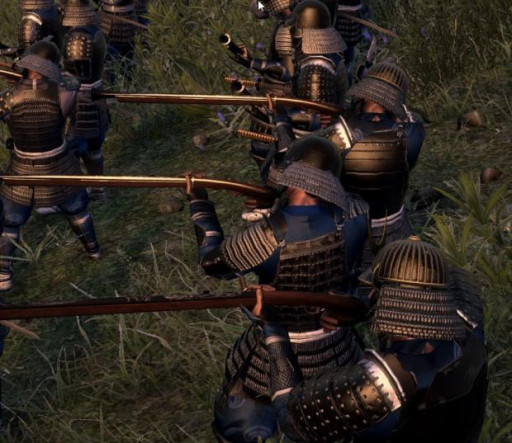
Spears are good, and guns are good too. Turns out, if you combine them, it’s also good.
True pike and shot tactics are impossible in Shogun 2 based on how the troop types are grouped into one large unit as opposed to mixed like the tercio formations and huge pike formations in the English Civil War. However, with some creativity, you can create a highly effective army that resembles a 16th and 17th century pike and shot army.
First, we’ll start with the pikes. There are a few roads you can go down depending on the clan you’ve chosen. The Oda clan can replicate this aspect of the army the best, as the Oda Long Yari Ashigaru are essentially pikemen, and they fill the role of a cavalry deterrent and can also hold off the enemy infantry effectively. If you’re not playing Oda, then Naginata Samurai are the best choice, as their high armor and defense skill paired with good attack make them a perfect choice to tank enemy ranged fire as well as stop any threats to your guns in their tracks.
For guns, we’ve got two options: Matchlock Samurai, or Portuguese Tercos, although a frugal daimyo may choose to go with the cheaper but still effective Matchlock Ashigaru (this is even better as the Oda). If you’re playing Otomo, then obviously use the Portuguese Tercos, but if not, Matchlock Samurai will work too.
No Renaissance era army is complete without hard-fighting, huge sword-wielding professionals in their ranks, so a couple No-Dachi Samurai are perfect for a bit of headlong charging.
Finally, we need a couple lancers. Enter, Yari Cavalry.
The way to play this composition is a little tricky. First, you need to space out your Naginata Samurai or Long Yari Ashigaru so that there’s a space between each of them. Then, place your guns in those spaces, but a little behind your front line. Put your No-Dachi Samurai next to the gunners so that they can charge into anything that gets between the spears. Finally, deploy the Yari Cavalry on the flanks so they can keep cavalry from charging your gunners.
Whether you’re attacking or defending, you’ll need to move your army so that your guns are in range of the enemy. They’ll fire through the gaps in your line, and when the enemy reaches your pikes, they’ll try to charge through the gap and into the gunners.
However, if the spears are spaced out correctly, they won’t be able to do this without contacting them, drawing them into combat and allowing the gunners to continue shooting unimpeded, tanking the enemy morale and dealing devastating damage. The whole time, you should be using the Yari Cavalry to do what? That’s right, hunt cavalry and disrupt the back line.
Pike and Shot Strengths
- Guns
- Devastating ranged damage that tanks morale
- A good holding force to keep the enemy from reaching your guns
- Guns
Pike and Shot Details
General
2 Yari Cavalry
5-7 Naginata Samurai or Long Yari Ashigaru
4-6 Matchlock Samurai or Portuguese Tercos
2-4 No-Dachi Samurai
2. Arrow Death Star
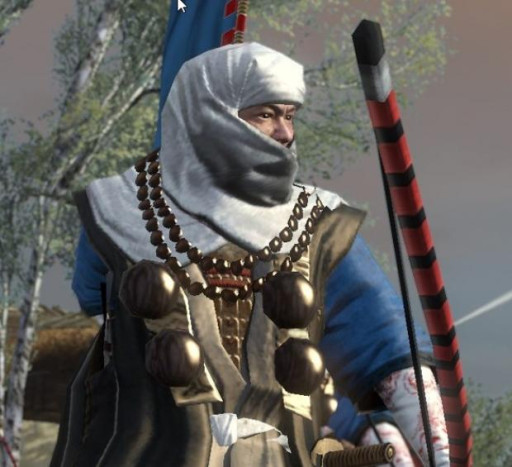
Archers are very powerful in Shogun 2, especially because of the lack of shields in 16th century Japan. Armor can only get you so far when eighty dudes are shooting 100 lbs bows at you.
Because of this, compositions that focus on archery can commonly defeat enemy armies before they even reach you. This build focuses on maximizing this ability.
Start with the most important part of the composition, the actual archers. The Chosokabe clan have the best ones, making them the obvious choice for a playthrough of this build, but any clan can pull this off. The unit with the best ranged killing power is the Bow Warrior Monk, so for this composition to work, you need a lot of those.
Next, we need some roadblocks. The obvious choice for this is, you guessed it, Naginata Samurai. They really are a staple unit for any ranged focused army because of their high armor and versatility against infantry and cavalry.
Last are the cavalry, and, once again, we’ll take Yari Cavalry, for all the same reasons we did before.
The way to play this composition is very simple, which makes it powerful. All you need to do is line the Naginata Samurai up front, the Bow Warrior Monks behind them, and the Yari Cavalry on the flanks. The Warrior Monks will outrange anything in the game, so either wait for the enemy to attack or move your formation within your religious fanatics’ range and watch the fun.
After destroying the enemy archers, you can sit back with pride as the Bow Warrior Monks delete anything you target before it gets to you, allowing the Naginata Samurai to clean up the leftovers and the Yari Cavalry to hunt down the routing units.
Arrow Death Star Strengths
- Overwhelming ranged power
- Point and click destruction
- A hardy front line
Arrow Death Star Details
General
2 Yari Cavalry
6-8 Bow Warrior Monks
7-9 Naginata Samurai
1. Double Yari Wall
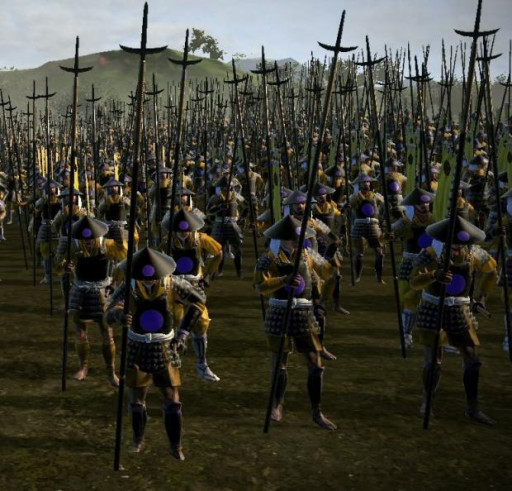
Yes, this is the strongest when taking everything into consideration. Cost effectiveness, versatility, and logistics wise, this army can kill anything while doing it for a fraction of the cost. It is restricted to the Oda clan, so it would have to be in an Oda campaign, but still, it’s so, so good.
You’ll need an equal number of Oda Long Yari and Yari Ashigaru, and some good archers, with Bow Warrior Monks being the best option. For cavalry, you can take either Katana Cavalry or Yari Cavalry, but Yari Cavalry are the best option because of their speed and anti-cavalry skills.
To make this composition effective, you have to position your spearmen correctly. First, deploy the Yari Ashigaru in front, and activate Yari Wall. Then, put the Oda Long Yari Ashigaru in Yari Wall, scooting them up until they mesh into the rear of their standard brothers. You’ll be able to tell this has worked if you can see the long yari spears end at about the same spot as the regular yari do. Next, put the Bow Warrior Monks behind the front line and the Yari Cavalry on the flanks.
To fight the battle, simply get your Bow Warrior Monks in range of the enemy so that they’re forced attack your army. Shoot them as they come closer, and when they make contact watch as their expensive, highly trained, well-armed and armored samurai are poked until death. If your Ashigaru begin to flee, simply use your General’s Rally ability to keep them in line, and if you want to boost their melee attack activate Stand and Fight.
Double Yari Wall Strengths
- The most cost-effective composition in the game
- Can defeat any standard melee unit in the game
- Bow Warrior Monks will kill any archers that threaten your beautiful Yari Walls
Double Yari Wall Details
General
2 Yari Cavalry
4-6 Bow Warrior Monks
4-6 Yari Ashigaru
4-6 Oda Long Yari Ashigaru
You may also be interested in:
[Top 15] Total War Shogun 2 Best Mods For A Brand New Experience
[Top 10] Total War Shogun 2 Best Clans That Are Powerful
[Top 10] Total War Shogun 2 Best Units That Are Powerful
[Top 10] Total War Shogun 2 Best DLCs (Ranked Fun To Most Fun

