What's the best way to customise your game?
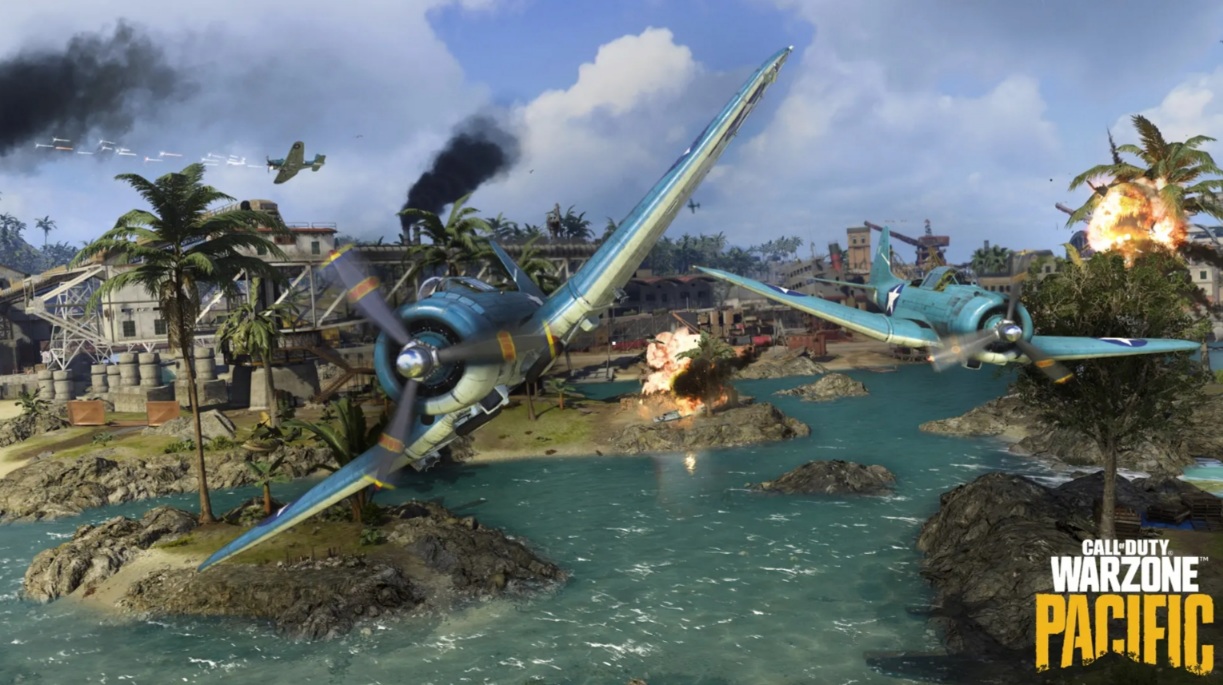
The new Pacific map is here, and whether you’re new to the game or looking to perfect your gameplay your settings are extremely important. Just like customising a loadout, the in-game settings give you lots of ways to adjust the game to fit you. Let’s take a look at twenty-five such settings which could give you the edge in Warzone:
25. Weapon Motion Blur
You want the best visibility possible while playing to be able to spot enemy movement, etc. This is a needless post-processing effect which simply makes that worse. Disabling this setting will give you an advantage as you will have a better view, especially when turning.
- Options - Graphics - Post-Processing Effects
- Weapon Motion Blur: Disabled
24. World Motion Blur
Another similar distorting effect that renders your surroundings (as opposed to your weapon) blurry when moving/turning quickly. This also negatively affects your visibility in game and so you will have a slight advantage disabling this.
- Options - Graphics - Post-Processing Effects
- World Motion Blur: Disabled
23. Anti-aliasing
What anti-aliasing does is smooth edges and make graphics appear more natural. Having this setting disabled will result in more jagged edges and a more blocky feel. A nice effect for making the game look good, but if you’re more interested in performance (which you should be), turn this setting off.
- Options - Graphics - Post-Processing Effects
- Anti-Aliasing: Off
22. Screen Space Reflection (SSR)
The quality of reflections in the game is really not that important. SSR is a shadow & lighting effect which, when enabled, sacrifices that bit of performance/framerate for looks. Also, if you have anti-aliasing off, SSR will give you some grainy visual noise.
- Options - Graphics - Shadow & Lighting
- Screen Space Reflection (SSR): Disabled
21. Shadow Map Resolution
Shadows can be useful to see enemies before they see you. Of course the higher the quality, the more computing power needed. Unlike most games, this setting doesn’t affect gameplay hugely when changing from Low to Normal, so I’d leave it on Normal for a balance of image and performance.
- Options - Graphics - Shadow & Lighting
- Shadow Map Resolution (SSR): Normal
20. Bullet Impacts & Sprays
This small details & textures setting is quite intense for the CPU and is not necessary, especially if you want to maximise performance. If you really want to see your bullet impacts or sprays, have at it! But consider disabling it.
- Options - Graphics - Details & Textures
- Bullet Impacts & Sprays: Disabled
19. Custom Framerate Limit
On to the Display settings. Framerate limit really depends on the monitor that you use. I recommend using a custom setting, then matching the gameplay limit to your monitor’s refresh rate, e.g. 300FPS on a 300hz monitor. Then you can turn down the menu framerate limits so your computer isn’t overworking needlessly.
- Options - Graphics - Display
- Custom Framerate Limit: Custom
18. Sync Every Frame (V-Sync)
V-Sync, as the name and in-game description suggest, can cause input lag by working to match your game’s framerate with the monitor’s refresh rate and stopping screen tear. But if you set your custom framerate limit correctly, this shouldn’t be necessary. Therefore: disable.
- Options - Graphics - Display
- Sync Every Frame (V-Sync): Disabled
17. Aspect Ratio
Setting your aspect ratio to automatic is the best and easiest way to render faster and better images for your specific machine. Simple.
- Options - Graphics - Display
- Aspect Ratio: Automatic
16. Render Resolution
This setting governs the rendering of 3D imagery and does have a significant impact on performance and image quality. I recommend you leave it at 100% for maximum performance while maintaining a good quality image. Depending on your monitor, you can try to scale it up and see how it feels.
- Options - Graphics - Display
- Render Resolution: 100
15. Screen Refresh Rate
Only available in Fullscreen display mode (which we’ll see next), make sure your screen refresh setting matches that of your monitor.
- Options - Graphics - Display
- Screen Refresh Rate: match monitor
14. Display Mode
One of the most basic display settings for gaming is how you view the game, i.e. fullscreen, windowed, etc. For maximum performance and screen size make sure you’re running fullscreen.
- Options - Graphics - Display
- Display Mode: Fullscreen
13. Mini-Map Shape
Moving on now from the graphics and on to gameplay settings. One really beneficial and too often-overlooked part of Warzone is the mini-map. Great for viewing enemies on the UAV or unsuppressed fire, this little piece of HUD is essential. But should it be round or square? Believe it or not, the square mini-map is actually a little bigger and allows you to see in the corners that would be otherwise cut off!
- Options - General - HUD
- Mini-Map Shape: Square
12. Armor Plate Behaviour
This setting dictates how you apply plates, be it continuously (all in one key press) or having to press to apply every time. Obviously, to save you time in battle, you should have this set to Apply All. You can always cancel if you need to sprint or shoot in the middle of the action.
- Options - Keyboard & Mouse - Killstreaks & Vehicles
- Armor Plate Behaviour: Apply All
11. Parachute Auto-Deploy
Disabling this setting will save you essential seconds when landing via parachute. You can open it once just before you hit the ground and then cut it, instead of having to wait hanging in the air. Just be careful that you do pull it!
- Options - Keyboard & Mouse - Movement
- Parachute Auto-Deploy: Disabled
10. Hold to Use
A very important movement setting which allows for quick looting. When disabled, you only have to press the interact key once to open doors and pick things up. Extremely useful for speedy gameplay!
- Options - Keyboard & Mouse - Movement
- Hold to Use: Disabled
9. Invert Mouse Look
Finally, the all-important mouse settings. If you’re really used to inverted aiming, which is not normal in most games, keep this setting disabled. Otherwise you’re going to find yourself frustrated when you move the mouse one way and your gun moves the other!
- Options - Keyboard & Mouse - Mouse
- Invert Mouse Look: Disabled
8. Mouse Smoothing
Mouse smoothing sacrifices precision for smoother movements by using average movements from previous frames. Not at all necessary, especially if you’re used to FPS PC gaming and want to be as accurate as possible.
- Options - Keyboard & Mouse - Mouse
- Mouse Smoothing: Disabled
7. Mouse Filtering
Mouse filtering uses input data from previous frames to normalise movement, but also sacrifices precision in game. Better set it to zero.
- Options - Keyboard & Mouse - Mouse
- Mouse Filtering: 0
6. Mouse Acceleration
This again sacrifices a little precision by further accelerating aim speed with faster mouse movements. A good way to turn around quickly but quite difficult to then focus on the right spot. Personally, I prefer this setting to the previous two. Maybe try it out first at zero, then see if it helps to have it a little higher.
- Options - Keyboard & Mouse - Mouse
- Mouse Acceleration: 0
5. ADS Sensitivity Transition Timing
This is the setting which dictates the time it takes ADS sensitivity to kick in once you do aim down your sights. The best and most accurate setting is going to be Instant. You may need a bit of practice on this one to perfect it!
- Options - Keyboard & Mouse - Mouse
- ADS Sensitivity Transition Timing: Instant
4. ADS Sens. Multiplier (High Zoom)
Now we’re into the good stuff! Sensitivity is one of the most debated and important settings in all FPS games. No one setting is going to suit everybody. You need to experiment and try to find the perfect balance for you between speed and accuracy. This specific slider is for aiming with a sniper scope. Generally, this requires more accuracy as it would be at greater distances. You don’t want to have the scope move too much or you won’t make any longshot kills. I’ve put a recommended range, but feel free to call me out and/or use your own.
- Options - Keyboard & Mouse - Mouse
- ADS Sens. Multiplier (High Zoom): 1.00-1.05
3. ADS Sens. Multiplier (Low Zoom)
The sensitivity multiplier for aiming down optic sights with a low zoom. This can be tricky sometimes when enemies are moving closeby. You need to be accurate with your automatic fire but you also need to keep up with their movement! Again you’re going to want to practice and find what’s best for you, but I recommend keeping the standard 1.00. I have never used more than 1.10.
- Options - Keyboard & Mouse - Mouse
- ADS Sens. Multiplier (Low Zoom): 1.00-1.10
2. ADS Mouse Sensitivity
Your general mouse sensitivity when aiming down sights. Legacy is the default setting which is taken from previous games. Relative is for those of us who like further customization. Setting this to Relative will allow you to adjust the above three settings along with some other minor tweaks.
- Options - Keyboard & Mouse - Mouse
- ADS Mouse Sensitivity: Relative
1. Mouse Sensitivity
We’ve arrived at number one - you’re holy grail for Warzone settings: the mouse sensitivity. This is a setting that must be perfected over time. I’m constantly adjusting and readjusting mine. Start low, with two, and work your way up until you feel it. The lower this setting, the easier it is to control recoil and to make your shots. But higher sensitivity numbers allow for faster aiming and keeping track of those fast-moving targets.
- Options - Keyboard & Mouse - Mouse
- Mouse sensitivity: 2+
Game performance on any computer is highly dependent on the machine running it. Make sure, whatever you’re using, that the graphics drivers are up to date, all the game’s minimum requirements are met (and then some, hopefully) and do not have anything else running in the background that could slow you down. The above settings are collectively geared towards sacrificing small amounts to make it easier for your computer to give you the smooth and fast gaming experience you need.
Happy killing!

