So you wanna do some damage, e chu ta?
The recent release of Game Update 7.1: Digging Deeper for Star Wars: The Old means a lot of new content for players to jump back into. It also means another slew of balance changes. Bioware has always made all content pretty accessible to most players with Story Mode difficulty, meaning all Advanced Classes and all Disciplines are viable to use. Some are still more powerful than others, however.
So we’ll be taking a look at the best damage builds for the patch 7.1 meta. We’ll be giving gear highlights seeing as static gear simplifies the gearing aspect, with Tacticals and Legendary Implants being the only choices that most players need to worry about. There are places where you can min-max stats, but for running 95% of the content for the average player, levelling Flashpoint or Conquest static gear is the way to go. Though rotations are mentioned, we’re only going to look at the highlights of each Discipline and give the ability tree breakdown of the best DPS parsing builds—we’ll refer you to videos that show how to use these builds to maximum potential through using ability rotations and priorities.
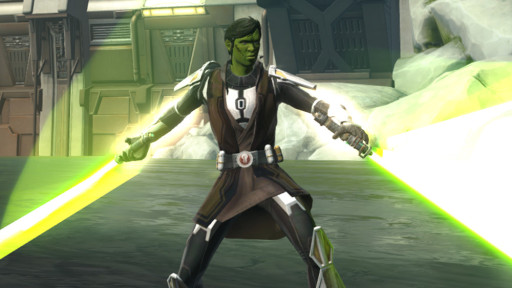
#10 - Combat Sentinel / Carnage Marauder
White-bordered options are more universally optimal, green-bordered options are situational, and blue-bordered options are mandatory: https://parsely.io/parser/combat-styles/carnage/MzMzMjNjYjE=
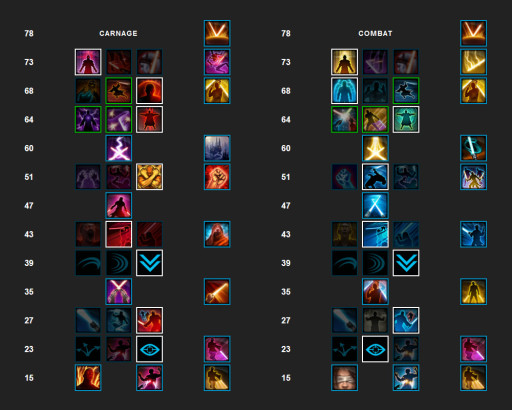
The Combat / Carnage Discipline, despite being somewhat outshined by the other two Disciplines that Sentinels / Marauders can switch to especially in endgame content, still holds many spots on the DPS leaderboards when using dummy-parses. This build is excellent to use in PVE with its many survivability aspects and excels in dealing burst damage to single targets.
- This build works best when paired with the Tactical Shard of Mortis, one introduced in 7.1, which makes Blade Rush / Massacre apply a buff which increases your critical hit chance until you next deal damage with an ability other than Blade Rush / Massacre, and also helps with Focus / Rage generation.
- This build works best when paired with the Legendary Implants Fearless Victor, which makes all attacks do more damage after any time you spend Focus / Rage, and Dispatcher, which turns Twin Saber Throw / Dual Saber Throw into a way to empower your next Dispatch / Vicious Throw or Slash / Vicious Slash, as well as making any melee damage made after using Twin / Dual Saber Throw generate Focus / Rage.
Unlocking the full destructive potential of Combat / Carnage rotations is within your grasp at: https://www.youtube.com/watch?v=einqRf6X2TU
#9 - Concentration Sentinel / Fury Marauder
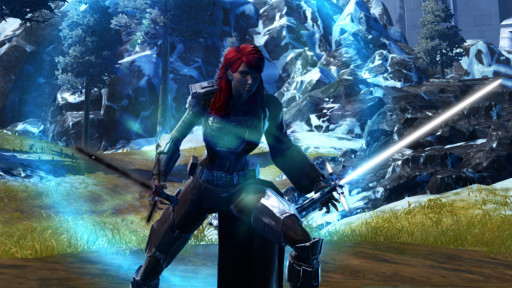
White-bordered options are more universally optimal, green-bordered options are situational, and blue-bordered options are mandatory: https://parsely.io/parser/combat-styles/fury/MjMyMzNhYjE=
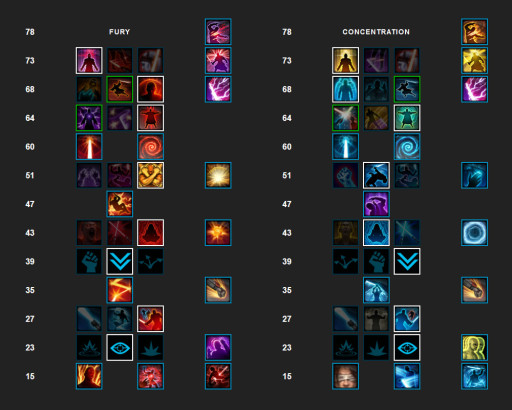
The Concentration / Fury Discipline still retains its place among the best builds for SWTOR 7.1 despite no longer being as completely dominant as it was in 7.0. With great burst damage for operations and PVP as well as having a great complement of area of effect abilities, this Discipline shines wherever it’s played. This gives Concentration / Fury a spot on a list of the top ten most powerful builds.
- To maximize the build’s damage, for Tacticals we use Cauterized Coronary so that our Concentrated Slice / Furious Strike, a key part of our rotations, applies a damage over time bleed debuff.
- To maximize the build’s efficiency, the Legendary Implants we’re going with are Fearless Victor, which increases melee damage whenever we use Focus or Rage, and Berserker’s Call to reduce the cooldown on Valorous Call / Frenzy as well as increase damage done whenever we use Zen / Berserk, both abilities which are part of a core rotation.
For more thorough coverage of Concentration / Fury rotations, go check out: https://www.youtube.com/watch?v=JY0UFWBzxDY
#8 - Infiltration Shadow / Deception Assassin

White-bordered options are more universally optimal, green-bordered options are situational, and blue-bordered options are mandatory: https://parsely.io/parser/combat-styles/deception/MzQyMTRiMzU=
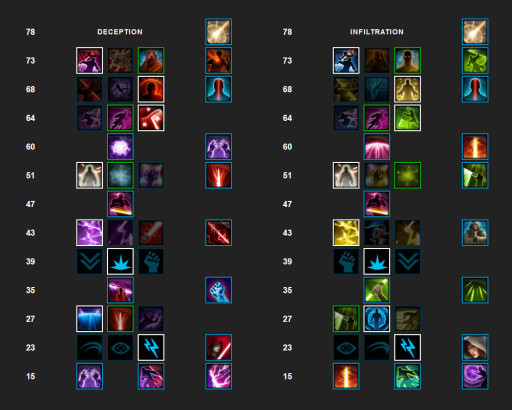
The Infiltration / Deception Discipline excels at single target burst damage, preferring to chain criticals and mobility abilities to keep up a feedback loop of buffs and effects that makes our damage output snowball. Players should be proactive in assessing where enemies are and where there are safe places to dart in and out of to maximize their efficiency.
- Our pick for Tactical would be Blade of the Elements, letting our opener and mobility ability Vaulting Slash / Reaping Strike have a better critical chance per stack of the buff we get from Clairvoyant Strike / Voltaic Slash, as well as reducing the cooldown for Vaulting Slash / Reaping Strike whenever Clairvoyant Strike / Voltaic Slash critically hits. This creates a powerful feedback loop that facilitates a core component of our rotation.
- Our pick of Legendary Implants are Dynamic Force to reduce the cooldown of Force Potency / Recklessness, and Force Training for a universal damage increase.
Mastering the art of Infiltration / Shadow rotations requires learning all about its abilities at: https://www.youtube.com/watch?v=4wKBqQs38BY
#7 - Saboteur Gunslinger / Engineering Sniper
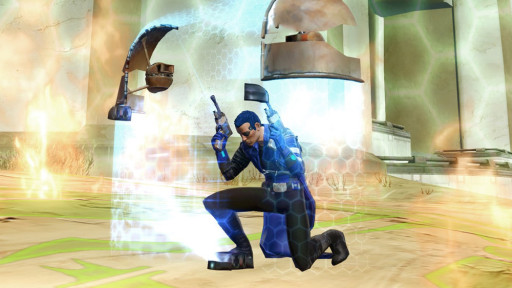
White-bordered options are more universally optimal, green-bordered options are situational, and blue-bordered options are mandatory: https://parsely.io/parser/combat-styles/engineering/MTIxMjIzM2E=
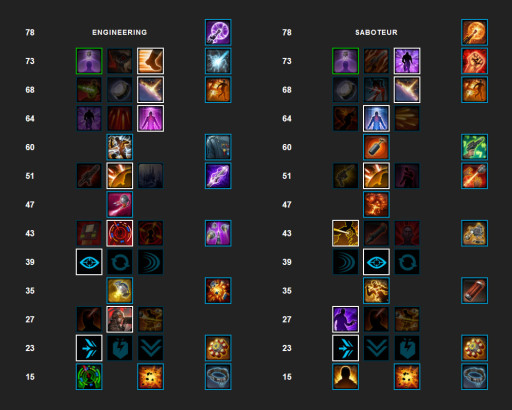
The Saboteur / Engineering Discipline is great at applying damage over time debuffs over an area of effect, making them great at sustained damage. Though less mobile than other classes, the long range of most of its abilities makes it excellent at maintaining control over PVP zones and doing damage in operations from safe locations.
- With regards to Tacticals, Ruthless Interrogation makes Speed Shot / Series of Shots refresh the duration of Shock Charge / Interrogation Probe, as well as increasing the damage of the debuff that Speed Shot / Series of Shots applies. This makes a core part of our rotation synergize better.
- With regards to Legendary Implants, Locked and Loaded gives a universal damage increase, and Energy Regulators lets us gain more energy when we’re using the cover abilities that make us so powerful and yet so stationary.
A look at Saboteur / Engineering rotations to get a better understanding can be found at: https://www.youtube.com/watch?v=20q2OwSPbjg
#6 - Scrapper Scoundrel / Concealment Operative
White-bordered options are more universally optimal, green-bordered options are situational, and blue-bordered options are mandatory: https://parsely.io/parser/combat-styles/concealment/MjMzNWI3M2E=
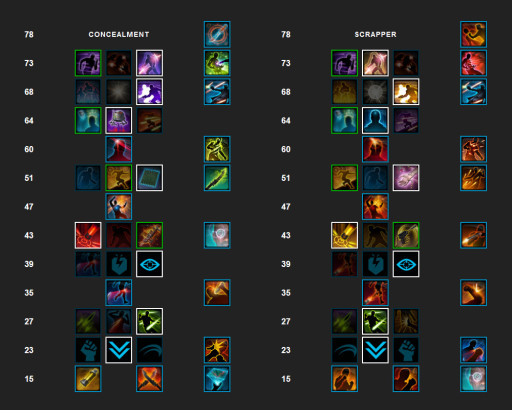
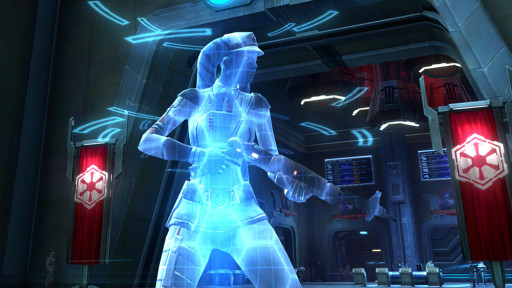
The Scrapper / Concealment Discipline does great burst damage at melee range when positioned behind an enemy, so players should have great battlefield awareness to make the best use of it. Stealth classes also see a lot of PVP usage for the disabling ability when assaulting or defending, or in PVE to skip trash mobs.
- In terms of Tacticals, we have the choice between Acid Lash to make Sucker Punch / Laceration trigger the debuff Flechette Rounds / Acid Blades, as well as improving the damage of the debuff for when we need single target damage, OR Explosive Cells to make Blood Boiler / Volatile Substance do splash damage around the target for when we need more area of effect damage such as when fighting many mobs.
- In terms of Legendary Implants, we’re picking Locked and Loaded for just a universal damage increase, and Tactician so that our core resource Upper Hand / Tactical Advantage also increases critical chance when active.
A better overview of Scrapper / Concealment rotations can be seen in: https://www.youtube.com/watch?v=nMbxJQYZ8nM
#5 - Focus Guardian / Rage Juggernaut
White-bordered options are more universally optimal, green-bordered options are situational, and blue-bordered options are mandatory: https://parsely.io/parser/combat-styles/rage/MTY3Mzc3NTg=
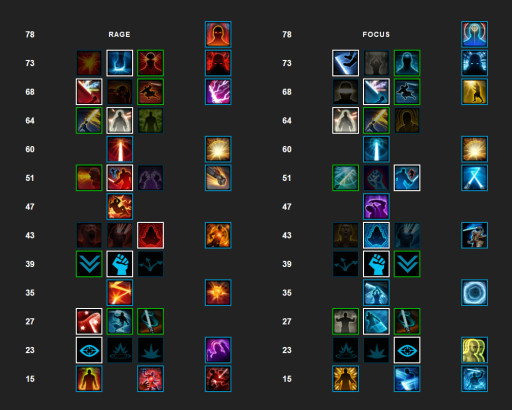
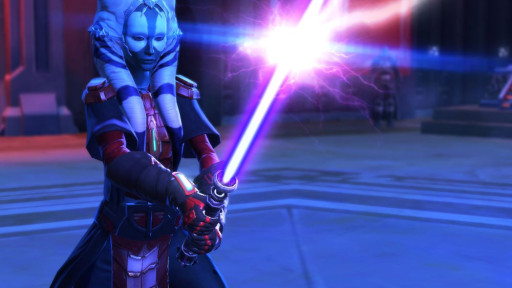
The Focus / Rage Discipline is the Guardian / Juggernaut’s premier DPS spec, relying on a complex interplay of buffs and debuffs that plays relatively simple as far as ability rotations go. This build does well on both overall damage per second measures of sustained damage, as well as when considering its ability to deal burst damage for crucial boss moments.
- The key Tactical to pick to make this build shine is one we’re borrowing from Concentration Sentinels / Fury Marauders, that being Cauterized Coronary. Since both classes use Concentrated Slice / Furious Strike, the bleed effect that the tactical adds to it applies to Focus / Rage as well.
- The key Legendary Implants to make this build dazzle are Fearless Victor, which increases damage whenever we use abilities that cost Focus / Rage, and Champion’s Precision which gives us an increased crit chance whenever we use Combat Focus / Enrage.
To get a better understanding of how Focus / Rage rotations function, see: https://www.youtube.com/watch?v=rc1EQqKrvq4
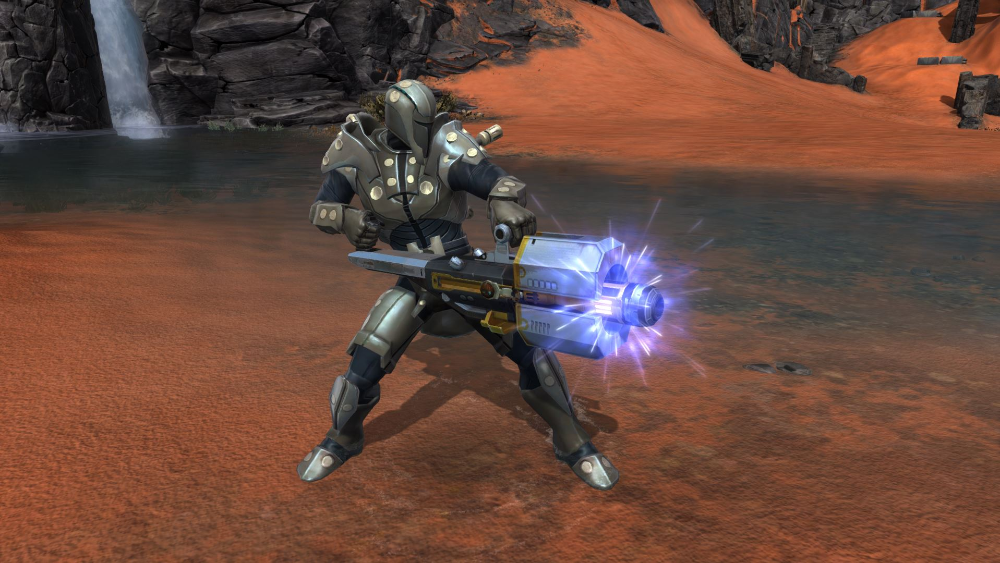
#4 - Plasmatech Vanguard / Pyrotech Powertech
White-bordered options are more universally optimal, green-bordered options are situational, and blue-bordered options are mandatory: https://parsely.io/parser/combat-styles/pyrotech/MzMyMTE3Mjg=
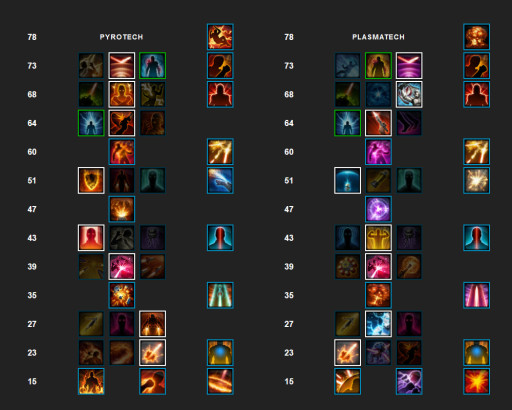
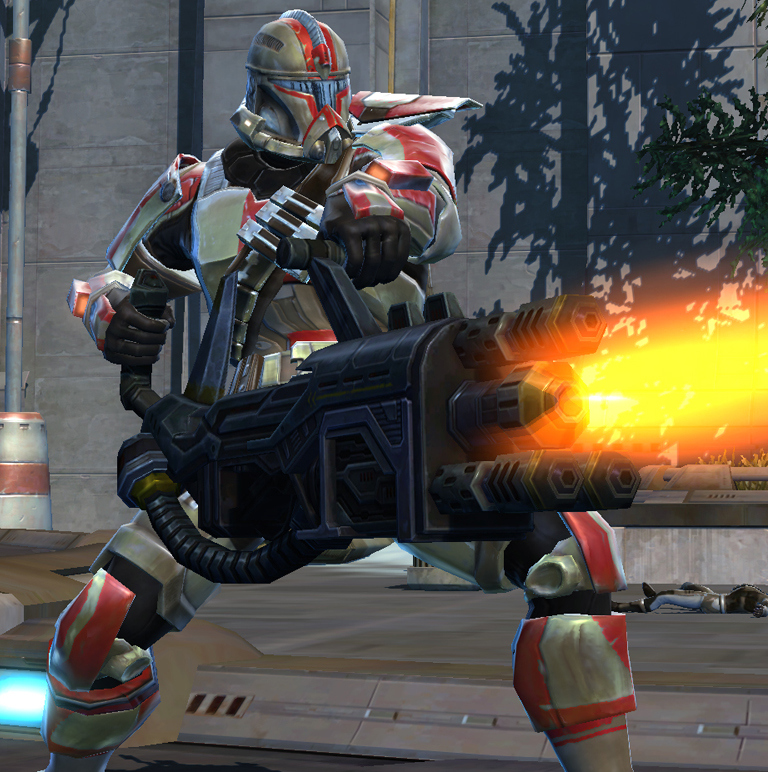
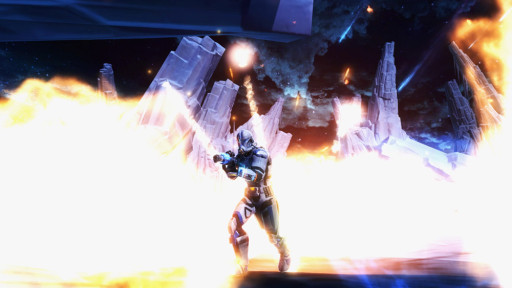
The Plasmatech / Pyrotech Discipline sees a lot of endgame use, excelling in both burst and sustained damage through various damage over time abilities. As the Vanguard / Powertech Advanced Class does well in survivability, this class does great damage and is a friend to their healers while doing it.
- For our Tactical we’re picking Superheated Fuel so it makes Battle Focus / Explosive Fuel increase all elemental and kinetic critical chances by 100%, as it’s already a core part of a good rotation.
- For our Legendary Implants we’re going with Shock Trooper, which makes Shockstrike / Flaming Fist and Stockstrike / Rocket Punch use less Energy Cells / Heat, and gives a buff to damage when Shockstrike / Flaming Fist is used, and Mandalorian Armaments, which gives us a buff for 60 seconds whenever we use Shoulder Cannon that does extra damage to our target every 10 seconds.
A more in-depth look at Plasmatech / Pyrotech rotations can be seen in: https://www.youtube.com/watch?v=0GuhJPRn3Vg
#3 - Telekinetics Sage / Lightning Sorcerer
White-bordered options are more universally optimal, green-bordered options are situational, and blue-bordered options are mandatory: https://parsely.io/parser/combat-styles/lightning/ODdiNDk3Mjc=
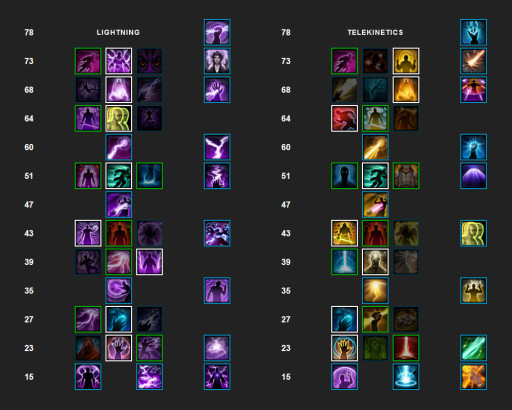
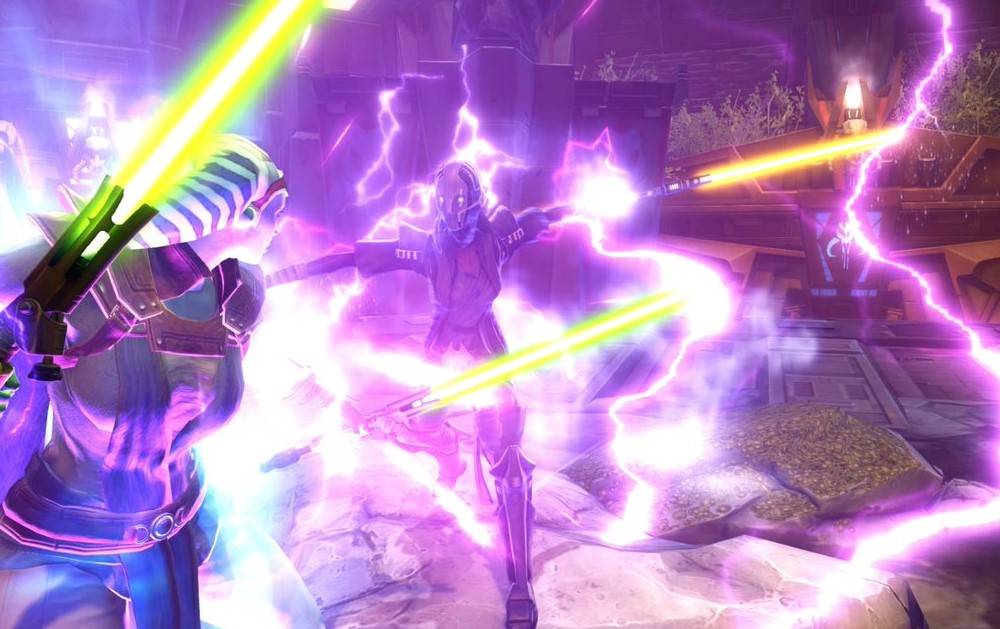
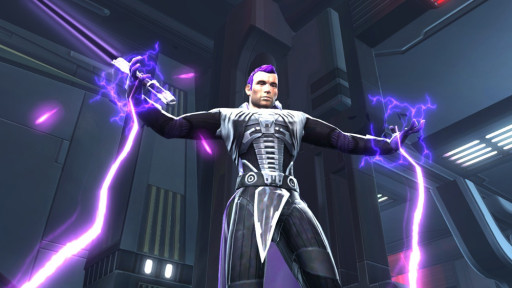
The Telekinetics / Lightning Discipline, apart from being so satisfying to play due to all the Force-powered earth-bending or lightning-bending, also consistently performs well in terms of damage output for endgame operations content, PVP, or solo gameplay. It can deal great burst damage either to single targets or to groups, dependent on the level 23 ability tree pick, and can also turn that burst into reliable sustained damage and overall places Telekinetics / Lightning as the third in the top ten most powerful builds in SWTOR
- To truly unleash hell, our Tactical pick will be Stormwatch, which lets Telekinetic Gust / Lightning Flash apply a debuff that does extra damage whenever Weaken Mind / Affliction, Mind Crush / Crushing Darkness, or Turbulence / Thundering Blast deals damage. Since all those should be in your rotations, this just makes the synergy of the build better.
- To truly send enemies to heaven, our Legendary Implants will be Gathering Storm which makes you deal more damage whenever Force Speed or Mental Alacrity / Polarity Shift are used, and Unmatched Haste which increases the duration of Mental Alacrity / Polarity Shift, as well as lowering its cooldown whenever Force Speed is used. Use these buffs early, and often.
The Force will guide you to better Telekinetics / Lightning rotations if you meditate on: https://www.youtube.com/watch?v=dJqDCGTFvng
#2 - Watchman Sentinel / Annihilation Marauder
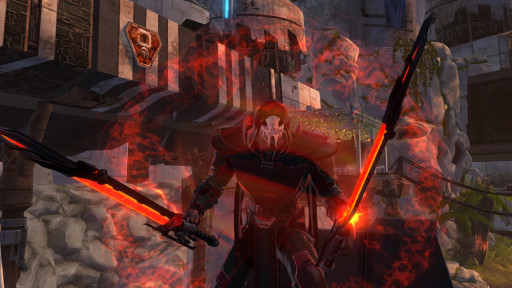
White-bordered options are more universally optimal, green-bordered options are situational, and blue-bordered options are mandatory: https://parsely.io/parser/combat-styles/annihilation/MjMzMjMzYjU=
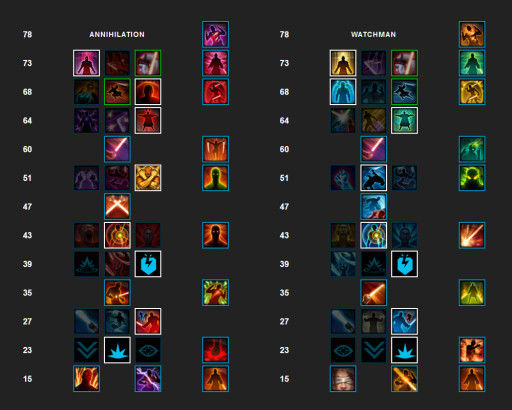
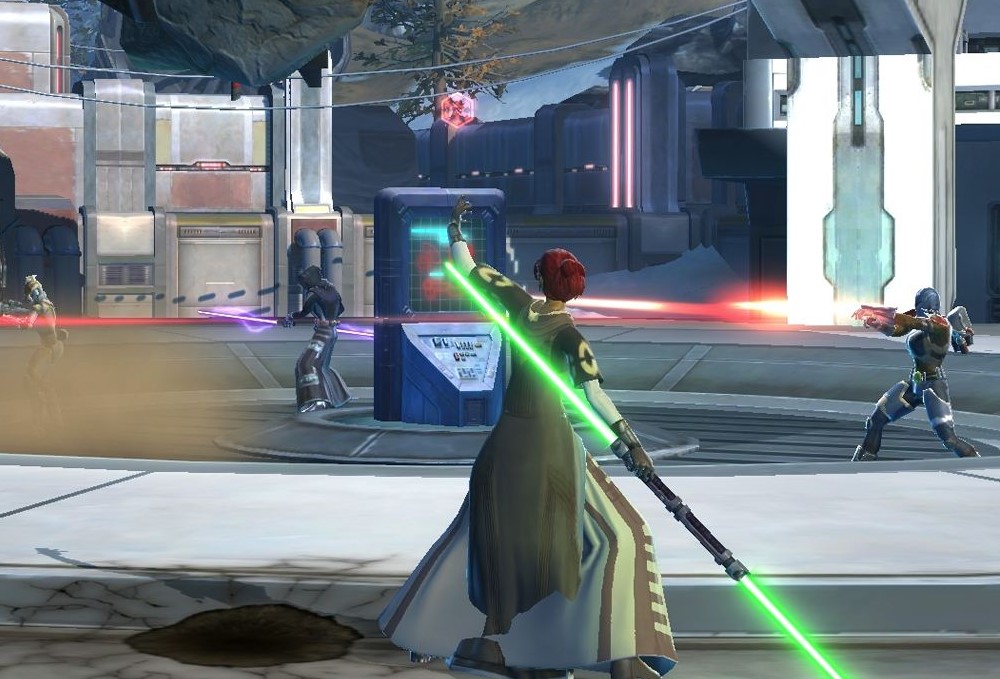
The Watchman / Annihilation Discipline performs the best during endgame content though its shorter timers make this a harder build to master. In the hands of the right player though, it parses among the highest on Operations DPS leaderboards, which also means it fares well in PVP. It especially is useful in solo PVE content due to its survivability. Overall, a whole slew of advantages makes Watchman / Annihilation the second most powerful build in the game.
- The power of this build is best helped by the Tactical item Spiteful Saber, which lets the damage over time debuff from Cauterize / Rupture be able to have its duration refreshed whenever an afflicted enemy is attacked with Slash / Vicious Slash, Dispatch / Vicious Throw, or Twin Saber Throw / Dual Saber Throw
- The power of this build is augmented by two Legendary Implants from among Fearless Victor, Berserker’s Call, and Dispatcher. Fearless Victor gives you a universal damage buff whenever you spend Focus / Rage, Berserker’s Call lets you use Valorous Call / Frenzy more often by lowering its cooldown as well as increasing all damage dealt after Zen / Berserk is used, and Dispatcher lets Twin Saber Throw / Dual Saber Throw activate a buff that makes the next hit from either Dispatch / Vicious Throw or Slash / Vicious Slash a critical hit, as well as generating Focus / Rage when it does crit.
For you to become an avatar of death by using Watchman / Annihilation rotations, you can watch: https://www.youtube.com/watch?v=HyVtZUZv-yU
#1 - Serenity Shadow / Hatred Assassin
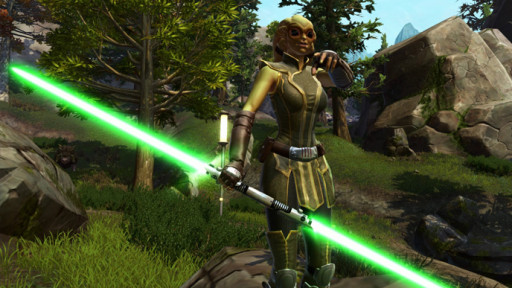
White-bordered options are more universally optimal, green-bordered options are situational, and blue-bordered options are mandatory: https://parsely.io/parser/combat-styles/hatred/MzQzMTEyMzU=
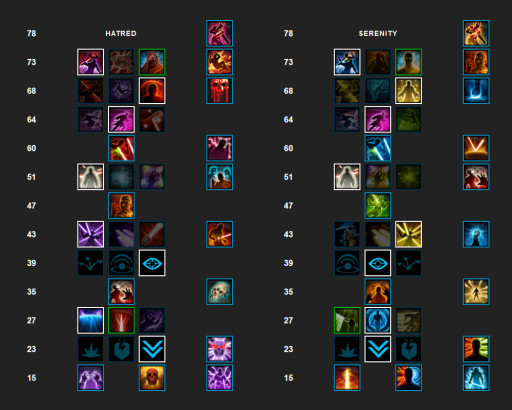
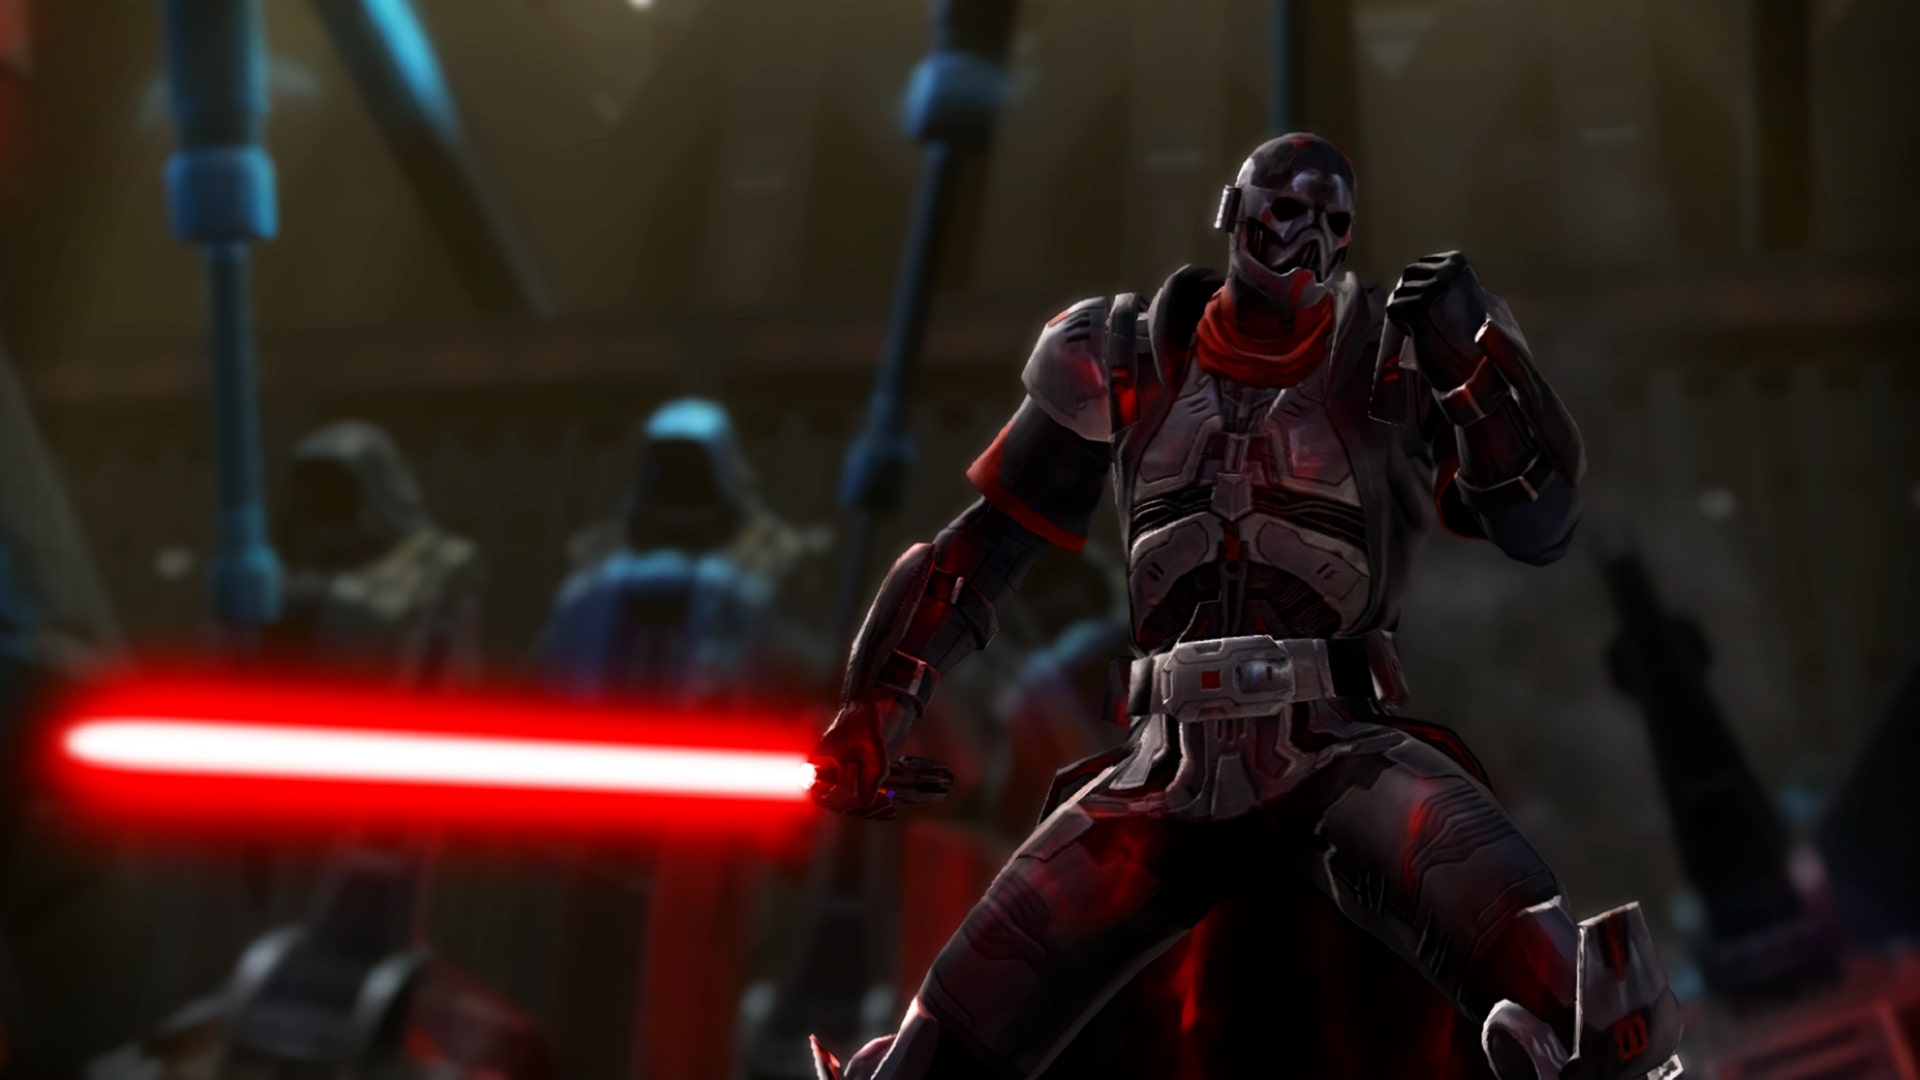
The Serenity / Hatred Discipline currently holds the most DPS leaderboard spots using dummy-parsing. Its great damage over time abilities mean that while it does well on sustained damage on bosses, it suffers from not being able to burst damage down certain phases. This can also work well in PVP, as the damage over time debuffs mean you can keep dealing damage to an enemy even as they escape. Simple to learn and complex to master, overall Infiltration / Deception is the most powerful build in SWTOR.
- For full effect, we’re using the Tactical Two Time Trouble that lets the damage over time effect from Sever Force / Creeping Terror deal more damage whenever the afflicted enemy is hit with Spinning Strike / Assassinate, and also a one-in-two chance whenever you deal damage in melee.
- For full effect, we’re picking the Legendary Implants Dynamic Force, which reduces the cooldown of Force Potency / Recklessness, and Force Training which is just a universal damage increase.
To truly immerse yourself in Serenity / Hatred rotations, you must follow these teachings: https://www.youtube.com/watch?v=GLuPAXK_Erc
As always, may the Force be with you. Cue Star Wars credits theme song!
You may also be interested in:
- SWTOR Best Classes Tier List [SWTOR Best And Worst Classes Revealed]
- [Top 4] SWTOR Best And Worst Class Story
- [Top 15] SWTOR Best Armor Sets That Are Excellent
- SWTOR Best Healers - Which Healer Class Outperforms?
- SWTOR Best Companions for Every Class
- [Top 5] SWTOR Best AoE Class
- SWTOR Best Romance for Each Class
