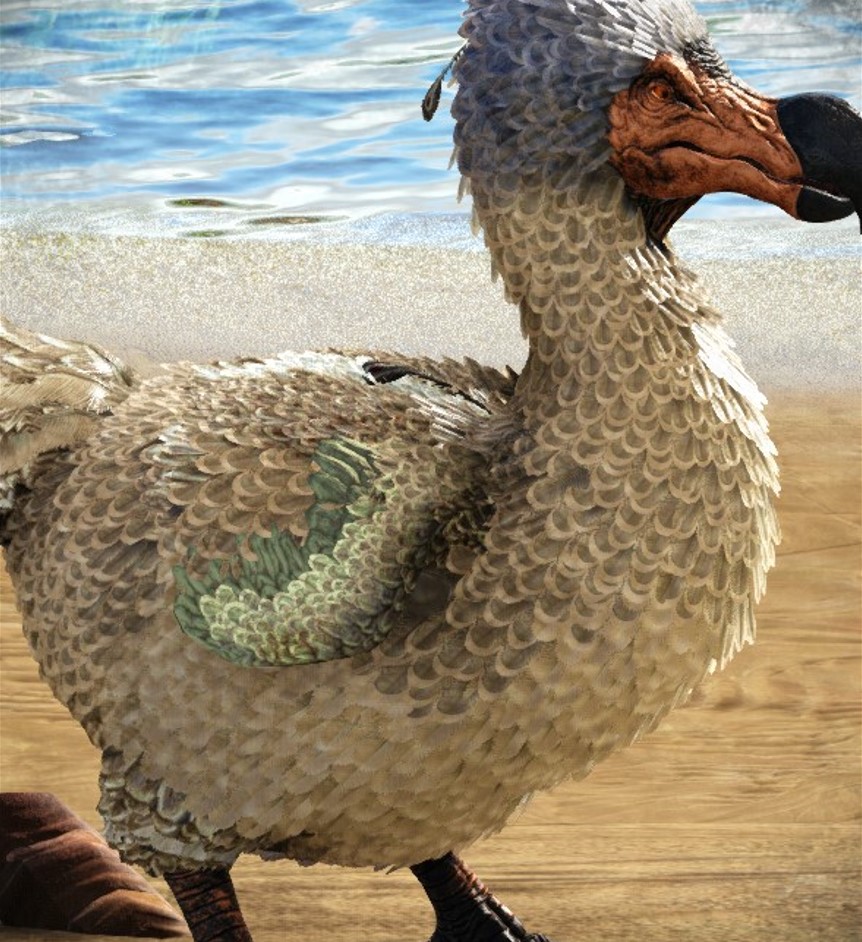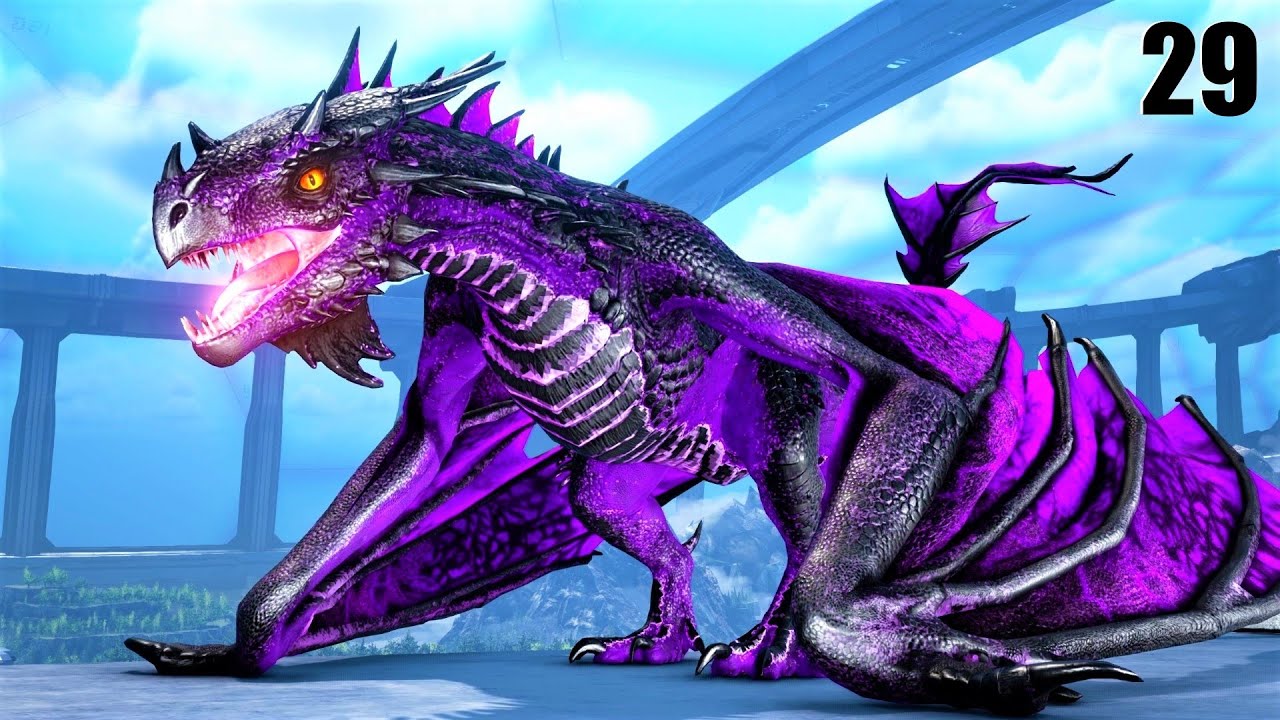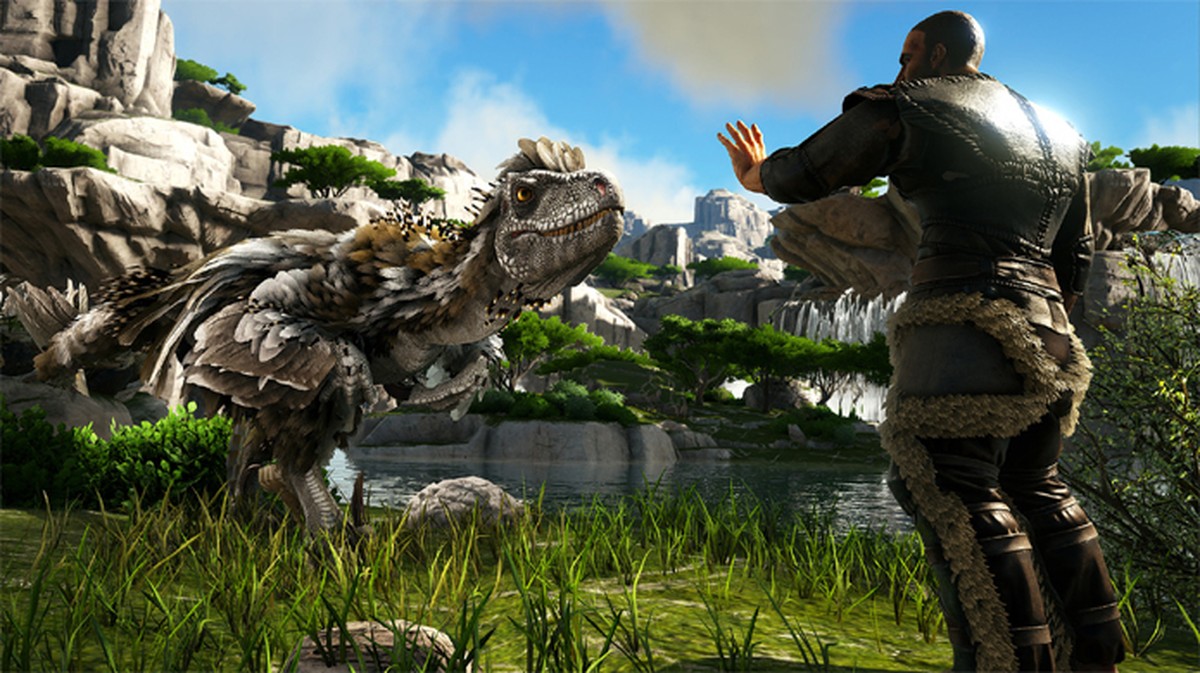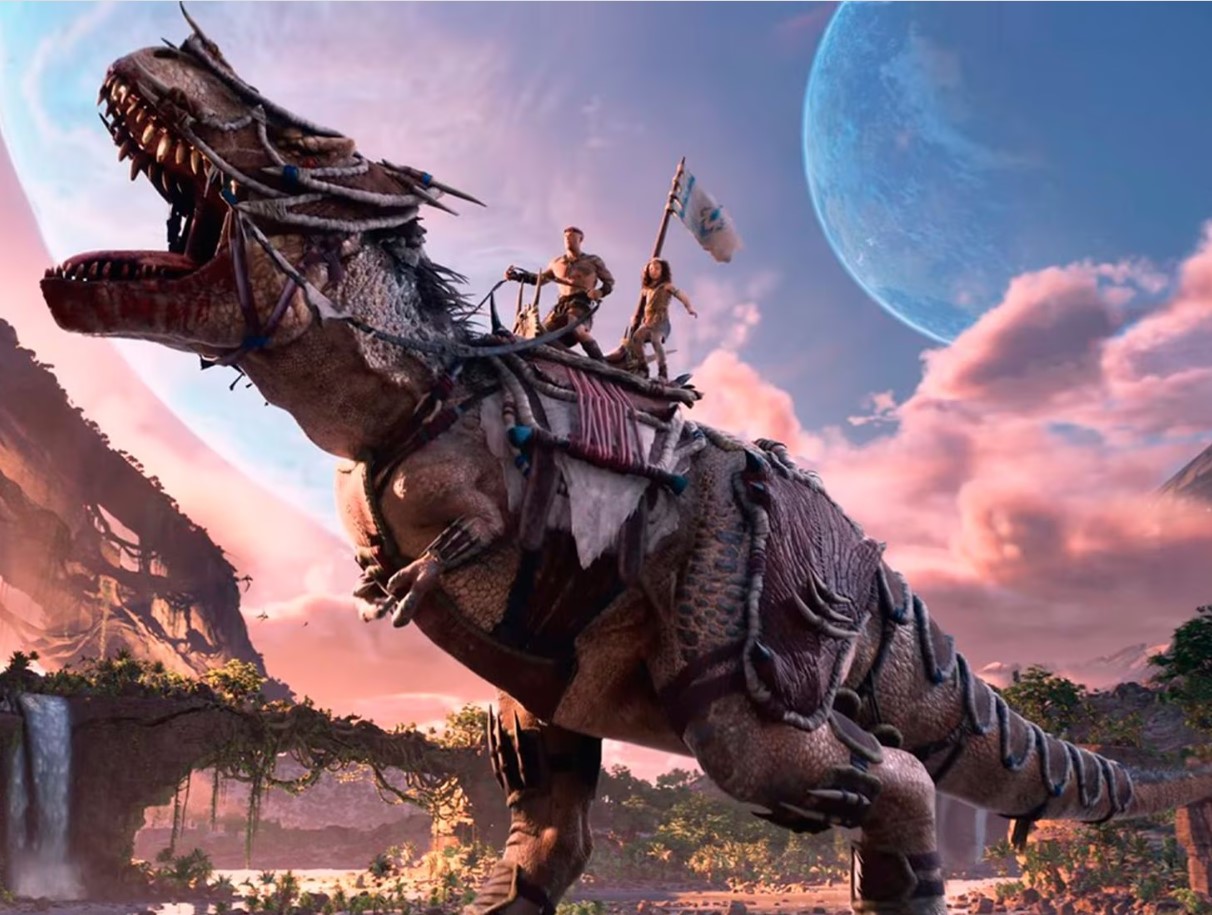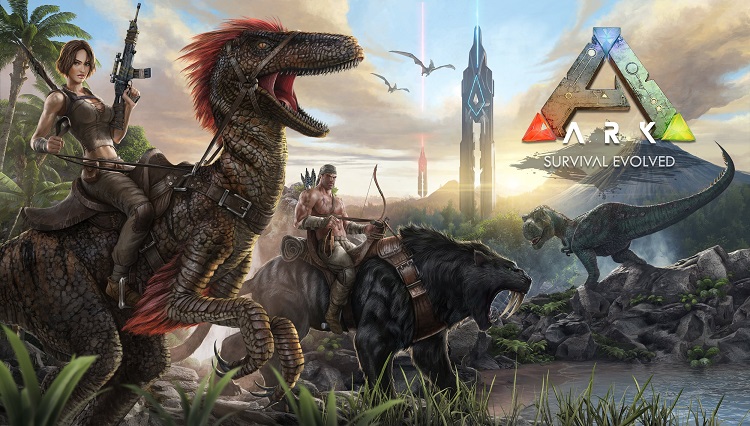
You just get uploaded to your very first Ark map, the Island. As your character wakes up, you see the beautiful ocean and the beach that surrounds you.
The sounds of the ocean hitting the shore and the breeze blowing through the trees are like peaceful music to your ears.
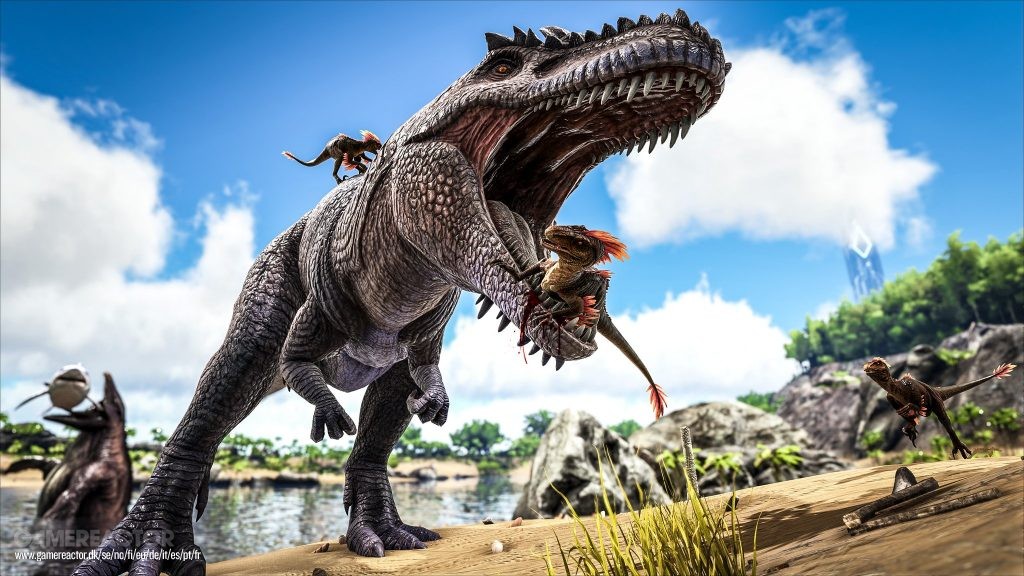
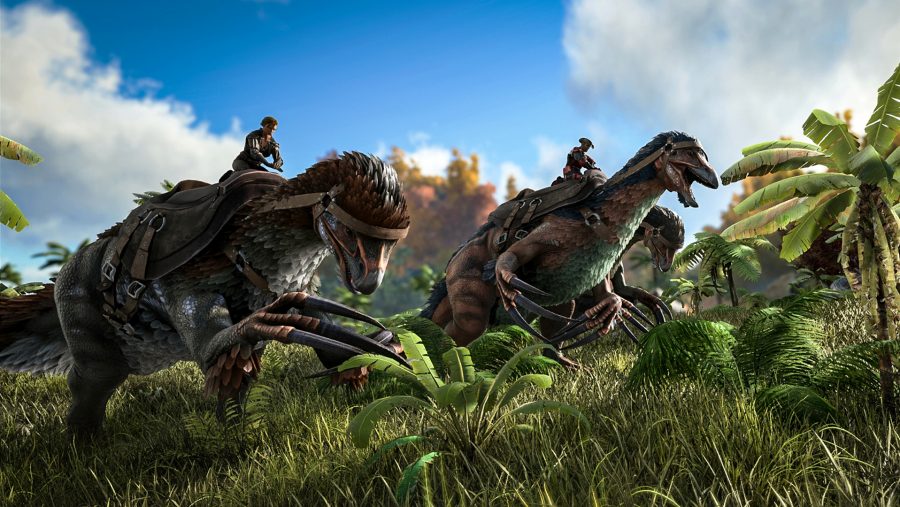
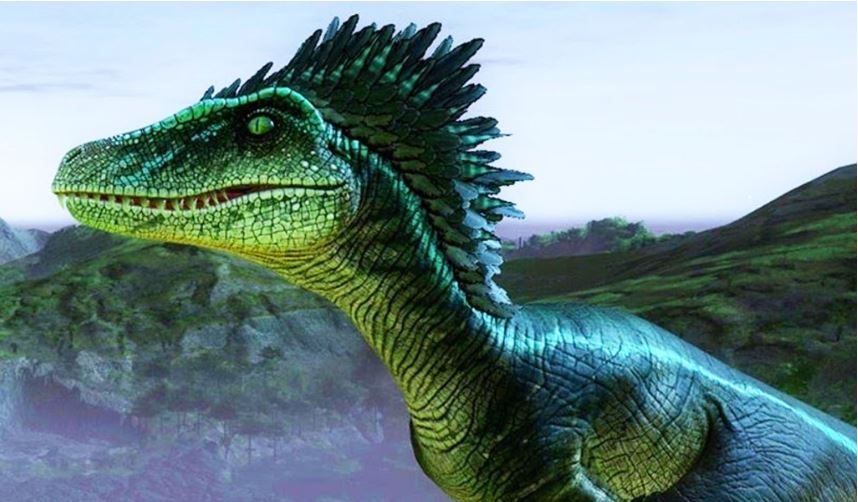
Then suddenly, out of nowhere comes quickly approaching footsteps and screeches and before you even know what’s happening, you died...to a raptor.
This, always sucks, and happens a lot, so here are 15 settings that you can change to gain an advantage on these raptors, their friends, and even the environment itself.
1. Lower the number on the Structure Resistance slider
This setting controls how vulnerable your buildings are to attack from dinosaurs or PVP raids. This is important because some dinos, such as the Bronto, love to destroy your hard worked on building in a single tail swipe.
This setting is found under the general settings tab that shows up for both the PC and console version of Ark. If you set it at 0, then you will have to re-enter it every time you decide you want to play on that map, so I would suggest setting it at 0.01 in the box next to the slider.
This setting will make where your buildings take very little damage so that beautiful castle you spent hours gathering materials for and building, will never crumble.
2. Increase the multiplier for Taming Speed
This is how fast the dinosaurs you knock-out will be tamed. If you leave it at the original setting, it can take hours upon hours to tame a single low-level creature and no one wants to stand next to a sleeping dino in the wild for that long.
You will also find this setting underneath the general tab. Unlike the Structure Resistance though, you want this number higher, not lower. If you change the number in the box next to that slider to a 6, almost none of your tames will take more than an hour.
Say you find a max level Doedicurus while your playing but you don’t want to wait the 2-7 hours it could take at a taming multiplier of 1. Setting the taming multiplier to 6 will make that tame only take 20 minutes to 1 hour tops (results may vary depending on what you feed the knocked out dino).
3. Turn the Harvest Amount setting up
Depending on how high you go with this setting, you can get anywhere between 5 berries per bush to over 100 without the help of a dino. This will also help with you or your dinos gathering any materials you need to expand your base.
This setting is found under the general tab. If you keep it at the 1 multiplier it already sits at, it will take you forever to gather everything you need. Start with changing the number in the box to a 3 and if you feel that doesn't give you enough, you can go even higher.
This setting can make building your base so much easier and quicker or even save you from starving to death. It basically makes the game easier in terms of surviving and protecting yourself from that pesky raptor that’s still out to get you.
4. Don’t want to worry about food and water much?
On the note of starving to death, what if you simply didn’t have to worry about that? No need to eat or drink, that’s what this setting will take care of.
The settings Player Character Food Drain and Player Character Water Drain are both found under the general tab of the settings. The lower this number, the longer your character can survive without food and water. A lot of solo players will take the setting from 1 to 0.25 that way the game still has the survival aspect but they worry about food and water far less.
This is useful for those of you who are more into raising your dinosaur army rather than fully diving into needing to keep yourself alive as you raise the army. You can even take this setting down to 0 but you will have to remember to re-enter that every time you jump into your map.
5. Max level wild dinosaurs
The max level a normal, wild dinosaur can be is level 150 when you max out the slider if you're up for the challenge. This will make the dinosaurs you tame way stronger but at the same time, will make it much harder to survive an attack from your old raptor friend.
This will consist of changing 2 things in your settings and they are both found at the bottom of the general settings tab. The first one is a slider, like everything else you’ve dealt with so far. There is a good chance that is sitting at 0.2 so you will need to move the slider all the way to the right or just type 1 in the box. Then, towards the bottom of the general tab, there is a checkbox that says ‘Maximum Difficulty’. If that isn’t already checked, go ahead and check it then prepare yourself for some fun!
This will make the dinosaurs you tame so much stronger based on their level. It will also amp up the difficulty a little if your feeling like having a little bit of struggle fun. The higher level the dinosaur is in the wild, the higher level it will be in your army.
6. Change the day to night scale
Sooo, we all know that the night is dark and full of terrors and Ark is nowhere near an exception to this rule. This will make your days a little longer and your nights a little shorter.
These settings are both found under the advanced tab which is right next to the general tab. They are called Day Cycle and Night Cycle and should both be set at 1 originally. If you type .5 into the Day Cycle and turn Night Cycle up to 2. This makes the day take around 18 hours and the night only take around 6 in-game.
This is extremely helpful because you literally can’t see anything in the game at night unless you have a light source near or on you and it’s horrible. This is also super awesome because some of the dinosaurs wake up at night or are simply more aggressive in the night like the Troodon and the Megalosaurus so you can avoid that.
7. Turn the Mating Interval down to zero
This setting controls how much time you have to wait between breeding a male and a female. Turning this to 0 makes it where you don’t have to wait in between every time you mating interval.
You can find this setting in the advanced settings tab. Mating Interval will normally be set at 1. All you have to do is change that number to 0 in that box, the downfall is you will have to type in that 0 every time you load into the game. So as a piece of advice, only worry about this if you are planning on breeding some of your dinosaurs.
This is useful when it comes to trying to quickly raise an army for stats. You can even get multiple females to breed off of one male to speed it up even more and thanks to one of the newer updates, you won’t have to worry about your dinosaurs running around everywhere. Just remember to pick up all those eggs and claim all those babies or you might have some trouble if they survive to adulthood all on their own in your base.
8. Make the resources respawn around you quicker
This setting will allow the trees, rocks, and many other supplies you use to respawn very quickly.
You can find this setting under advanced with the name of Resource Respawn. The lower this number is, the quicker the resources you’ve already used up will respawn. Setting it at about 0.25 will make them respawn quicker but not instantly, it’s kind of like the perfect amount of time.
This is particularly helpful whenever you are trying to build a super big base. The faster your resources respawn, the more supplies you have. The more supplies you have, the quicker you can build your ultimate dream base.
9. Make yourself the all-powerful!
The thought of gaining 1000 HP per level point sounds pretty great, right? Well, this setting can do that and many other things for your character.
Player Stats Multiplier is found under the advanced settings tab. It has the name of every stat your character has and a number box next to that. Change that number to anything higher than one and it will make it where your stat is that many times higher.
This is amazing because you could basically have an invincible god-like character that takes next to no damage, can live underwater, and punch as hard as a freight train. Imagining getting hit with a rocket launcher and yet, your health isn’t even dented by the fiery explosion. Fantastic!
10. Amp up the XP multiplier
This setting controls how much XP you gain for every task you complete in the game. The higher the multiplier, the more XP, and the faster and easier you gain every level.
You can change the XP Multiplier by going into the advanced tab. All you have to do is make the number higher than 1 and then you will be swimming in XP points.
You can level up at super speeds as well as your tamed dinosaurs. Instead of it taking a week to hit level 50, you could do it in an hour depending on where you set the multiplier. Combine that with the superpowered stats and you’ll be a force to be reckoned with in no time.
11. Speed up the Egg Hatching Speed
This setting controls how fast the fertilized eggs you have will hatch when they are in the proper temperature. A lot of times, the eggs can take an incredibly long time to hatch, wouldn’t you rather wait a couple of minutes than 5 hours?
This is found under the advanced settings called Egg Hatch Speed. The higher this number is, the faster your fertilized eggs will hatch when the time comes for the boss killing army to grow. If you want it to go by really quick, start with 60 in the box and raise or lower the multiplier from there.
This will make it way easier to go on an egg hatching spree if you are trying to quickly hatch multiple eggs at once and pick out the best from the bunch. You will do this most often when it comes to breeding for stats with the best dinosaurs you have.
12. Allow flyers in dungeons and caves
Normally, you aren’t able to take dinosaurs that can fly into dungeons, such as the Argents. But this setting can change that so as long as you can fit the flyer in the entry, you can take it in.
Towards the top of the advanced settings tab, you will see a checkbox that says Allow Cave Flyers. Go ahead and check that box.
This makes it where you can take dinosaurs that fly, into the caves and dungeons as long as they fit. Depending on the cave, it will be easier to quickly get through it on a flyer than a land mount so that’s where this comes in and helps you. A Pteranodon and a Pelagornis are the smallest flyers you can take in a cave with this setting but they won’t be able to carry much back out.
13. Decrease wild dino damage
This setting will make it where the dinos out in the wild do far less damage. The only downfall is, it will also affect how much damage that your tamed dinos do as well.
The Dino Damage multiplier is found under advanced settings. If you make the number in the box anything lower than 1, it will be that percentage of the normal damage. For example, if you take in down to 0.7, then it will be 70% of the original damage.
This will increase your ability to survive an attack from that raptor when you're on foot. Although it will affect the damage your tames do and because of that, once you get a solid base with some dinosaurs, you should probably turn that setting back to normal if you are playing solo.
14. Some extra checkboxes to click
These will just be some extra settings that you can check to make your life way easier while playing this game. You will also suffer less loses of dinos and supplies.
They are all found under the tab for general settings. All you have to do is click the boxes if they aren’t already and boom, life made easy. Their names are:
- Show Map Location
- Corpse Locator
Show Map Location makes it where you can see where you are located on the map without the use of a GPS. It also makes it easier to find anything you have marked on the map because you can see where you are in relativity to the marked spot. Corpse Locator makes it where there is a giant green beam in the sky that looks a little like a loot drops, this beam is where you died so you can go retrieve your gear.
15. Some more checkboxes
These will just be some more settings that you can check to make your life way easier while playing this game. Leveling will go further and building will be easier.
These are also found under the tab for general settings. All you have to do is click the boxes if they aren’t already. Their names are:
- Disable Structure Collision
- Unlimited Respecs
Disable Structure Collision just makes it easier to build because sometimes building has weird rules in the realm of Ark. And Unlimited Respecs allows you to go past level 100 and will allow you to use as many mindwipe tonics as you want.
You can always play around with the different numbers in the settings and see which ones you like the most. Now that raptor that so rudely decided to eat your face at the start of your game is a member of your army to defeat the bosses of the Arks!
You may also be interested in:
