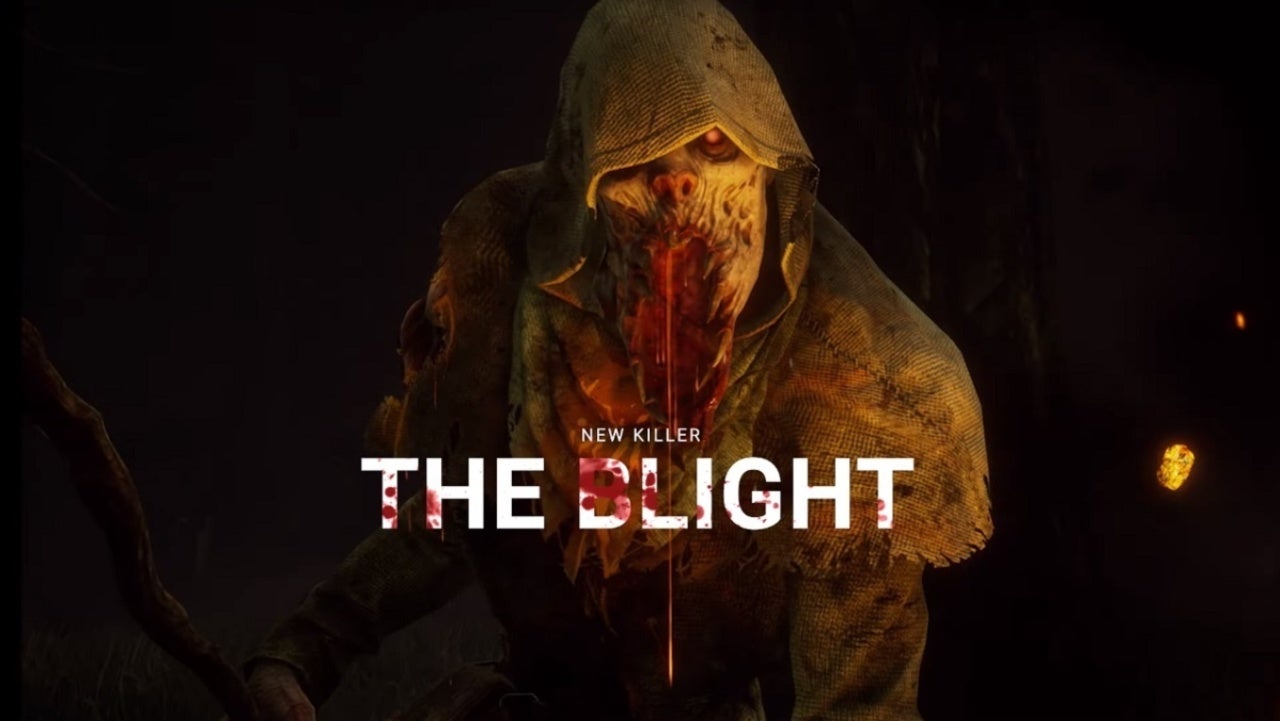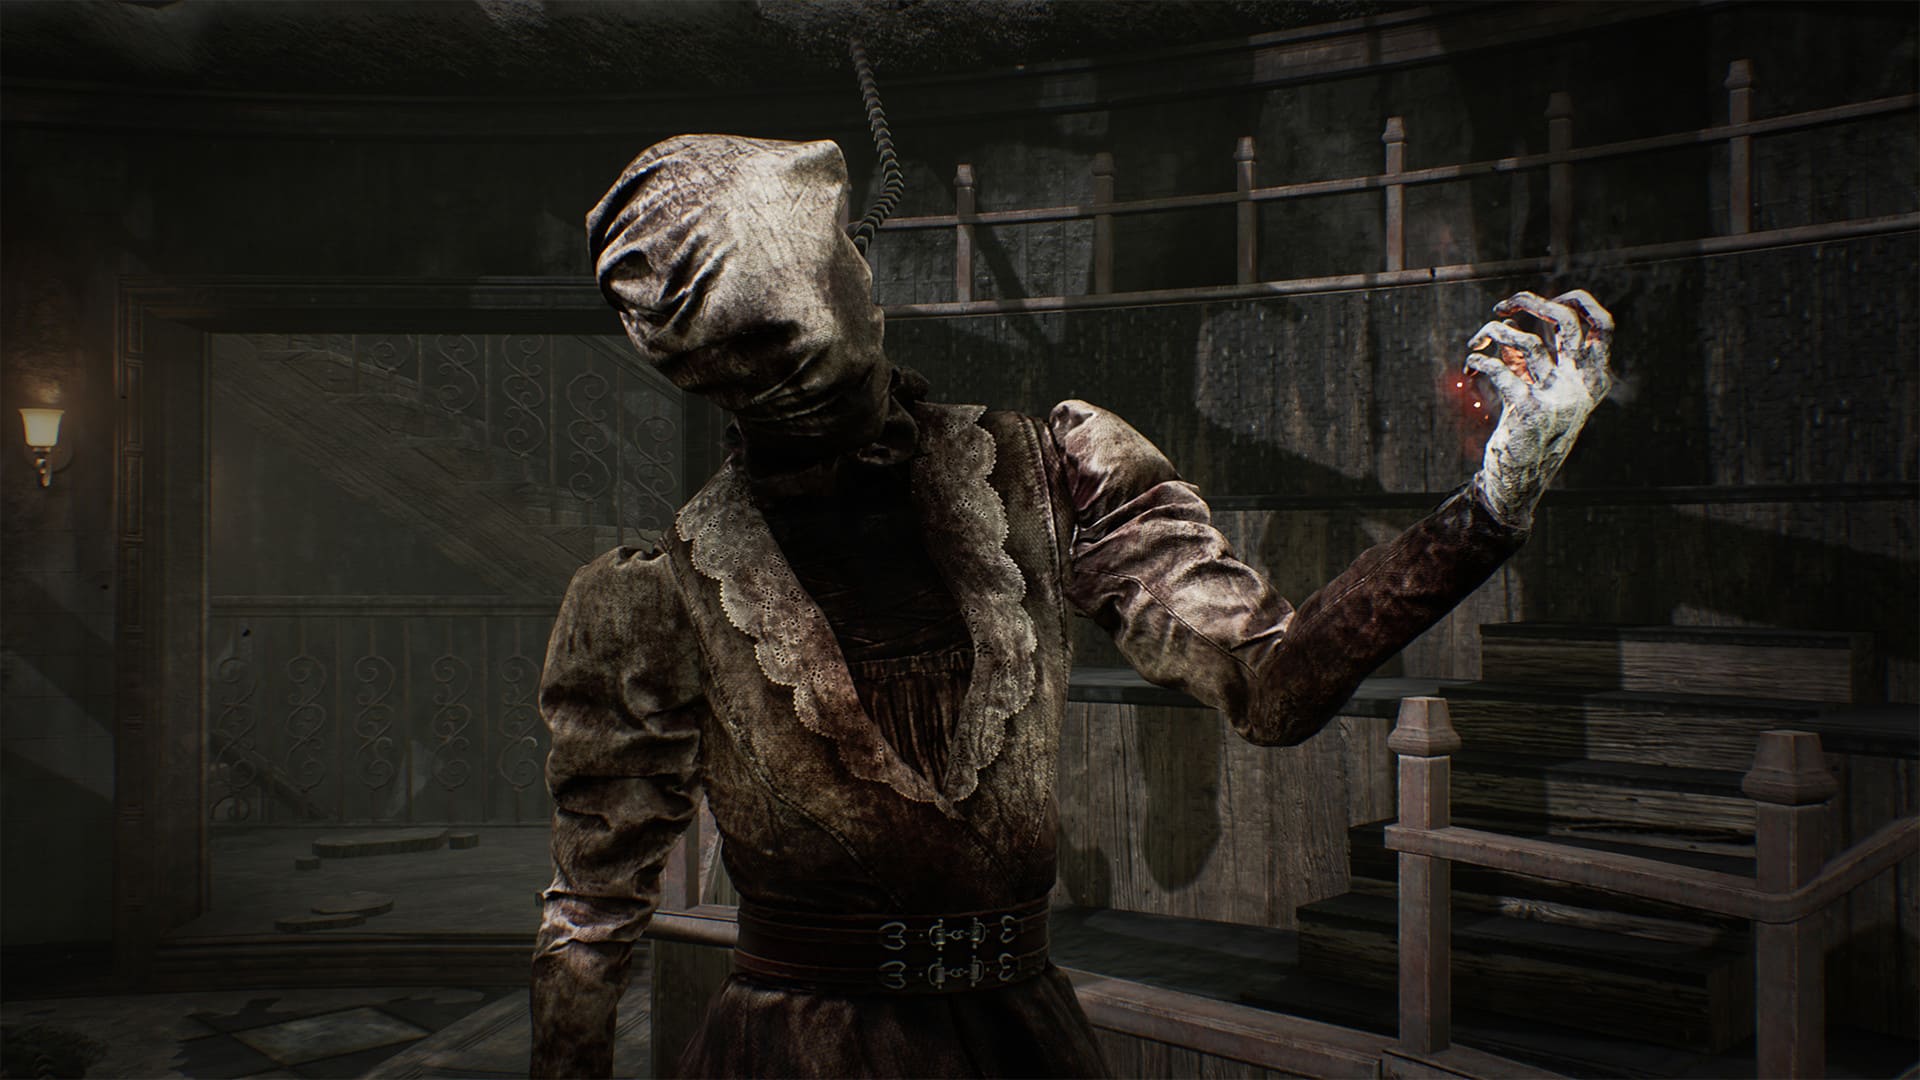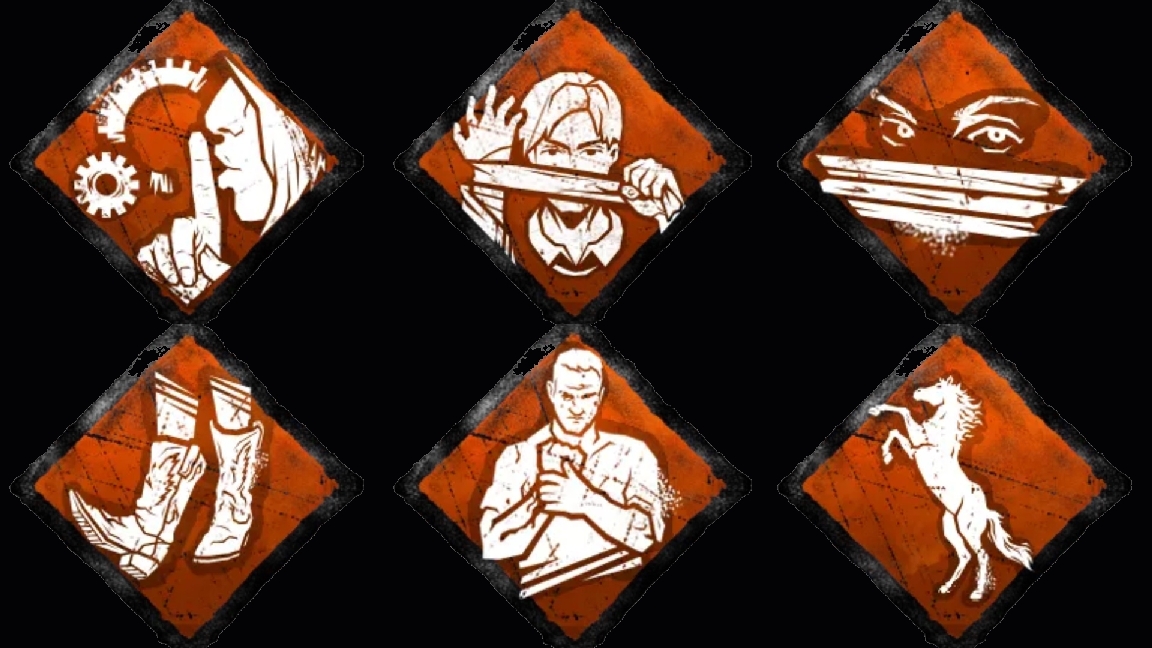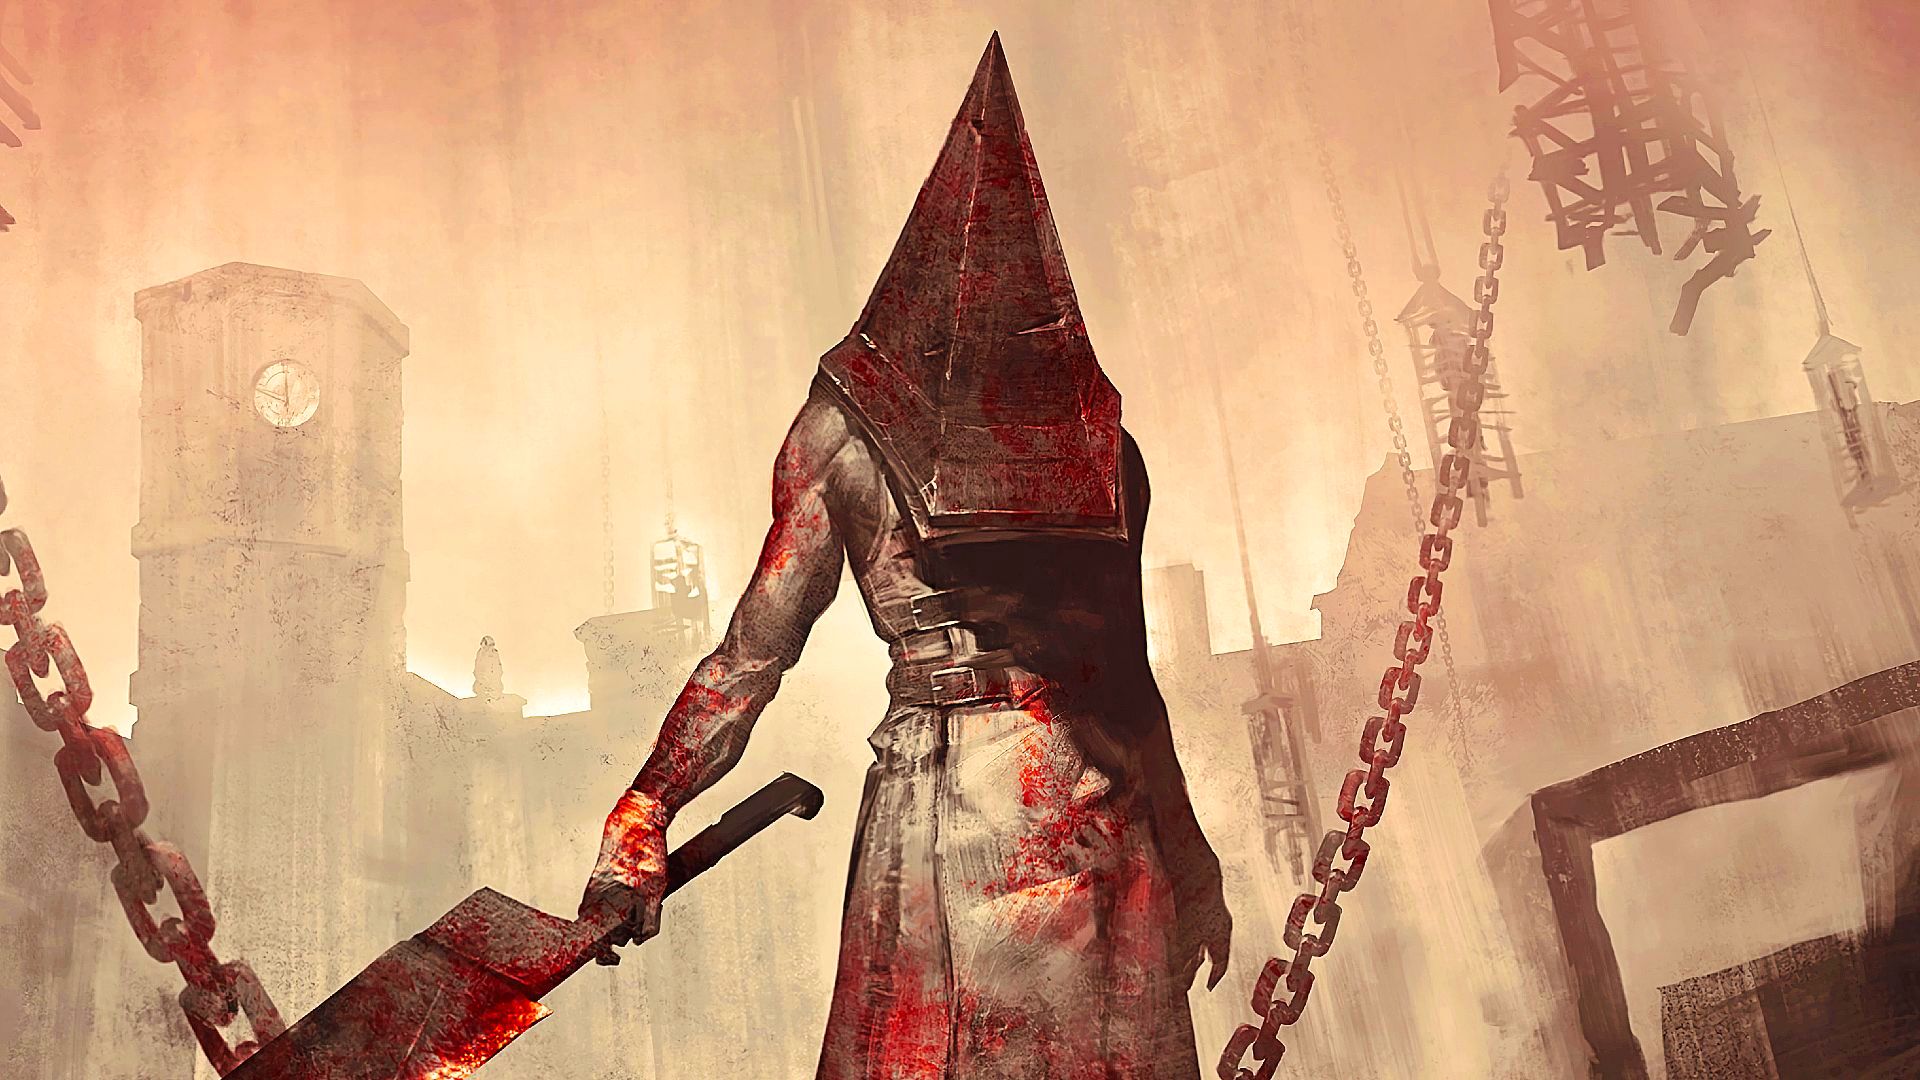
The Dredge is one of the newest killers that has been introduced in dead by daylight, in chapter 24: Roots of Dread, released on 7 June 2022. The Dredge has a unique power of teleportation on the map, inspired by a monster "Bogeyman", a fictional mythical creature used to scare children, and often appears from under the bed, or the closet. Nonetheless, Dredge's power is teleporting through lockers, and if one of the survivors was to be standing in the locker, then the survivor would not notice and would be instantly grabbed by the killer.
As scary as it seems, let's now look at the top 5 builds for the dredge to make the game even scarier and unpredictably harder to escape:
5. The Dredged Butcher Build
Dead by Daylight gameplay by Jave Hunt
The Dredged Butcher Build is a build that focuses on the discovery of the survivors with perks such as sloppy butcher which would allow for an easier discovery , as survivors would leave much greater blood pools.
Nonetheless, with perks such as discordance and jolt you are able to montior generators precisely and therefore be able to use jolt to specific generators in the area and be able to regress them appropriately, making this a great build for montior and scouting for the survivors.
What The Dredged Butcher Build Excels In:
- The use of the perk sloppy butcher is very useful and effective once wanting to know the location of survivors that you are chasing, as there is a bigger blood pool and therefore easier to locate and find.
- With scourge hook: gift of pain, it is a perk extremely powerful, especially at the output moment where the survivor has no choice but to repair with a 16% penalty until being injured again, which can be controlled by the killer.
Build details & Perks:
- Sloppy Butcher: Wounds inflicted by Basic Attacks cause Survivors to suffer from the Haemorrhage and Mangled Status Effect: Increases the Bleeding frequency by 50/75/100 %. Increases the Regression rate at which partial Healing Progression is lost through Haemorrhage by 15/20/25 %. Both Status Effects are removed once the Survivor is fully healed.
- Discordance: Any Generator within a range of 64/96/128 metres that is being repaired by 2 or more Survivors is marked by a yellow Aura. When the Generator is first highlighted, Discordance triggers a Loud Noise Notification on the Generator. After the Generator is no longer within range or is being repaired by just 1 Survivor, the highlighted Aura will linger for another 4 seconds.
- Jolt: When you put a Survivor into the Dying State with your Basic Attack, all Generators within 32 metres of you instantly explode and start regressing. Applies an immediate 6/7/8 % Progression penalty.
- Scourge Hook: Gift of Pain: At the start of the Trial, 4 random Hooks are changed into Scourge Hooks: The Auras of Scourge Hooks are revealed to you in white. Each time a Survivor is unhooked from a Scourge Hook, the following effects apply: The Survivor suffers from the Haemorrhage and Mangled Status Effects until healed. Upon being healed, the Survivor suffers from a 10/13/16 % Action Speed penalty to Healing and Repairing until they are injured again.
4. The Silent Dredge & Hex Build
Dead by Daylight gameplay by D3AD Plays
The Silent Dredge & Hex Build is a build with one of the reasons being powerful because the combination between Hex: Devour Hop and Hex: Undying is immensely powerful for the reasons that devour hope, which is one of the most powerful perks, has a chance to continue its life even after the hex was cleansed because with undying it can be transferred onto another totem.
Therefore, keep a closer eye on the hex until the moment when the survivors are exposed and ready to be killer by hand. In this case, this combination is powered even more with the perk tinkerer which activates after the generator is in 70% progress, overall making this a powerful build.
What The Silent Dredge & Hex Build Excels In:
- With tinkerer, you have the ability to go undetected once a generator hits more than 70% progress, which is extremely powerful with the killer Dredge, as he is able to move from locker to locker and be able to instantly catch the survivor.
-
The combination of Hex: Devour Hop and Hex: Undying is immensely powerful for the reasons that devour hope, which is one of the most powerful perks, has a chance to continue its life even after the hex was cleansed because with undying it can be transferred onto another totem and therefore keep a closer eye on the hex until the moment where the survivors are exposed and ready to be killer by hand.
Build details & Perks:
- Lethal Pursuer: At the start of the Trial, the Auras of all Survivors are revealed to you for 7/8/9 seconds. Extends the duration of a Survivor's Aura being revealed to you by +2 seconds.
- Tinkerer: Whenever a Generator is repaired to 70 %, you benefit from the following effects: Triggers a Loud Noise Notification for that Generator, revealing its location. Grants the Undetectable Status Effect for the next 12/14/16 seconds.
- Hex: Devour Hope: The false hope of Survivors ignites your hunger. Each time a Survivor is rescued from a Hook when you are at least 24 metres away, Hex: Devour Hope receives 1 Token: 2 Tokens: 10 seconds after hooking a Survivor, gain a 3/4/5 % Haste Status Effect for the next 10 seconds. 3 Tokens: Survivors suffer permanently from the Exposed Status Effect. 5 Tokens: You are granted the ability to kill all Survivors by your own hand.
- Hex: Undying: The Auras of Survivors within 2/3/4 metres of any Dull Totem are revealed to you. When another Perk's Hex Totem is cleansed or blessed, its Hex is transferred to the Hex: Undying Totem, including any accumulated Tokens, disabling Hex: Undying instead.
3. The Scourged Dead Man's Switch Build
Dead by Daylight gameplay by PotatoLegion
The Scourged Dead Man's switch build is a build with a great perk combination such as pop goes the weasel and dead man's switch which gives you the ability to block the generators the moment you come to a generator that is being repaired by the survivors, as they would instantly leave and therefore dead man's switch would activate and block the generator.
The best thing is once it is unlocked by the entity, you will be able to use pop goes the weasel to make the generator explode and cause a -20% regression making it an extremely powerful combo, and overall making this build an amazing combo for the generator regression category.
What The Scourged Dead Man's Switch Build Excels In:
- The perk 'pop goes the weasel', has the advantage of popping generators and automatically regressing them manually by -20%, this can be linked with the perk dead man's switch, where you can interrupt the generator again, blocking the generator and therefore letting it regress for a bit.
- With dissolution, it is a useful minor perk, especially where there is more than one survivor, allowing the perk for effectiveness, and a greater chance of the survivor performing the vaulting action which is advantageous for the killer as there will be fewer pallets, and therefore easier chases.
Build details & Perks:
- Scourge Hook: Pain Resonance: At the start of the Trial, 4 random Hooks are changed into Scourge Hooks: The Auras of Scourge Hooks are revealed to you in white. Each time a Survivor is unhooked from a Scourge Hook, the following effects apply: The Survivor suffers from the Haemorrhage and Mangled Status Effects until healed. Upon being healed, the Survivor suffers from a 10/13/16 % Action Speed penalty to Healing and Repairing until they are injured again.
- Pop goes the weasel: After hooking a Survivor, Pop Goes the Weasel activates for the next 35/40/45 seconds: The next Generator you damage instantly loses -20 % of its current Progression. Regular Generator Regression applies afterwards and Pop Goes the Weasel deactivates.
- Dead Man's Switch: After hooking a Survivor, Dead Man's Switch activates for the next 20/25/30 seconds: While activated, any Survivor that stops repairing a Generator before it is fully repaired causes The Entity to block the Generator until Dead Man's Switch's effect ends. Affected Generators are highlighted by a white Aura.
- Dissolution: 3 seconds after injuring a Survivor by any means, Dissolution activates for 12/16/20 seconds: While Dissolution is active, if a Survivor fast vaults over a Pallet while they are inside your Terror Radius, The Entity will break the Pallet at the end of the vault, deactivating Dissolution.
2. Hex "with a choice to make" build
Dead by Daylight gameplay by ConnerJCole
The Hex "with a choice to make" is a build consisting of powerful perks but not stable at the same time, leaving this build on the number two list. One of the reasons however why this build is powerful is because the combination of Hex: Devour Hop and Hex: Undying is immensely powerful for the reasons that devour hope, which is one of the most powerful perks, has a chance to continue its life even after the hex was cleansed because with undying it can be transferred onto another totem, and therefore, keep a closer eye on the hex until the moment where the survivors are exposed and ready to be killer by hand.
Nonetheless leaving the rest of the perks as supporting perks makes it easier to catch survivors, with perks such as 'save the best for last, where cool-down reduction of an attack can be reduced up to 40%, which is immensely powerful, making this build very powerful.
What Hex "with a choice to make" Build Excels In:
-
The combination of Hex: Devour Hop and Hex: Undying is immensely powerful for the reasons that devour hope, which is one of the most powerful perks, has a chance to continue its life even after the hex was cleansed because with undying it can be transferred onto another totem and therefore keep a closer eye on the hex until the moment where the survivors are exposed and ready to be killer by hand.
-
With the perk make your choice, you have the chance to quickly catch the exposed survivor outside the 32-metre range which is incredibly helpful and powerful allowing for an extra easy sacrifice.
Build details & Perks:
- Hex: Devour Hope: The false hope of Survivors ignites your hunger. Each time a Survivor is rescued from a Hook when you are at least 24 metres away, Hex: Devour Hope receives 1 Token: 2 Tokens: 10 seconds after hooking a Survivor, gain a 3/4/5 % Haste Status Effect for the next 10 seconds. 3 Tokens: Survivors suffer permanently from the Exposed Status Effect. 5 Tokens: You are granted the ability to kill all Survivors by your own hand.
- Hex: Undying: The Auras of Survivors within 2/3/4 metres of any Dull Totem are revealed to you. When another Perk's Hex Totem is cleansed or blessed, its Hex is transferred to the Hex: Undying Totem, including any accumulated Tokens, disabling Hex: Undying instead.
- Make your choice: Each time a Survivor is rescued from a Hook when you are at least 32 metres away, Make Your Choice activates: The Rescuer screams and suffers from the Exposed Status Effect for the next 40/50/60 seconds. Make Your Choice has a cooldown of 40/50/60 seconds.
- Save the best for last: Each time you hit a Survivor other than your Obsession with a Basic Attack, Save the Best for Last gains 1 Token, up to a maximum of 8 Tokens: Gain a stack-able 5 % Cool-down reduction on successful attacks per Token, up to a maximum of 40 %. Each time you hit your Obsession with a Basic Attack, Save the Best for Last loses 4/3/2 Tokens. When the Obsession is sacrificed or killed, you can neither gain nor lose any more Tokens.
1. The Almighty Scourged Barbecue Build
Dead by Daylight gameplay by RedsGamingGears
The almighty scourged barbecue build is a build that is considered to be one of the best builds for dredge for many reasons. One of the reasons is the fact that it has an amazing combination of barbecue chilli and make your choice, with a similar distance ratio, you are able to see survivors and at the same being able to see them "exposed", which would make it so much easier to find them without having to use any effort, already with those two perks making this build extremely powerful.
Nonetheless, to make this build even more powerful, the build consists of scourge hooks: floods of rage and scourge hook: pain resonance which you are able to see the auras of the survivors and the same time cause that survivor to be oblivious, which in this perspective makes it one of the most powerful combos for Dredge, especially with his ability to teleport fast within lockers.
What The Almighty Scourged Barbecue Build Excels In:
- The combination of barbecue and Chilli, and make your choice is immensely powerful as both perks work together, with make your choice exposing the survivor and barbecue and chilli revealing their aura, it is about catching up on the survivor and then lastly hitting them to transform into a dying state.
- The Scourge Hook combination makes things easier for the killer, not only by seeing the auras of survivors once of the hook but also the survivor will have a speed penalty for healing and repairing, making it extremely resourceful for the killer.
Build details & Perks:
- Barbecue and Chilli: After hooking a Survivor, all Survivors who are at least 60/50/40 metres away from that Hook have their Aura revealed to you for 4 seconds.
- Make your choice: Each time a Survivor is rescued from a Hook when you are at least 32 metres away, Make Your Choice activates: The Rescuer screams and suffers from the Exposed Status Effect for the next 40/50/60 seconds. Make Your Choice has a cooldown of 40/50/60 seconds.
- Scourge Hooks: Floods of Rage: At the start of the Trial, 4 random Hooks are changed into Scourge Hooks: The Auras of Scourge Hooks are revealed to you in white. Each time a Survivor is unhooked from a Scourge Hook, the following effects apply: The Auras of all other Survivors are revealed for 5/6/7 seconds.
- Scourge Hook: Pain Resonance: At the start of the Trial, 4 random Hooks are changed into Scourge Hooks: The Auras of Scourge Hooks are revealed to you in white. Each time a Survivor is unhooked from a Scourge Hook, the following effects apply: The Survivor suffers from the Haemorrhage and Mangled Status Effects until healed. Upon being healed, the Survivor suffers from a 10/13/16 % Action Speed penalty to Healing and Repairing until they are injured again.
You May Also Be Interested In:
- Dead by Daylight Survivor Guide: Top 25 Tips
- Dead by Daylight Killers Guide: Top 25 Tips
- [Top 10] DbD Best Killer Builds That Are Great!
- [Top 100] Dead By Daylight Best Names
- [Top 10] DbD Best Survivor Builds That Are OP!
- [Top 10] DbD Best Killers And Why They're Good
- [Top 15] DbD Best Killer Perks And Why They're Good
- [Top 15] DbD Best Survivor Perks And Why They're Good
- [Top 10] DbD Best Survivors And Why They're Good
- [Top 10] DbD Best Survivor Builds That Are Great
- [Top 15] Ghost Games To Play Today
- [Top 15] Horror Movies That Were Books
- [Top 15] Best Horror Movies That Were Banned
- [Top 5] Dead By Daylight Most Fun Survivors
- [Top 5] Dead By Daylight Best Jane Romero Builds
- [Top 5] Dead By Daylight Best Meg Thomas Builds
- [Top 5] Dead By Daylight Best Claudette Morel Builds
- [Top 5] Dead by Daylight Best Jake Park Builds
- [Top 5] Dead By Daylight Best Nea Karlsson Builds
- [Top 5] Dead By Daylight Best Laurie Strode Builds
- [Top 5] Dead By Daylight Best Bill Overbeck Builds
- [Top 5] Dead By Daylight Best Feng Min Builds
- [Top 5] Dead By Daylight Best David King Builds

