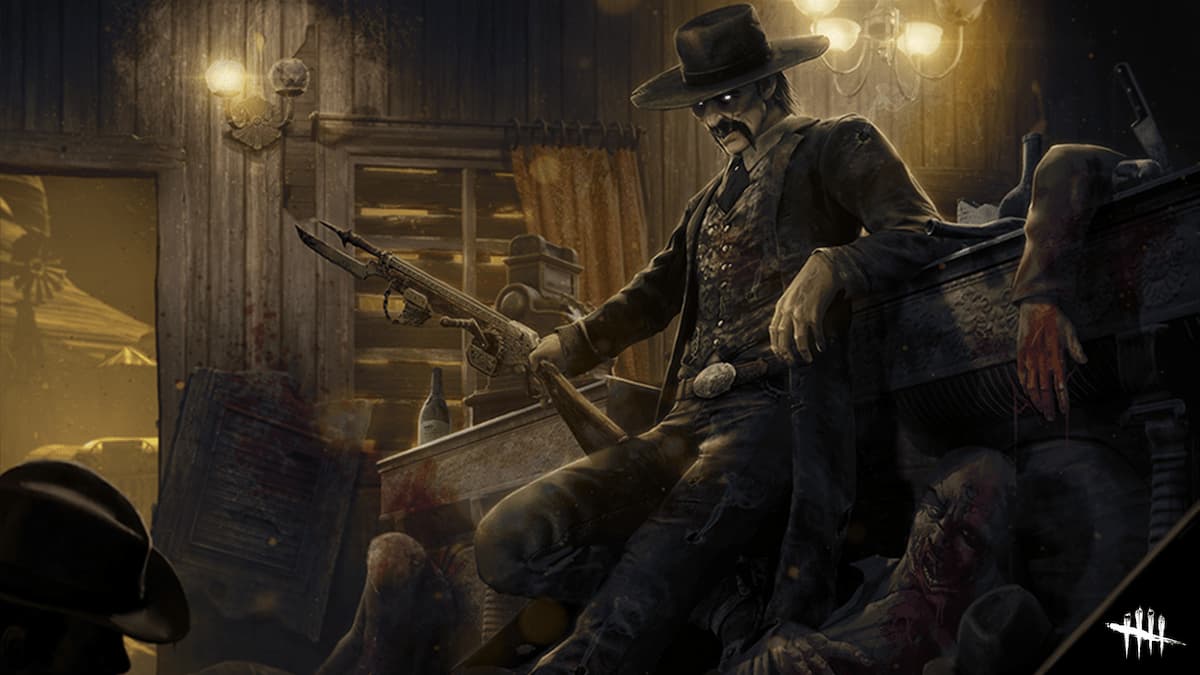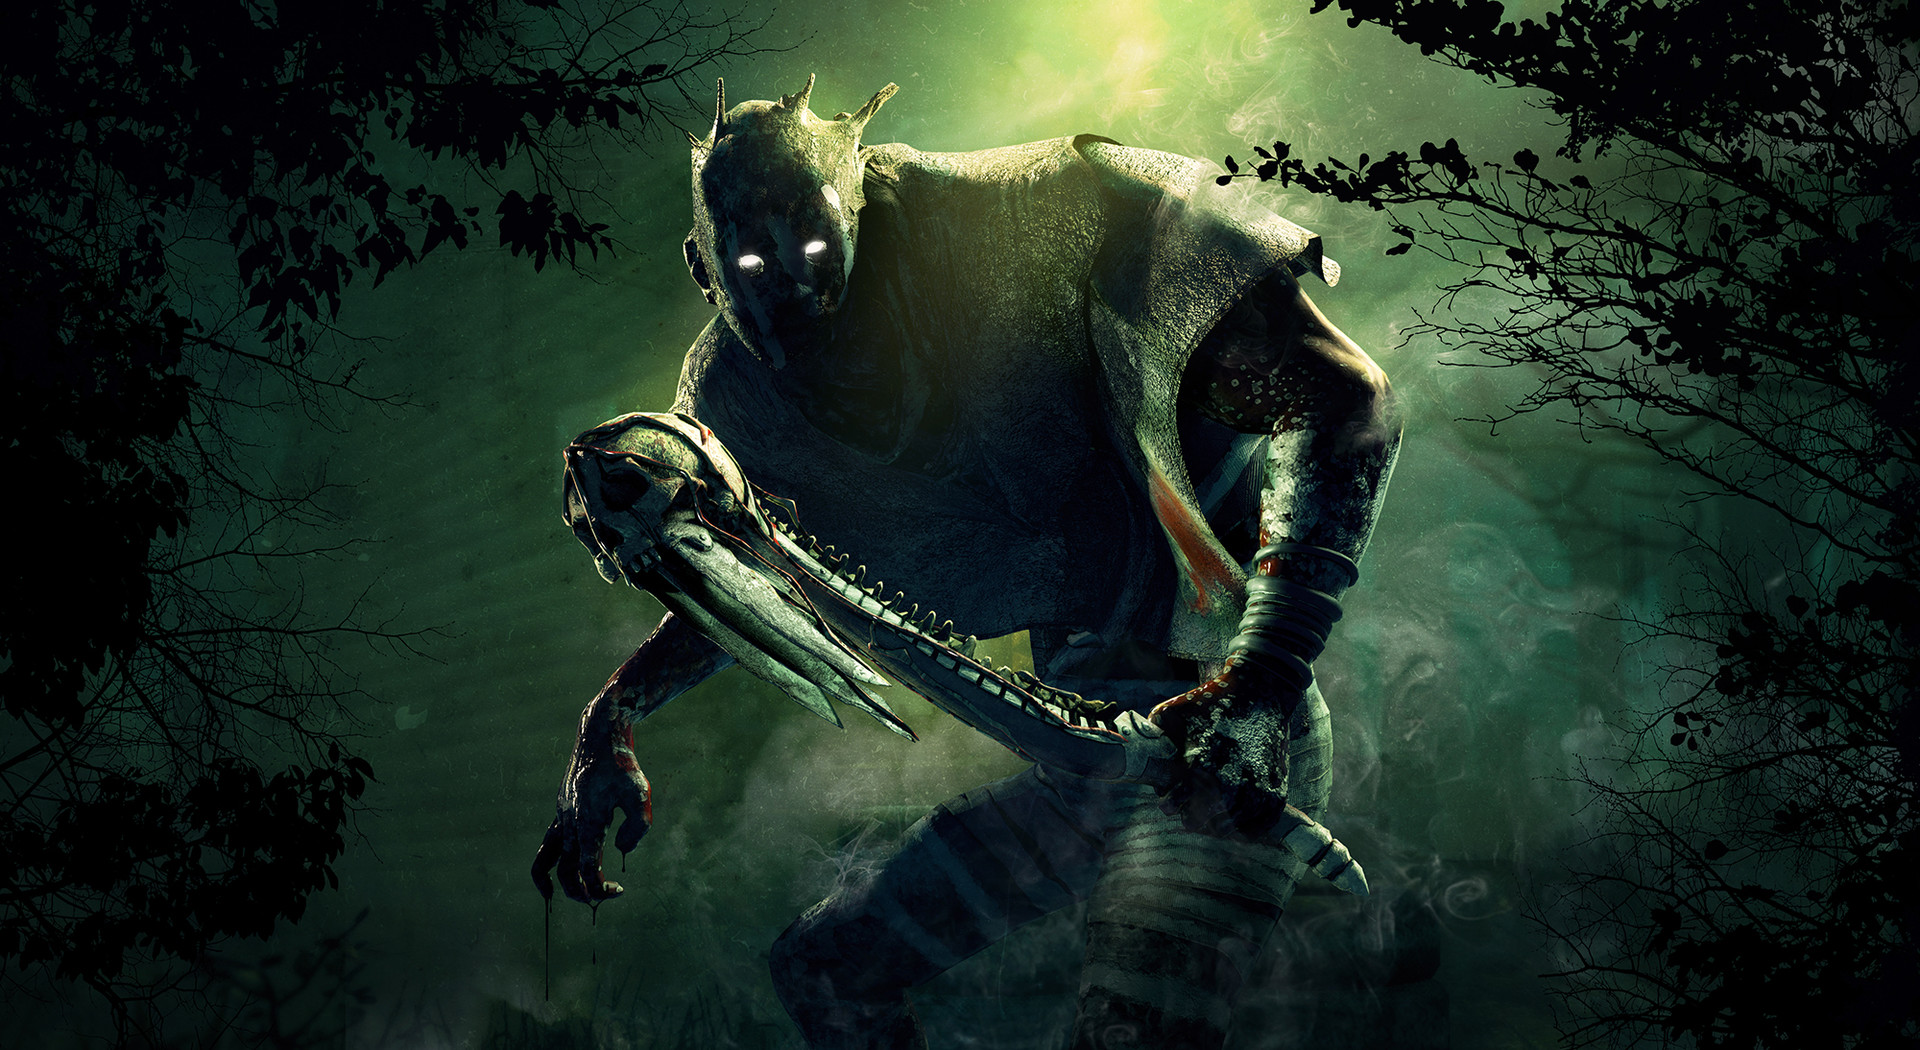
Deathslinger, also known as Caleb Quinn are one of the killers who was introduced in 2020 in chapter 15:Chains of Hate. He is a killer that can be described as a cowboy who uses his spear gun as his main weapon, and one of the ways he catches the survivors is by piercing them with the weapon from a few metres away and then pulling them, just like fishing with a fishing rod.
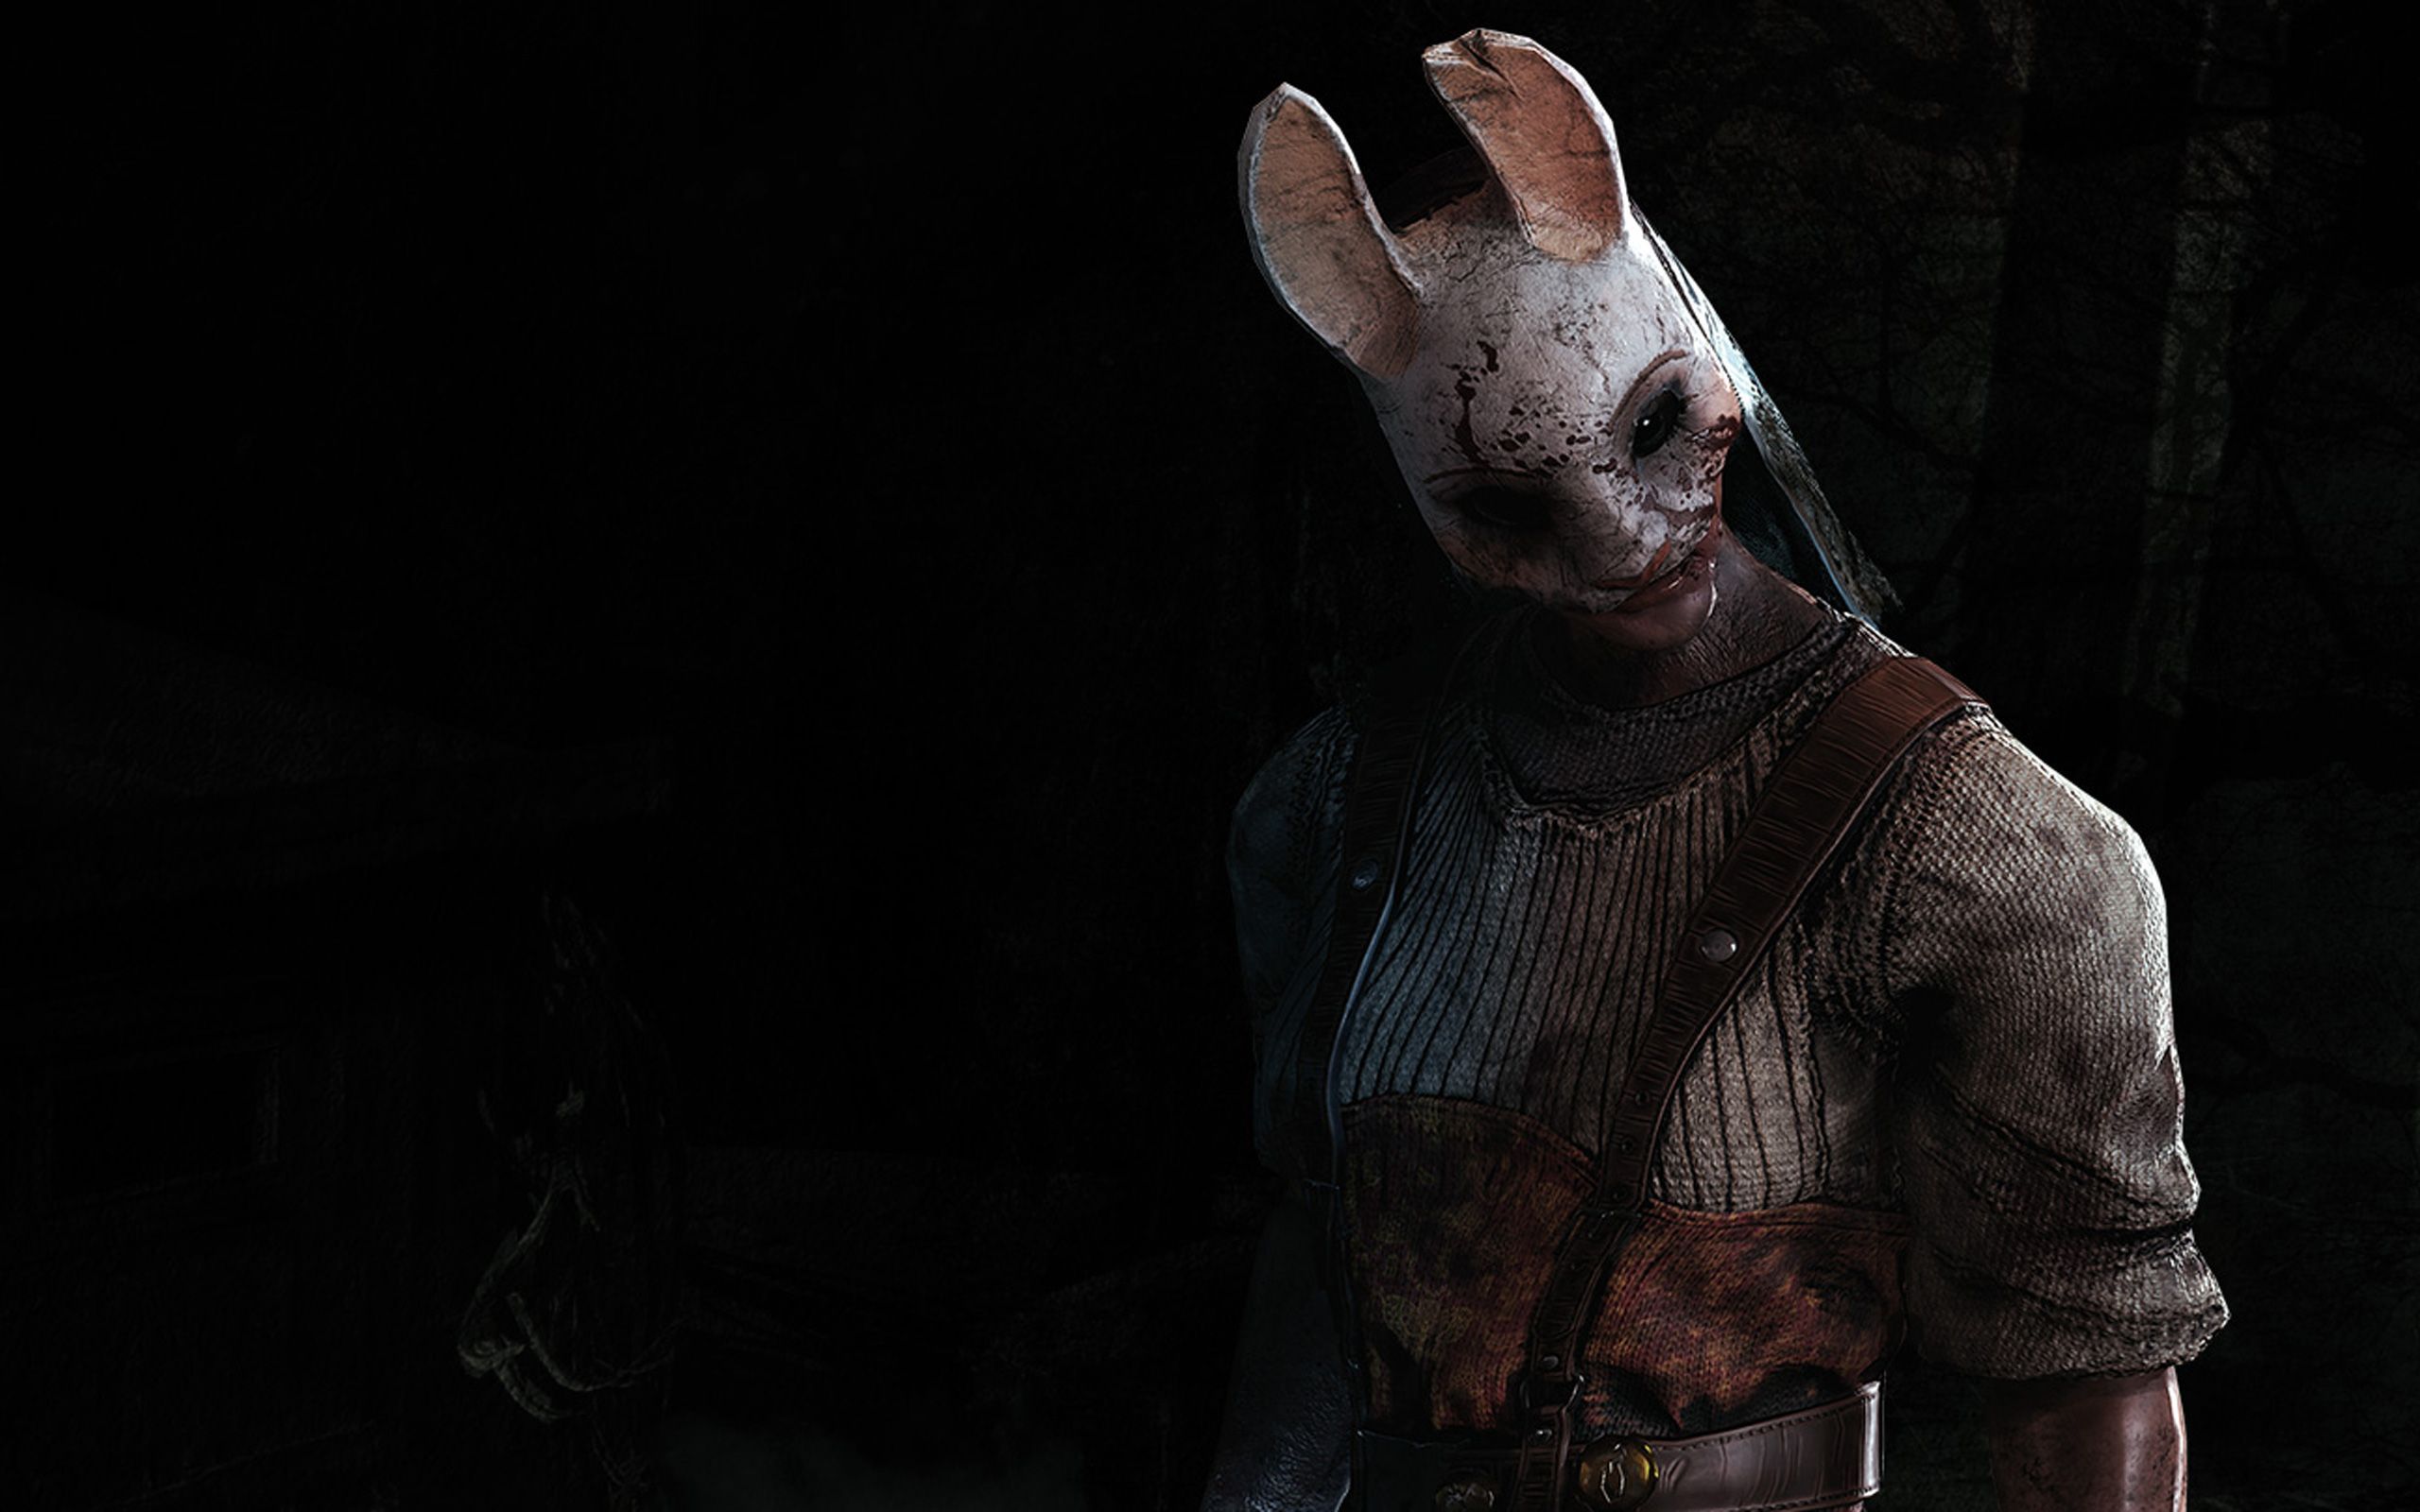
He is a killer that is substantially similar to Huntress, however, has a shorter limited range, alternatively the power he has which Huntress doesn't is the fact that the survivors would have to mend themselves after getting hit, and therefore it would be easier for hunting as the survivors would take time time to mend themselves. Nevertheless, let's look at Deathslinger's top 5 builds:
5. Deadlock Deathslinger Build
Dead by Daylight gameplay by MSA_Matei
The Deadlock Deathslinger is a build that combines together the offensive and defensive styles, where the killer has the ability to attack using the perks, save the best for last, and sloppy butcher for an increase blood flow and therefore make it much easier to track the survivors. On the other hand, for the defensive part, you have the generator regression and blocking where you will be able to use this as a distraction and therefore be able to get the survivors whilst they are running away from a generator. Therefore with these playing styles, it is a build recommended for everybody as a universal playing strategy.
What Deadlock Deathslinger Build Excels In:
- A good combination for blocking and regressing generators, with deadlock and jolt, you will be able to block a generator with the most progression, and at the same time, with jolt, you will be able to make generators explode around you once you down a survivor.
- The perk save the best for last is very good for deathslinger as a cool-down reduction is very well suited when required to reload the gun as soon as possible, and therefore losing less time, creating a chance to get the survivor before the survivor escapes.
Build details & Perks:
- Sloppy Butcher: Wounds inflicted by Basic Attacks cause Survivors to suffer from haemorrhage and Mangled Status Effect: Increases the Bleeding frequency by 50/75/100 %.Increases the Regression rate at which partial Healing Progression is lost through Haemorrhage by 15/20/25 %. Both Status Effects are removed once the Survivor is fully healed.
- Deadlock: Whenever a Generator is completed, The Entity blocks the Generator with the most progression for 20/25/30 seconds. The Aura of the blocked Generator is revealed to you in white during this time.
- Jolt: When you put a Survivor into the Dying State with your Basic Attack, all Generators within 32 metres of you instantly explode and start regressing. Applies an immediate 6/7/8 % Progression penalty.
- Save the best for last: Each time you hit a Survivor other than your Obsession with a Basic Attack, Save the Best for Last gains 1 Token, up to a maximum of 8 Tokens: Gain a stackable 5 % Cool-down reduction on successful attacks per Token, up to a maximum of 40 %. Each time you hit your Obsession with a Basic Attack, Save the Best for Last loses 4/3/2 Tokens. When the Obsession is sacrificed or killed, you can neither gain nor lose any more Tokens. You can only be obsessed with one Survivor at a time.
4. The Corrupted Call of Brine Build
Dead by Daylight gameplay by RedsGamingGears
The Corrupted Call of Brine is a build that can be stated as corruted for the survivors, in other words, it is a build that mainly focuses on the generators and nevertheless leaving the survivors as the kilers' opportunity whenever he sees them. This can be concluded with the gameplay as of leaving the obsession last with the perk save the best for last, which would conclude of gaining up to 40% cool-down reduction on successful attacks, and therefore, use this ability on survivors except the obsession.
Therefore whilst doing this, you will be able to use other perks to concentrate on the generators which would make it much harder for the survivors to do, especially with deathslinger, where he can using use his weapon in a long range ability, therefore making this a great build.
What The Corrupted Call of Brine Build Excels In:
- The Trio Combination of generator perks, allowing for the least chance of repairation of the generators, and be able to focus on the survivors most of time rather than on the generators, which will be more likely to win the game.
- The perk save the best for last is very good for deathsllinger as a cool-down reduction is very well suited when required to reload the gun as soon as possible, and therefore losing less time, creating a chance to get the survivor before the survivor escapes.
Build details & Perks:
- Save the best for last: Each time you hit a Survivor other than your Obsession with a Basic Attack, Save the Best for Last gains 1 Token, up to a maximum of 8 Tokens: Gain a stackable 5 % Cool-down reduction on successful attacks per Token, up to a maximum of 40 %. Each time you hit your Obsession with a Basic Attack, Save the Best for Last loses 4/3/2 Tokens. When the Obsession is sacrificed or killed, you can neither gain nor lose any more Tokens. You can only be obsessed with one Survivor at a time.
- Pop goes the weasel: After hooking a Survivor, Pop Goes the Weasel activates for the next 35/40/45 seconds: The next Generator you damage instantly loses -20 % of its current Progression. Regular Generator Regression applies afterwards and Pop Goes the Weasel deactivates.
- Call of Brine: After damaging a Generator, the Call of Brine activates for 60 seconds. The Generator regresses at 150/175/200 % of the normal Regression speed and its Aura is revealed to you. Each time a Survivor completes a Good Skill Check on a Generator affected by Call of Brine, you receive a Loud Noise Notification.
- Corrupt Intervention: At the start of the Trial, the 3 Generators located farthest from you are blocked by The Entity for 80/100/120 seconds. Corrupt Intervention deactivates prematurely once the first Survivor is put into the Dying State
3. Deathslinger "No Exit" Build
Dead by Daylight gameplay by OhTofu
The Deathslinger "No exit" build is a build that the deathslinger says to the survivors, that "you shall not pass", with the perks' ability 'no way out', to basically disable the switches therefore creating a situation where the survivors wouldn't be able to open the exit gates for the next maximum of 60 seconds, including tokens, which is a lot of time for the killer to catch up on the survivors who might be next to the exit gates or very close to them, and then hook or sacrifice them once finding the opportunity.
Nonetheless, similarly to the other builds that has been mentioned, the rest of the perks include the use of interrupting the generators, such as blocking the generators at the start of the game, or once a survivor is hooked, or explosion, making it a very powerful build for the main game, and especially near the end game, which would cause the survivors to think that they won, but the game has just starting for the killer.
What The Deathslinger "No Exit" Build Excels In:
- With the perk 'no way out', you will be able to slow down the chance of escape for the survivors, in other words, if there are any survivors are left you still have the chance to hook them and find them most likely next to the exit switches, like a bait, and then be able to sacrifice them.
- The combination between scourge hook and the perk dead man's switch allows for the generator to explode and lose regression, and at the same time block the generator for maximum of 30 seconds until the dead man's switch effect ends.
Build details & Perks:
- No way out: For each Survivor, you hook for the first time, and No Way Out gains 1 Token. Once the Exit Gates have been powered, No Way Out activates: When a Survivor interacts with an Exit Gate Switch, you receive a Loud Noise Notification and The Entity blocks both Exit Gate Switches for 12 seconds and an additional 6/9/12 seconds per Token in your possession, up to a combined maximum of 36/48/60 seconds.
- Corrupt Intervention: At the start of the Trial, the 3 Generators located farthest from you are blocked by The Entity for 80/100/120 seconds. Corrupt Intervention deactivates prematurely once the first Survivor is put into the Dying State
- Scourge Hook: Pain Resonance: At the start of the Trial, 4 random Hooks are changed into Scourge Hooks: The Auras of Scourge Hooks are revealed to you in white. Each time a Survivor is hooked on a Scourge Hook, the following effects apply: The Generator with the most Progression explodes, instantly losing 9/12/15 % of its Progression and starting to regress. Survivors repairing that Generator will scream, but not reveal their location.
- Dead man's switch: After hooking a Survivor, Dead Man's Switch activates for the next 20/25/30 seconds: While activated, any Survivor that stops repairing a Generator before it is fully repaired causes The Entity to block the Generator until Dead Man's Switch's effect ends. Affected Generators are highlighted by a white Aura.
2. The All-Knowing Generator Boom Build
Dead by Daylight gameplay by PotatoLegion
The All-Knowing Generator Boom Build is a build that makes the generators basically go boom, and at the same time, be able to see what is happening all around you with the help of the perk called barbecue and chilli, which basically tells you the auras of survivors once you hook one of the survivors, revealing the aura of others who are outside your terror radius.
Nevertheless, apart from this advantage, you have the ability to block and regress generators more efficiently, which has a similar build to the corrupted call of brine build, but with a touch of vision, therefore creating this masterpiece of a build with a touch of generator kill and stalk.
What The All-Knowing Generator Boom Build Excels In:
- Barbecue and Chilli works very well, especially with deathslinger as he has a clear aura advantage, and therefore it would be much easier when shooting with the gun, and it would take less time.
- With corrupt intervention you will be able to look for survivors in the specific area where the generators are not blocked, and therefore be able to get early hits on the survivors.
Build details & Perks:
- Corrupt Intervention: At the start of the Trial, the 3 Generators located farthest from you are blocked by The Entity for 80/100/120 seconds. Corrupt Intervention deactivates prematurely once the first Survivor is put into the Dying State
- Jolt: When you put a Survivor into the Dying State with your Basic Attack, all Generators within 32 metres of you instantly explode and start regressing. Applies an immediate 6/7/8 % Progression penalty.
- Save the best for last: Each time you hit a Survivor other than your Obsession with a Basic Attack, Save the Best for Last gains 1 Token, up to a maximum of 8 Tokens: Gain a stackable 5 % Cool-down reduction on successful attacks per Token, up to a maximum of 40 %. Each time you hit your Obsession with a Basic Attack, Save the Best for Last loses 4/3/2 Tokens. When the Obsession is sacrificed or killed, you can neither gain nor lose any more Tokens. You can only be obsessed with one Survivor at a time.
- Barbecue and chilli: A deep bond with The Entity unlocks potential in one's Aura-reading ability. After hooking a Survivor, all Survivors who are at least 60/50/40 metres away from that Hook have their Aura revealed to you for 4 seconds.
1. The No Choice Game Deathslinger Build
Dead by Daylight gameplay by RedsGamingGears
The No Choice Game Deathslinger Build is no doubt the number 1 build on this list for many reasons. One of the reasons that it is one of the best builds is the fact that the build includes one of the best perks in the game, which would make it very challenging for the survivors to go against. This includes the two hexes mentioned in the build, hex haunted ground, and hex devour hope, which would make it a total of 3 hexes on the map, and what is powerful about this is the fact that if the wrong hex was to be cleansed by the survivor, haunted ground, then it might cause the end game for them, as it would cause the exposed status for 60 seconds, which on the other hand is easily achieved by the deathslinger because of its long distance range of his weapon.
Nevertheless, if none of the hexes was to be cleansed, then they would have to go against the devour hope, which on the other hand, is a definition of a long term of exposure and kill, once reaching the appropriate amount of tokens. In conclusion, this makes it one of the best build because of its opportunity to expose the survivors in many opportunities and go for an easy sacrificial streak.
What The No Choice Game Deathslinger Build Excels In:
- The double hex, unless cleansed, wins the game, as not only they are incredibly powerful but also difficult to choose which hex is the correct one, and cleansing one hex such as haunted ground could be a huge mistake to the game for the survivors.
- With make your choice, it is an incredibly powerful perk, and it will be advantageous with the deathslinger as it would take less time to get the survivor as he can shoot from the distance, and therefore he can get an easy down with the survivors' exposed status.
Build details & Perks:
- Hex: Haunted Ground: Two trapped Hex Totems will spawn in the Trial Grounds. When either Hex Totem is cleansed or blessed, all Survivors suffer from the Exposed Status Effect for 40/50/60 seconds. The second Hex Totem will immediately turn into a Dull Totem.
- Make your choice: Each time a Survivor is rescued from a Hook when you are at least 32 metres away, Make Your Choice activates: The Rescuer screams and suffers from the Exposed Status Effect for the next 40/50/60 seconds. Make Your Choice has a cooldown of 40/50/60 seconds.
- Hex: Devour Hope: The false hope of Survivors ignites your hunger. Each time a Survivor is rescued from a Hook when you are at least 24 metres away, Hex: Devour Hope receives 1 Token: 2 Tokens: 10 seconds after hooking a Survivor, gain a 3/4/5 % Haste Status Effect for the next 10 seconds. 3 Tokens: Survivors suffer permanently from the Exposed Status Effect. 5 Tokens: You are granted the ability to kill all Survivors by your own hand. The Hex effects persist until its Hex Totem is cleansed.
- Scourge Hook: Floods of Rage: At the start of the Trial, 4 random Hooks are changed into Scourge Hooks: The Auras of Scourge Hooks are revealed to you in white. Each time a Survivor is unhooked from a Scourge Hook, the following effects apply: The Auras of all other Survivors are revealed for 5/6/7 seconds.
You May Also Be Interested In:
- Dead by Daylight Survivor Guide: Top 25 Tips
- Dead by Daylight Killers Guide: Top 25 Tips
- [Top 10] DbD Best Killer Builds That Are Great!
- [Top 100] Dead By Daylight Best Names
- [Top 10] DbD Best Survivor Builds That Are OP!
- [Top 10] DbD Best Killers And Why They're Good
- [Top 15] DbD Best Killer Perks And Why They're Good
- [Top 15] DbD Best Survivor Perks And Why They're Good
- [Top 10] DbD Best Survivors And Why They're Good
- [Top 10] DbD Best Survivor Builds That Are Great
- [Top 15] Ghost Games To Play Today
- [Top 15] Horror Movies That Were Books
- [Top 15] Best Horror Movies That Were Banned
- [Top 5] Dead By Daylight Most Fun Survivors
- [Top 5] Dead By Daylight Best Jane Romero Builds
- [Top 5] Dead By Daylight Best Meg Thomas Builds
- [Top 5] Dead By Daylight Best Claudette Morel Builds
- [Top 5] Dead by Daylight Best Jake Park Builds
- [Top 5] Dead By Daylight Best Nea Karlsson Builds
- [Top 5] Dead By Daylight Best Laurie Strode Builds
- [Top 5] Dead By Daylight Best Bill Overbeck Builds
- [Top 5] Dead By Daylight Best Feng Min Builds
- [Top 5] Dead By Daylight Best David King Builds

