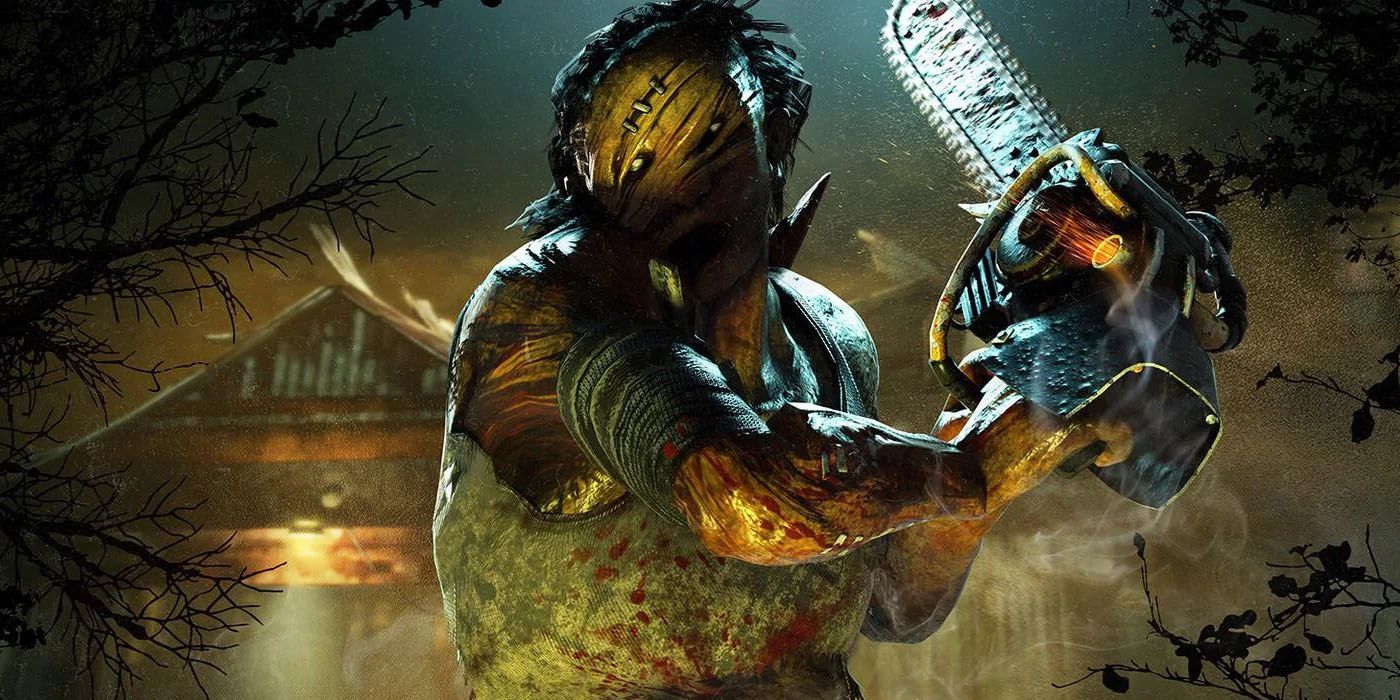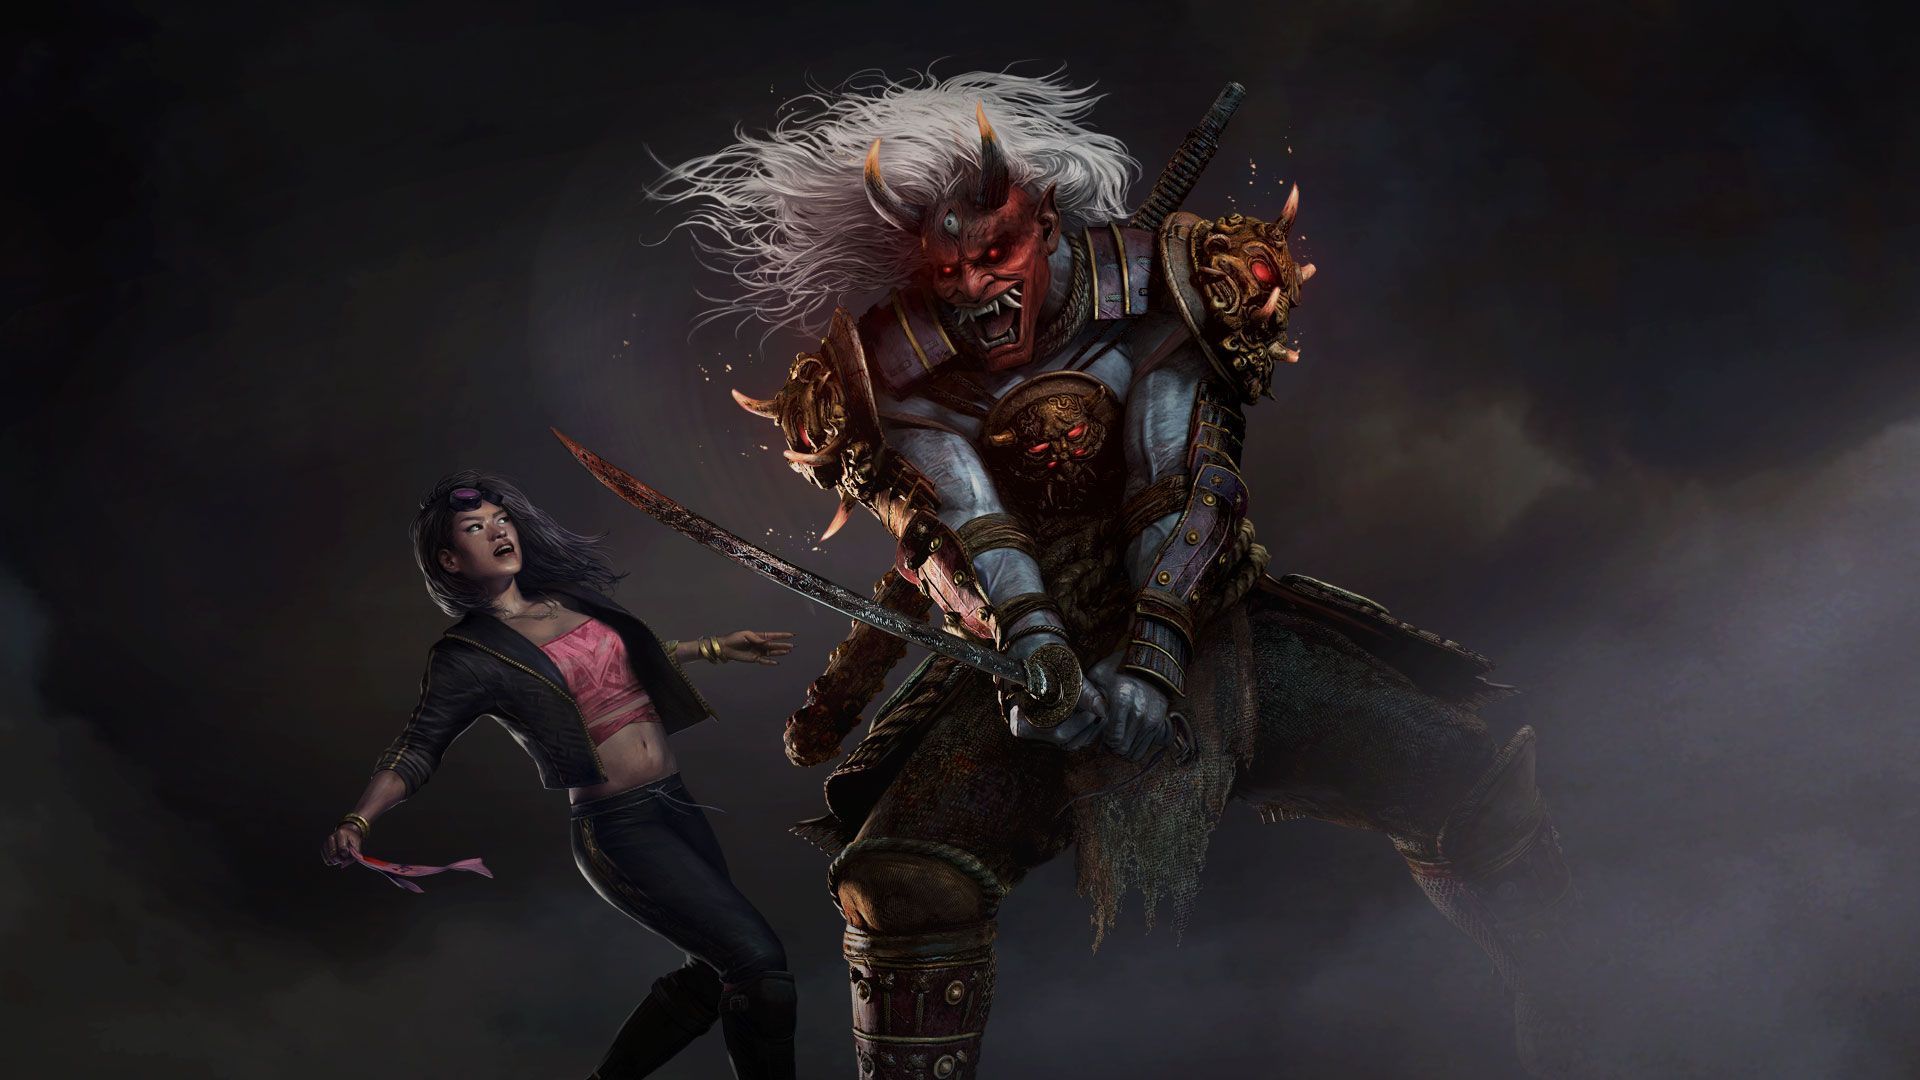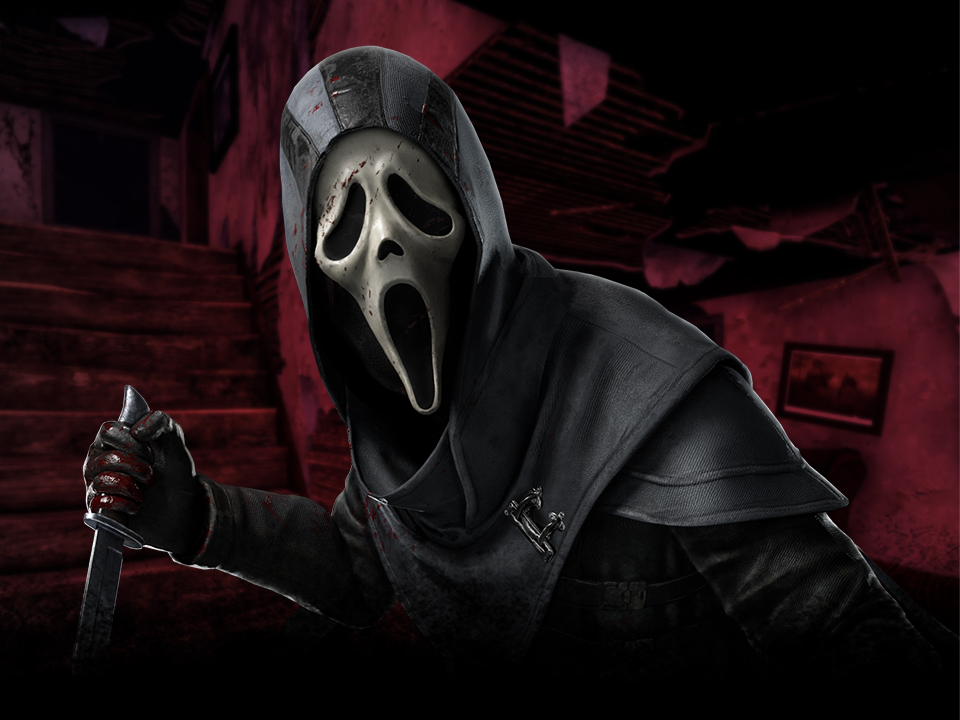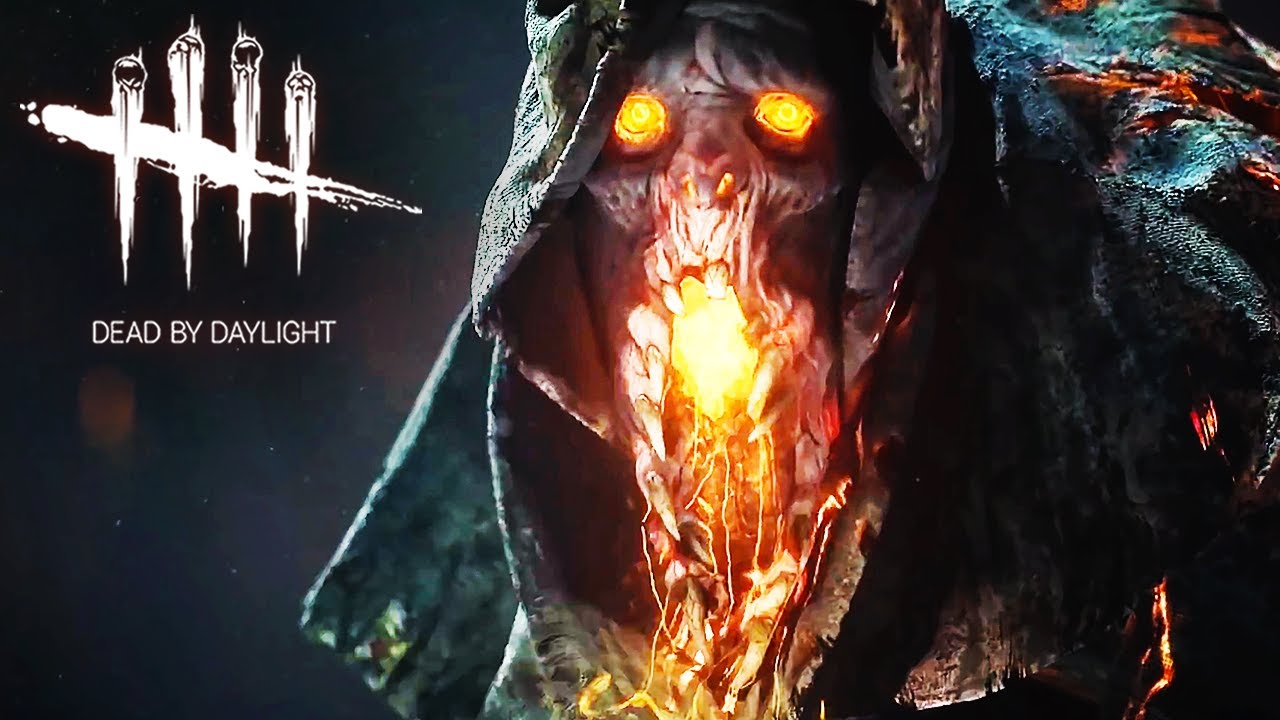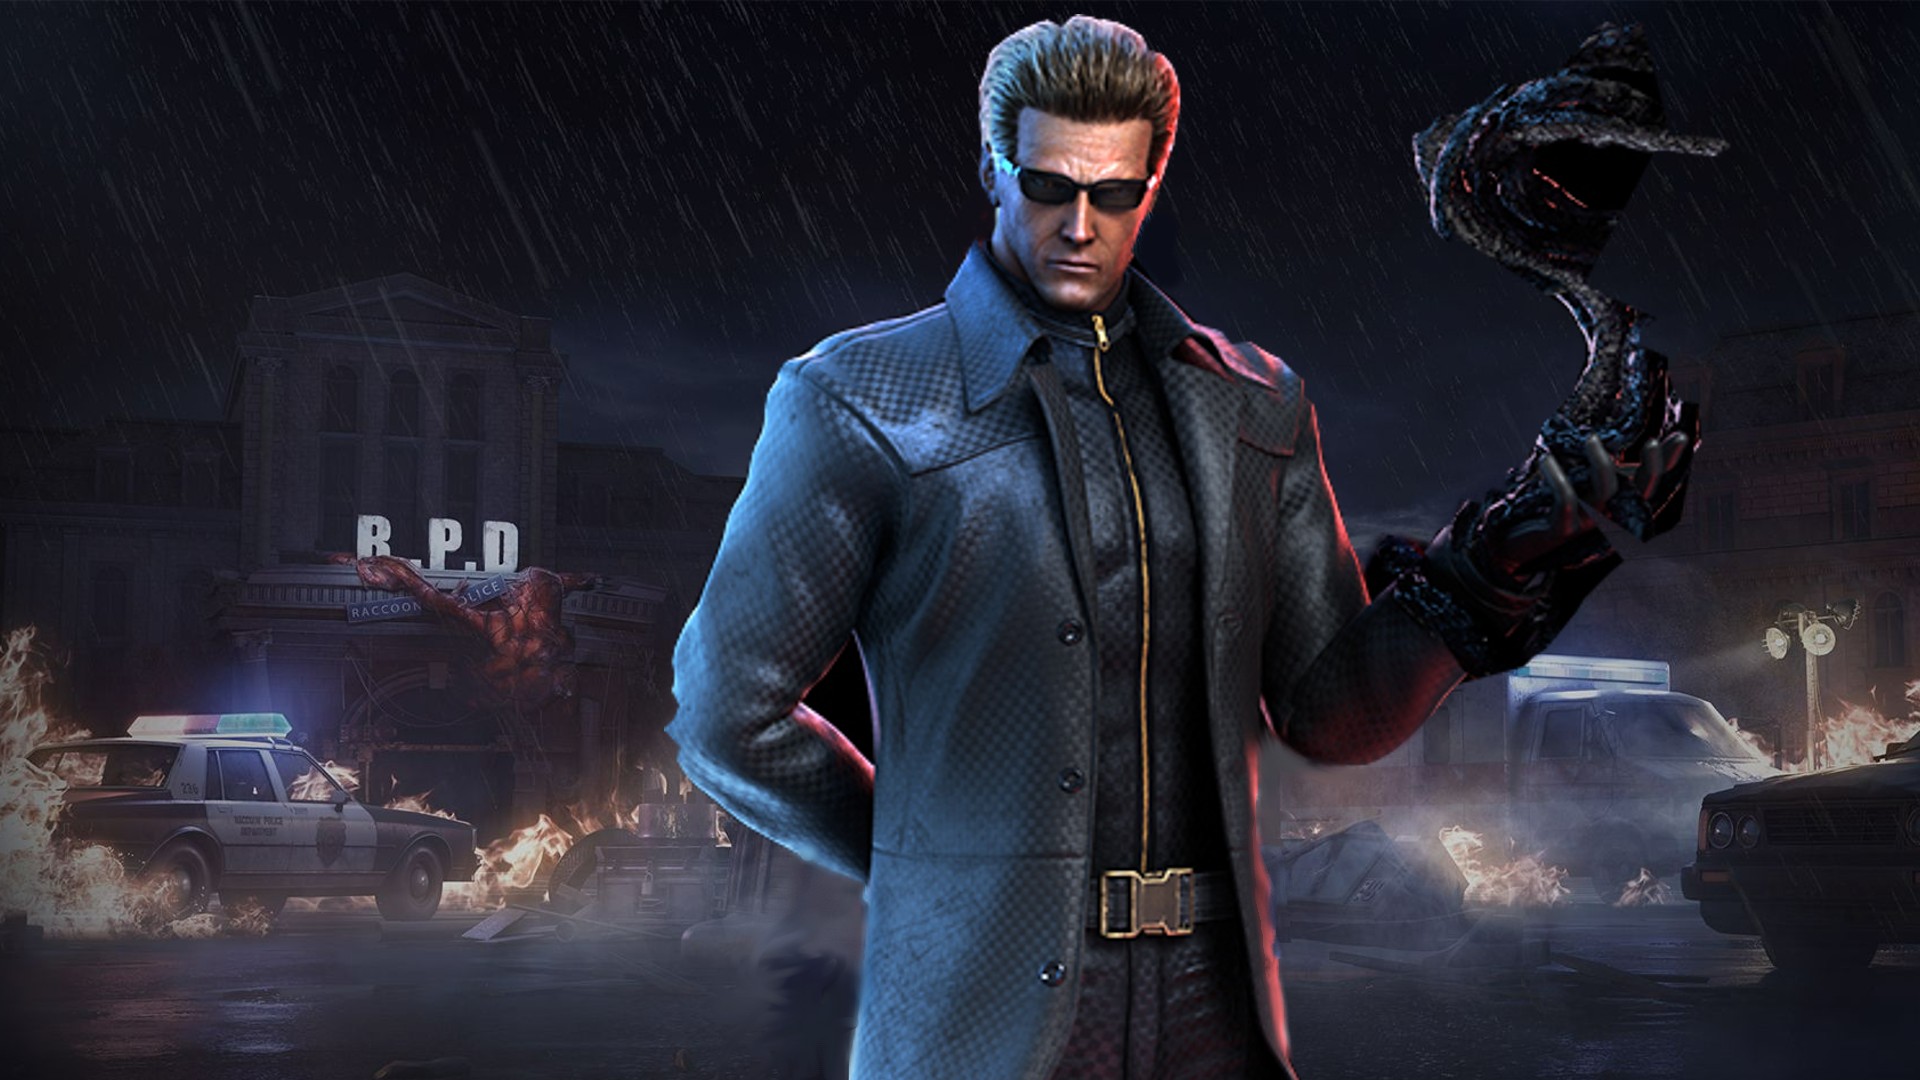
Oni is a killer that is shown as one of the best pressure-based killers in the game, allowing the killer to travel around the map very fast with his secondary power, and therefore allowing him to snowball the survivors if they are healthy, as it will allow the killer to one-shot the survivors with the demon-dash power. Nonetheless, towards the survivor's perspective, it will be very difficult for them survivors to concentrate, such as doing the generators and therefore allowing to slow down the progress of the game.
Nevertheless, let the fog reveal the top 5 builds for the Oni:
5. The Oppressive Oni Build
Dead by Daylight gameplay by Yerv
The Oppressive Oni build is a build that will allow an increasing a great amount of pressure towards the survivors, mainly towards slowing down the healing for the survivors, making them unable to heal fast enough, and therefore allowing the killer to catch up on those survivors and take the instant down.
However, with good and flexible add-ons, it can have a great advantage when in use with the perk Lethal Pursuer, which then would allow the killer to spot the survivors at the beginning of the game and have a great start of collecting the blood from the survivors, and then allowing you to have a faster activation of the secondary power.
What the Oppressive Oni Build Excels In:
- With the combination of Distressing and Coulrophobia, you will be able to take on the effect of reducing the healing speed of the survivors within your increased terror radius with the help of distressing, which allows you to increase your terror radius by 26%, and overall reduce the healing speed of the maximum 50%.
- With the combination of the perk Sloppy Butcher and Coulrophobia, it will be much harder for survivors to heal when within the terror radius, as it will take much longer to heal, especially once paused by the killer, where the healing state is then restarted, making it a great combination of slow progression towards the survivors.
Build details & perks:
- Sloppy Butcher: Wounds inflicted by Basic Attacks cause Survivors to suffer from Haemorrhage and Mangled. Status Effect: Increases the Bleeding frequency by 50/75/100 %. Increases the Regression rate at which partial Healing Progression is lost through Haemorrhage by 15/20/25 %. Both Status Effects are removed once the Survivor is fully healed.
- Distressing: Increases your Terror Radius by 22/24/26 % Grants 100 % bonus Bloodpoints for all actions in the Deviousness Category.
- Lethal Pursuer: At the start of the Trial, the Auras of all Survivors are revealed to you for 7/8/9 seconds. Extends the duration of a Survivor's Aura being revealed to you by +2 seconds.
- Coulrophobia: For all Survivors within your Terror Radius, the following effects apply: Reduces the Healing speed by 30/40/50 %. Increases the Rotation speed of Healing Skill Checks by +50 %.
4. The Scourge of No Escape Build
Dead by Daylight gameplay by Greyletters
The Scourge of No Escape build is a build that is specially chosen for taking head starts before all the survivors and taking the effects of Scourge Hooks so that it would make the game much harder for the survivors to compete with.
The Build is specially designed for the start and the end game to catch the survivors off guard, allowing it to use its ability to finish those survivors off without even having to blink, making it one of the greatest builds for catching survivors off-guard and taking those effects from the perks to increase the chance of winning.
What the Scourge of No Escape Build Excels In:
- The combination of the Scourge Hook perks will allow you to have a greater advantage of the perk's effects, which for instance, it would be towards the advantage of the generator and healing side, making it much harder for the survivors to concentrate on those two areas, which would massively slow down the progress of the game.
- With the perk combination of No way out and Corrupt Intervention, it takes great advantage when it comes to the start and end of the game, allowing you to slow down the progress of the survivors when starting the game and trying to do generators, and also the end-game, where survivors are unable to open the exit gates as it would be blocked for a maximum of 60 seconds.
Build details & perks:
- No Way Out: For each Survivor, you hook for the first time, and the perk 'No Way Out' gains 1 Token. Once the Exit Gates have been powered, No Way Out activates: When a Survivor interacts with an Exit Gate Switch, you receive a Loud Noise Notification, and The Entity blocks both Exit Gate Switches for 12 seconds and an additional 6/9/12 seconds per Token in your possession, up to a combined maximum of 36/48/60 seconds.
- Corrupt Intervention: At the start of the Trial, the 3 Generators located farthest from you are blocked by The Entity for 80/100/120 seconds.
- Scourge Hook: Pain Resonance: At the start of the Trial, four random Hooks are changed into Scourge Hooks: The Auras of Scourge Hooks are revealed to you in white. Each time a Survivor is hooked on a Scourge Hook, the following effects apply: The Generator with the most Progression explodes, instantly losing 9/12/15 % of its Progression and starting to regress. Survivors repairing that Generator will scream but not reveal their location.
- Scourge Hook: Gift of Pain: At the start of the Trial, four random Hooks are changed into Scourge Hooks: The Auras of Scourge Hooks are revealed to you in white. Each time a Survivor is hooked on a Scourge Hook, the following effects apply: The Survivor suffers from the Haemorrhage and Mangled Status Effects until healed. Upon being healed, the Survivor suffers a 10/13/16 % Action Speed penalty to Healing and Repairing until they are injured again.
3. Ultra Speed Oni Build
Dead by Daylight gameplay by RedsGamingGears
The Ultra Speed Oni build is a build that is designed to make the killer ultra swift and speedy when it comes to catching survivors in a chase; this is mainly because of the perks that are mentioned in the build, such as Play with your food which allows you to gain a speed of 15%.
Nonetheless, other advantages for the killer include the Scourge Hook combination perks, which would allow you to see the aura of the survivors and then make the most progressed generator explode, which is highly advantageous when it comes to slowing down the progress of the game.
What the Ultra Speed Oni Build Excels In:
- With the perk Play with your food, you will have a great advantage when it comes to gaining speed in the game, allowing you to gain a maximum of 15% haste status, which is highly advantageous when it comes to catching up on survivors, and therefore speeding up the game towards the killer side.
- The combination of the Scourge Hook perks will allow you to have a greater advantage of the perk's effects, which for instance, it would be towards the advantage of the generator and the aura-revealing side, making it much harder for the survivors to concentrate on those two areas, which would massively slow down the progress of the game, and therefore be at a great advantage when it comes to spotting survivors once a survivor is unhooked.
Build details & perks:
- Nemesis: Any Survivor who blinds or stuns you become the Obsession. Anytime your Obsession switches to another Survivor by any means, that Survivor then suffers from the Oblivious Status Effect for 40/50/60 seconds, and their Aura is revealed to you for 4 seconds.
- Play with Your Food: Each time you chase your Obsession and let them escape, Play with Your Food receives 1 Token, up to a maximum of 3 Tokens: Each Token applies a stack-able 3/4/5 % Haste Status Effect, up to a maximum of 9/12/15 %. Performing Basic Attacks, or Special Attacks that can damage Survivors, consumes 1 Token. Play with Your Food has a cool-down of 10 seconds on Token-accumulation.
- Scourge Hook: Pain Resonance: At the start of the Trial, four random Hooks are changed into Scourge Hooks: The Auras of Scourge Hooks are revealed to you in white. Each time a Survivor is hooked on a Scourge Hook, the following effects apply: The Generator with the most Progression explodes, instantly losing 9/12/15 % of its Progression and starting to regress. Survivors repairing that Generator will scream but not reveal their location.
- Scourge Hook: Floods of Rage: At the start of the Trial, four random Hooks are changed into Scourge Hooks: The Auras of Scourge Hooks are revealed to you in white. Each time a Survivor is unhooked from a Scourge Hook, the following effects apply: The Auras of all other Survivors are revealed for 5/6/7 seconds.
2. Monitoring the Infection Build
Dead by Daylight gameplay by D3AD Plays
Monitoring the Infection Build is a build that takes infection to another level. The main base perk that allows this to happen is Monitor and Abuse, which is quite powerful in revealing survivors and catching them by surprise, as it would make the time gap a lot smaller.
For instance, with Monitor & Abuse and the Infectious perk Fright, you will be able to reveal a lot more survivors, as the terror radius is increased by 8 metres, and therefore it would make it much easier to snowball, as, with the Demon Dash power, you will be able to catch up on the revealed survivors in no time.
What Monitoring the Infection Build Excels In:
- With the perk Monitor and Abuse, it will be much harder for the survivors to focus due to the ability of the perk, which allows you to reduce the terror radius when outside a chase by as much as 16 metres which would then leave him with the terror radius base of 16 metres, making it difficult for survivors to predict where the killer is within the small time gap.
- Infectious Fright is a perk which allows you to take on the infection and then reveal all the survivors within your terror radius, which is quite useful when trying to snowball and reveal the rest of the close survivors.
Build details & perks:
- Barbecue & Chilli: After hooking a Survivor, all Survivors who are at least 60/50/40 metres away from that Hook have their Aura revealed to you for 4 seconds.
- Monitor & Abuse: Your base Terror Radius is increased by 8 metres. Whenever you are outside a Chase, your Terror Radius is reduced by 16 metres while your Field of View is increased by 3/5/10 °.
- Corrupt Intervention: At the start of the Trial, the 3 Generators located farthest from you are blocked by The Entity for 80/100/120 seconds.
- Infectious Fright: Whenever a Survivor is put into the Dying State by any means, all other Survivors within your Terror Radius will scream and reveal their current location to you for 4/5/6 seconds.
1. Oni's Pop of Survivor Pain Build
Dead by Daylight gameplay by PotatoLegion
Oni's Pop of Survivor Pain build is a build that takes on the regression of the generators to another level, allowing you to see survivors throughout the progress of this build. This build is considered to be one of the best complex builds in this game for the Oni killer because of the great killer combination that will allow you to slow down the game massively and allow you to see the aura of the survivors, which is an all-rounder build creating the biggest chance of winning this game for the Oni killer.
What Oni's Pop of Survivor Pain Build Excels In:
- The combination of the perks Call of Brine and Pop Goes the Weasel allows you to take the regression of the generators much further, allowing you to regress a generator by -20% and further escalate the situation by regressing the generator by 200% of the normal speed with the ability to monitor it and creating receiving notifications if survivor touches it, making it much easier for the generator to regress.
- With Barbecue & Chilli, you can reveal any survivors for 4 seconds once hooking a survivor on the hook, making it a great aura-revealing perk, especially for the killer, as he can use his demon dash to go over to the chosen quickly revealed survivors.
Build details & perks:
- Barbecue & Chilli: After hooking a Survivor, all Survivors who are at least 60/50/40 metres away from that Hook have their Aura revealed to you for 4 seconds.
- Scourge Hook: Pain Resonance: At the start of the Trial, four random Hooks are changed into Scourge Hooks: The Auras of Scourge Hooks are revealed to you in white. Each time a Survivor is hooked on a Scourge Hook, the following effects apply: The Generator with the most Progression explodes, instantly losing 9/12/15 % of its Progression and starting to regress. Survivors repairing that Generator will scream but not reveal their location.
- Pop Goes the Weasel: After hooking a Survivor, Pop Goes the Weasel activates for the next 35/40/45 seconds: Performing the Damage Generator Action on a Generator instantly regresses it by -20 % of its current Progression, after which normal Regression applies.
- Call of Brine: After damaging a Generator, the Call of Brine activates for 60 seconds. The Generator regresses at 150/175/200 % of the normal Regression speed, revealing its Aura to you. Each time a Survivor completes a Good Skill Check on a Generator affected by Call of Brine, you receive a Loud Noise Notification.

