Satisfactory is a game full of endless possibilities. This can make starting a new game, especially as an inexperienced pioneer, difficult. If you’re playing for the first time or the fiftieth, you need to start your save file off right.
If you’re looking for a step-by-step guide to making Satisfactory worth your while, you’ve come to the right place. These are the 20 steps to maximize productivity in your playthrough.
1. Find the Perfect Spot for the HUB
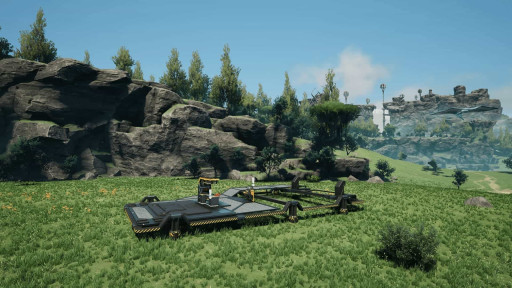
As soon as you dismantle the drop pod you were sent in, you’ll have access to the HUB Parts, which allow you to build the HUB. This will be your central base of operations for the early game, so you’ll want to pick a good spot for it.
Find a nice, open area with plenty of room to build around so you can keep your main base close together. Remember, you can alway dismantle and move your HUB later, so don’t be too afraid of finding the perfect spot. Just place it somewhere convenient and safe.
2. Get Iron, Copper, and Limestone
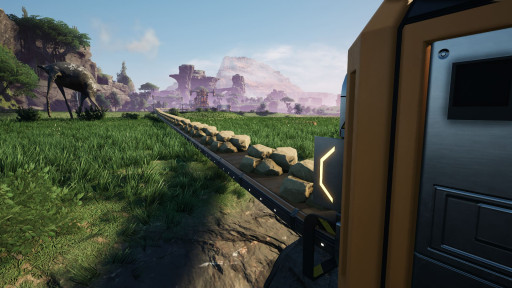
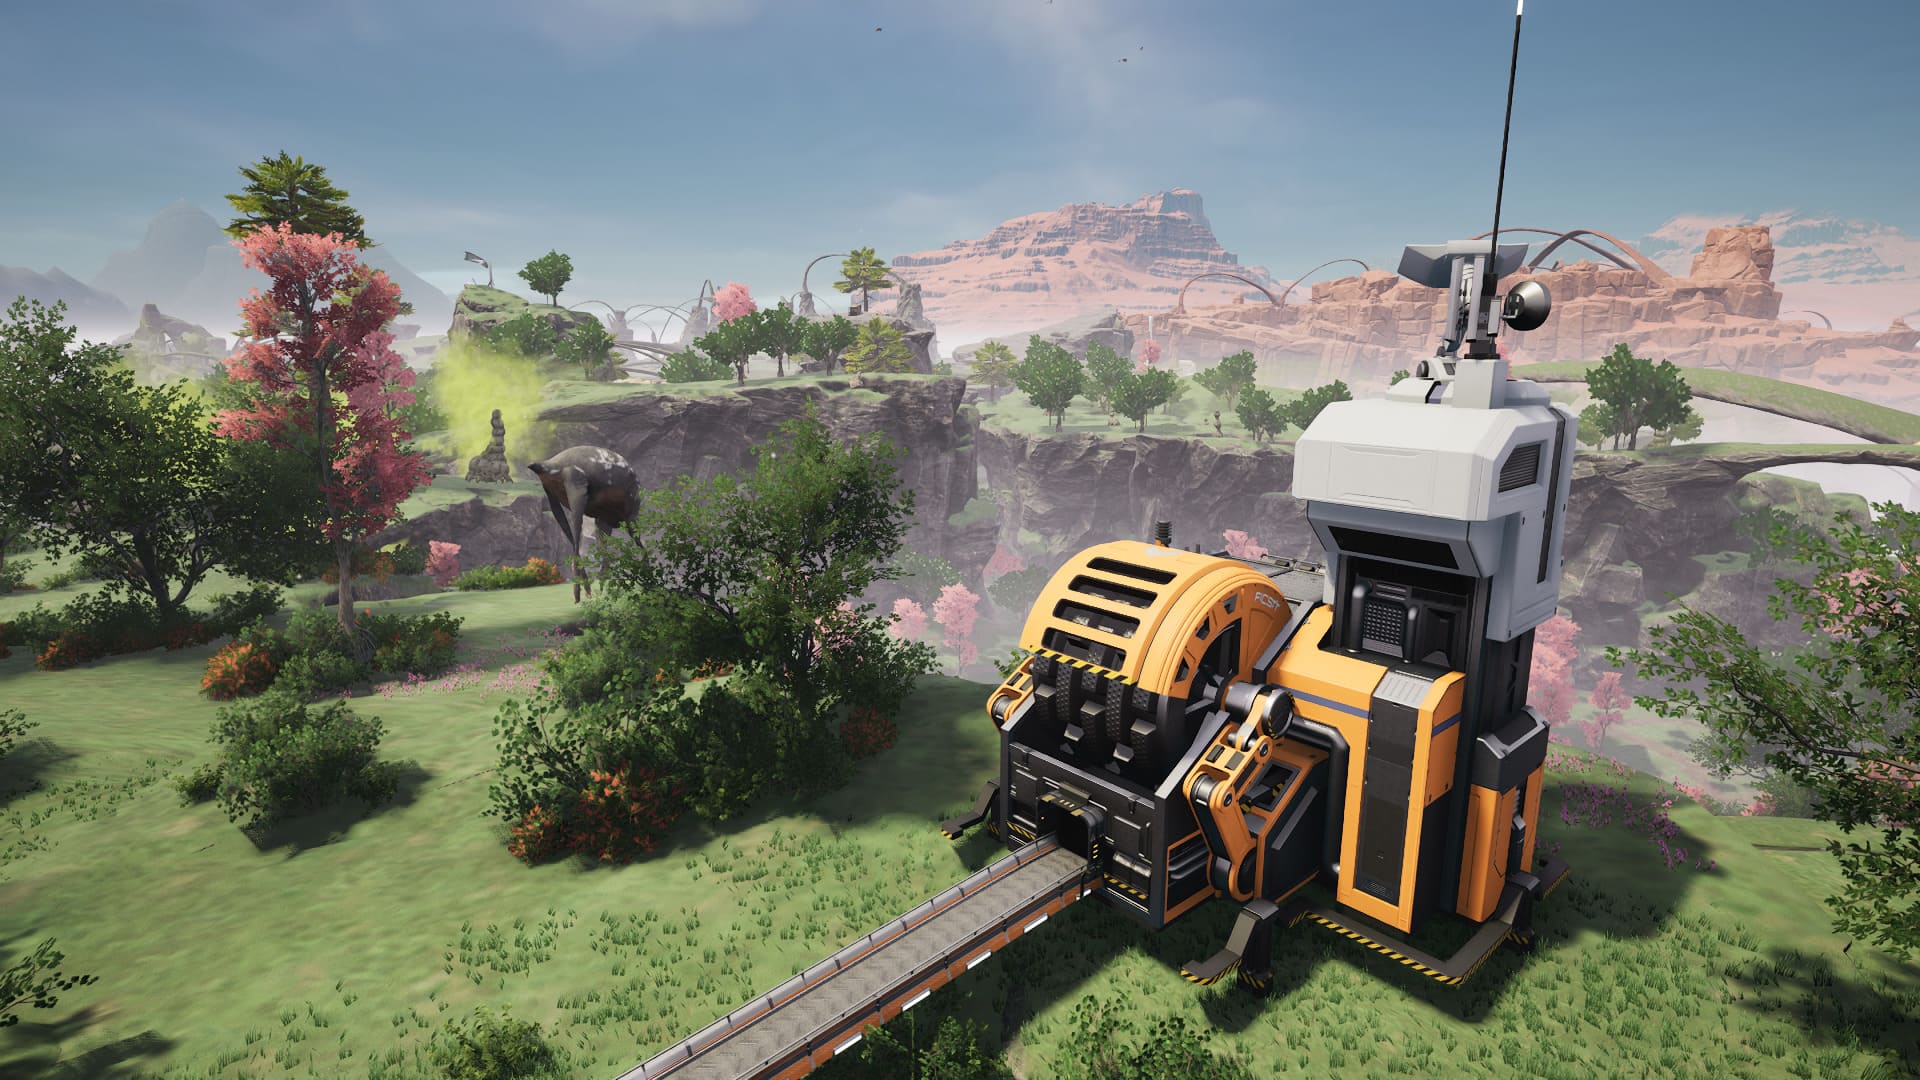
As you begin to upgrade the HUB, you gain the ability to scan for more resources (using the V key). At first, you can only scan for Iron, but as you progress you can scan for Copper (HUB Upgrade 2) and Limestone (HUB Upgrade 3).
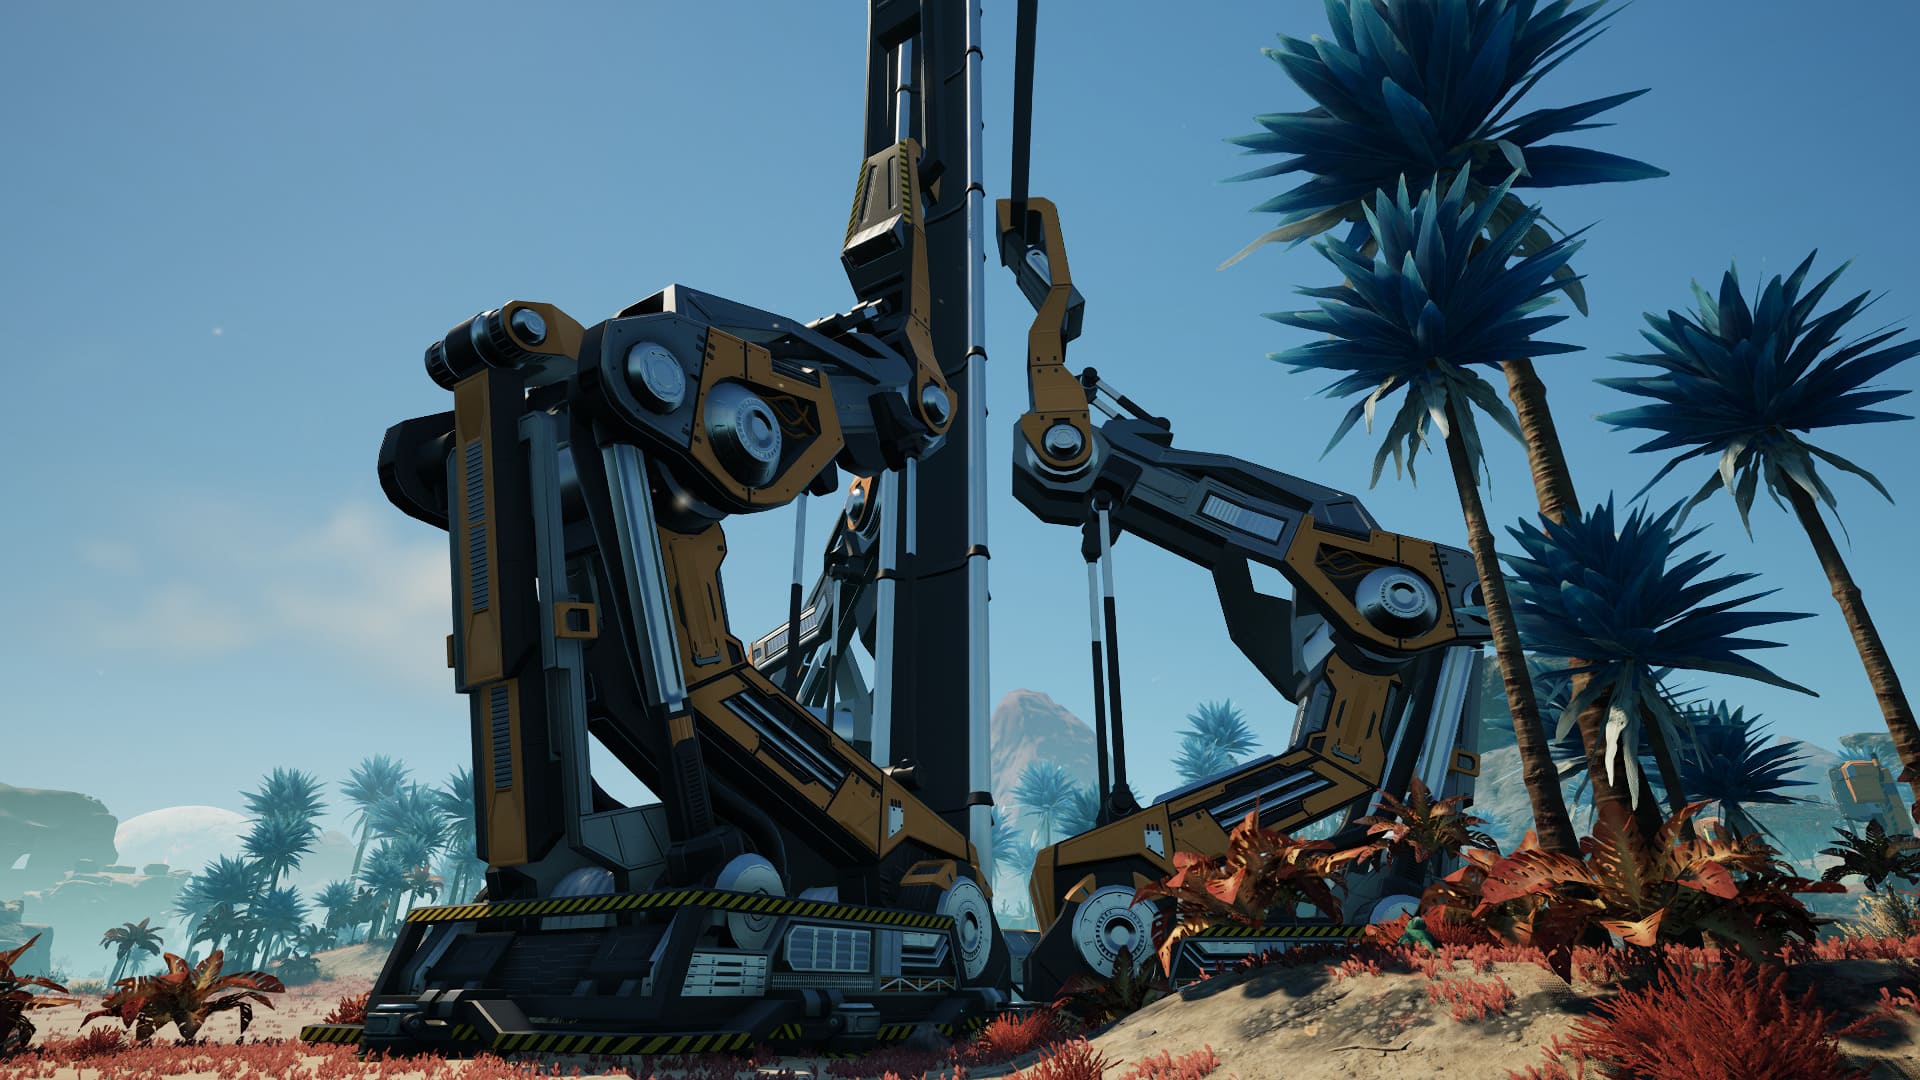
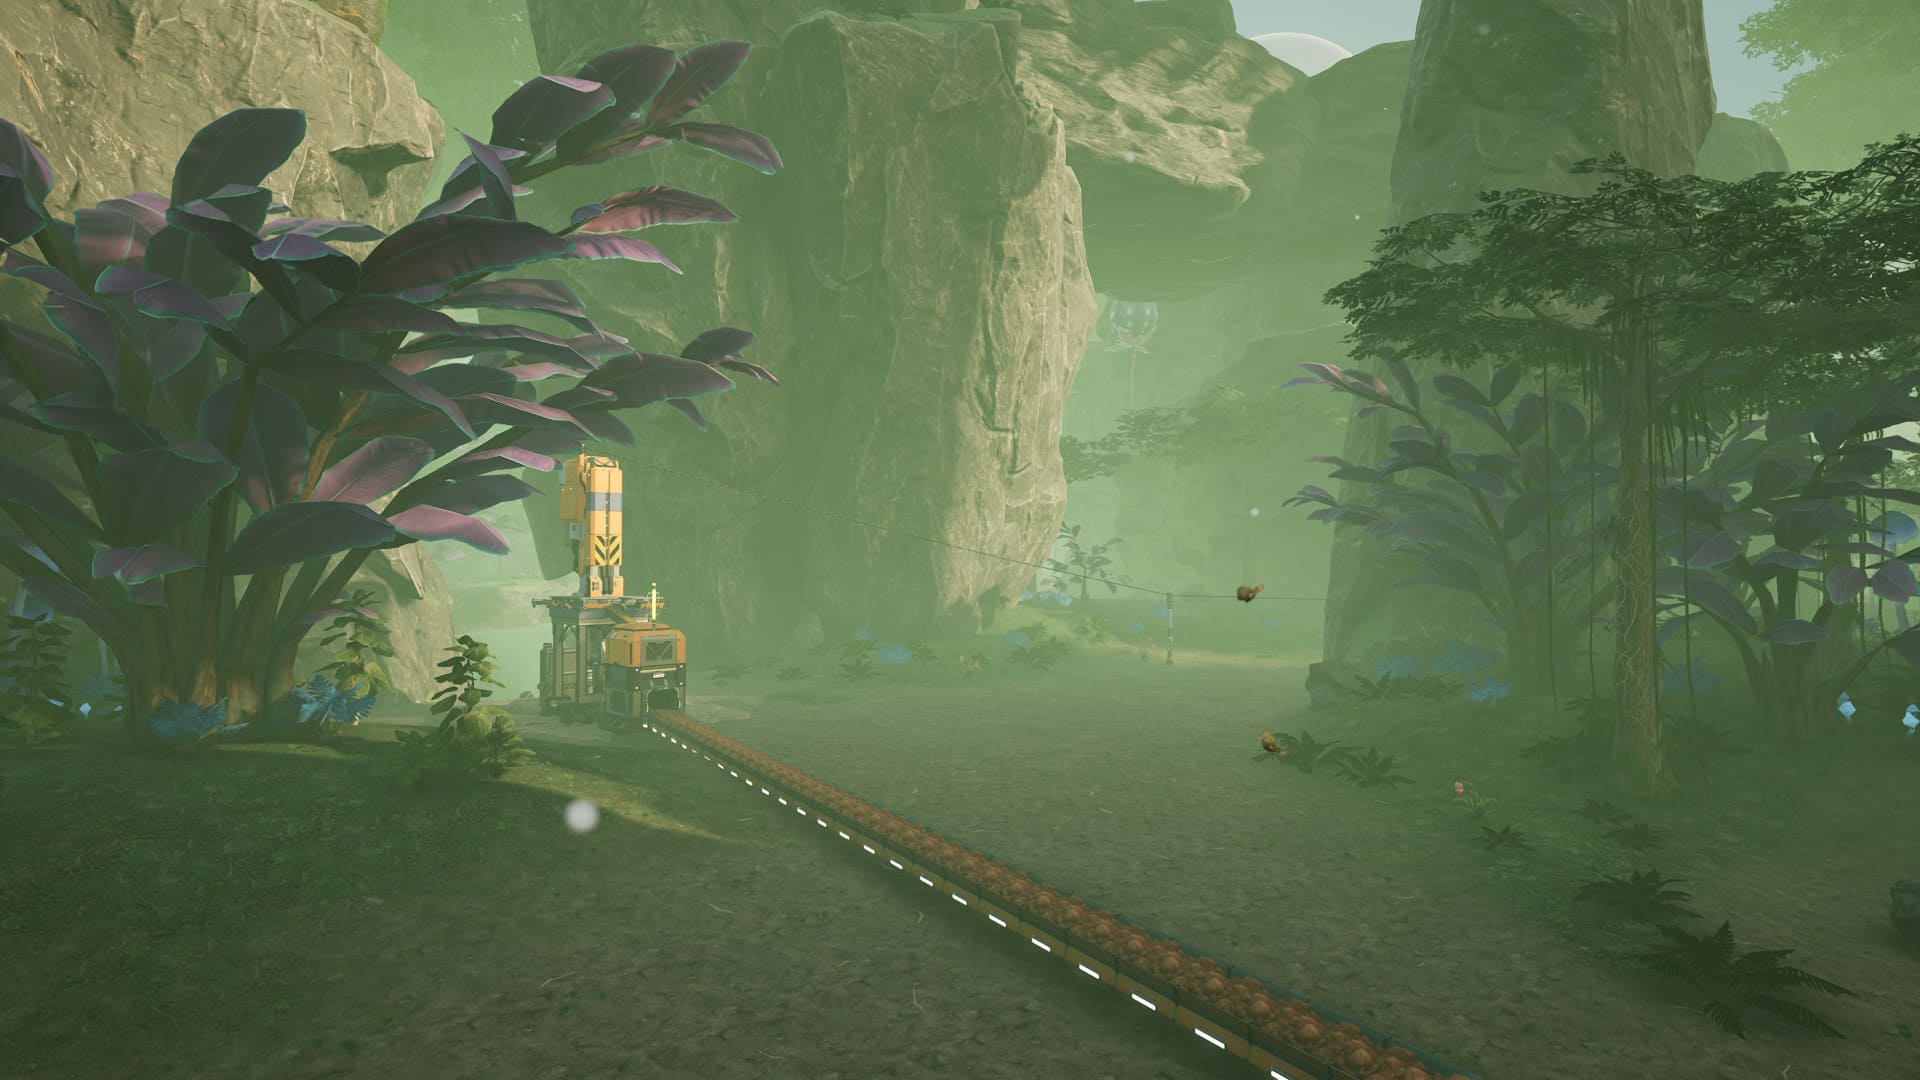
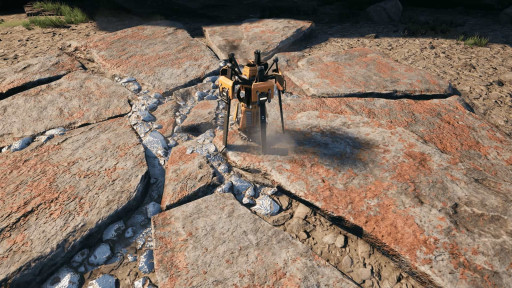
You’ll need a lot of these materials starting now and the requirements for them will only grow, so get started on collection and, soon, automation quickly. Get as many portable miners down as you can so you have enough to kick-start your factory. Then, once you unlock them at HUB Upgrade 5, you can further automate this process.
3. Start Collecting Biomass
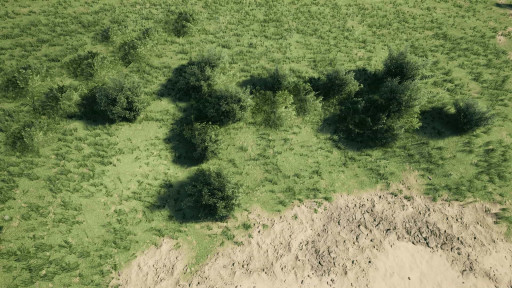
Power is the single most important resource in Satisfactory, and it doesn’t come cheap. Your only source of power this early in the game is through Biomass Burners, and they don’t produce automatically. You have to gather branches, leaves, and alien remains to fuel your automated empire.
Two Biomass Burners with the HUB, and you can always build more to get a higher power output. Be careful, though, because using two Burners will use fuel twice as quickly. After fully upgrading the HUB you also gain the ability to craft the Biomass item using the twigs, leaves, and remains you’ve collected. These burn for much longer.
4. Fully Upgrade the HUB Quickly
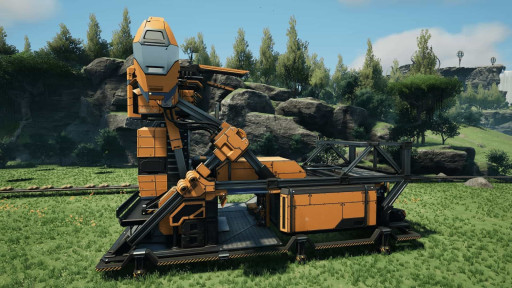
If you’ve set up enough Miners, conveyor belts, and constructors you should have enough automated material to finish the HUB upgrades. Each upgrade provides plenty of new buildings and recipes that will make your playthrough much smoother. Upgrade the HUB as soon as you can.
There are six total HUB Upgrades, each more expensive than the last. Make sure to automate as much as possible according to your Biomass constraints. You can still mine by hand and use Portable Miners after putting a full Miner on the ore vein.
5. Work on Tiers

Almost all of the rest of your unlocks are going to come from the Tiers system in the HUB. Once you’ve fully upgraded your HUB, you can open the upgrade menu again to start finding new items. This is how you get most of your progress done in Satisfactory.
The requirements to unlock new Tiers in Satisfactory are generally things you would already be working on, so just make sure to set some of your resources aside to continue unlocking new items.
6. Start your Factory
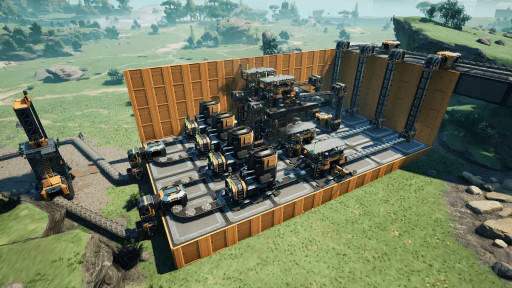
This is, in my opinion, the most fun step. You can now build a pretty building to house your factory. This will help keep you organized for when you expand your infrastructure.
You don’t have to make anything gorgeous if you don’t want to, and sometimes the brutalist/utilitarian look of an exposed factory can look great. I do still recommend you at least build a platform so you can keep all of your machines on the same level.
7. Start Working on the MAM
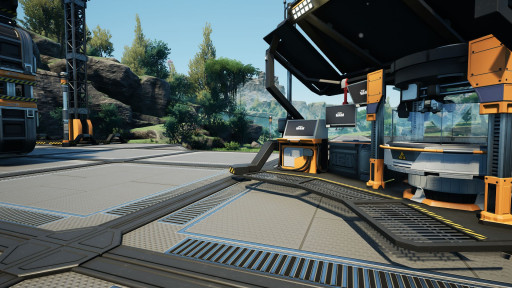
At Tier 1 of the progression, you unlock the Molecular Analysis Machine, or MAM. This introduces a more semi-optional set of upgrades that introduce new, more complicated mechanics and some quality of life increases.
If you aren’t looking to 100% the game, there are some things you can technically skip, but here are my recommendations of what to upgrade first. You absolutely need the Caterium tree completed, as well as the Power Slug tree. You should also particularly look into the Quartz tree.
8. Collect Power Slugs Along the Way
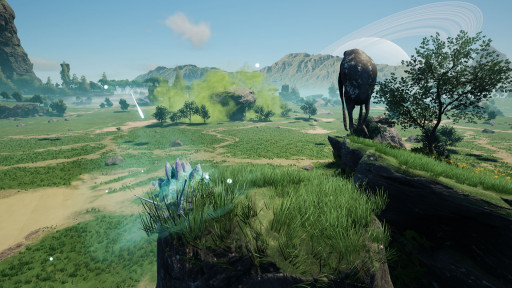
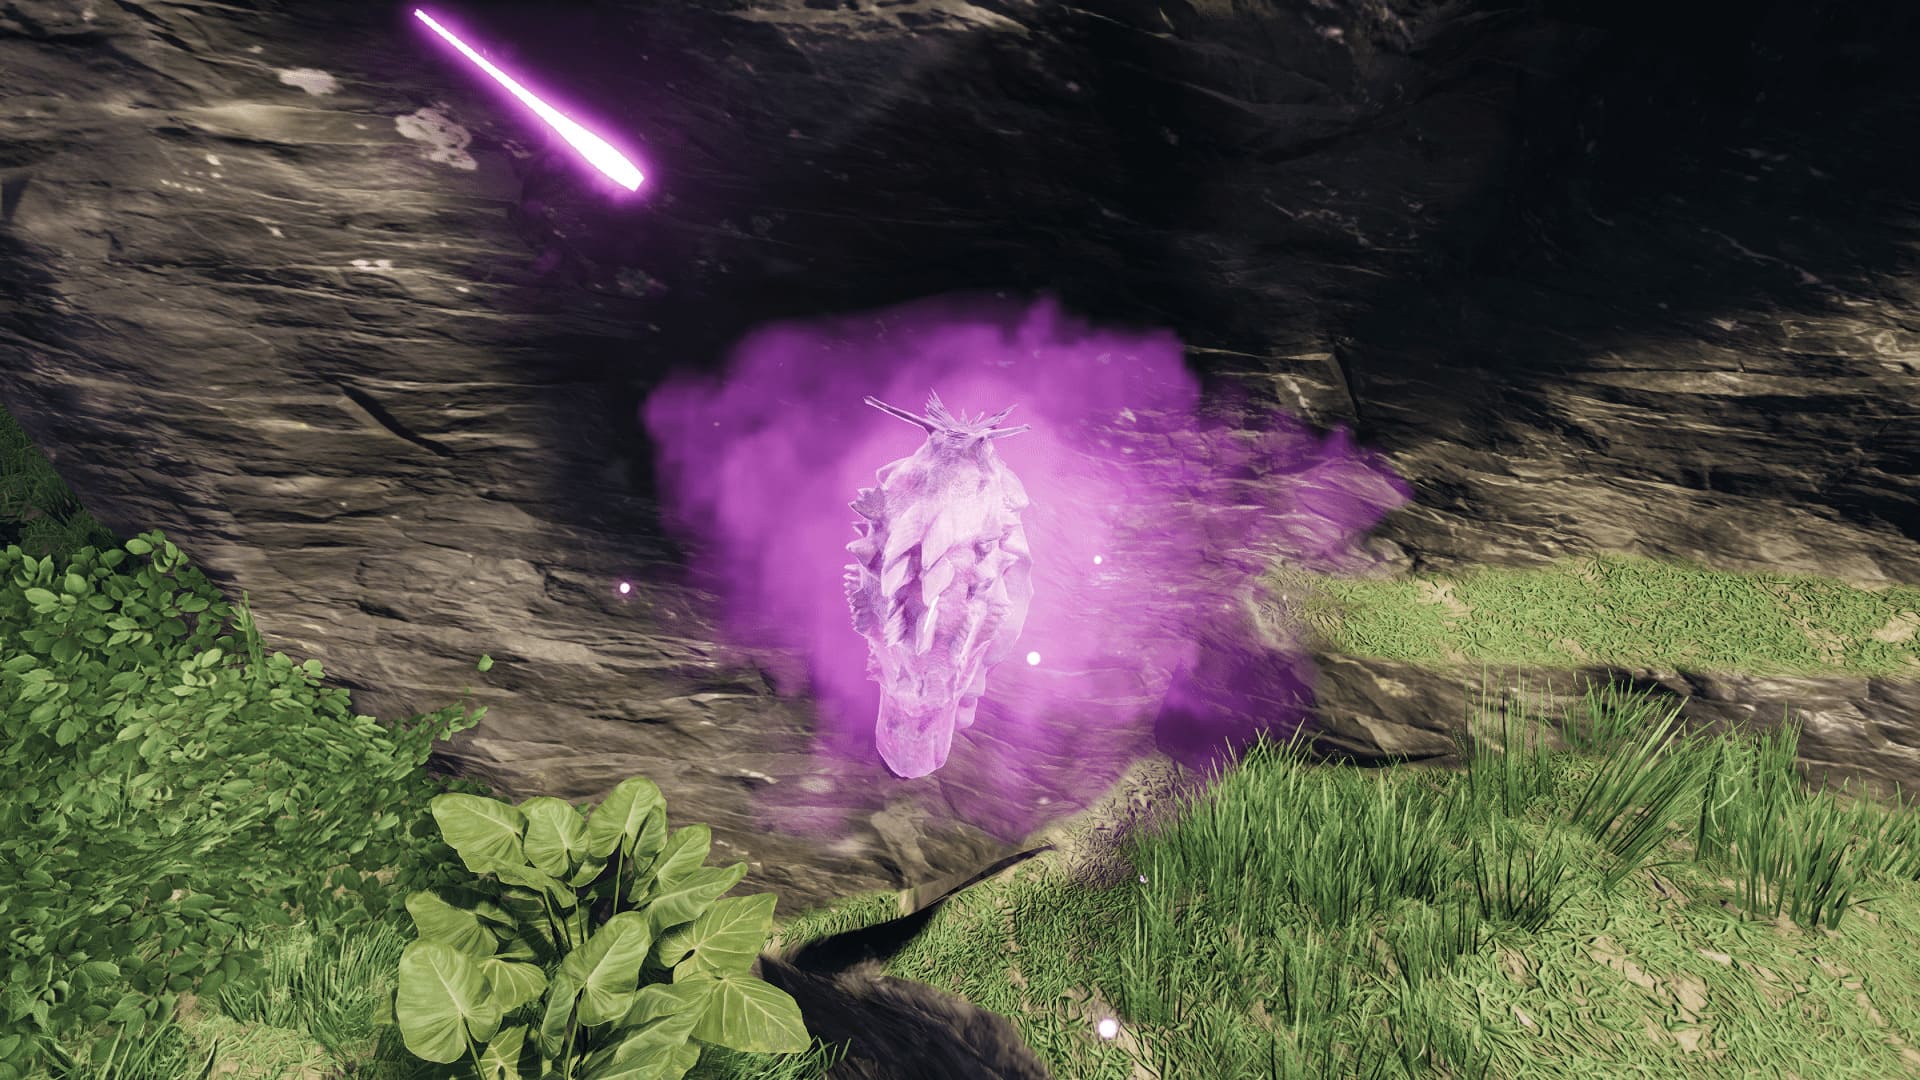
Power Slugs are found all over the world of Satisfactory. Once you get working on the MAM, you’ll have the ability to research Power Slugs, which can be crafted into Power Shards. These give you the ability to overclock your machines, making them produce faster.
Each Power Shard you add to a machine increases production by 50% of the original value. For example, if a Miner produces 120 Limestone per minute and you add one power shard, it’s increased to 180. You can do this a maximum of 3 times, so you can have a machine overclocked to a maximum of 250%.
9. Build an AWESOME Sink
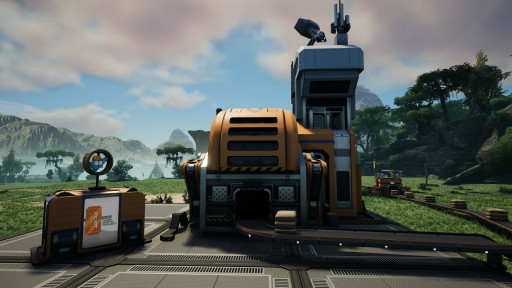
There’s an in-game shop in Satisfactory called the AWESOME Shop, and you need a currency called Tickets to buy things from it. You get these tickets by conveying excess items into the AWESOME Sink, one of the items in the Special build category. I highly recommend getting this set up as soon as possible.
A ticket is printable from the AWESOME Sink after a certain number of points are hit, and that number increases every ticket you get. I recommend finding a list of which items give the most points, and you can find one of those linked below.
10. Build the Space Elevator
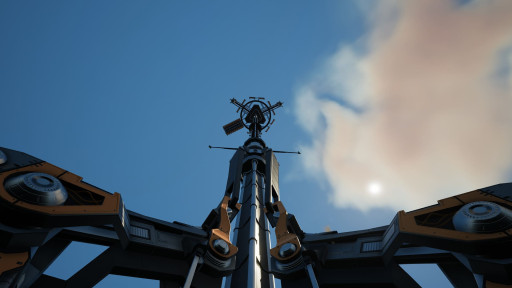
To unlock Tiers 3 and 4, you need to ship a bunch of materials up through the Space Elevator. The Space Elevator is necessary for Satisfactory’s progression, so build it and finish each phase as fast as possible
The Space Elevator is really expensive, but it only uses early-game materials. You’ll be able to see it from anywhere on the map, so pick a nice, open spot near your base of operations so you’ll always know your way back.
11. Finish Phase 1
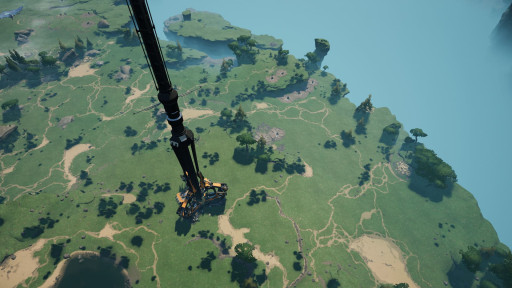
Now that you have a Space Elevator and a good base of automation, you can complete the first big challenge of Satisfactory. Once you finish Phase 1, you unlock Tiers 3 and 4, which give you a new power option, plus lots of other fun buildings.
Remember, the Space Elevator parts (Smart Plating, Versatile Framework, Automated Wiring, etc.) can’t be hand-crafted. They have to be automated, so make sure you automate as much as possible going in.
12. Build a Coal Generator
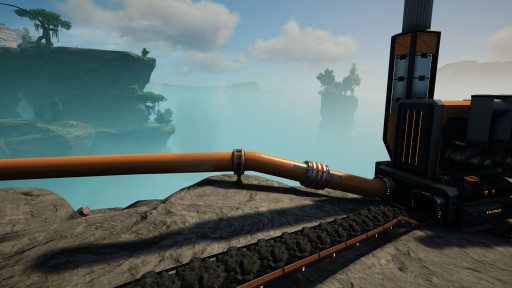
At the very beginning of Tier 3, you unlock Coal Power. This is your first completely automated power source in Satisfactory. There’s a bit more infrastructure required to make Coal Power, but it’s nothing you can’t handle.
Part of the Coal Power process is water, so make sure you find a good place where you can put down a Water Extractor. Some bodies of water won’t be deep enough.
13. Process Steel
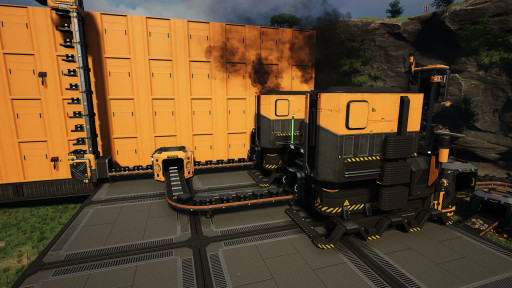
Steel Ingots are made by combining iron ore and coal in a Foundry. Steel is going to be your best friend. It allows you to make better conveyor belts, vehicles, and pretty much everything else from here on out.
Steel, like iron, has two main products: Steel Beams and Steel Pipes. They’re equally important, so make a lot of both.
14. Automate Encased Industrial Beams
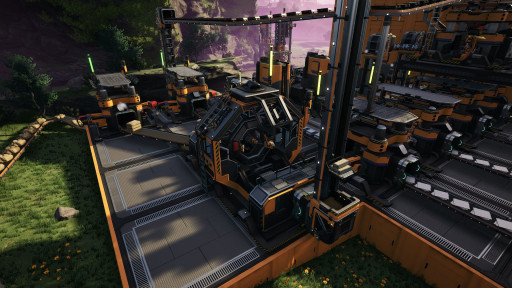
Encased Industrial Beams are probably the most difficult resource to have to deal with in Satisfactory. They’re really expensive and super slow to produce, and you never make quite as many as you hope to. This is why you’ll want to get on top of them as early as possible.
EIBs are required to make Mk4 Conveyor Belts, and they’re used in many of the rest of the Tier upgrades, so you can’t skip out on them. I recommend making a Blueprint for EIB production, which you unlocked back in Tier 4, so making a lot of these becomes easier. There will be an article linked down below that gives tips on Blueprints, and includes a specific design for an Encased Industrial Beam producer.
15. Hypertubes!
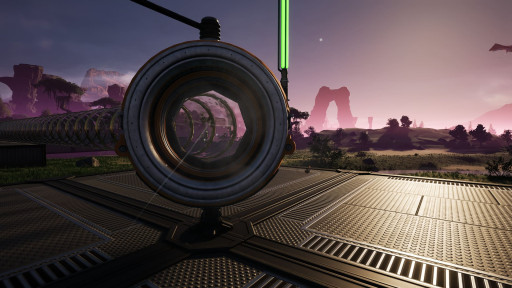
The most fun method of transport in Satisfactory is the Hypertube system. These are versatile tube networks that can be built on walls, under floors, and through buildings. They send you from place to place faster than ever before, so you can connect the various sections of factory across the world.
You can obtain wall holes and floor holes for your Hypertube systems in the AWESOME Shop. These can snap to walls and foundations to make your Hypertube better lined-up with your factories, as well as giving you a scenic view along the way.
16. Finish Phase 2
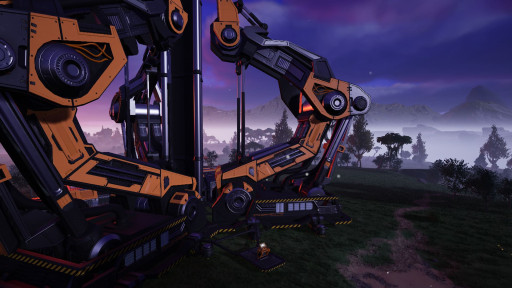
Now that you’re working on Steel products, you can expand beyond the current Tiers. After completing Tiers 3 and 4, you unlock Phase 2 of the Space Elevator. This will allow you to unlock Tiers 5 and 6.
Tiers 5 and 6 are where mid-game starts to become late-game, so they’re going to be a bit harder and more resource-intensive. Be prepared for new, fun challenges.
17. Plastic and Rubber
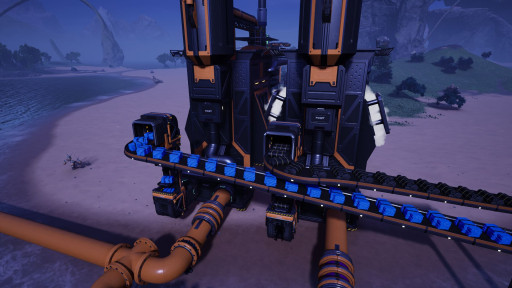
With Tier 5, you can now create Plastic and Rubber, two more things you’ll be using a lot of throughout the rest of the game. These are made by inputting Crude Oil into a Refinery. You need a lot of these in both the present and future, so make as many of each as you can at first.
Plastic and Rubber production create a byproduct called Heavy Oil Residue. Later in Tier 5, you’ll unlock Industrial Fluid Buffers so that you can store the Residue and mitigate clogs. In Tier 6, you’ll be able to turn it into Fuel, so it won’t be a problem for long.
18. Make Fuel
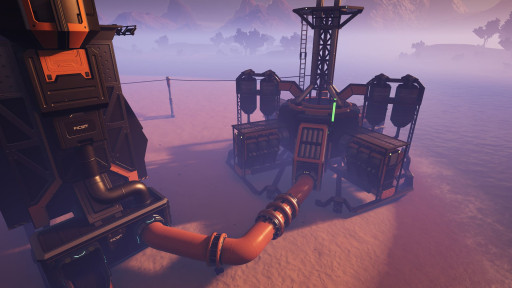
Tier 6 gives you a new automated power source: Oil. Using an Oil Extractor and a Refinery from Tier 5, you can make Fuel, which is a better power source than Coal. Fuel is your next big source of power, so make a lot of it.
Remember, you can turn Heavy Oil Residue into Fuel, so if you want to save time, you could just make Fuel out of that and keep down both space and power costs. I do still recommend making a dedicated Fuel production line, though.
19. Improve Transport Infrastructure
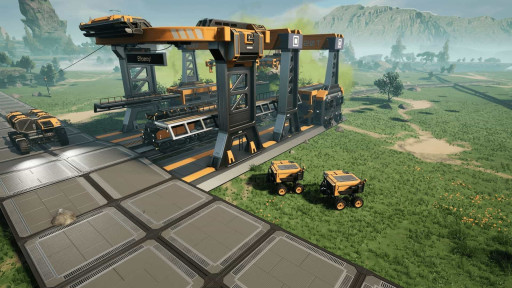
Now that you’re making your way through Tier 6, you’ll have access to Hypertubes, Tractors, Trucks, and Trains. The Trucks and Trains, especially, are perfect for transporting large quantities of items across long distances automatically. Improving this infrastructure is going to be what really elevates your factory.
Trains are your best friend in long-distance item and fluid transport, but they’re also really expensive at this point in the game. Build what you can now, and start preparing for later when you have more resources.
20. Phase 3 and Beyond
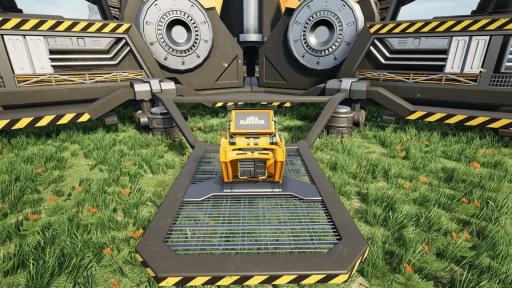
After completing Phase 3, which is basically the same deal as the first 2 phases, you reach the point that’s considered late-game. Once you start to work on Aluminum, Nuclear Power, Drones, and so many other things, you’ve hit a point where progression slows. Start preparing for the upcoming difficulty increase by increasing production of the lower materials.
Things are much more complicated , but after you finish Phases 4 and 5, as well as the 3 Tiers that come with them, you’ll truly be the greatest Pioneer FICSIT has ever seen.

