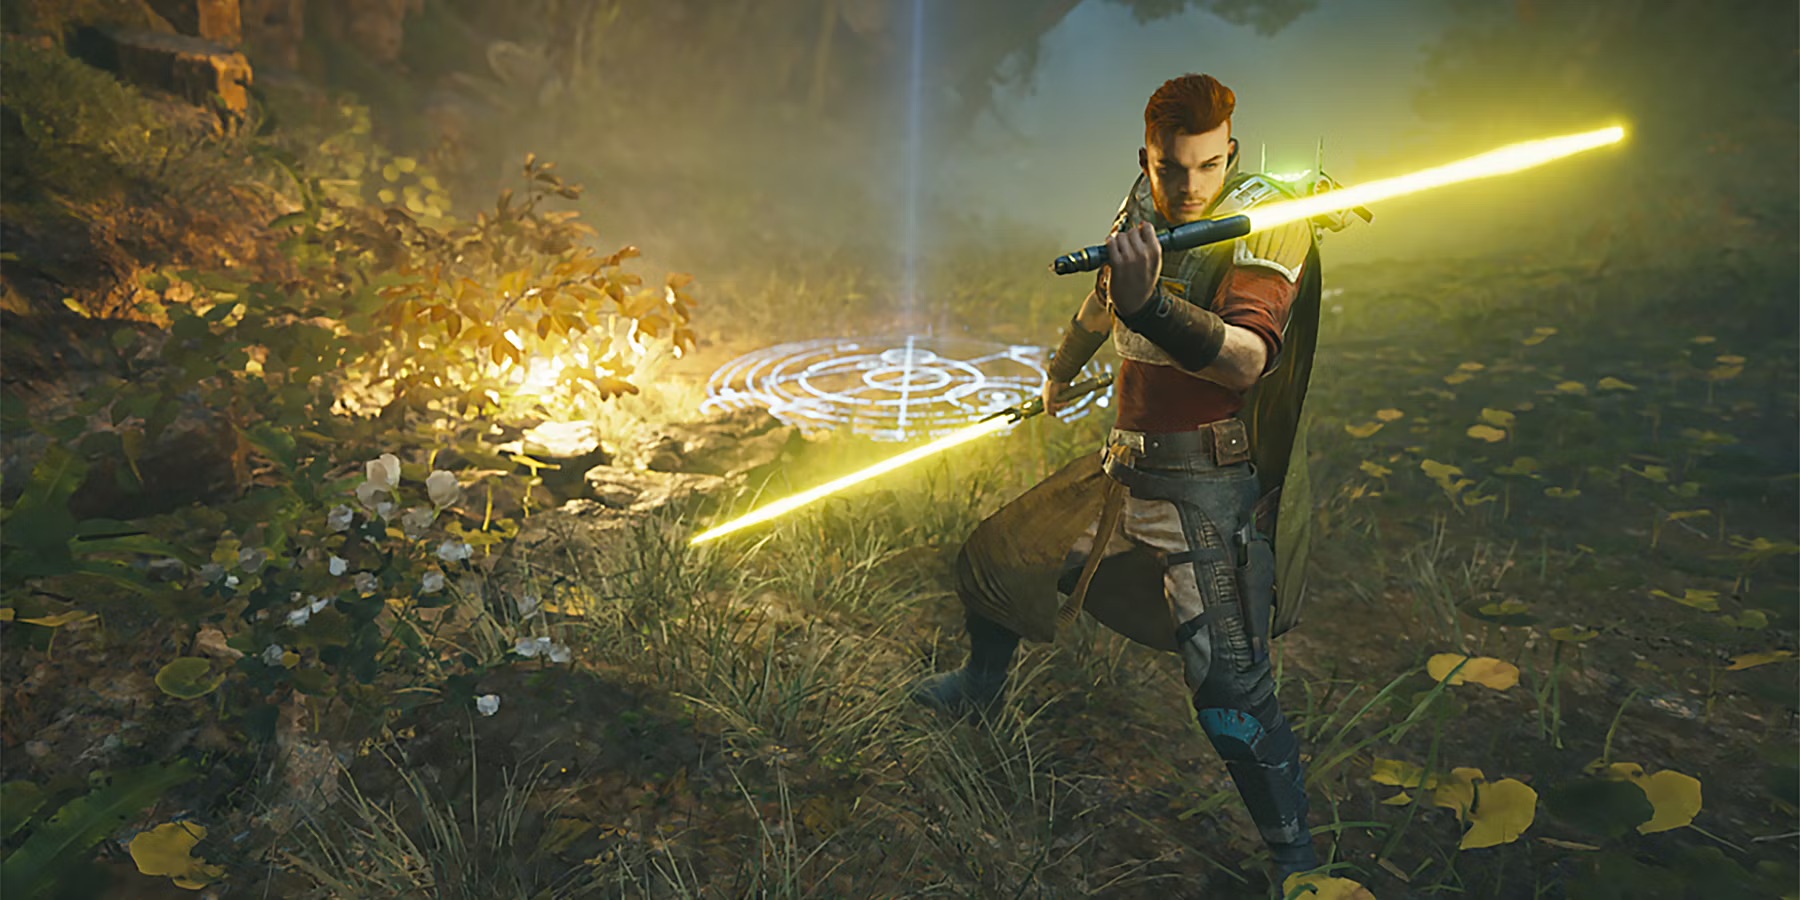
Star Wars Jedi: Survivor, the latest installation in the series brings a host of exciting new features including a perk system, 5 different lightsaber stances and a far more expansive Skill Tree; all of which facilitate Cal Kestis’ progression into the formidable Jedi Knight he is destined to be.
Playing as Cal, you are never far from a fight; with mercenaries, bounty hunters, fallen Jedi and the entire weight of the Empire bearing down on you, you need to quickly figure out what upgrades and lightsaber stances suit your playstyle the most and prioritise unlocking them.
This guide will outline the 5 best builds Jedi Survivor has to offer, so you can quickly enhance your connection to the force and develop a lightsaber fighting style which will make you more than a match for the most powerful enemies in the game.
5) The Star Destroyer Build (DIFFICULTY: EXPERT)

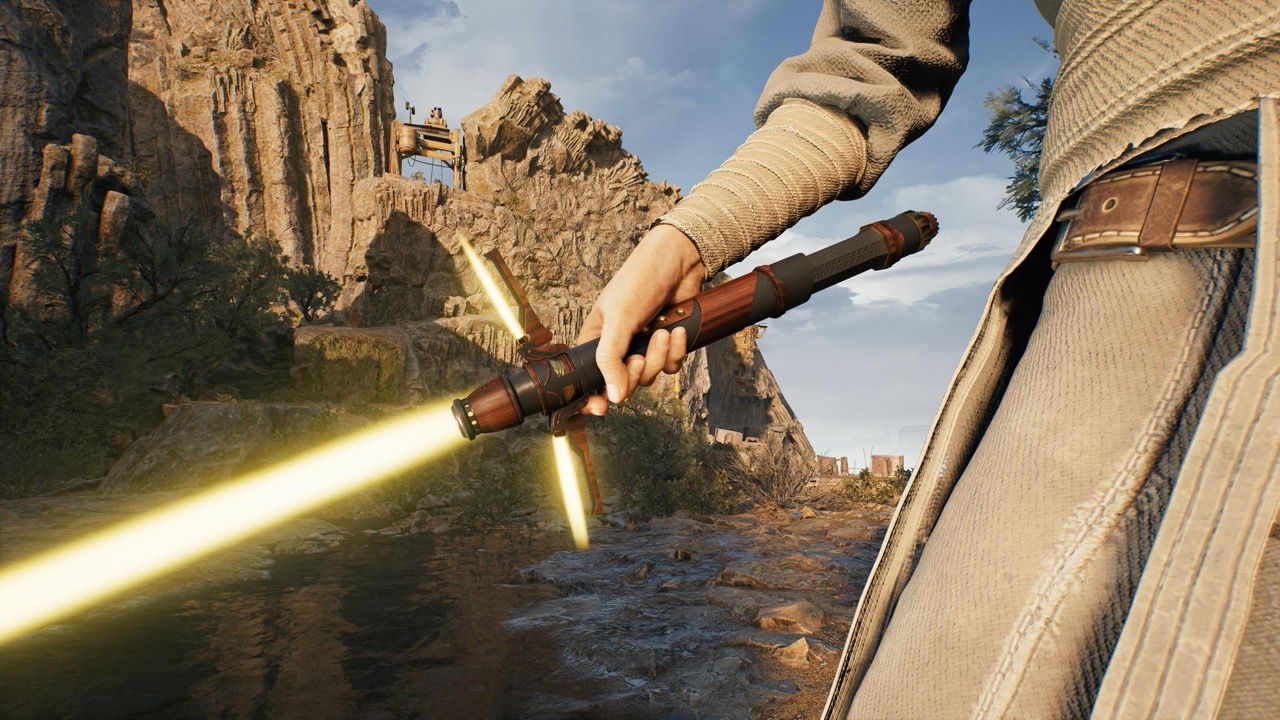
Cal looking menacing with his Crossguard lightsaber
The dexterous Star Destroyer build combines the high-speed efficacy of the Double-Bladed lightsaber stance with the slow swinging, high damage Crossguard stance. This build will take a little time to master due to the contrast in speed between the two stances and because your attacks with the Crossguard stance, though capable of dealing huge damage, are very slow and can leave you vulnerable to counterattacks.
This is why you should use the Double-Bladed lightsaber as your main weapon because you can react quickly with it and clear out common, weaker enemies found throughout Jedi Survivor like Bedlam Raiders and stormtroopers.
The Crossguard stance should mostly be reserved for one-versus-one situations against more powerful enemies like fallen Jedi or bounty hunters, and even then, you should mainly use this weapon to parry enemy attacks, break their stamina and leave them defenceless to your high impact counter attacks.
Timing is crucial with The Crossguard. You attack very slowly so you need to start your attacks just before your target is within range. If you do not time your attacks correctly, enemies may hit you while you are swinging your lightsaber; this will stop your attack in its tracks and leave you vulnerable.
As this build requires you to be adept at parrying, to be comfortable switching quickly between very different lightsaber stances, and to rely on reflecting blaster bolts to take out ranged opponents, the Star Destroyer build is only recommended for highly skilled players.
Build Details:
Perks
Shatter - Attacks are more effective at breaking enemies’ guard.
This perk is very useful for the Crossguard stance because it will allow you to break through an enemy’s block metre and beat them down. It is also good for the Double-Bladed lightsaber if you are attacking a group of enemies who all have their guards up.
Cost – 2 Perk Slots
Flux – Regenerate a small amount of Force Meter of time, but maximum Force Meter is reduced.
Flux is helpful because both stances are capable of powerful attacks unlocked via the skill tree which will drain the Force Meter.
Cost – 1 Perk Slot
Resilience – Block Meter is Increased.
Particularly useful if wielding the Double-Bladed lightsaber and blocking enemy blaster bolts and attacks from all directions.
Cost – 1 Perk Slot
Precision – Parry Timing is shorter, but Cal deals more stamina damage to enemies when he parries.
This perk is not recommended for people who are new to the game. But if you are skilled at parrying, then this perk will allow you to shatter defences with the Crossguard stance.
Cost – 2 Perk Slots
Fortitude – Increases lightsaber damage, but incoming damage is also increased
This perk is a satisfying addition if you are looking to one-shot weaker enemies and are confident in your defensive skills. This perk is also better wielded by experienced players.
Cost – 4 perk slots
Skills
There are 75 skills in the game and below are a few which compliment this build the most. The skills listed below allow for a high damage chain of force attacks from the double-bladed lightsaber, enhanced parry/blocking abilities which increase the destructive capabilities of the Crossguard lightsaber, and force abilities which will cripple your strongest opponents.
Double-Bladed Skills
Gathering Tempest – Hold Attack Button to deal fast strikes towards a single enemy.
1 Skill Point
Vortex Dive – Hold the Parry/Block button and press the Attack button to dive forward while spinning the lightsaber.
1 Skill Point
Endless Hurricane – Continue Pressing the Attack button to add additional attacks to the end of the double-bladed attack chain.
1 Skill Point
Controlled Throw – Hold the Parry/Block button and the Force Attack button to throw the lightsaber. Keep the Force Attack button held to maintain the lightsaber’s position and use the Left Analog stick to direct it around.
2 Skill Points
Crossguard Skills
Reaching Cleave – Increase range of cleaving swing.
1 Skill Point
Charged Reflection – Press the Parry/Block Button right before a bolt makes contact to send them back a charged bolt that hits the target and nearby enemies.
1 Skill Point
Sundering Swipe - Hold the Parry/block button and press the Attack button to perform a wide sweeping lightsaber attack.
2 Skill Points
Rolling Thunder – Hold the Parry/Block button and the Force attack button to throw the lightsaber in a line through multiple enemies.
1 Skill Point
Force Skills
Unrelenting Pull – Hold the Pull button to affect the largest and most force-resistant enemies.
3 Skill Points
Extended Hold – The first strike against enemies affected by Slow will not break the Slow effect.
3 Skill Points
Channelled Energy – Cal regains more Force when he defeats an enemy and regains some Force when he hits a blocking enemy.
1 Skill Point
Enlightened Attunement – Cal’s Maximum Force is further increased.
1 Skill Point
Survival Skills
Greater Reflexes – Block Meter refills faster.
1 Skill Point
Expert Survival Skills – Cal’s Maximum Life is increased.
2 Skill Points
The Power of Friendship - BD-1’s stim cannisters refill some Force Meter.
2 Skill Points
4) The Acolyte Build (DIFFICULTY: MEDIUM)
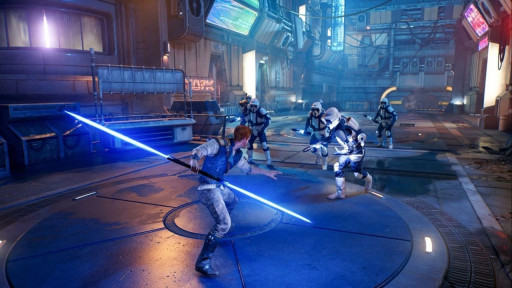
Poor Stormtroopers don't stand a chance
The Acolyte Build is a highly effective build because the Double-Bladed and Dual Wield lightsaber stances complement each other perfectly. Both stances have a similar rate of attack, so swapping between them is a fluid process even in the middle of a battle.
The Dual Wield lightsaber stance is great for doing extremely high damage against a single opponent in boss battles. Its special ability allows you to briefly enter a meditative state where you are invulnerable, which you then exit to automatically parry enemy attacks, before following up with a devastating counterattack. While this stance is extremely strong against a single enemy, this power does not translate so well when you are being assaulted on all fronts by legions of stormtroopers.
This is where the Double-Bladed stance comes in, although it’s not as effective in a one-versus-one situation, it is perfect in situations where you are surrounded by enemies and the Dual Wield lightsaber just isn’t cutting it. The Double Blade offers unparalleled multi-target attacks, and its force attacks allow you to cover an even wider area, so no one is safe.
Perks
Fortitude – Increases lightsaber damage, but incoming damage is also increased.
This perk allows you to one-shot weaker enemies if you are already confident in your defensive skills. Recommended for experienced players only.
Cost – 4 perk slots
Resilience – Block Meter is Increased.
When blocking enemy blaster bolts and attacks from all directions with the Double Bladed lightsaber, this perk will come in handy.
Cost – 1 Perk Slot
Precision – Parry Timing is shorter, but Cal deals more stamina damage to enemies when he parries.
This perk is only for parrying experts and is not recommended for people who are new to the game. But if you are an expert, then this perk will allow you to shatter defences with the Dual Wield stance.
Cost – 2 Perk Slots
Versatility – Deal extra damage temporarily after switching lightsaber stances.
This build is designed to be versatile, and you should be switching stances a lot because each stance has a different strength. Therefore, being able to do bonus damage for a short period of time after switching stance is very useful.
Cost- 3 Perk Slots
Skills
Dual Wield Skills
Backstep Slash - Hold Parry/Block then press Attack to attack and leap backwards, creating distance from the target.
1 Skill Point
Twin Vipers – Hold Parry/Block and Special Attack and press attack again to throw the second blade at a target to double up damage.
2 Skill Points
Precision Release
Release Special Attack right as an enemy hits to perform an even more devastating follow-up attack and stagger nearby enemies.
2 Skill Point
Dancing Blades
Hold Parry/Block and Special Attack to throw both lightsabers that bounce between multiple targets.
3 Skill Points
Double-Bladed Skills
Repulsing Burst – Use Special Attack to perform an attack that pulls enemies in a small area and takes Cal into the air.
2 Skill Points
Multifold Reflections – Hold Parry/Block right before blaster shots connect to reflect them back towards nearby targets.
2 Skill Points
Gathering Tempest – Hold Attack Button to deal fast strikes towards a single enemy.
1 Skill Point
Vortex Dive – Hold the Parry/Block button and press the Attack button to dive forward while spinning the lightsaber.
1 Skill Point
Force Skills
Howling Push – Hold Push to push enemies in a much larger radius, and with greater effect.
2 Skill Points
Channelled Energy – Cal regains more force when he defeats an enemy and regains some force when he hits a blocking enemy.
1 Skill Point
Mass Slam – Hold Focus and Jump to slam groups of enemies.
1 Skill Point
Superior Hold – Further increase the duration of Slow’s effect on enemies.
1 Skill Point
Survival Skills
Greater Reflexes – Block meter refills faster
1 Skill Point
Teamwork – Reduces time required to heal with a BD-1 stim.
1 Skill Point
Perfected Stim Formula – Cal recovers additional Life when using a stim canister from BD-1.
2 Skill Points
3) The Knight Build – (DIFFICULTY: HIGH)

A truly formidable stance
The Knight Build combines the Single Blade Stance with the Crossguard stance as the basis for a build which focuses on fluidity rather than a build featuring two stances with opposite strengths and weaknesses.
While it is perhaps one of the less exciting stances in the game, the Single Blade should not be underestimated because it is a great all-round weapon for any situation. It offers a quick, direct attack and because it is essentially just a shorter, slower version of the Crossguard lightsaber, you can swap between stances very quickly.
For this build you want to use the Crossguard whenever you can because it will deal higher damage and often one-shot enemy block metres, leaving them susceptible to a myriad of follow up attacks with the Single stance. However, the reason this is a high difficulty build is because you must constantly evaluate whether you are using the correct stance depending on the situation you are in. This is because the Crossguard is very slow and if used incorrectly it will leave you vulnerable to enemy attacks.
As a general rule, if you are fighting a single, stronger enemy like a Magna guard you should opt for the Crossguard, but against faster, lower health enemies you will want to go for the Single blade. The Single blade is also better against multiple enemies. In general, though, you will have to learn through in-game experience which stance is best for each situation.
Perks
Fortitude – Increases lightsaber damage, but incoming damage is also increased.
This perk is useful if you are looking to one-shot weaker enemies with the Crossguard and are confident in your defensive skills. Recommended for experienced players.
Cost – 4 perk slots
Resilience – Block Meter is Increased.
When blocking enemy blaster bolts attacks from all directions with the Single-Bladed lightsaber, this perk will come in handy.
Cost – 1 Perk Slot
Shatter – Attacks are more effective at breaking enemies’ guard.
If you are a parrying expert, then this perk will allow you to shatter defences with the Cross Guard stance. Not recommended for beginners.
Cost – 2 Perk Slots
Versatility – Deal extra damage temporarily after switching lightsaber stances.
This build will have you switching stances constantly so being able to do bonus damage for a short period of time after doing so will be very useful.
Cost – 3 Perk Slots
Skills
Single Blade Skills
Lunging Strike – Hold Special Attack to perform a long-reaching thrust attack.
1 Skill Point
Cyclone Slash – Hold Attack after a basic attack to perform a powerful overhead swing.
2 Skill Point
Dash Strike – Hold Parry/Block, then press Attack to dash and strike a target out of normal melee range.
2 Skill Point
Twofold Reflection – Press Parry/Block just before contact to reflect up to two blaster projectiles in a row.
1 Skill Point
Crossguard Skills
Reaching Cleave – Increase range of Cleaving Swing.
1 Skill Point
Charged Reflection – Press the Parry/Block Button right before a bolt makes contact to send them back a charged bolt that hits the target and nearby enemies.
1 Skill Point
Reaching Cleave - Hold the Parry/block button and press the Attack button to perform a wide sweeping lightsaber attack.
1 Skill Point
Impact – Use Special Attack while airborne to slam into the ground, causing a shockwave.
2 Skill Points
Force Skills
Unrelenting Pull – Hold the Pull button to affect the largest and most force-resistant enemies.
3 Skill Points
Extended Hold – The first strike against enemies affected by Slow will not break the Slow effect.
3 Skill Points
Channelled Energy – Cal regains more Force when he defeats an enemy and regains some Force when he hits a blocking enemy.
1 Skill Point
Enlightened Attunement – Cal’s Maximum Force is further increased.
1 Skill Point
Survival Skills
Greater Reflexes – Block Meter refills faster.
1 Skill Point
Expert Survival Skills – Cal’s Maximum Life is increased.
2 Skill Points
The Power of Friendship - BD-1’s stim cannisters refill some Force Meter.
2 Skill Points
2) The Ranger Build (Difficulty: Easy)
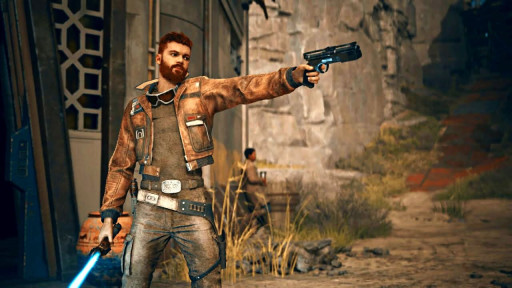
A lethal combo
The Ranger Build chooses the Blaster and Double-Bladed stance because they complement each other perfectly.
The Blaster Stances allows you to easily pick off enemies from range, heavy damage before your target knows what’s hit them. You can shoot fast with the blaster in one hand while dealing precision strikes with your lightsaber in the other. The only limitation of this stance is that it is not the best at dealing with lots of targets at once because the blaster’s multi-target capabilities require time and distance to set up.
This is where the Double-Blade comes in. As explained in previous builds, this stance excels at crowd control. In many ways it is the counter opposite to the Blaster Stance; it excels in fast-paced, close-quarter combat against swarms of enemies.
Once you have reduced the enemy numbers so there are just a few stronger enemies left, this is the time to switch to the blaster stance to inflict heavy damage from range before sweeping in with your lightsaber to deliver that fatal blow. The Double-Bladed lightsaber can be used in these instances, but if you want to maximise your damage output against stronger enemies then the Blaster Stance is the way to go in one-versus-one situations.
Perks
Ambidexterity – Shooting targets temporarily increases lightsaber damage.
The ideal perk for this build; shoot from range until you run out of blaster bolts, then sweep in to finish off any stragglers with powerful lightsaber strikes.
Cost – 3 Perk Slots
Marksmanship – With the Blaster stance, Cal’s blaster shots do more damage.
A fairly self-explanatory perk, but a super effective one nonetheless; use this perk to dispatch enemies from range with ease.
Cost – 3 Perk Slots
Versatility – Deal extra damage temporarily after switching lightsaber stances.
This perk is great for this build as it is designed to be versatile, and you ought to be switching stances a lot since each stance has a different strength. For example, if you are shooting from range then suddenly find yourself overwhelmed by Battle Droids, being able to switch stances and do bonus damage with your Double-Blade to repel the enemy attack is extremely useful.
Cost- 3 Perk Slots
Resilience – Block Meter is Increased.
When using the Double-Bladed lightsaber to block enemy blaster bolts and attacks from all directions, this perk will come in handy.
Cost – 1 Perk Slot
Skills
Blaster Skills
Improved Clip - Increase maximum blaster ammunition by three.
1 Skill Point
Quick Draw – Hold Parry/Block and Special Attack to focus and target multiple enemies at once with the blaster.
3 Skill Points
Energizing Flurry - Hold Parry/Block and press attack to perform a sequence of swings that rapidly replenishes ammunition if they connect.
3 Skill Points
Flying Lunge - Hold Attack to close the distance to your enemy with a leaping thrust.
1 Skill Points
Double-Bladed Skills
Repulsing Burst – Use Special Attack to perform an attack that pulls enemies in a small area and takes Cal into the air.
2 Skill Points
Endless Hurricane – Continue Pressing the Attack button to add additional attacks to the end of the double-bladed attack chain.
1 Skill Point
Gathering Tempest – Hold Attack Button to deal fast strikes towards a single enemy.
1 Skill Point
Vortex Dive – Hold the Parry/Block button and press the Attack button to dive forward while spinning the lightsaber.
1 Skill Point
Force Skills
Power Lift – Hold Focus and Special Attack to Life Larger enemies.
2 Skill Points
Channelled Energy – Cal regains more force when he defeats an enemy and regains some force when he hits a blocking enemy.
1 Skill Point
Enlightened Attunement – Cal’s maximum Force is further increased.
2 Skill Point
Howling Push – Hold Push to push enemies in a much larger radius, and with greater effect.
2 Skill Points
Survival Skills
Greater Reflexes – Block meter refills faster.
1 Skill Point
Teamwork – Reduces time required to heal with a BD-1 stim.
1 Skill Point
Perfected Stim Formula – Cal recovers additional Life when using a stim canister from BD-1.
2 Skill Points
1) The Hunter Build (Difficulty: Medium)
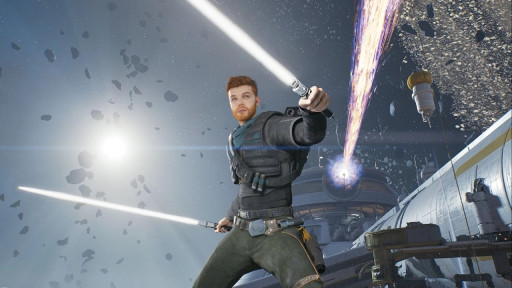
Unleash the awesome power of Dual Wield lightsabers
The Hunter build is the best build in the game because of the sheer damage it is capable of. It’s the most offensive build on this list because it combines the two stances with the highest damage output; Blaster and the Dual Wield.
This build will have you flying through Jedi Survivor no matter what difficulty you play on, not even the strongest bosses will be able to match your capacity for destruction. To use this build you should begin by using the Blaster Stance to inflict as much damage as possible from a distance, before diving headfirst into combat to unleash a maelstrom of destruction with the Dual Wield blades. Then rinse and repeat this process until all enemies have been vanquished.
While the damage you can deal with this build is extremely high and this build excels in one-versus-one situations, it is not without its flaws. You must be careful when engaging large groups of enemies because the Dual Wield blades are not at their strongest when surrounded in close quarter combat. So a lot of the time you will have to pick off enemies one by one, either by sharpshooting with the blaster or by luring enemies away from the pack to eviscerate them with the Dual Wield lightsabers.
Perks
Shatter - Attacks are more effective at breaking enemies’ guard.
This perk is especially useful for the Dual Wield stance in one-versus-one situations when using your Special Attack, because it will allow you to break through an enemy’s block metre and beat them senseless.
Cost – 2 Perk Slots
Marksmanship – With the Blaster stance, Cal’s blaster shots do more damage.
A self-explanatory perk, but a super effective one nonetheless; use this perk to dispatch enemies from range with ease.
Cost – 3 Perk Slots
Fortitude – Increases lightsaber damage, but incoming damage is also increased.
This build is all about inflicting as much damage as possible, so this perk is essential.
Cost – 4 perk slots
Flux – Regenerate a small amount of Force Meter of time, but maximum Force Meter is reduced.
Flux is helpful because both stances are capable of powerful attacks unlocked via the skill tree which will drain the Force Meter.
Cost – 1 Perk Slot
Skills
Dual Wield Skills
Serpent’s Bite - Hold Attack through the flurry to execute a strong final overhead swing.
1 Skill Point
Uncoiled Strikes – Delay Attack input to perform a flurry of quick, targeted swings.
2 Skill Points
Precision Release
Release Special Attack right as an enemy hits to perform an even more devastating follow-up attack and stagger nearby enemies.
2 Skill Point
Dancing Blades
Hold Parry/Block and Special Attack to throw both lightsabers that bounce between multiple targets.
3 Skill Points
Blaster Skills
Improved Clip - Increase maximum blaster ammunition by three.
1 Skill Point
Quick Draw – Hold Parry/Block and Special Attack to focus and target multiple enemies at once with the blaster.
3 Skill Points
Energizing Flurry
Hold Parry/Block and press attack to perform a sequence of swings that rapidly replenishes ammunition if they connect.
3 Skill Points
Point Blank
Use Special Attack just before an enemy hits to blast them away.
1 Skill Points
Force Skills
Power Slam – Hold Focus and Jump for bigger hit reactions from affected enemies.
2 Skill Points
Channelled Energy – Cal regains more force when he defeats an enemy and regains some force when he hits a blocking enemy.
1 Skill Point
Howling Push – Hold Push to push enemies in a much larger radius, and with greater effect.
2 Skill Points
Enlightened Attunement – Cal’s maximum Force is further increased.
2 Skill Point
Survival Skills
Greater Reflexes – Block meter refills faster.
1 Skill Point
Teamwork – Reduces time required to heal with a BD-1 stim.
1 Skill Point
Expert Survival Skills – Cal’s Maximum Life is increased.
2 Skill Points
You may also be interested in:
- Top 15 Best Star Wars Characters
- Star Wars Movies: Best and Worst Movies Revealed
- 10 Things You Didn't Know About Darth Vader
- Star Wars: Top 10 Things We Love Most About The Star Wars Series
- The Most Legendary Star Wars Quotes from The Top 25 Star Wars Characters
- 12 Awesome Star Wars Games That Need New Remakes


