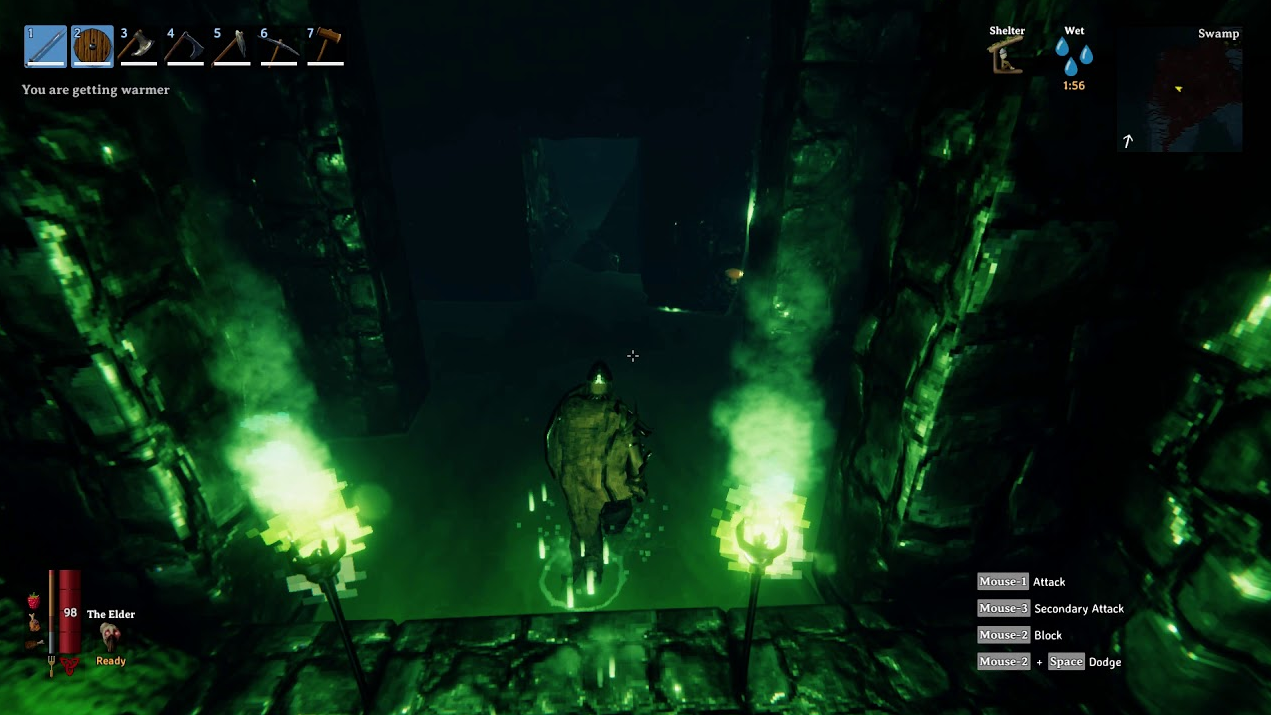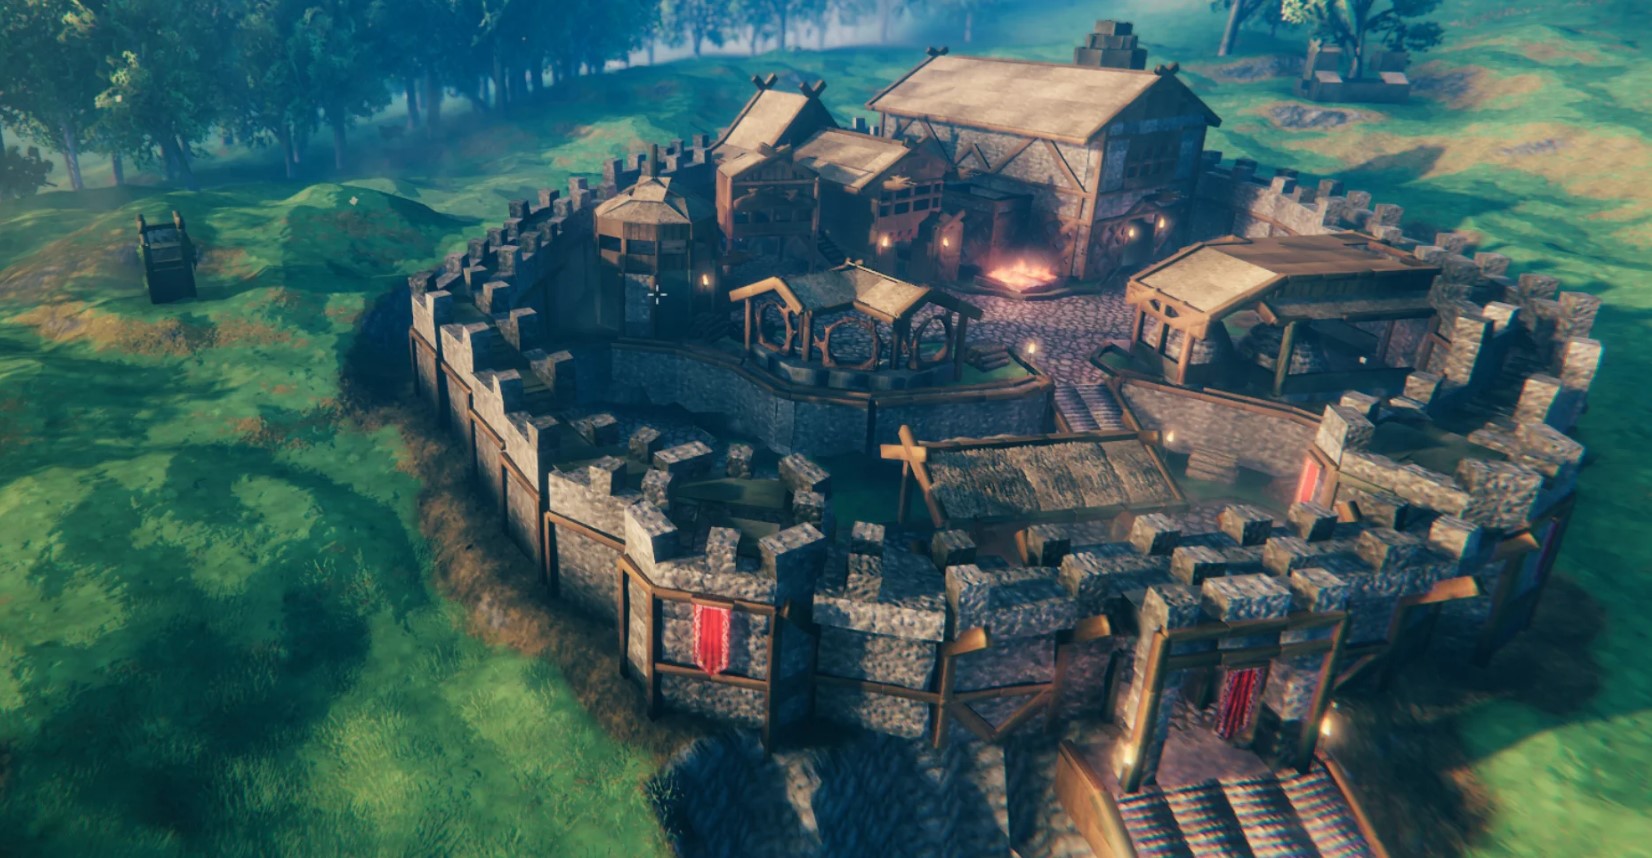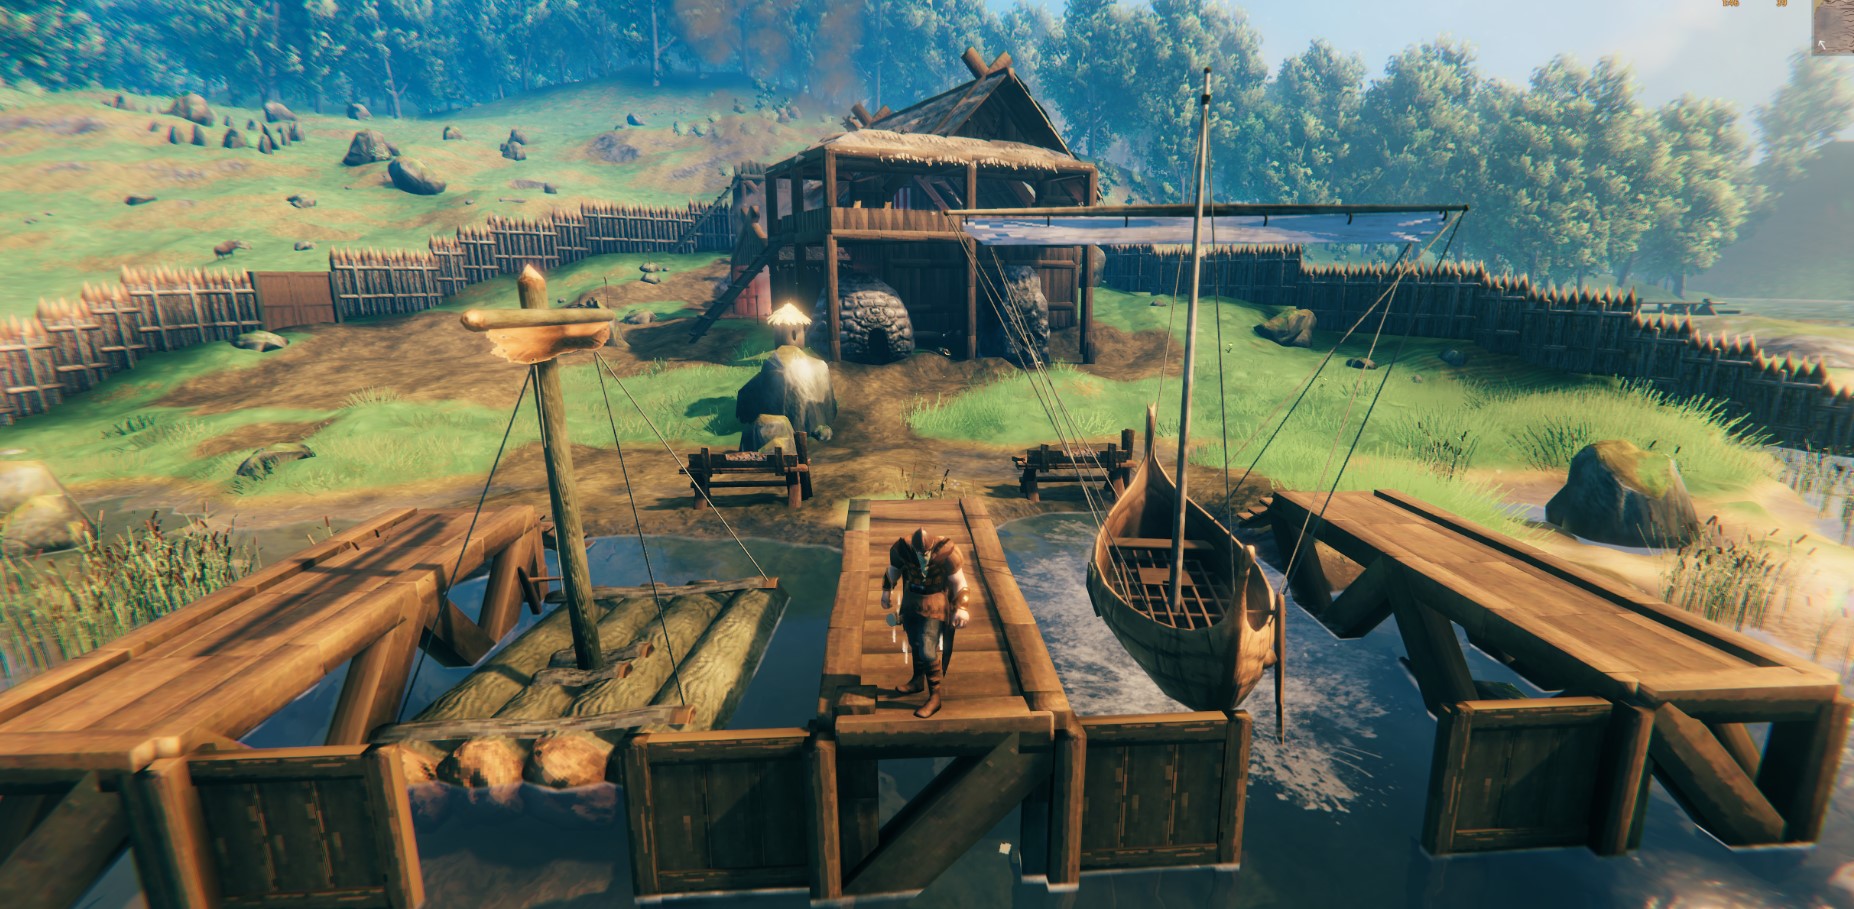
If we take a different approach to how the game is played, you’ll soon find that the sandbox nature of the game allows for an unlimited amount of free time, and so for those not in a hurry to kill and finish the bosses in this game, you’ll find your zen in building amazing structures in places you feel fits your ideal vision of a Viking world. Since this game has that old, RPG feel, it’s only natural that the first builds you’ll think of doing is a castle.
Now, there are many kinds of castles, from our usual 4 corner wall type of castle, to winding clustered forts that can be used by a number of people that can house a number of function. You’ll only be limited by your creativity (and the occasional workbench/stonecutter range) and for this list, we’ll be looking at some of the most creative builds that shapes how a castle should look or even function.
As with all Valheim lists, this was written at the time of the games’ latest version (Hearth and Home Update, version 0.207.20). For this list, the builds range from single castles to a fort complex. I’ve also avoided compilation videos as I’d like to share the spotlight on the builds -one by one. This list is in no particular order.
10. Longship
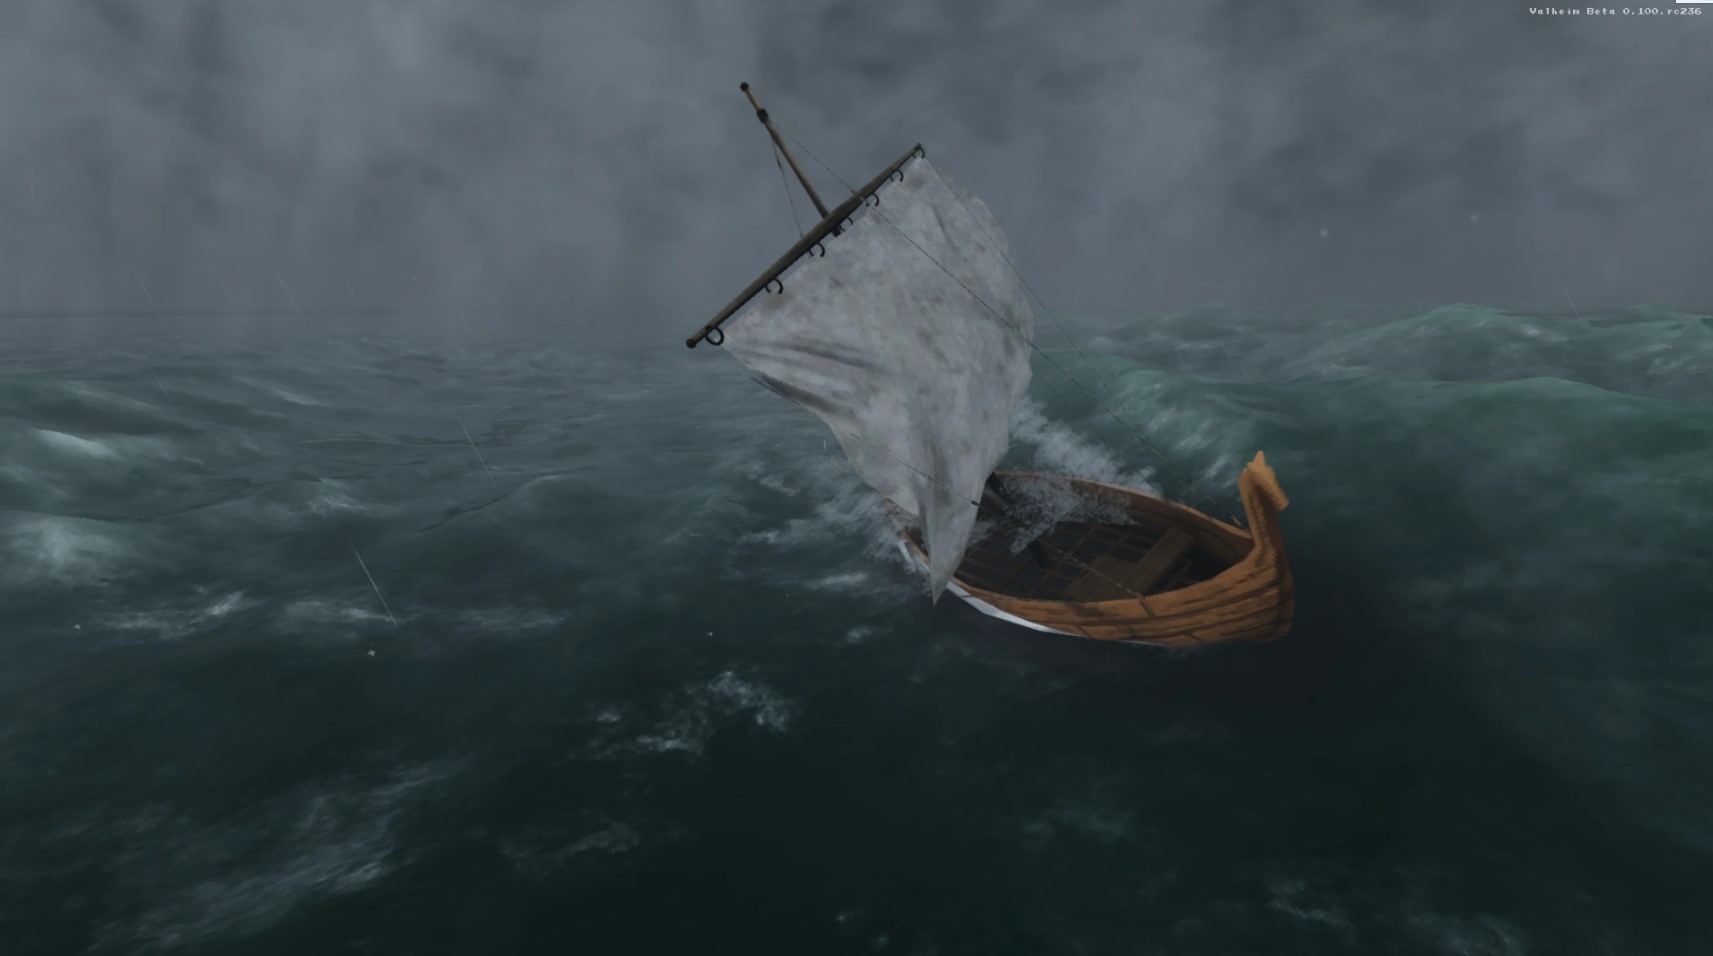
The importance of this will vary from your spawn, but if you need to haul a lot of Iron or need to do some island hopping to get to the Swamp, you’ll need one of these.
What is Good About the Longship?
A larger, grander way to enter those pesky water blocked pathways to the snowy hills, you’ll be able to utilize its capability in the following ways.
Longship:
- A great boat for large-scale explorations
- Has plenty of inventory slots to fit a lot of ores and non-portal transferrable items
- Large health to tank up damage while at sea
The point of going to the Mountains is not only to progress through the game by defeating Moder, but to also haul a lot of the Mountain’s precious resource, Silver, specifically, Silver Ore. These are not transportable through the portal, meaning you’ll be going far into the distance with heavy ores, which is not good for your stamina and inventory space. By utilizing the ships 18 slot space, you can haul up to a maximum of 540 ores, which should be more than enough for a solo player, and a good enough haul to make at least one weapon for a whole server.
How to Get the Longship?

Longship:
- Get Fine Wood from Birch Trees
- Kill Deer to get Deer Hide
- Get Resin from Trees or killing Greydwarves
- Create Bronze and turning them into Bronze Nails in the Forge
- Create using the Hammer and a nearby Workbench
For a detailed look at the boat’s stats, use the key points below.
Longship:
- Boat HP: 1000
- Speed Achieved (Paddling to Full Sails) – 11.3 to 34.2 km/h
- Storage space – 18 slots
9. Iron Axe
While it’s more considered as a tool, this can prove to be a fair enough weapon for when you happen to have no available weapons to begin with.
What’s Good About the Iron Axe?
This unassuming weapon is a byproduct of its own construction, having more uses than cutting trees down, as seen below.
Iron Axe:
- Slashing damage works on simple enemies
- Can be a weapon when you’re in a pinch
- More for cutting trees to gather wood
With an abundance of Fir trees, when you need to make a shack or temporarily fix up the one you find, the Iron Axe would be the best axe to get at the time you explore the alps. Not much to go on about as that’s its only realistic use case as the durability and damage isn’t up to scratch versus a real weapon and it’s not that viable to use in anything other than cutting trees. Still, having this around to be able to build a settlement is better than nothing, and for a hostile biome like the Mountains, any help will count.
How to Get the Iron Axe?
Iron Axe:
- Get Iron
- Get Wood from trees or fallen branches
- Kill Boars for Leather Scraps
- Combine in the Forge
For a detailed look at the weapons stats, use the key points below.
Iron Axe:
- Damage Profile: Slash
- Base Damage: 60
- Full Upgraded Damage: 75
- Minimum Crafting Area: Forge (Level 2)
8. Poison Resistance Mead
If you are crossing the Mountains for the first time, unless you have an appropriate cape, you should not by any means go in without one of these as you’ll likely die before finding something meaningful in there.
What is Good About the Frost Resistance Mead?
A drink to end all rattling bones in the peaks of the Mountain, this will benefit those exploring the biome for the first time as it will give some nice effects to your Viking.
Poison Resistance Mead:
- Creates plenty for a single sitting
- Prevents freezing damage when exploring
- Shortens the freezing damage duration from enemy attacks
This item should be an absolute must have when you have yet to obtain the materials needed for a Wolf Fur Cape. Like real life, hypothermia is a thing in this game which will chip at your health, no matter how high or low it is. This is just prevention to freeze your Viking to death, which is especially needed when fighting Moder as the ice damage that boss brings isn’t something to take lightly on. Once you do have the capes that bring you Frost Resistance, you wouldn’t need to have this as much as you do when starting out, but when you unfortunately die and need to reclaim the items from your icy grave, have a few of these to keep you frosty (or not frosty).
How to Get the Frost Resistance Mead?

Poison Resistance Mead:
- Make a Fermenter in your base using the Hammer using its corresponding materials
- Gather Thistle from the Black Forest or Swamps
- Get Honey from crafted Beehives
- Kill a Neck to get Neck Tail
- Get Coal from a Charcoal Kiln or burning food from the Cooking Station
- Combine in a Cauldron to make the mead base
- Put the mead base and wait 2 in-game days to finish and turn to Poison Resistance Mead
For a detailed look at the mead's stats, use the key points below.
Frost Resistance Mead:
- Resistance Type: Frost
- Stack Number Per Slot: 10
- Duration: 600 sec.
7. Iron Sword
Nothing’s more convenient and reliable than a sword, and an Iron Sword is a good one at that.
What’s Good About the Iron Sword?
A solid, reliable way to slaughter any mobs that will bring harm, the Iron Sword is a cut above the rest in terms of Mountain protection, which you’ll find important for the following.
Iron Sword:
- Can be paired with a shield for good defense/attack combos
- Relatively cheap to make
- Strong alternate attack to single out an enemy
For many of Valheim’s enemies, the sword is the most obvious weapon to have around your inventory as many of them don’t have slash resistances, which is true for most of the Mountain creatures, except for one, which we’ll leave as a surprise for now. When going up against ground mobs like Wolves, this trusty weapon will be able to get you some fighting power and help get their loot when done right. This is likely going to be the strongest weapon in your inventory anyways, though it still should be noted that, even with this, survival will depend on your stamina management, health at that time, and how well you can run/fight from a hoard of enemies tailing you.
How to Get the Iron Sword?
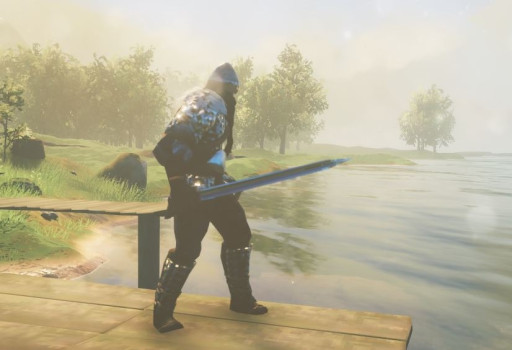
Iron Axe:
- Get Iron
- Get Wood from trees or fallen branches
- Kill Boars for Leather Scraps
- Combine in the Forge
For a detailed look at the weapons stats, use the key points below.
Iron Sword:
- Damage Profile: Slash
- Base Damage: 55
- Full Upgraded Damage: 73
- Minimum Crafting Area: Forge (Level 2)
6. Iron Mace
One of the more preferred weapons of choice for the Swamp, the Iron Mace is going to be a backup weapon for when your sword has lost its edge (or durability)
What’s Good About the Iron Mace?
A great weapon with great utility, here are the things the Iron Mace can provide.
Iron Mace:
- Slight knockback increase from the Bronze Mace
- Damage increase can help with higher difficulty mobs
- A good weapon for doing Swamp runs or killing Bonemass
A strong weapon regardless of biome, the mace is another trusty weapon that should be able to get you out of tricky, mob-spawning situations. For the Mountains, you’ll likely be wielding the Iron equivalent of the family, which is a nice weapon for the same mobs as the sword. This has some leverage when compared to the Iron Sword on one very minor technicality, damage to the Stone Golem. The surprise from last entry is that the Stone Golem, like its name suggests, is a huge stone mob that pummels any player trying to get near it by its swipe. Slash damage from the sword is next to nothing to it, making this weapon a bit better by that context, but still, not ideal. What weapon you should use for it is another surprise, but for our Iron Mace, it’s still a very good, sufficient weapon for you to take to the alps of the Mountains.
How to Get the Iron Mace?
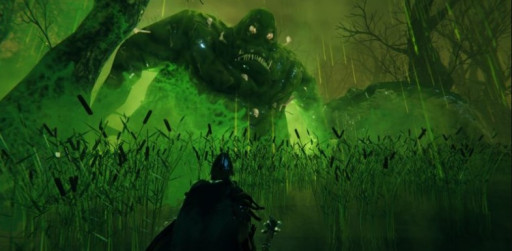
Iron Mace:
- Get Iron
- Get Wood from trees or fallen branches
- Kill Boars for Leather Scraps
- Combine in the Forge
For a detailed look at the weapons stats, use the key points below.
Iron Mace:
- Damage Profile: Blunt
- Base Damage: 55
- Full Upgraded Damage: 73
- Minimum Crafting Area: Forge (Level 2)
5. Finewood Bow:
The bow you’d carry around well into the game, this decent bow does decent utility through range advantage against your enemies.
What’s Good About the Finewood Bow?
A super useful bow that is shockingly attainable early as this will likely be the same bow you’ll use up since the Black Forest/2nd boss part of the game, which in turn has some equally amazing uses listed below.
Finewood Bow:
- A very useful sub weapon
- Amazing longevity for what it is
- Take out enemies or food sources from far away without alerting them immediately
Now, by this point you’ll be approaching the end of your time with the Finewood Bow, and that in itself is amazing to consider as that early game weapon still has a good amount of use for you in terms of sniping enemies afar. An exception to the rule in regards to the Finewood Bow being in this list would be the Huntsman Bow, and while that has better damage than the Finewood Bow, knowing that a better bow in the shape of the Draugr Fang is only a few Silver ores away from being made, you can live with this bow for now
While many dangerous enemies in the Mountain lurk on the ground, the sky isn’t exactly safe for a would-be Viking to stroll on through care-free. In the Mountain biome lies Drakes, or tiny ice wyverns (dragons with two legs) that blast ice balls at your face slowing you down and taking some frost damage as time goes on. The only realistic way to deal with them is to shoot them down with your Finewood Bow and the arrows of your choosing to kill them and harvest their loot, namely a Drake Trophy or the more important Freeze Gland.
Once you manage to get the materials you want, as well as some Silver ores to smelt in your base, you can be able to craft the aforementioned Draugr Fang for better range, utility, and damage and put your trusty Finewood Bow into a well-deserved item stand retirement.
How to Get the Finewood Bow?
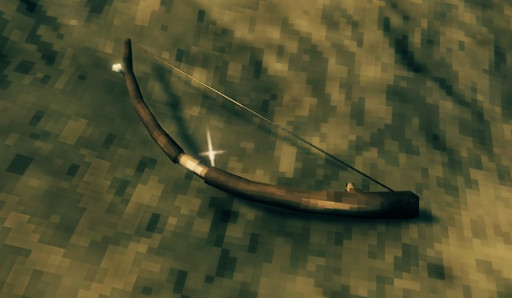
Finewood Bow:
- Get Core Wood from Fir Trees
- Get Fine Wood from Birch/Oak Trees
- Kill Deer for Deer Hide
- Create it by the Workbench
For a detailed look at the weapons stats, use the key points below.
Finewood Bow:
- Damage: 32-41
- Damage Type: Pierce
- Minimum Crafting Area: Workbench (Level 1)
4. Iron Pickaxe
With the list being filled with weapons and gear, this tool is arguably more important than the weapons stated as those can be subjective while bringing this is a must have.
What is Good About the Iron Pickaxe?
Not much to say but it’s the best pickaxe in the game, specifically it achieves the following:
Iron Pickaxe:
- Can also pick and mine at a faster speed
- Insane durability when fully upgraded
- Only pickaxe to be able to mine Obsidian and Silver
The latter part is the most important aspect of having this in your inventory as Silver and Obsidian are hard materials that won’t budge under any other pickaxe. The main point of going to the Mountains, apart from killing Moder, is farming the Silver and maybe some Obsidian, and you won’t be able to with anything less than the Iron Pickaxe. What is also surprising is that the Stone Golem, which we touched on earlier, is weak to this tool, making it the best weapon against it, ironically.
How to Get the Iron Pickaxe?
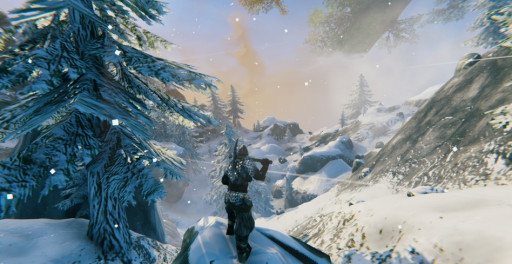
Iron Pickaxe:
- Get Iron
- Get Wood from trees or fallen branches
- Combine in the Forge
For a detailed look at the pickaxes’ stats, use the key points below.
Iron Pickaxe:
- Damage Type: Pierce
- Mining Damage: 33
- Pierce Damage: 33
- Repair Area: Forge
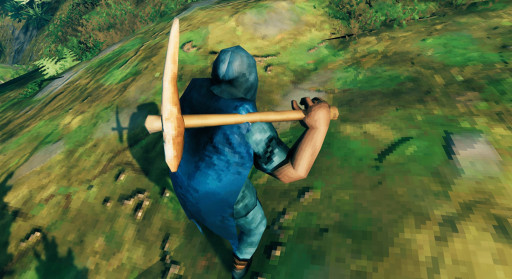
3. Antler Pickaxe
While the stronger Iron Pickaxe is the best pickaxe to have around, you still want to preserve its durability, and that is where this Antler Pickaxe comes in.
What is Good About the Antler Pickaxe?
The first pickaxe in the game is amazing in terms of helping you get some ores, which also explains its use even in the late-game, as seen below.
Antler Pickaxe:
- Easy to make, provided you carry its materials
- Only pickaxe to be fixed via a crafting table
- Can break most of the materials you initially need
The most important aspect of bringing the Antler Pickaxe in the Mountains is the ability to repair it on your typical workbench. The Iron Pickaxe, like many metal-based items and weapons, needs a Forge to repair it, meaning if you have no durability left on your Silver ore picking session, you’re forced to go back to base to get it fixed. To combat the need to return to base often, have this Antler Pickaxe clear the stone and other things to get to the much needed Silver ore, and just repair the Antler Pickaxe using the workbench you’ve made nearby. You’d be surprised how much time you save doing this compared to just having the Iron Pickaxe and it also gives you the best chance to haul an efficient number of ores and saves you some durability to potentially protect yourself from a Stone Golem.
How to Get the Antler Pickaxe?
Antler Pickaxe:
- Kill Eikthyr to obtain Hard Antler
- Get Wood from fallen branches or chopping down trees
- Combine in a Workbench
For a detailed look at the pickaxes’ stats, use the key points below.
Antler Pickaxe:
- Damage Type: Pierce
- Mining Damage: 18
- Pierce Damage: 18
- Repair Area: Crafting Table
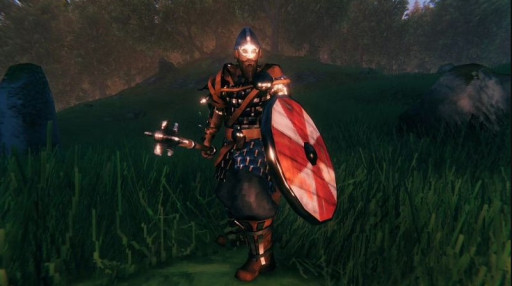
2. Iron Shields (Iron Buckler / Banded Shield / Iron Tower Shield)
With a selection of shields to be made, choosing one will just be a matter of personal preference, but all will be viable when in the dangerous alps.
What Makes the Iron Shields Great?
While there are 3 shields on offer, we will treat them as a singular focal point. The Iron Shields will all do a fine job at protecting you in the Mountains. Below are what the specific uses and benefits are for each shield and take whichever one you feel is better suited to your needs.
Iron Buckler:
- Lighter on Iron ingots to make it
- Decent blocking power
- Has a 2.5x parry mod
Banded Shield:
- Customizable
- Scalable parry percentage on upgrades
- Good shield overall for the mid-game
Iron Tower Shield:
- A huge gap in blocking power to the tower shield below it
- A more reliable shield to tank Swamp creatures
From the defenses the large tower shield offers, to the bucklers’ parry amplified damage, there is no shortage on protection when it comes to choices. Again, the Mountain has a lot of strong enemies around and finding some protection against their attacks will reward you greatly, specifically, their loot.
How to Make the Iron Shields?
Iron Shields:
- Get Iron
- Get Wood from trees or fallen branches
- Kill Boars for Leather Scraps
- Combine in the Forge

