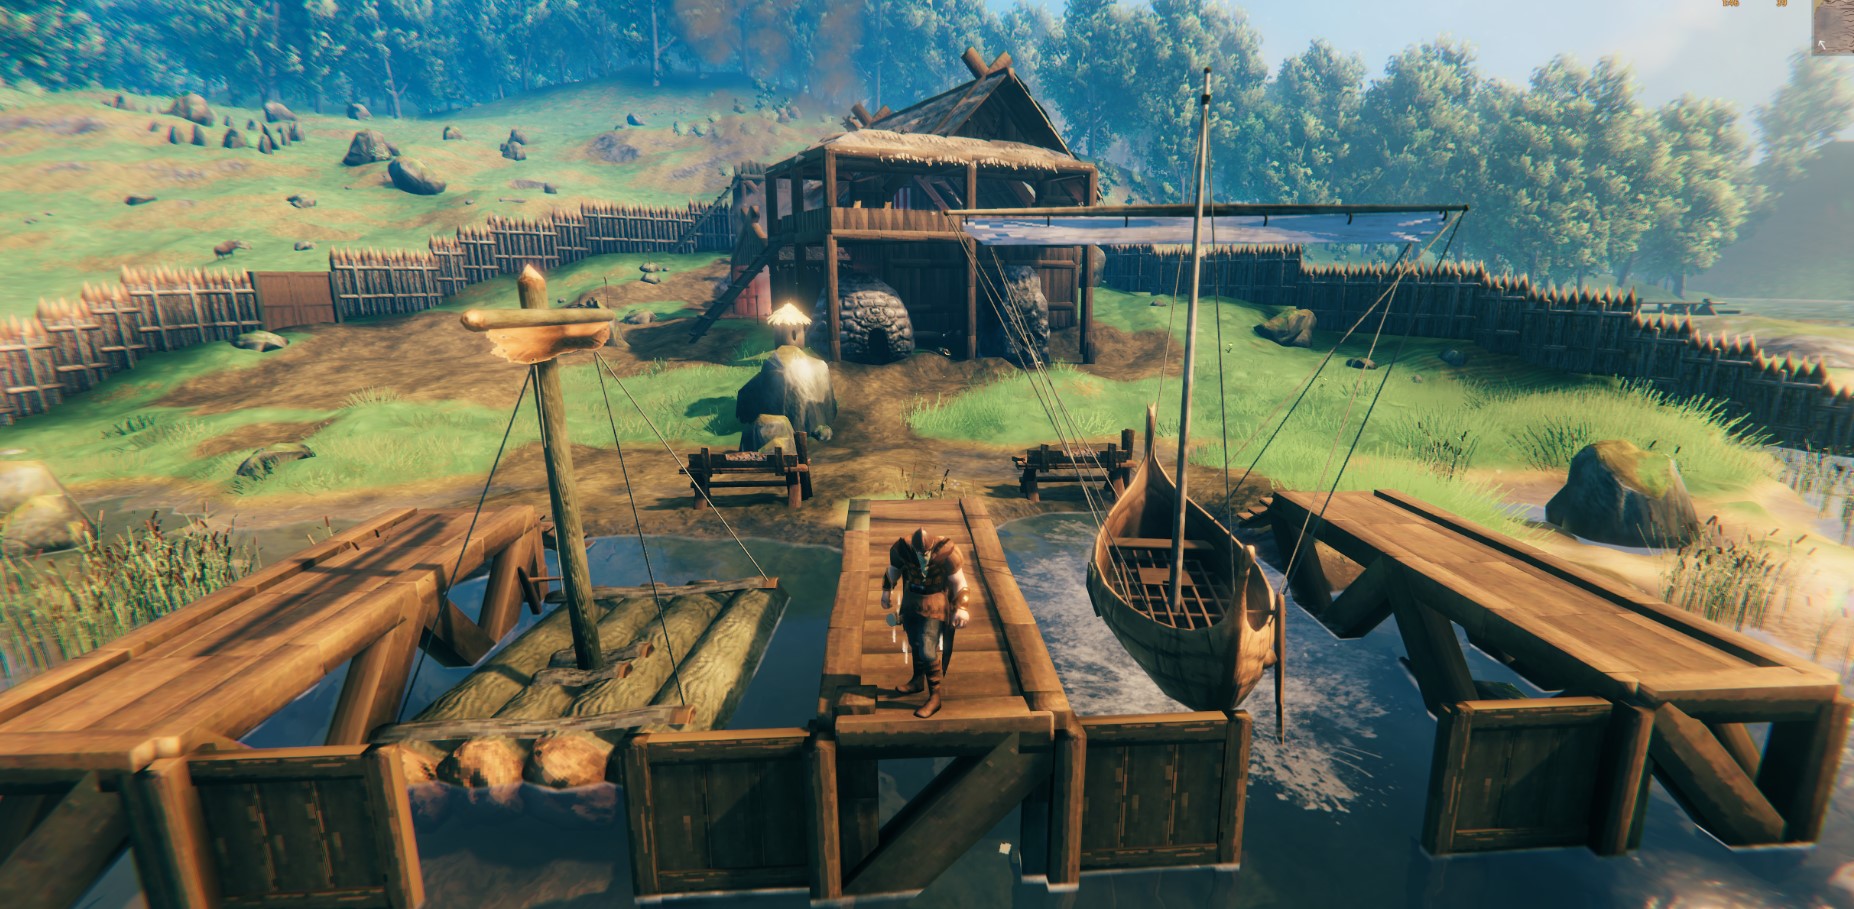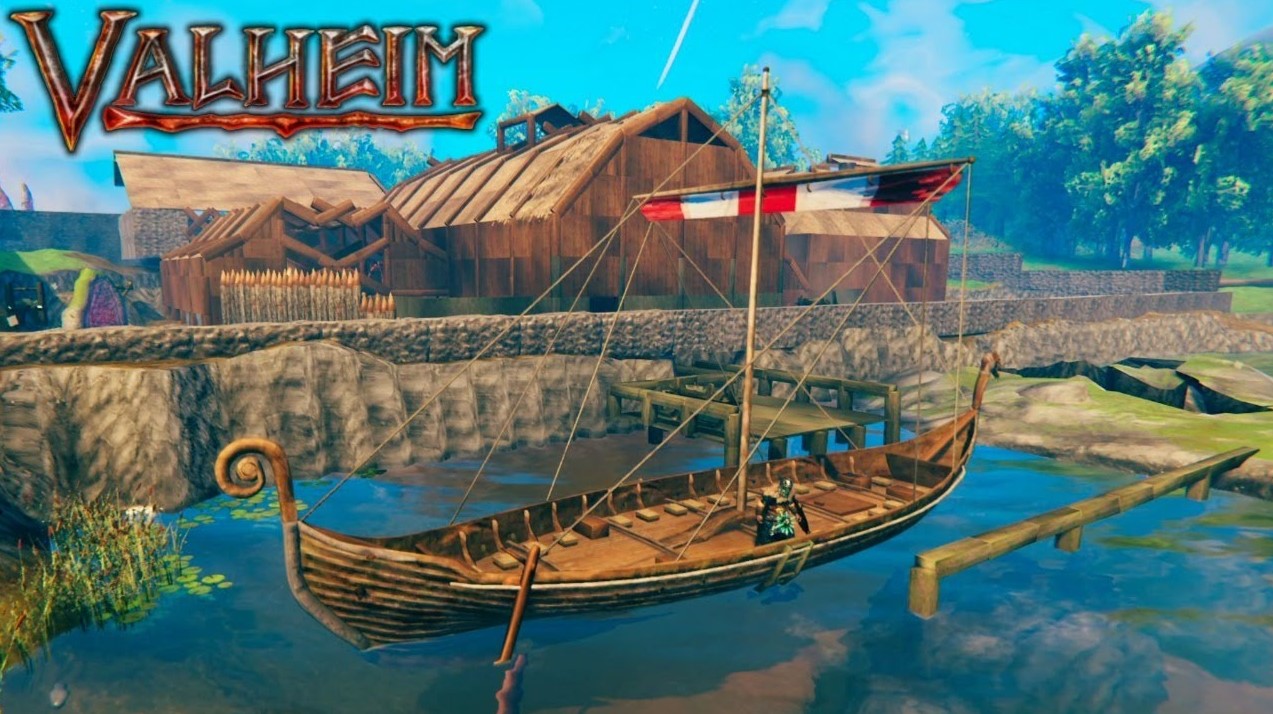
As a resource, Iron is the most important ore in Valheim, creating a broad range of important goodies that can help you kill better, build better, and create better. This is especially true as the process of Iron is tedious, and can lead to some rationing decisions you’ll have to consider when crafting anything that can hamper the ability to get something much better. Again, you’d need to understand what Iron can build so you don’t end up wasting resources, and that’s where this list comes in.
Prepare the smelters as we will be sorting out all of the things Iron can make, and by the end of the list, helps clarify your priorities in using Valheim’s most important metal ore.
As with all Valheim lists, this was written at the time of the games’ latest version (Hearth and Home Update, version 0.204.4) with the list covering a general category of Iron items, unless explicitly stated. The list also lacks supplementary stats images this time as some items have unavailable stat info, and will be omitted to be coherent.
How Do You Get Iron?
To avoid redundancy, Valheim has a linear creation path, meaning when you get the material for one item, you get all, so that is one thing less for you to worry about. It’s the same process as creating Iron weapons, with only a few changes, which we’ll get to at the item specifics. Written below are the things you need to accomplish to create Iron.
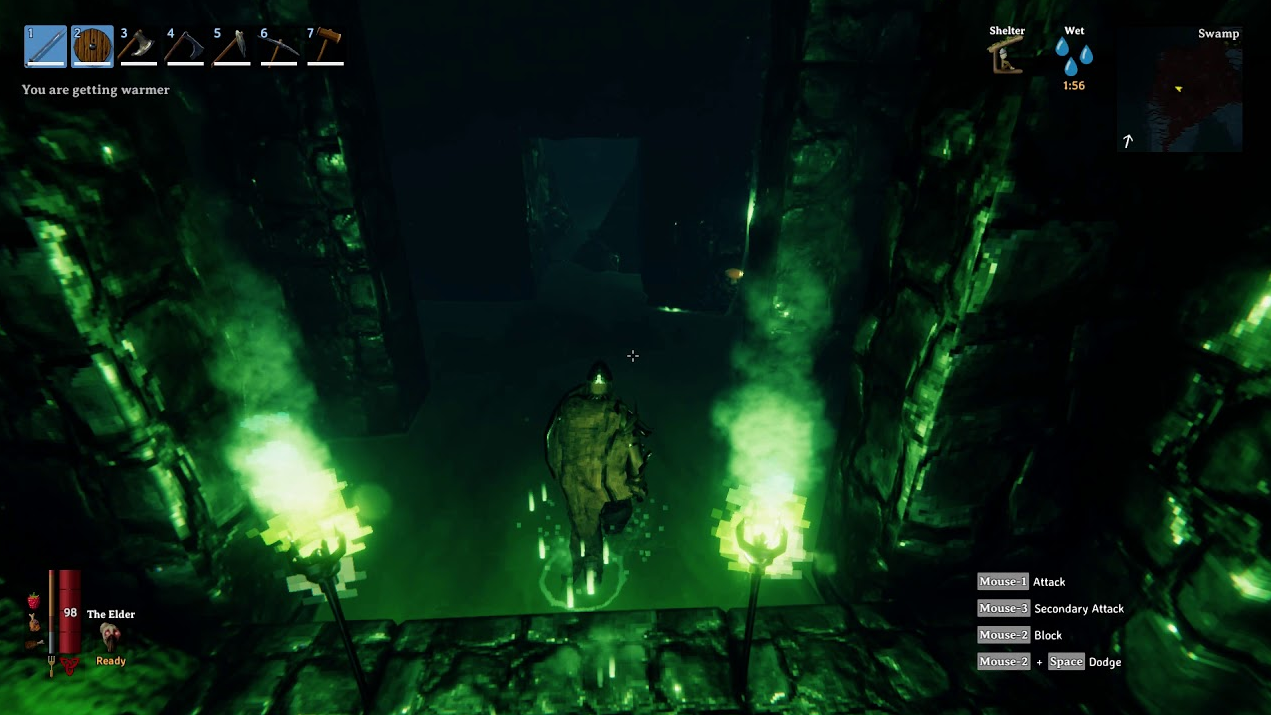
Getting Iron is as simple as going to the Swamp, opening a crypt using the Swamp Key (obtained by killing the 2nd boss, Elder), picking a muddy scrap pile using any pickaxe, and bringing the Iron scrap back to base for smelting. What is not simple is the difficulty of obtaining it especially early on, as the creatures of the Swamp are very deadly for the unprepared. I’m saying this as you’ll be doing a lot of crypt finding, meaning higher-grade food, and poison resistance is a must if you wish to hop to and from different Swamps. You need to plan your time, priority, and pacing of looting as the material amount can vary, which can take you a few hours, to even a few real-life days to have things sorted.
Once you know you have enough Iron scraps (or have your inventory full, or when you wish to quit farming it) to make your desired weapon, it’s back to your base or smelting area to create it via the Smelter, with the Charcoal Kiln nearby to feed the Smelter to process it. Once collected, you have the option of the Forge or the Hammer sub-menu to create the desired Iron item.
With that in mind, let’s go towards what you can make.
10. Stonecutter
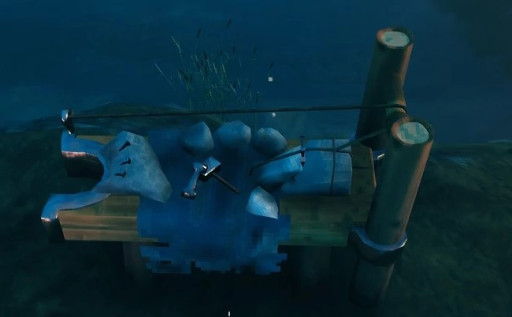
While this may look like a very messy bed visually, its importance in stonework is essential for creating more options for your buildings.
What’s Good About the Stonecutter?
Most of these singular Iron items have only one purpose, and as the name suggests, it cuts and create stones into other useable craftables such as the things listed below.
Stonecutter:
- Craft Stone-based floors/pillars
- Can make paved roads for your base when in range of the Stonecutter
- Allows to upgrade the Forge after getting the Grinding Wheel
Besides being able to make stone roads, there’s not much to say other than craft it immediately if you wish to start building structures out of stone or create the Grinding Wheel to upgrade the Forge.
How to Get the Stonecutter?
To obtain the Stonecutter, you’ll need to do the following:
- Get Iron
- Get Wood from trees or fallen branches
- Gather Stone from the area or pickaxe a rock/boulder
- Use the Hammer and open the ‘Crafting’ sub-menu
- Place it in your desired position
For a detailed look at the item’s stats, use the key points below.
- Intended Purpose: Stone Buildings
- Materials Used: Iron, Wood, Stone
- Crafting Prerequisites: Workbench
9. Blast Furnace
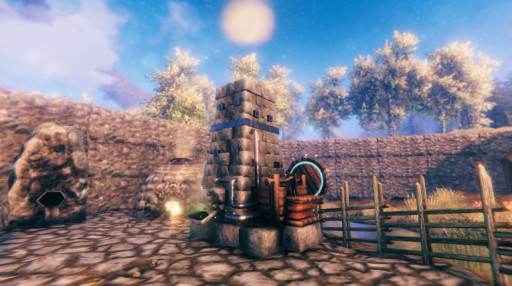
Another single-purpose item you can craft is the Blast Furnace. It’s required to have this when you proceed with late-game expeditions as they open you to important items in the game.
What’s Good About the Blast Furnace?
To create the best equipment in the game, in the form of Blackmetal weapons, you’ll need this huge ore smelter. Its use should be pretty self-explanatory as seen below.
Blast Furnace:
- The only area to smelt Blackmetal and Flammetal Ore
- By extension, unlocks the best weapons in the game
A big bummer is that, unlike its name, it doesn’t exactly process the ore way faster than its smelter counterpart, which also adds to the weirdness considering that you can’t smelt existing metal there, like Iron, and vice-versa with Blackmetal and the currently useless Flammetal Ingot on the regular smelter. It’s not fair to compare the two as they don’t do similar ore types, but if anything, it emphasizes how different the Blast Furnace is in terms of when it is used and its importance. An important note also is that you need to create an Artisan Table to make this and that can only be done by killing the 4th boss, Modor. To make the story short, if you want to craft some nice Blackmetal weapons, build this, get the ore, craft your desired weapon and be on your way to killing foes in a blast.
How to Get the Blast Furnace?
To obtain the Blast Furnace, you’ll need to do the following:
- Get Iron
- Get Fine Wood from Birch or Oak Trees
- Gather Stone from the area or pickaxe a rock/boulder
- Get Surtling Core from killing Surtlings or find them in Black Forest crypts
- Use the Hammer and open the ‘Crafting’ sub-menu
- Place it in your desired position
For a detailed look at the item’s stats, use the key points below.
- Intended Purpose: Metal Processing
- Materials Used: Iron, Surtling Core, Fine Wood, Stone
- Crafting Prerequisites: Artisan Table
8. Windmill
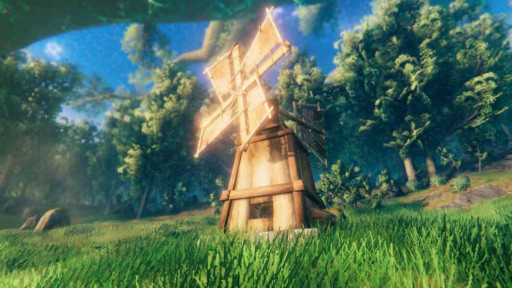
A huge structure with an important function in getting access to material that helps with your survivability. Also, bonus points in that it looks very nice.
What’s Good About the Windmill?
Another single-function item Iron can craft, as it is made from a craftable item from Iron, the Iron Nails. Visually appealing and also very functional, the Windmill helps create Barley Flour from Barley, and in turn, creates high-grade food items that help you survive.
Windmill:
- Makes and processes Barley into Barley Flour
- An aesthetic piece welcomed to any base design
A simple use case for this one as it is a nice addition to any base for the Barley Flour it can process, as it is vital towards survivability via the food it can craft. This is something you should have in your base as the Plains will be home to the deadliest enemies out there, so more stats from the food Barley makes is a no-brainer.
How to Get the Windmill?
To obtain the Windmill, you’ll need to do the following:
- Get Iron and turn them into Iron Nails from the Forge
- Get Wood from trees or fallen branches
- Gather Stone from the area or pickaxe a rock/boulder
- Use the Hammer and open the ‘Crafting’ sub-menu
- Place it in your desired position
For a detailed look at the item’s stats, use the key points below.
- Intended Purpose: Food Material Processing
- Materials Used: Iron Nails, Wood, Stone
- Crafting Prerequisites: Artisan Table
7. Wood Iron Beam / Wood Iron Pole
While it may not be seen visually most of the time, it is an important piece for your ambitious building plans from literally falling apart.
What’s Good About the Wood Iron Beam / Wood Iron Pole?
It serves as a function piece, with the primary use being supporting the foundations of buildings. While it can be used in many other ways, given how limited Iron can be, it’s best to have it used for the intended use case listed below.
Wood Iron Beam / Wood Iron Pole:
- Creates a very strong foundation for any building
- Perfect for large projects or structures that need to be built off the ground
It’s a building material, plain and simple as that. One way you can use its superior holding power is by building tall, and for reference, you can go about 4 meters with Core Wood before seeing weak support colors (orange or red), while Wood Iron can go upwards of 6 meters without needing to worry about it. Another benefit is that, if you join up the beams and poles to create a stable floor, you can put a heavy stone piece on it without falling apart, perfect for those second-floor fireplaces.
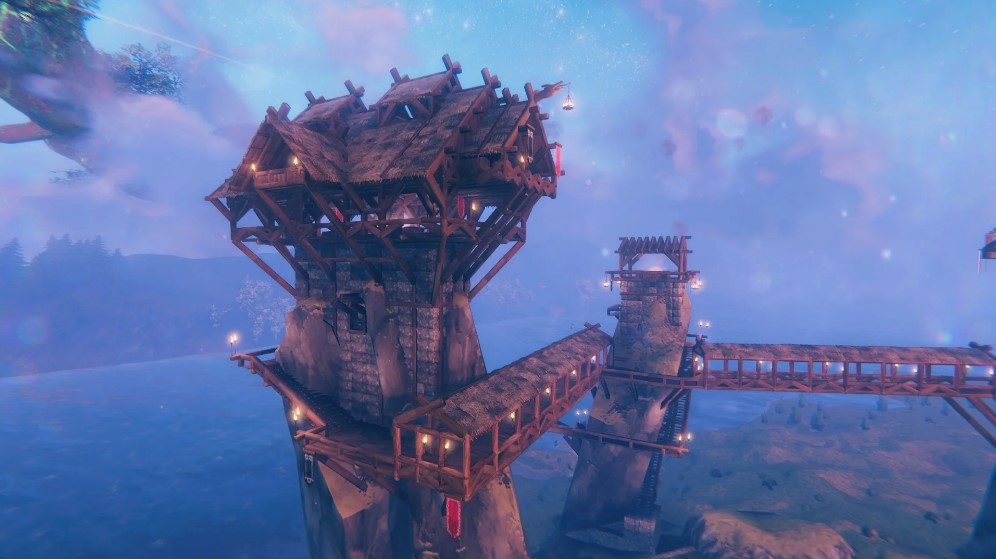
Again, Iron is a commodity that shouldn’t be wasted, and if you plan on using all of the Iron you got for your dream sky tower, then prepare to gather a world and half’s worth of ores should you wish to take it to the extreme.
How to Get the Wood Iron Beam / Wood Iron Pole?
To obtain the Wood Iron Beam / Wood Iron Pole, you’ll need to do the following:
- Get Iron
- Get Wood from trees or fallen branches
- Use the Hammer and open the ‘Building’ sub-menu
- Place it in your desired position within Workbench radius
For a detailed look at the item’s stats, use the key points below.

- Intended Purpose: Building Material
- Materials Used: Iron, Wood
- Crafting Prerequisites: Workbench
6. Iron Cooking Station
A new addition from the Valheim Hearth and Home Update, the Iron Cooking Station is the place to cook heavy, high-grade meats, or simply want to create a lot of cooked food at once.
What’s Good About Iron Cooking Station?
It’s a bigger, better, and larger version of the cooking station you usually make at the beginning of the game, so it’s a familiar setup to a degree, just scaled up to the size you’d expect it to be. Being a big cooking area, it offers up the improved use case of the things listed below.
Iron Cooking Station:
- Cooks 5 pieces of cookable items instead of 2
- Way sturdier than the regular cookable
- The only way to cook heavy meats like Serpent and Lox Meat
Back then making all meats is doable with a simple Cooking Station, but with the food changes the Hearth and Home Update introduced, the new Iron Cooking Station now gives an incentive by doing more of what was done before, while also making the higher tier meats exclusive to it, making it a piece of necessary cooking equipment to make the best food for survival.
How to Get the Iron Cooking Station?
To obtain the Iron Cooking Station, you’ll need to do the following:
- Get Iron
- Get Chains from killing Wraiths or find them Swamp Crypts
- Use the Hammer and open the ‘Crafting’ sub-menu
- Place it in your desired position within Workbench radius
For a detailed look at the item’s stats, use the key points below.

- Intended Purpose: Cooking Equipment
- Materials Used: Iron, Chains
- Crafting Prerequisites: Workbench
5. Stone Oven
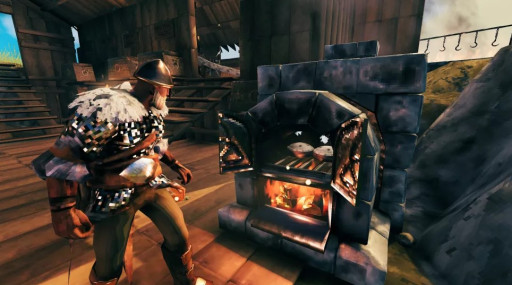
Another new addition from the Valheim Hearth and Home Update is the Stone Oven, which is now used to cook bread-based food.
What’s Good About Stone Oven?
This is similar to the Iron Cooking Station in regards to being able to make food to further help your survivability. This however is a bit more singular in use, as seen below.
Stone Oven:
- Cooks food that uses Barely Flour
- Food that uses the Stone Oven generally offer the best stats
The Stone Oven was introduced as a way to get the Lox Meat Pie a new way to make it as part of the revamped food system. While the Lox Meat Pie isn’t as overloaded as it once was, it also opens up to new food sources like Bread which make for one of, if not the best stamina food source in the game right now. Since this is more of a late-game item, this will always be welcomed as an addition to your base. Chef’s kiss.
How to Get the Stone Oven?
To obtain the Stone Oven, you’ll need to do the following:
- Get Iron
- Gather Stone from the area or pickaxe a rock/boulder
- Get Surtling Core from killing Surtlings or find them in Black Forest crypts
- Place it in your desired position within Artisan Table radius
For a detailed look at the item’s stats, use the key points below.
- Intended Purpose: Cooking Equipment
- Materials Used: Iron, Stone, Surtling Core
- Crafting Prerequisites: Artisan Table
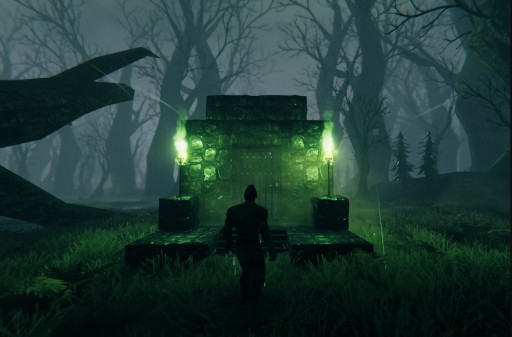
4. Standing Iron Torch
If you ever wanted the aesthetic of the Swamp Crypts torches without the danger, then this is for you.
What’s Good About Standing Iron Torch?
Simple use, simple lighting, that’s pretty much the gist of it, which is highlighted below.
Standing Iron Torch:
- More durable than standard wood torches
- Can add a theme to a build
Not much to say really as lighting is as basic as you can explain this. To add to this, it isn’t limited to the standing torches that you see, as sconces (wall-mounted torches) also happen to be made the same way but use up a bit more material. Either way, this is a durable energy source that won’t break easily, just make sure it isn’t in range of danger in the first place.
How to Get the Standing Iron Torch?
To obtain the Standing Iron Torch, you’ll need to do the following:
- Get Iron
- Get Guck from the green blobs on the trees in the Swamps
- Use the Hammer and open the ‘Misc.’ sub-menu to craft
For a detailed look at the item’s stats, use the key points below.
- Intended Purpose: Building Equipment
- Materials Used: Iron, Guck
- Crafting Prerequisites: Forge
3. Longship
A grand display of aquatic transport, if you absolutely must get the best boat in the game, the Iron, through Iron Nails can make this majestic boat.
What is Good About the Longship?
Its massive size and utility can fit the entire games’ server population (max of 10 at a time), and could probably carry way more given the same lack of limits to people using ‘hold fast’ to steady in the boat. Assuming that was fixed, this boat carries upwards of 5 people, and that’s with some of the seats being unusable too. This is easily the best boat for many reasons such as the following.
Longship:
- Large scale, fast explorations
- Massive 18 slot inventory to transport tons of resources
- Very durable with high HP to combat rough waves and Serpents
To guarantee your safety on sea travel, it’s the best boat you can create as its health, speed, and storage space is perfect for long expeditions or hauling metal from far away land, and that includes Iron. This is definitely up there for the most important pieces to build and will still be for the fore’sea’able future (yep, we went there).
How to Get the Longship?
To obtain the Longship, you’ll need to do the following:
- Get Iron to make Iron Nails
- Kill Deer to get Deer Hide
- Chop Birch Tree or Oak to get Fine Wood
- Chop Ancient Tree to get Ancient Bark
- Use the Hammer and open the ‘Misc.’ sub-menu to craft
- Place within Workbench radius
For a detailed look at the item’s stats, use the key points below.

- Intended Purpose: Transportation
- Materials Used: Iron Nails, Deer Hide, Fine Wood, Ancient Bark
- Crafting Prerequisites: Workbench
2. Iron Building Materials
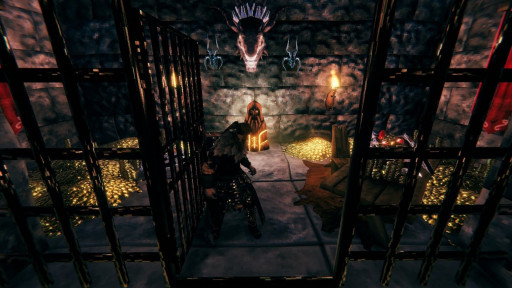
If you want to mimic a jail cell or have a strong place to store your new tamed pet indoors, then there is no better piece to make than Iron building materials
What is Good About the Iron Building Materials?
It’s simply the strongest material you can have for your building indoors, or even outdoors to a degree. It’s very durable and can be used to do the following.
Iron Building Materials:
- Provides a strong structure for important parts of your base
- Simple to make
- Best to use when caging animals to tame, like the Wolf
Uses here can further extend to cosmetic reasons such as accenting existing parts of your building/home. Back then it was only the Iron Gate that can do that, but with the addition of the Cage Floor and Cage Wall with the Hearth and Home Update, you don’t have to worry about your soon to be wolf friend escaping because your 20-ish gates have 4 exits you left out. Going back to the iron materials, shockingly, it only uses the very item, so it’s by far the simplest to craft, which we’ll get to next.
How to Get the Iron Building Materials?
To obtain the Iron Building Materials, you’ll need to do the following:
- Get Iron
- Use the Hammer and open the ‘Building’ sub-menu to craft
- Place within Forge radius
For a detailed look at the item’s stats, use the key points below.
- Intended Purpose: Building Materials
- Materials Used: Iron
- Crafting Prerequisites: Forge
1. Iron Armor
It’s pretty much self-explanatory that the best way to use Iron is by making the very thing that protects you, being armor.
What is Good About the Iron Armor?
There are two armor types that Iron can make, the Iron Armor set, and the Padded Iron set. While they may sound the same, in reality, the latter offers far better protection towards the enemies of the end game, while the former is for you to survive getting more Iron in the first place. For this list, we’ll tackle their use at the same time, with their combined use listed below.
Iron Armor:
- Good protection for mid to late game adventures
- Padded armor currently has the best armor stats in the game
Armor is very singular in purpose, and that is to prevent you from dying, and that’s just the best use for Iron in the game for anyone, as there is no point getting Iron if you keep dying and respawning, chunking away precious time you may wish to spend on something else, in-game or in real life. Unlike its weapon counterparts, it isn’t usurped by a better tier weapon, and therefore is not as disposable as weapons in its tier, with the Porcupine being an exception. Again, as an essential item, armor is the best Iron item this game has to offer, and there is no weakness in defense for that statement.
How to Get the Iron Armor?
To obtain the Iron Armor, you’ll need to do the following:
- Get Iron
- Kill Deer to get Deer Hide (For Iron Armor)
- Get Flax from the Plains (For Padded Iron Armor)
- Use the Spinning Wheel to turn the Flax into Linen Thread (For Padded Iron Armor)
- Craft via the Forge
For a detailed look at the item’s stats, use the key points below.

- Intended Purpose: Building Materials
- Materials Used: Iron, Deer Hide (Iron Armor), Linen Thread (Padded Iron Armor)
- Crafting Prerequisites: Forge


