25. Goodbye, fog
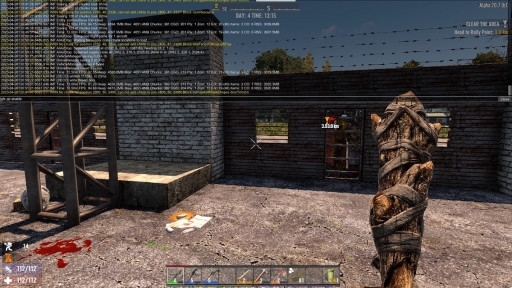
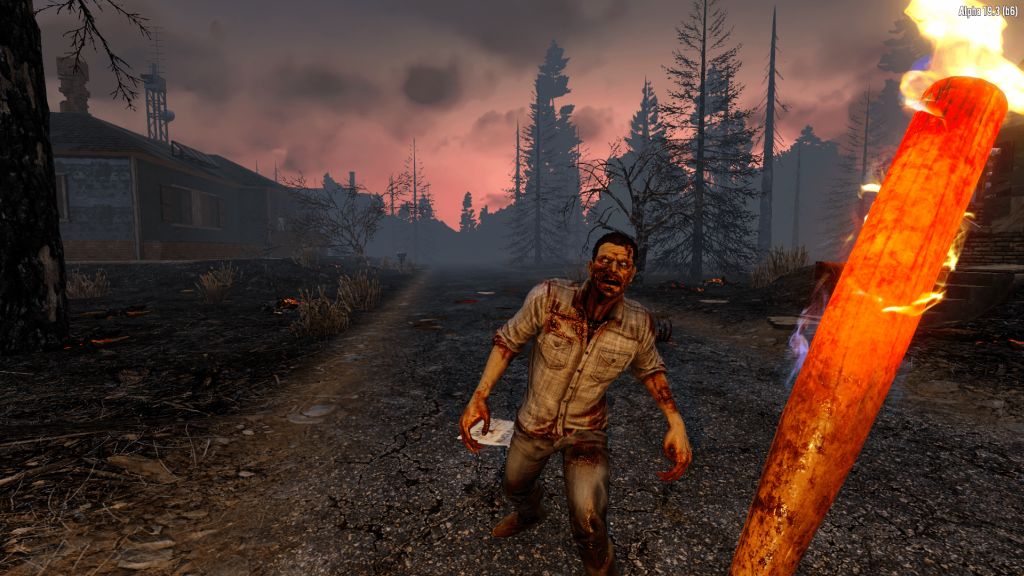
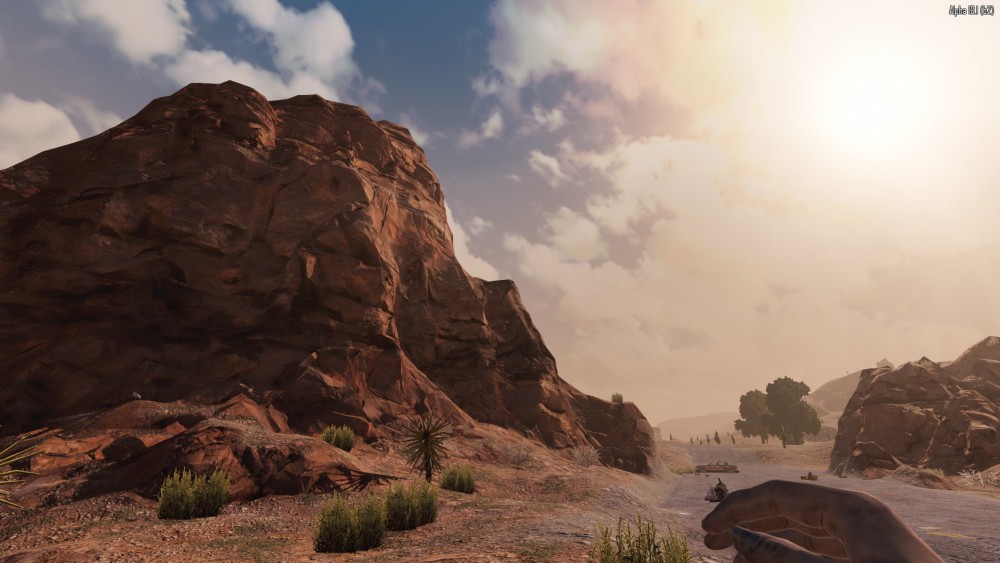
I can see clearly now the fog has gone.
Not a fan of the constant or near-constant fog? Here's how you can get rid of it:
- Hit F1 to bring up the console.
- Type gfx pp enable and hit enter.
- Congratulations! You're in the clear!
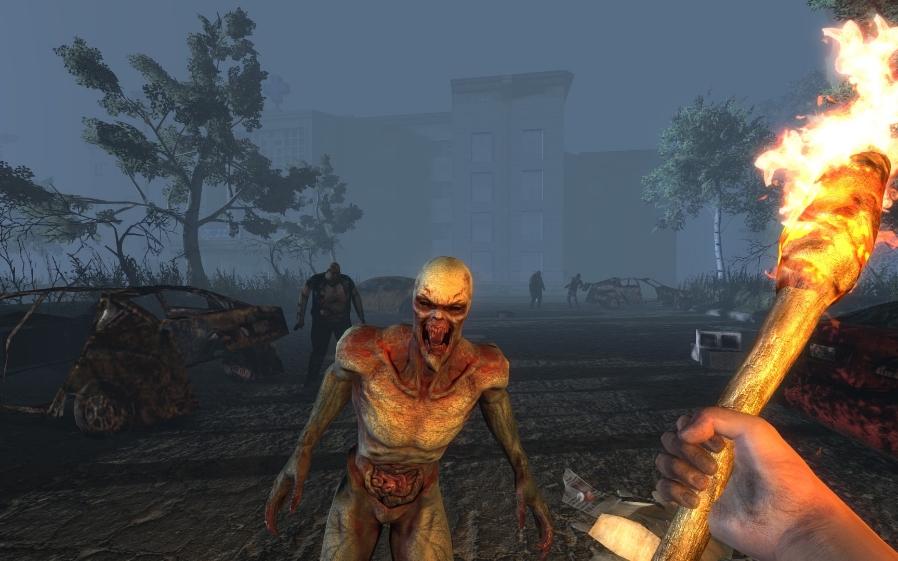
Unless you like the gloomy atmosphere and not being able to see past your nose.
24. Throw stones to distract zombies
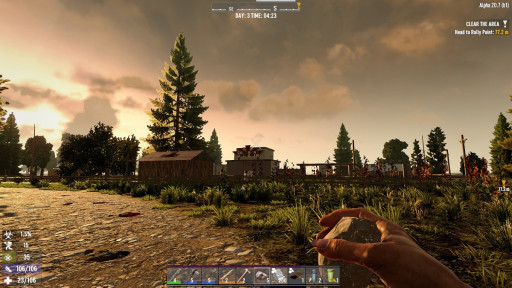
The stealthiest of stealth plays.
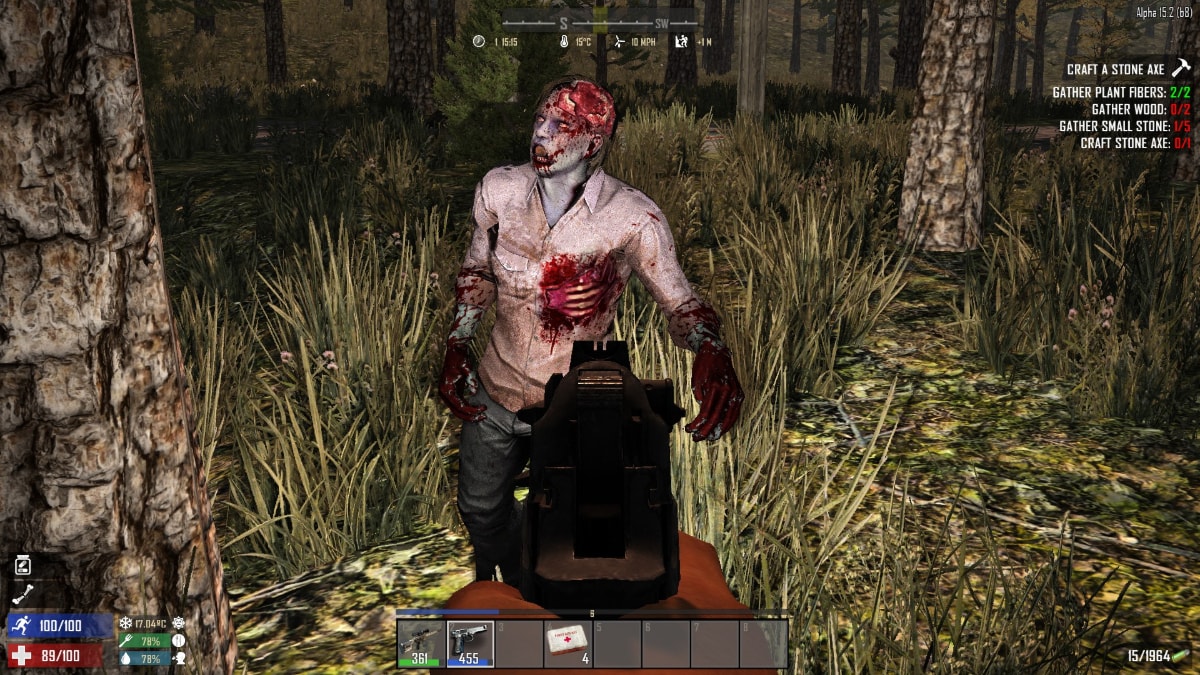
Early on in your 7 Days to Die career, you're going to find it's better to just avoid combat instead of risking injury and disease. If a zombie hasn't noticed you yet, you can toss a stone near it and it will follow that noise.
- Open your inventory with the 'Tab' key.
- Drag your Small Stones to the hotbar.
- When sneaking, equip the Small Stones (press their button on the hotbar).
- Hold the left mouse button to charge your throw, then release to throw.
23. Quest rewards are your best source of gear early in the game
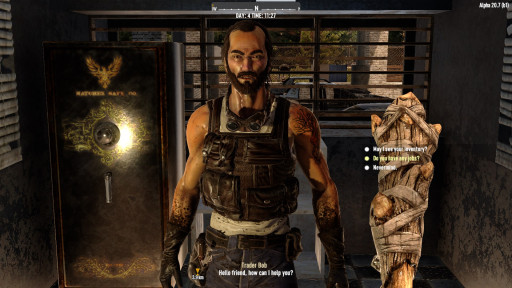
You kinda creep me out, Trader Bob.
As soon as you access your first trader, guess what? You've hit paydirt.
Every trader has a selection of 'jobs', or quests, that you can complete to earn XP, dukes, and items. The easiest quests to do are Fetch and Restore Power quests, which require grabbing an item from a location and pressing a button, respectively.
Complete your quest, run back to the trader, and turn it in for sweet stuff.
Complete a certain number of quests and you'll get the chance to claim a free bicycle.
- Go to your trader.
- Press 'E' to talk to them.
- Click 'Do you have any jobs?'
- Click the quest you want to take.
Easy!
22. Combine bartering and questing for faster progression
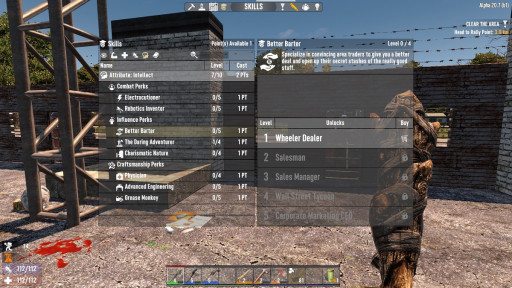
I heart Better Barter.
Even before you unlock Better Bartering and The Daring Adventurer, the items that traders carry tend toward being better than what you can craft and find—especially early on, and in higher difficulty levels.
Take Fetch quests at first, and take Clear quests only if you feel you can tackle the undead. Any quest rewards you don't want or need can be sold. As you earn dukes, they can be put toward better weapons and anything else you need.
Level up The Daring Adventurer first to unlock more, and better, quest rewards.
21. Clubs and bows are love
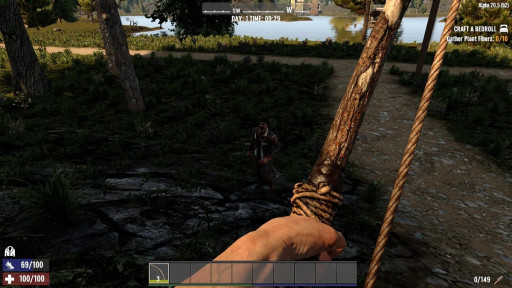
Buh-bye, dude.
Not only can clubs and bows be made with materials that are everywhere, they can be repaired without repair kits. Leveling your strength perk turns you into a one-person zombie-wrecking crew, and headshots with a club? Delicious.
Feathers for arrows are plentiful between bird nests littering the ground (most common in the forest and tundra biomes) and the undead vultures that want to snack on you.
20. Become a farmer for infinite food
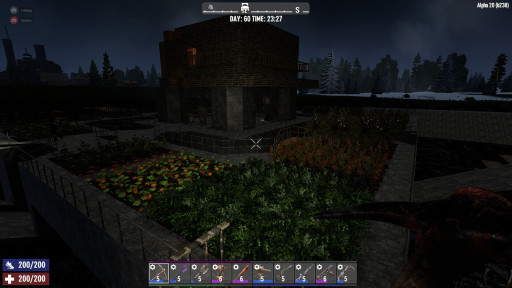
Once you get those perk points in, it is easy to get a MASSIVE farm going.
Farming is planting seeds in farm plots and letting them grow, then harvesting the resulting plants.
Farm plots are crafted from rotting flesh, wood, clay soil, and nitrate. Rotting flesh comes from harvesting the corpses that you find scattered through the world. You also get rotting flesh when you harvest zombie animals and body bags.
Nitrate? You'll find it from mining. Look for white blocks of ore while out and about, or white dots on the map.
You'll want to take the Living off the Land perk under Fortitude to get more vegetables with every harvest.
The best part about farming is that, once you plant things, you don't have to babysit them. Keep going around doing what you normally do and after a few days you'll have fully-grown plants.
Here's how to plant seeds:
- Put your farm plot and any seeds you want to plant on your action bar.
- Place your farm plot by right-clicking with it in your hands.
- Select your seeds and plant by right-clicking on the farm plot.
- You're done! The plant is fully grown when it no longer says '(Growing)' next to its name.
19. Be careful where you put your farm
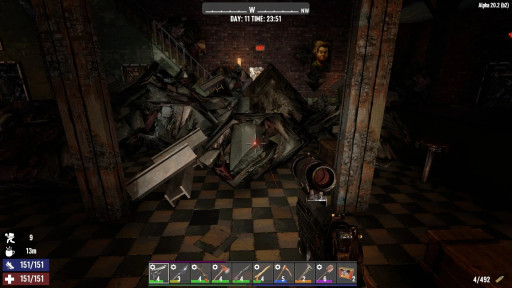
Physics in action.
One tip that I see way too often is the suggestion to build your farm on the roof of your shelter.
Don't do this.
People typically bring this up as a way to protect your crops from zombies, but in vanilla 7D2D, they ignore the crops unless you're dragging the fight to your farm plots. Don't do that. You will accidentally hit your plants.
Crops' weight changes as they grow. A fresh plot is lighter than a plot with a seedling, a plot with a seedling is lighter than a plot with a juvenile plant. As plants get bigger, they get heavier. A roof that isn't properly supported will collapse under the weight of a bunch of plots and fully-grown crops.
If you still want to do this, you'll need to make sure that you:
- Upgrade your building's walls and roof by right-clicking on each block with your stone axe/hammer/nail gun.
- Build pillars to hold up the roof every 3-5 tiles.
A reinforced building makes all the difference.
18. Get cooking
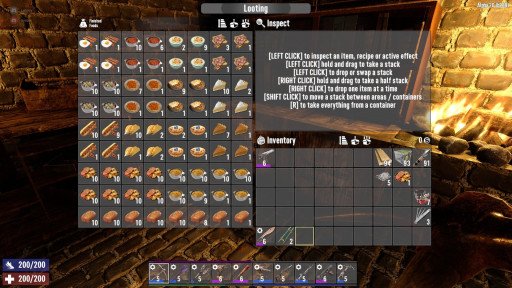
Just like grandma used to make.
It pays to take at least one point in Master Chef because home-cooked meals, much like in real life, are better for you than the things you find digging around abandoned buildings.
The best early-game food is bacon and eggs, which is unlocked with the above perk. If you're already looting every nest you run into in the wild, then you're likely to build up a steady supply of eggs (unless your RNG is really awful). Even the very basic grilled and boiled meats are better than what you can make without perks.
17. Turn bones into a knife
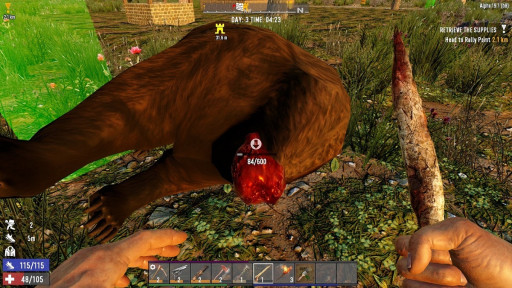
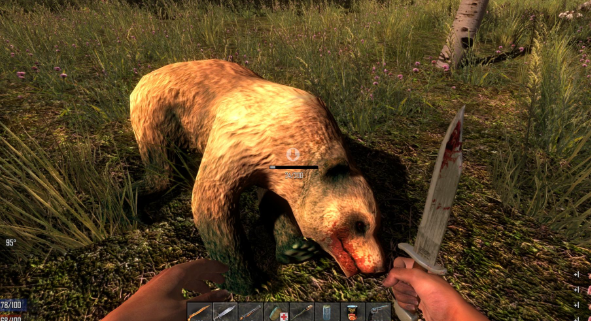
That bear will feed you for a month.
Knives are the most efficient way to harvest meat and materials from dead animals and random corpses because they're classed as a Butcher Tool. You can still get those materials without using a knife, you just don't get the full amount—and you miss out on bonus materials.
Craft a bone knife from 5 bones and you'll never have to worry about that again. You will likely be able to make one after you harvest your first animal or zombie animal.
They can be repaired with bones, too.
16. Use pocket mods, not inventory perks
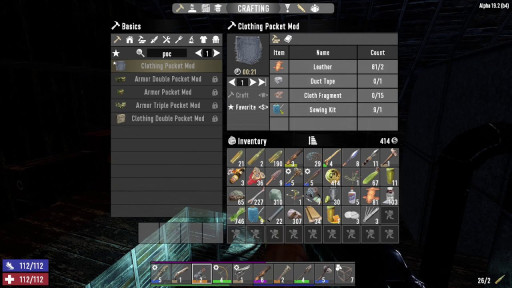
Stop wasting points on pack mule. STOP IT.
Pack Mule is tempting at first glance. It opens up inventory space! It prevents encumbrance! Being encumbered is not a game-breaking thing and is mostly just an annoyance. Instead of wasting perk points on Pack Mule, make use of clothing and armor pocket mods. You won't run into them super-early in the game and that's fine!
Armor pocket mods come from schematics and the trader. The clothing double pocket mod is learned from Needle and Thread Vol 7.
15. Be mindful of the heatmap
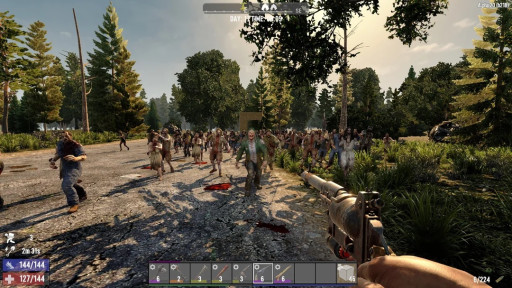
Stepping out of the bunker after three hours of smelting.
Everything you do in-game generates 'heat'.
'Heat' is how the game decides how interesting zombies will find an area. The more you do somewhere, the more likely it is that something will come to investigate—like a screamer zombie. 'Heat' goes away if you move away from an area and just stop doing things there.
Leaving forges and campfires running generates heat, as does scavenging from something like a wrecked car. Crafting? Zombies love that.
So if you've been highly active somewhere and you're concerned about accidentally summoning a horde, stop what you're doing and go elsewhere.
14. Reinforce existing buildings for shelter
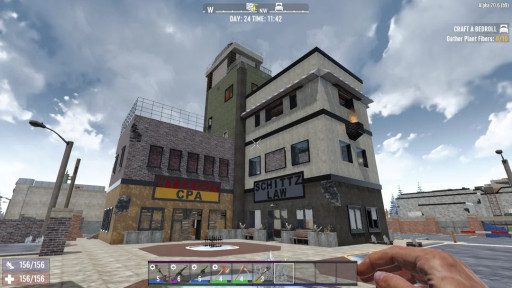
Wyzeguy Schittz.
7D2D has tons of different styles of building that can easily be turned into your base. Some points of interest, like the churches that are surrounded by walls, already come with important upgrades!
The benefit of reinforcing an existing building is that it saves time and materials. You have a shell, you can just strengthen it by upgrading the blocks (unless they're already up to cement, for example), putting up pillars if needed, and filling in gaps.
Don't forget to put down a Land Claim Block! They prevent zombies from spawning in a 41x41 region around wherever the block is placed. They also remove that building from a trader's list of quest locations, so it won't accidentally get reset and wipe out everything inside.
To make and use a Land Claim Block:
- Have 5 Small Stones in your inventory.
- Search 'land claim block' in the crafting window.
- Craft the block.
- Place the block in your toolbar.
- With the block selected, right-click to place it.
13. Buy Bottles of Acid every time they appear on the trader
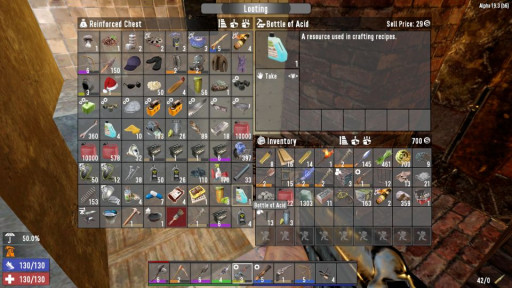
Wasteland gold.
Bottle of Acid is a crafting material that you can't make for yourself, and is difficult to find when looting. You'll sometimes see it in the trader's stock rotation, and if you do? Grab it.
It takes 5 bottles of acid to make a Chemistry Station, and it takes one per wheel if you have to make wheels for vehicles.
Why is the Chemistry Station important? It allows you to make gas cans, beer, first aid kits, and other items that make surviving the apocalypse much easier. It also makes antibiotics cheaper, and faster, to craft—even the herbal ones.
12. Set up more than one shelter
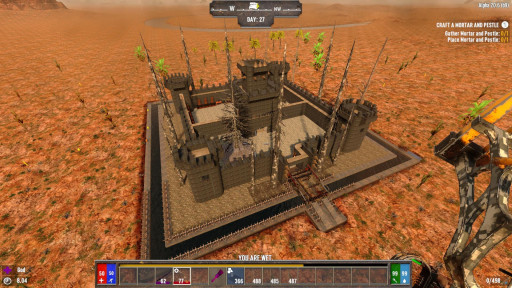
How extra do you want to be? Mods optional.
The Blood Moon event that happens every 7 days (unless you change the setting when you create a game) brings a boatload of zombies that can wipe out everything you own if you aren't prepared. Outside of the Blood Moon event, you can also find yourself swarmed by wandering hordes and unable to get back to your main base.
It is always worthwhile to set up satellite locations with some extra supplies so you aren't completely screwedwhen you get overwhelmed.
These extra bases can also act as storage depots when you've been looting away from home. Fill 'em up, clear 'em out later when you have a larger vehicle.
11. Let vultures come to you
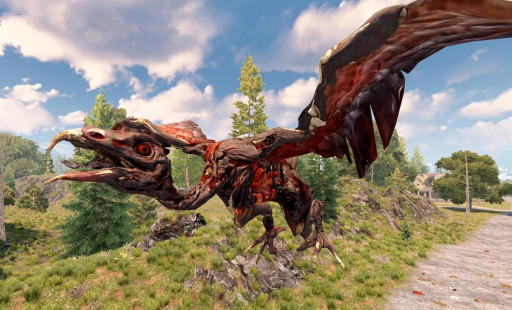
This game is why I get uneasy when I see vultures circling in real life.
Vultures are a pain in the butt. They attack quickly, they make you sick, they can bleed you to death—many a newbie has died to these jerks.
Don't bother trying to shoot them out of the sky when you see them: you'll never hit them. Instead, wait until they come after you. They will eventually, and they only take a few hits with a club to drop. It's not that these guys are tough, it's that they're quick.
10. If you can't use it, repair & sell it
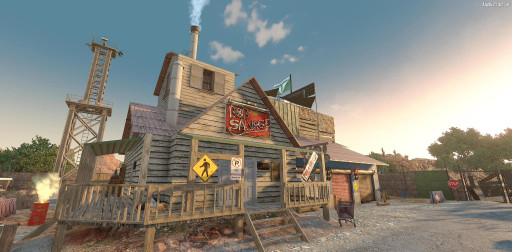
Cha-ching.
Tools, weapons, and armor are worth more dukes when they're in good condition. Instead of scrapping your old gear or that nice shotgun you found but can't use, repair it and sell it to the trader. You get a handsome amount of dukes (whether you have perks toward bartering or not, though you should) for your trouble.
Fully repairing an item can add hundreds of dukes to the value of that piece, more than what the repair kit would cost you to make.
Here's how to repair:
- Open your inventory.
- Click on the item you want to repair.
- Click 'repair' in the item's menu, or hit the shortcut (default is 'A')
- Wait.
- The item will go into your crafting queue, and after a short time, pop back into your inventory at max durability.
9. Nearly everything you do earns XP
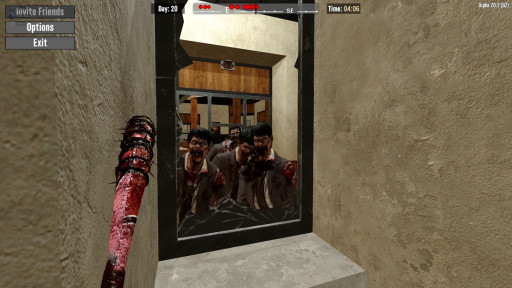
Ready to gain 10 levels in 3 minutes?
Almost every activity you do, from harvesting to killing zombies, generates experience for your character. As you gain experience, you level up. As you level up, you earn points to invest in your perks.
All of the following activities will help you level up:
- Chopping down trees.
- Harvesting & salvaging blocks.
- Salvaging vehicles.
- Upgrading and repairing blocks.
- Killing zombies and animals.
- Opening a new-to-you container in the world.
- Selling items to traders.
- Questing.
- Mining/digging.
Going on an upgrade spree or doing a ton of mining does wonders for your experience bar.
8. You can gather Forged Steel before you can make it
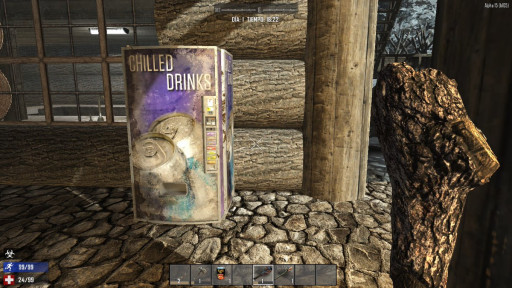
Trader Rekt won't mind if you smash it, right?
Before you can make your own Forged Steel, you have to have a Crucible for your Forge. If you don't have that, there are multiple items that you can harvest for this block. Use a disassembly tool, like a wrench, to get your steel—if you don't, you'll just get scraps.
The following blocks can be harvested for Forged Steel:
- Gas pump
- Chandelier
- Hardened Chest
- Vending Machines
- All safes
- Street Lights
- Army Munitions Box
Chests and containers must have been generated in the world in order to give up Forged Steel. I recommend targeting street lights, broken vending machines, and chandeliers—leave safes and other containers! Once emptied, they will eventually have loot in them again.
7. Paintings harbor treasure
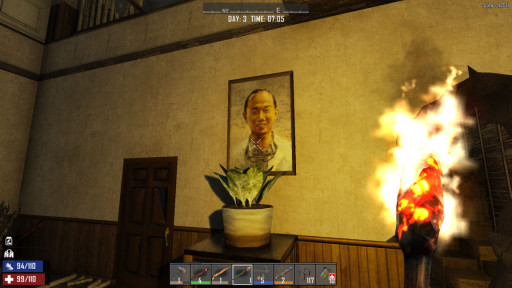
Possible treasure or immense disappointment.
You know the portraits on the walls in several POIs?
Break 'em.
Sometimes there's loot hiding behind them. Sometimes a quest item is hiding back there when you're on one of those fetch quests, too, so it is never a bad idea to get into the habit of smashing 'em. You can just drop the glass that you get—there's no reason to keep it, and if you need to craft glass bottles, it's better to use sand.
6. Every vehicle has storage space
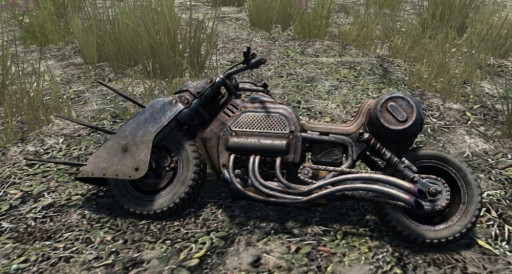
The motorcycle is the most badass vehicle in the game.
From the humble bicycle to the gyrocopter, every vehicle in vanilla 7 Days to Die can act as portable storage. The storage doesn't get really good until the 4x4 truck, and you can't return a vehicle to your inventory if it has things in storage.
To access vehicle inventory:
- While looking at the vehicle in the world, hold E to call up the radial menu.
- Look for the 'Access storage' option. It's usually a little bag icon.
- Select it. Your vehicle inventory will open up and you can now use it.
5. Most buildings have a planned 'looting route'
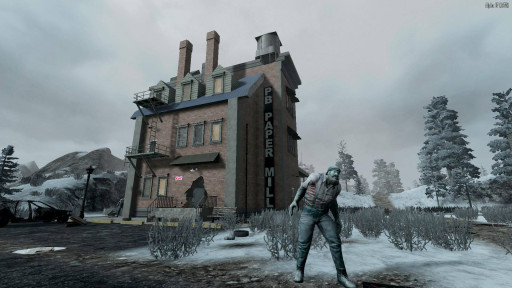
You could smash the front door in, or you could go through this handy hole in the wall.
Have you ever been in a POI and noticed how flashlights and lanterns are sometimes set up as if pointing you in the right direction, or how debris is scattered as if to guide you to specific places?
It is.
Most buildings are set up with a "looting route" in mind. By following the route, you don't have to break any walls or other obstacles and can just clear the place out while cleaning house, if you know what I mean. These buildings tend to 'end' with a final loot room, with multiple boxes and crates or something that's otherwise really desirable. You'll know them when you see them.
4. Sell weapon parts, don't hoard them
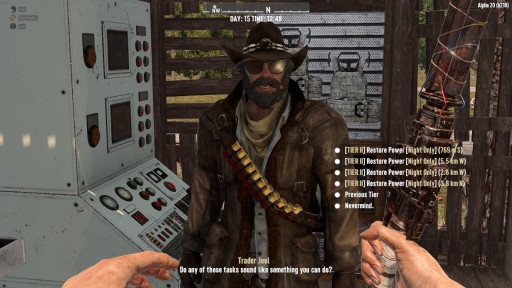
Joel is ready for you…r stuff.
By the time you gather enough Crossbow Parts or insert weapon part here to build yourself something, you'll likely have found a much nicer item to use instead. There's very little you can't find on traders or through quests—so save yourself the headache and just sell the parts to a vendor. They're worth a decent amount of dukes.
3. Save your brass

Good luck, survivor.
The only ingredient for making bullets that we can't mine? Brass. Brass is found by scavenging or scrapping various brass items that you find in the world. Radiators are made of brass, so are dukes.
Right now, the only way to increase the amount of this valuable yellow metal is to read Wasteland Treasures Vol. 7 and Lucky Looter Vol. 3.
2. Add a mod to a weapon, tool, or piece of armor before selling it
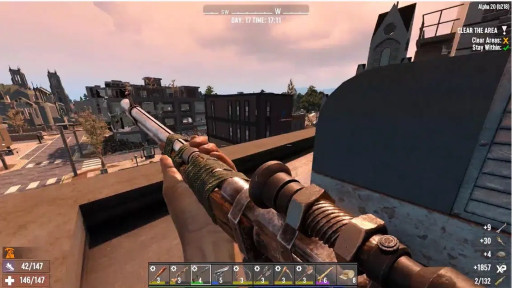
Just don't sell the one you're using.
Modded items sell for more dukes than those without, and most mods are worth under 100 dukes anyway. Adding cheap mods to a decent weapon makes the price jump considerably and makes selling those items worth your while.
To add a mod to a weapon, tool, or piece of armor:
- Open your inventory.
- Select the item you want to mod.
- Hit 'Mod'
1. Keep a back-up of your save file once you get a vehicle
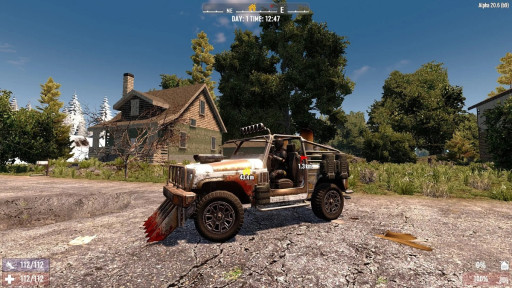
Yay, truck time! Until your game explodes.
There is a fun glitch where, sometimes, a vehicle will just… despawn. There's no reason behind it that I can see, it just happens.
If it happens to you and you're exceptionally lucky, you'll just lose a bike or two—but some folks on Reddit and elsewhere have reported losing bigger vehicles with full inventories. I lost my bike this way. So far, though… fingers crossed.

