Darkest Dungeon Best Party Setup For Every Boss
Has your grandfather ever summoned an arcane horror on a now-abandoned estate and left you to pick up the pieces? Then Darkest Dungeon is the game for you, this game is basically you trying to do damage control in the estate your grandfather left you. Darkest Dungeon is an RNG, which means while fun, you can never really prepare for a bad crit or losing one of your characters. To avoid easy mistakes this guide will show you the best setup for all the bosses out there. Remember to upgrade your gear and abilities.
1. Necromancer
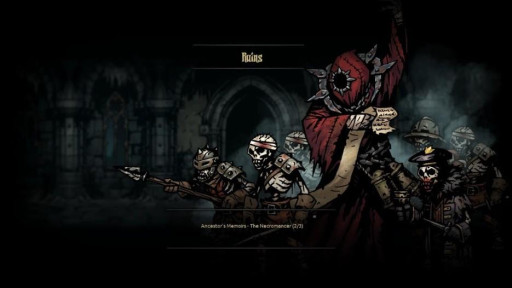
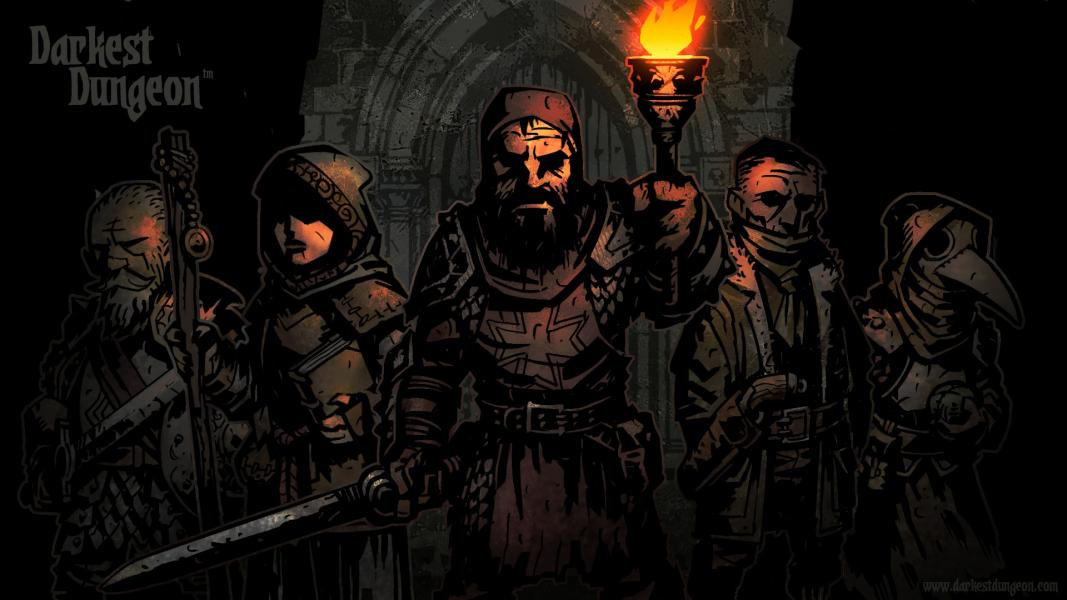
The Necromancer is one of the reanimated scholars that your grandfather collaborated with and then murdered in their sleep. Although his intellect remains, his soul departed long ago. He reanimates minions and stresses your heroes. It is important to concentrate your attacks on the Necromancer as his death also kills his animated minions. One of the best combinations is your original squad.
Best Team setup to defeat this boss:
Position 1: Crusader (Health Stone/Warriors Cap)
Position 2: Highwayman (Archers Ring/Speed Stone)
Position 3: Plague Doctor (Blight Stone/Camouflage Cloak)
Position 4: Vestal (Dazzling Charm/Protection Stone)
Strategy:
- First round, do as much damage as you can on the Necromancer using the Plague Doctor’s Incision, the Highwayman’s Wicked Slice, the Crusader’s Smite, and the Vestal’s Judgment.
- Blight Necromancer with the Plague Doctor every turn using Noxious Blast or Plague Grenade.
- Concentrate with the Crusader on the Minions using Zealous Accusation and Smite since both abilities deal extra damage on Unholy.
- Use the Highwayman for Area Attack with Grapeshot Blast, or use Open Vein on the Necromancer.
- Utilize Dazzling Light of the Vestal to prevent damage by stunning enemies.
2. Prophet
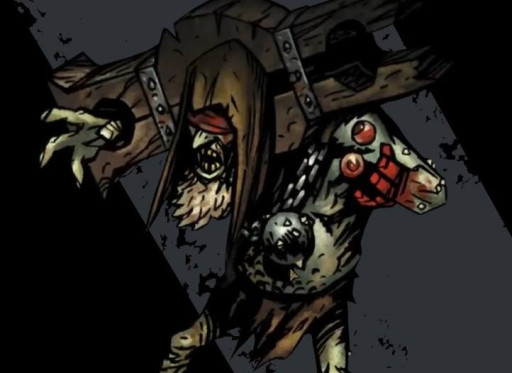
The Blind prophet was once a man who was able to predict the future through precognition. Your grandfather, because the prophet told the town that your grandfather would commit unspeakable things, was put into stockades, tortured, and stabbed by your grandfather. He cut out his own eyes after witnessing the horror that your grandfather showed him. He hides behind his pews as you battle him, and he uses his precognition to determine who will take damage from falling rubble.
Best Team setup to defeat this boss:
Position 1: Man At Arms (Heavy Boots/Gamblers Charm)
Position 2: Grave Robber (Feather Crystal/Camouflage Cloak)
Position 3: Vestal (Chirugeon’s Charm/Health Stone)
Position 4: Plague Doctor (Rotgut Censer/Witch’s Vial)
Strategy:
- Use the Plague Doctor’s Plague Grenade to Blight the Prophet.
- When the Rubble is predicted with Calamitous Prognostication, have the Man-at-arms use Defender to guard one of the Rubble.
- Make sure your Vestal has Judgment to hit the Prophet in the back when she isn’t healing.
- You can either use the Grave Robber to use Poison Dart to do blight damage or use Thrown Daggers to increase accuracy and deal damage to the Prophet
3. Swine Prince
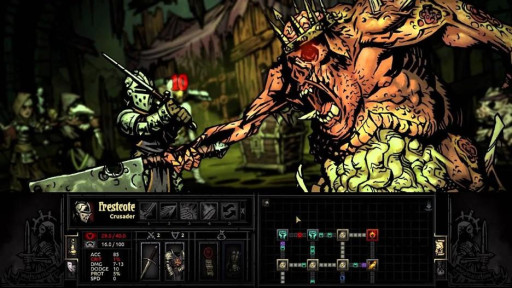
The Swine Prince is one of the twisted experiments of your grandfather. He put pig after pig together and formed a disgusting mass. The Swine Prince is accompanied by Wilbur, a small piglet which will mark you for the Prince to do more damage. The Prince rips into your heroes in his mad need for more meat.
Best Team setup to defeat this boss:
Position 1: Leper (Sun Ring/Worry Stone)
Position 2: Flagellant (Punishment Hood/Gamblers Charm)
Position 3: Houndmaster (Camouflage Cloak/Agility Whistle)
Position 4: Arbalest (Steady Bracer/Medic Greaves)
Strategy:
- DO NOT KILL WILBUR. Every time you hit Wilbur, the Swine will retaliate, and after Wilbur dies, the Swine will deal more damage and to every hero.
- Use the Arbalest to heal using Battlefield Bandage and get Rallying Flair to clear marks and stuns of heroes.
- Protect the Arbalest with the Houndmaster from Stun while increasing his Dodge using Guard Dog.
- Flagellant will use his bleed abilities of Exsanguinate and Punish and can heal himself and others using Exsanguinate and Redeem.
- Only damage Wilbur after you kill the Swine Prince, and be prepared to be stunned over and over and over again.
4. Flesh
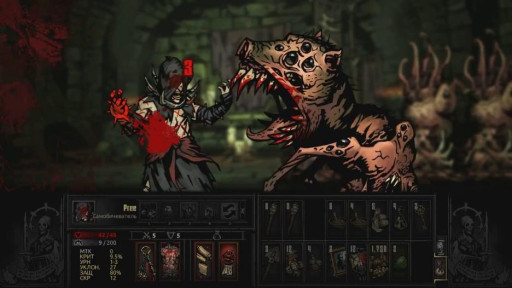
While performing rituals, a terrible half-finished pile of flesh was given life. When your grandfather realized his horrible experiments made this tortured being, he dumped the parts into the warrens. Although ever-changing, this is a relatively easy boss. He inhabits all 4 spaces in this fight and changes his forms every round, yet all share the same health bar.
Best Team setup to defeat this boss:
Position 1: Hellion (Bleeding Pendant/Martyr’s Seal)
Position 2: Abomination (Padlock of Transference/Swift Cloak)
Position 3: Plague Doctor (Blasphemous Vial/Book of Sanity)
Position 4: Vestal (Chirugeon’s Charm/Health Stone)
Strategy:
- Bring a lot of bandages and antivenom for this fight.
- Have the Abomination blight the Flesh using Beast’s Bile.
- Have the Plague Doctor as well use Blight Grenade to keep blighting the flesh - also possibly use Emboldening Vapours on the Hellion for extra damage.
- Use the Hellion’s Bleed out, Iron Swan, and If it Bleeds so that you are able to target the heart of the flesh to deal the most damage possible.
- The Vestal will probably only be focusing on healing for this battle.
5. Hag
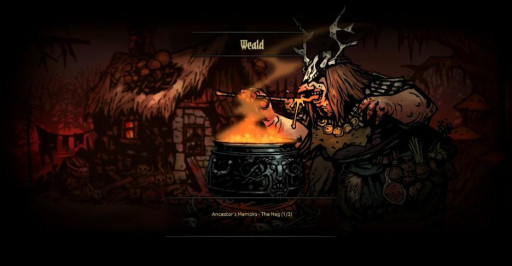
Once a beautiful young woman, the twisted experiments with the Ancestor drove her mad. After being exiled to the weald she continues to spread her murderous intent and madness there.
The Hag is one of the most difficult bosses in my opinion. Her ability to put your Heroes in her cooking pot and put them in position 1 regardless of where they started requires Classes who can move back and forth without problems. The stress and damage your heroes take in the pot make it very difficult to come out of this fight without losses.
Best Team setup to defeat this boss:
Position 1: Hellion (Heavens Hairpin/Martyrs Seal)
Position 2: Shieldbreaker (Venomous Vial/Sun Ring)
Position 3: Graverobber (Lucky Talisman/Camouflage Cloak)
Position 4: Vestal (Book of Sanity/Junia's Head)
Strategy:
- Once a hero is in the pot, destroy it quickly to get them out before they die
- Utilize your move abilities, especially of the Shielbreaker’s Pierce, Puncture, and Adder’s Kiss as well as the Graverobber’s Shadowfade
- Make sure the Vestal has Divine Comfort in case she is pushed forward.
- Work fast and apply blight and bleed to kill the Hag using the Grave Robber’s Poison Dart and the Hellion’s If It Bleeds
6. Brigand Pounder
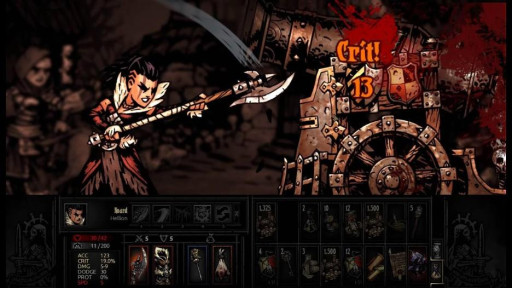
After an uprising against the ancestor from the local population in the Hamlet because of his gruesome experiments, he hired some mercenaries to cut the village to size after negotiations failed. This cannon and the crew are remnants of the mercenaries. If you can prevent the cannon from firing, you will have a much easier time here.
Best Team setup to defeat this boss:
Position 1: Hellion (Heavens Hairpin/Martyr’s Seal)
Position 2: Shieldbreaker (Dancer’s Footwraps/Sun Ring)
Position 3: Graverobber (Lucky Talisman/Camouflage Cloak)
Position 4: Vestal (Book of Sanity/Junia's Head)
Strategy:
- Don’t let the Matchman activate. Either kill him first, or stun him every other round because after killing him, another will appear immediately after.
- The Shieldbreaker should be able to use Pierce in order to deal damage to the Cannon which has lots of PROT or to deal damage to the Matchman.
- Have the Graverobber use either Pick to the Face to hurt the Cannon or Thrown Daggers to kill the Matchman.
- Use the Hellion’s Bleed out, Iron Swan, Breakthrough, and Wicked Hack so that you are able to target both the Matchman if necessary and the Cannon.
- The Vestal needs to have Divine Light and Judgment to help either stun the Matchman when he is in position or deal damage.
7. Siren
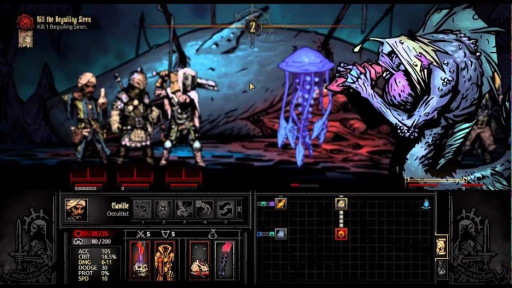
Another young girl fell prey to the schemes of the Ancestor. While once a faithful helper from the village, he sold her out for a few jewels given to him by things in the sea. The outcome is the siren: a monster that charms your heroes into fighting for her.
Best Team setup to defeat this boss:
Position 1: Leper (Fortunate Armlet/Book of Relaxation)
Position 2: Bounty Hunter (Feather Crystal/Health Stone)
Position 3: Graverobber (Lucky Talisman/Camouflage Cloak)
Position 4: Occultist (Book of Sanity/Junia's Head)
Strategy:
- Be prepared to have your heroes charmed and fight for the other side.
- Have the Leper use Chop and the Bounty Hunter use Collect Bounty to just deal as much damage as possible.
- Use the Graverobber to either have Poison Dart or Pick to the Face to deal a good amount of damage.
- The Occultist is useful because he deals extra damage to the Siren but doesn’t deal extra damage if he changes sides.
8. Drowned Crew
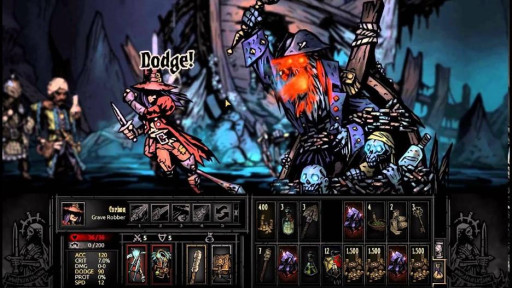
While the dealing with relics and such became difficult on the road for the ancestor, he hired a crew of crude, greedy sailors. When they demanded more money for secrecy, he put a spell on their boat. Even after drowning, they roam in the cove and try to avenge their death by killing your party.
Best Team setup to defeat this boss:
Position 1: Crusader (Health Stone/Warriors Cap)
Position 2: Shieldbreaker (Venomous Vial/Sun Ring)
Position 3: Plague Doctor (Rotgut Censer/Witch’s Vial)
Position 4: Occultist (Book of Sanity/Junia's Head)
Strategy:
- Once the Shieldbreaker is anchored down, have her use Adder’s Kiss to deal a lot of damage to the Drowned Crew while not being forced to move back.
- Since the crew will deal stress over time, it is good to have the Crusader destress with Inspiring Cry.
- The Plague Doctor is able to blight with Noxious Blast on the Drowned Crew.
- The Occultist is useful to fight the cove enemies before the fight.
9. Brigand Vvulf
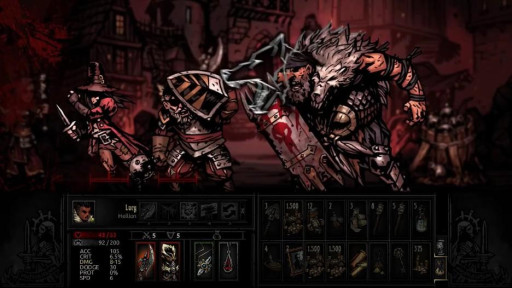
For once this isn’t a problem made by your ancestor but an aggressive attack against your Hamlet. Brigand Vvulf is a very dangerous foe, as he can bring in reinforcements or rain bombs down on your squad. Additionally, he does huge amounts of damage and will rip into your heroes if you aren’t prepared.
Best Team setup to defeat this boss:
Position 1: Man At Arms (Heavy Boots/Gamblers Charm)
Position 2: Bounty Hunter (Wounding Helmet/Agility Talon)
Position 3: Grave Robber (Lucky Talisman/Camouflage Cloak)
Position 4: Vestal (Book of Sanity/Junia's Head)
Strategy:
- It is pointless to destroy Vvulf’s bombs as they Riposte and also Vvulf will replace them fast and it won’t be worth the damage.
- Use the Man-at-arms's Defender to take damage from the bombs with extra PROT.
- The Bounty Hunter is useful as Collect Bounty deals additional damage to humans.
- The Graverobber can also use Poison Dart to stack blight on Vvulf.
- Have the Vestal use Judgment to deal some damage and to heal often.
10. Shrieker
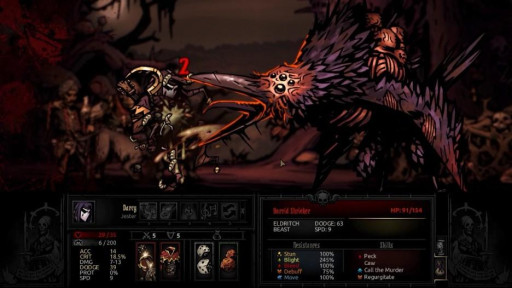
The Shrieker is a good and bad opportunity for you. Though now a tortured creature, he is still a raven trying to find the most shining trinkets for his nest. He steals trinkets from your fallen heroes, sometimes, though on occasion he will do it to your Hamlet; so, you have a chance to get your good trinkets back. Yet, it is almost impossible to kill him and he will stress your party when he flees.
Best Team setup to defeat this boss:
Position 1: Man At Arms (Surgical Gloves/Warrior’s Cap)
Position 2: Houndmaster (Steady Bracer/Sun Ring)
Position 3: Houndmaster (Reckless Charm/Archer’s Ring)
Position 4: Arbalest (Bull’s Eye Bandana/Sniper’s Ring)
Strategy:
- The Shrieker will fly away after the fourth round no matter what unless you are able to kill it first.
- It is easier to destroy the nest as the Shrieker is much harder to hit with large amounts of dodge, and killing solely the Shrieker will not get you trinkets.
- Both of the Houndmasters should eat the Dog Treats to boost their stats and deal damage with Hound’s Rush.
- Wait to kill the Shrieker until the Nest is destroyed so that you’re able to get more trinkets.
- Have the Arbalest mark the Shrieker with Sniper’s Mark and increase the damage.
11. Shambler
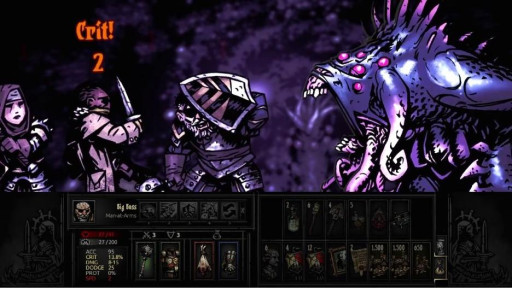
The Shambler is a good reminder of why you need to bring enough torches and why not to touch strange objects in dungeons. While he is fairly slow, he will grow stronger and stronger each round. When you are at 0 Torchlight, he might appear by surprise and stalk your party throughout the whole dungeon.
Best Team setup to defeat this boss:
Position 1: Crusader (Knight’s Crest/Swordsman’s Crest)
Position 2: Highwayman (Gunslinger’s Buckle/Flashfire Gunpowder)
Position 3: Occultist (Book of Sanity/Junia's Head)
Position 4: Arbalest (Bull’s Eye Bandana/Sniper’s Ring)
Strategy:
- Have the Crusader use Zealous Accusation and the Highwayman to use Grapeshot Blast to deal damage to the minions of the Shambler.
- Make sure the Crusader has Holy Lance and for the Arbalest to have Blindfire because the Shambler has a habit of moving people around.
- The Occultist is able to use Sacrificial Stab from this location and can use it when moved to the front.
- The Arbalest can focus on the Shambler while the Crusader and Highwayman focus on the minions. She can mark with Sniper’s Mark and use Sniper shot for extra damage.
12. Crocodilian
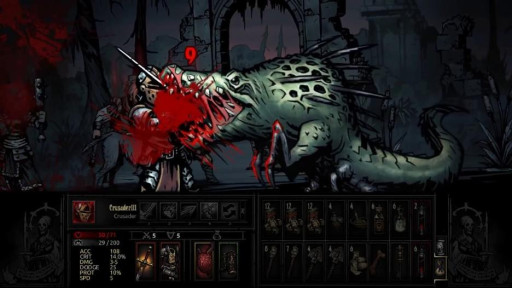
The Hamlet was built on a swamp, now that the buildings are in ruins, the swamp is reclaiming the land and brings a horrible enemy with it. You will encounter the crocodilian many times in the Crimson Court; regardless, that doesn’t make him an easy mini-boss. Part insect and crocodile, he is an aggressive enemy who will do massive amounts of damage to your party while healing in between attacks.
Best Team setup to defeat this boss:
Position 1: Hellion (Heavens Hairpin/Martyr’s Seal)
Position 2: Flagellant (Punishment Hood/Gamblers Charm)
Position 3: Jester (Critical Dice/Lucky Dice)
Position 4: Vestal (Book of Sanity/Junia's Head)
Strategy:
- The Jester with Slice Off, Flagellant with Exsanguination, Rain of Sorrows, and Punish, and Hellion with Bleed out and If It Bleeds are able to apply good amounts of bleed.
- Use the Jester’s Inspiring Tune when the Crocodilian is not in position.
- The Hellion may also need to hit in any position; so, Iron Swan can be useful.
- The Vestal is able to heal well and consistently while also being able to use Dazzling Light to occasionally stun the Crocodilian.
13. Baron
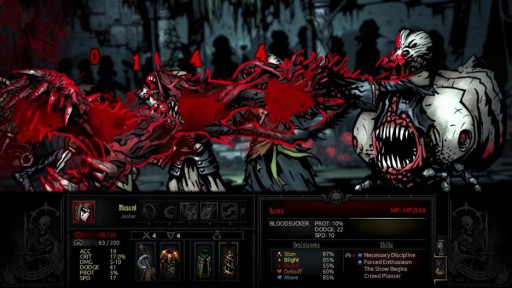
The Crimson Court was a place for greed, gluttony, and more twisted desires. The wine was exchanged for blood, and the Baron was on the forefront of causing suffering and enjoying the torment that had to be endured by the people on these parties. He is hard to reach and once you do, you will have to deal with not being able to heal sometimes because of his Insects Pods.
Best Team setup to defeat this boss:
Position 1: Hellion (Heavens Hairpin/Martyr’s Seal)
Position 2: Flagellant (Punishment Hood/Gamblers Charm)
Position 3: Highwayman (Sharpening Sheath/Feather Crystal)
Position 4: Occultist (Book of Sanity/Junia's Head)
Strategy:
- The Hellion is able to hit the Baron when he is in any position with Iron Swan and If It Bleeds.
- The Flagellant as well needs to have Rain of Sorrows and Punish to be able to hit in any position.
- The Highwayman can either bleed with open Vein or hit the Baron with Pistol Shot.
- Large amounts of healing are sometimes necessary with Flagellant’s Exsanguination and Redeem along with the Occultist’s Wyrd Reconstruction.
14. Viscount
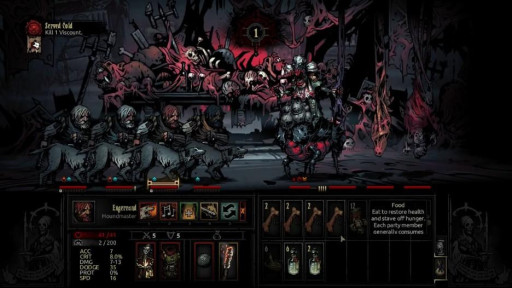
The Viscount can be seen as the bodyguard for the Countess. Although he has low health, he will heal himself with dead bodies, has a high damage potential, and activates riposte every few rounds. Either focus on killing on the bodies before going for the bodies while trying to heal the damage or try to damage the Viscount more than he can heal.
Best Team setup to defeat this boss:
Position 1: Hellion (Heavens Hairpin/Martyr’s Seal)
Position 2: Highwayman (Sharpening Sheath/Feather Crystal)
Position 3: Plague Doctor (Rotgut Censer/Witch’s Vial)
Position 4: Vestal (Book of Sanity/Junia's Head)
Strategy:
- This mission can be finished fast if you are able to use Emboldening Vapours on the Hellion with the Plague Doctor followed by Bleed out with the Hellion.
- The Highwayman is also able to Bleed the Viscount if necessary to deal Bleed damage with Open Vein.
- The Vestal will mainly focus on healing the entire fight with Divine Grace and Divine Comfort.
- The Plague Doctor should also try to use Incision to add more Bleed damage.
15. Countess
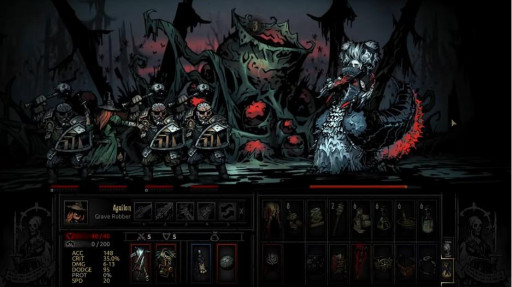
The Countess is the third and final boss of the Crimson Court, and after her, the curse of the Blood will be treatable. She has three forms with multiple attacks per round. She will shuffle your party and, like with a lot of bosses, damage over time abilities prove very useful against her.
Best Team setup to defeat this boss:
Position 1: Crusader (Knight’s Crest/Swordsman’s Crest)
Position 2: Shieldbreaker (Dancer’s Footwraps/Sun Ring)
Position 3: Houndmaster (Camouflage Cloak/Agility Whistle)
Position 4: Vestal (Book of Sanity/Junia's Head)
Strategy:
- Since the heroes may be moved during the fight, make sure the Crusader to use Holy Lance and the Shieldbreaker use Puncture, Pierce, and Adder’s Kiss to move around.
- The Houndmaster is able to use Guard Dog to bolster dodge and be able to dodge attacks for other heroes.
- When you can, use the Houndmaster’s Hound’s rush to cause bleed and also use the Shieldbreaker’s ability of Adder’s Kiss to cause blight.
- The Vestal will mainly focus on healing fight with Divine Grace and Divine Comfort.
16. Garden Guardian
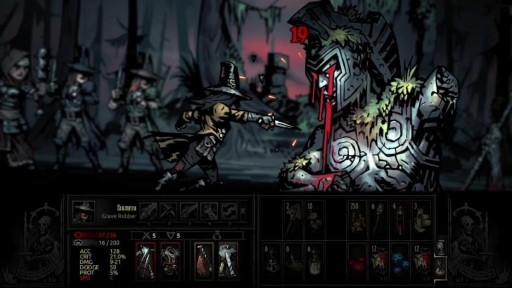
The Garden Guardian was once a warrior’s statue now long forgotten. He will attempt to kill any trespassers in the Garden. He is a part of a renewing quest in the Crimson Court and very useful for farming the trinkets of the Crimson Court. The Guardian will guard itself and does high amounts of damage with both his spear and his eye lasers - if you destroy his spear and shield.
Best Team setup to defeat this boss:
Position 1: Crusader (Knight’s Crest/Swordsman’s Crest)
Position 2: Shieldbreaker (Dancer’s Footwraps/Sun Ring)
Position 3: Grave Robber (Feather Crystal/Sculptor’s Tools)
Position 4: Vestal (Book of Sanity/Junia's Head)
Strategy:
- The Graverobber can use Pick to the Face and the Shieldbreaker can use Pierce to ignore PROT as the guardian has high amounts of PROT.
- The Shieldbreaker needs to use Puncture often when the Shield guards the Garden Guardian to get rid of Guard.
- The Vestal is very useful to use group heals using Divine Comfort when the Guardian uses Feed the Soil.
- The Crusader can use Zealous Accusation when the shield is still guarding the Garden Guardian and can deal a moderate amount of damage.
17. The Fanatic
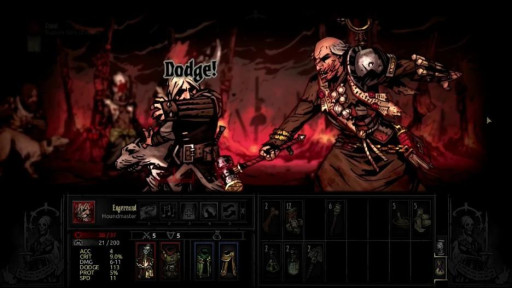
It is your choice to fight the Fanatic. He will show up to stalk our party but only if you have someone with the Blood in your party in a quest. He will put one of your heroes on the stake and burn him until he is at death’s door. He doesn’t need evidence of your guilt; he will kill you relentlessly if he knows someone in your party is bearing the curse.
Best Team setup to defeat this boss:
Position 1: Hellion (Heavens Hairpin/Martyr’s Seal)
Position 2: Flagellant (Punishment Hood/Gamblers Charm)
Position 3: Jester (Critical Dice/Lucky Dice)
Position 4: Vestal (Book of Sanity/Junia's Head)
Strategy:
- Be prepared to deal with a character being taken by the Fanatic - like the Hag - and dealt damage by being burned until the stake is broken.
- The Flagellant is useful to use Rain of Sorrows, Punish, and Exsanguination which both deals a good amount of damage and heals the Flagellant.
- The Hellion is also able to bleed the Fanatic well with If It Bleeds and Bleed Out.
- The Jester as well can use Harvest or Slice off to bleed as well injure both the stake and the Fanatic
- The Vestal, like usual, will focus on healing fight with Divine Grace and Divine Comfort.
18. Miller
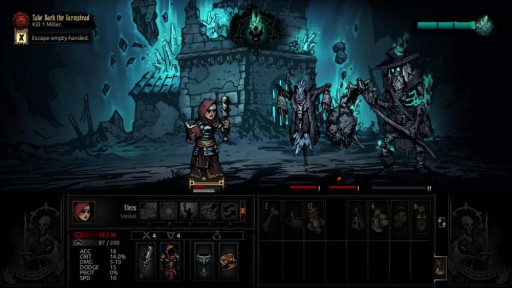
In the newest DLC, you will go into the Farmstead and, your first mission, fight the miller. The Ancestor has cheated the miller out of his land, and when the meteor hit the Farmstead, a fractured corpse was reanimated. He will do big AoE attacks and decimate your party if you aren’t too careful.
Best Team setup to defeat this boss:
Position 1: Bounty Hunter (Overture Box/Mildred’s Locket)
Position 2: Shieldbreaker (Venomous Vial/Sun Ring)
Position 3: Vestal (Book of Sanity/Junia's Head)
Position 4: Plague Doctor (Blasphemous Vial/Book of Sanity)
Strategy:
- The Miller is liable to blight, and this should be taken advantage of using Noxious Blast and Plague Grenade along with the Shieldbreaker using Adder’s Kiss and Impale.
- The Bounty hunter should Mark using Mark for Death followed by Collect Bounty.
- The Vestal will be focused on heals and possibly stuns.
- Using Emboldening Vapours on the Bounty Hunter can help deal large amounts of damage.
19. The Sleeper
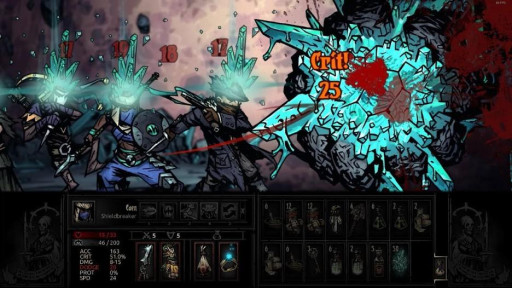
The Sleeper will be in the next wave right after the Miller, if you can live that long that is. The Ancestor used the simple mind of the miller to awaken this meteor. It will do group damage and inflict horror.
Best Team setup to defeat this boss:
Position 1: Crusader (Knight’s Crest/Swordsman’s Crest)
Position 2: Bounty Hunter (Overture Box/Mildred’s Locket)
Position 3: Vestal (Book of Sanity/Junia's Head)
Position 4: Plague Doctor (Blasphemous Vial/Book of Sanity)
Strategy:
- Keep in mind that if you plan to fight the Sleeper, your units will have to go through a lot of battles.
- The Vestal is incredibly useful in this fight as she is able to use Divine Comfort because although The sleeper deals a lot of damage, it only has one activation.
- Take a good amount of antivenom and save it for this boss battle.
- The Plague Doctor can use Emboldening Vapours to increase the damage output and increase the heroes’ speed.
- Make sure to take the Bounty Hunter’s Uppercut and Flashbang as those skills have a high chance to stun and the fight may last a long time.
20. Thing from the Stars
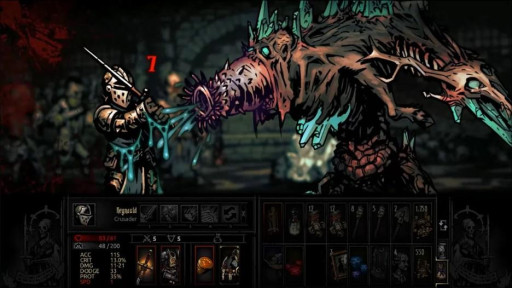
If you want a team wipe, then go ahead and fight this thing. The Thing from the Stars will patrol different areas of the Hamlet each week and has a 50% chance to spawn in this region. He will do blight, disease, and stress damage and only get stronger when you attack him. Through his first action, he will gain 80% protection.
Best Team setup to defeat this boss:
Position 1: Crusader (Knight’s Crest/Swordsman’s Crest)
Position 2: Shieldbreaker (Dancer’s Footwraps/Sun Ring)
Position 3: Grave Robber (Feather Crystal/Lucky Talisman)
Position 4: Vestal (Book of Sanity/Junia's Head)
Strategy:
- Make sure some of your heroes are dedicated to destroy Aberrations which The Thing from the Stars will spawn in as they have low health and have no blight resistance.
- The Grave Robber has the useful ability of Pick to the Face to ignore the protection of the Thing from the Stars. Also, she can use her Poison Dart to destroy an Aberration.
- Take antivenom along and save it for this boss battle.
- The Thing from the Stars goes through a couple of phases. In the second phase, it will be liable to bleed and blight, but at the start of its turn, it would clear all its dots.
- Use the Vestal for healing as usual with Divine Grace and Divine Comfort.
- Have the Crusader deal damage to the Thing from the Stars, or, if you’re able to, try to use Zealous Accusation to destroy an Aberration and hit the boss.
21. Shuffling Horror
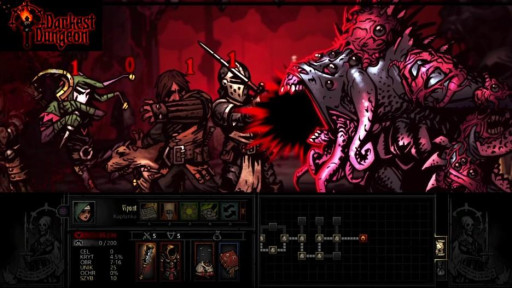
The parasite on this eldritch beast is the first boss in the Darkest Dungeon. He will spawn with a Priest present and will bring in new enemies once you eliminate that Priest. As his name indicates, he will shuffle your party around and also do massive stress damage.
Best Team setup to defeat this boss:
Position 1: Hellion (Heavens Hairpin/Martyr’s Seal)
Position 2: Bounty Hunter (Wounding Helmet/Agility Talon)
Position 3: Grave Robber (Lucky Talisman/Camouflage Cloak)
Position 4: Vestal (Book of Sanity/Junia's Head)
Strategy:
- There will be a Cultist Priest who will come in with the Shuffling Horror. Once you kill it, another will be replaced every time. Using the bounty Hunter’s Flashbang every other round to stun it would be useful.
- Keep in mind to take skills that can move you like Hellion’s Breakthrough and the Grave Robber’s Shadow Fade.
- I know the Vestal is tired of healing, but she needs to keep doing it in this battle.
- The Hellion should use If it Bleeds as it would allow her to fight in multiple positions.
- The Bounty Hunter just needs to focus on damaging from whatever position he is in using Collect Bounty, Caltrops, and Finish Him.
22. Templars
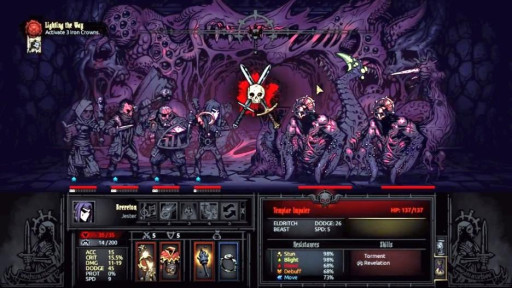
This enemy is actually two enemies: the Templar Impaler and Templar Warlord. For both you will need the three Talismans of the Flame you will obtain from the first boss fight in the Darkest Dungeon. Your fourth party member will have to have high dodge or be protected because their revelations will stress you out very fast. Additionally, both do very dangerous blight abilities.
Best Team setup to defeat this boss:
Position 1: Hellion (Talisman of Flame/Martyr’s Seal)
Position 2: Houndmaster (Talisman of Flame/Camouflage Cloak)
Position 3: Plague Doctor (Blasphemous Vial/Book of Sanity)
Position 4: Vestal (Talisman of Flame/Chirugeon’s Charm)
Strategy:
- The Houndmaster’s Guard Dog is useful to keep the Plague Doctor alive as she is the only one without a Talisman of Flame.
- The Templars are easier to bleed than blight; so, the Hellion’s Bleed out is useful along with the Houndmaster’s Hound’s Rush.
- The Plague Doctor should have Incision to bleed the Templar as well. Perhaps use Emboldening Vapours on the Hellion for her to deal good damage.
- The Vestal will do something insane in this boss fight. She will be healing, and if you really want to chance it, you can use Dazzling light to try to stun.
- Don’t forget to take plenty of Antivenom.
23. The Mammoth Cyst
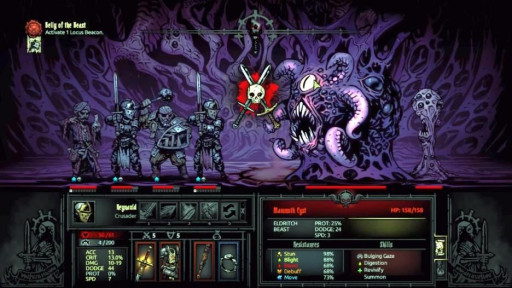
The Cyst is a mini-boss you will need to take down in order to obtain a relic for the last quest. There are multiple copies of him but only one guards that relic. He will start to heal himself when he is at half health. His worst ability is that it will teleport you into random spots of the map; although, his health bar won’t reset after you will enter his encounter again.
Best Team setup to defeat this boss:
Position 1: Hellion (Talisman of Flame/Martyr’s Seal)
Position 2: Houndmaster (Talisman of Flame/Camouflage Cloak)
Position 3: Plague Doctor (Blasphemous Vial/Book of Sanity)
Position 4: Vestal (Talisman of Flame/Chirugeon’s Charm)
Strategy:
- The Mammoth Cyst, as well as the White Cell, can be stunned regularly from the Plague Doctor using Blinding Gas.
- The Mammoth Cyst is able to have blighting and bleeding. Using the Plague Grenade and Noxious Blast of the Plague Doctor can deal good Blight damage, Hellion can use Bleed Out or If it Bleeds, and the Houndmaster can use Hound’s Rush for extra bleed.
- The Vestal needs to keep on doing her healing.
24. Heart of Darkness
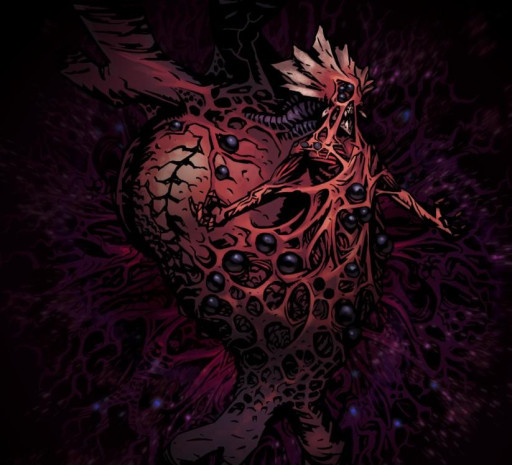
All your struggles have led up to this. The Heart of Darkness is your last enemy and you will have to make sacrifices in order to win this battle. It represents all the twisted ambition your Ancestor has brought forth. You will have to give to the Heart of Darkness two party members to win.
Best Team setup to defeat this boss:
Position 1: Hellion (Heavens Hairpin/Martyr’s Seal)
Position 2: Houndmaster (Camouflage Cloak/Agility Whistle)
Position 3: Grave Robber (Feather Crystal/Lucky Talisman)
Position 4: Vestal (Book of Sanity/Junia's Head)
Strategy:
- Be prepared to lose heroes automatically. A hero will die when the heart hits 2/3rds health and 1/3rd health.
- The heart has low resistances, and honestly is probably one of the easiest boss fights. Use the Hellion’s Bleed out, Grave Robber’s Poison Dart, and the Houndmaster’s Hound’s Rush.
- The Vestal should probably be one of the two sacrificed heroes along with either the Houndmaster or Grave Robber.
- The Vestal should do her best for everyone to be healed up by the time she is eliminated.

