
15. Acrobatipack
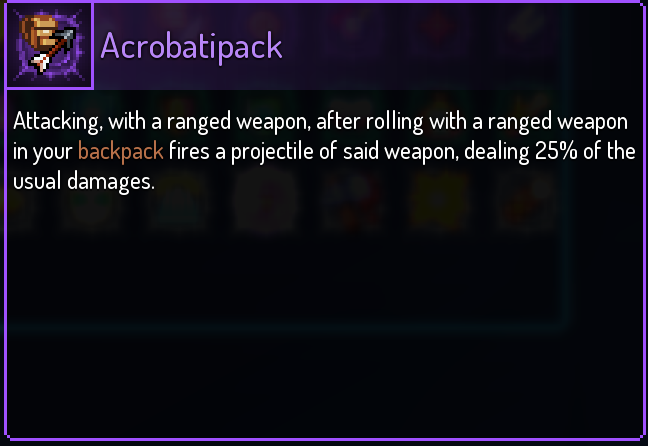 Ranged weapons are cool, but have you ever considered firing TWO ranged weapons at the same time? No? Are you at least thinking about it now? In that case, Acrobatipack might be what you’re looking for. When you roll with a ranged weapon in your backpack and then use an equipped ranged weapon you’ll fire both items at once! However, this ability has a cooldown of 3 seconds and the projectile itself has reduced damage, but even with those drawbacks in mind Acrobatipack is still a lot of fun to use and is only limited by your imagination
What Acrobatipack excels in
- Acrobatipack is the cornerstone of several creative strategies, try experimenting with it by using any two ranged weapons at the same time
- While the projectile itself has reduced damage, any Damage over Time effects your Acrobatipack weapon inflicts still deal the normal amount of damage
- If you have a ranged weapon that normally locks you in place, such as Fire Blast or Lightning Bolts, you can use it while moving freely if you use it with Acrobatipack
Use Acrobatipack if
- You want to try out some unique and inventive strategies for your next run
Acrobatipack stats
- Firing a ranged weapon with another ranged weapon in your backpack after rolling will shoot both projectiles at once
- The second projectile deals (25% base) of it’s regular damage
- 3 second cooldown
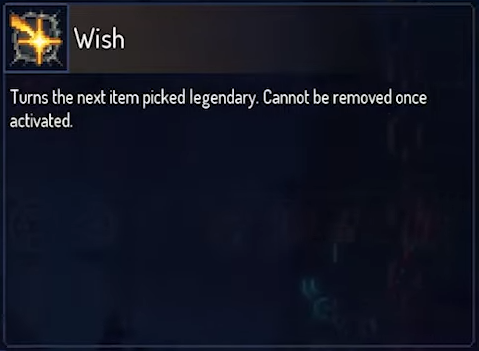
14. Wish
 Legendary Weapons are some of the most sought after items in Dead Cells, but they’re completely random. You aren’t guaranteed to find one, and even if you do it might not be what you’re looking for. However, Wish exists to solve both of these problems. Wish guarantees the next item you pick up will be legendary, no matter what it is or where you find it! Fair warning, once you use it once this mutation will be depleted and can’t be removed, but with how overpowered a Legendary Weapon can be it’s well worth losing a slot!
What Wish excels in
- Gives you a guaranteed chance of finding the exact Legendary Item you want
- Legendary Weapons have unique modifiers that always apply to the item and can drastically improve its viability. For example, the Legendary Magic Bow fires twice as many arrows, and despite being one of the worst ranged items it’s a run winner if you find the Legendary version
- The only reliable way to find Legendary Items, every other way either needs RNG to swing in your favor or requires you to no-hit a boss fight
Use Wish if
- You need a bigger gun for your next run
Wish stats
- Turns the next item you pick up Legendary
- Will be depleted after use, cannot be removed
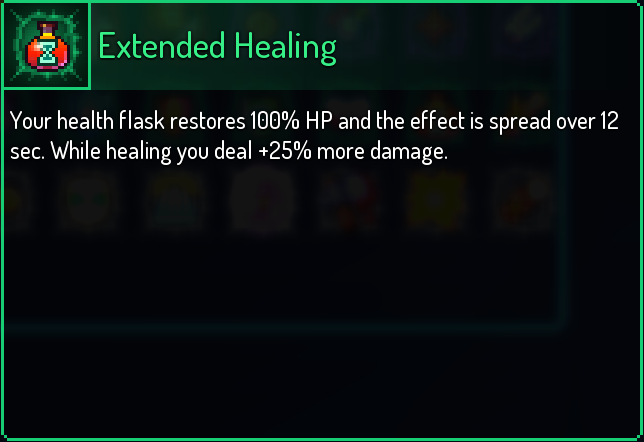
13. Extended Healing
 Your Health Flasks are a rare and precious resource that only get scarcer as the game’s difficulty increases, so naturally you should want to get as much as possible out of them. Extended Healing makes your Health Flasks fully recover your health over the course of 12 seconds, and while you’re still healing you deal extra damage. Usually your Flasks only heal 60% of your health, and that extra 40% can go a long way
What Extended Healing excels in
- After unlocking each new Boss Cell, you have access to less Health Flask recharges than the previous level until eventually you don’t have any. Extended Healing can make what little flasks you have last way longer
- While you’re healing you deal extra damage, if you had to retreat from an enemy and use a flask you can come back and hit 'em harder!
- Your flask will heal 100% of your max health, so if you take a hit while you’re healing you can recover that HP as long as it doesn’t cut past what remaining health you had left
Use Extended Healing if
- You’re trying to get more out of your Health Flasks
Extended Healing stats
- Health Flasks heal 100% of your HP over the course of 12 seconds
- While you’re healing you deal extra damage
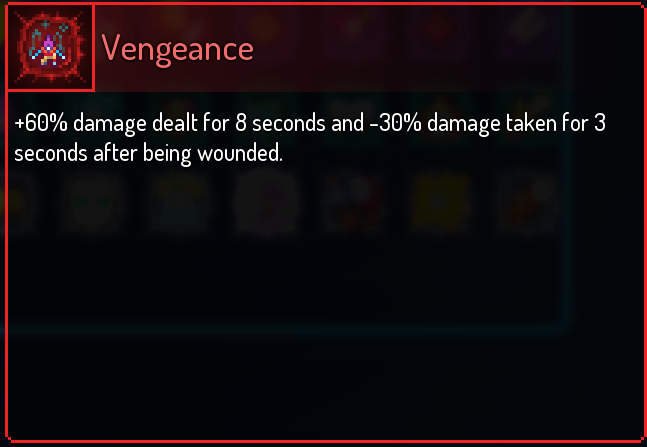
12. Vengeance
 Let’s face it, you’re going to get hit eventually. As much as we all want to be a Parry God or dodge every attack, something sooner or later is going to land an attack, and when that happens you better be ready to fight back! Vengeance is a mutation that gives you extra damage and resistances right after getting hit. Dealing extra damage and taking less is about as good as it gets for Brutality, even if it’s right after taking damage you can make sure you aren’t taking more than one hit
What Vengeance excels in
- Many runs end when you take one too many hits in a row, with Vengeance you get a brief resistance that stops damage from snowballing
- Vengeance can be used with the Face Flask to give yourself a short buff
- Gives you an opportunity to counterattack stronger enemies
Use Vengeance if
- You’re also using Face Flask and Spite Sword and need the mutation to complete the build
Vengeance stats
- Deal more damage after getting hit for 8 seconds
- Take less damage after getting hit for 3 seconds
11. Networking
 Do you think enemies talk in Dead Cells? With Networking, they at least communicate in one way! Networking makes it so that any enemies hit by a ranged attack share some of the damage they take. This has the potential to massively boost your DPS and gives you a new way to approach tough encounters
What Networking excels in
- Gives you the tools to approach encounters differently, now you can mark the toughest mob and finish them off through other enemies
- If you have a Ranged Weapon with pierce Networking multiplies the damage each enemy takes
- Works well with electric items that can chain together enemies and inflict shock damage
Use Networking if
- You want to increase your damage output and give yourself a way to strategically fight tougher enemies
Networking stats
- Enemies hit by ranged attacks are marked for 8 sec. Marked enemies share a portion of the damage they take with other marked enemies
10. Melee
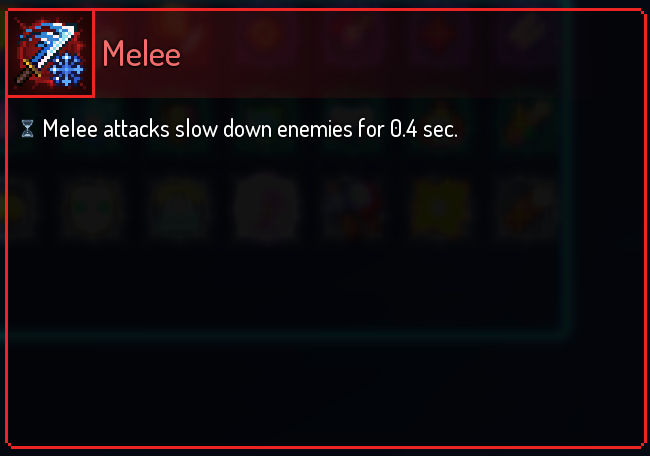 When you’re using melee weapons you don’t always have enough time to get in more than one hit, mobs simply move too fast. If you were using the Melee mutation however, your attacks slow down enemies, giving you room to keep attacking! Additionally, if an enemy has enough stacks of slow you can take it one step further and freeze them. Melee allows you to create an opening for yourself against enemies, and in a stat color full of straightforward damage buffs it’ can be an invaluable addition to your build
What Melee excels in
- Slows down enemies to give you a better opening
- Lets you get more hits in before you need to dodge or parry
- Gives you a better opportunity to avoid taking damage
Use Melee if
- Your build would benefit more from support instead of another damage buff
Melee stats
- Melee attacks briefly slow down enemies
9. Instinct of the Master of Arms
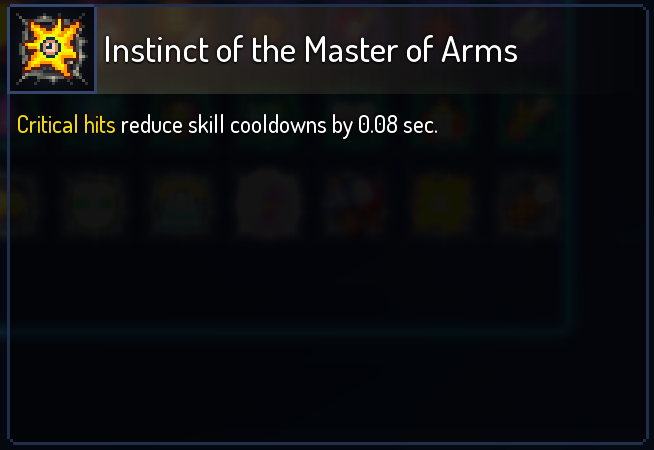 Each stat color has its own mutation that reduces your skill cooldowns when you kill an enemy with a weapon from that category, but they all have the same problem of being useless in boss fights. All of them except for Instinct of the Master of Arms, which lowers your skill cooldown by a fraction of a second every time you land a critical hit. Reducing your cooldown on hit instead of on kill means it still works during boss fights, when you need your skills the most, and can potentially recharge your cooldowns faster!
What Instinct of the Master of Arms excels in
- Recharging your skill cooldowns quickly
- Gives you a way to recover your skill cooldown when fighting bosses
- Works best with weapons that can attack fast and make every hit a crit, like Panchaku or Rapier
Use Instinct of the Master of Arms if
- You want to be able to use your skills more often
Instinct of the Master of Arms stats
- Critical hits reduce your skill cooldowns
8. Armadillopack
 In Dead Cells you have two ways to avoid taking damage, you can either parry the attack with a shield or dodge roll past the enemy, but did you know you can do both at once? With Armadillopack, if you have a shield in your backpack you can parry by rolling! You have both the invincibility of the dodge roll and the defensive power of a parry, not to mention freeing up your secondary slot for another weapon instead of a shield
What Armadillopack excels in
- The shield in your backpack can reflect projectiles and parry melee attacks just as well as if it was equipped, and any effects or modifiers your shield has will still activate
- At first you might be confused by what exactly you gain by parrying when you roll, since you’re already avoiding damage, but very quickly you’ll start accidentally reflecting projectiles and realize just how strong your defense is
- Sometimes you’ll encounter dense clusters of mobs that have too much going on to time a parry right and not enough space to roll, but with Armadillopack you can bulldoze right past them unscathed
Use Armadillopack if
- You want all the benefits of having a shield, but need your secondary slot for a different item
Armadillopack stats
- You can parry attacks and reflect projectiles by rolling when you have a shield in your backpack
7. Tranquility
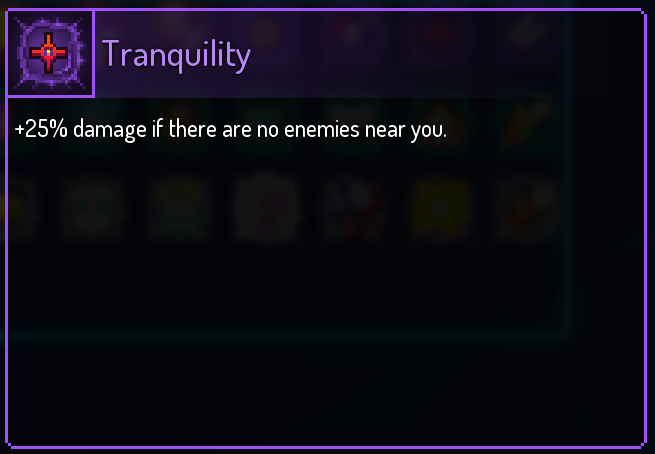 Ranged weapons have the unique advantage of being able to deal damage while keeping some distance between you and your enemies, and Tranquility rewards you for staying away from mobs. With this mutation you deal extra damage while there are no enemies around you, it might sound like it would be hard to take advantage of this effect, but the radius you have to keep clear is very short, and the bonus damage applies to all of your damage sources!
What Tranquility excels in
- Tranquility rewards you for playing smarter and using all the tools at your disposal
- Damage boost applies to all sources, including deployables and status effects
- While it only works when there’s no enemies near you, it’s only a short distance you need to manage. It’s generous enough that some heavier melee weapons work with this mutation!
Use Tranquility if
- You’re playing Tactics with some tact and need a damage boost
Tranquility stats
- Deal more damage when there are no enemies near you
6. Combo
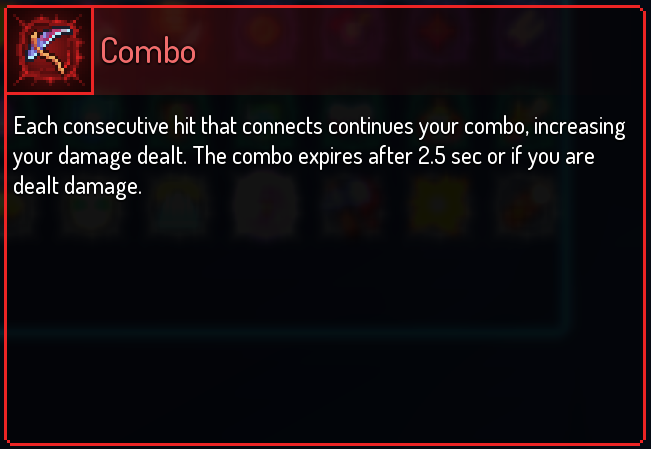 Every great action game has a hit counter, it’s always satisfying to rack up a massive combo all the way to S-Rank. Dead Cells has its own hit counter in the form of the Combo mutation, counting every hit you land and increasing your damage after each attack. There's no limit to the Combo, if you can keep the pressure going and avoid getting hit you'll get some insane multipliers!
What Combo excels in
- Multiplies your damage output when you're doing well
- Works great with melee weapons that attack quickly, like the Baseball Bat or Meat Skewer
- Your damage multiplier only lasts 2.5 seconds, but each hit refreshes the cooldown, so you can potentially keep it going for the entire encounter
Use Combo if
- You need to boost your damage output, in style
Combo stats
- Every consecutive hit increases your damage output for 2.5 seconds, each hit refreshes the cooldown and the hit counter resets when you get hit
5. Kill Rhythm
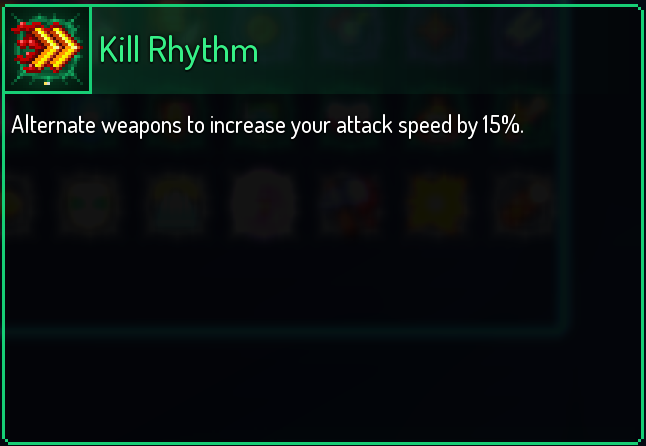 Survival is great for keeping yourself alive for as long as possible, but it comes with the downside of having weapons that fire slowly. Fortunately, Kill Rhythm is a mutation that mitigates this problem. Kill Rhythm increases your attack speed when you alternate between weapons. It forces you to diversify your playstyle, not just by using two weapons but needing to use both of them in tandem with each other. This is a game changer for Survival builds, opening up tons of new possibilities and solving the stat color’s biggest problem
What Kill Rhythm excels in
- Works naturally with two handed weapons, since most of them already scale with Survival and are designed to use both attacks
- The attack speed buff also reduces charge time for weapons like Flint or Toothpick
- Survival weapons deal lots of damage, normally that's balanced by their slow speed, but with Kill Rhythm you can negate that
Use Kill Rhythm if
- You want to speed up a slow yet powerful Survival build
Kill Rhythm stats
- Increases your attack speed while alternating between weapons
4. Open Wounds
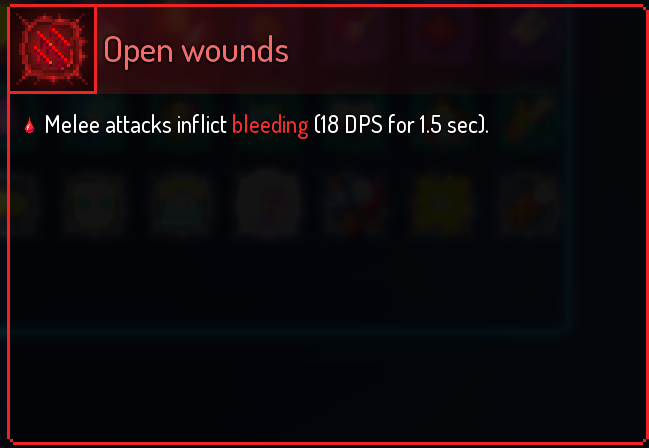 In Dead Cells, Damage over Time is king. They’re some of the best sources of damage in the game, finishing off enemies from a distance and serving as a constant, consistent DPS during boss fights. Open Wounds causes enemies to bleed when you land a melee attack against them, and it’s one of the simplest yet strongest mutations in the game. Bleed on its own is a very powerful effect, and can be synergized with anything using the right affixes
What Open Wounds excels in
- You can use the bleed effect to finish off enemies from a distance
- The damage from bleeding enemies greatly increases your DPS
- Creates a self-synergy with any melee weapon with an "+60% damage against bleeding targets" modifier
Use Open Wounds if
- You want to add Damage over Time to your melee attacks
Open Wounds stats
- Melee attacks inflict bleed on their targets
3. Disengagement
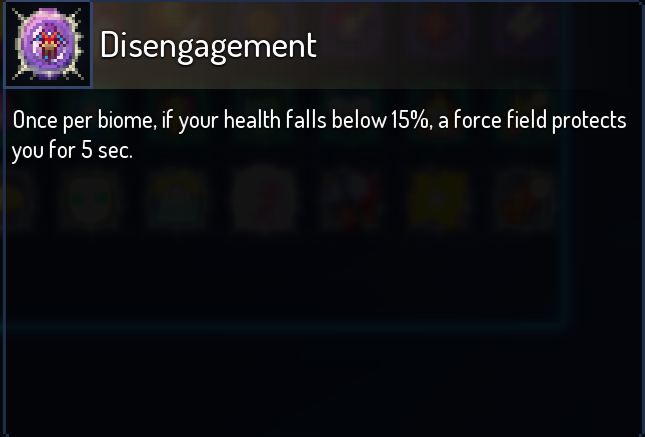 There’s a certain other mutation that will save your life, but can only be used once and can’t be removed after it’s depleted. I’d only ever recommend using it to get the achievements, because you have another mutation that does the exact same thing but better! Disengagement causes a force field to protect you when you drop below 15% health once per biome. In other words, it saves you when you’re about to die, can be used more than once, and if you decide to pick something else later on there’s nothing stopping you from doing so, a direct upgrade!
What Disengagement excels in
- Summons a force field to save your life when you take critical damage
- Gives you time to safely heal when you need it the most
- You automatically restore up to 15% of your health while being protected by the force field
Use Disengagement if
- You have a bad habit of putting yourself in sticky situations and need to give yourself a way out
Disengagement stats
- If your health drops below 15% a force field will appear to protect you for 5 seconds
- Only works once per biome
2. Barbed Tips
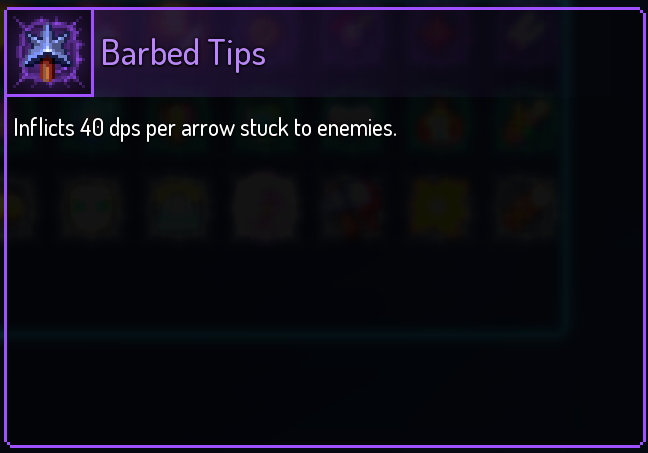 Ammo management is one of the trickier parts of playing with ranged weapons, it can be way too easy to sink all of your arrows into a single target, but with Barbed Tips that isn’t such a bad thing. With this mutation projectiles stuck in enemies deal Damage over Time, and every individual arrow counts as its own stack of damage. Damage over Time effects in general are very powerful, and Barbed Tips is no exception! If you have a Weapon with lots of ammo in reserve, such as the Quick Bow, Barbed Tips can devastate bosses
What Barbed Tips excels in
- Every shot inflicting Damage over Time greatly boosts your overall DPS
- Works with ranged weapons with a large ammo capacity, such as the Quick Bow, Repeater Crossbow, and Multiple-Nocks Bow. Throwing Knives are another great option, since they already inflict bleed on top of the Damage over Time from Barbed Tips
- Works particularly well against bosses, you can just sink all of your ammo into the boss and watch their healthbar drain away
Use Barbed Tips if
- You’re using a Ranged Weapon that has a high ammo capacity
Barbed Tips stats
- Ammo stuck in enemies inflict damage over time
1. Gastronomy
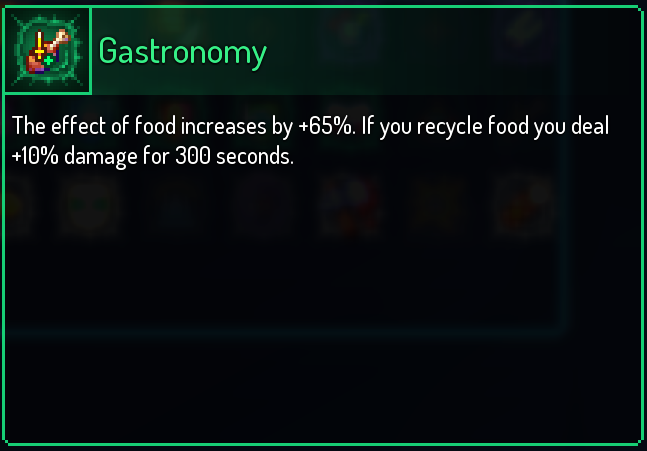 Food is one of the few ways you have to heal yourself in Dead Cells, so you better make it count! Gastronomy increases the amount of health you get from food and briefly gives you bonus damage if you choose to recycle it instead. Let’s do some math, small health pickups normally heal 15% of your max health, and large health pickups heal 50%. If you multiply that by 65%, they now heal 25% and 83% of your max HP respectively! That’s a significant amount of extra HP!
What Gastronomy excels in
- On 3BC or higher, food becomes a more consistent source of healing than your Health Flasks, and Gastronomy helps you get more mileage out of each pickup
- You always get +65% extra HP from food no matter how many scrolls you put into Survival, meaning Gastronomy is viable as an off color mutation
- The bonus damage you get from food lasts significantly longer than most other damage buffs in Dead Cells
Use Gastronomy if
- You’re struggling to manage your Health Flasks on higher difficulties
Gastronomy stats
- Food gives you +65% more HP
- Recycling food gives you a 5 minute long damage buff
You may also be interested in
- Dead Cells Rune Guide: Everything You Need to Know
- Top 15 Dead Cells Best Mutations and Why They're Good
- Top 10 Dead Cells Best Melee Weapons


