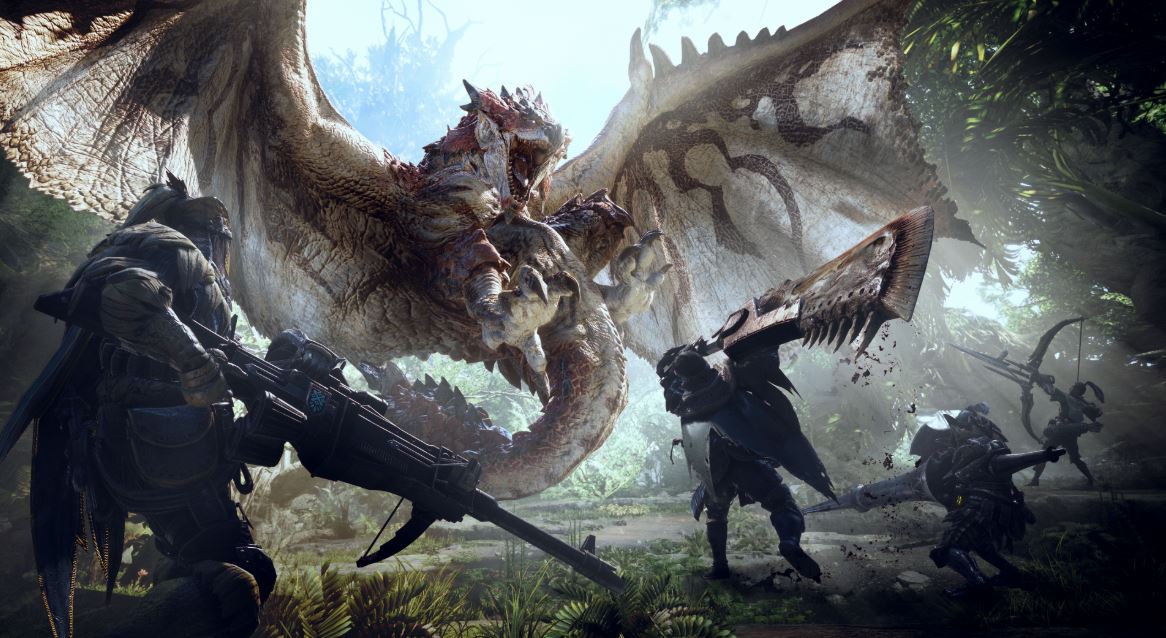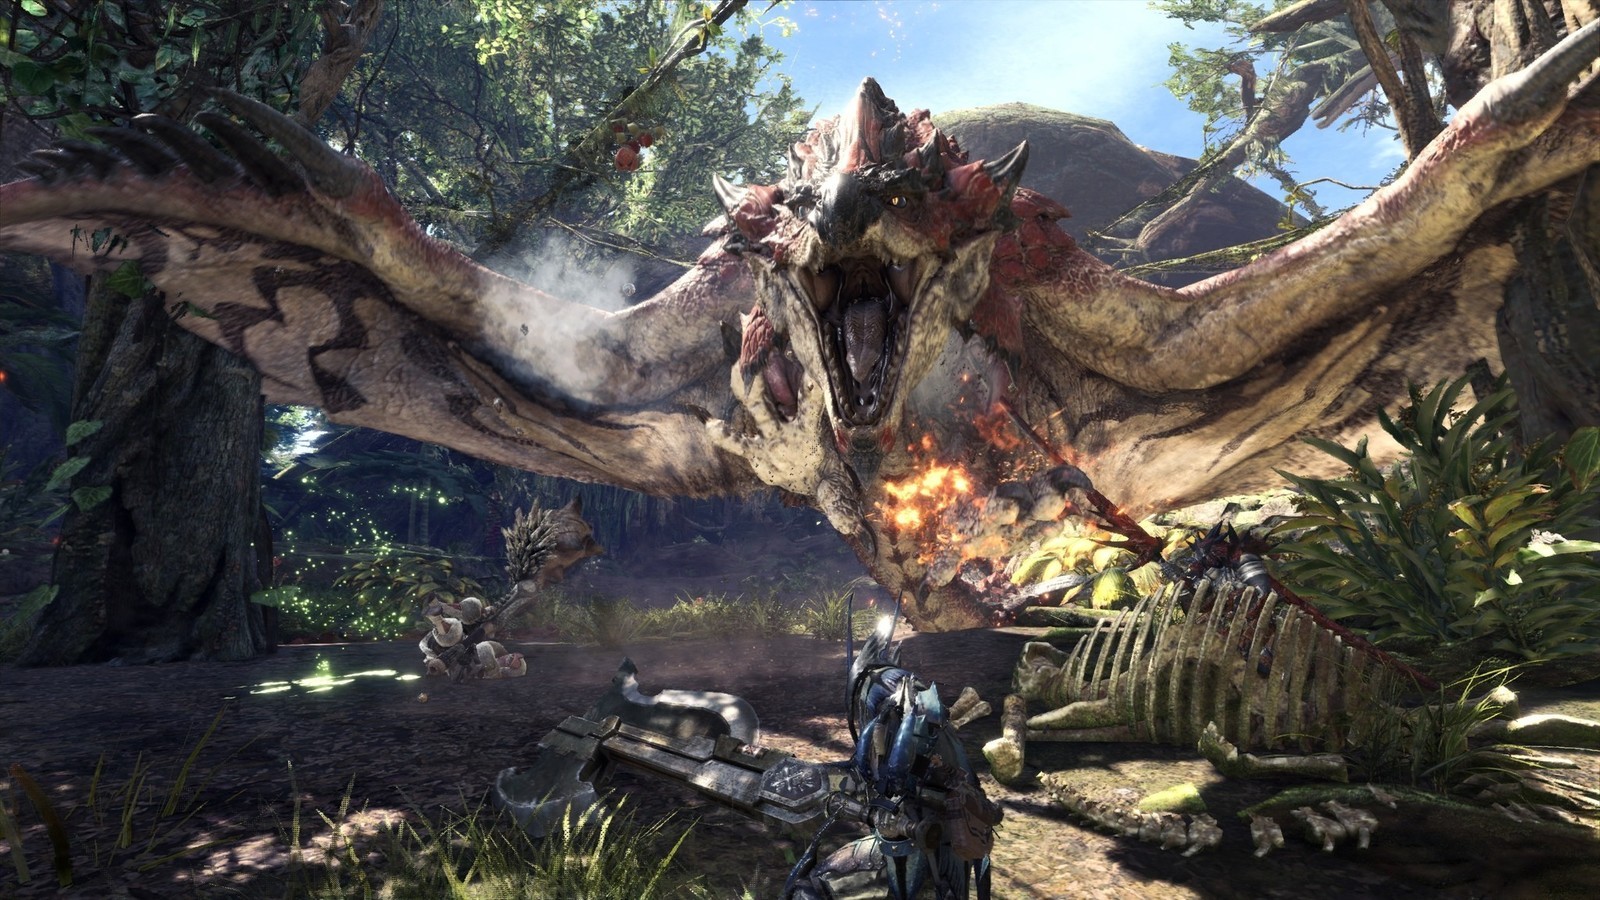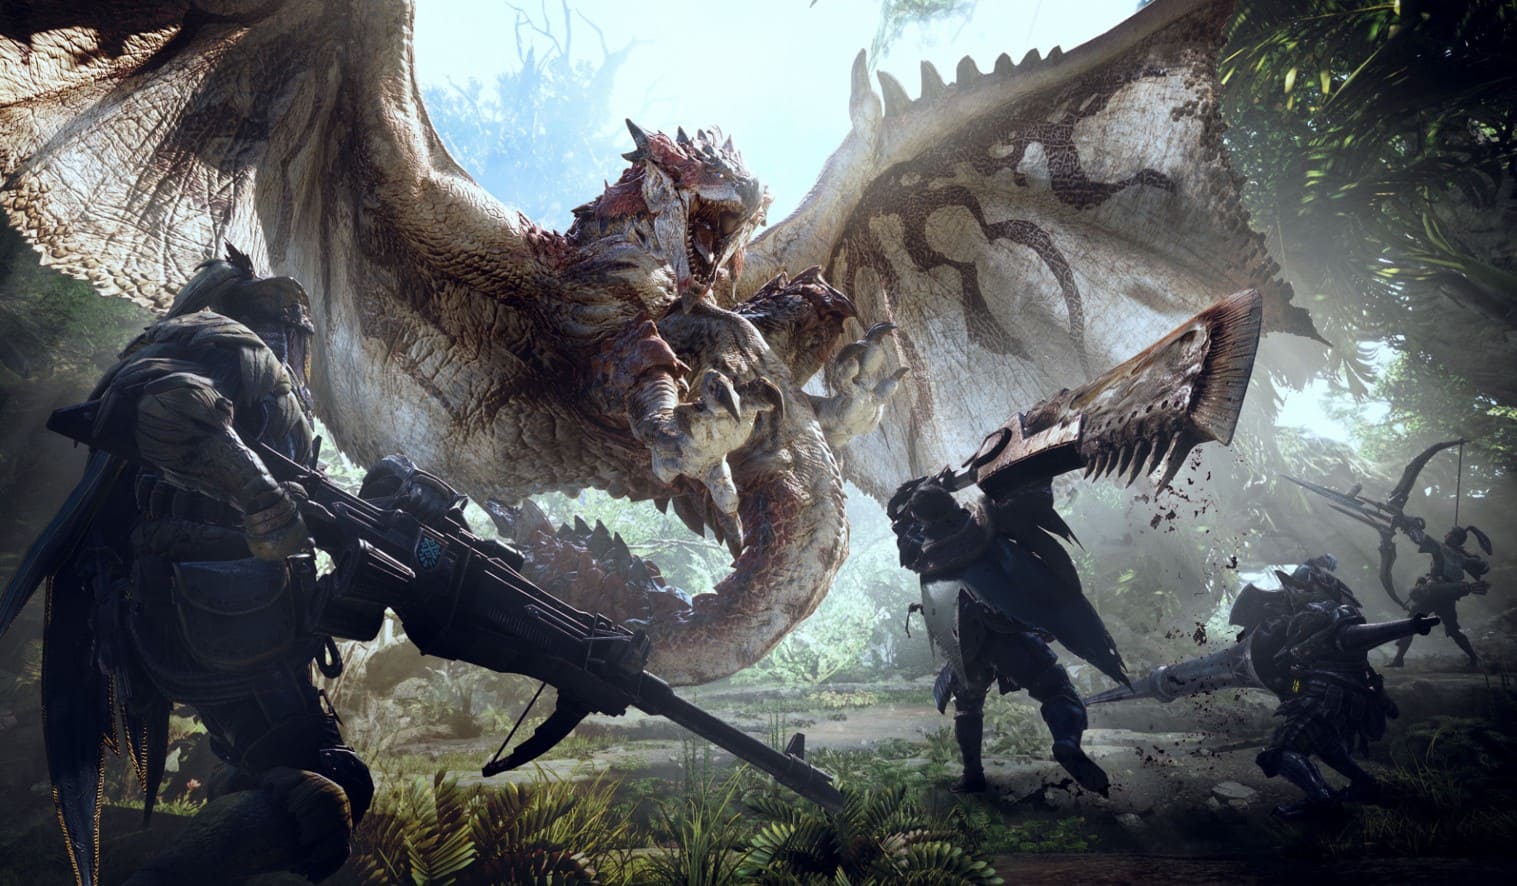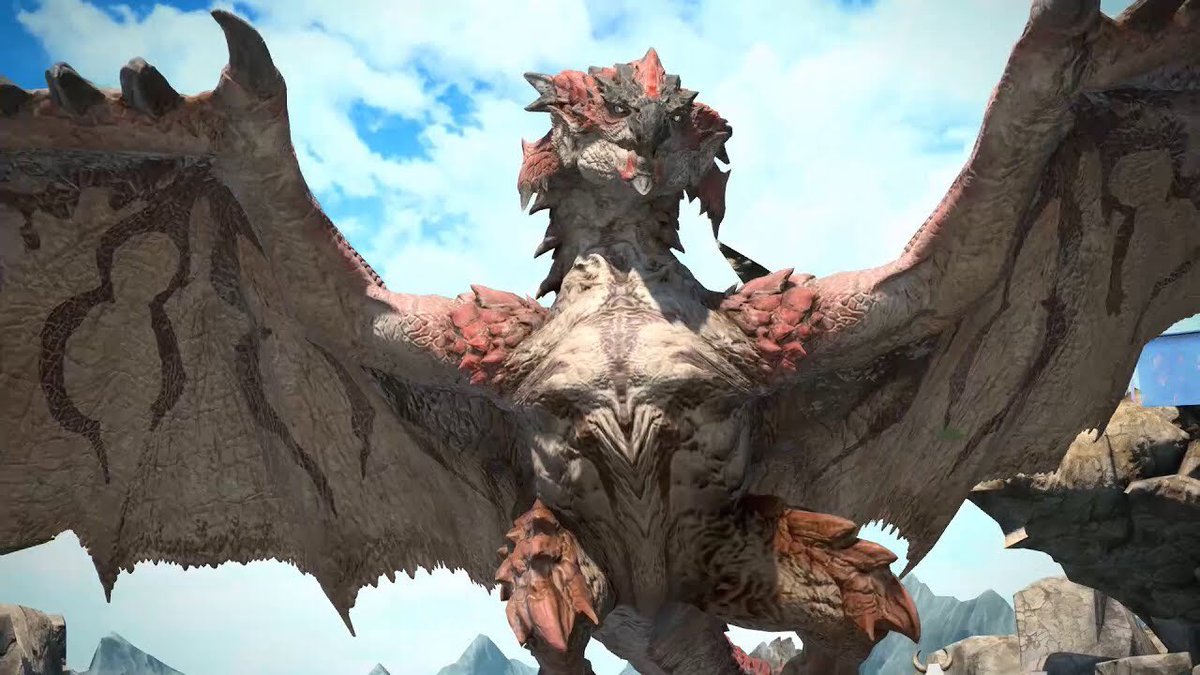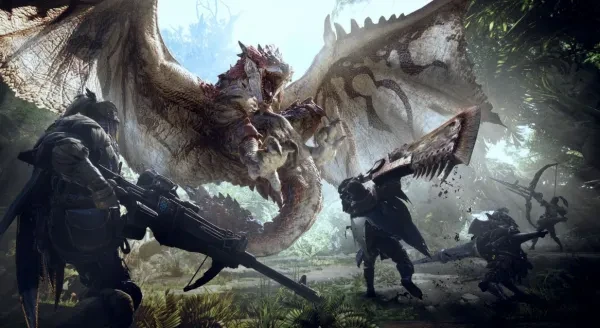
Monster Hunter World, a record setting game from the first day of release. Its sold 8 million copies as of April 2018. Capcom’s goal, to make Monster Hunter more accessible for casual gamers, was a success. There are many different aspects of MHW, all interconnected. From the Newbs to the Pros, there’s useful info in this article, for anyone that wants to max out their gameplay as quickly as possible.
Gameplay
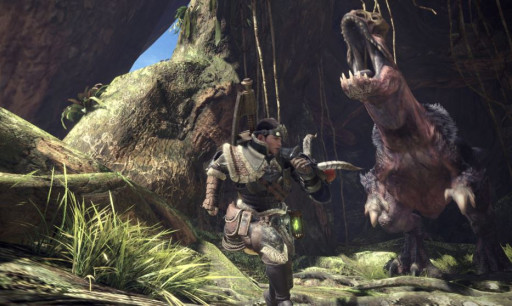
1. In Monster Hunter World, the most important skill to develop is patience. Before attacking any monster, take time to observe it and learn from it. They will give away their patterns.
2. If you are the one on your team that always knows the right thing to say, customize the gestures and shadows panel. So when certain requirement are met in a hunt, your character will utter your wise advice, or nonsensical phrases.
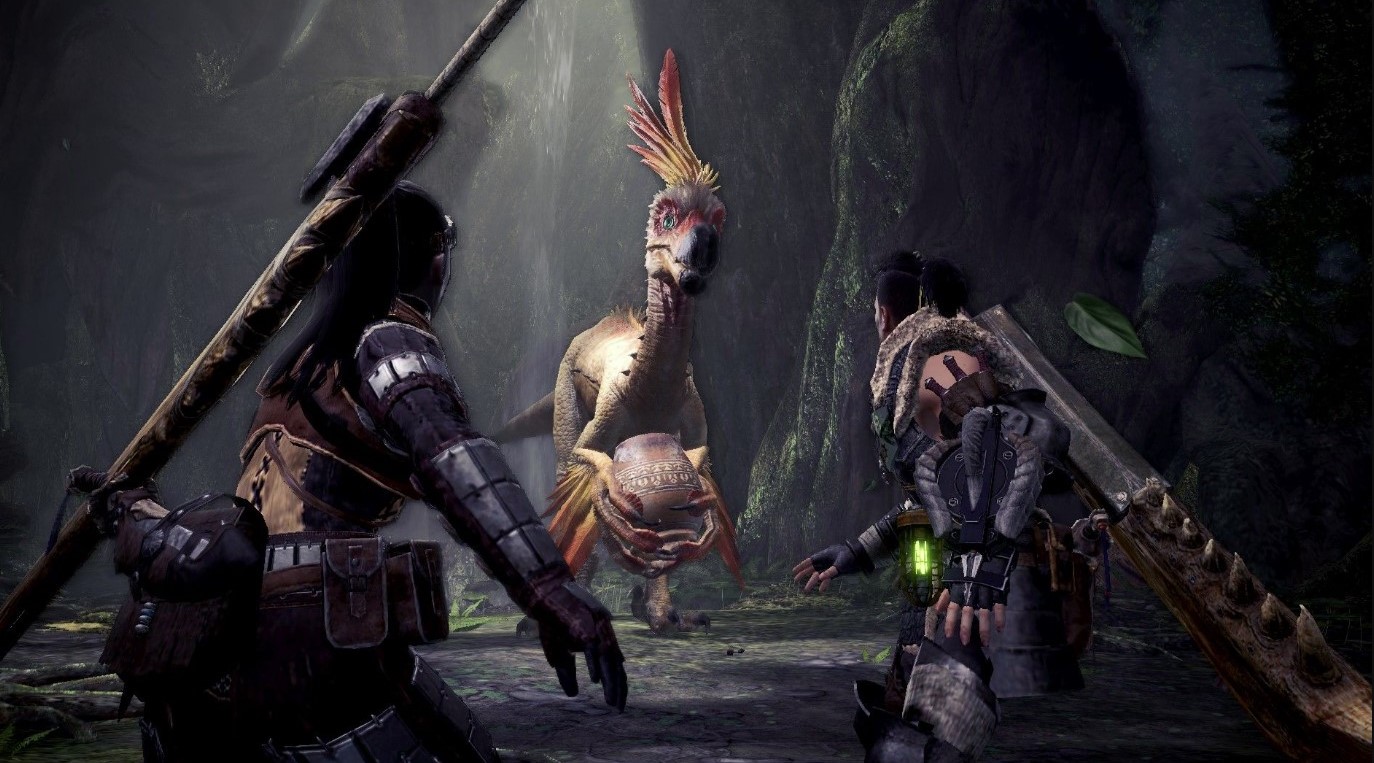
3. Increase HR—in Monster Hunter World, completing quests is how you increase Hunter Rank. As a new hunter, your rank will be 1 out of 100. To get to level two, you need one thing, a Great Jagras. That’s the first monster you need to take out. Until you do this, there are no other quests you can accept. Find him in the Ancient Forest.
4. Every time you enter a campsite, go through your inventory and unload items you don’t need. Keeping your pouch cleaned out will allow you to pick up more important items later.
5. Game changer. How you increase HR changes after level 15. After completing the final quest at HR 15, it increases by gathering experience points. Now any hunt, investigation or even side-quest will go towards increasing your Hunter Rank. Capcom doesn’t say why this level is gated this way.
6. If you’re a solo gamer, you should make your own squad. Do this at the gathering hub. This will make it easy to log in. Quickly select the squad you want, even if it just includes you. That way no unwanted hunting partners will interrupt your quest.
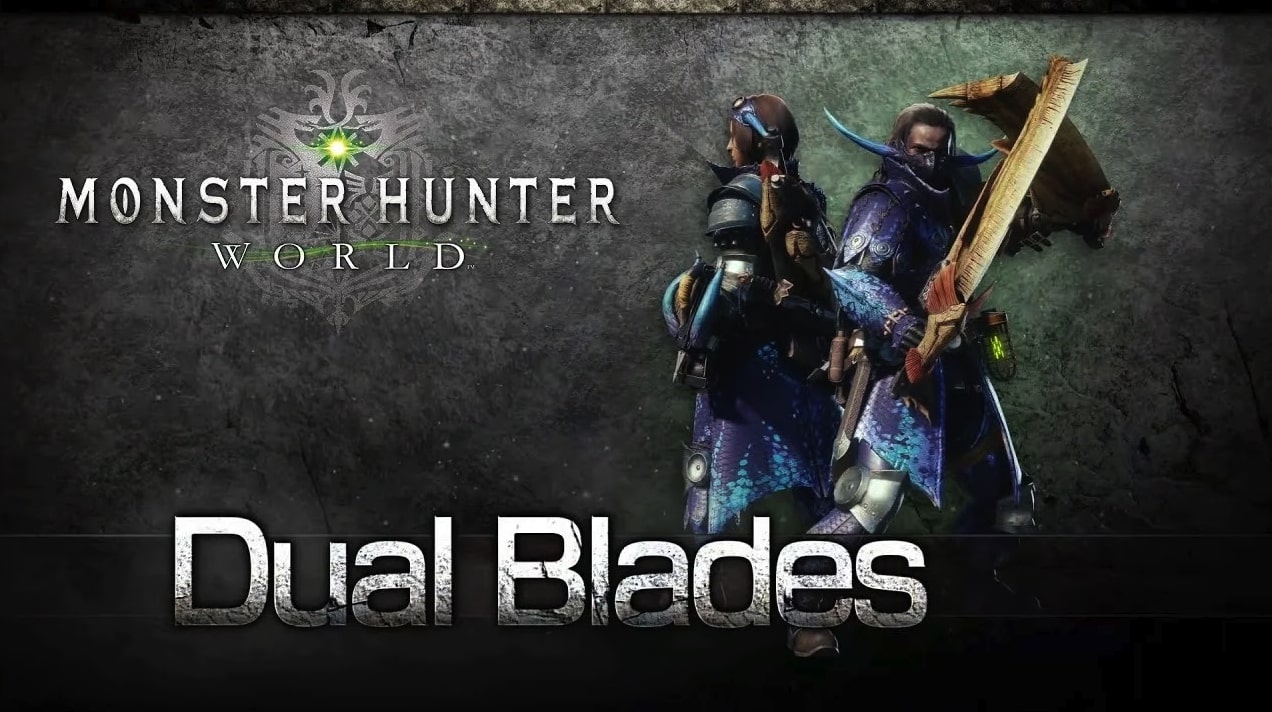
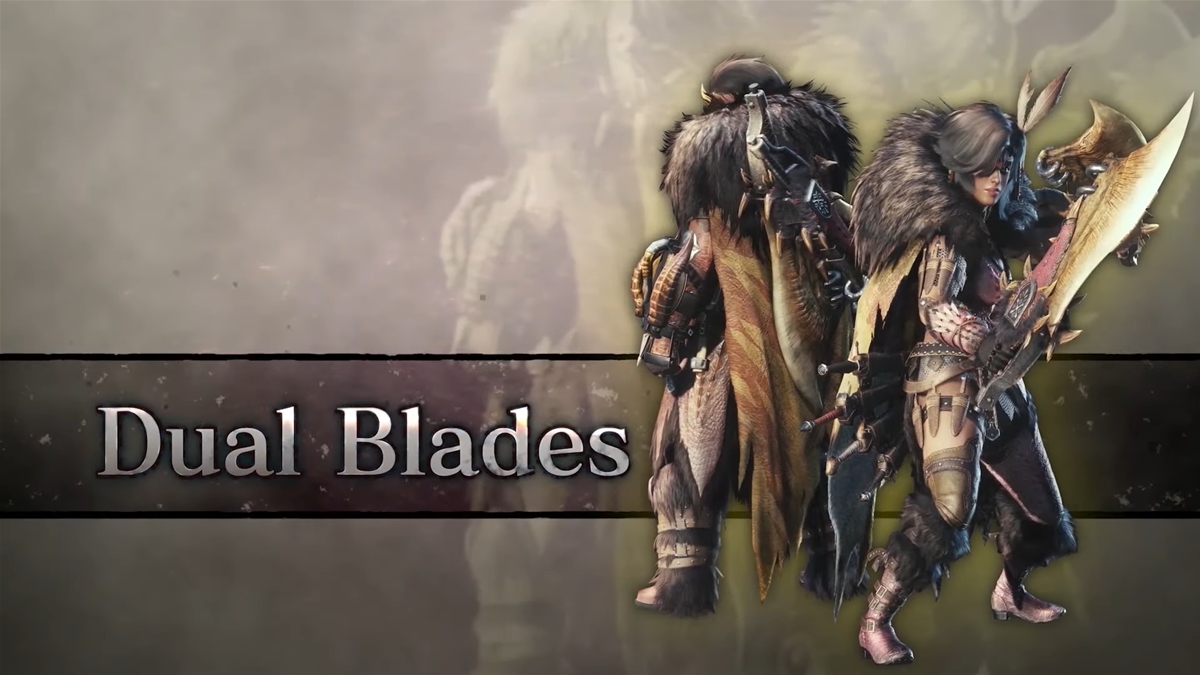
7. You need to learn and utilize combos. Just hitting buttons with no strategy is not going to get you very far in MHW. If you are using Dual Blades, instead of using the double slash attach separate from the lunging strike—Chain these two moves together for an even more effective attack.
8. Having trouble trying to put the perfect outfit together? There is a way to quickly get the pieces you need. Start by looking for online quests for the monsters that have your missing items. Do this by looking for hunts that have gone bad. Look for players that have fired off SOS flares. After you help out another fellow gamer, grab the item you need. Make sure it’s not too late to collect the reward, otherwise, all that effort will be for nothing.
9. Whenever you have upgrades, use them. Saving them could result in waste. At higher HR, the same weapon and armor upgrades are going to be worthless. Don’t stroll around underpowered thinking it will pay off in the long run.
10. In the options menu, select the widest zoomed out camera setting available. The very next hunt will look a lot better and give you a better angle on all the action. The monsters are huge, so it can be hard to judge certain attacks. This fix will make it a little easier to spot items you need on the edges of the screen as well.
11. Manually save progress every chance you get. Some changes won’t automatically save for you. Make it a habit and you won’t suffer avoidable progress loss.
12. Freely fast-travel when there are no monsters around. You will get there quicker, and it won’t deplete your stamina. To get to the training area, open your map in Astera, then view world map, and the Astera map again, and select training area.
13. Solo mode can be fun, however there are many quests that will be much easier with teammates. If you need support, but you don’t have any, pop an SOS flare. Try to find cover and wait for the cavalry.
Monsters
14. It’s a cycle. It’s not just about the hunt.. After you successfully defeat a monster, its resources are yours. These resources must be taken and used to upgrade weapons and gear. The more monsters killed, the better your weapons will be, the more monsters you can kill.
15. Diabolos have an exploitable weakness to ice. They are territorial and will attack fiercely. Typically, when wounded, they can be trusted to go back to their den to recover. Track them there and finish them off.
16. Capture as many monsters as you can, don’t kill them. Captured animals offer more resources than slayed ones. But you won’t get to carve them up. Not every monster can be caught. If its sleeping or even limping, it’s worth trying to capture it. Try your capture net for this technique.
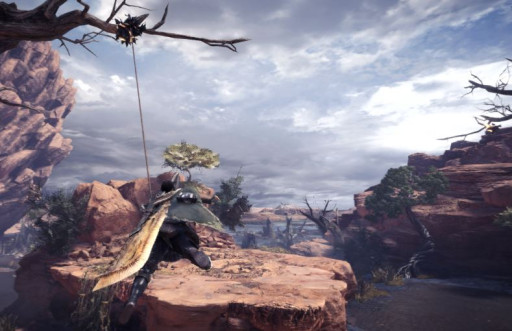
17. Sling dung pods at monsters to make them leave. They might not stay gone, but it can buy you valuable time in a tight spot. The sling should also be used as a grappling hook. This will allow you to achieve a whole new vertical element to your skill set.
18. As you progress through the game, make sure to commit all menu prompts to memory. Eventually, they are going to disappear. If you have mounted a monster with no prompts and start to notice the screen starting to vibrate and your stamina is dropping fast, hit R2 to recover.
19. Trouble with tempered Bazelgeuse—after the story quest are complete. The game isn’t done. Not by a long shot. But now you HR will increase on every investigation you go on, and after successful hunts. At HR 29 a new quest is unlocked, a duo of Bazelgeuse. These two are dangerous. Not only to you, but to each other. Let these monsters take each other out. Look for opportunities to attack when they are alone. Don’t draw attention to yourself when both creatures are around at the same time.
20. If you chop a monster’s tail off during a capture, later, the tail will still be gone. On a positive note, the tail stump is a useful resource. The best way to take off a body part is to focus your attacks one specific area. It might not slice off a tail, but damaging a monster’s leg quickly, can make capturing them much easier.
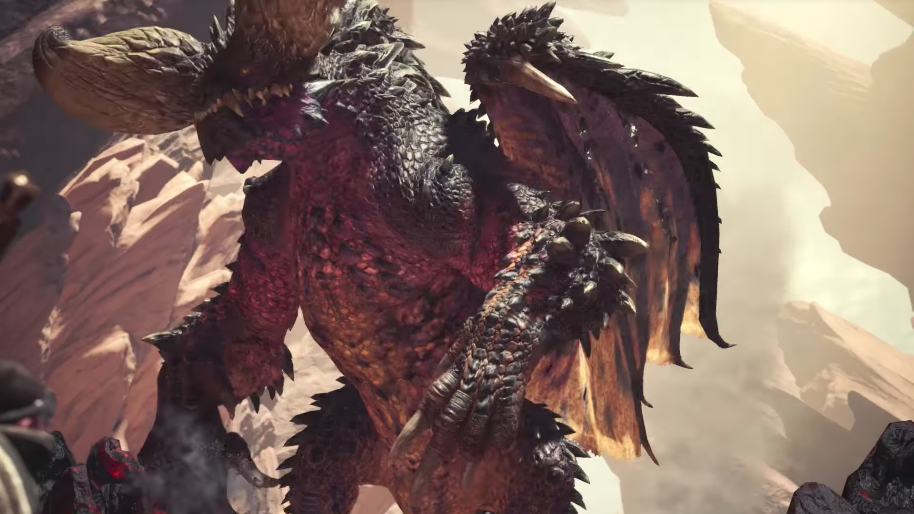
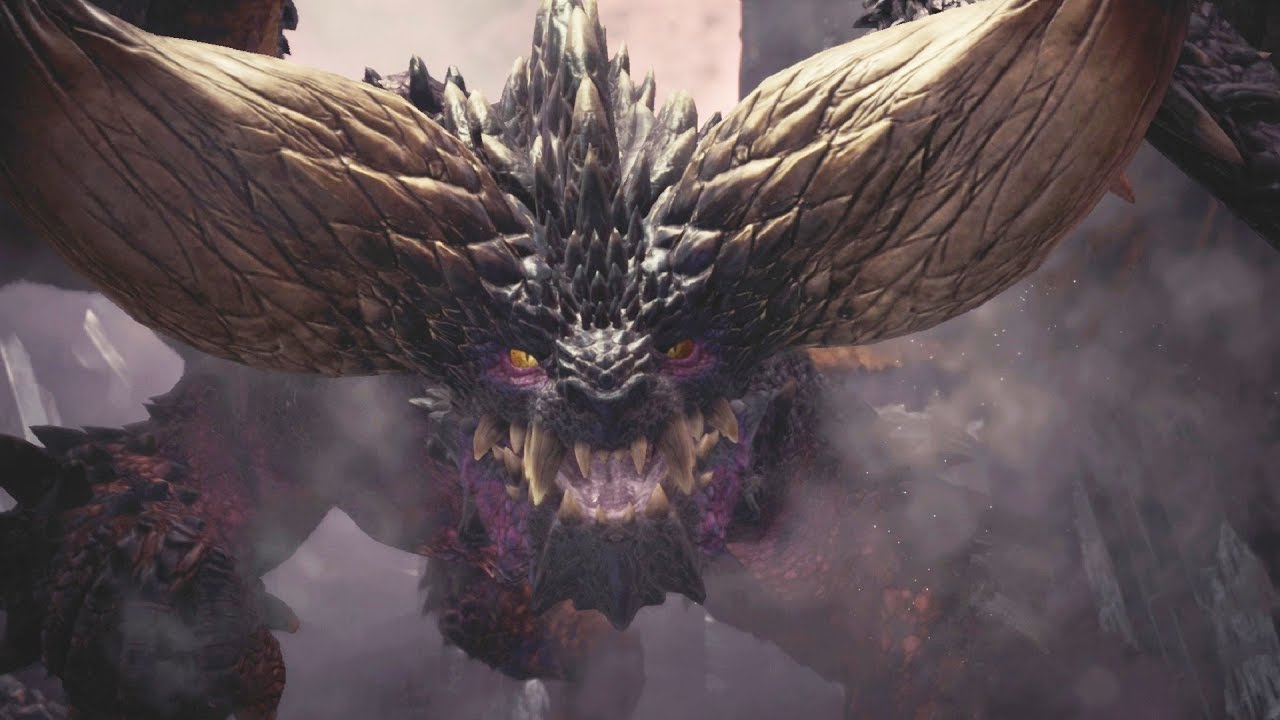
21. Nergigante is a huge elder dragon. You can find in in the Wildspire Wastes. One of the first and most difficult elder dragons you will meet. To defeat him use a combination of health bombs and dodging his attacks. Move quickly out of the way of his lunging attacks and hit him with the most powerful weapon you have. Elemental attacks are not very effective. So, stick with brute force or powerful projectiles.
22. The simplest way to trap a monster is to use a trap and tranquilizer bombs. Weaken the beast and lead it into the trap, once triggered, fire “tranq” bombs… until it sleeps, now it’s time to cash in.
23. Kill a monster, eat a monster. Use your BBQ spit to cook up a fresh kill. Make sure you take it off when its cooked perfectly. Wait too long or pull it off too early and the whole meal could be ruined. If it’s not cooked to temperature, you will notice that it doesn’t give you as much boost as if it were cooked properly.
Weapons and Armor
24. Ready to pick a weapon? Check with your housekeeper at your home in Astera. You will get your pick of 14 different basic weapon sets. Picking one weapon here doesn’t mean you’re stuck with it forever, changing out and trying different weapons is part of the fun.
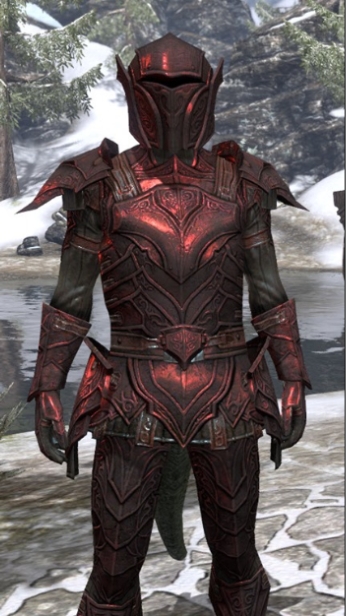
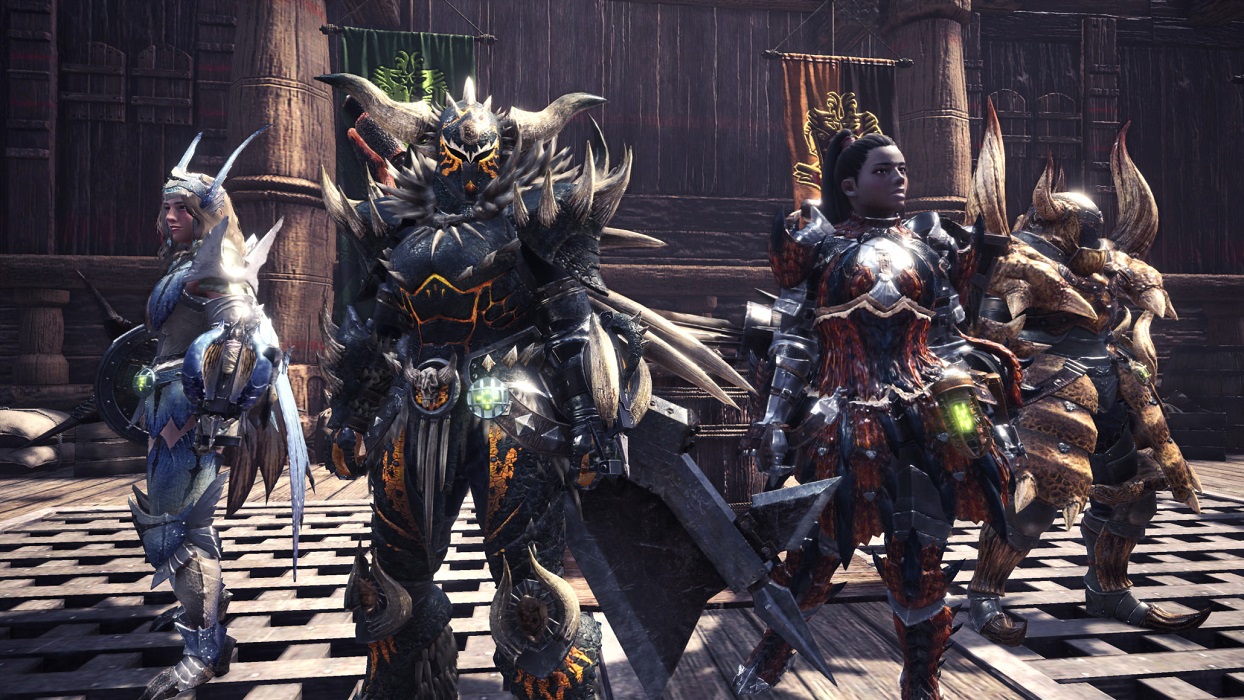
25. The most versatile armor Odogaron armor, can be crafted after killing Odogaron. He will be in Rotting Vale. Improved defense, stamina and attack strength, all-in-one. Fire and water ratings are also both very high for this armor.
26. Sharpen your blades. You are given a wet stone for a reason. Blades get dull and can be monitored by the dullness meter. Pay attention to it. The sharper the blade, the more potential damage you can inflict. Even if your weapon is a hammer, sharpening it will noticeably increase its power output.
27. Level up your Palico. When you start out, you Palico doesn’t seem to show up with extra supplies when you need him to. After you put enough effort into leveling him up, your cat companion will be added to the time bar with infinite usability. So, you can control the timing of healing mist or improve your teammate healing ability. If the Palico is still around, you can recharge this skill for free.
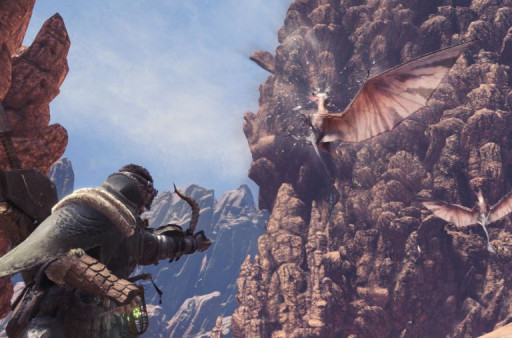
28. When you find yourself about to go on a team hunt for a flying monster, make sure that every group member brings flash pods. A hit from flash pods will immediately bring down a flyer. Go in for a few hits. Repeating this process over and over is a great way to take out a flyer.
29. Best beginners weapon… Sword and Shield. While not eye-catching, the Sword and Shield have a few huge advantages…Speed and Defense. Attacks are fast, which gets more hits per attack. It’s easier to avoid enemy attacks and the shield offers some protection while you learn the moves of the weapon.
30. Mounting. Use the Insect Glaive to hover over hunted monsters. Drop on them, and you’ve easily mounted your target monster. Elements like fire or water can be used with the Glaive, depending on the weaknesses of the monster being hunted. The weapon comes with a Kinsect, a bug that can be used to suck the energy out of monsters.
31. Pick a simple weapon first. Don’t go for the flashiest weapon right off the bat. Get a feeling of how the basics work first, then you can apply the new skills to more advanced weaponry. The sword and shield or dual blades are an easy first start. The SnS offers fast attacks that are important for learning to dodge. The dual blades are the fastest weapon, you will need to juggle recharging and sharpening constantly. But every weapon has their own special strengths and weaknesses.
32. Use the Ghillie Mantle to sneak up on unsuspecting monsters. It can be used to make you silent and invisible. Some beasts like the Phantom Bird will fly away if they see you coming. It is the only way to complete some missions like collecting worms, because they will retreat back into their underground hole if they see you. Use the net to grab them one at a time.
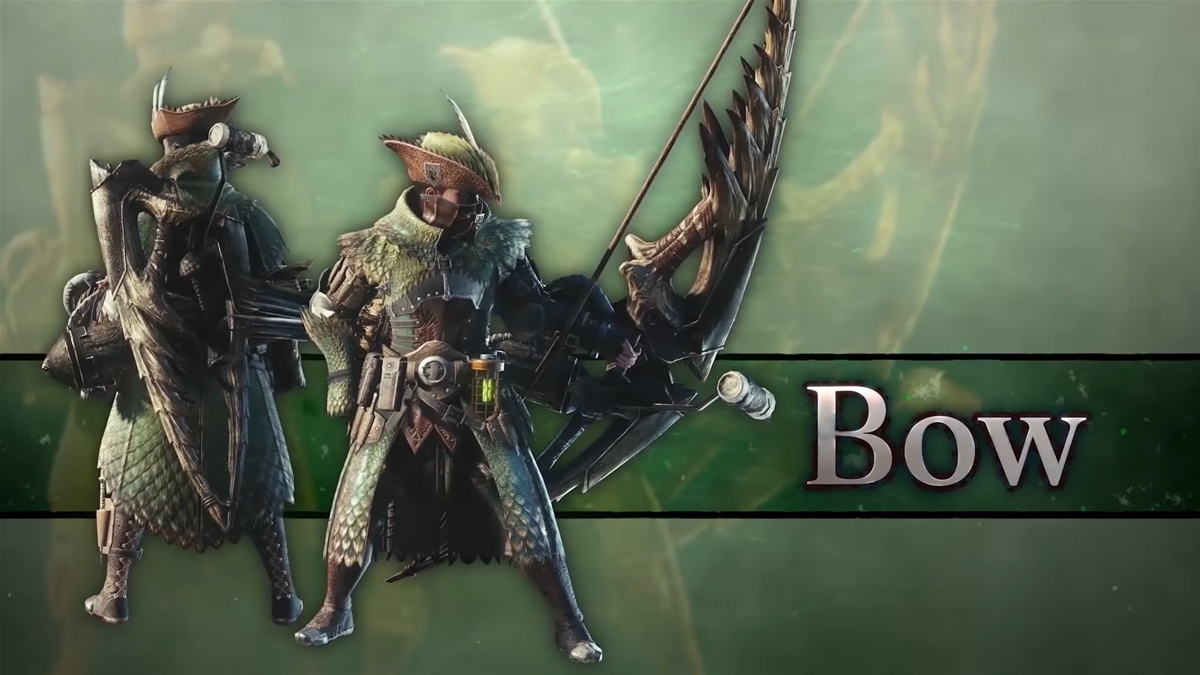
33. The Light Bowgun is a great option for players that prefer to hunt from a distance. Its ammo can be changed to match the monster you are hunting. If the monster has fire resistance, water elemental attacks will work better.
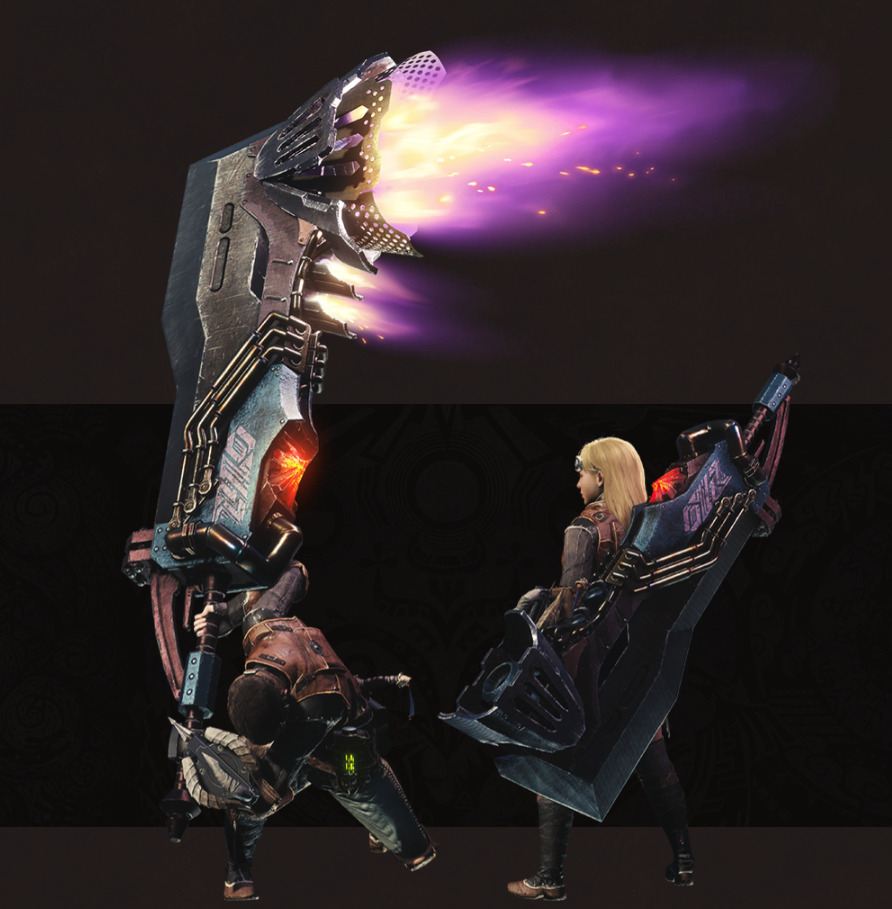
34. Advanced weaponry. The Charge Blade has many benefits, but a sharp learning curve. This one weapon can server as several. Its is a sword and shield but can also be an axe. The weapon must be charged. Attacks can be devastating to monsters, it’s worth trying out. Not for beginners.
35. At first you will be given a choice between two sets of armor. Leather and chainmail. Your decision should be based on what element you need the most protection from. Leather is resistant to fire and chainmail to water. If you are going up against a fire breather, go with the leather.
Crafting
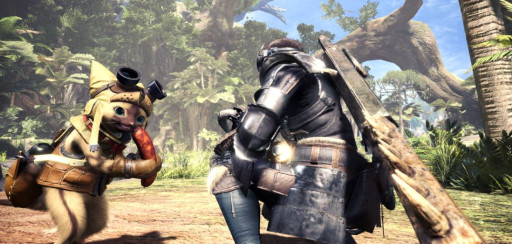
36. Your missing out if you’re only using the gathering button to collect things. Instead use the Capture Net. A not so obvious use for this, if you are a customizer, look for small creatures that will fit in the Capture Net. You can turn the ones you catch into your pets for your home.
37. Collect honey and herbs, use them to make mega healing potions. They can be bought. But if you run out on a hunt, they can always be crafted, if you can find the material. The things you collect can be combined with the potions you craft to make even more powerful potions. The Ancient Potion, which is rare, can be made by combining an immunizer with a Kelbi Horn.
38. Always make sure the ammo you craft matches the ammo your gun uses. Not every ammo type works with every gun. Don’t find yourself at the end of a long ammo crafting stent, wishing you had checked the requirements before starting.
39. Collect ore and bone piles for weapons upgrades. The first weapons will require the ore for upgrades. A bit later, you will be allowed to make more weapons out of bone. This will be after you reach level 2. It pays off to pick up as much of this as you can carry.
40. You should save all the equipment you need for your character as a loadout. Do this by pressing the options button while using any equipment box or even in the pouch. Everything will be auto stored and restocked by selecting the item loadout you want. This is much quicker than dropping every item one-by-one.
41. If you went to the trouble of making a pitfall trap, craft a bit of bait to lure you monster in for a successful snare. To do this, scavenge for a sleep herb and combine it with raw meat. Now your armed to lure and trap most types of monsters MHW.
42. Fainting a bit too often? Low defenses. Craft Armorskin. You need to locate an Adamanet Seed and add it to a catalyst, this will increase your defenses. If that’s still not doing the trick, use the same seed with an immunizer. Your defenses will be seriously improved.
43. Your Palico, cat buddy can be equipped with weapons and armor for specific monster battles. Eventually in solo mode, you can take your Palico and another catlike creature called a Grimalkynes. They are really useful for deploying traps.
44. You have a Great Sword, but you want a Jagras Blade III. Collected bones from carved up monsters can be used to craft better weapons and armor. You are not guaranteed a bone every time you kill a monster. But, Great Jagras are more likely to drop what you need. A Monster Bone +. Collect only 3 MB+’s, to craft your Jagras Blade III.
45. If you need to collect items and don’t want to be under a time limit… the game has an Expedition mode. Walk around and take your time. Enjoy the environment and gather your herbs and honey on your own time.
Ecological Research
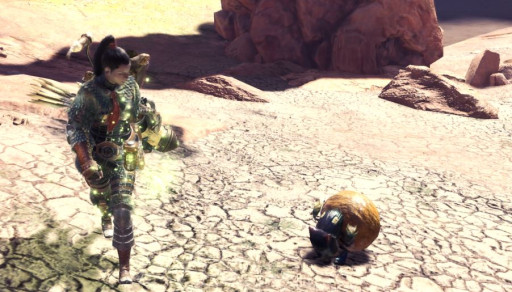
46. When you do Ecological Research, it increases your Research Points. Be on the lookout for signs of monsters. There’s anything from feathers to monster excretions that you can track and learn from. The more of that you do, the better more points you get.
47. You have to meet the Chief Ecologist before you can use your Monster Research Points. Find him behind the Resource Center. You want this because it increases the detail of the notes you are given for hunts. Every time your research level increases, you have to repeat this process to access new skills.
48. Doing research also affects your Scout Flies. They become more homed in to specific monsters the more they track them. Higher levels allow them to take you directly to a monster, eventually even plotting the location of monsters on your map.
49. Generic research can be used to gear up your Palico, buy food and even fertilizer later on in the game. Fertilizer can be used to grow your own crops in the Research center. To access Mega Fertilizer, go on the Great Jagras Hide + quest. If you want an Ancient Catalyst, the quest Great Girros Hood+ will give you access to it.
50. If you’re running out of room at the Research Facility, there is a way to open another slot. Once 4-star quests are available, complete the quest called Persistent Pests, and enjoy your extra space. Still need more? Go on the quest, Talons of Ice and Fire. Not only will this give you another slot at your farm, it will upgrade the graphics of the entire Research Center.
Also be sure to check out these articles:
- Top 5 Best MHW Builds (MHW Strongest Builds Ever)
- Monster Hunter World Tier List (MHW Best Weapons Ranked)
- The 10 Best Monster Hunter World Mods (That Give You a Winning Edge)
- Top 15 Games Like Monster Hunter World (With Awesome Boss Fights)
- 10 Things We Love About Monster Hunter World
- Best Monster Hunter World Tips, Tricks and Secrets
- Monster Hunter Live Action Movie Release Date, Cast, Trailer, Story, News
- Monster Hunter World Large Monsters List: Weaknesses, How To Kill, and Location

