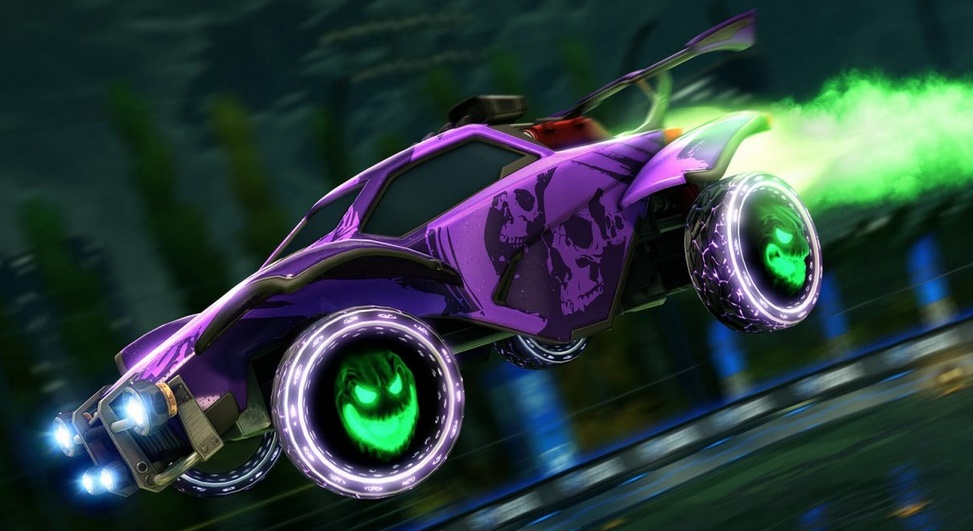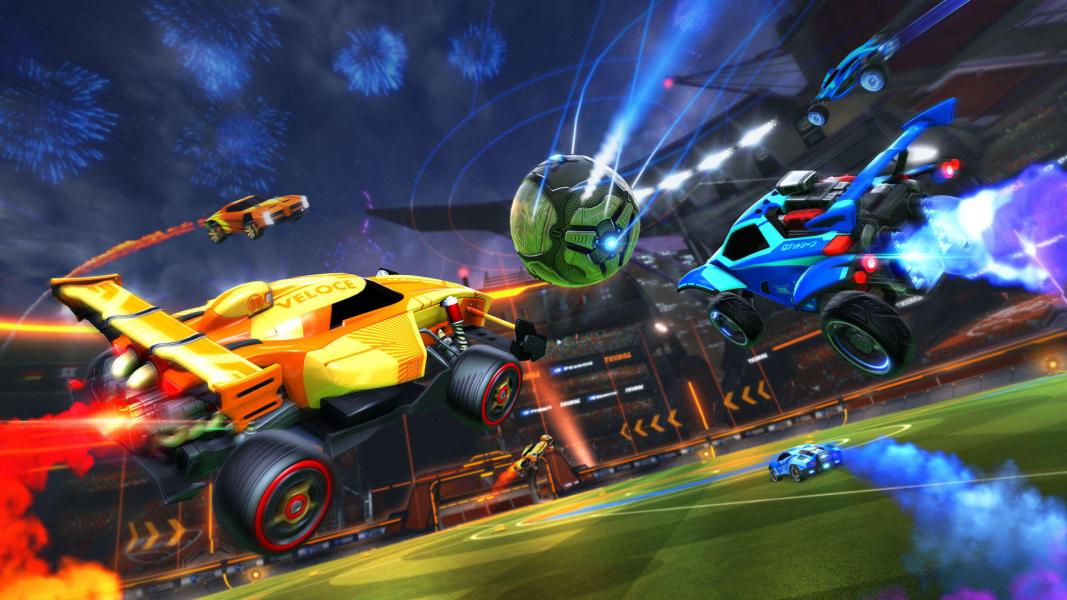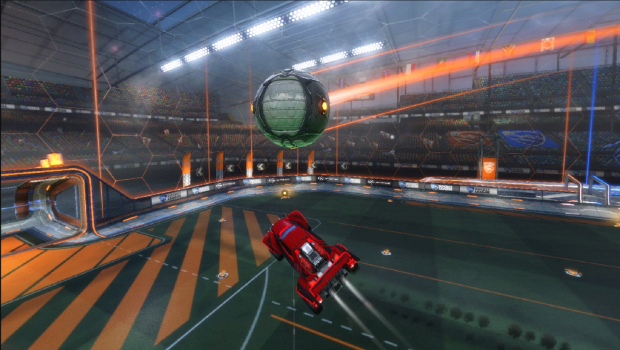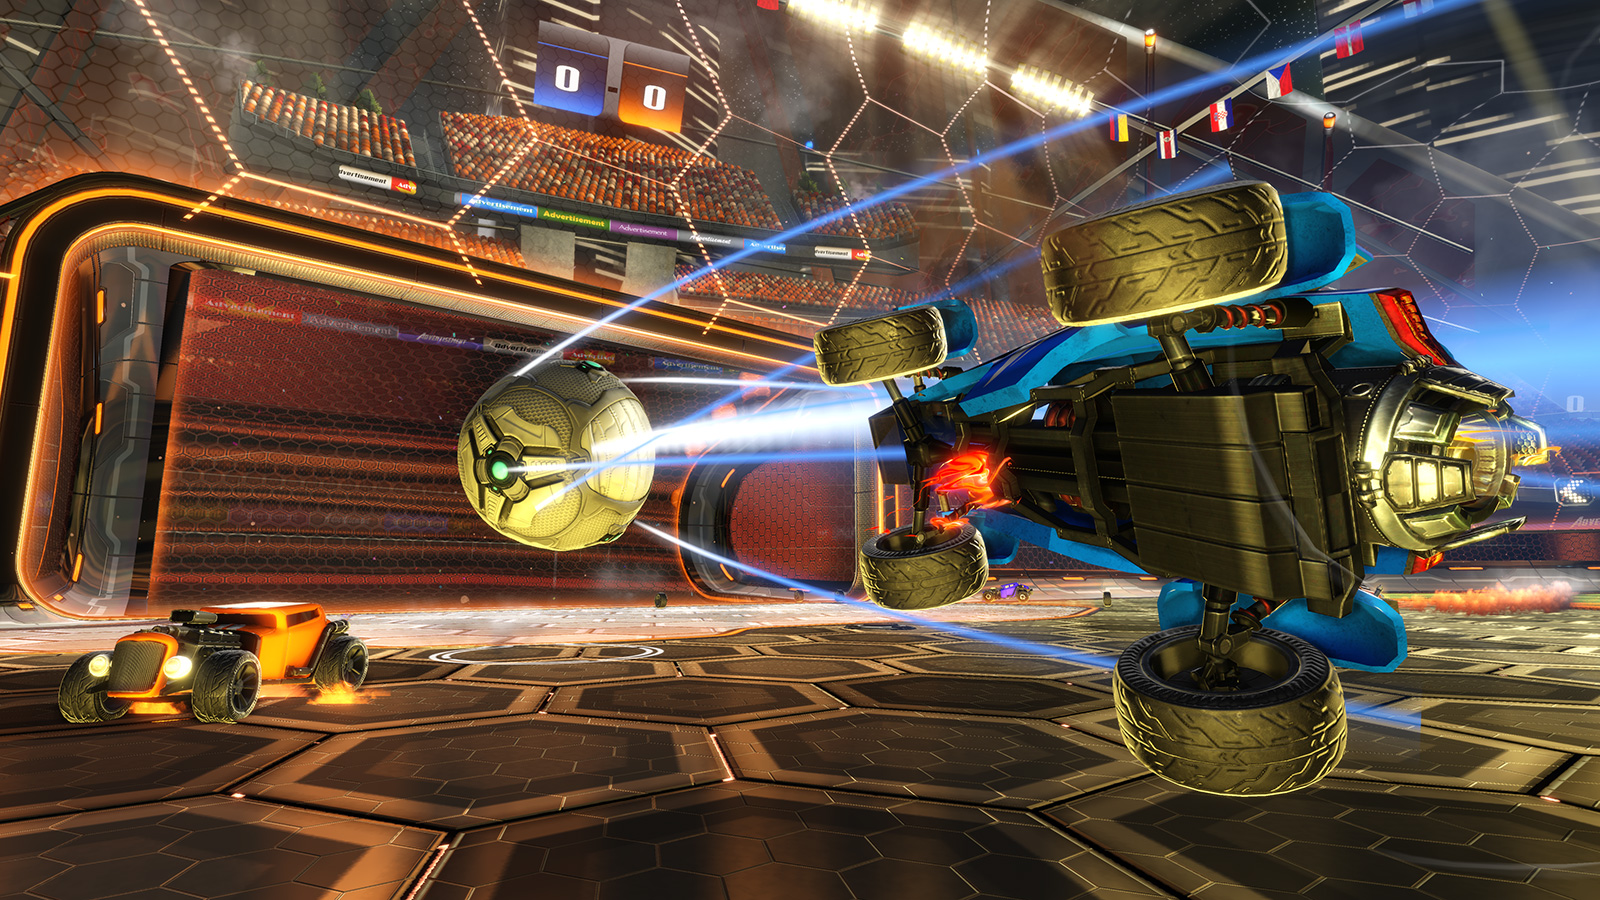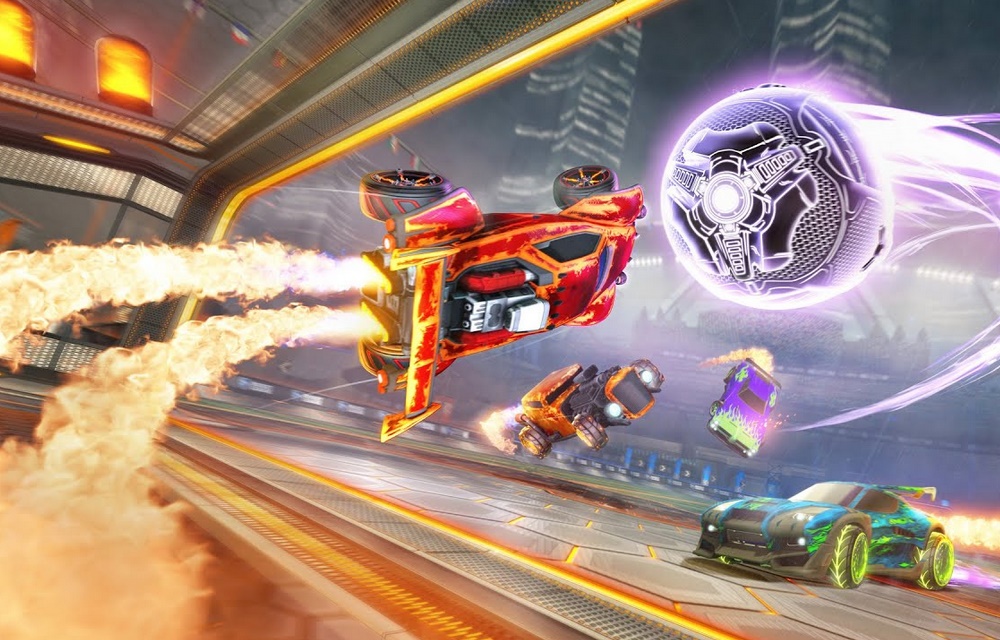
Freestyling is one of the most fun things to learn in Rocket League. It puts aside the competitive side of things and makes way for the creativity and art!
We are going to take a look at the top 15 settings that will help you become a freestyle legend!
1) Larger FOV:
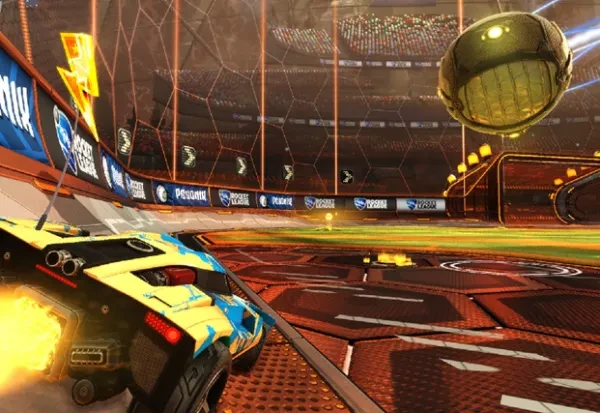
Always keep the Field of View high or even Maximum. It will help you a lot in the game and gives you a wider view which is very beneficial.
To apply this setting follow these instructions:
- First go to the options screen from either the main menu or the pause menu during a game.
- Go to the Camera tab
- Move the Field of View all the way to the right to make it 110
2) Medium Distance (230):
Try to keep other settings somewhere in the middle. But it is not a must; you can always go for the settings which are best for you. A medium distance (somewhere near 230) can be helpful in freestyling as it gives a balance between a larger view of the ball and control of the ball.
To apply this setting follow these instructions:
- First go to the options screen from either the main menu or the pause menu during a game.
- Go to the Camera tab
- Move the Distance to 230
3) Medium Height (110):
Camera height can also play an important role just like the other settings, especially during freestyling. Try to keep it near 110. It will give you a balanced view of the game.
To apply this setting follow these instructions:
- First go to the options screen from either the main menu or the pause menu during a game.
- Go to the Camera tab
- Move the Height to 110
4) High Angle (-2):
This will really help you in freestyling. This angle gives you a good view of the ball. Also, many amazing freestylers also play with angle settings from -2 to -5.
To apply this setting, follow these instructions:
- First go to the options screen from either the main menu or the pause menu during a game.
- Open the Camera tab
- Move the Angle to somewhere from -2 to -5
5) Low Swivel Speed (3.20):
This will give you more control over your car, resulting in better performance when freestyling. Good control means good gameplay! Bad control obviously means….bad gameplay!
To apply this setting, follow these instructions:
- First go to the options screen from either the main menu or the pause menu during a game.
- Open the Camera tab
- Move the Swivel Speed to 3.20
6) Minimum Transition Speed (1.00):
Minimum transition speed will let you focus on more details. This will help you see and focus on the ball more comfortably.
To apply this setting, follow these instructions:
- First go to the options screen from either the main menu or the pause menu during a game.
- Open the Camera tab
- Move the transition speed to 1.00
7) High Stiffness:
You will not want to lose control of the ball which may happen if your camera angle and field of view suddenly changes. So, high stiffness can be beneficial because it will make sure that your angle and field of view are both in good shape.
To apply this setting, follow these instructions:
- First go to the options screen from either the main menu or the pause menu during a game.
- Open the Camera tab
- Move the Angle adjuster to anything above 0.45
8) Max Swivel Speed:
If you have a good experience and good control of the game, you can surely try to increase the swivel speed which will, in turn, help you to see the ball and rotate the camera quickly.
To apply this setting, follow these instructions:
- First go to the options screen from either the main menu or the pause menu during a game.
- Open the Camera tab
- Move the Swivel Speed all the way to the right to 10.0
9) Lower Height (70):
You can also try decreasing the camera height, which will help you see with a different perspective or angle; an angle that can be beneficial for freestyling!
To apply this setting follow these instructions:
- First go to the options screen from either the main menu or the pause menu during a game.
- Go to the Camera tab
- Move the Height to 70
10) Low Stiffness (0.15)
It’s true that many people love the sight when the camera changes with increasing speed. So, if that makes your game more joyful, you should try it. It can be helpful in freestyling too as it enhances your overall gameplay.
To apply this setting, follow these instructions:
- First go to the options screen from either the main menu or the pause menu during a game.
- Open the Camera tab
- Move the Angle adjuster to under 0.45
11) Medium Transition Speed (1.50)
A quicker look at the ball and back may bring a clearer change in your gameplay. But make sure to not increase the speed too much, otherwise, you may miss some necessary details.
To apply this setting, follow these instructions:
- First go to the options screen from either the main menu or the pause menu during a game.
- Open the Camera tab
- Move the transition speed to 1.50
12) Distance 200:
Playing with a closer camera can be joyful in freestyling. This setting isn’t too close, so, giving it a chance is recommended. But, after all, keep those settings that are good for you.
To apply this setting, follow these instructions:
- First go to the options screen from either the main menu or the pause menu during a game.
- Open the Camera tab
- Move the Distance to 200
13) Lower Angle (-5):
Some awesome freestylers also prefer playing with a -5-camera angle. It can prove to be helpful as it gives a great view when playing. I would try a couple different angles and see what is best for you!
To apply this setting, follow these instructions:
- First go to the options screen from either the main menu or the pause menu during a game.
- Open the Camera tab
- Move the Angle to either -5
14) Lower Distance (170):
A Lower distance can make you’re freestyling awesome. Or it may make it look awesome. A closer look at your car with the ball right next to it will be a treat for your eyes.
To apply this setting, follow these instructions:
- First go to the options screen from either the main menu or the pause menu during a game.
- Open the Camera tab
- Move the Distance to 170
15) Lowest Height (60):
Keeping the height low gives an astonishing view. This would be the lowest you should go with your height settings though. Try it yourself and then see if it’s the one for you!
To apply this setting follow these instructions:
- First go to the options screen from either the main menu or the pause menu during a game.
- Go to the Camera tab
- Move the Height to 60
You may also be interested in:
- Top 15 Rocket League Tips For Outplaying Your Opponents
- 15 Best Rocket League Settings That Give You an Advantage
- Top 10 Rocket League Best Plays (2020)
- [Top 10] Rocket League Best Players In The World Today
- [Top 10] Rocket League Best Car Designs
- Top 5 Rocket League Best Cars
- Best Wheels In Rocket League That Look Freakin Awesome
- Top 5 Rocket League Best Crates
