Then let's jump in!
1. Cooking Meals (Best for Selling)
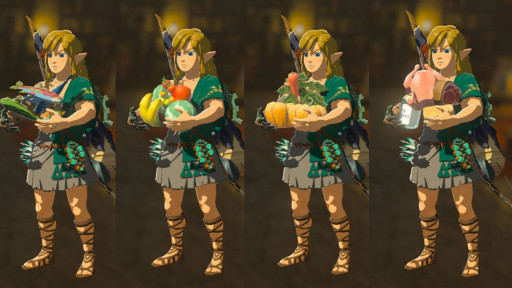
One of the best ways to make money in Tears of the Kingdom has carried over from Breath of the Wild: Selling food and elixirs! These can be some of the most lucrative/ easiest to farm (see number 4) items in the game.
As a veteran player of The Legend of Zelda, one of the first things I worked out in BOTW was of course how to get Rupees. I found pretty quickly that Beedle (or any shopkeeper) would pay top dollar for the right foods and/ or elixirs. An excellent example of this in the form of a recipe is that 5 Gourmet Meat cooked together is worth 315 rupees!
The best advice I can give you is to consider the effects of whatever you’re cooking. Meat is by far the easiest item to farm, and even easier to cook. My go-to dish is 5 gourmet or prime meats together. They sell for quite a healthy profit. You can also sell effect-enhancing foods (and yes, elixirs) for a similar gain. Another example for you is a Fireproof Elixir containing 3 Fireproof Elixirs and 2 Molduga Guts will net you a very nice 423 Rupees!
How it works:
- Farm meat/ vegetables and/ or critters and monster parts
- Travel to your nearest cooking pot
- Cook up your ingredients (feel free to experiment, that’s the best way to discover new things!)
- Find your nearest shop (or Beedle if you’re at a stable)
- Sell! Sell! Sell!
2. Shoot the Bluepee! (Ideal for Passive Income)

Now listen…I’m not a monster…I swear, I’m really not… But one of the more lucrative ways to passively make money while exploring Hyrule is by damaging these adorable creatures. No really! Blame Nintendo! They were written into the game so that they drop Rupees any time they take damage!
If it makes you feel any better, Bluepees appear to be entirely immortal. You can shoot them, blow them up, drop rocks on them, and they’ll always scurry away like some alien-owl faced Tom and or Jerry. They’re absolutely everywhere in Hyrule. Sometimes they’ll randomly spawn on the side of the road. And they can almost always be found in Hyrule’s many caves. There is at least one Bluepee to every new cave in TOTK. They also spawn directly after the death of any Bubbulfrog, but those Bluepees do not drop Rupees for some reason.
If you’re planning to go out hunting Bluepees, the best place to look is inside literally any cave you come across in your travels. I’ve found the best way to approach Bluepee Rupee-harvesting is from above. It turns out that the more times you can hit one before it disappears, the more Rupees it’s apt to drop. For this, I recommend sneaking up above one (when possible), and jumping to engage bullet-time with your bow. This will give you the maximum potential for hitting them 5-20 times before they *poof* into nonexistence. This can deliver upwards of 50 Rupees at a time!
How it works:
- Find a Bluepee (any cave will yield at least one, guaranteed)
- Sneak up on it (Stealth Armor Set highly recommended)
- Damage the adorable little bugger as much as possible
- Bullet time recommended as they are very skittish and disappear quickly
- Once they’ve vanished, simply pick up all the Rupees they’ve dropped and move on
3. Defeat the Battle Talus (Great for Gem Farming)
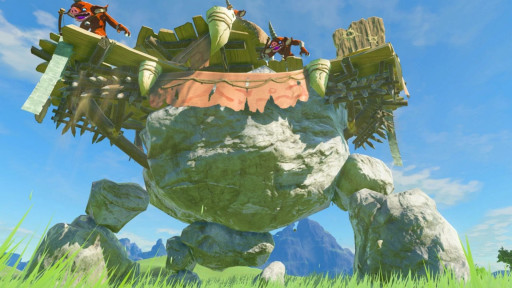
For any who may not know, a new addition has been made to the Talus family: The Battle Talus. These are essentially a stone Talus, with wooden platforms supporting Bokoblins added around the tops. This makes them surprisingly more difficult to defeat! We’re here because both-as well as the Igneo and Frost Talus-can be well worth the time and effort it takes to defeat them.
At first, a Battle Talus (or even a regular Stone Talus) may seem like far too much to tackle alone, but I can assure you it’s absolutely achievable. And entirely worth the effort! For every swing or two you take at the ore deposit on its back, it will drop a semi-precious gem. And upon its defeat, you’ll be showered with randomly generated gems. Rubies, sapphires, occasionally even diamonds.
The first thing to remember when taking down a Battle Talus, is that it-just like its predecessor-has a weak spot: the ore deposit on its back. Strike this with an arrow, and the Talus will be stunned and fall over. Now this is the point at which I instinctively tried to climb the monster. DON’T, DO IT. You’ll never get past those wooden platforms. The trick is to get close enough while it’s stunned to use Link’s new Ascend ability! This will give you relatively free reign to smash that ore deposit to bits! Once it falls, it will drop a Talus Heart in addition to all those pretty gems. You can’t pick it up, but you CAN fuse it to a weapon; giving it a ridiculously high damage output increase.
How it works:
- Find a Battle Talus (found near: South Akkala Plains, Orsedd Bridge, Romani Planis, Passer Hill, Kolami Bridge, Hyrule Castle Moat, Royal Ancient Lab Ruins, Washa’s Bluff, Regencia River, Whistling Hill, Batrea Lake, Hopper Pond, Sahasra Slope, Gama Cove, Hills of Baumer)
- Kill Bokoblins first (or shoot it with a Muddle Bud, it’s absolutely hilarious)
- Shoot ore deposit to stun
- Ascend the moving mountain
- Break that rock. I mean just smash it
- Rinse and repeat until you’re swimmin’ in gems
- Sell aforementioned gems (best prices through Ramella in Goron City)
4. Amiibo Farming (Best for...Everything)

Amiibo. Cute, useful…expensive. If you’ve used Amiibo in either BOTW or TOTK, you know how incredibly useful they can be. If you haven’t, here’s a little introduction: when scanned, each LOZ Amiibo drops either food, supplies (arrows, rupees, gemstones, etc.), or both from the sky, along with a treasure chest. Now, with some coming in at $60 per, it may seem like an immense waste of your hard earned money to invest in these little guys. It may in fact be. But I have an alternative: Amiibo cards! For under $20, you can get all 26 official Amiibo NFC chips in small plastic cards.
With that in mind, let’s get into how incredibly valuable these tiny chips can be to you in-game. As I mentioned, with each Amiibo scan, you get a pile of goodies (all of which can either be sold, or cooked and THEN sold) and a treasure chest. This chest randomly spawns items from a list assigned to its Amiibo (ex. Twilight Princess Zelda is the only one to spawn the Twilight Bow). This can be anything from a weapon, to a diamond or star fragment.
Now, most Link-character amiibos will spawn pieces of armor specific to their particular Zelda game (My Link is usually wearing the Hylian Tunic, “Trousers of Time”, and “Cap of Twilight"). Not only is each piece of armor worth 600 rupees by itself, the Amiibo will continue to spawn them over and over, so you can outfit Link however you like and STILL clean house selling the leftover clothing.
How it works:
- Acquire Amiibo
- Create a save before scanning if you want specific items
- Scan and collect all the Rupees, food, gems, and clothing that spawn
- Cook valuable meals from your Amiibo drops
- Head to a shop and sell! (Gems, clothing, food, etc.)
5. A Mining We Will Go (Or Gem Farming Pt. 2)
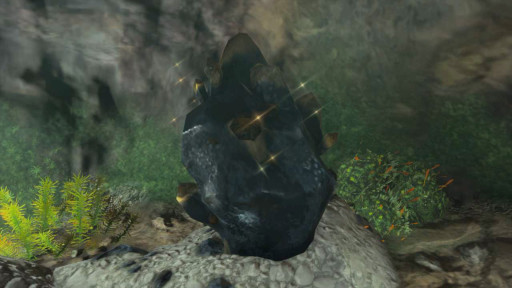
Rare ore deposits have of course been a staple since the time of the Great Calamity. But never before has it been so easy for you to just stumble upon tons of ore deposits at once. With the addition of all of Hyrule’s new caves, wells, and mines, it’s hard not to get sidetracked on your way to…just about anything you might be doing.
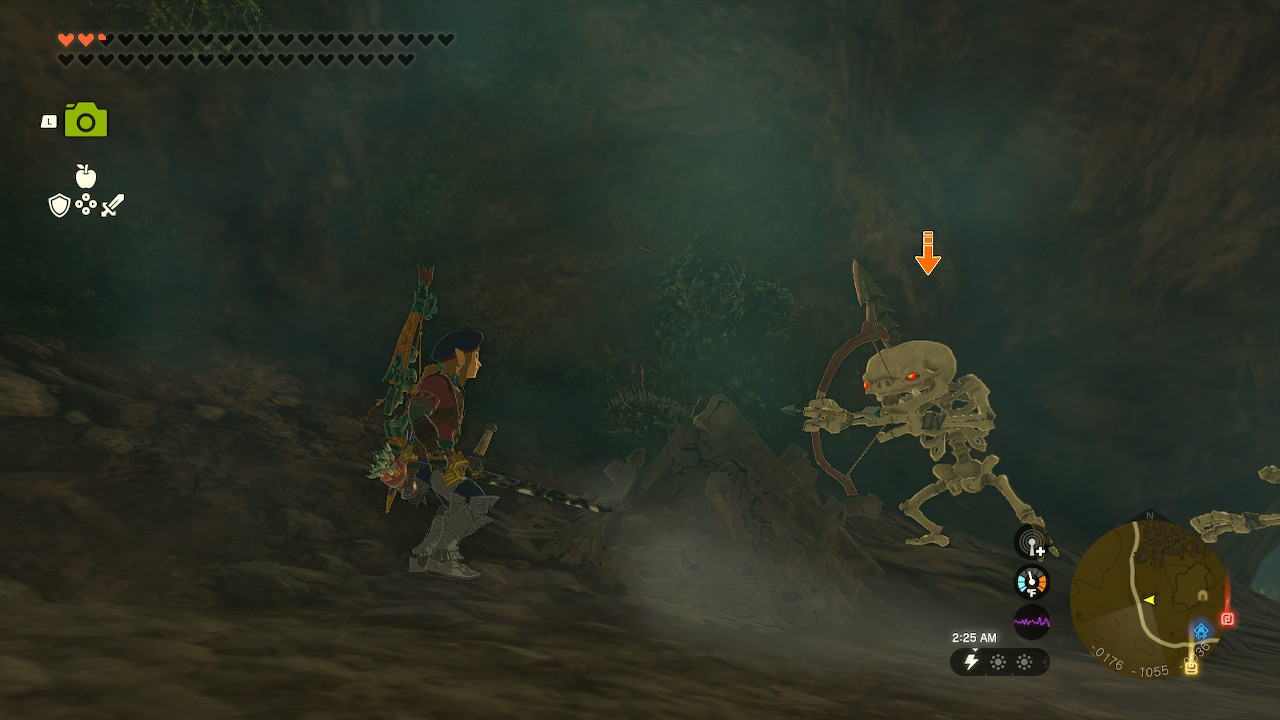
It’s hard to miss the newly added caves all over Hyrule. And while they may often contain a few monsters (occasionally even a Stone Talus) most are definitely worth exploring. I’d even suggest marking your favorites on your map, as ore deposits respawn faster than once every BLood Moon!
One thing I have to recommend is to make sure you have at least a couple of good shields, some decent weapons, and ARROWS on hand before going exploring too deeply into caves. There are more often than not Like Likes, Horroblins, or some other wall/ ceiling clinging monster to be found in these caves. Additionally, to each their own on this score, but I prefer to have a couple of hammers as well. These of course are for breaking up the ore deposits without breaking your swords or wasting Bomb Flowers.
How it works:
- Search for cracks or broken rubble in the sides of hills
- Break your way in if necessary
- Be on your guard, watch even the ceiling of the cave
- Kill (or avoid) any monsters you find
- If the cave goes deeper, break on through to the other side (ha)
- Once you’ve cleared out the cave, ransack the place!
- Look for chests, ore deposits, you never know what you might find!
- Bring your spoils to a shop and rake in those rupees
***Reminder: You’ll get the best prices for gems in Goron City!***
Well, that’s it for this time gang. I hope you’ve enjoyed this guide, and once again thanks, for playing along!!! :)

