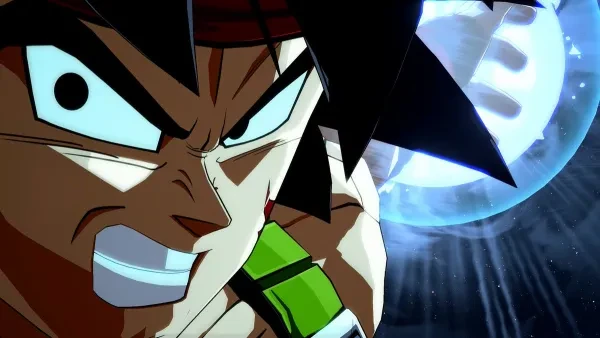
Stack the odds in your favor with this DBFZ Tier List.
With fighting games, if you want to compete with the best you’ll want to play the best characters. Due to the nature of the genre, some characters offer a lot more in terms of tools and gameplay options that set them apart from other, weaker characters. This would be the basis of the tier list concept. This tier list in particular looked around at the DBFZ pros’ tier lists, taking inspiration from them. While the top tiers are generally agreed upon, the more mid-tier sections gets more complicated and debatable.
Here’s how the breakdown will work:
SS Tier: These are the best characters in the game. A lot of the time the characters in this tier do what those below them do, simply much better. They also all come with a lot of options and amazing tools. The SS tier characters can fit on just about any team in any position, and don’t need one built around them.
S Tier: Characters in this tier tend to offer a lot to a team. They posses some good moves and high damage potential as well as great assists. The only thing keeping them from being top tier is the fact they can struggle if they don’t have any assists to help them out or leave something to be desired in their mix up game.
A Tier: A Tier characters aren’t necessarily bad characters, but they do have flaws that are more than apparent. Often times they need assists to work well, or struggle with defensive or offensive tools. When they do have the right assists though, they can be as good as a top tier character.
B Tier: This is as mid-tier as mid-tier characters get in this game. While they aren’t bad characters, this is the point in the tier list where you have to start crafting teams around them, and are held back by this fact.
C Tier: Characters in this tier struggle with a lot of things. In most cases it’s because of their stubby moves or bad neutral options. They can be really scary at times but just require so much set up and specific teams in order to be scary that it isn’t worth it when you can just play a top tier.
D Tier: This is the bottom of the barrel in terms of DBFZ characters. Characters in this tier just don’t work in the kind of game Dragonball FighterZ is (mostly). A few characters in this tier are just too bad to have any real reason to pick them aside from the fact you really like the character (so let’s hope you aren’t a big fan of Dragon Ball Super’s characters).
Each character with also be asigned stats, which have their own definitions:
- Power: How much damage a character does.
- Speed: How fast a character is.
- Reach: How far their range is.
- Technique: How unique they are.
- Engery: How good they are at building bar.
- Ease of Use: How easy they are to use.
- Overall Power: How good they are overall.
With how the tiers will be seperated, let’s get right into the tier list itself.
SS Tier: The Best of the Best (Top Tier)
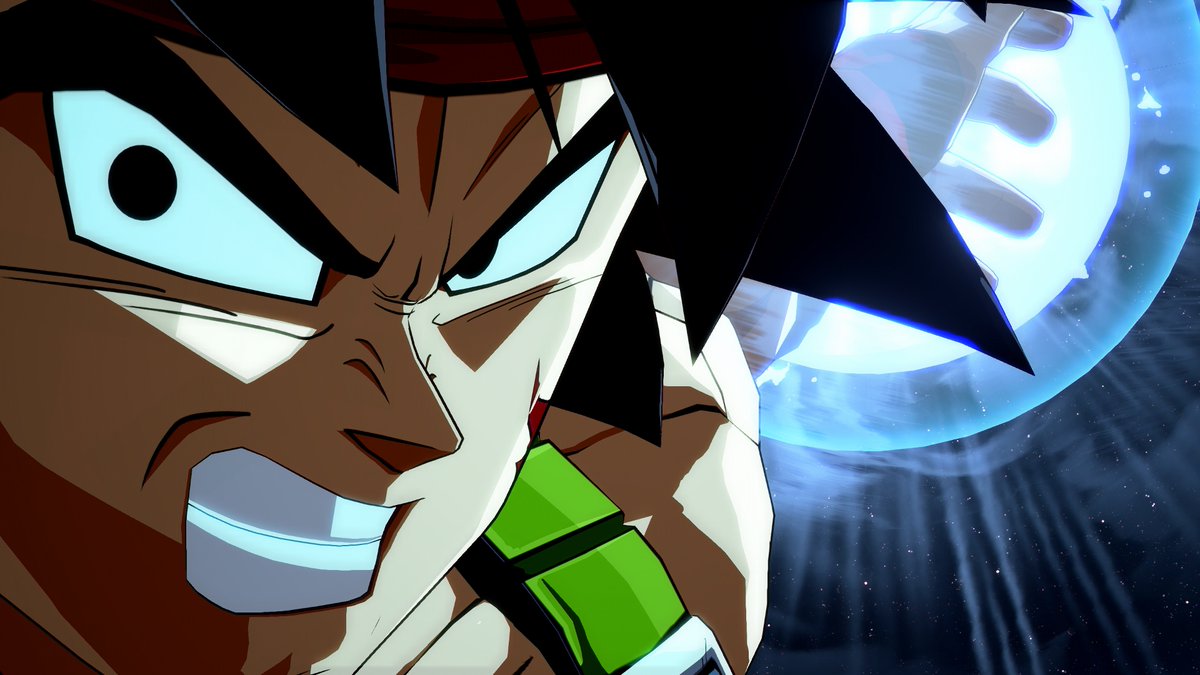
Bardock (SS Tier)
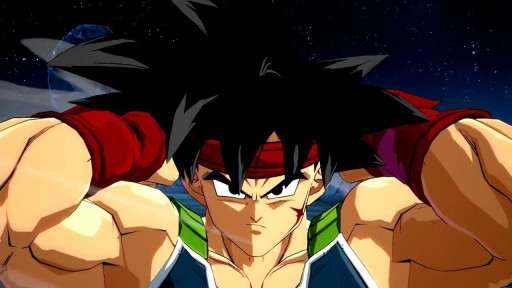
Gettin' ready for the cheap stuff.
This should come to a surprise to really no one. You’d be hard pressed to find any Dragonball FighterZ tournament without a Bardock in the top 8 screaming “You’re the one that’s gonna die!” Bardock comes with everything a great character needs: good assist, great supers, good neutral, and amazing blockstrings. Bardock works on just about any team and is widely considered to be one of, if not the best character in the game. LL anyone?
Bardock Stats:
- Power: 100/100
- Speed: 100/100
- Reach: 90/100
- Technique: 50/100
- Energy: 100/100
- Ease of Use: 100/100
- Overall power: 100/100
Anrdoid 16 (SS Tier)
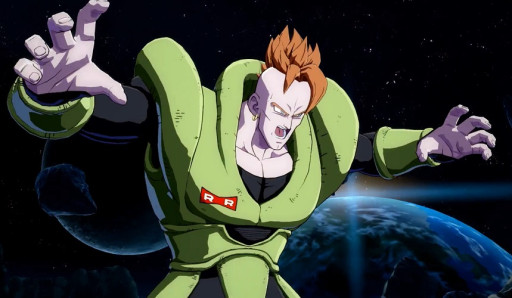
The "other" most common level three.
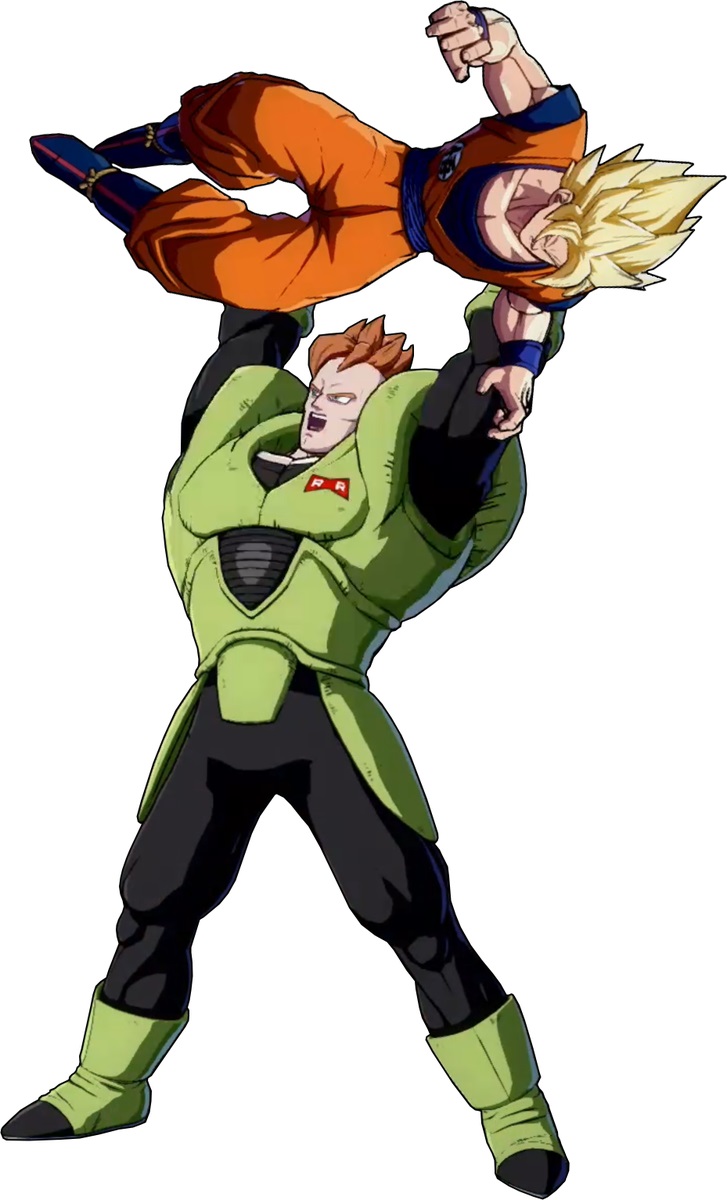
Android 16 is the only character in the game that really gives Bardock a true competitor for best in the game. He is considered to be one of the best anchor characters as well. Android 16 has insane mix up options out of his level three, and even good oki off of his grounded command grab’s sliding knockdown. He even gets a better version of Bardock’s assist! Plus, it’s always fun to dunk your opponents!
Android 16 Stats:
- Power: 100/100
- Speed: 80/100
- Reach: 95/100
- Technique: 80/100
- Energy: 100/100
- Ease of Use: 75/100
- Overall power: 95/100
Gotenks (SS Tier)
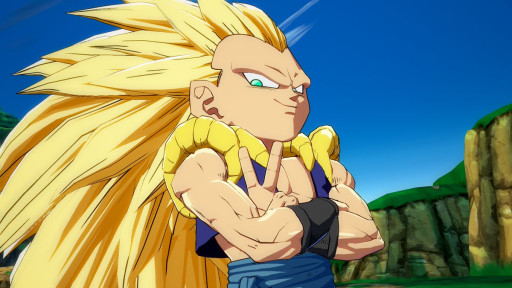
The smug look gotten from hitting your opponent with the cheap stuff.
Gotenks at first glance seems like a relatively simple character. He doesn’t have the longest or flashiest combos, but does have really good high low mix ups to use in the middle of block strings. His delayed ghost level one has recently been discovered to be an incredible option, as it forces the opponent to guess and if they guess wrong get ready to go through the cycle all over again. Gotenks’ assist is also good in blockstrings and certain combo extensions. His DHC synergy is also fantastic since the ghosts take so long to resolve, it allows for double super plays.
Gotenks Stats:
- Power: 80/100
- Speed: 100/100
- Reach: 90/100
- Technique: 80/100
- Energy: 75/100
- Ease of Use: 80/100
- Overall power: 90/100
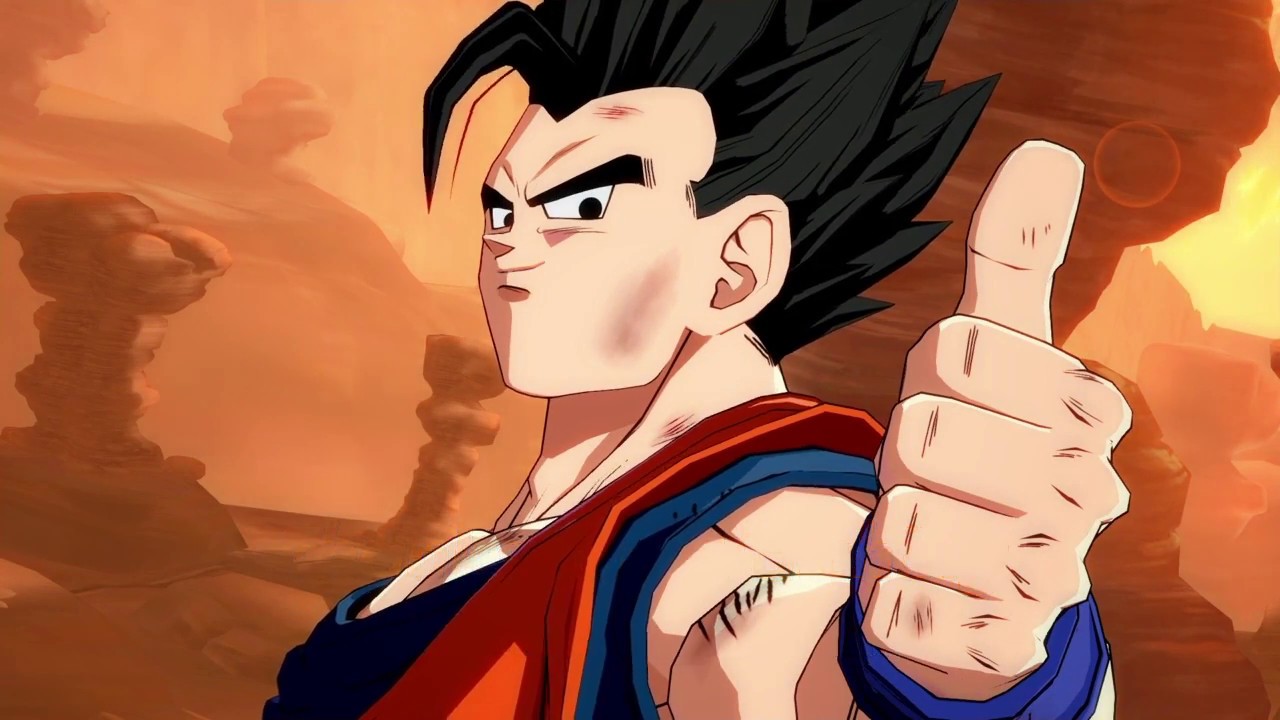
Adult Gohan (SS Tier)
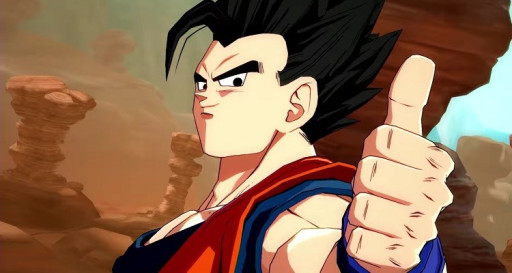
When you hit the leg loop just right.
There was a point in the game where Adult Gohan was widely considered to be one of, if not the best character in the game (pre-DLC). Adult Gohan has a great buttons, loops in and out of the corner to do a lot of damage, and even a DP. His most notable strength is his blockstrings, possessing some of the best in the game. If Adult Gohan has assists and manages to get a hit off while you’re blocking, be prepared to block for a while. He can do insane mix ups with the right assists and his aerial down A that makes it really easy to open his opponents up.
Adult Gohan Stats:
- Power: 80/100
- Speed: 100/100
- Reach: 90/100
- Technique: 80/100
- Energy: 75/100
- Ease of Use: 50/100
- Overall power: 85/100
Kid Buu (SS Tier)
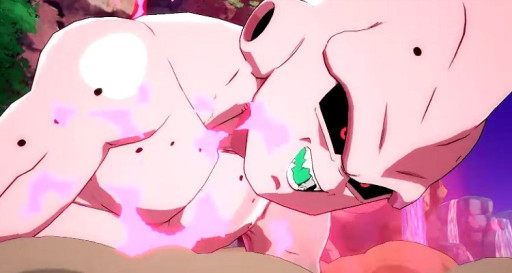
When you hit 'em with the long range low.
Before his nerf, Kid Buu was considered to be a top two character. The nerfs weakened him, but not enough to knock him out of the top tier. The majin has long reaching normals and some of the best oki in the game. His level one grounded super is one of the best in DBFZ as it allows almost anyone to double super. Kid Buu has quite possibly the best assist to set up for insane mix ups with about any character, since you’re stuck blocking once it hits you (and it last for a while).
Kid Buu Stats:
- Power: 70/100
- Speed: 100/100
- Reach: 100/100
- Technique: 40/100
- Energy: 70/100
- Ease of Use: 100/100
- Overall power: 80/100
Cell (SS Tier)
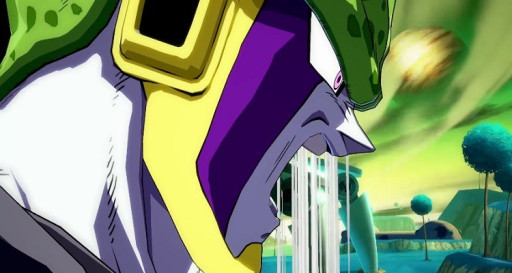
AHHHHHHHH!!!
A scream that defined a period of dominance Cell had, audience members shouted along with the perfect being when his intro played out. Even though Cell isn’t as dominant as he used to be, he is still a fantastic character. Great blockstrings (complete with a standing low command normal), loops in the corner, and a very fast level one that allows for double supers. Cell has really good range as well, and doesn’t mind being far away from his opponent, something that is really useful for baiting out bad approaches.
Cell Stats:
- Power: 85/100
- Speed: 80/100
- Reach: 90/100
- Technique: 60/100
- Energy: 100/100
- Ease of Use: 70/100
- Overall power: 80/100
S Tier: On the Cusp (High Tier)
Vegeta (Super Saiyan) (S Tier)
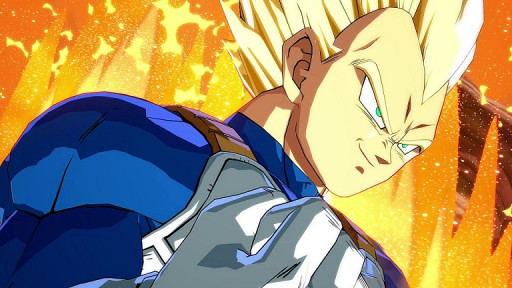
When you got the DP on deck.
Despite the early “Vegeta sucks” memes, Super Saiyan Vegeta almost made it to top tier, but is held back by his poor mix up options. Super Saiyan Vegeta’s assist is the best combo extender in the game (and allows for double supers with certain characters and set ups). He gets a DP not just on the ground, but in the air as well. Super Saiyan Vegeta also has the pleasure of possessing one of the best ki blasts, of which can be used to bait super dashes that can then be DP’d and punished. Thanks to Super Saiyan Vegeta’s insane neutral tools, he is seen by many as a fantastic comeback character.
Super Saiyan Vegeta Stats:
- Power: 80/100
- Speed: 65/100
- Reach: 70/100
- Technique: 70/100
- Energy: 65/100
- Ease of Use: 85/100
- Overall power: 75/100
Tien (S Tier)
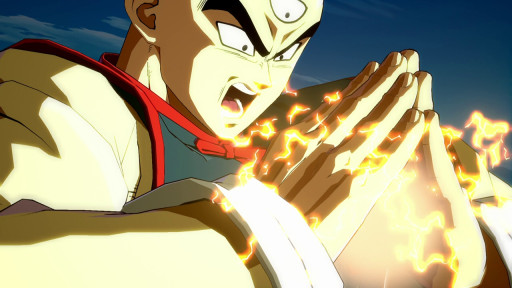
With enough meter this is the scariest screen you can see.
Tien has been around just about every position on the tier list through the game’s history. Nowadays he rests in the high tier category, and seems like he’s there to stay. He has a pretty good assist, good blockstrings, and the ability to dump a lot of bar to secure a kill. He also has access to Chiaotzu, which is one of the most damaging level three’s in the game since it doesn’t scale like the other ones do. His level one is super quick, so it makes double supering incredibly easy with him.
Tien Stats:
- Power: 80/100
- Speed: 60/100
- Reach: 55/100
- Technique: 80/100
- Energy: 60/100
- Ease of Use: 65/100
- Overall power: 75/100
Goku (Super Saiyan) (S Tier)
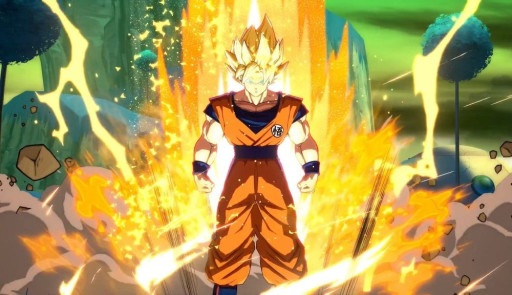
The rare screen of a point Goku.
Super Saiyan Goku is the best form of Goku by a long shot (Goku Black excluded). He is one of the three characters to have a true beam assist (the others being Tien and Goku Black), which is one of the best kind of assists to have. Super Saiyan Goku lacks a low hitting 2L, which does ultimately harm him since his mix ups are already weak. Super Saiyan Goku does get the option to double super anywhere on the screen, as well as get a sliding knockdown off a vanish without needing to spend more bar. His level three puts you behind your opponent, so if you want a hard knockdown you have to give up the corner.
Super Saiyan Goku Stats:
- Power: 80/100
- Speed: 75/100
- Reach: 70/100
- Technique: 50/100
- Energy: 50/100
- Ease of Use: 75/100
- Overall power: 70/100
Goku Black (S Tier)
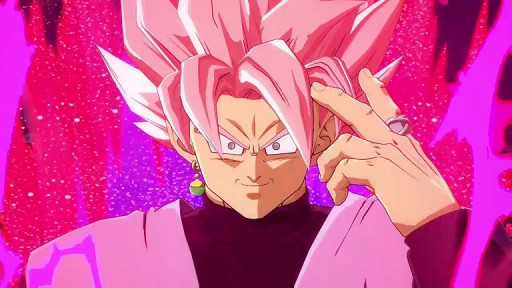
The beauty of Rosé.
Goku Black is a strange character in which he was once considered one of the best and has been on a downward trend since then despite never getting any re-works done to him. While he does have the 2H of the God’s (somewhat literally so), he does have his own set of issues. Goku Black is often seen as being interchangeable with Super Saiyan Goku, the two functioning very similarly. Goku Black has more in terms of mix up options thanks to instant transmission and a command grab, but has to use a lot more bar compared to Super Saiyan Goku to do about the same damage. Super Saiyan Goku is generally seen better a bit better than Goku Black, but both versions have different strengths and weakness.
Goku Black Stats:
- Power: 80/100
- Speed: 75/100
- Reach: 70/100
- Technique: 50/100
- Energy: 50/100
- Ease of Use: 75/100
- Overall power: 70/100
Base Vegeta (S Tier)
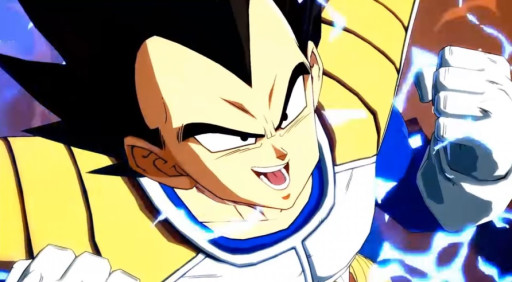
If you see this screen in corner, you have a high chance of getting hit.
Base Vegeta doesn’t have a clear consensus on where he deserves to be placed, but somewhere in the high tier area seems most appropriate. He doesn’t have the greatest of all neutral tools, but makes up for it with fantastic oki and having really good options out of his level three that forces the opponent to guess. He also has access to ki blast loops, allowing him to do tons of damage on his own. His biggest downside is that he is hard to use, and requires perfect execution at all times.
Base Vegeta Stats:
- Power: 90/100
- Speed: 75/100
- Reach: 65/100
- Technique: 80/100
- Energy: 65/100
- Ease of Use: 10/100
- Overall power: 70/100
A Tier: Good in the Right Hands (High Mid Tier)
Piccolo (A Tier)
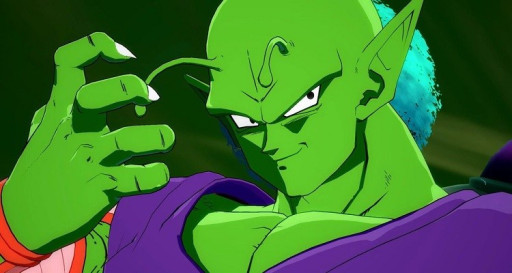
That hand can reach so dang far.
Piccolo is a relatively underplayed character that is constantly getting a lot of new things discovered for him. If enough does, Piccolo could very well rise up in the tiers, and it is currently debated on whether Piccolo belongs in high or mid tier. Hellzone Grenade, when used during the hitstun of an assist or tagging an enemy in functions similarly to how Gotenks’ ghosts work. The difference here is Piccolo’s requires a lot more set up. Piccolo has really long normals on top of the ball special that allows for more bait setups and mix ups but falls short when he’s left all alone.
Piccolo Stats:
- Power: 60/100
- Speed: 60/100
- Reach: 90/100
- Technique: 80/100
- Energy: 50/100
- Ease of Use: 60/100
- Overall power: 65/100
Android 21 (A Tier)
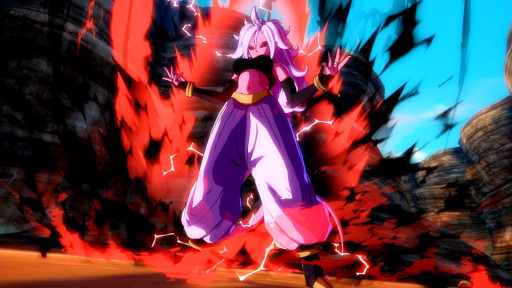
Prime waifu material.
Everyone’s favorite DBFZ waifu gets to be a viable pick thanks to her good range on normals and very high damage output with assists. Android 21’s command grab can be useful to toss in during block strings to catch your opponent off guard. The issue is you lose the option to do it again until you EX Fireball to reset steals, since most of her steals outside of the beam and teleport are fairly useless. Android 21 also suffers from having poor oki, complete with no way to get a sliding knockdown. The trade off is that she does benefit from the previously mentioned damage, and can two touch just about anyone.
Android 21 Stats:
- Power: 80/100
- Speed: 55/100
- Reach: 80/100
- Technique: 80/100
- Energy: 50/100
- Ease of Use: 60/100
- Overall power: 65/100
Zamasu (Fused) (A Tier)
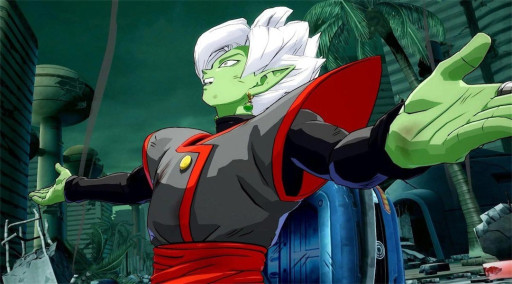
The perfect ningen slayer.
Zamasu had a rocky start but began being seen as a viable pick largely in part due to SonicFox’s performance with him. He has routes to allow for double supers, and with the right assists can set up really good high-low mix ups that you can continue off of. Zamasu doesn’t have the greatest damage by any means, and it does hurt him as an anchor character which forces him to be first or second on a team.
Zamsu (Fused)'s Stats:
- Power: 55/100
- Speed: 65/100
- Reach: 60/100
- Technique: 80/100
- Energy: 75/100
- Ease of Use: 75/100
- Overall power: 65/100
Vegito (SSGSS) (A Tier)
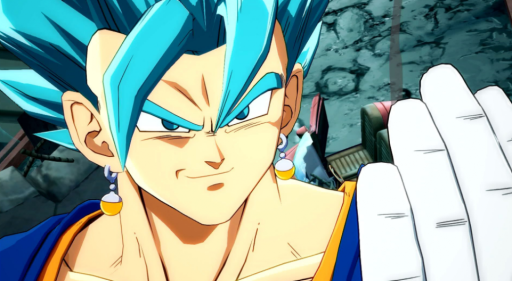
You can't keep up with me! Just look at my speed!
Vegito is another character that as of late has been seeing a lot more usage. Clearly the best of the SSGSS characters, Vegito has the best meter gain in the game and access to reverse beat (something only a fully leveled up Adult Gohan and Golden Frieza have). He also has one of the quickest supers and it covers the entire screen. Vegito is the strongest in the corner, and can very easily bring an opponent there. His biggest flaws come from weak neutral and bad light buttons that leave him very vulnerable on whiff.
Vegito (SSGSS)'s Stats:
- Power: 80/100
- Speed: 60/100
- Reach: 55/100
- Technique: 50/100
- Energy: 100/100
- Ease of Use: 70/100
- Overall power: 65/100
Captain Ginyu (A Tier)
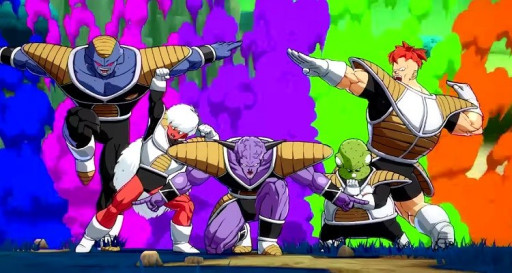
Everyone's favorte group that won't let you touch a button.
There was a period of time the American Dragonball FighterZ scene thought Captain Ginyu was one of the worst characters in the game. Japan would have something to say about that, as the “Ginyu Invasion” came in full force showing us all just how oppressive he can be. While Ginyu has amazing offense, his biggest flaw is found in his defense. He has basically no defensive options, especially since he doesn’t have a safe level three to try and reversal with the frame one invulnerability. His offense on the other hand can rival that of just about any character with how oppressive it is.
Captain Ginyu Stats:
- Power: 60/100
- Speed: 65/100
- Reach: 70/100
- Technique: 80/100
- Energy: 45/100
- Ease of Use: 85/100
- Overall power: 60/100
B Tier: So Close Yet So Far (Low Mid Tier)
Yamcha (B Tier)
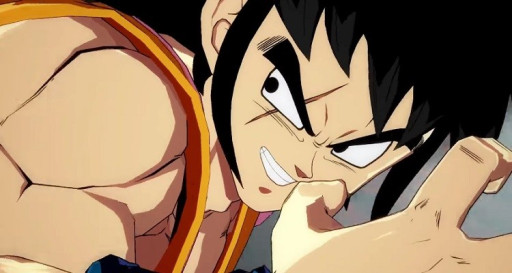
The smug look of having a safe superdash.
Yamcha has the lowest damage output in the game, but at the same time has one of the best assists in it. He can use his level one to combo into his level three, on top of having built in mix ups with his tool kit. While he seems like a really good character despite his damage, more often than not Yamcha is only being used for the assist. His strengths keep him away from being a true low tier, but it's not enough to put him on the higher end of mid-tier.
Yamcha Stats:
- Power: 20/100
- Speed: 65/100
- Reach: 45/100
- Technique: 45/100
- Energy: 30/100
- Ease of Use: 100/100
- Overall power: 55/100
Broly (B Tier)
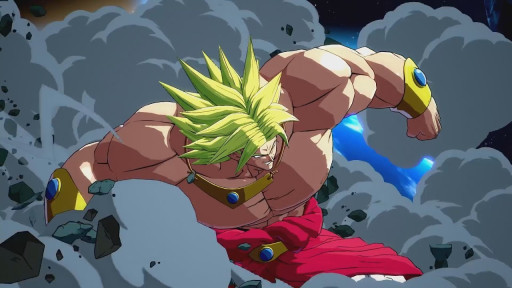
Too buff for top tier.
Broly is a beast in the corner, with tons of very long and damaging combos. The Legendary Super Saiyan even has a lot of moves with armor as well as an amazing ki blast. What’s the issue? Broly is only a beast in the corner. He struggles a lot when he’s anywhere else and it holds him back as a character.
Broly Stats:
- Power: 75/100
- Speed: 45/100
- Reach: 65/100
- Technique: 70/100
- Energy: 70/100
- Ease of Use: 60/100
- Overall power: 55/100
Cooler (B Tier)
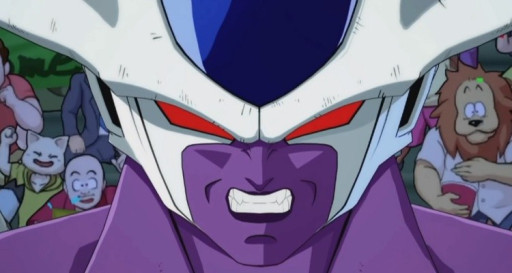
Mad for only being mid tier, happy for being better than Frieza.
Cooler is a little hard to rank since he’s still so new and has yet to have a chance to truly develop in the meta, but at the very least he proves he’s better than his brother! He has an aerial and grounded DP, some of the longest normal move ranges in the game, and fairly damaging combos. With Cooler, his grounded level one (which is also his DHC) and level three will always side switch and will lose corner pressure more often than not. Cooler’s grounded level three is a counter, which is DBFZ is franky not great. Cooler also is a big body, which makes him a lot easier to mix up with high lows with since it’s so easy to double overhead.
Cooler Stats:
- Power: 75/100
- Speed: 45/100
- Reach: 100/100
- Technique: 60/100
- Energy: 50/100
- Ease of Use: 80/100
- Overall power: 55/100
Android 18 (B Tier)
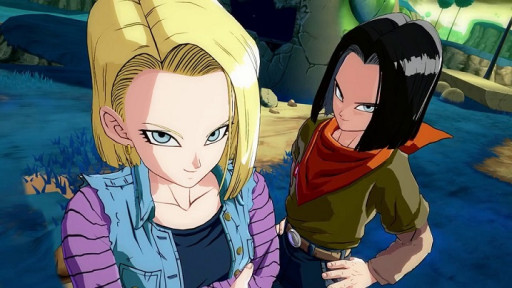
The original Dragonball Waifu.
Android 18 isn’t a bad character persay. She has a standing low, pretty good mix ups thanks to her built in Android 17 assist, and good oki options. The issue for her is that there are characters that do the same thing as her simply better, and that’s been her story throughout her whole history in DBFZ. She is also forced to a point position unlike others, as her assist is one of the worst in the game and has no real practical uses.
Android 18 Stats:
- Power: 70/100
- Speed: 60/100
- Reach: 30/100
- Technique: 40/100
- Energy: 45/100
- Ease of Use: 50/100
- Overall power: 50/100
C Tier: Needs Too Much Help (Low Tier)
Majin Buu (C Tier)
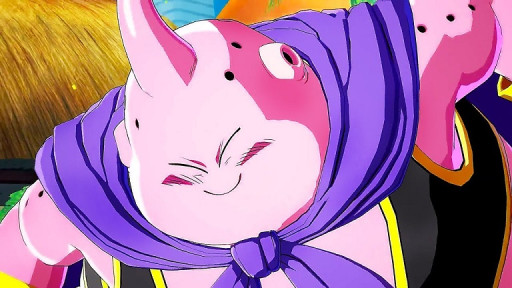
The far less exciting DBFZ Majin.
Majin Buu has a lot of issues. His pros are that he has guaranteed 50/50 mix ups if you manage to hit someone with fat toss (easily done at the end of a combo with certain assists), and he has some decent range and strange blockstrings that can catch an unfamiliar opponent off guard. However, Majin Buu struggles a great deal when he can’t get the fat toss off, as there isn’t very much he can do outside of that. He requires you to build a team around him, instead of naturally being apart of it.
Majin Buu Stats:
- Power: 40/100
- Speed: 45/100
- Reach: 75/100
- Technique: 75/100
- Energy: 30/100
- Ease of Use: 30/100
- Overall power: 40/100
Trunks (C Tier)
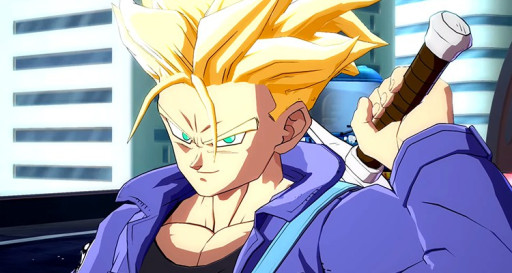
So happy to play fair.
At face value Trunks seems like the epitome of mid-tier, and in any other game he would be. However, due to the way DBFZ is their mid-tiers have uses and tricks that allow them to still be good with the right team. The issue with Trunks is frankly put, he’s too honest. He has good combo extending tools and even a good (if not inconsistent) assist. But once Trunks is out there, there isn’t too much he can do to open up your opponent which is the most important part of the game.
Trunks Stats:
- Power: 50/100
- Speed: 60/100
- Reach: 50/100
- Technique: 30/100
- Energy: 35/100
- Ease of Use: 90/100
- Overall power: 35/100
Nappa (C Tier)
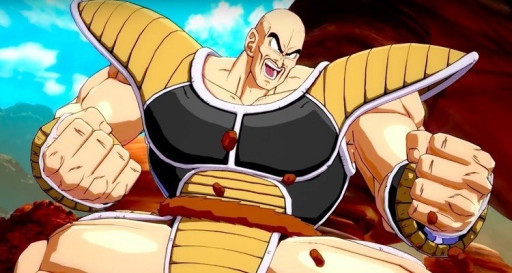
Ready to plant!
Thanks to his recent rework, Nappa was able to leave the realm of bottom tier...and make it only a tier higher. This placement may seem controversial, but if you look at the character he’s far too reliant on saibamen. When they’re out he has a lot of good options, but he requires a good assist that stalls the opponent out long enough to plant the saibamen safely. For all the work he requires its generally just not worth it.
.Nappa Stats:
- Power: 50/100
- Speed: 40/100
- Reach: 35/100
- Technique: 75/100
- Energy: 55/100
- Ease of Use: 20/100
- Overall power: 30/100
Hit (C Tier)
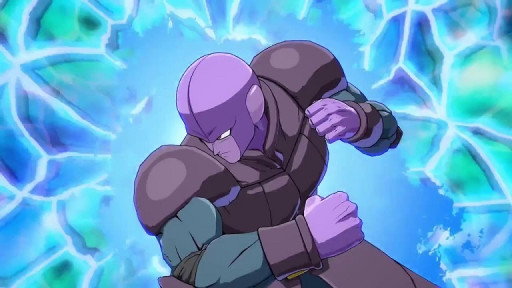
This is the stance!
While early on Hit was seen as a great character, his flaws and issues would become more apparent as he plummeted down the tiers. For starters, he doesn’t have an actual threatening low (since his only low hitting moves are incredibly slow) and loses the mix ups most other characters get. Most of Hit’s moveset is a gimmick that once you know how to fight against him, he struggles to do much of anything at all. While Hit is a really oppressive character, he’s weakness far overshadow his strengths.
Hit Stats:
- Power: 65/100
- Speed: 50/100
- Reach: 65/100
- Technique: 75/100
- Energy: 25/100
- Ease of Use: 25/100
- Overall power: 30/100
Teen Gohan (C Tier)
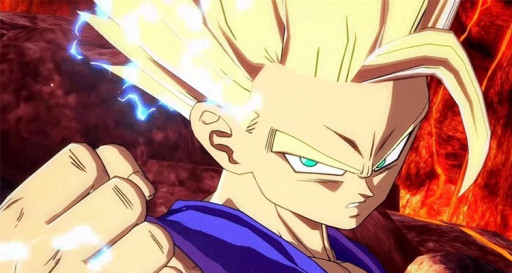
Too bad Teen Gohan is banned.
Everyone’s favorite “banned” character, he was so under-used it birthed the “No one uses Teen Gohan because he’s banned” meme due to how much play Adult Gohan got and Teen Gohan didn’t. This wasn’t for no reason, he is basically a worse version of his adult counterpart in about every way. Despite Teen Gohan having the best solo damage output in the game, he has no good neutral options, stubby limbs, and an awful level one super. While he’s fun to play, you need a team built around him and a lot of good execution, which at that point you may as well play Base Vegeta or Adult Gohan.
Teen Gohan Stats:
- Power: 100/100
- Speed: 60/100
- Reach: 20/100
- Technique: 30/100
- Energy: 45/100
- Ease of Use: 15/100
- Overall power: 30/100
Krillin (C Tier)
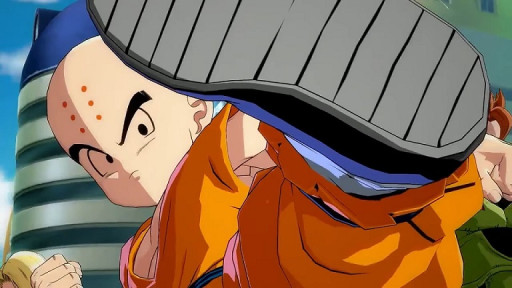
His stance even looks pathethic.
Frankly this is probably the most accurate tier list placement with how the character actually is in the series. Krillin suffers from stubby limbs like Teen Gohan, while also suffering from an awful assist. Krillin has decent mix up options with after image, but more often than not it's more dangerous to use it. He has decent oki with the rocks, but with that being one of the only things going for him, there’s very little reason to pick Krillin.
Krillin Stats:
- Power: 30/100
- Speed: 70/100
- Reach: 20/100
- Technique: 80/100
- Energy: 40/100
- Ease of Use: 80/100
- Overall power: 25/100
D Tier: Bottom of the Barrel (Bottom Tier)
Frieza (D Tier)
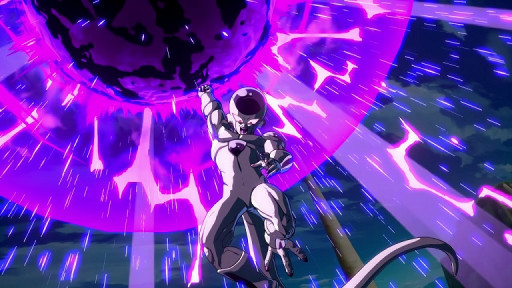
The most supers, the worst moveset.
Frieza is a great character...in a different game. The issue with Frieza is that he is a zoning character in a game that hates zoning. DBFZ is a very offense heavy game with a lot of built in options to get in like vanish and super dash. As such, Frieza suffers and lacks any real good options. Unless you really like Frieza, there is not really a good reason to pick them.
Frieza Stats:
- Power: 25/100
- Speed: 40/100
- Reach: 65/100
- Technique: 45/100
- Energy: 30/100
- Ease of Use: 30/100
- Overall power: 20/100
Android 17 (D Tier)
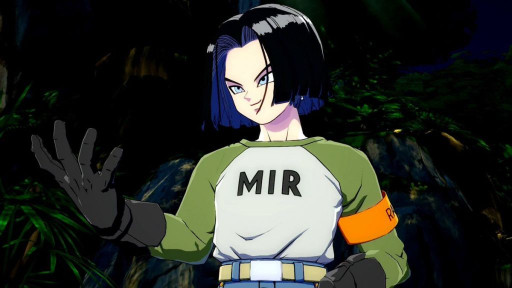
He cares about nature, not being good in the game.
Android 17 comes as the weakest android in the game. Android 17 has an awful assist (only slightly better than Android 18’s), some of the worst range in the game, no easy way to get in safely, bad block strings due to rekka not being a true combo, do I really need to go on? While he does have good combos once he actually gets a hit off, the issue is how much you need to do in order to get the hit. It says something that the Android 17 “assist” in Android 18’s toolkit is a better character than Android 17 himself.
Android 17 Stats:
- Power: 30/100
- Speed: 60/100
- Reach: 10/100
- Technique: 35/100
- Energy: 60/100
- Ease of Use: 70/100
- Overall power: 20/100
Base Goku (D Tier)
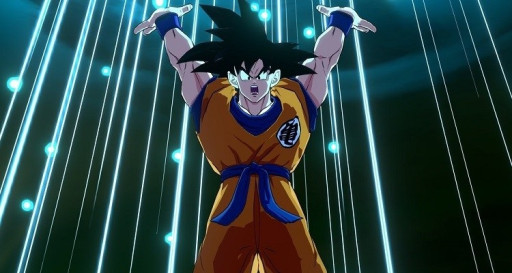
He really needs a lot of energy lended to him to be viable.
Base Goku was the biggest loser when it came to DLC characters. While he did see some play during his release window, most people agree he’s a bottom tier character and have dropped him since. Base Goku is designed to be an anchor character, but needs assists in order to set up any of his good options. Spirit Bomb can only be combo’d into if he has a fully charged spirit ball or is DHC’d into with certain assists. Despite how damaging the spirit bomb is, it’s way too hard to set up and actually use.
Base Goku Stats:
- Power: 30/100
- Speed: 40/100
- Reach: 25/100
- Technique: 30/100
- Energy: 20/100
- Ease of Use: 85/100
- Overall power: 15/100
Goku (SSGSS) (D Tier)
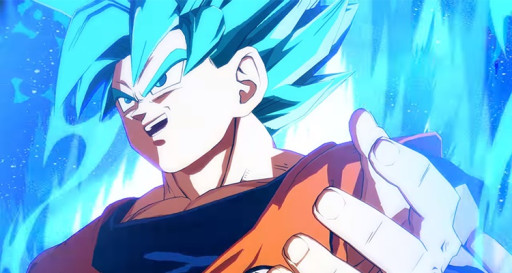
Low hitting 2L's? He got those, just not much else.
It took Goku mastering the art of Super Saiyan Blue to learn how to use a low 2L, only to be one of the worst characters in the game. He is the only Goku to not have a beam, which at the very least is a redeeming quality of Base Goku. His auto combo can catch someone off guard with its overhead attribute on the last hit, but then you’re stuck doing only the most basic of combos. Goku Blue also has an awful assist, which will end any combo since it causes a sliding knockdown meaning it can’t be used to extend anything.
Goku (SSGSS)'s Stats:
- Power: 15/100
- Speed: 20/100
- Reach: 40/100
- Technique: 40/100
- Energy: 20/100
- Ease of Use: 35/100
- Overall power: 10/100
Vegeta (SSGSS) (D Tier)
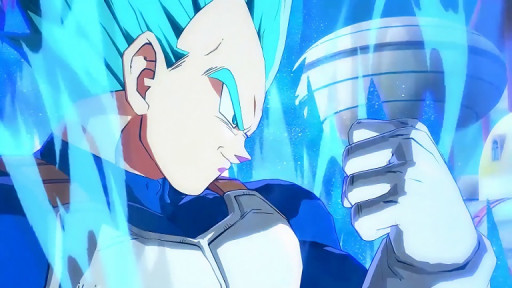
On a scale of 1 to 10, Vegeta Blue gets a 0.
Vegeta Blue is nowhere near his base and Super Saiyan counterparts in terms of viability. While he has some tools and options, he has way too many flaws to make it worth it. His damage output is horribly weak for the amount of bar you have to dump into him, he has quite possibly the worst assist in the game, and has absolutely no good way of getting in. He does nothing better than any other character while simultaneously not offering much of anything to encourage you to pick him.
Vegeta (SSGSS)'s Stats:
- Power: 15/100
- Speed: 15/100
- Reach: 25/100
- Technique: 60/100
- Energy: 30/100
- Ease of Use: 75/100
- Overall power: 10/100
Beerus (D Tier)
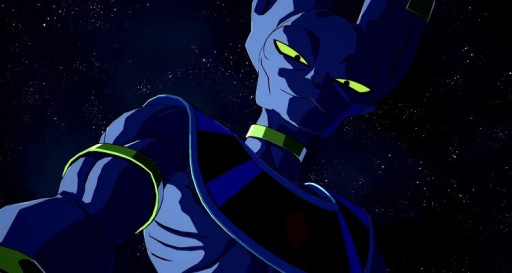
Don't get cocky!
Oh Beerus, why do the developers hate you so? There’s so many issues with this God of Destruction you wonder if they tried. For starters, you can hit him out of his auto combo if they go for the last hit cross-up. He has one of the longest reaching 2M’s in the game...but you can hit him out of it really easily. You can super dash through his ball setups, which is what Beerus’ game plan is all about; and while he can use this to bait opponents, there is still all the other issues he suffers from like a bad assist and the some of the worst normals in the game.
Beerus Stats:
- Power: 10/100
- Speed: 5/100
- Reach: 70/100
- Technique: 50/100
- Energy: 15/100
- Ease of Use: 10/100
- Overall power: 5/100
You may also be interested in:
DBFZ DLC Characters, Ranked Weakest To Strongest
