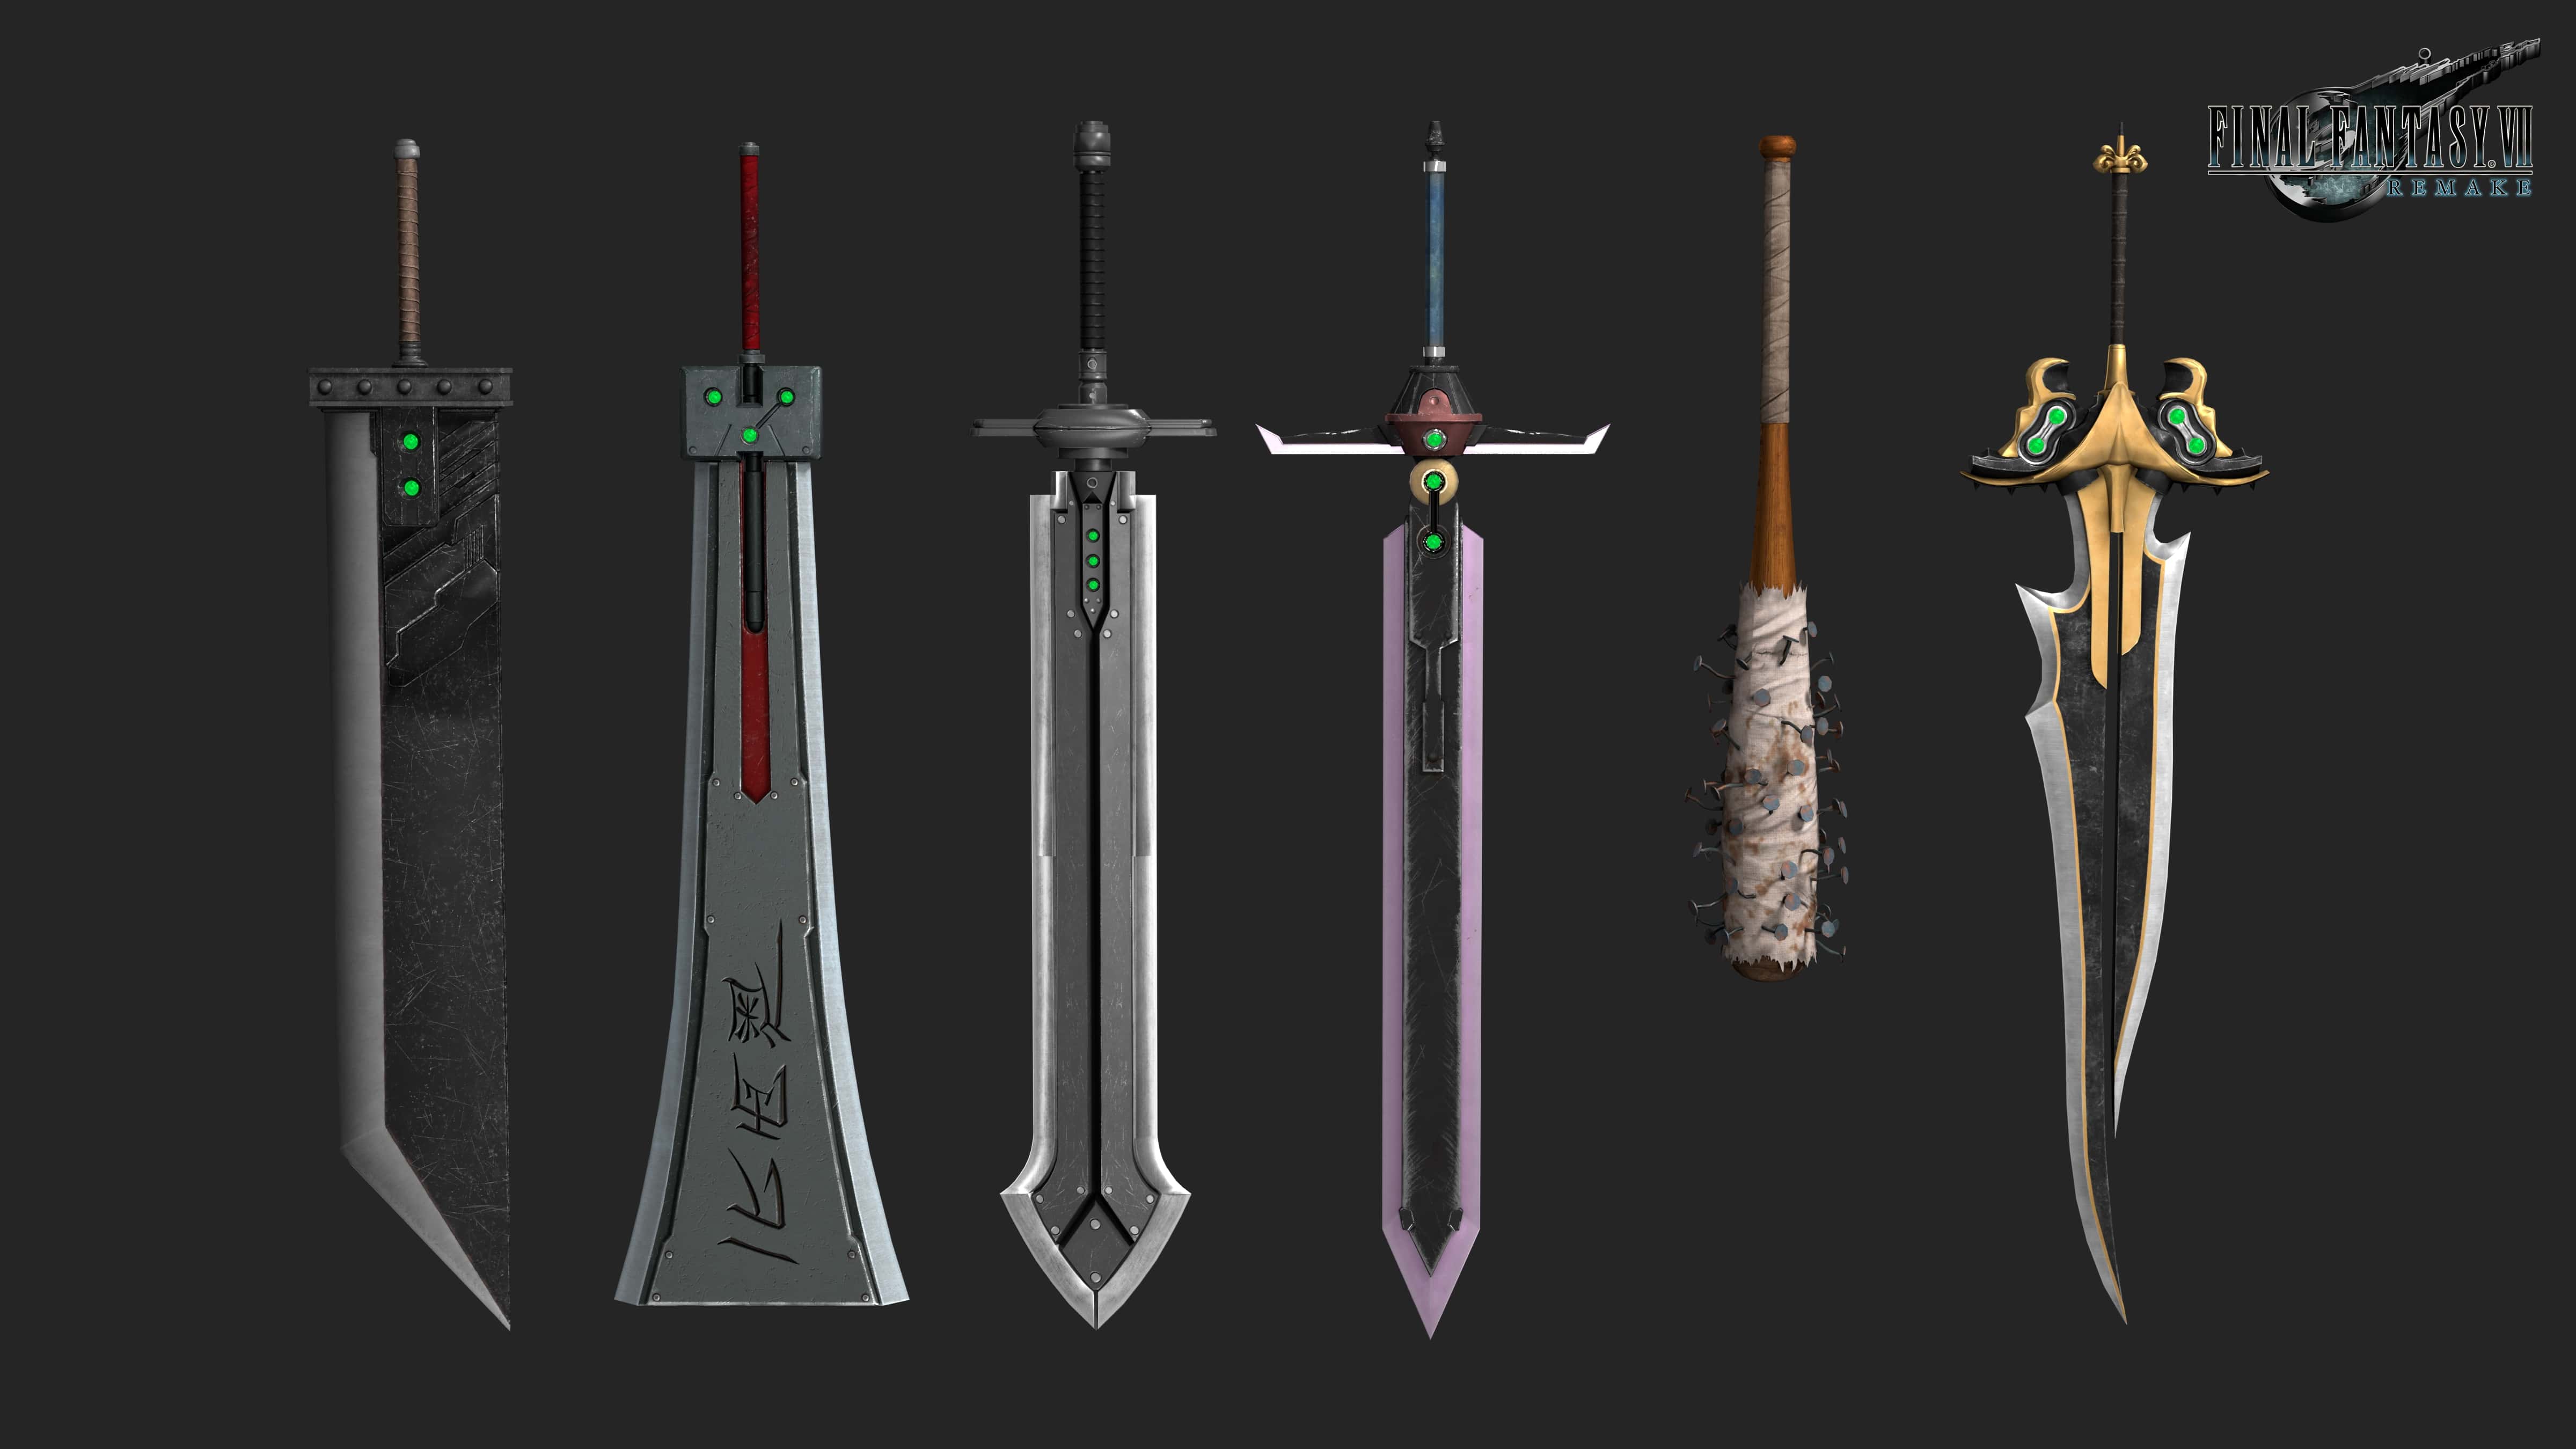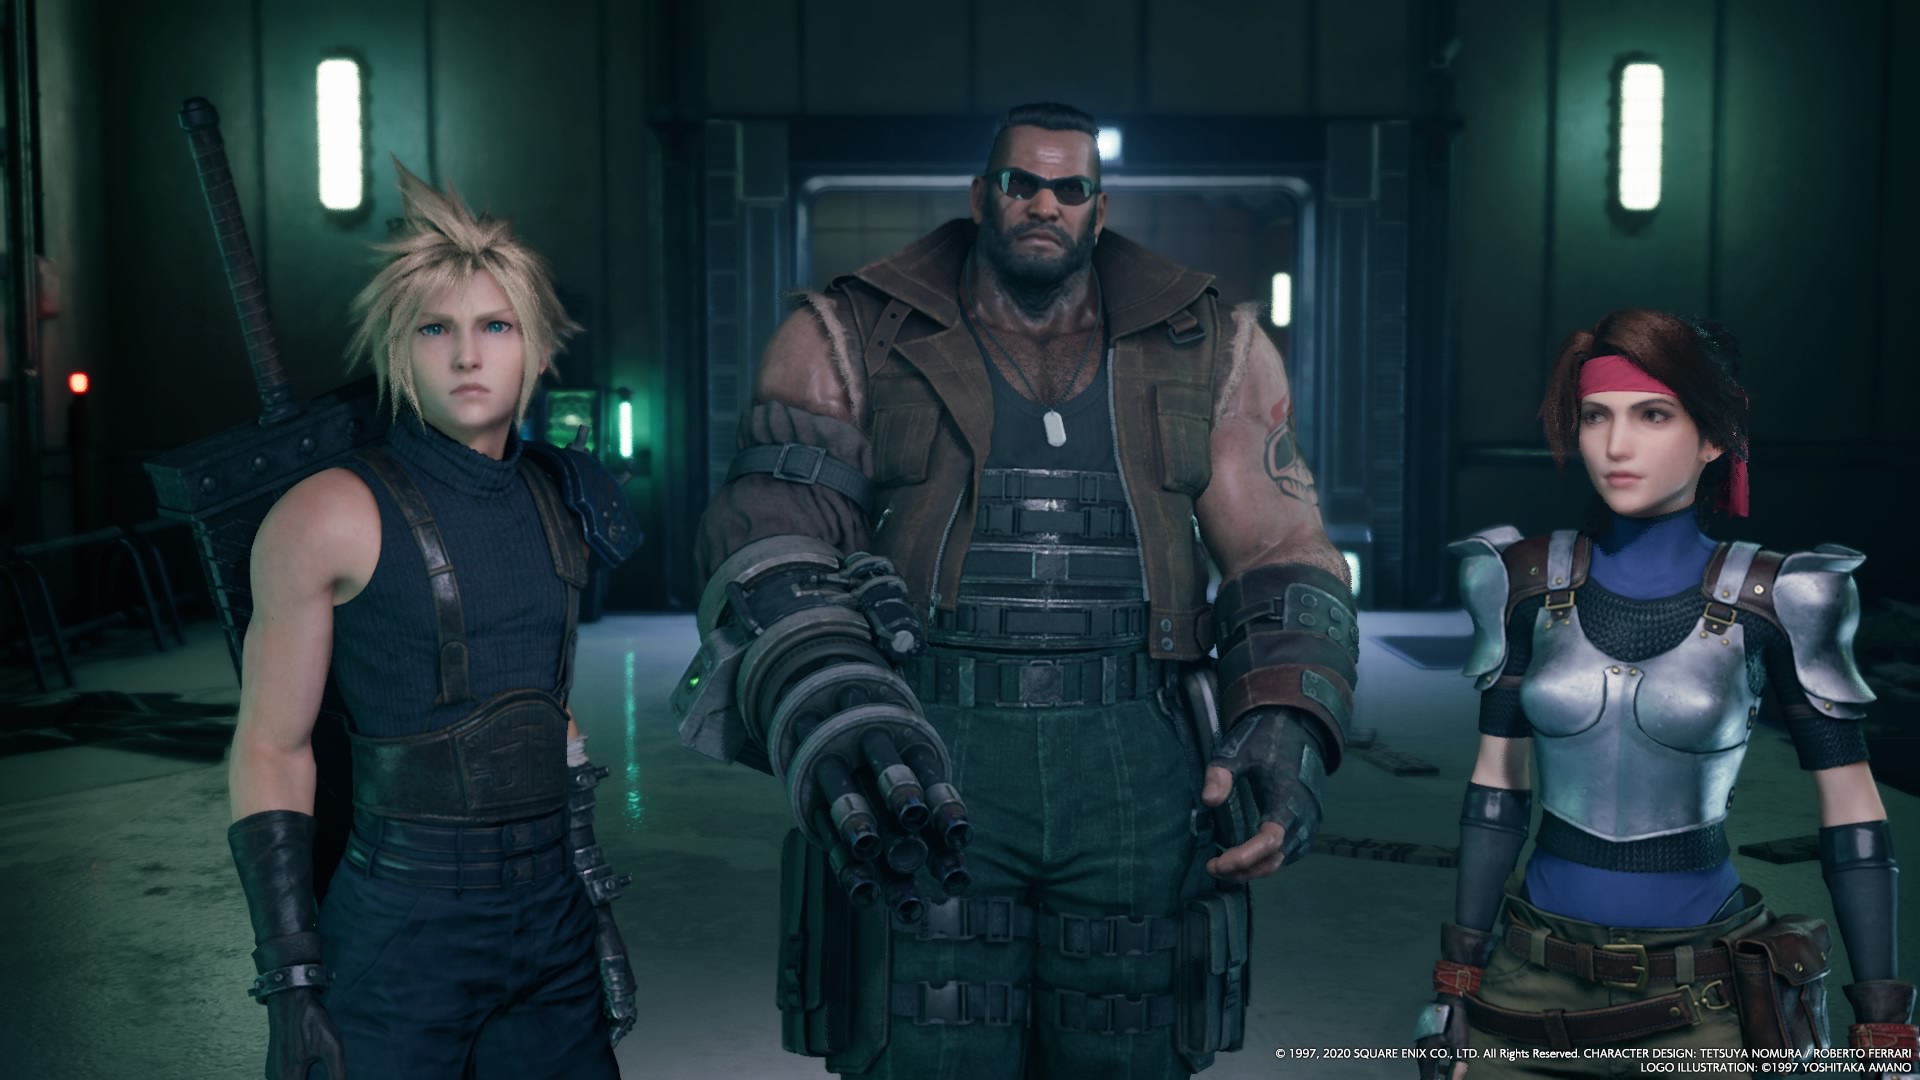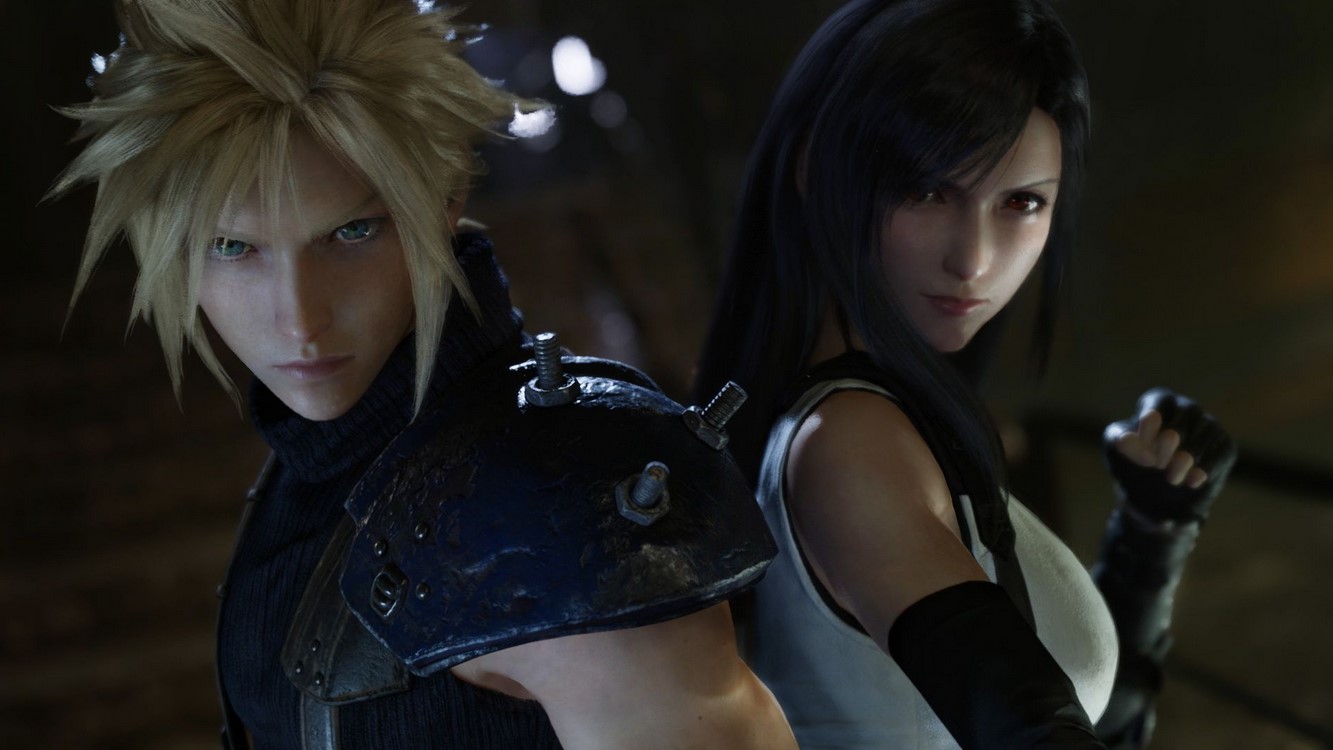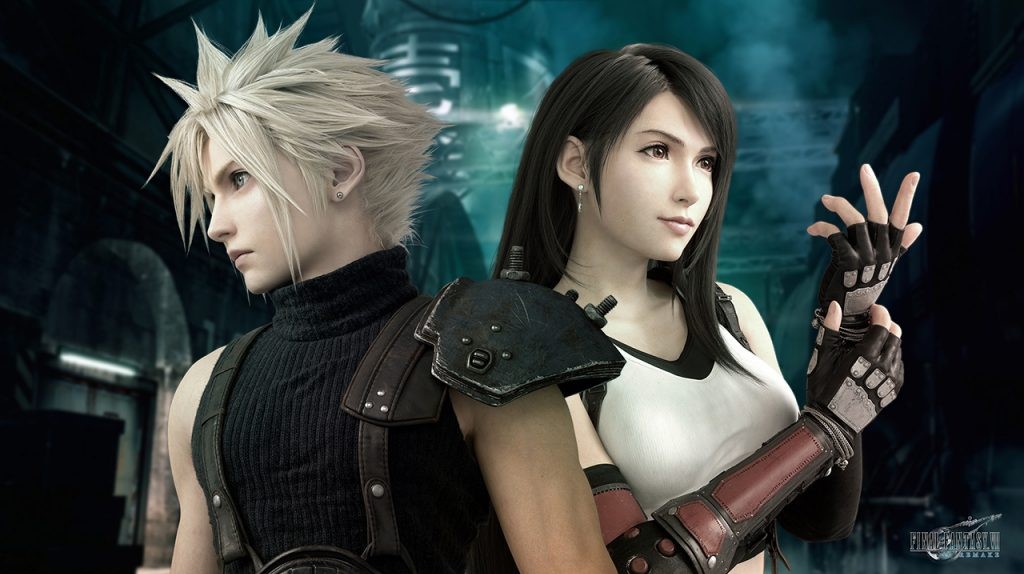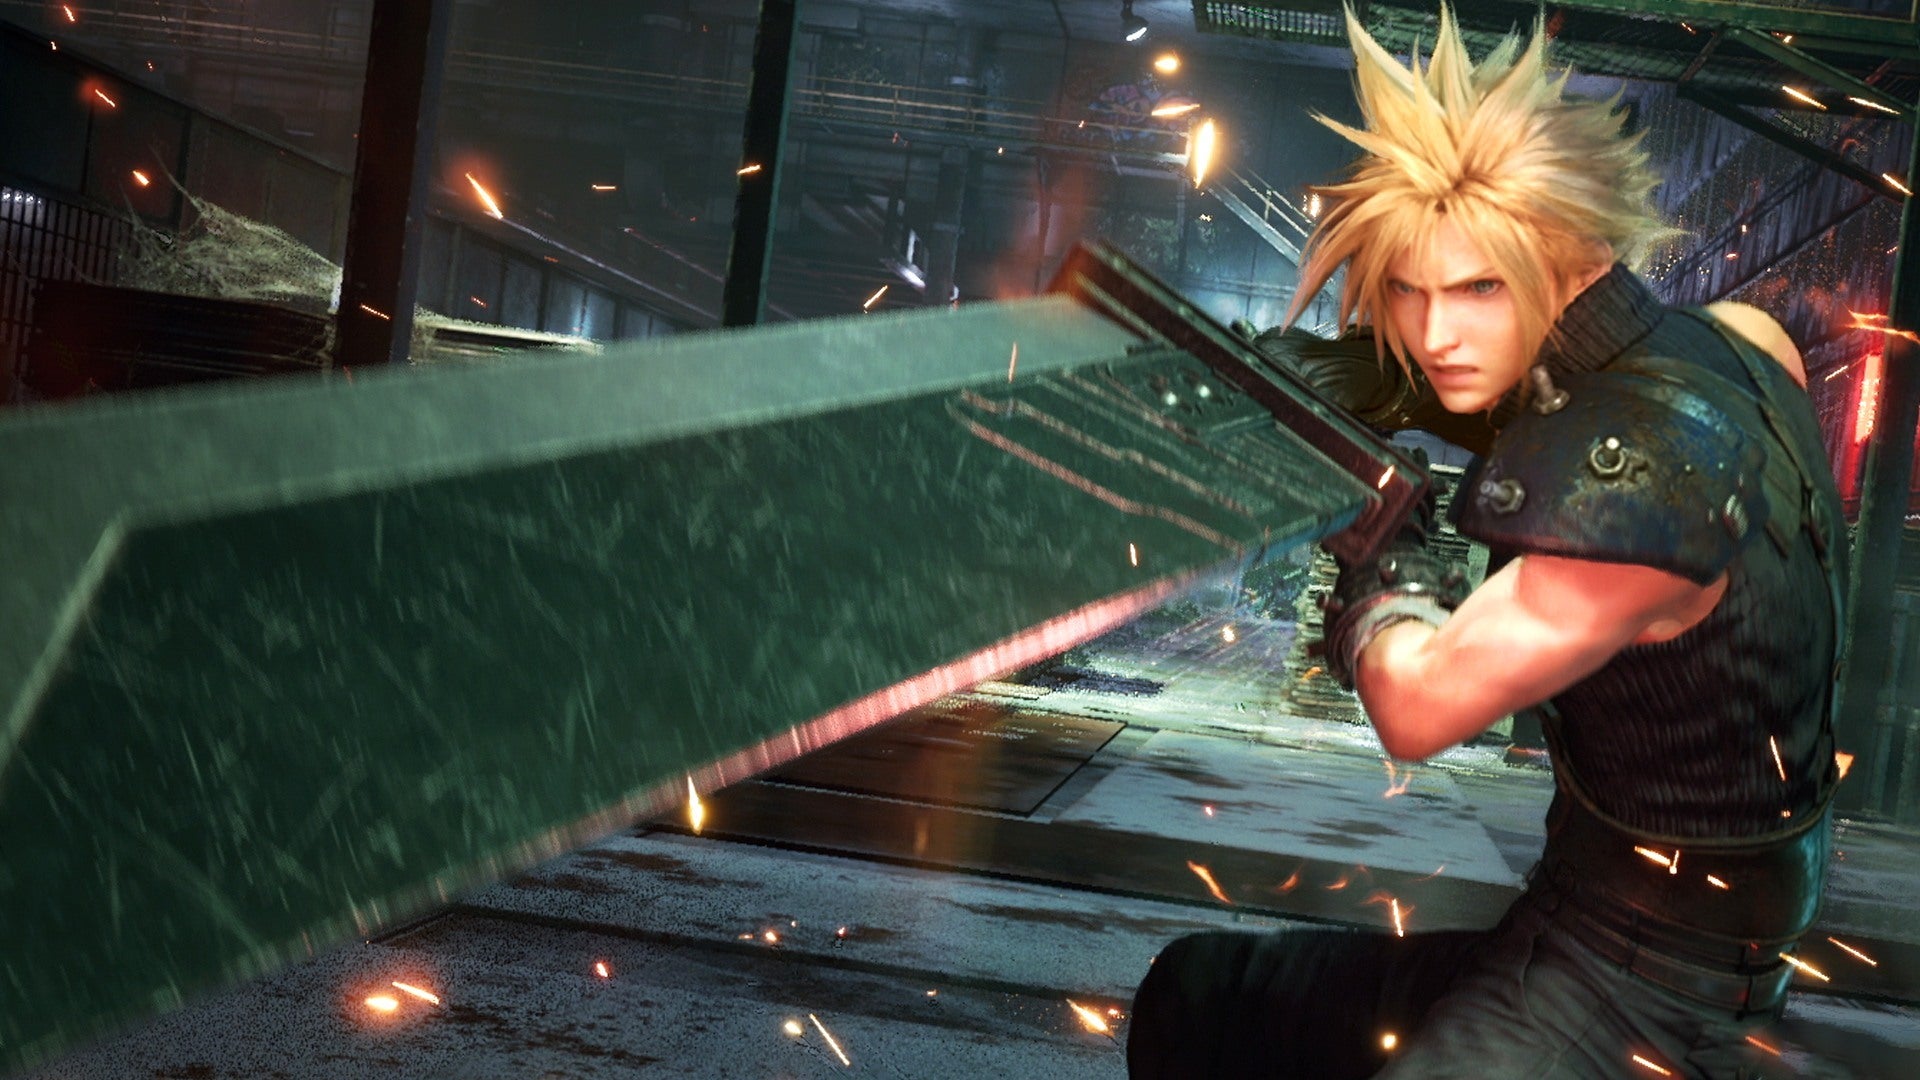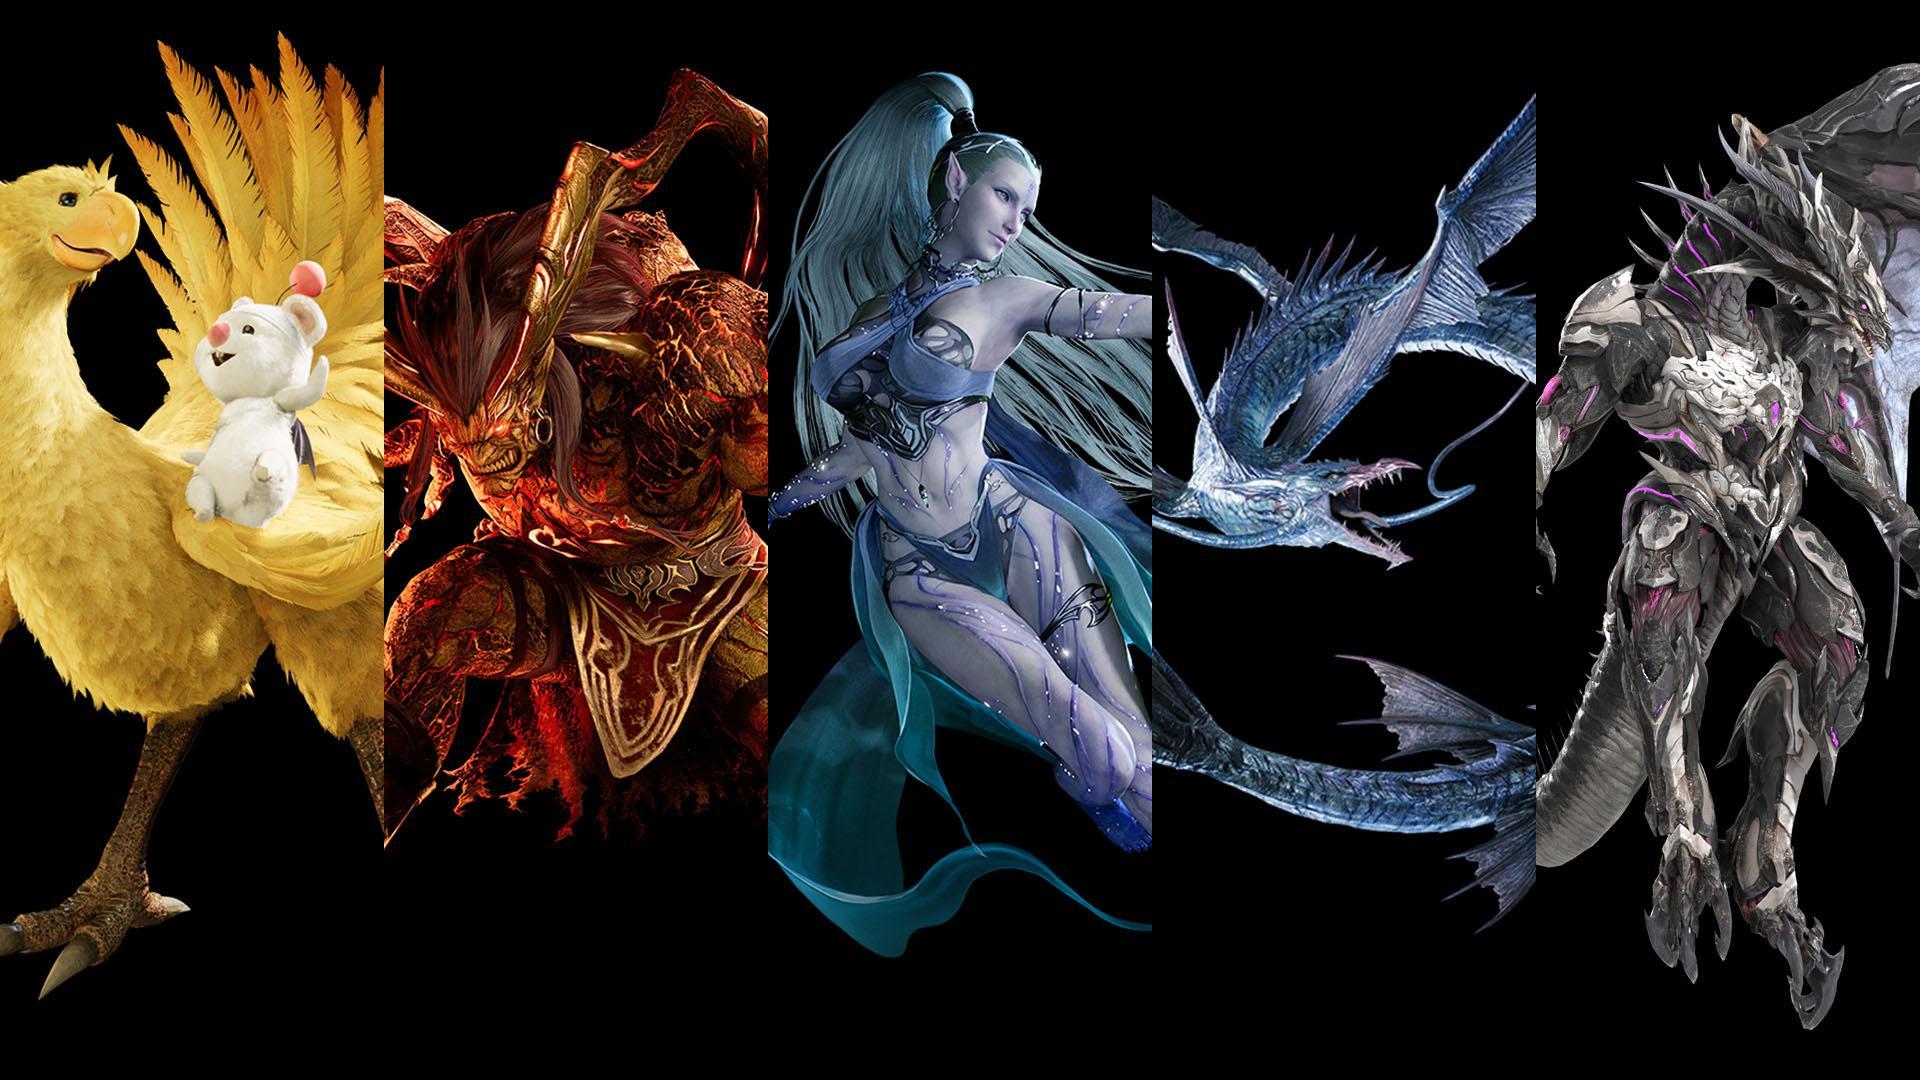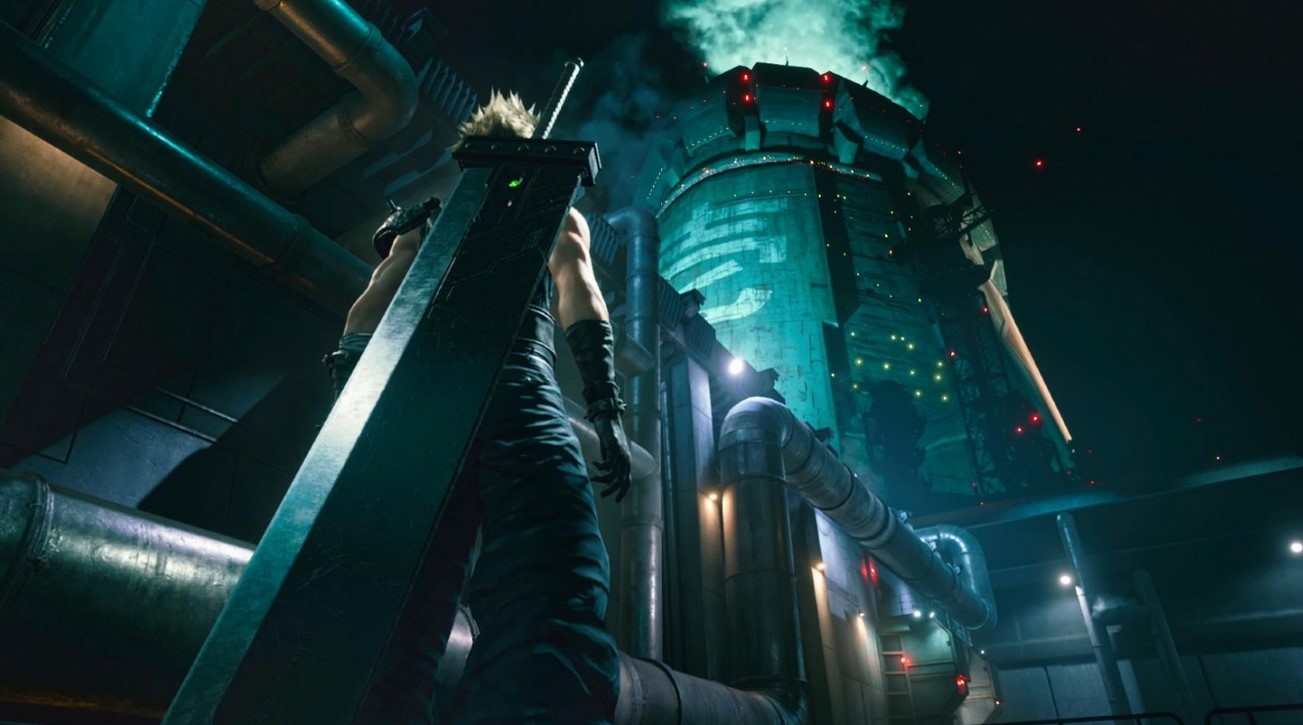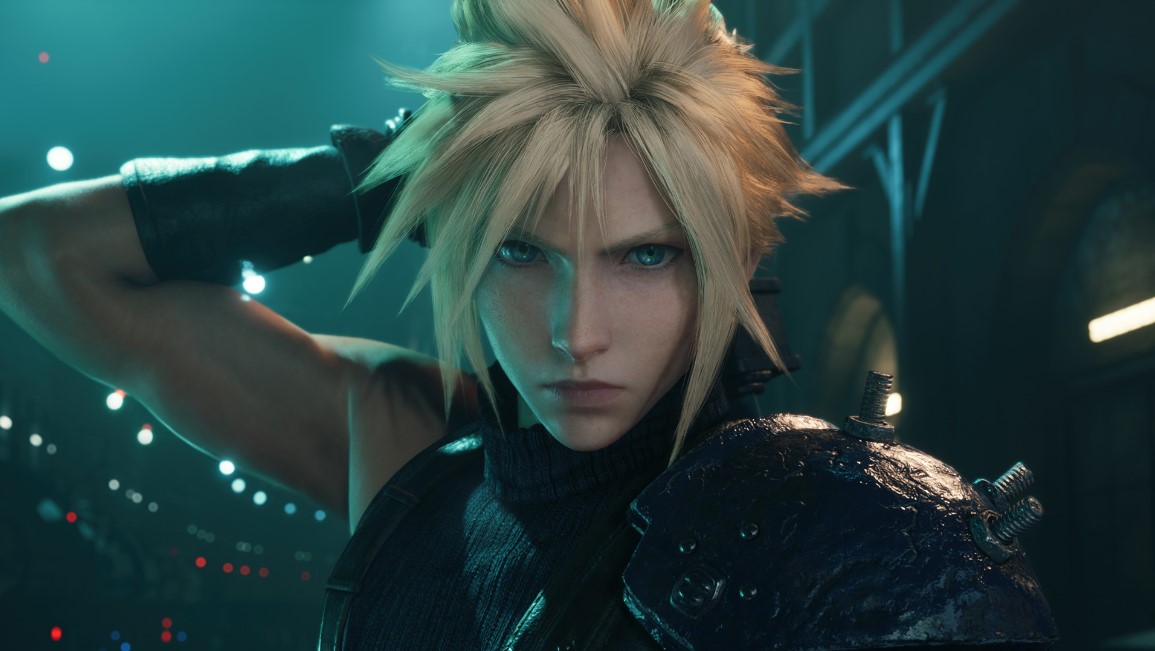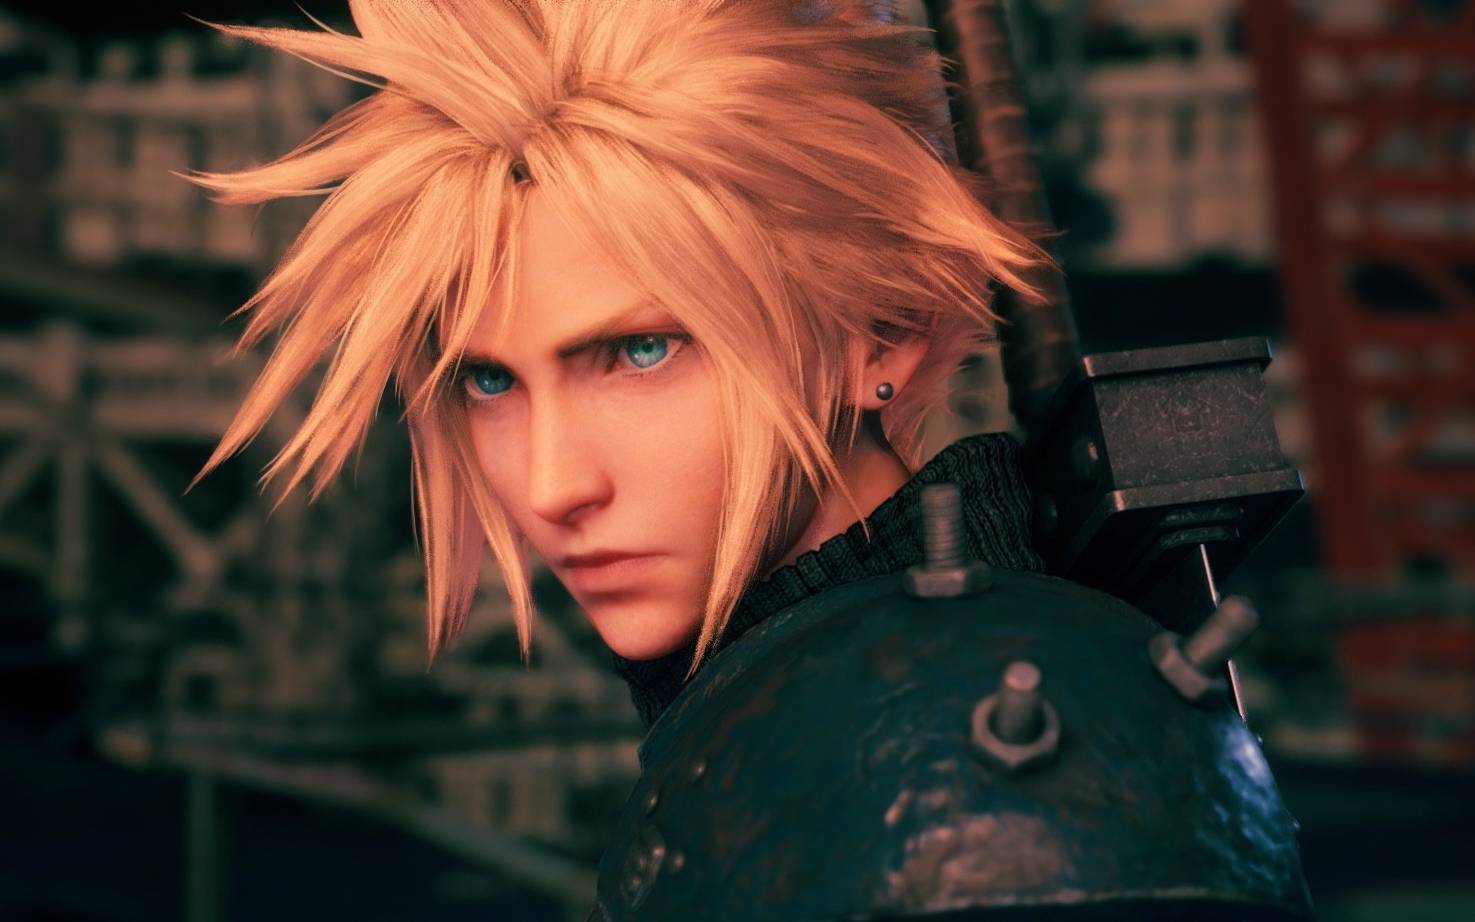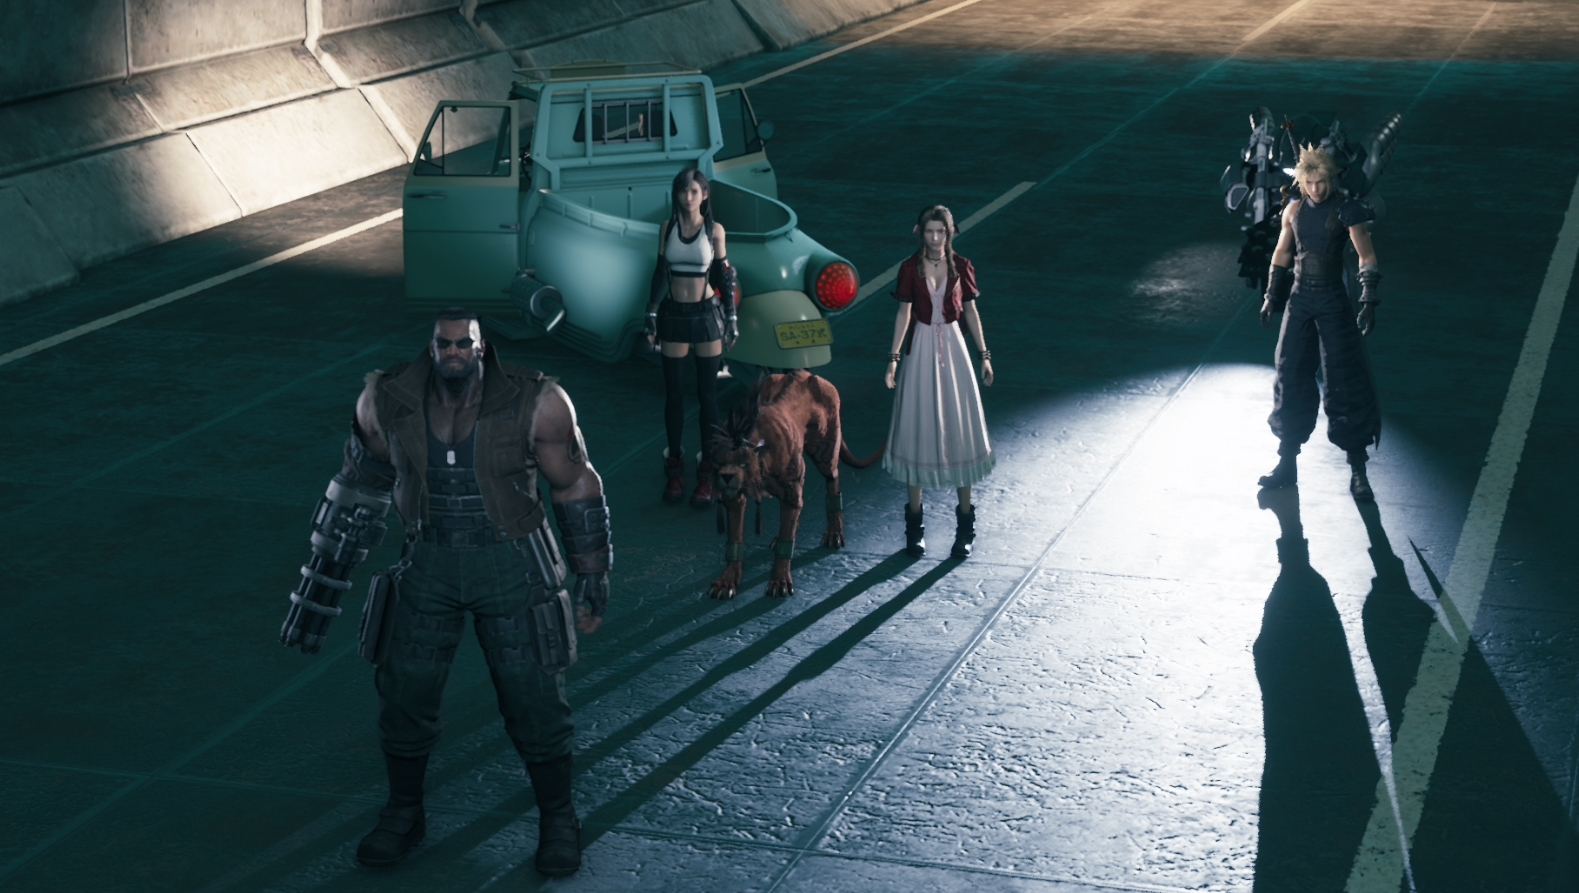
The accessories in the Final Fantasy VII Remake are an interesting system but are often overlooked. They can be very situational, and it can be difficult to narrow down which ones are the best. They don’t provide any defense like the armor, nor do they provide any materia slots.
Instead, they can help buff your party in various ways, and provide niche support when you feel like you need it. To help narrow it down, we’ve provided a Top 5 list of the best accessories best suited for each character.
Tifa
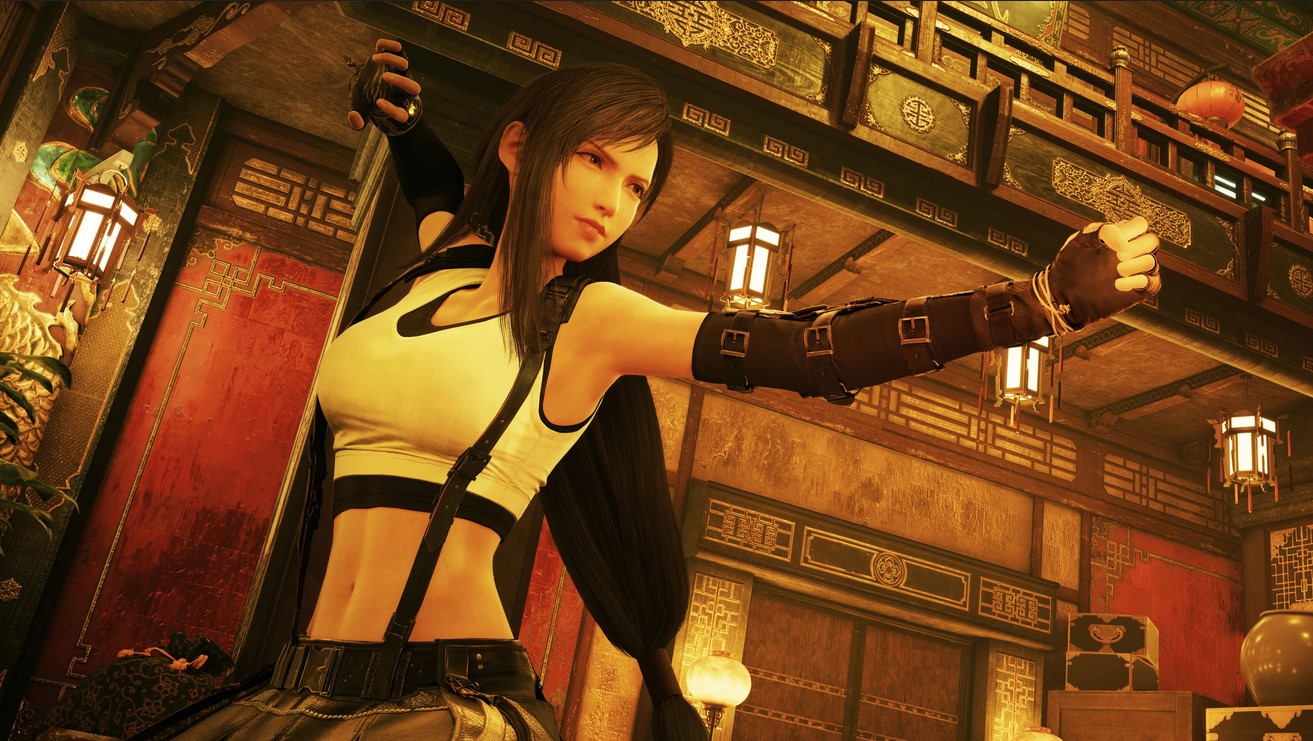
A keen martial artist with heavy fists.
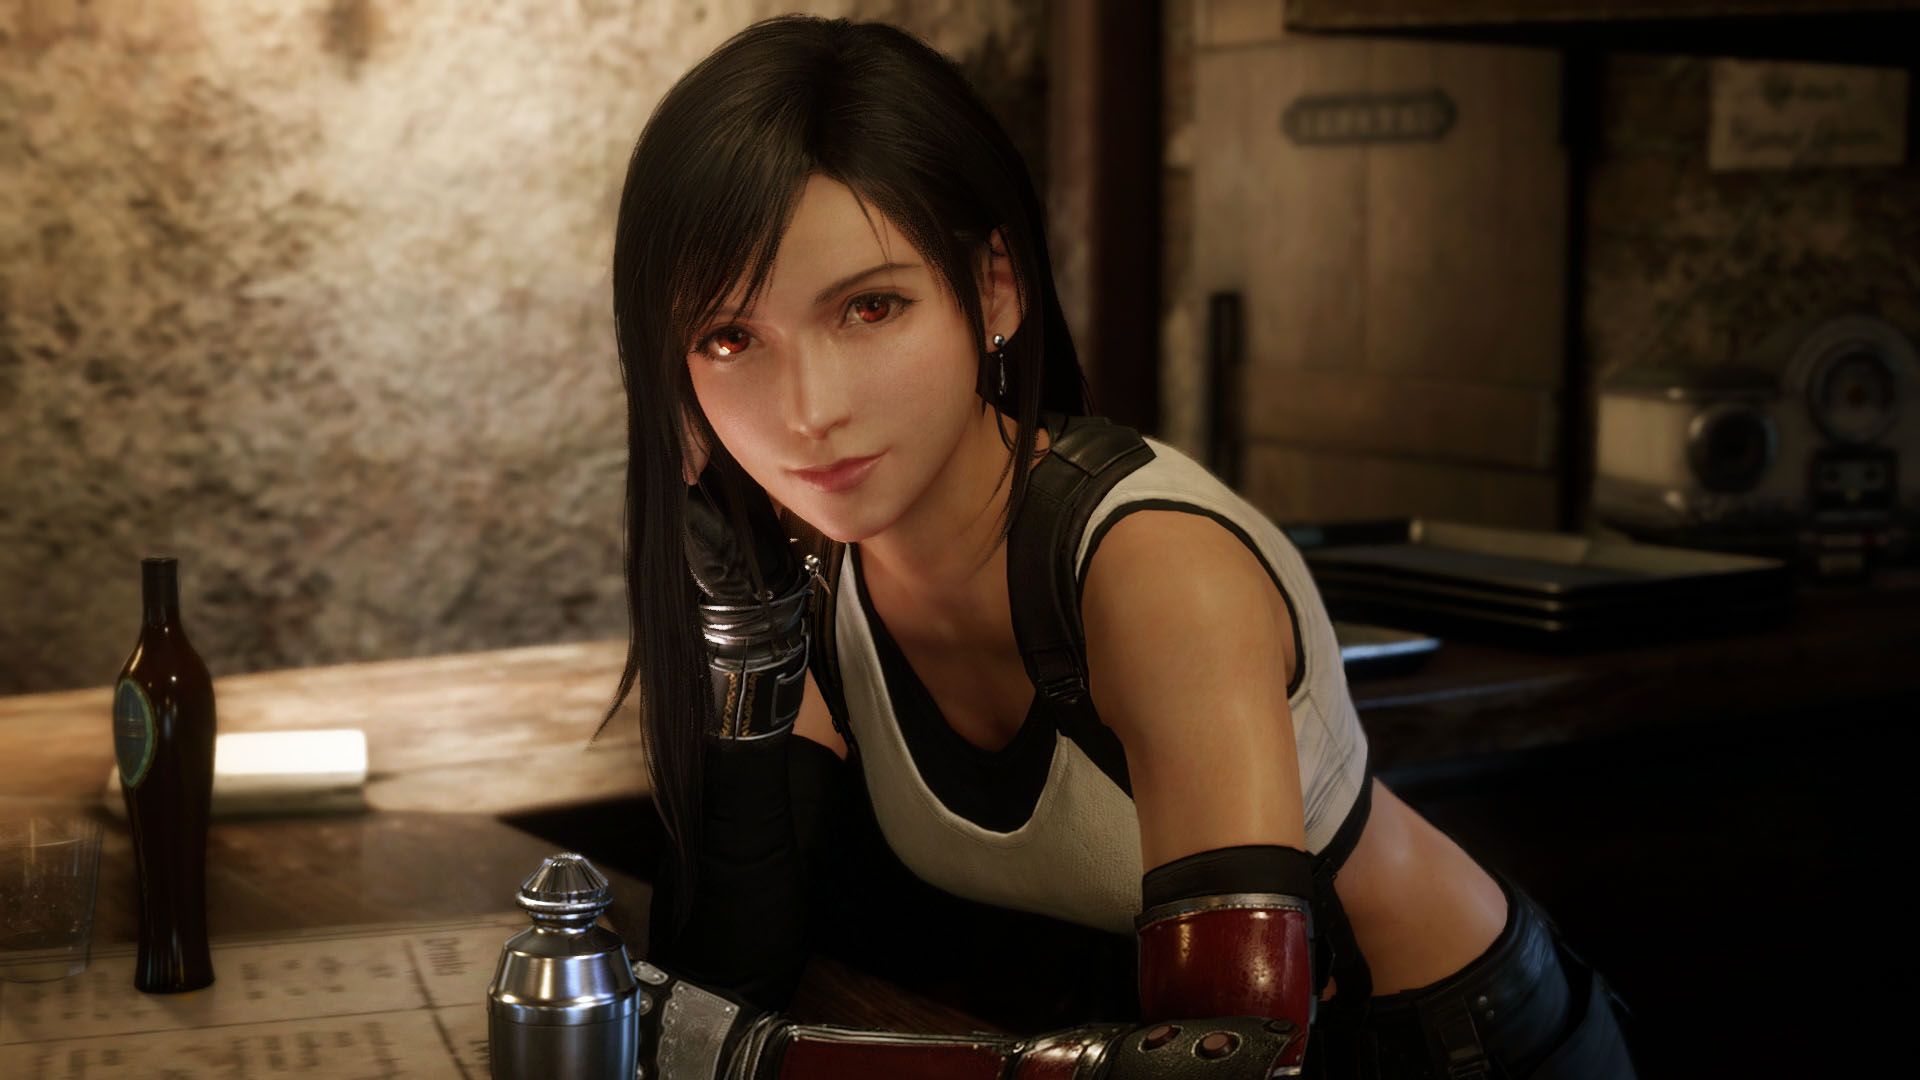
First up is Tifa. Her playstyle is to move fast and hit hard. Her best stats are speed and strength. She has the highest natural Speed stat out of the four playable characters and specializes in hitting hard and boosting the Stagger Bar. She takes on what is typically the DPS role in the group, dealing out a lot of damage very quickly.
Melee is her strong suit, and she has the second-highest strength next to Cloud. She benefits the most from items that boost her Strength and HP, and anything that will buff her ATB and Stagger potential will really get the most out of her Critical Hit capacity with weapons like Purple Pain and the Feathered Gloves.Top 5 Best Accessories for Tifa:
5. Power Wristguards - These provide a 5% boost in strength. This is a great early game upgrade that will allow Tifa to hit a little harder as you work to level her up and upgrade her weapons.
- How to get Power Wristguards: They can be found as early as Chapter 2, in a chest found on Loveless Street. After that, they will be available to purchase from shops for 800 gil starting in Chapter 3.
4. Clarity Pendant - The Clarity Pendant completely fills the ATB gauge after using Refocus. Tifa’s playstyle largely revolves around ATB abilities and pulling off stagger damage, so using this accessory is a great way to get the most out of her strength and abilities.
- How to get Clarity Pendant: This can be obtained by completing the 2 Party Members vs Slum Outlaws Battle Challenge at the Corneo Colosseum in Chapter 9.
3. Champion Belt - The Champion Belt boosts Strength by 5% and Max HP by 10%. This is a great choice for Tifa as it not only boosts her already high strength, but can also help compensate for her lower HP. If you’re looking to buff her natural raw power, this is your go to.
- How to get Champion Belt: The first one can be obtained by winning the Squats Challenge on Professional level during Chapter 9. The next one is won through the Pull Up Challenge in Chapter 14. The third can be stolen from the Grungy Bandit in the Sector 6 slums during Chapter 9, so be sure to have your Steal Materia ready.
2. Supernatural Wristguards - The Supernatural Wristguards boost the wearer’s strength by 10%. This is one of Tifa’s best accessories if you want to bring out her incredibly high strength and dole out some massive damage. Paired with her Purple Pain gloves and the Studded Bracer, or any armor with materia slots to really buff her stats.
- How to get Supernatural Wristguards: These will be available for purchase from shops once you hit Wall Market in Chapter 9.
1. Transference Module - The Transference Module fills the Limit Gauge as ATB charges are used. This is probably THE best accessory for Tifa. It will allow Tifa to pop off her abilities and fill her gauge in the process. Unleashing her Limit Breaks can deal a lot of damage, making her ideal for Hard Mode.
- How to get Transference Module: To obtain the Transference Module, you must achieve 30,000 points in Whack-A-Box on Hard in Chapter 14 when you return to the Kid’s Secret Hideout.
Barret
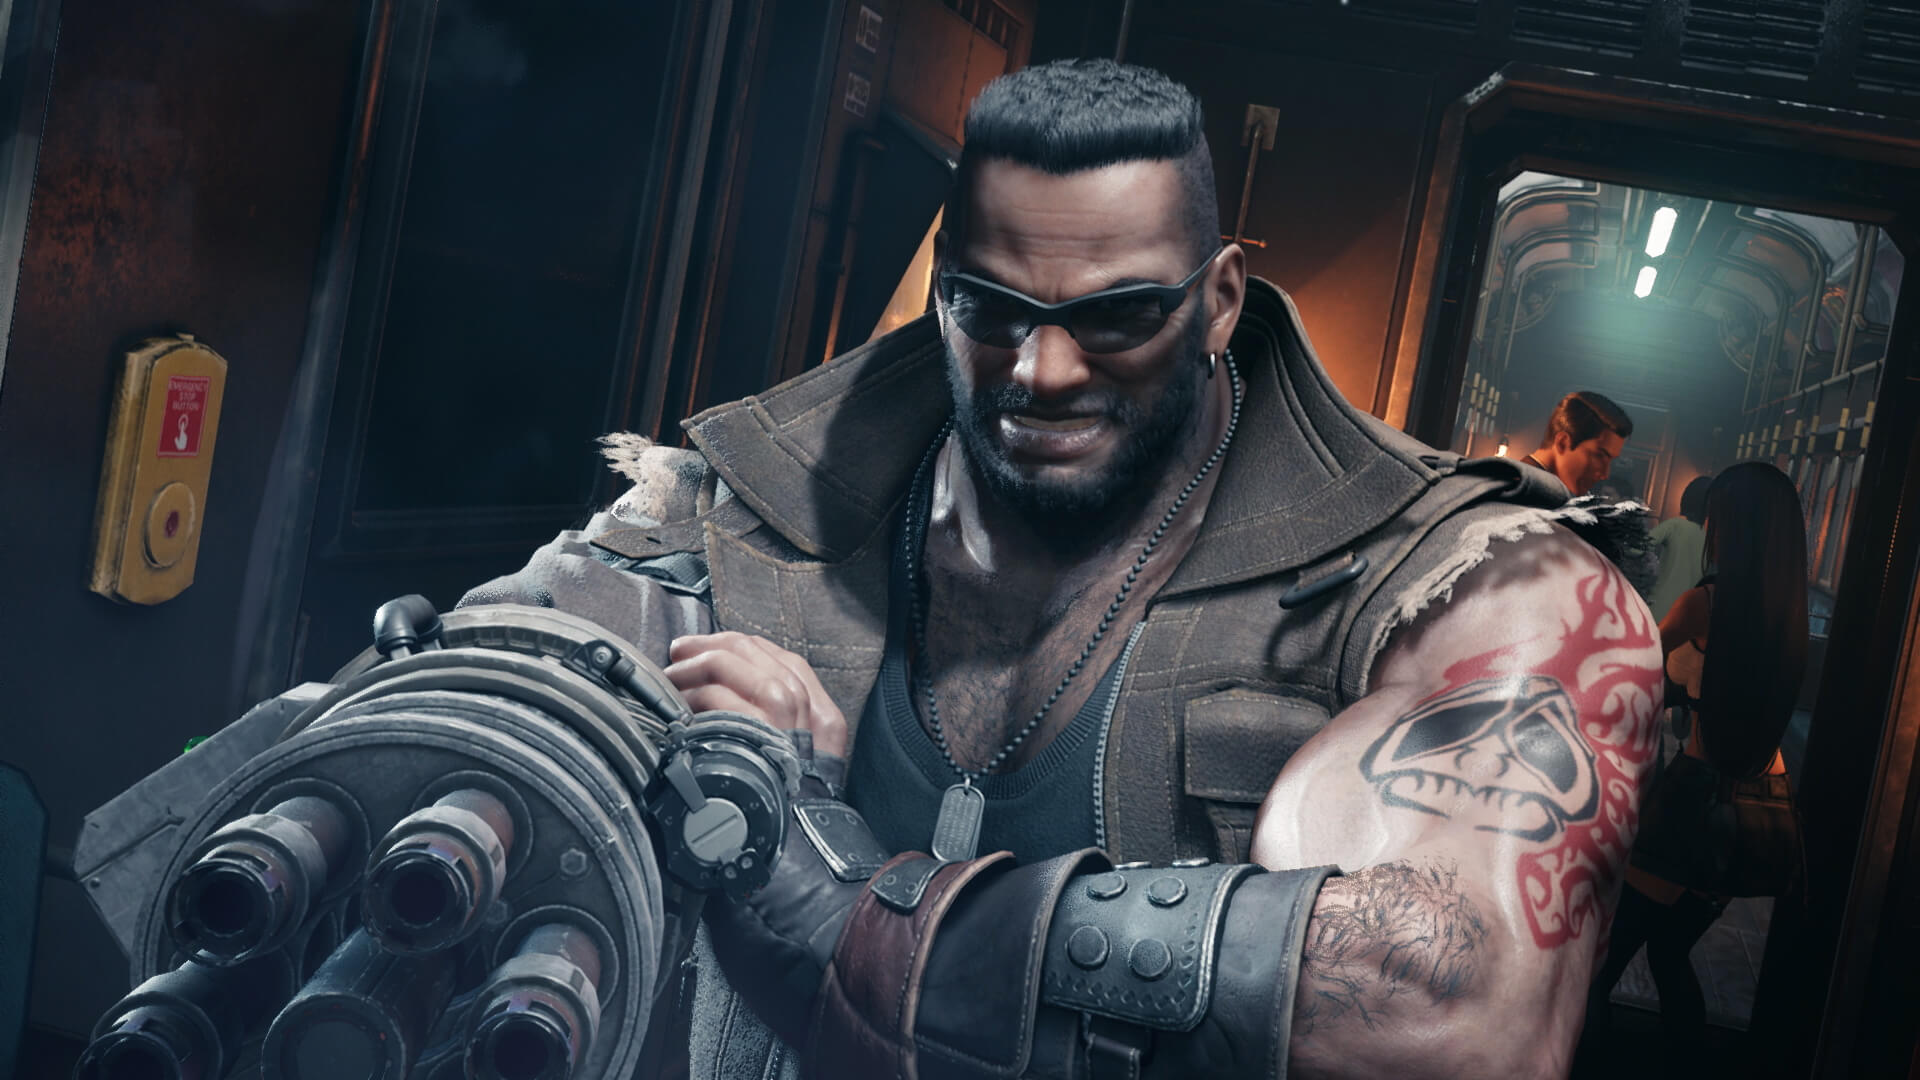
Barret is the true man in charge!
Barret Wallace is with us from the very beginning. With the highest max HP and vitality out of the party members, his incredible durability allows him to take the brunt of enemy damage. He typically does ranged attacks and supports the team from a distance. He does, however, have two close-combat melee weapons available in the game as well.
The accessories listed here will reflect more on him taking a long-ranged and inactive approach. (Meaning, he’s not typically being actively played by the player and is instead on AI.) Anything that increases his durability, buffs his HP and attack, and makes him harder to take down is going to be your best choice if you play into his strengths.
Top 5 Best Accessories for Barret
- How to get Bulletproof Vest: It can first be bought as early as Chapter 3 from the Weapons Shop once it becomes available. After that, it can be found Chapter 7, “A Trap is Sprung,” in a chest found by the ladder leading to the reactor core. (Reactor Core Lower Level - Left-Side Bridge on B7.)
4. Supernatural Wristguards - If you don’t equip these to Tifa, then Barret is another great candidate. That 10% boost to strength will make him all the stronger and let him do a LOT damage. Since they are found mid-game, it can give him a good boost for the harder fights ahead.
- How to get Supernatural Wristguards: These will be available for purchase from shops once you hit Wall Market in Chapter 9.
3. Otherworldly Crystal - The Otherworldly Crystal reduces the duration of status effects. When Barret is constantly trying to grab the enemies’ attention, he’s bound to get hit with these. If you’re going through dungeons and you feel like the enemies are constantly bogging him down, this may be worth your consideration.
- How to get Otherworldly Crystal: This can be found behind a secret door in Corneo's Mansion leading to the Forbidden Room
2. Crescent Moon Charm - The Crescent Moon Charm reduces damage taken by non-active party members. If you tend to let Barret do his thing while you play as the others, this is a great accessory for him.
This will make him durable, which in turn means that your healer can focus on the rest of your party as they deal out the heavy damage.
- How to get Crescent Moon Charm: The first charm can be obtained after you have completed every Odd Job in Chapter 3 and is a reward from “Alone at Last.” The next one can be won after reaching a score of 20,000 points in the Whack-a-Box minigame on either Normal or Hard difficulty.
1. Salvation Badge - The Salvation Badge increases the effectiveness of healing spells cast on them when their HP is below 25% or lower. This is pretty situational; however, it has its place. If you plan on playing on Hard Mode, or even moving through the harder endgame and post-game content, this is a great choice. (Especially given how simple it is to obtain.)
He’ll be taking a LOT of damage during some of those harder boss fights, and in Hard Mode when items are not available, this is going to be very helpful. This way, when he's too weak to keep himself alive, you can cast your healing spells on him.He can continue taking damage, and you can continue dealing it out.
- How to get Salvation Badge: The Salvation Badge can be purchased from the Moogle Emporium for 1 Moogle Coin.
Aerith
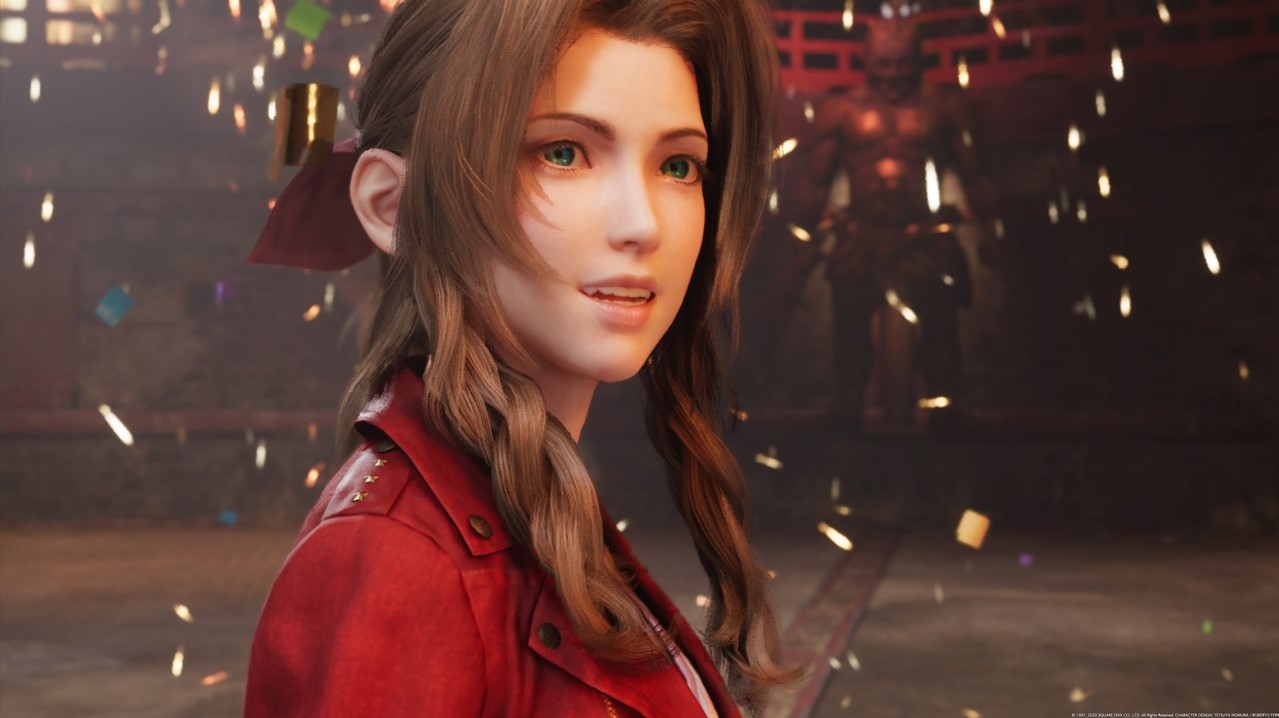
Aerith really shines when her magic stats are huge!
Aerith, from flower girl to spell caster, is tougher than she appears.Typically cast as the party healer, what she lacks in max HP and Vitality she makes up for by having the highest Magic and Spirit stats out of the others. Her Limit Break abilities all focus on healing and buffing up the team. She’s best played in the back of the party, away from the bulk of combat.
While you could change up her role with the right equipment, this list will focus on her Mage like class, where her strengths really shine. Keep her protected from status ailments, boost her MP to its fullest extent, and make her the best support she can be.
Top 5 Best Accessories for Aerith:
5. Protective Boots - The Protective boots make the wearer immune to Slow and Stop. As you reach some of the later dungeons in the game, you’ll be facing enemies that will slow down your party, but equipping these to Aerith will ensure that she stays in motion, and give her a chance to reverse those status ailments on everyone else and keep things moving.
- How to get Protective Boots: The Protective Boots can be acquired by completing the Odd Job “Weapons on a Rampage” during Chapter 8. This entails finding and defeating all five Mark II Monodrives.
4. Circlet - The Circlet increases the wearer’s Max MP by 10% and their Spirit by 5%. This is a great accessory for Aerith as it can further boost her already high MP, giving her more to work with, especially if you feel like you’re blowing her MP to either attack the enemies or keep your party alive.
- How to get Circlet: The Circlet can be found in a chest in Corneo’s Secret Stash, found in the Sector 5 Slums during Chapter 13.
3. Healing Carcanet - The Healing Carcanet improves the effectiveness of Healing items, spells, and abilities. This is perfect for Aerith if you have her acting as your party healer and nothing else.
If you’re playing on Hard Mode this will be INCREDIBLY helpful. While you won’t have use of healing items, her healing spells and abilities will be much more effective to help keep your party alive.
- How to get Healing Carcanet: It can be found in a chest hidden behind some breakable Shinra crates in the Shinra Underground Test site during Chapter 13.
2. Spectral Cogwheel - The Spectral Cogwheel fills the Limit Gauge when MP is used. With Aerith as your main spellcaster, she’s going to be going through a LOT of MP, not only to keep your party alive but also to deal out any offensive magic damage if you have the right materia equipped.
With Aerith’s Limit Break abilities being those that either heal or support your party, this will be helpful during the harder, longer, and more drawn-out boss fights and dungeons.
- How to get Spectral Cogwheel: To get this accessory you must achieve a score of 30,000 or higher playing Whack-A-Box on Normal.
1. Platinum Earrings - The Platinum Earrings increase the wearer’s Magic Power by 10%. If you have Aerith focusing on magic attacks, then this is your go-to. Further buffing her magic attack will allow her to deal a LOT of damage. If you’re up against enemies that are weak to any elemental damage, this can be Aerith’s time to shine!
- How to get Platinum Earrings: This item can be purchased from shops once you reach Wall Market in Chapter 9.
Cloud
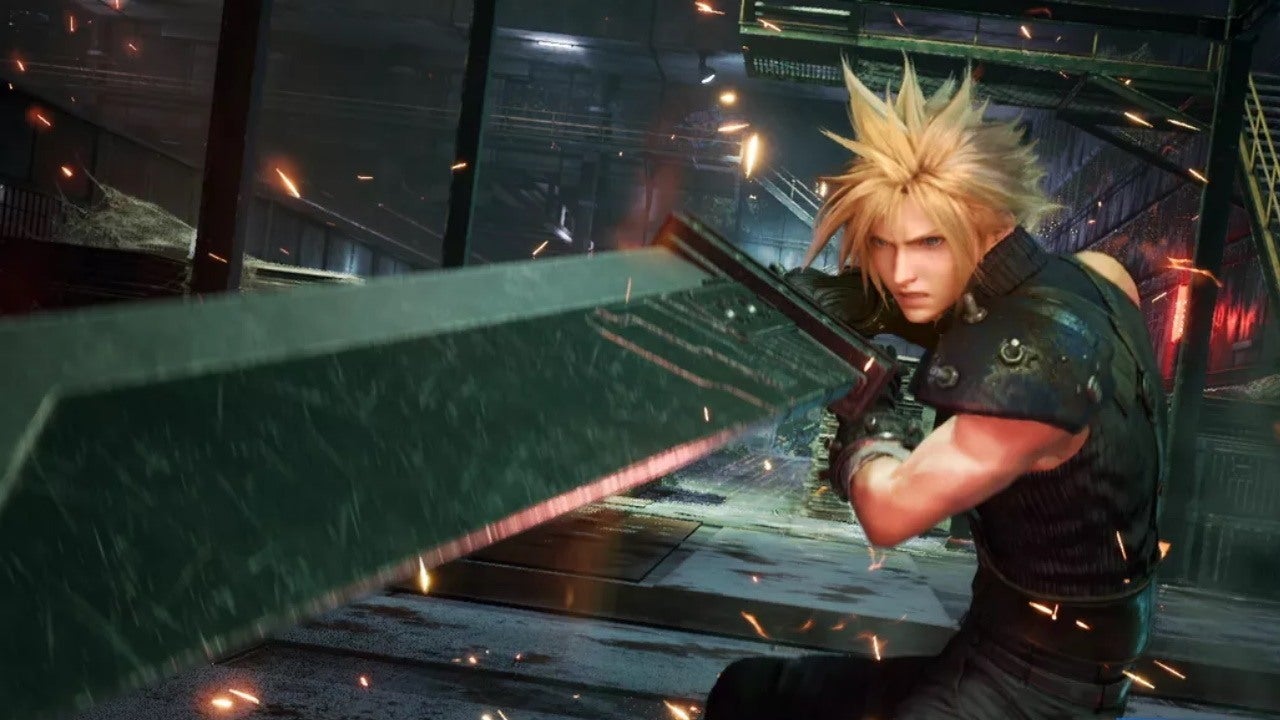
Cloud Strife, Soldier First Class.
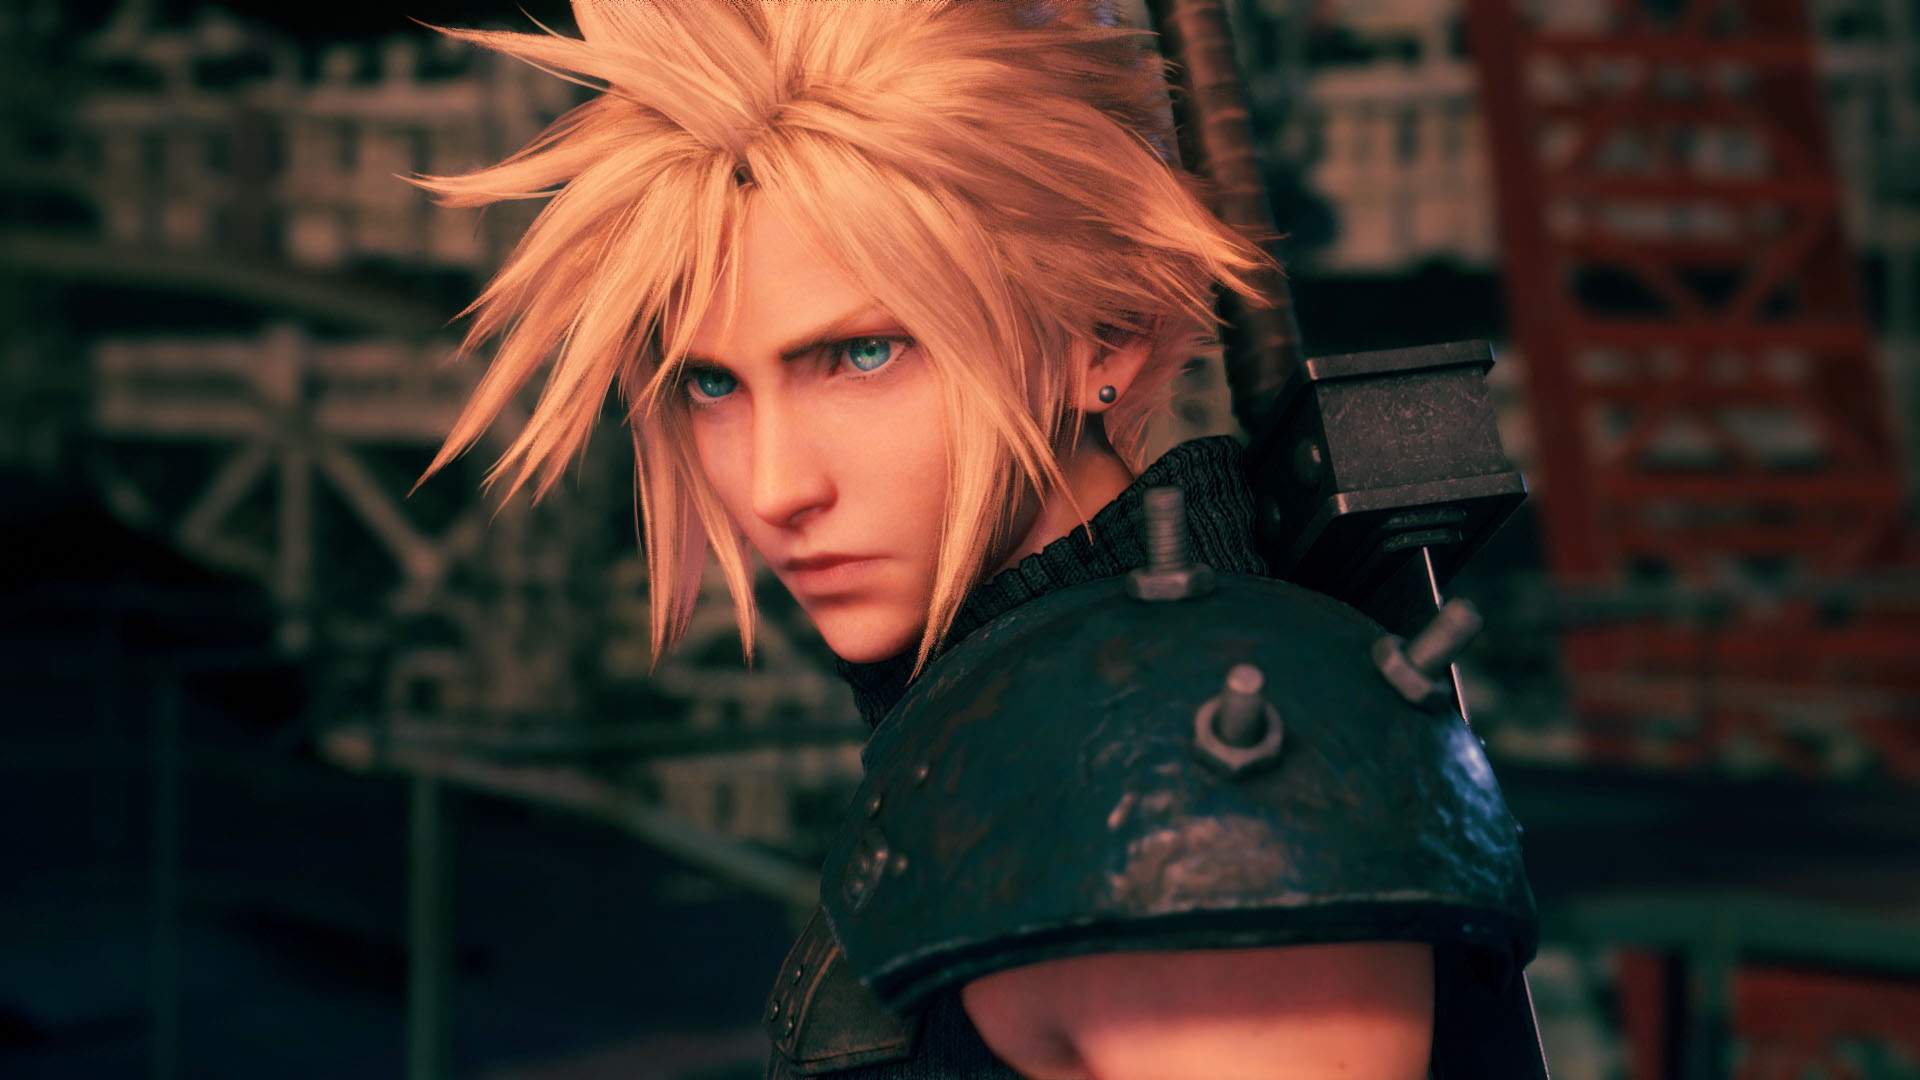
Cloud is the most versatile of all the playable characters. His stats between physical and magical attack are very balanced, and his playstyle can really go in quite a few directions. Whether you go full melee combat and physical damage, put an emphasis on spellcasting and magic damage, or do a ‘middle of the road’ build, the right equipment will benefit you in the long run.
This list will be an even blend to suit either of those playstyles. Ultimately, having a good max HP and defense will get you pretty far. Anything that can boost any buffs he can receive from other party members will also be helpful, especially if you plan on playing on Hard Mode.
Top 5 Best Accessories for Cloud:
5. Salvation Badge - Included on the list earlier, this is an excellent choice for Cloud as well. To reiterate, it increases the effectiveness of healing spells cast on you when your HP is at 25% or lower.
This is best equipped when playing on Hard Mode, to ensure that any healing Cloud gets from other party members will keep him alive. If you find it hard to keep Cloud up and running, give this a shot.
- How to get Salvation Badge: The Salvation Badge can be purchased from the Moogle Emporium for 1 Moogle Coin.
4. Mythical Amulet - This item boosts the strength of summons that are called during battle. If Cloud is more spellcaster-friendly, (or if you just really like using summons like myself), this may be worth your consideration. Considering the ways summons can aid you in combat, whether it’s Fire damage from Ifrit or physical damage from the fat Chocobo, this can really help deal a lot of damage.
It's especially useful if you're using a lot of summons during a Hard Mode run or going up against tougher bosses. It could help those harder battles go by a little faster.
- How to get Mythical Amulet: This can be found in a chest next to one of the beds in Aerith’s house during Chapter 13.
3. Whistlewind Scarf - The Whistlewind Scarf allows the wearer to start battle with a slightly filled ATB gauge. If Cloud is taking on a more physical role and you’re using his ATB abilities often, this is a good idea.
A good time to have an accessory like this equipped is when you’re going through dungeons where you’re frequently in and out of battle to really get the most out of it. I wouldn’t necessarily recommend it for boss fights, as there are better accessories for longerfights.
- How to get Whistlewind Scarf: This can be purchased from the Moogle Emporium for 3 Moogle medals.
2. Champion Belt - The Champion Belt, mentioned earlier, can boost Cloud’s strength by 5% and his max HP by 10%. If you like to put Cloud in a tank-like role and want to increase his naturally high strength, this will ensure he can hit even harder in close combat and give him more HP to work with.
- How to get Champion Belt: The first one can be obtained by winning the Squats Challenge on Professional level during Chapter 9. The next one is won through the Pull Up Challenge in Chapter 14. The third can be stolen from the Grungy Bandit in the Sector 6 slums during Chapter 9.
1. Gotterdammerung - The Gotterdammerung allows the wearer to start the fight with a fully charged Limit Gauge. This accessory is awesome, and the steps you take to acquire it are intense. Ultimately, you must play on Hard Mode in order to get it, but it can make for a great in-game challenge if you’re into that.
If you’re looking to play some of those end-game bosses on Hard Mode, this can help you deal a massive hit right off the bat and start things off in your favor.
- How to get Gotterdammerung: In order to unlock this item, you must first complete a series of challenges.
First, you must complete every Corneo Colosseum challenge during Chapter 9, and again in Chapter 14. During Chapter 16, you must complete all of the Shinra HQ VR Combat simulator challenges.
After this, complete the main story to unlock Hard Mode. Once this difficulty is available, during Chapter 17, speak with Chadley at Shinra HQ and complete all the new Challenges available.
Once all of that is complete, a new secret challenge, “Three Person vs Top Secrets” will be available. You will be rewarded with the Gotterdammerung if you complete this. This final challenge is a boss rush so plan accordingly!
You may also like:
- [Top 15] Best 3rd Person Fantasy Games
- 15 Awesome PC Games That Made Us Love PC Gaming
- Which Kingdom Hearts 3 Edition to Buy? (All Kingdom Hearts 3 Editions Explained)
- FF7 Remake Best Accessories For Each Character
- [Top 10] FF7 Remake Best Weapons For Each Character
- FF7 Remake Best Armor For Each Character
- [Top 5] FF7 Remake Best Materia For Each Character
- [Top 10] FF7 Remake Best Armors That Make You Hard To Kill

