A Guide To Installing Skyrim Mods
At its most basic level, “mods” refer to modifications that can be made to games and programs. They refer to tweaks, additions, changes, subtractions or anything that modifies a game or program--hence the name.
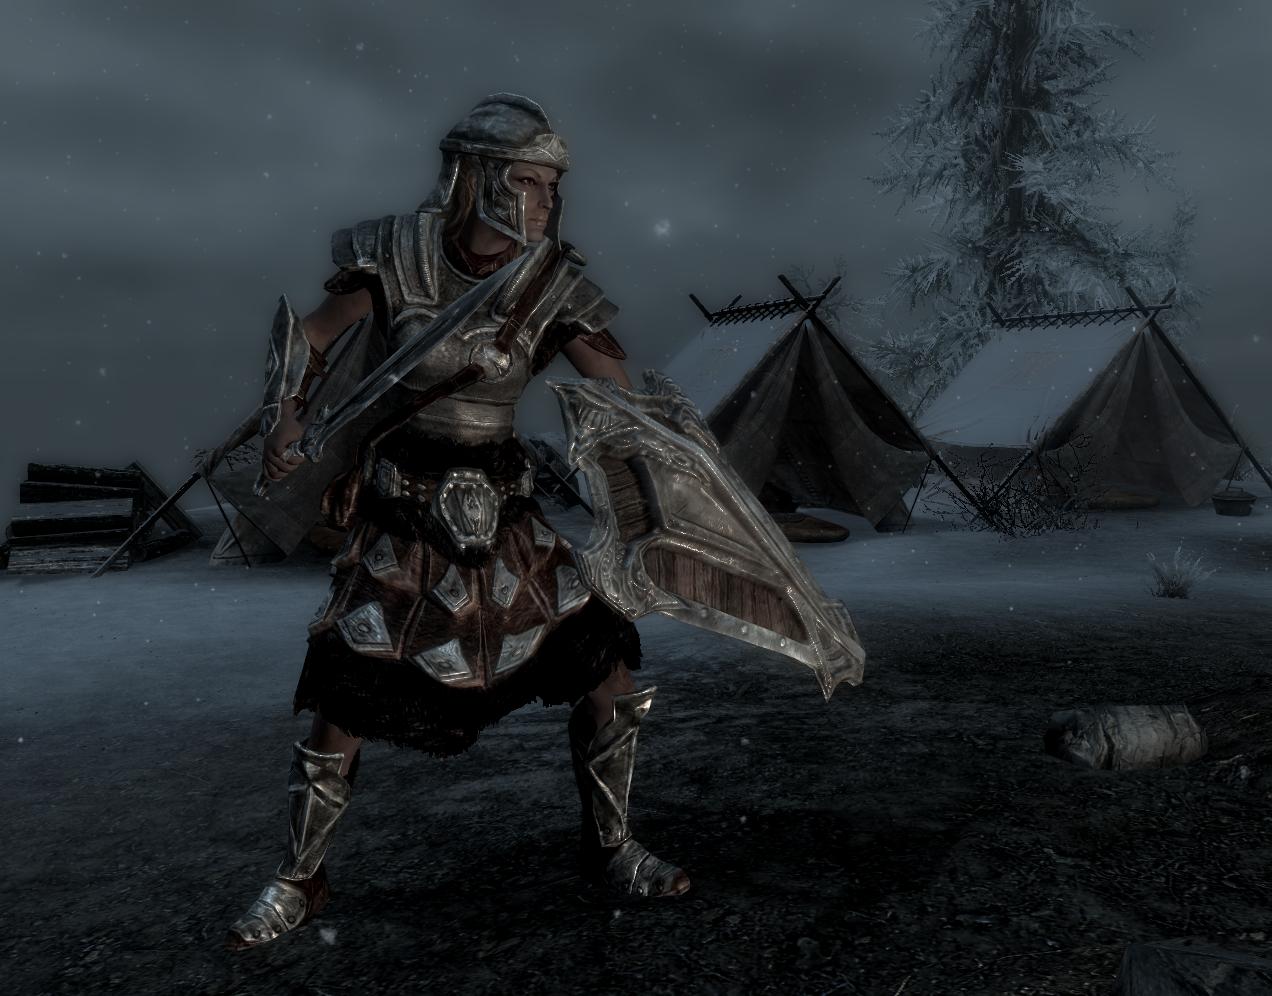
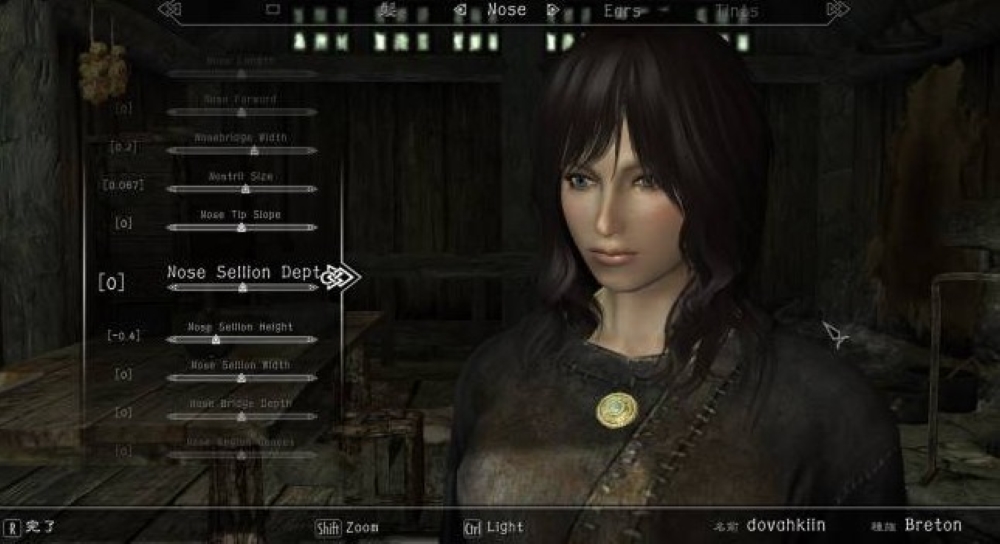
So Skyrim mods refer to modifications specifically geared toward modifying the game in some capacity. These mods can vary in size and quality, and the game objects they modify can differ. This means that mods can be anything from replacing dragons with Thomsas the Tank Engine to creating entire DLCs with its own quests, NPCs and features.
Where To Download Skyrim Mods for PC
Technically speaking, mods can be uploaded just about anywhere since mods are just a bunch of files with customized code. But random third-party websites can be dangerous, and because each mod author is left to their own devices this means they are held accountable to no one.
Which is why when most people start looking to download mods, they go to websites which hold their own robust modding community and have their own standard community guidelines that are enforced. These include:
These sites host several thousand mods and are categorized and tagged by each mod author. Community members can also review or posts their opinion about mods. Overall, these sites are the fastest and safest known means of downloading mods.
Just be sure to carefully read installation instructions, mod conflicts and if the mod has any known problems. It is still important to remember that even though these mod communities have their own rules and standards, that doesn’t instantly mean that every mod will be polished and/or compatible.
Skyrim Mods for Console
As of right now, official mod support exists only for Skyrim Special Edition on certain consoles. These include:
- PS4
- Xbox One
But keep in mind this may change in the future. Skyrim has so many re-releases that it is not outlandish to say they might release it again for another platform.
But getting mods on consoles is just as much about getting permission from console producers as it about creating the modding framework. And this process has to be done and confirmed for every new console and every individual version of the game.
There is some good news though.The main differentiating factor between downloading mods on PC and downloading mods on console is that console downloading is exceptionally streamlined. Meaning that it was built to be intuitive and easy to navigate.
How to Install Skyrim Mods on PC (Nexus)

Nexus Homepage
Step 1: Create a Nexus Account.
- Access the Nexus site and click the “Register” button at the top right of the webpage. This will redirect you to a new webpage.
- Choose your membership type. There should be a free option available if you don’t want to pay a subscription. Once a membership type is chosen, you will continue on to input member information.
- Fill out the necessary information. This includes email address, username, password and registration question. If you choose a subscription option, you will also be asked for payment information.
Step 2: Download Vortex. Vortex is Nexus’s official mod manager where mods can be downloaded and managed.
- Access the Nexus site.
- Click “Mods” and then click “Get Vortex” from its options. This should redirect you to a new webpage.
- Click the “Download the latest version now” button. This will redirect you to a new webpage that is reminiscent of a mod page.
- Access the “Files” tab of that page, and click the “Manual Download” button under main files. This should download the .exe file.
- Double-click the .exe file and follow the installation instructions. You will also have to complete first-time Vortex configuration where it attempts to register which games you play.
Note: Vortex is the successor to Nexus Mod Manager (NMM). Because Vortex came later in the website’s lifetime, several mod pages may still refer to NMM when referring to the official mod manager. Unless specified otherwise, Vortex can still download that mod safely.
Step 3: Find a Mod on The Nexus and Access the Mod Page
The Nexus website has several means to find mods. They have categories, pages for trending and popular mods, filters and search functions. Simply explore the site to find the mod that you want.
When you find that mod and access its mod page, it is highly recommended that you review the contents of the “description” tab. Especially the parts that describe installation requirements, installation instructions, known mod conflicts, bugs and other issues.
Step 4: Click “Files” and Select the “Mod Manager Download” option
On the mod page there will be several tabs. Click the “Files” tab. This tab should have a section for “Main Files” and “Optional Files”. The files you should focus on are the main files.
Click “Mod Manager Download”. Click it and allow Vortex to download the mod. If done correctly, the mod should now be in Vortex’s mod list.
Step 5: Enable the Mod in Vortex
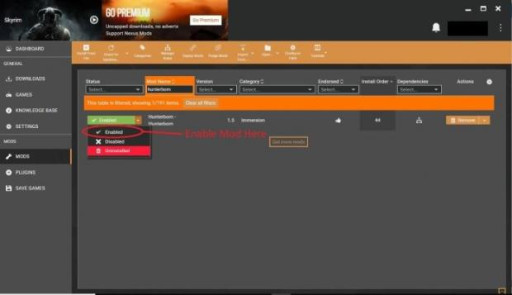
Vortex Mod List
- Open Vortex. On the side of the program should be several tabs.
- Click the “MODS” button. This should bring you to your mods list. It will show all mods that you have downloaded from Nexus, including mods that have not been installed yet.
- Locate the mod you downloaded and click the little down arrow that is located to the left of the mod name. Then click the “enable” option. When it is finished installing and deploying the status should now say “Enabled”.
Step 6: Play the Game
How to Install Skyrim Mods on PC (Steam Workshop)
Step 1: Get a Steam Account
- Visit the Steam homepage and click the “Login” button at the top right of the page. You will then be brought to a login/registration page.
- Click the “Join Steam” button. You will be expected to enter your email, agree to their subscriber agreement and input any other relevant information.
Step 2: Download the Steam Platform
Steam has its own platform that can be used for gaming, shopping and communication. You will need to download this platform if you want to download mods from the workshop.
- Access the Steam website and click the green “Install Steam” button located at the top right corner. This will redirect you to a webpage where you can install the Steam platform.
- On this new webpage, click the large blue “Install Steam” button and download the Steam installer.
- Double-click the steam installer and follow the installation instructions. By the end, you should have a new Steam application on your desktop.
Step 3: Access the Steam Workshop.
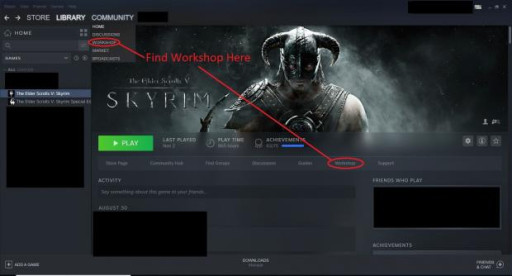
Steam Game Library
This can be done either by selecting the workshop option from Steam’s community tab or accessing Skyrim from your game library and selecting the workshop from the game tabs.
Step 4: Browse the Workshop.
Mods can be browsed by category, most trending, popularity, and more. Simply explore the workshop until you find a mod that you want.
Step 5: Download by Clicking “Subscribe”.
- Click on the mod you want to download. Review the description to see if it has any bugs, mod conflicts or anything else you should be aware of.
- On the mod page is a large green button titled “Subscribe”. Click it. This subscribe button is the same as the download button.
Step 6: Ensure that the Mod is Enabled.
- Access your Skyrim launcher.

Skyrim Launcher
- Click “Data Files” and find your downloaded mod.
- Ensure that the little box beside the mod is checked. This will enable the mod and allow it to load in the game.
Note: Never un-check the .esm files for the base game or any of the Skyrim DLCs. These are required for the game to run, so un-checking them will result in the game not loading the base game content.
Step 7: Play the Game
How to Install Skyrim Mods on PC (Manual Installation)
Important Forewarning: There’s a reason mod managers exist. The first reason is that it’s tedious. The second--and most important reason--is that installing mods incorrectly with this method can have disastrous consequences depending on the size and scope of the mod. These consequences can include game crashes, corrupt files and even breaking Skyrim entirely.
So it is highly recommended that you try installing with a mod manager first (assuming the option is available).
Step 1: Backup your saves. Incorrectly installing mods can potentially damage your game and save files, so it is important that you backup your character saves in case something goes wrong.
Step 2: Follow the instructions from ‘How to Install Skyrim Mods: Computers/PC (Nexus)’ up until Step 4a.
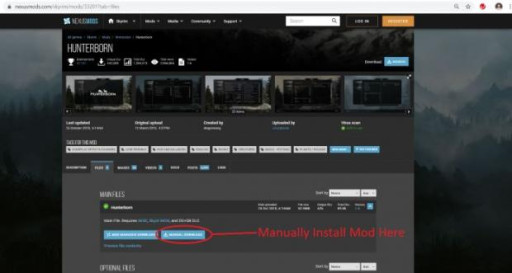
Hunterborn Mod Page, Files Tab
Step 3: Click “Manual Download”. This will download the mod files into your downloads folder. There is a decent chance these mod files will be compressed in a .zip file, meaning that the file itself holds several other files that may or may not have to be decompressed for them to be properly installed.
Step 4: Follow the Installation Instructions.
Installation instructions can vary mod to mod so you will need to review the installation instructions for each mod from the mod description page. Most of them simply require dumping the mod files into a certain file location. But some can be as complex as having to manually insert each mod file into several game file locations. It all depends on the mod in question..
Most manual installations will require you to access the Skyrim data folder. This can usually be found in your file explorer at: C:/Program Files (x86)/Steam/steamapps/common/Skyrim/Data
But keep in mind that the address may be a little different based on where you purchased Skyrim.
Step 5: Play the Game.
How to Install Mods on Consoles (PS4 and Xbox One)
Step 1: Get a Bethesda.net account.
- Access the Bethesda.net webpage.
- Click the “Log In/ Sign Up” button at the top right of the website.
- Click “Sign Up” and then click “Create Account”
- Type in your email, new username, password and other relevant information.
Step 2: Link this Bethesda.net account to your console.
- Launch Skyrim on your console.
- Select “Mods” from the main menu. The game should automatically prompt you to login.
- Log into your Bethesda account. Once complete, the game should not be connected to your Bethesda account.
Step 3: Search for a Mod And Download It
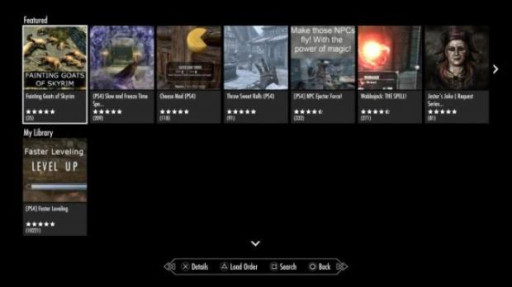
PS4 Skyrim Mod Page
- Search for the mod depending on category and other search options. Each mod should have a short description you should review.
- When you find the mod you want, select the download option.
Step 4: Enable the Mod you Downloaded.
- Access your mod list.
- Find the mod you downloaded.
- Select the mod and click the enable button.
Step 5: (If Necessary) Alter the Load Order
- Some mods need to be downloaded before or after other mods. If this is the case, then this means that you will need to alter your load order.
- Access you mod load order. This can be found on main mod menu.
- Find the mod you want to move
- Select the “Reorder” function and change its location on the mod order list. This is usually done by either the analog stick or the directional pad.
Step 6: Play the Game
You may also be interested in:
- Top 15 Best Skyrim Weapons and Where to Find Them
- [Top 10] Skyrim Mods That Add More Enemies
- Top 50 Best Skyrim Cosplays (Most Beautiful Skyrim Cosplays)
- [Top 10] Skyrim Best Builds of All Time
- Skyrim Best Light Armors And How To Get Them
- [Top 25] Best Skyrim Mods For a Brand New Experience
- [Top 10] Skyrim Best Swords and How to Get Them
- [Top 10] Best Skyrim Horror Mods For a Brand New Experience


