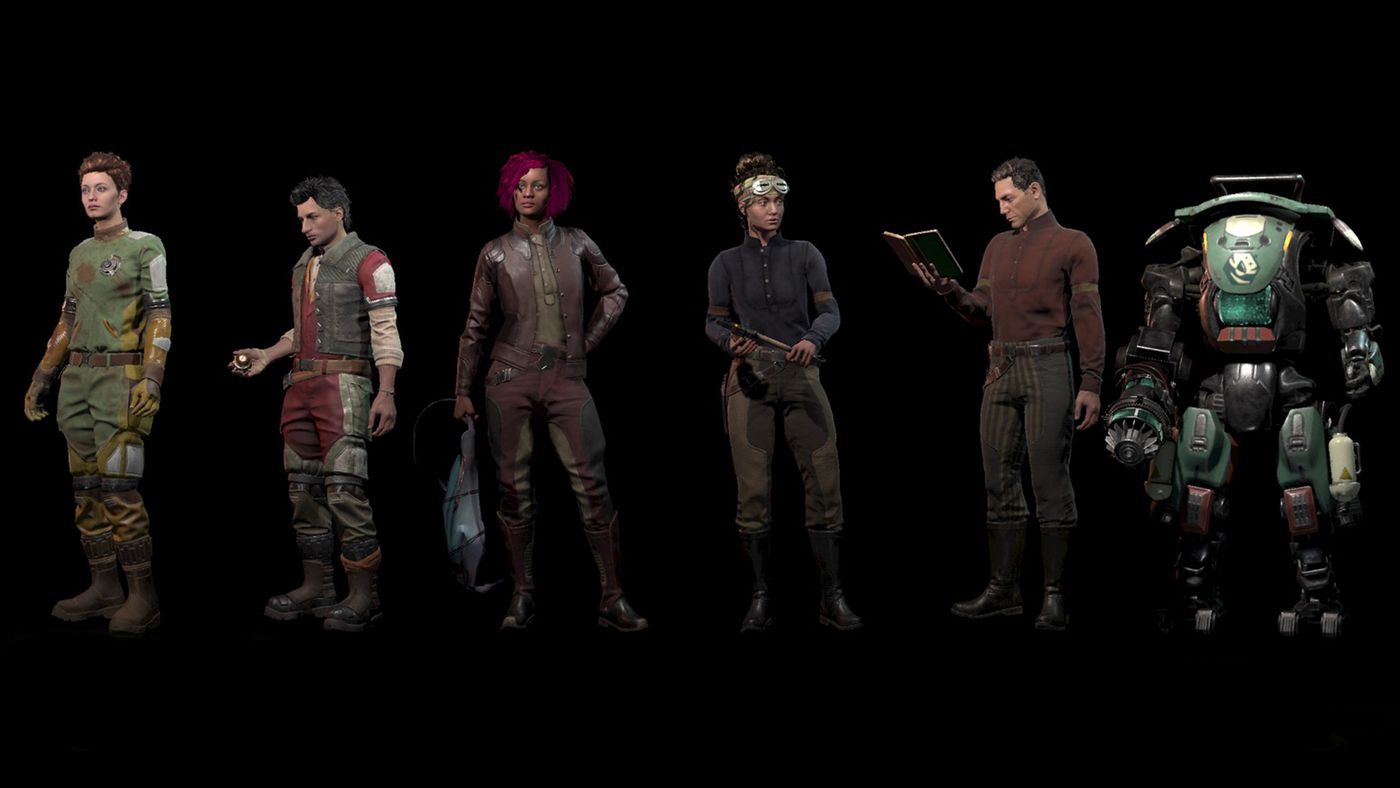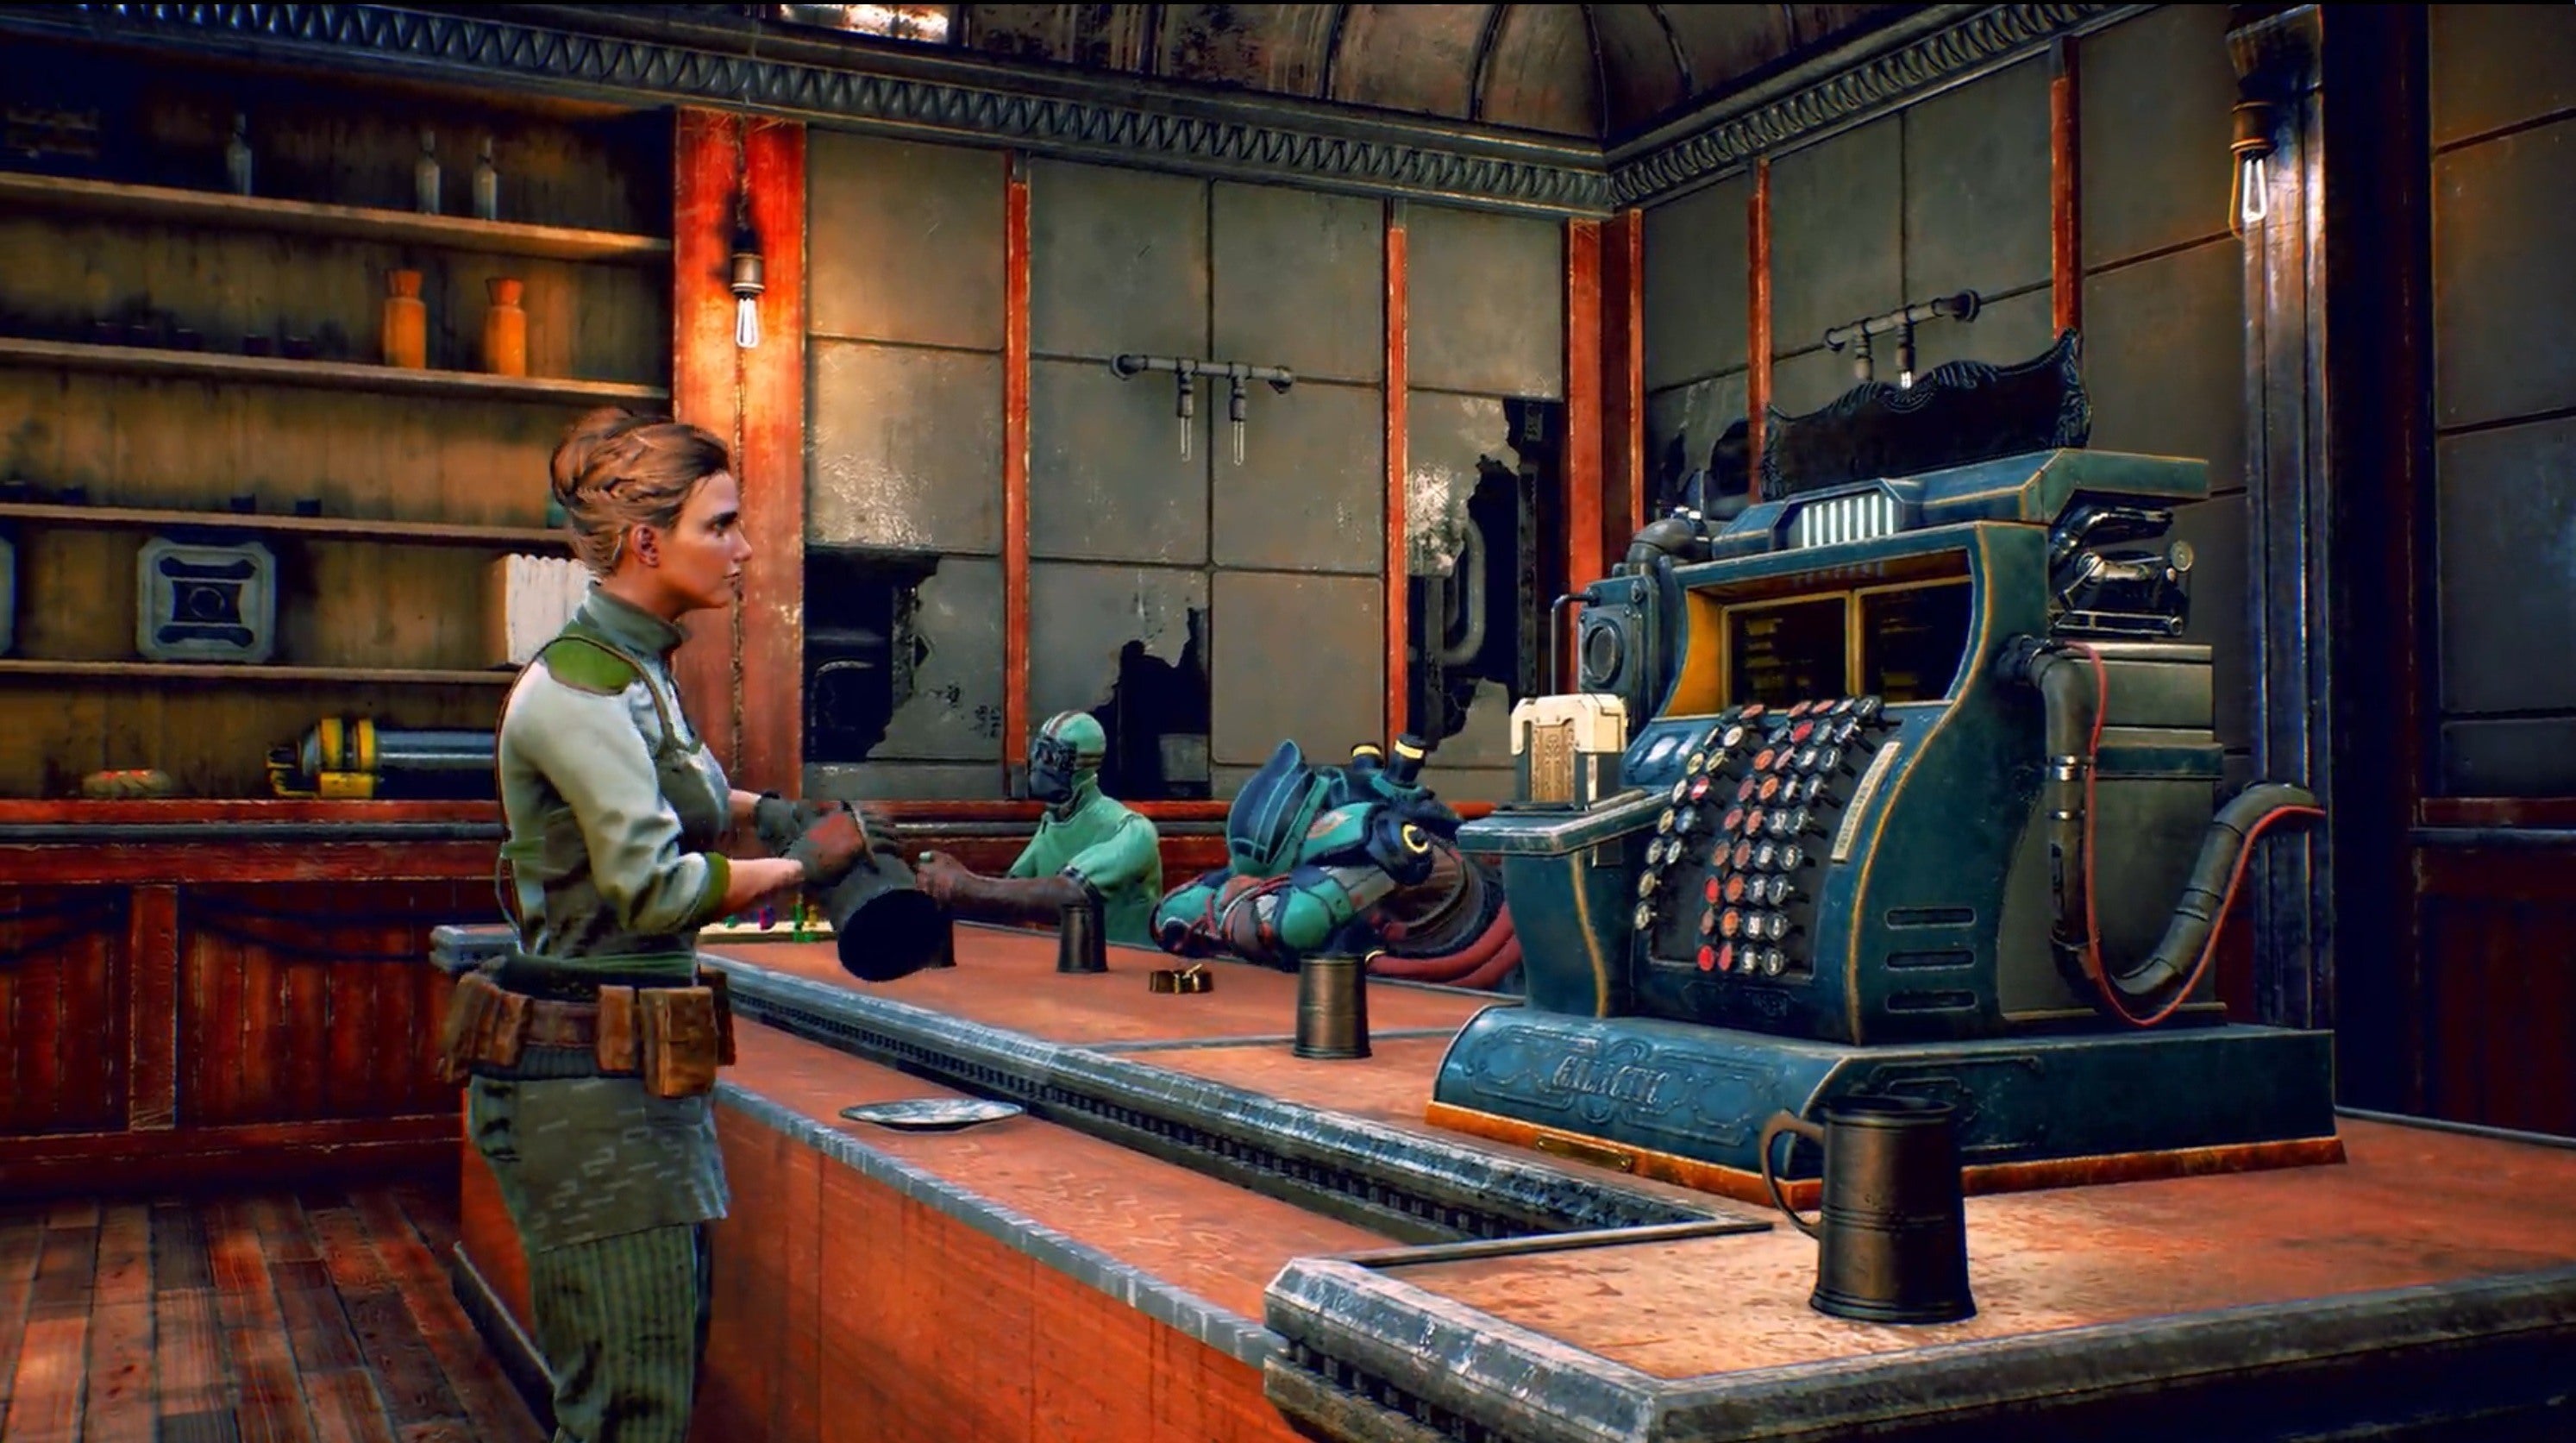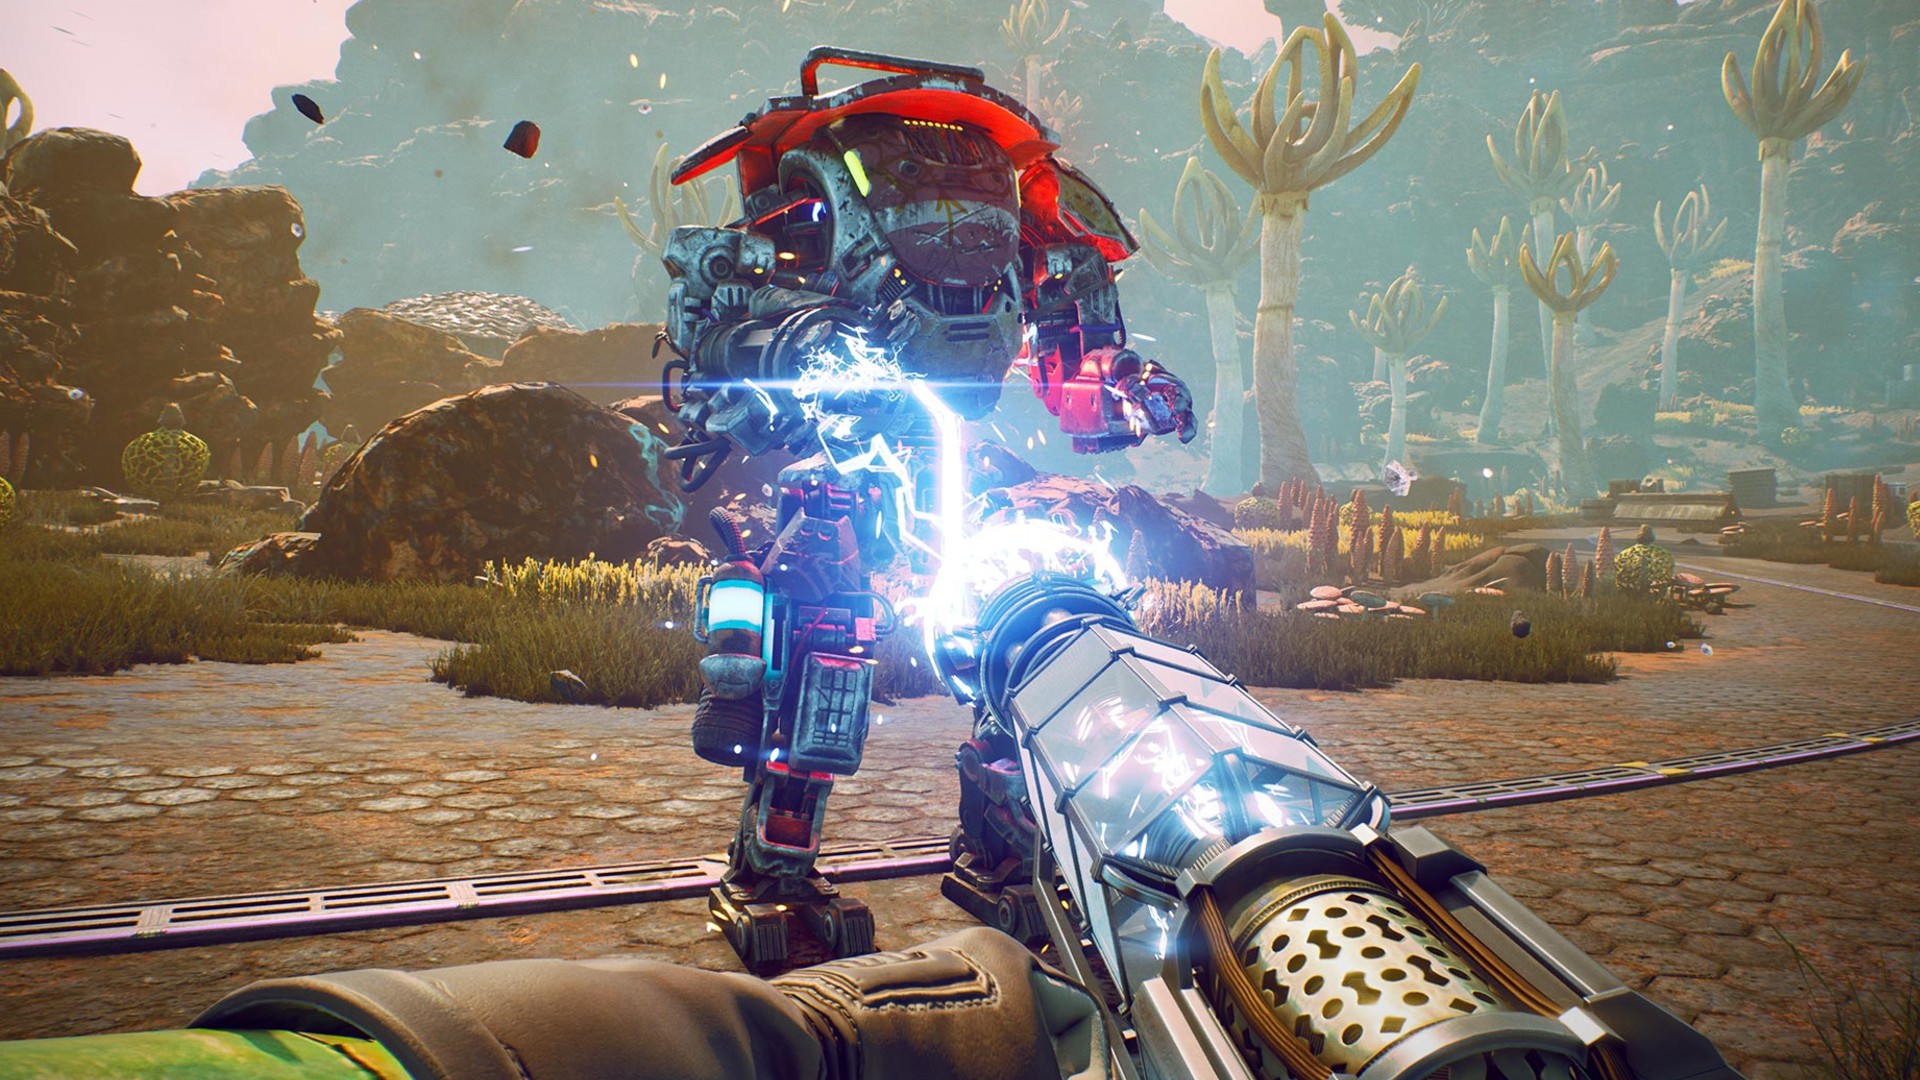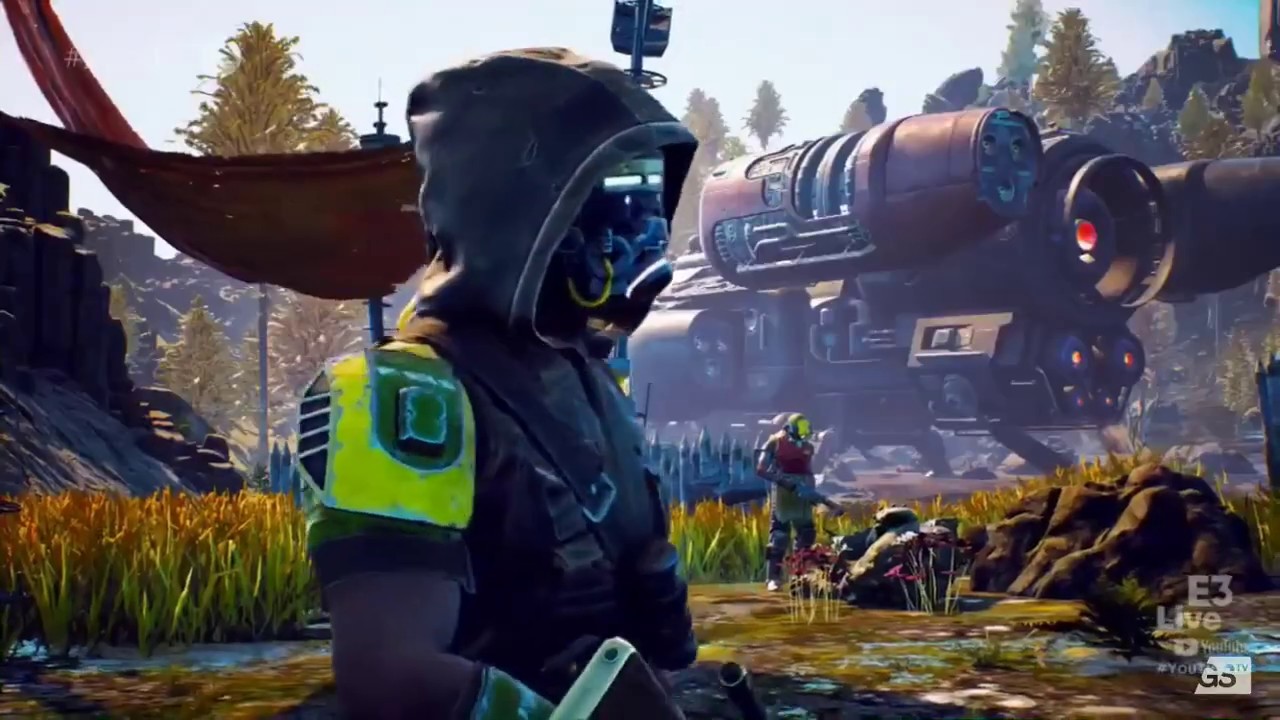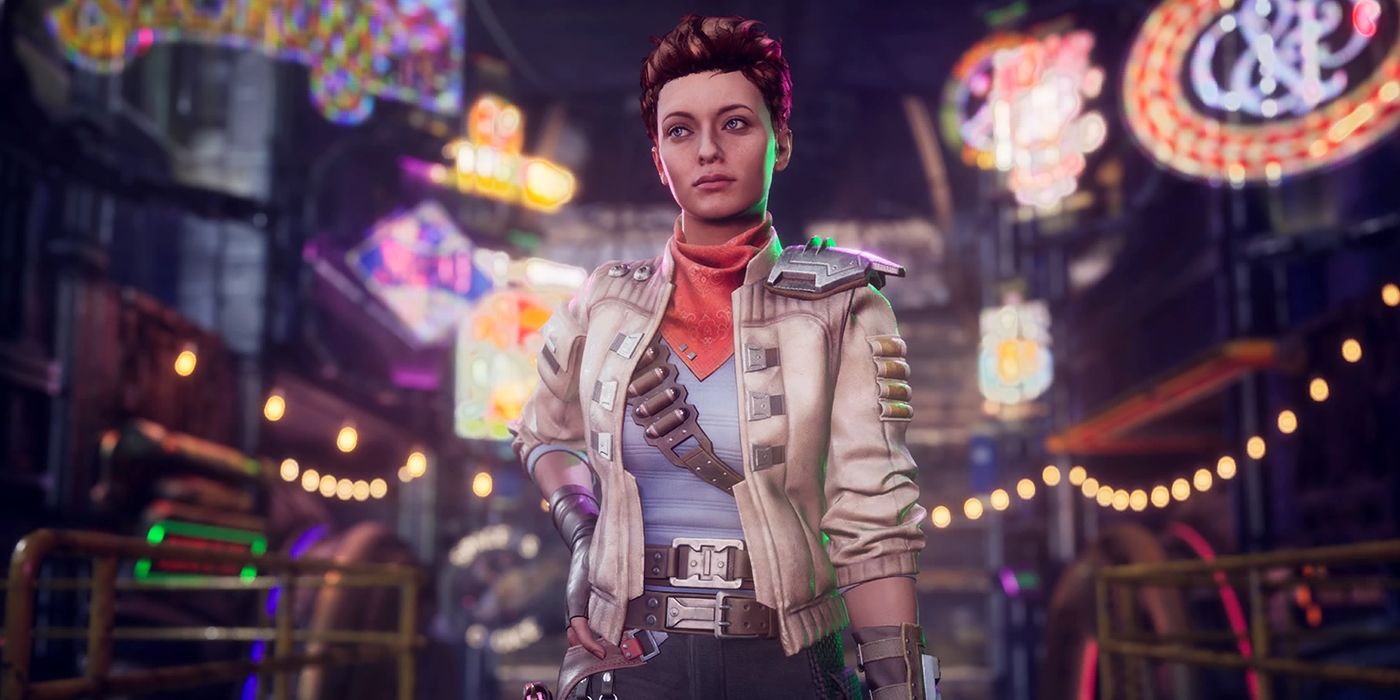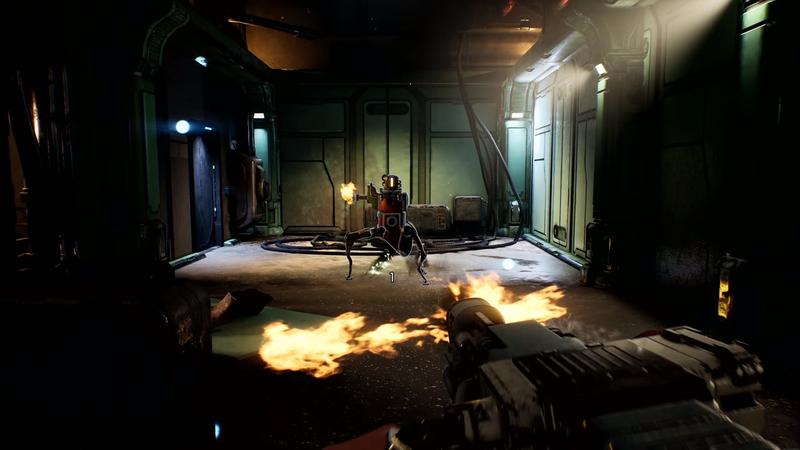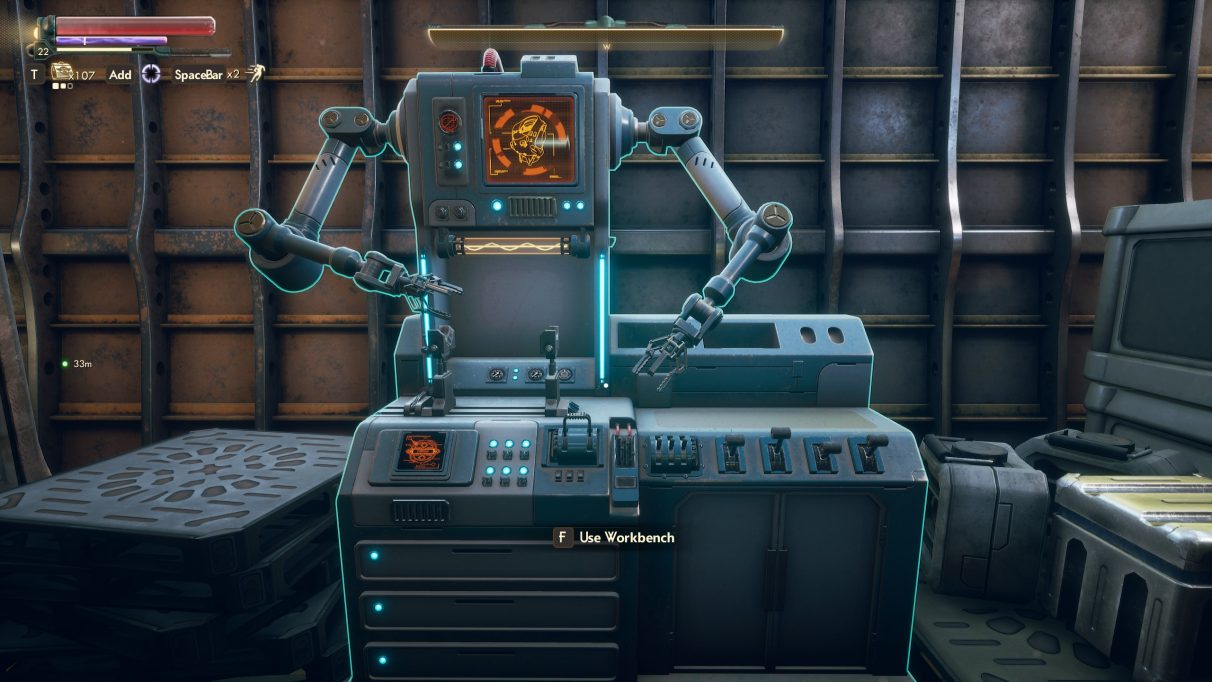
These are the top 10 armours in The Outer Worlds and how to get them. As with the weapons, all the armours’ base defence stats can be improved through Tinkering at the Workbench, however the following armours are the best for the bonuses they provide to various skills. So, here we go.
10: Leaded Armour (Mid to Late-Game)
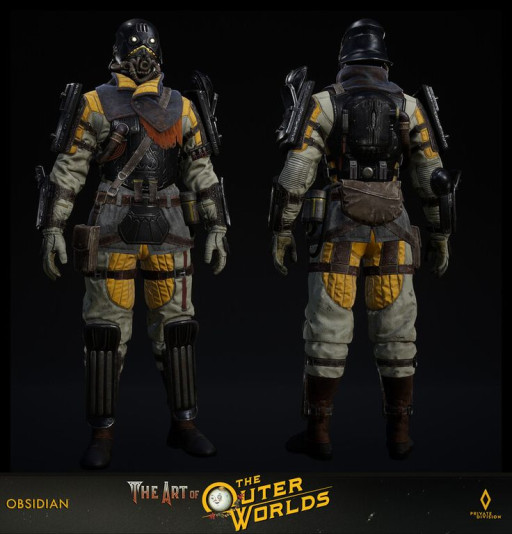
This medium-weight armour, with a base defence rating of 24, is not only quite useful at the point you get it but also looks rather unique. And because it’s classed as medium armour, it won’t slow you down too much, allowing it to be used by most character builds.
Armour Stats:
- Faction: Iconoclasts
- Armour Rating: 24
- Skill Bonus: 2-Handed Melee +7
- Weight: 5.00
What makes Leaded Armour great:
- Good balance between weight and protection
- Skill bonus is good for 2-handed melee builds.
How to get Leaded Armour:
- Travel to Amber Heights on Monarch
- Speak to Bronson, the quartermaster.
- Buy armour from his inventory.
9: Heavy Construction Gear (Mid To Late-Game)
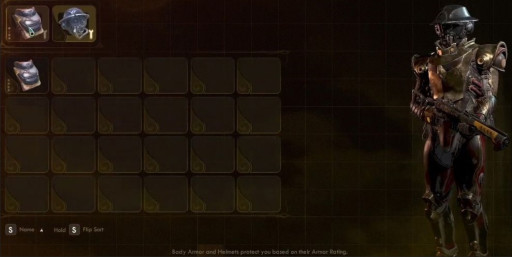
For the player who doesn’t care about moving too fast and wants to be able to take a beating, we have the Heavy Construction Gear. Obviously this distinctive suit will not allow for much sneaking around, but you will be able to take quite a bit of punishment so that you can use the bonus to 1-Handed Melee the suit provides.
Armour Stats:
- Faction: Iconoclasts
- Armour Rating: 38
- Skill Bonus: 1-Handed Melee +5
- Weight: 5.00
Why the Heavy Construction Gear is great:
- Excellent protection for the weight.
- Adds a bonus to 1-Handed Melee skill.
How to get Heavy Construction Gear:
- Can be bought from most vendors when at the appropriate level (level 16), but try Bronson in Amber Heights.
8: SugarOps Armour (Mid To Late-Game)
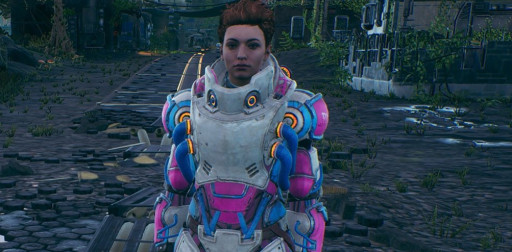
Boasting one of the most unique colour schemes in the game, players will definitely stand out in this armour that Rizzo’s supplies to it’s troops. This heavy armour offers good protection as well a bonus to your Defense skill, which is great for defensively-minded melee builds.
Armour Stats:
- Faction: MSI
- Armour Rating: 41
- Skill Bonus: Defense Skills +5
- Weight: 5.00
Why the SugarOps Armour is great:
- Adds a bonus to Defense Skill
- Great protection that can be improved since you can find it relatively quickly if you hurry.
How to get the SugarOps Armour:
- Go to Cascadia.
- Take the lift on the bridge downstairs.
- The armour is worn by an enemy in the safehouse. Kill him or pickpocket him to get it.
7: Raptidon Handler’s Armour (Mid-Game)
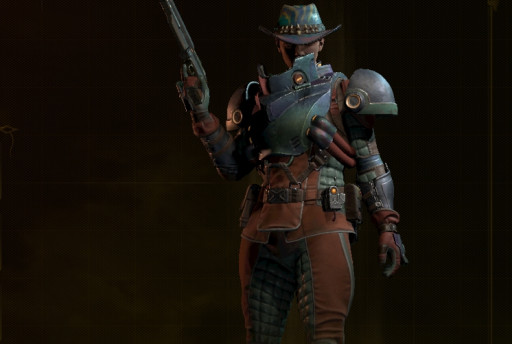
A unique variant of Ordnance Control Armour, this specific armour is a good early mid-game option for – and this may come as a surprise – those who focus on Dialog Skills, adding a +5 bonus to all Dialog skills for as long as you wear it. It also comes pre-installed with three armour mods, one of which increases protection against Corrosive type damage. Fitting given the name.
Weapon Stats:
- Faction: Auntie Cleo
- Armour Rating: 19
- Skill Bonus: Dialog Skills +5
- Weight: 2.50
Why the Raptidon Handler’s Armour is great:
- Pre-installed mod increases Corrosive damage protection.
- Adds a good bonus to all Dialog Skills.
How to get Raptidon Handler’s Armour:
- Travel to Roseway.
- Go to the Roseway Luxury Apartments.
- Search the lockers in one of the ground floor apartments.
6: Safecracker’s Jacket (Mid to Late-Game)
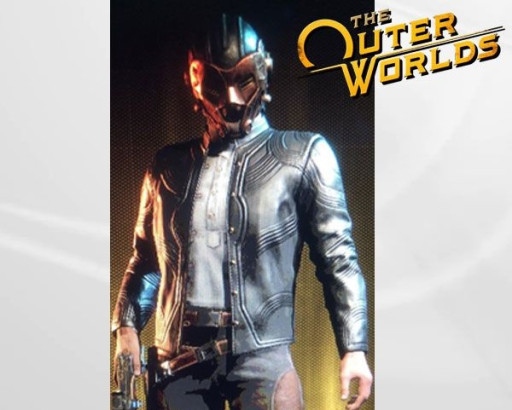
Though it does not offer as much protection as other armours on this list, it provided a quite reasonable bonus to your Lockpick skill, which seems obvious given the name. As a nice little side-benefit, it makes you look kind of like Han Solo, especially if you equip a pistol.
Weapon Stats:
- Faction: Ports Of Call
- Armour Rating: 13
- Skill Bonus: Lockpick Skill +10
- Weight: 1.00
Why the Safecracker’s Jacket is great:
- Provides a substantial bonus to Lockpick skill.
- Will make you look like Han Solo
How to get Safecracker’s Jacket:
- Travel to Scylla.
- Land at Harlow’s Base with Felix in your party.
- In the room where you first meet Harlow is a yellow container behind a Spacer’s Choice container. The jacket is in there.
5: Iconoclast Apostle Armour (Mid to Late-Game)
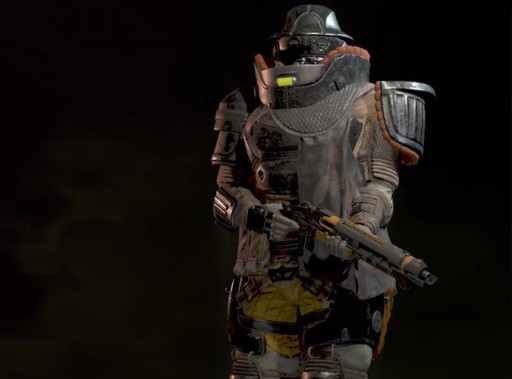
A unique armour gained during the Pay For The Printer quest. This armour is worth considering for a melee character, as it adds a nice bonus to your Melee Weapons skill. Pair this with the helmet for a match made in melee heaven.
Armour Stats:
- Faction: Hephaestos
- Armour Rating: 34
- Skill Bonus: Melee Weapons Skill +5
- Weight: 5.00
What makes the Iconoclast Apostle Armour great:
- A decent bonus to Melee Skill.
- Can look quite impressive with or without the helmet.
How to get the Iconoclast Apostle Armour:
- Travel to Monarch.
- Go to Amber Heights.
- Speak with Graham Bryant, the Iconoclast leader and help them.
- Accept and complete the quest Pay For The Printer to receive this armour as a reward.
4: MSI Elite Armour (Mid to Late-Game)
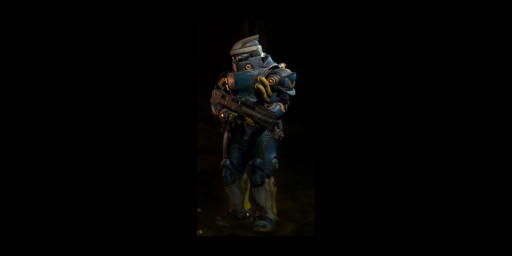
This colourful armour is used by almost all of the guards on Monarch and is useful for those looking for a boost in Ranged skill, especially when paired with the matching helmet. The best way to get this armour is to complete the Errors Unseen quest for Sanjar on Monarch.
Armour Stats:
- Faction: MSI
- Armour Rating: 29
- Skill Bonus: Ranged Weapons Skill +5
- Weight: 5.00
What makes the MSI Elite Armour great:
- Adds a worthwhile bonus to your Ranged Weapon skill.
- Comes built-in with three mods that can be swapped out for others.
How to get the MSI Elite Armour:
- Travel to Monarch.
- Head to the MSI main office.
- Speak with Sanjar Nandi after completing the BOLT With His Name quest.
- He will give you the Errors Unseen quest.
- Complete this quest to receive this armour as a reward.
3: Certified Explorer’s Hat (Late-Game)
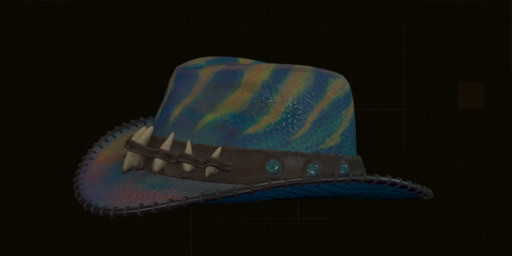
A blue reptile skin hat with animal teeth fastened to its hatband. This is the perfect hat if you are recreating Crocodile Dundee in The Outer Worlds, this hat is certainly a fashion statement and is a reward for completing the quest All Halcyon In A Day.
Armour Stats:
- Faction: Ports Of Call
- Armour Rating: 2
- Skill Bonus: Perception +1
- Weight: 0.00
What makes the Certified Eplorer’s Hat great:
- Adds a bonus to Perception, making it useful for most ranged builds.
- No weight means more room for other items in your inventory or heavier armour without becoming encumbered.
How to get Certified Explorer’s Hat:
- Travel to Byzantium on Terra 2.
- Head to the Bureau Of Exploration and speak with Alonzo Vallejos.
- He will give you the quest All Halcyon In A Day quest.
- Finish the quest to get this hat as a reward.
2: Sublight VP Armour (Mid to Late-Game)
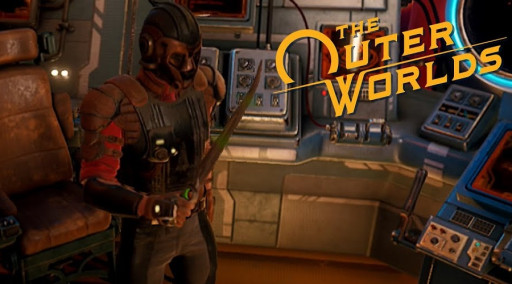
Made for criminals or those who want to aggressively ‘persuade’ (read intimidate) people who don’t want to cooperate, this armour is a reward for killing your target in the ‘The Chimerist’s Last Experiment’ quest.
Armour Stats:
- Faction: Aramid Ballistics
- Armour Rating: 26
- Skill Bonus: Intimidate +10
- Weight: 3.00
What makes the Sublight VP Armour great:
- Adds a not insignificant bonus to your Intimidate skill.
How to get the Sublight VP Armour:
- Travel to Groundbreaker.
- Speak with Lilya Hagen, the leader of Sublight Salvage and Shipping.
- Complete her series of quests until she offers the quest to kill a scientist.
- This quest is called “The Chimerist’s Last Experiment”.
- Complete this quest by killing the target.
- Return to Lilya Hagen for this armour as a reward.
1: Chimaera (Mid to Late-Game)
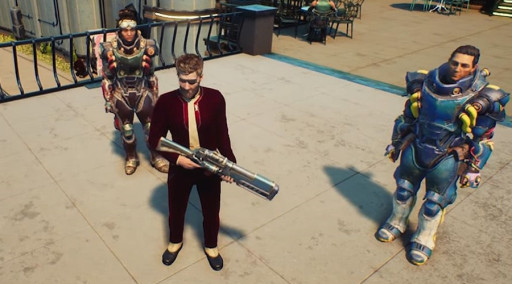
A suitably dashing piece of armour for the dapper man or woman exploring space, this suit is well worth the slight hassle of getting it. Not only does it provide the same or better amount of protection as the heavy armour you will find at this point in the game, it also adds a large bonus to all your speech-related skills. Just be careful you don’t invalidate Parvati’s quest before you finish this one.
Armour Stats:
- Faction: Jolicoeur
- Armour rating: 53
- Skill Bonus: Dialog Skills +10
- Weight: 1.00
What makes the Chimaera great:
- Substantial bonus to all speech skills.
- Same protection as heavy armour.
How to get Chimaera:
- For an easy waypoint to the starting location, progress Parvati’s companion quest until she directs you to a clothing shop in Byzantium.
- Travel to Byzantium.
- Go to Jolicoeur’s Haberdashery and speak with Celeste.
- To prevent problems later buy Parvati’s dress now.
- Celeste will ask you to model three different sets of clothing for her. This is the start of the “Makes Space Suits, Won’t Travel” quest.
- Complete this quest to find the suit in Celeste’s office.

