Are you looking to change your Rainbow Six Siege settings? Or see what pro players use? We’ve got you covered!
Why are graphics settings so important in R6?
- Very essential for the game’s performance and FPS.
- Some settings, if set incorrectly, prevent you from seeing enemies.
- They give you a tactical advantage over players who ignore them.
Now that you know why they’re important, let’s show you which settings to change. Here’s a list of the best 15 graphics settings you should definitely look into:
15. Texture Quality
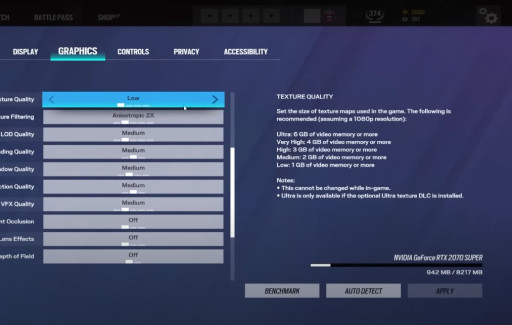
Lowering your texture settings sacrifices texture quality for better performance. High texture quality puts more load on your graphics card, which lowers your fps. You don’t want that.
Set to: Low
14. Texture Filtering
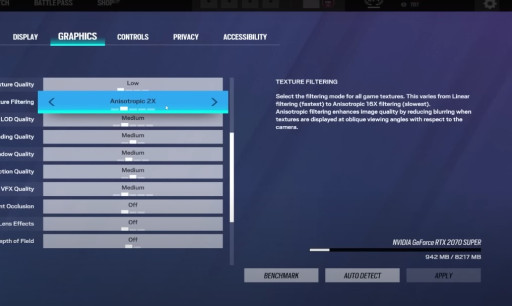
There’s a catch, though; lowering it too much makes the game look bad. So, we’ll pick a sweet spot between bad looks and bad performance.
Set to: Anisotropic 2X
13. LOD
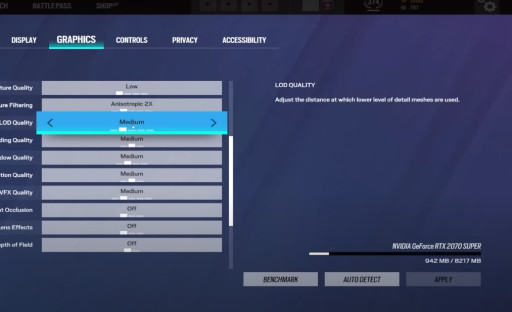
Set to: Medium
12. Shading Quality
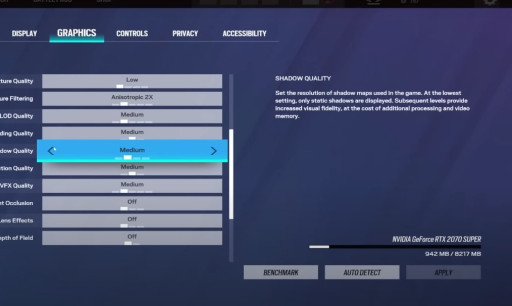
If you set it too low, you’ll lose a massive tactical advantage, which is spotting enemies through their highlighted light or shadow. Setting it high costs your performance.
Set to: Medium
11. Shadow Quality

Shadows in Siege are very powerful, and they allow you to spot enemies easier, especially on brighter maps like Border. It also costs a significant amount of performance, so go easy on it.
Set to: Medium
10. Reflection Quality
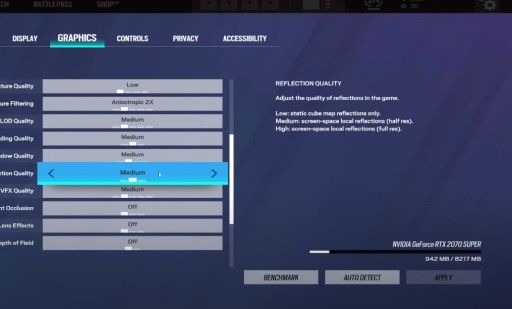
Use it to lower the load on your GPU.
Set to: Medium
9. VFX Quality
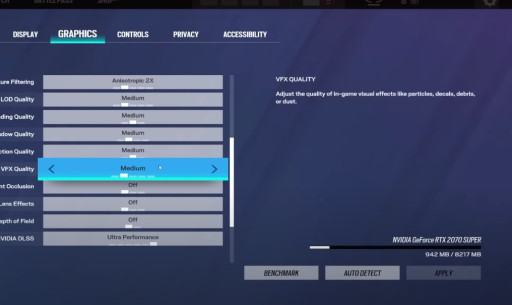
The trick with VFX is keeping it easy on the eye while still maintaining good performance; you don't want your fps to drop every time you throw a grenade, after all.
Set to: Medium / Low if performance is at risk.
8. Ambient Occlusion

It offers no tactical advantage and costs you performance, so it’s pretty much useless.
Set to: Off
7. Lens Effects
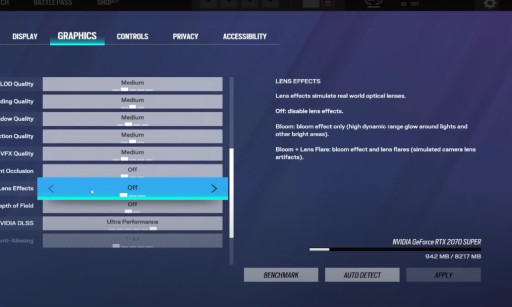
This setting, if turned on, will heavily mess up your vision in-game and performance; if you have Bloom + Lens Flare, you won’t be able to see anything. It’s not worth the trade for realism.
Set to: Off
6. Zoom-In Depth of Field
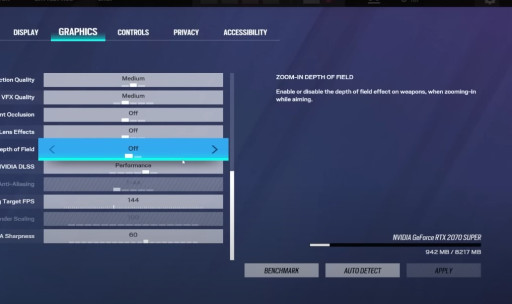
The issue with this setting, to me at least, is that you need to see the screen unchanged at all times, whether you’re aimed in or not.
Set to: Off
5. NVIDIA DLSS
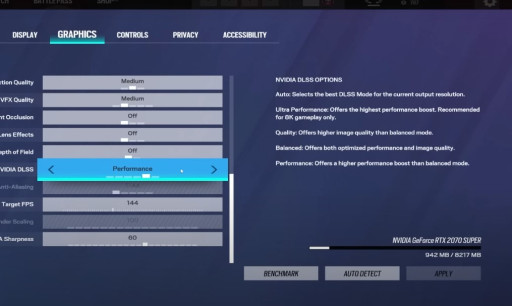
What you pick for this setting will heavily influence how your game runs, and be careful not to turn on Ultra Performance because it’s for 8K gamers only.
You can’t go wrong with an extra performance boost, so pick that; you don’t need the extra quality as you’ll be focused on enemies.
Set to: Performance
4. Adaptive Target FPS
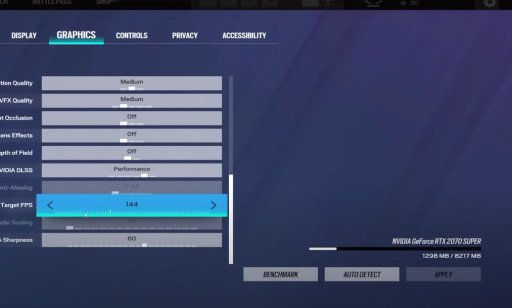
Check what your monitor or TV runs at from its specs, then set the target FPS accordingly.
Set to: Your monitor’s MAX FPS
3. T-AA Sharpness
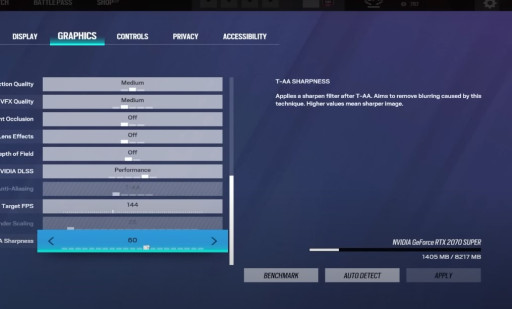
I suggest going somewhere around the middle, even though higher is better (at the cost of performance), but never go low.
Set to: 60 (or around it)
2. Screen Shake Intensity
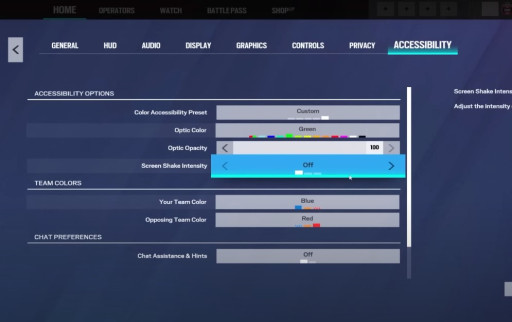
It’s important to turn it down or off because the shaking might distract you or mess up your aim if you’re shooting while something just blew up near you.
Set to: Off
1. Field of View
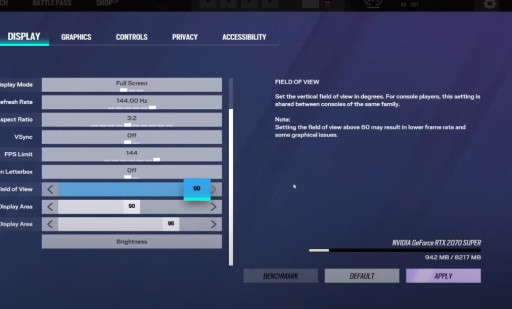
This setting widens your field of view, allowing you to see more things on the screen at the cost of making objects in the centre smaller.
Setting it high is well worth the cost of aim and performance since you’ll be gathering far more information per second.
Set to: 90 or 85 if you can’t aim well with 90.
Thank you so much for reading our top 15 list of the best pro graphics settings in Rainbow Six Siege!
