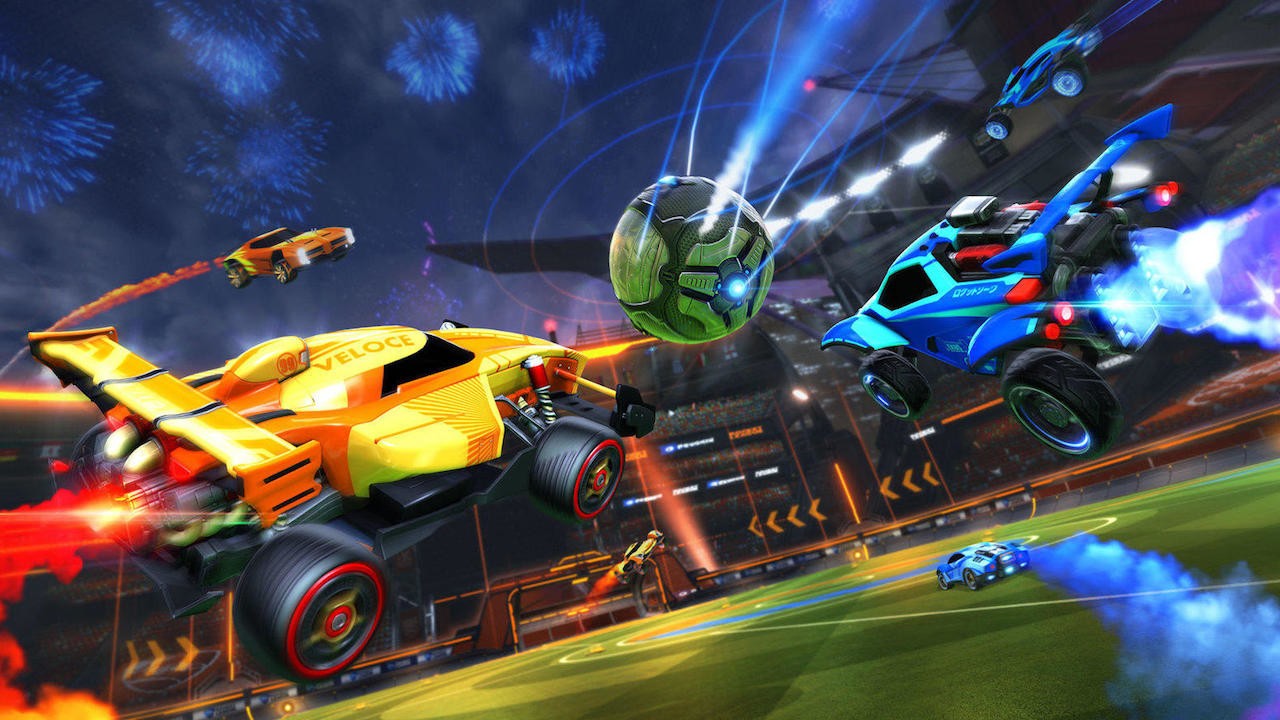
Camera settings in Rocket League are single-handedly the most important amongst all settings in this game. They can vary by preference, but for the most part, there are settings you will want to stick to, to keep up to date with current players and continue growing as a player.
Here are 15 close camera settings that are going to give you that extra edge over your opponents!
1) Max Field of View
More Field of View means a wider perspective of viewing. This will help you a lot while playing. Moreover, the pro players also play with max Field of View settings! This becomes even better when you have a bigger display, but it works great for small displays too.
To apply this setting follow these instructions:
- First go to the options screen from either the main menu or the pause menu during a game.
- Go to the Camera tab
- Move the Field of View all the way to the right to make it 110
2) Medium Field of View (70-80)
If you cannot control the game when on max Field of View, you can always try lowering the settings a bit. Choose which are the best for you! But make sure to not lower the Field of View too low, otherwise, you will find yourself at a huge disadvantage.
To apply this setting follow these instructions:
- First go to the options screen from either the main menu or the pause menu during a game.
- Go to the Camera tab
- Move the Field of View to a number between 70 and 80.
3) Medium Camera Distance (270)
This is the perfect setting for the distance. If you increase or decrease too much, your control of the game might get affected. If you aren’t the most familiar with the game, this will also benefit you and give you an advantage to learning how to control your car.
To apply this setting follow these instructions:
- First go to the options screen from either the main menu or the pause menu during a game.
- Go to the Camera tab
- Move the Distance to 270
4) Max Camera Distance
If you have good control over the game and want to try out new things, you can surely try this setting. It will take your camera far away from the car, giving you a wide view of the car’s surroundings.
To apply this setting, follow these instructions:
- First go to the options screen from either the main menu or the pause menu during a game.
- Open the Camera tab
- Move the Distance to the max setting
5) Medium Camera Height: (90-110)
You should stick between these to have a clear and controlled view of the game. These are the settings mostly used by the pros. If given the chance, I would definitely want to be the next pro in this game!
To apply this setting, follow these instructions:
- First go to the options screen from either the main menu or the pause menu during a game.
- Open the Camera tab
- Move the Height to a number between 90 and 110.
6) Low Camera Height
Again, if you want to try something new, and want a changed perspective of playing the game, you can lower the camera height. This will make the camera look like any other car racing game.
To apply this setting, follow these instructions:
- First go to the options screen from either the main menu or the pause menu during a game.
- Open the Camera tab
- Move the Height to a number below 90.
7) Medium Camera Angle (-3 to -4)
This will be the perfect viewing angle. A balanced view is the key to success in this game. You will get a view that is neither too up nor too low which is a huge advantage
To apply this setting, follow these instructions:
- First go to the options screen from either the main menu or the pause menu during a game.
- Open the Camera tab
- Move the Angle to either -3 or -4
8) High Camera Angle:
If you want a simple and plain viewing angle and are fond of playing other games related to cars etc. You can try these settings. Choose the settings that are best for you only!
To apply this setting, follow these instructions:
- First go to the options screen from either the main menu or the pause menu during a game.
- Open the Camera tab
- Move the Angle to -5.00
9) Camera Stiffness
This is the change in camera angle and distance when your speed increases. Most pro-players stick between 0.4 to 0.5.
To apply this setting, follow these instructions:
- First go to the options screen from either the main menu or the pause menu during a game.
- Open the Camera tab
- Move the Angle adjuster to 0.45
10) High Camera Stiffness
If you want your camera to not change much when your speed gradually increases and want to keep it as it was before, you can always try to maximize this setting. This is best for someone who is newer to the game and wants to explore their game control.
To apply this setting, follow these instructions:
- First go to the options screen from either the main menu or the pause menu during a game.
- Open the Camera tab
- Move the Angle adjuster to 0.50 or above
11) Low Camera Stiffness
If you want a real-time experience with the game, you can always change the camera stiffness to a minimum. This will make the camera change when your speed increases.
To apply this setting, follow these instructions:
- First go to the options screen from either the main menu or the pause menu during a game.
- Open the Camera tab
- Move the Angle adjuster to under 0.45
12) Medium to High Swivel Speed
You can go for medium swivel speed as it is the balance between control and efficiency. If you have good control over the game, you can always go for higher speeds. Pros mostly use high swivel speeds.
To apply this setting, follow these instructions:
- First go to the options screen from either the main menu or the pause menu during a game.
- Open the Camera tab
- Move the Swivel Speed all the way to the right to 10.0
13) Low Swivel Speed
Going for lower values of swivel speeds will not have a significant effect on your gameplay. It will give you more control too. So, choose the one which suits you the best.
To apply this setting, follow these instructions:
- First go to the options screen from either the main menu or the pause menu during a game.
- Open the Camera tab
- Move the Swivel Speed all the way to the right somewhere between 6.00 and 7.00
14) Transition Speed
Keeping the transition speed high will have a positive effect on your reaction speed and overall gameplay. It will help you change the views quickly!
To apply this setting, follow these instructions:
- First go to the options screen from either the main menu or the pause menu during a game.
- Open the Camera tab
- Move the transition speed to 1.20
15) Nameplate Scale
Go to the interface tab and change the nameplate scale to 160% - 200%. This will make players easier to spot out and easier to track down your opponents. This is especially good for newer players as well as it keeps your eyes on everyone on the field.
To apply this setting, follow these instructions:
- First go to the options screen from either the main menu or the pause menu during a game.
- Open the Interface tab
- Move the nameplate scale to 160%-200%
You may also be interested in:
- Top 15 Rocket League Tips For Outplaying Your Opponents
- 15 Best Rocket League Settings That Give You an Advantage
- Top 10 Rocket League Best Plays (2020)
- [Top 10] Rocket League Best Players In The World Today
- [Top 10] Rocket League Best Car Designs
- Top 5 Rocket League Best Cars
- Best Wheels In Rocket League That Look Freakin Awesome
- Top 5 Rocket League Best Crates

