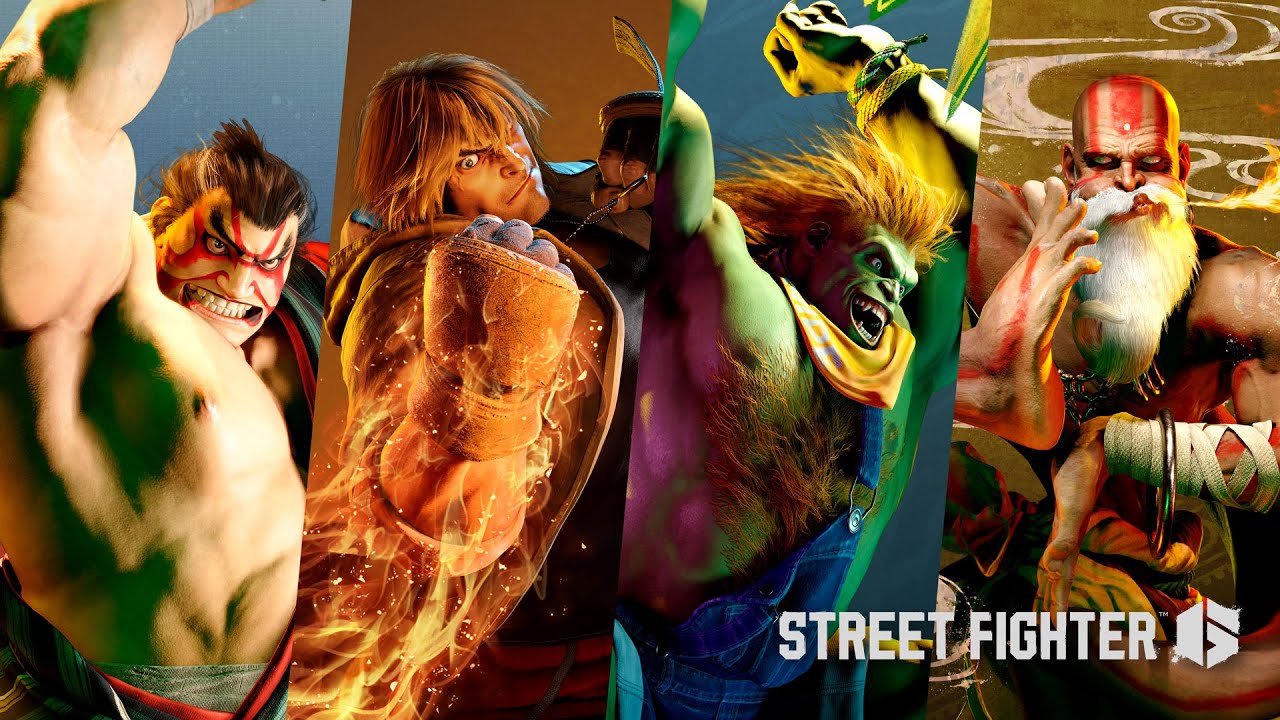
Even at the start of the new year and with other, recently released fighting games such as Tekken 8 set to challenge its spot at the top, Street Fighter 6 is still one of the most popular fighting games out right now. With new characters still yet to join the roster and Capcom Cup about to close out this season, it's a good time to jump in and face the competition. With that being said, let's take a look at the premier sumo fighter himself, E. Honda.
E. Honda, if nothing else, is notable for his ease of use. Still, if you want to face the higher skilled players in Master Rank someday, you'll need a little more than just headbutts and buttslams with nothing inbetween. It'll be a good idea to learn these combos and incorporate them into your gameplay as you play more and the right situation arises.
Also, while this list covers the "Top 10" combos, this also includes multiple variations of certain combos that are worth noting due to how different situations might call for different enders or starters.
1. Countering An Opponent's Drive Impact (Midscreen)
https://www.youtube.com/watch?v=Nycq1X2OUZc&t
Players new to the game often have a rough time dealing with the drive impact mechanic, especially when they're getting heavily pressured in the corner. But once you do start reacting to an opponent's drive impact with your own, it's important to make them regret it. A very simple combo is that, once your opponents uses their own DI, you use your own to counter it - and then do the following:
* Drive Impact (Punish Counter) -> Standing Heavy Kick (First Hit Only) -> Drive Impact
Yep, two drive impacts in one combo - it's nothing flashy, and many characters in the game can do something similar, but it's a very effective route to punish your opponent by hitting their drive gauge meter hard. Honda can be a pretty scary character to fight against when you lose all your drive meter and are in the burnout state, which makes opposing characters moves more advantageous on block and makes you susceptible to stun if your back is to the wall. So this combo will make your opponent think twice (hopefully) before they try to test your reactions to Drive Impact again.
- Damage: 1840
Note: Make sure to pay attention to your own Drive Meter gauge when doing this combo. On the chance your drive meter is too low and this would put you into burnout, it will probably be better to stick to a bread and butter combo that doesn't use drive meter. One thing that's good to practice is perfect parrying an opponent's drive impact and then using this combo - it won't do as much damage as normal due to perfect parry scaling, but it will give you a good amount of drive gauge back to do this combo normally and then some.
2. Standing Heavy Kick (First Hit) Into Taiho Cannon
https://www.youtube.com/watch?v=Nycq1X2OUZc&t=10s
The first hit of standing heavy kick is going to be a primary combo tool in many situations, so it's important to get used to it. For starters, it's the best (and only) way to combo into Honda's Sumo Dash launcher, Taiho Cannon Lift, without using drive meter or needing a punish counter. This launcher adds a lot of damage potential to Honda's main gameplan, so getting used to it and incorporating it in matches will be essential to closing out rounds. It's not as simple as just walking up into your opponent's face and pressing heavy kick to get started, however. There will be a variety of situations that lead into this combo - such as perfect parry and drive impact, as shown in the previous entry. But here are some other examples of how you might get this necessary hit in a real match:* Punish Counter Buttslam - This can be quite practical when your opponent uses a projectile or does a poorly timed perfect parry attempt.
- Damage: 2790
* Punish Counter Standing Heavy Punch (Corner) - We'll talk more about what to do with punish counter heavy punch midscreen later down, but with your opponent in the corner this is a great whiff punish starter that doesn't take any meter.
- Damage: 3100
* Crouch Light and Standing Medium Punch Drive Rush Cancel - Connecting with a Crouching Light or Standing Medium Punch and then doing drive rush cancel into another C. LP or S. MP into the S. HK is a good way to take a normal hit and turn into big damage and get your opponent closer to the corner. Making these confirms can be a bit tricky in comparison to the punish counter examples, so it's worth spending time in training mode to get these down pat.
- Damage: 1903 & 3208
All examples shown end with buttslam for brevity's sake, but it's also just a very practical ender if you want to be more frugal with Drive and Super Meter.
3. Taiho Cannon Variations
https://www.youtube.com/watch?v=Nycq1X2OUZc&t=35s
Regardless of how you end up getting the hit into Honda's launcher, it's also important to know how to follow it up outside of buttslam. Your best follow up will depend on what situation you want to and where you are on the stage. Here are some examples:* Taiho -> Drive Rush Standing Heavy Punch -> Teppo Slap (2 Hits): Teppo Slap is the other follow up from Sumo Dash, a series of 2-3 palm strikes. The first two hits are automatic once you input the command, and slightly delaying this command after the drive rush juggle leads to a safe jump - a scenario which lets you jump in on an opponent that's knocked down without having to worry about invincible reversals such as OD Shoryuken or OD Flash Kick.
- Damage: 2834
*Taiho -> Drive Rush Standing Heavy Punch -> Teppo Slap (3 Hits): Committing to the third hit is useful for creating space between you and your opponent midscreen while also doing a little bit of extra damage.
- Damage: 2839
*Taiho -> Drive Rush Standing Heavy Kick (small delay, both hits) -> Heavy Sumo Hands - >Super Art Level 1: Taiho Launcher is one of the most consistent ways to fit Super Arts into your combos, and in this instance we'll be focusing on his level 1 super, Show of Force. Like Teppo Slap, its a great way to create space midscreen, but with just a little bit more advantage and damage, and even as a way to put your opponent in burnout if they only have a sliver of drive meter left. You can even go for a Sumo Spirit Charge in this situation, although your opponent may be willing to force their way back in during this, so keep it in mind.
- Damage: 3425
4. Toko Shizume (Standing Medium Punch, Down Forward Heavy Kick)
https://www.youtube.com/watch?v=Nycq1X2OUZc&t=74s
Toko Shizume is what is known as a Target Combo, which is a combo that basically lets two or more normal attacks chain into each other without needing to manually time them like a link. You could think of them as a "pre-built" combo. What makes Toko different from other Target Combos is that it actually doesn't combo (usually) - which will be explained.
Down Forward Heavy Kick is a large stomp attack that hits overheard. But it's also unique in that it can be canceled into special moves like buttslam or Honda's Oicho Throw before the end of its animation. So it's more of a fake-out tool than a combo extender - but there is one situation where it does naturally combo and it's worth knowing, which is why it's on this list.
Now that we're familiar with countering drive impact and using the Taiho Launcher, we can imagine a scenario where we can put all of these together with our back to the wall.
* Counter DI -> Standing Heavy Kick (First Hit Only) -> Taiho Cannon -> Drive Rush Toko Shizume
- Damage: 2533
With this combo, not only do we do decent damage, but you can also jump over your opponent safely and switch sides, making them the ones that are closer to the wall. There are better combos to do miscreen or when you already have the opponent in the corner, but this is great to get momentum back on your side.
5. Sumo Spirit Extensions
https://www.youtube.com/watch?v=Nycq1X2OUZc&t=88s
Sumo Spirit buffs Honda's Hundred Hand Slap special (Hands for short) moves, adding an extra attack at the end that allows for extensions with crouching light punch on grounded opponents and bounces opponents in an air juggle to tack on extra damage. Not only that, Sumo Spirit also allows Honda to connect Hands into moves he otherwise couldn't, such as his crouching heavy punch and Neko Damashi (otherwise known as the Clap). This grants extra combo opportunities and pressure that makes Honda that much more threatening.
* Crouching Heavy Punch -> Sumo Spirit Heavy Hands -> Crouching Light Punch - > Medium Headbutt: Being able to get a combo with crouching heavy punch without punish counter or counter hit state is very useful, as even though it can't normally be canceled into specials, it's still a great button because of its forward movement and range.
- Damage: 3040
* Crouching Light Kick -> Crouching Light Punch -> Neko Damashi -> Sumo Spirit Medium Hands -> Crouching Light Punch -> Buttslam: The benefit of having Honda's Clap combo into Hands is getting more out of light starter combos in terms of damage without having to necessarily use drive meter to do so, and they build a little more super meter on top of that.
- Damage: 2395 and Roughly ⅓ Super Meter Build Up
* Taiho Launcher -> Drive Rush Standing Heavy Punch -> Sumo Spirit Heavy Hands -> Medium Hands - > Super Art Level 3: The ground bounce Sumo Spirit offers in air juggles lets Honda get the most bang for his buck in terms of ending combos with his super. Not only is it an easy and practical way to land supers, these combos end up doing the most damage more often than not.
- Damage: 5066
6. Punish Counter Standing Heavy Punch
https://www.youtube.com/watch?v=Nycq1X2OUZc&t=117s
Standing Heavy Punch is one of Honda's biggest buttons, useful for whiff punishing opponents throwing out attacks or getting big damage after blocking a reversal. In these instances, opponents will enter a crumple state similar to when they are hit with a counter DI, so there's opportunity to land a big damage conversion.
Along with the earlier example shown in the second section, here's an example of what to do when you land this hit midscreen:
* Standing Heavy Punch (Punish Counter) -> (Delay) Manual Drive Rush Standing Heavy Punch -> Taiho Cannon -> [Finish]
- Damage: 4304
Normally, Honda cannot combo Heavy Punch into meterless Taiho Cannon, but it is possible in drive rush. You can also simply cancel the punish counter into drive rush instead as soon as you land the hit, but that costs more drive meter to achieve the same purpose, so it's worth practicing doing the manual delay. Regardless, this leads to some of the biggest damage combos Honda can do, so using Standing Heavy Punch with purpose can lead to a great reward.
7. Implementing Double Slaps (Standing Light Punch, Standing Medium Punch)
https://www.youtube.com/watch?v=Nycq1X2OUZc&t=128s
Double Slaps is another Target Combo Honda has, and is substantially more practical for real combos in comparison. As Honda, you'll be relying on his Crouching Light Punch more often since its faster, but Double Slaps will lead to more damage since it also puts opponents in a juggle state that you can combo special moves into.
* Jumping Heavy Kick -> Standing Medium Punch -> OD Hands (Sumo Spirit) -> Double Slaps - Teppo Slap
- Damage: 3375
OD Hands with Sumo Spirit buff allows Honda to combo into Double Slaps in comparison to the non-OD version, which offers good damage and corner carry from the center of the screen to put your opponent at disadvantage.
8. Counter Hits
https://www.youtube.com/watch?v=Nycq1X2OUZc&t=138s
Counter Hit combos are not as flashy as punish counter ones, nor are they as damaging. However, making the most out of any hit is one of many skills that separates decent players from the best, so it's worth knowing them to be ready when the opportunity arises. Luckily, counter hit combos are also not very complicated, and tend to be quite similar.
What makes them worth practicing is that Honda already has tools like Neko Damashi that help catch your opponent when they're pressing buttons or using special moves without good purpose. If they can't stop themselves than its up to you to capitalize on their mistakes.
* Neko Damashi (Counter Hit) -> Double Slaps -> Teppo Slap: Honda's clap has good utility in blockstrings, being able to catch mashing pretty easily and having good audio/visual cues that make this an easier confirm - its an effective combo purely for muscle memory and to build upon - once you get comfortable and starting doing this combo as second nature, other counter hit combos will start to feel easier as well.
- Damage: 2420
* Crouching Heavy Punch (Counter Hit) -> Crouching Light Punch -> Drive Rush Cancel Crouching Light Punch -> Standing Heavy Kick (First Hit Only) - > Taiho Cannon - [Finisher]: This combo is a bit more advanced, mostly due to having to connect CR. LP into ST. HK during the DRC. It can feel a bit odd connecting a light attack into a heavy attack and the window of opportunity to do so might feel small at first. However, even if you don't get immediately comfortable with it, the damage potential and advantage it offers still makes it worth attempting as you play more and more.
- Damage: 3449
9. OD Moves
https://www.youtube.com/watch?v=Nycq1X2OUZc&t=160s
OD moves definitely have their place in Honda's gameplan, and as a whole OD moves that can extend combos can be quite useful for any character in the right context. As much as you'll see DRC extensions, and you surely will, it's still good to remember what OD moves have to offer. Once again, here are some examples.
* Standing Heavy Punch (Punish Counter) -> Drive Rush Standing Heavy Punch -> Taiho Cannon -> Drive Rush Standing Heavy Punch -> OD Hands -> Level 2 Super: OD Hands is the best way to land Honda's Level 2 Super, Ultimate Killer Head Ram. As Level 2 is unique in that it's a super that requires a charge motion input, OD Hands easily allows you to build said charge. This is useful as Honda's level 2 has amazing corner carry and leaves you at a good advantage if you're already in the corner.
- Damage: 4497
* Heavy Hands (Punish Counter + Sumo Spirit) -> Standing Heavy Kick (Both Hits) - > OD Taiho Cannon -> Drive Rush Standing Heavy Punch - > Heavy Hands -> Level 3 Critical Art: Punish Counter Heavy Hands with the Sumo Spirit Buff into the OD Version of Taiho Cannon is actually the key to getting Honda's most damaging combos. It's a bit niche and not something you should plan your whole strategy around - however, recognizing the opportunity in the right moment can even surpass 7000 damage with the right execution - the example shown in just an easier version that is replicable to practice for most players.
- Damage: 6829
10. Stun Combo
https://www.youtube.com/watch?v=Nycq1X2OUZc&t=199s
Think of Stun Combos like a reward. All the practice you've put into learning other combos has finally paid off and you've successfully put your opponent in a checkmate scenario. Now all that's left to do is put the pieces together and enjoy the show.
* Sumo Spirit Charge -> Jump Heavy Kick -> Standing Heavy Punch -> DRC Standing Heavy Punch -> Taiho Cannon -> DR Standing Heavy Punch -> DRC Standing Heavy Punch - Heavy Hands (Sumo Spirit) -> Heavy Headbutt -> Level 3 Critical Art
- Damage: 5356
Stun damage has some scaling unless your opponent doesn't block the drive impact against the wall, but nonetheless worth optimizing.
With these combos to help improve your game, it might feel like this is a lot to learn. As the saying goes, Rome wasn't built in a day, and its best to implement these combos gradually and at your own pace. Once you feel comfortable with some of the easier combos, you'll want to challenge yourself and try to fit in the longer more situational combos into matches.
As for now though, if this article still left you wanting more, here are some other great articles that are worth the read.

