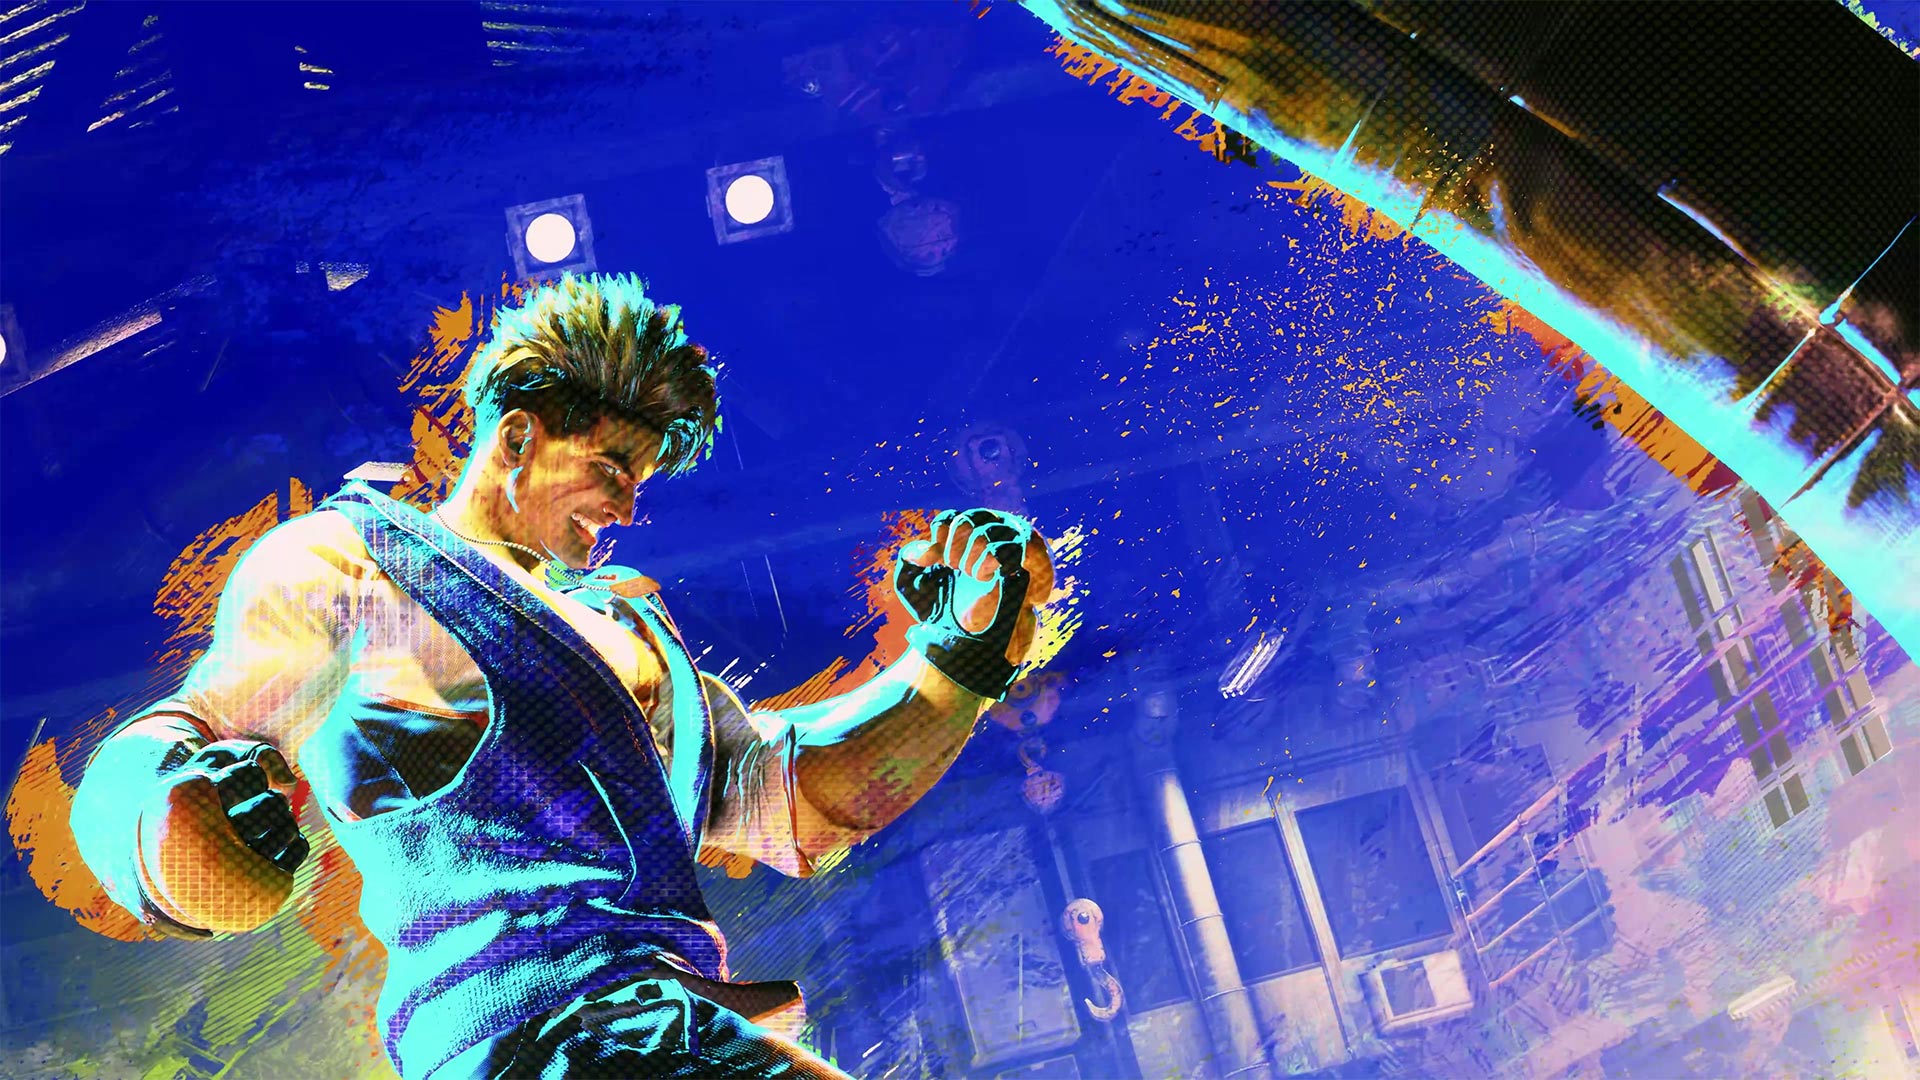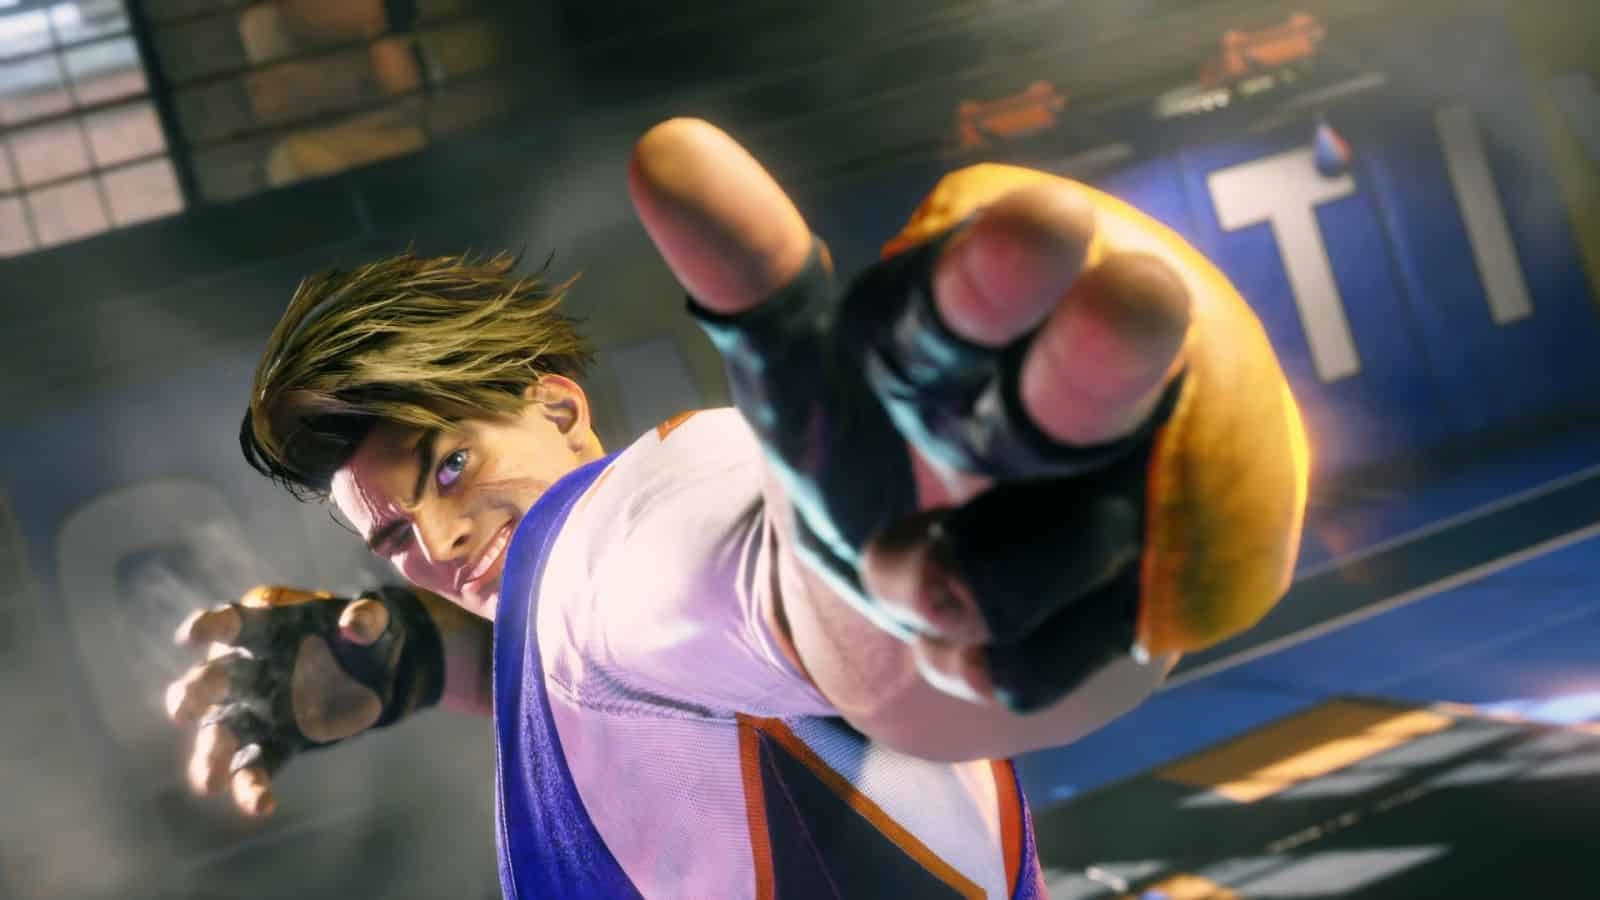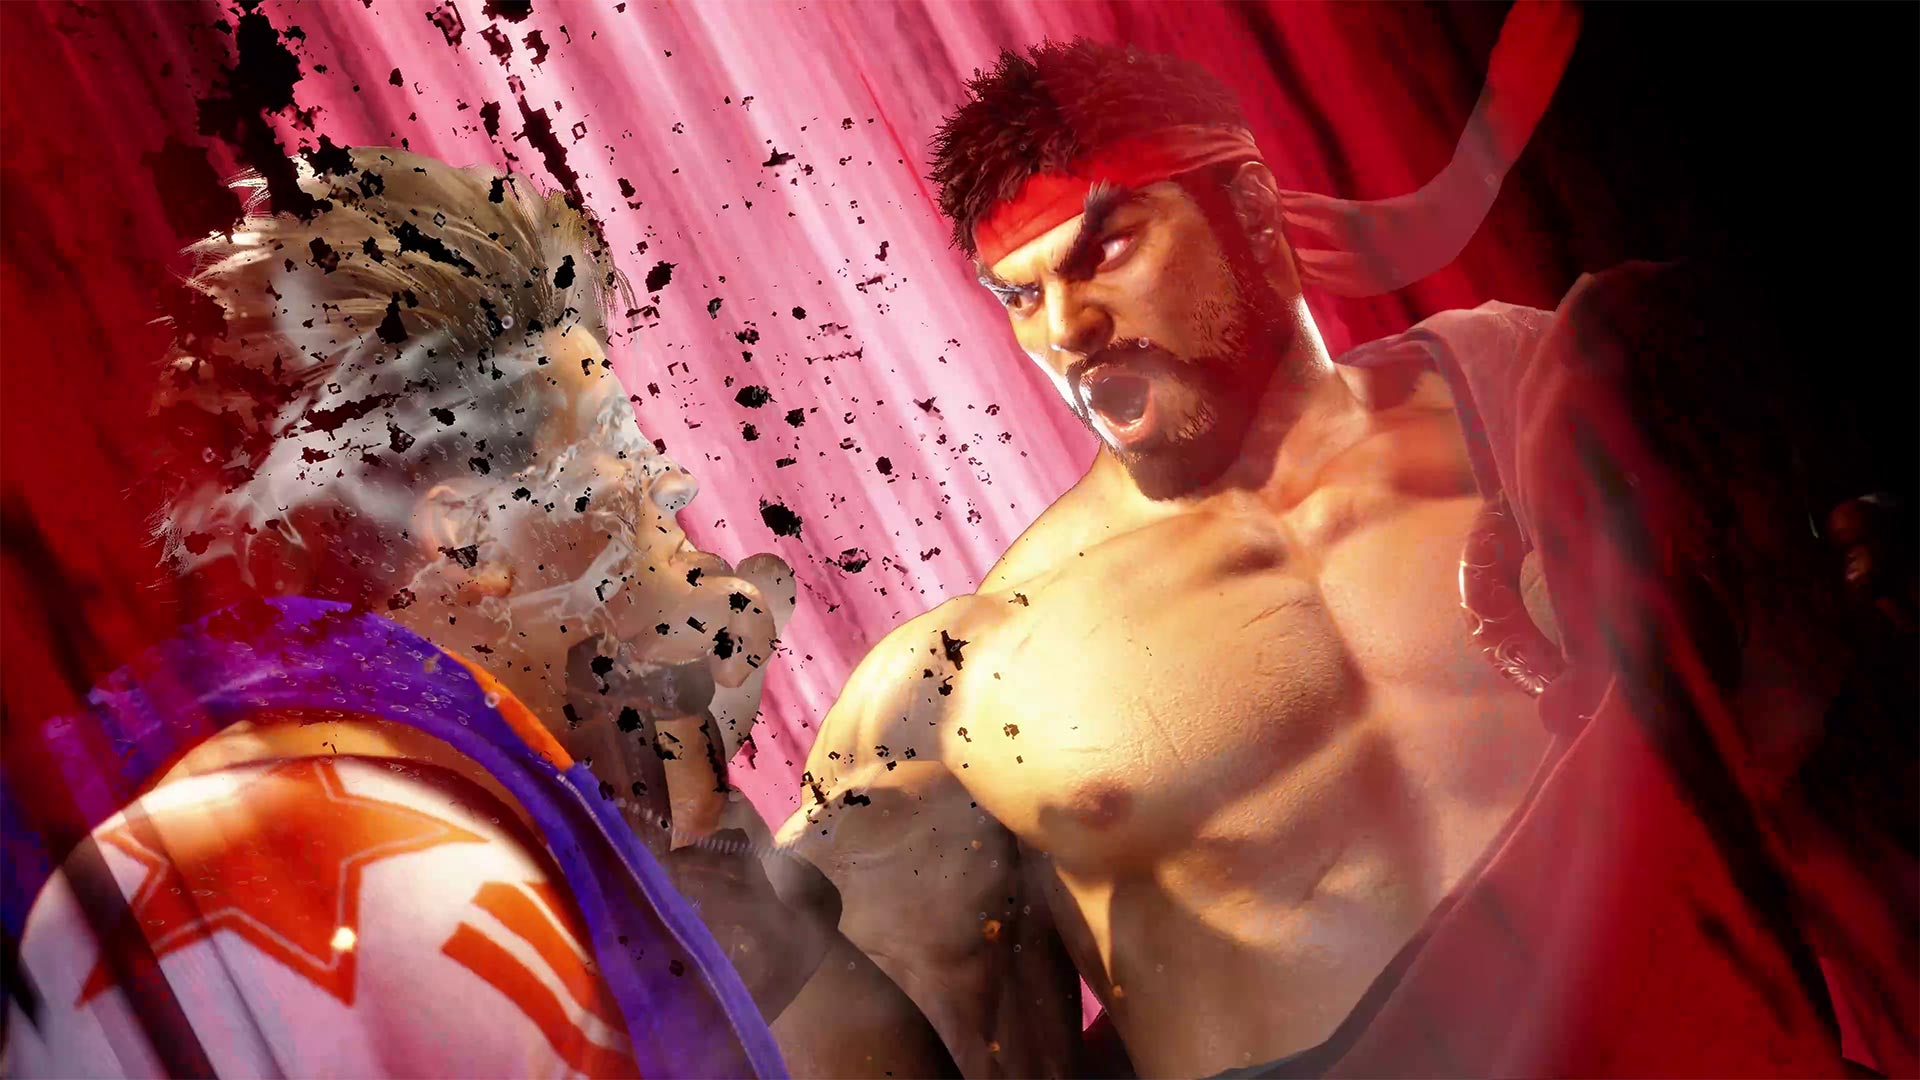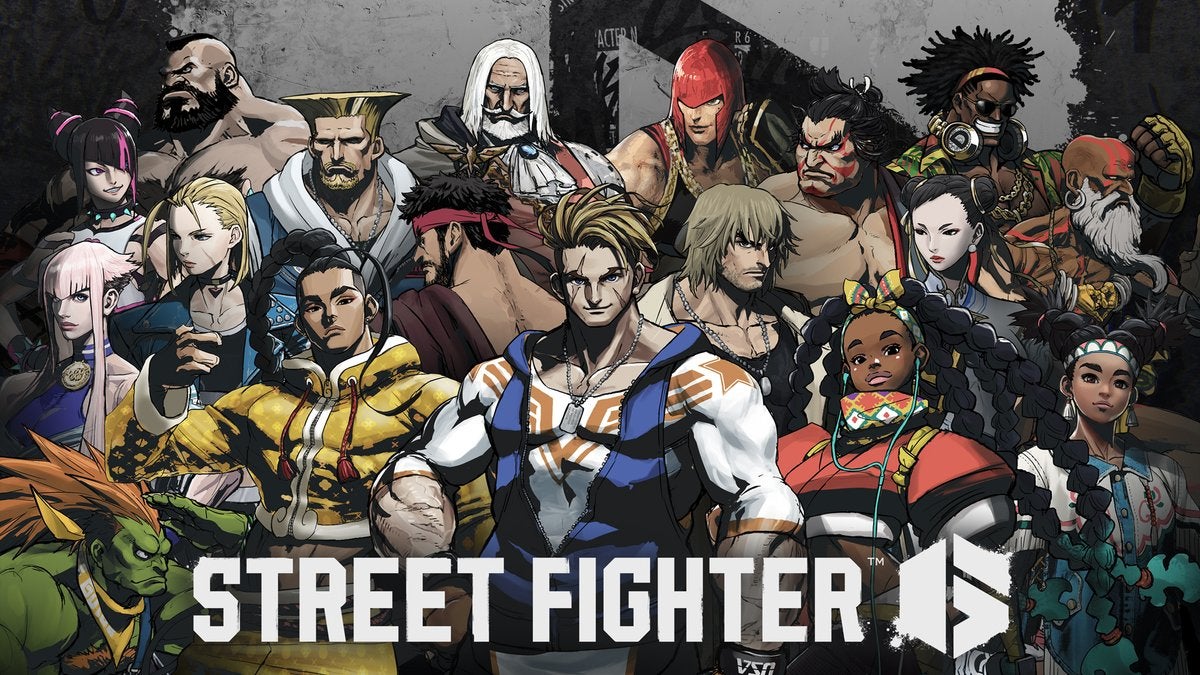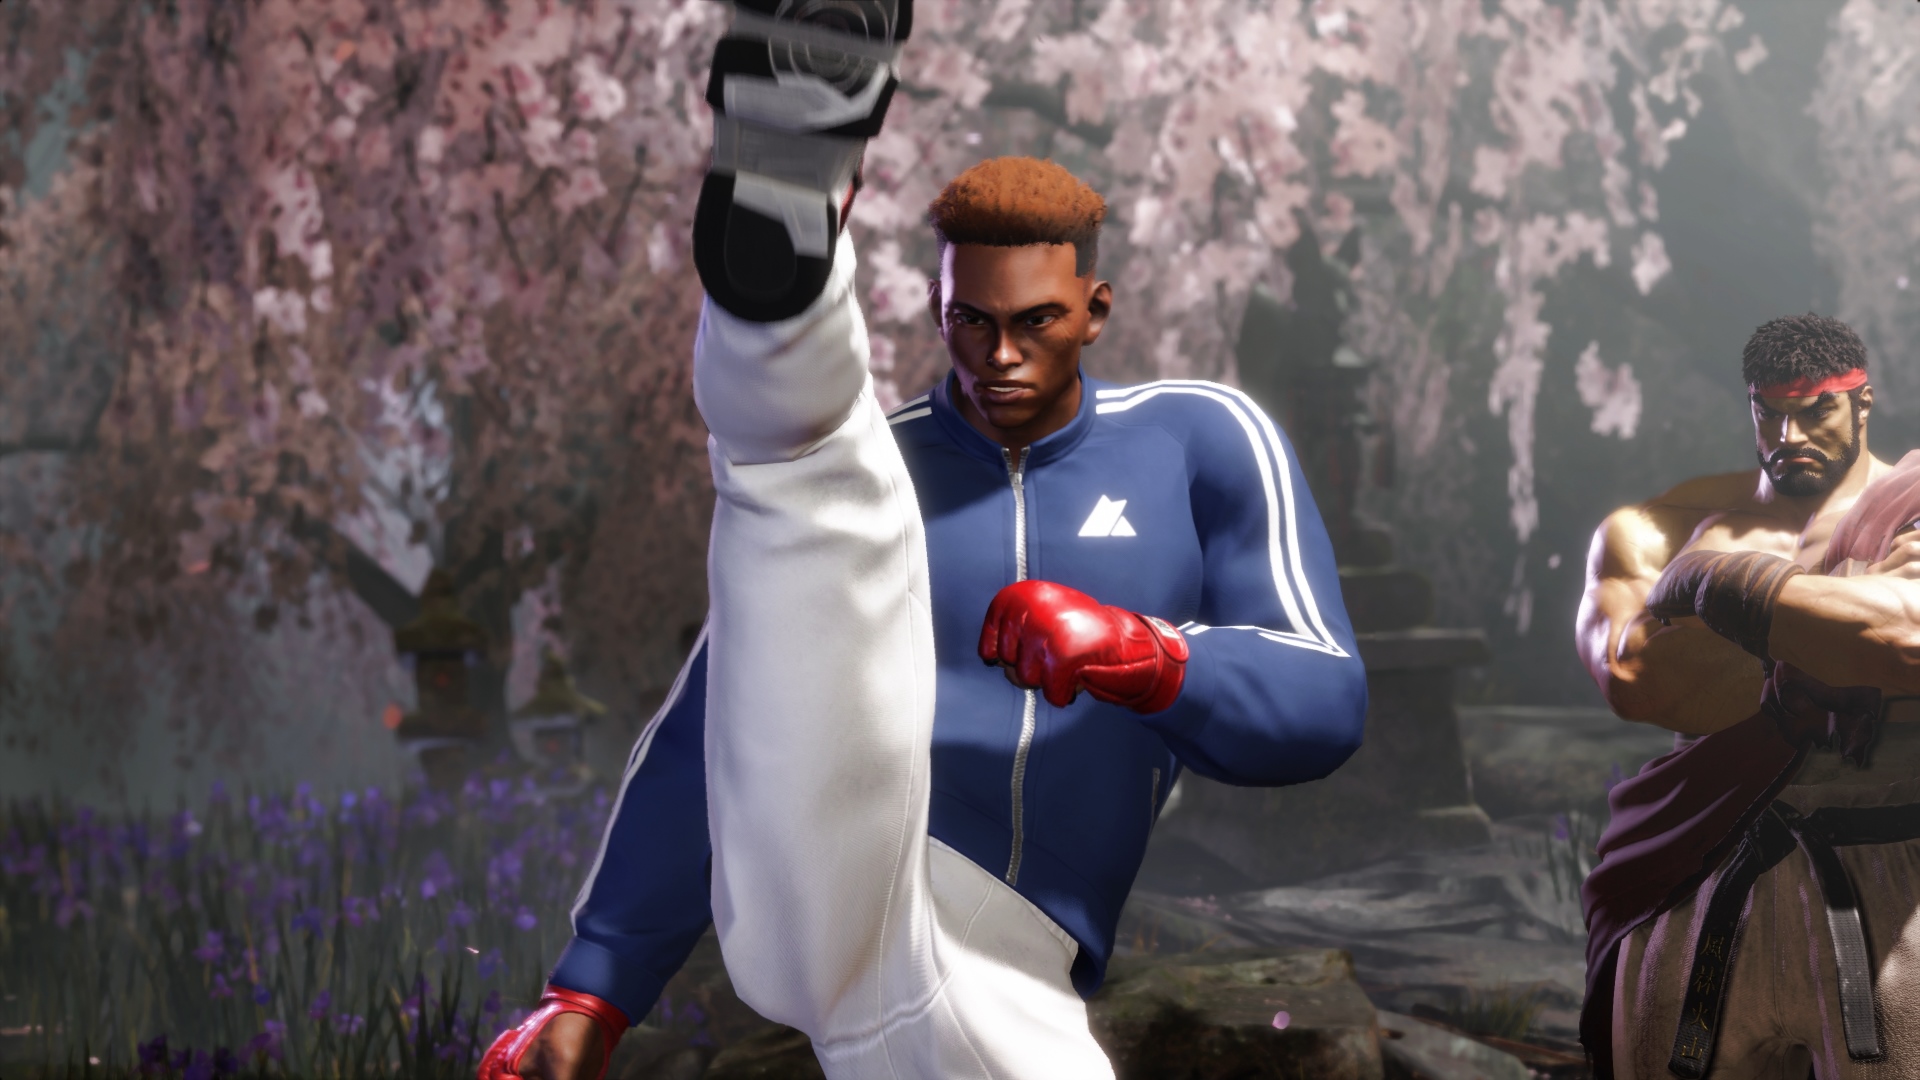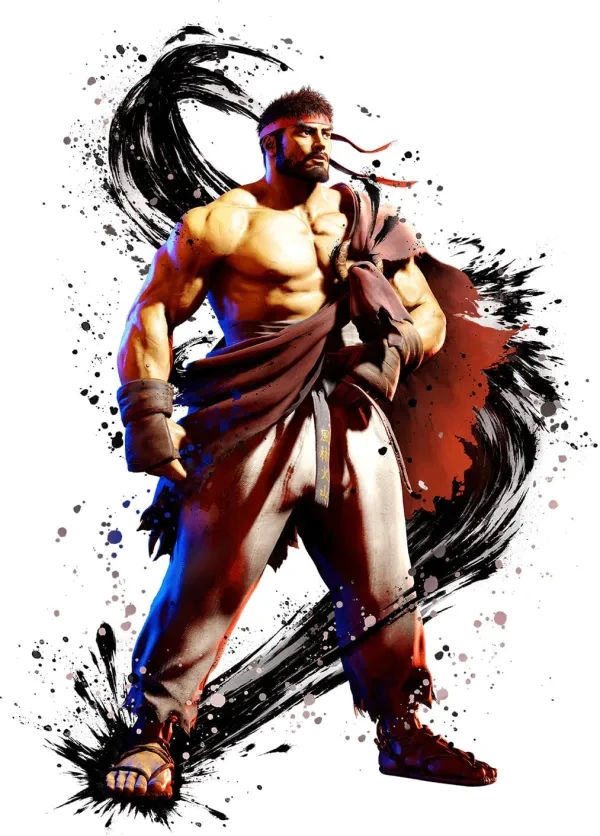
That being said, Ryu has no tricks up his gi - players who use him will need to focus on playing solid and making the most out of every situation to compete with the best. Practice makes perfect, and mastering a handful of combos can go a long way.
While this is a "top 10" list of combos, they will mostly refer to variations thereof, and may focus on the start and end of a combo. As you become more familiar with these routes and build them into your muscle memory, using them in real matches will start to feel natural.
1. Light Confirms
https://www.youtube.com/watch?v=bj13OTPXwu0&t=0sAs always, it's important to start off with the basics. With the exception of Standing Light Kick, all of Ryu's light normals chain into each other, up to 3-hits so long as he's not at max distance for any of these attacks to connect. Ryu's crouching light kick is not able to combo into his special moves however, so you'll be ending chains with either Crouching Light Punch or Standing Light Punch. Examples:
* Crouching Light Kick -> Crouching Light Punch -> Crouching Light Punch -> Light Tatsu: Very simple combo that's good for slight corner carry. Following up with a dash and Light Hasho while your opponent is knocked down creates a "meaty" situation - which gives you extra advantage if your opponent blocks the Light Hasho, and can give extra combo opportunities if they just get hit. This will work even if they backroll, but is still beaten by invincible reversals.
- Damage: 1270
Crouching Light Punch x2 -> Standing Light Punch - > Heavy Shoryuken: Crouching Light Punch doesn't hit low unlike Crouching Light Kick, but is a little bit faster and has better combo scaling - such is the case for most characters. This makes this your main light combo just for damage without any meter usage.
- Damage: 1790
2. Medium Punch Combos
https://www.youtube.com/watch?v=bj13OTPXwu0&t=12sRyu's medium starters are interesting, namely his Standing Medium Punch. It can link into his Crouching Medium Punch, Back Heavy Punch, and to itself - which is fairly unique. However, Back Heavy Punch has pretty short range, so it's unlikely to link unless Ryu starts the combo at point blank range - which means either you have the opponent in the corner or landed a successful cross-up attack. Crouching Medium Punch is therefore the more consistent link in most situations.
* Standing Medium Punch -> Crouching Medium Punch -> [Special Move]: The ender for this combo depends on what situation you want. If you want to create distance, end with a medium donkey kick. If you want to have good corner carry, end with medium tatsu - or if you're the one in the corner, you can do heavy tatsu to switch sides with your opponent and put their back to the wall regardless. Once again, ending with heavy shoryuken gives the most damage.
- Damage: 2080/1920/2000/2320
* Standing Medium Punch -> Back Heavy Punch -> Heavy Donkey Kick -> Light Shoryuken (Corner Only): Quite simply, this is your most damaging combo without using resources or starting with a jumping attack. This is the benefit of being able to link into Back Heavy Punch, which is Ryu's only normal attack that combos into the heavy version of Donkey Kick - the only version that can link into a light shoryuken in the corner.
- Damage: 3210
Crouching Medium Punch -> Standing Light Kick - > [Finisher] : This is a handy link because it has better range than Ryu's Standing Medium Punch routes, so long as you're not at exactly max distance for Crouching Medium Punch to connect. Once again, which combo ender you use (Medium Tatsu/Light Donkey Kick) depends on the situation you want.
- Damage: 1620/1700
3. Heavy Starters
https://www.youtube.com/watch?v=bj13OTPXwu0&t=46sRyu's heavy normal attacks have more range than his other buttons, and using them effectively will lead to high damaging combos.
Forward Heavy Punch -> Crouching Medium Punch -> Heavy Shoryuken: Forward Heavy Punch (aka Solar Plexus) is a good command normal to create another meaty situation on an opponent's knockdown, and it links into Crouching Medium Punch pretty easily. End with Heavy Shoryuken to get the most damage.
- Damage: 2260
Jumping Heavy Kick -> Standing Heavy Kick -> Crouching Medium Kick -> OD Donkey Kick -> Heavy Shoryuken: Standing Heavy Kick can link into Crouching Medium Kick, but due to it whiffing on crouching opponents, it's a bit harder to land a clean hit with it and turn it into a combo. With a jumping attack starter however, this is your go-to route midscreen if you can spare the meter.
- Damage: 3360
4. Drive Rush Combos
https://www.youtube.com/watch?v=bj13OTPXwu0&t=63sDrive Rush can open up a lot of combo opportunities for Ryu as well as most of the cast, being able to link together normals in ways that otherwise aren't possible.
* Drive Rush Forward Medium Punch -> Standing Medium Punch -> Heavy Shoryuken: Forward Medium Punch is an overhead attack, which means that it can still hit crouching opponents who are blocking. Normally you can't combo off this attack, but drive rush allows you to get solid confirms on opponents who aren't ready for it.
- Damage: 2320
* Crouching Medium Kick - > Drive Rush Cancel Standing Heavy Punch -> Back Heavy Punch -> Heavy Donkey Kick -> Light Shoryuken (Corner): Crouching Medium Kick is one of Ryu's farthest reaching normals and, being able to drive rush cancel it makes this strong poke all the more rewarding.
- Damage: 2641
* Standing Heavy Punch -> Drive Rush Cancel Standing Heavy Kick -> Standing Heavy Punch -> Heavy Shoryuken: Ryu's Standing Heavy Punch has impressive range to make up for his other buttons. This will make it one of your primary tools in terms of spacing and finding a hit, on top of allowing for higher damage with drive rush extensions.
- Damage: 2935
5. Air to Air Combos
https://www.youtube.com/watch?v=bj13OTPXwu0&t=81sRyu's jumping medium punch is a fantastic anti-air that hits twice, puts opponents in a juggle state and is special cancellable when jumping forward. His other air normal attacks have their own uses, but don't be surprised if you see yourself using this one more than not.
* Jumping Medium Punch -> (Land) -> Heavy Shoryuken -> Level 3 Super: Jumping medium punch's juggle state lets you land before your opponent and connect with a heavy shoryuken. If you delay the shoryuken just slightly, you can make sure you cancel it into level 3 (doing it too early still lands the shoryuken, but won't leave you grounded to cancel into super)- very impressive damage for an air-to-air sequence.
- Damage: 4900
*Jumping Medium Punch -> Air OD Tatsu -> (Land) -> Heavy Shoryuken (Corner Only): Easy and satisfying combo when you have your opponent in the corner and they're desperate to get out.
- Damage: 2720
6. Punish Counter Combos
https://www.youtube.com/watch?v=bj13OTPXwu0&t=102sStanding Heavy Kick, as noted in the third section, isn't the button you use to open your opponent up - but it makes for a great whiff punish when your opponent is throwing out big normals or when you call out an invincible reversal. This is your opportunity to really make the most out of your resources.
* Punish Counter Standing Heavy Kick -> Standing Heavy Punch -> Drive Rush Cancel Standing Heavy Kick -> Standing Heavy Punch -> Drive Rush Cancel Standing Heavy Punch -> Back Heavy Punch -> Heavy Donkey Kick -> Light Shoryuken -> Level 3 Super (Critical Art): This combo can start midscreen and carry your opponent to the corner for its best damage potential - albeit at the cost of burning all your drive meter to do so. The damage may very well be worth it however, as getting 6000+ damage midscreen could be what's needed to close out the round.
- Damage: 6675 (6425 for Regular Level 3)
* Punish Counter Heavy Donkey Kick -> Drive Rush Crouching Heavy Punch -> Medium Hasho -> Heavy Shoryuken: Heavy Donkey Kick has a unique effect on punish counter, putting your opponent in a tumbling state that allows Ryu to continue comboing them when near the corner. The tumbling state doesn't allow you to link Heavy Donkey Kick into Light Shoryuken as you might be accustomed to from previous combos we've covered in this article. However, Medium Hasho + Heavy Shoryuken is used effectively for the same purpose in combos that put your opponent in some kind of juggling state for equal damage, give or take.
- Damage: 3610
7. Denjin Charge Hashogeki
https://www.youtube.com/watch?v=bj13OTPXwu0&t=133s
Denjin (DJ for Short) Charge is a special move that buffs Ryu's Hadoken and Hashogeki. DJ Hadoken is very fast and powerful against other projectiles, while DJ Hashogeki grants extra combo routes. It's a bit slow to start up, so generally you'll want to go for a charge after landing Medium or Heavy Donkey Kick midscreen.
* Standing Medium Punch -> Crouching Medium Punch -> DJ Hasho -> Drive Rush Standing Heavy Punch -> [Finisher]: After the DR Heavy Punch, you can either end with Heavy Shoryuken for pure damage as always, or go for Heavy Donkey Kick and create space. With Heavy Donkey Kick, you can generally go for another Denjin Charge safely.
Try experimenting with how your opponent reacts to being knocked down this way, such as using an uncharged Hadoken.If you're closer to the corner you'll want to use Light Hadoken, and at Midscreen you'll want to use Medium Hadoken - this helps protect you from long range moves like Cammy's Level 3 Super if they go for it immediately (which is otherwise very good at sniping Ryu's projectiles), as shown in the example video.
- Damage: 3026/2975
8. OD Denjin Hashogeki
https://www.youtube.com/watch?v=bj13OTPXwu0&t=155s
The OD version of Denjin Hashogeki functions a bit differently from the non-metered version. Instead of putting your opponent in an air juggle state, it causes them to crumple - similar as to if you countered an opponent's drive impact - thus making the combo theory pretty similar in most instances.
*Punish Counter Standing Heavy Kick -> Standing Heavy Punch -> OD Hasho -> Crouching Heavy Punch -> OD Tatsu -> Drive Rush Crouching Medium Punch -> Medium Hasho -> Heavy Shoryuken -> Level 3 Super: Compare this to the combo in the Punish Counter section of this article. The previous combo has better corner carry and doesn't require an additional resource like Denjin Charge, but will require all your drive meter. This combo is surprisingly meter efficient (allowing Ryu's drive meter to grow back to about 3 stocks by the time the animation finishes) and does practically identical damage - which means if you already have Denjin Charge but 6000+ damage won't be enough to end the round, this is the preferable combo.
- Damage: 6644
9. Including Supers
https://www.youtube.com/watch?v=bj13OTPXwu0&t=174s
Ryu's Level 3 super has been showcased a handful of times in his combo routes - as Level 3's universally have high damage in SF6. They are also just easier to combo into in general since all Level 3's can be canceled into from special moves. Level 1 and Level 2 supers often go underutilized by players just starting out, as they might find less opportunities to use them or have difficulty doing so.
* Drive Impact (Counter) -> Crouching Heavy Punch - > Level 1 Super: For Level 1 Supers, they generally can be performed during juggles or canceled into normal attacks that cancel into specials. Newer players might struggle with the latter, being unfamiliar with buffering the Super Art - which makes this combo a nice and effective one to practice, as the drive impact crumple state and crouching attack may help in performing the double quarter-circle forward motion.
- Damage: 3000
* Punish Counter Standing Heavy Kick -> Standing Heavy Punch -> DJ Hasho -> Level 1 Super: As mentioned, Level 1 supers can also be worked in during a juggle combo, which Denjin Hashogeki offers. Ergo, this is one of the easiest ways to get pretty effective damage for little cost.
- Damage: 3920
*Jumping Heavy Kick -> Standing Heavy Kick -> Crouching Medium Kick -> OD DJ Hasho -> Level 2 Super (Hold) -> Drive Rush Crouching Heavy Punch -> Drive Rush Cancel Standing Heavy Punch -> Medium Hasho - > Heavy Shoryuken: In the case of Level 2's, they also tend to work in juggle states and from normal attacks like Level 1's, but can generally be canceled into from OD special moves as well. In Ryu's case, his level 2 can be charged up by holding a punch button which will cause the opponent to go into a tumbling state similar to Punish Counter Heavy Donkey Kick.
Because OD Hasho causes a crumple state, it's the most reliable way to combo into charged Level 2. OD Donkey Kick can also work - but if you're too close to the corner the opponent will bounce behind you, and if you're too far it will be difficult to combo into the tumble state given that Ryu's drive rush isn't the best.You might have guessed that this super has more situational usage - such as when you're low on resources but still need to secure the kill to end the round.
- Damage: 5366
10. Modern Combos
https://www.youtube.com/watch?v=bj13OTPXwu0&t=207s
Ryu offers simplicity from the get-go, but in Street Fighter 6 this is emphasized by the new Modern controls. Aimed to attract newer players with a simplified control scheme and easier inputs, Modern versions of characters also tend to have different combo patterns. This is due to losing access to some moves as part of the Modern control scheme, only having three attack buttons instead of six, along with an Auto Combo button and a button dedicated to Special Attacks.
* Punish Counter Standing Heavy -> Drive Rush Cancel Auto Heavy -> Back Heavy -> DJ Hasho -> Level 1 Super (True Input): Modern Ryu loses access to his Standing Heavy Kick and Back Heavy Punch, which causes the use of Solar Plexus (Auto Heavy) and Axe Kick (Back Heavy) in drive rush combos after a punish counter standing heavy. Using the true input (Double Quarter Circle Forward) for supers is still possible in Modern controls and doesn't have the damage nerf that simplified inputs do - use whichever you prefer at your own discretion.
- Damage: 3676
* Jumping Heavy -> Crouching Heavy -> OD DJ Hasho -> Standing Heavy -> Drive Rush Cancel Crouching Heavy -> Heavy Hasho -> Drive Rush Standing Heavy -> Drive Rush Cancel Crouching Heavy -> Down Special -> Heavy Shoryuken -> Level 3 Super (Critical Art/True Input): This is Modern Ryu's highest damaging combo, which is still reaches the respectable 6000+ Benchmark. As you may have noticed, Modern controls still require classic inputs in many situations to get the most damage out of them. However, combining these aspects with Modern's ability to quickly perform special moves/supers in neutral and defensively, and you have a tool kit that some of Street Fighter's strongest players have used at the highest level.
- Damage: 6361
That's Ryu - a character that offers simplicity, yet rewards mastery. Regardless of which path you've chosen, there's a lot that can be learned from playing this humble martial artist. That's all for now, but if you aren't done with your training just yet, here are some other articles that might benefit you on your path.

