Satisfactory is a game about efficiency, and to get efficiency takes proper planning. Perfect factories are rarely made on the fly, they take planning and effort. Here are the best tips on how to make your FICSIT experience more balanced.
10. Manifold Lines

Sometimes, peak efficiency can take a momentary back seat for the purposes of space-conservation. If you’re building a blueprint, for example, and you want to save on physical space, you might want something that’s more compact that the typical conveyor split method. Manifold Lines are a simpler method of splitting that rely on the way items stack inside machines in Satisfactory.
Once a machine is full, no new items can go in, clogging the conveyor line. If you set up a conveyor belt that’s job is to get blocked, you can create something that eventually becomes perfectly efficient while taking up less space. After anywhere between a few minutes and a few hours, all of the machines fill up and start working at the exact same efficiency, just delayed by the wait for the system to clog.
What’s Good About This Layout:
- It’s compact enough for blueprint modules
- It takes a while, but it does eventually reach peak efficiency
- It’s a standard in the online community
- Can work with any number of conveyor splits
- Cheaper than most conveyor layouts
9. Perfect Iron Smelting
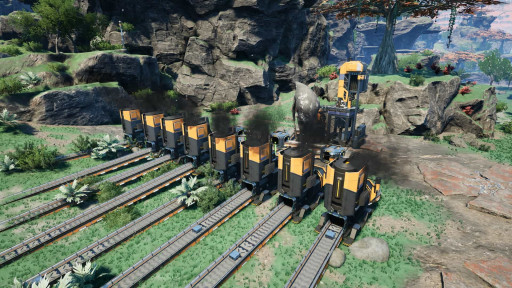
Iron is the most basic, and possibly most important, resource in Satisfactory. Once you start to get into the late-game, Iron should be the least of your worries. This is how to make the perfect Mk3 Iron Miner layout from mine to smelt.
The best case scenario would be to find a pure iron vein, but you’re more likely to find a normal one, so to convert to pure, just double each number. On a normal node, you’ll produce 240 Iron Ore per minute, which is enough to fill exactly 8 Smelters. This produces 240 Iron Ingots per minute that you can use for future projects.
What’s Good About This Layout:
- Produces 240 Iron Ingots per minute
- Perfectly efficient immediately
- Can be scaled flawlessly for more or less Miner production
- All components can be overclocked
8. Perfect Concrete Production
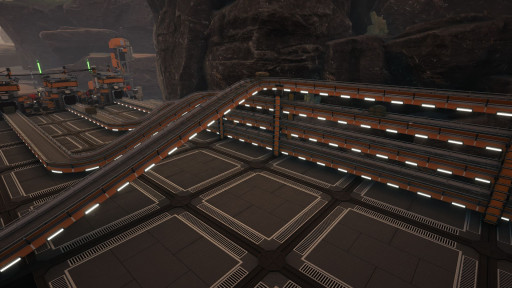
Concrete is another of the most basic resources in-game. All it takes to automate is a miner and a constructor. If you wanted to automate it perfectly with a Mk3 Miner, here’s what to do.
A Mk3 Miner on a normal Limestone vein produces 240 Limestone per minute, and a constructor takes in 45 Limestone per minute and outputs 15 Concrete per minute. 240 does not divide evenly into 45, so you’ll either need to overclock or underclock one constructor. You could use 5 constructors, and overclock one to output 20 Concrete, or use 6 constructors, and underclock it to output 5 Concrete.
What’s Good About This Layout:
- Produces 80 Concrete per minute
- Perfectly efficient immediately
- Constructor balance issue can be solved by scaling up production (3 Mk3 Miners would evenly split between constructors)
- All components can be overclocked
7. Peak Coal Generator
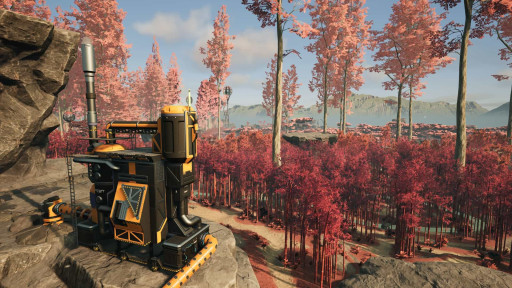
Coal Power is the first automated power source you unlock in Satisfactory, which is a massive upgrade than the needy biomass system. You don’t want this particular part of your system to fail, so you’ll want to maximize it as much as possible.
A Mk1 Miner on a normal node produces 60 Coal per minute. This would perfectly fill 4 Coal Generators, which produces 300 MW. You would also need the product of 1.5 Water Extractors (or 2 Water Extractors underclocked to 75%) to run the Generators.
What’s Good About This Layout:
- Produces 300 MW
- Perfectly efficient immediately
- Can be scaled up flawlessly with more Miners, Extractors, and Generators
- All components can be overclocked
6. Fluid Buffer System

There can be times in your Satisfactory playthrough that you may want some extra liquid storage. Maybe you need a little extra help with head lift, or produce much more of a liquid than you can currently use. This is where you use Fluid Buffers.
There are 2 different kinds of Fluid Buffers: Basic and Industrial. I recommend mostly forgetting about these until you've unlocked the Industrial Fluid Buffers. They provide 6 times the storage and plenty more head lift.
What’s Good About This Layout:
- Gives more wiggle-room in making fluid projects more efficient
- Provides long-term liquid storage, which is impossible otherwise
- Each Industrial Fluid Buffer can hold 2400 m^3 of fluid
5. Shatter Rebar Production
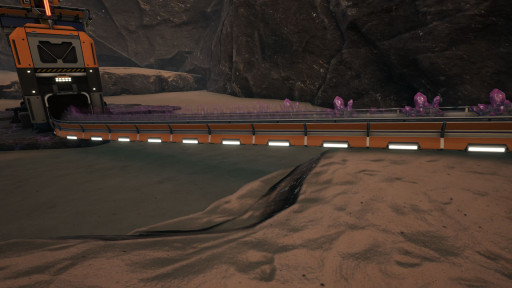
There are several different types of rebar in Satisfactory, and the simplest to automate, other than the default, is Shatter Rebar. It does twice as much damage as the basic rebar, and it doesn’t cost much more.
Shatter Rebar is made with basic rebar and quartz crystal. In an assembler, you can use 10 Iron Rebar per minute and 15 Quartz Crystal per minute. Iron Rebar produces at a rate of 15 per minute in the constructor. If you use 3 Rebar constructors and 30 quartz crystal per minute (half a normal node Mk1 Miner), you’ll be able to fill two Shatter Rebar assemblers.
What’s Good About This Layout:
- Produces 30 Shatter Rebar per minute
- Can be scaled up very easily
- Optimized for low-level Miners, so has larger potential
- All components can be overclocked.
4. Perfect Encased Industrial Beams
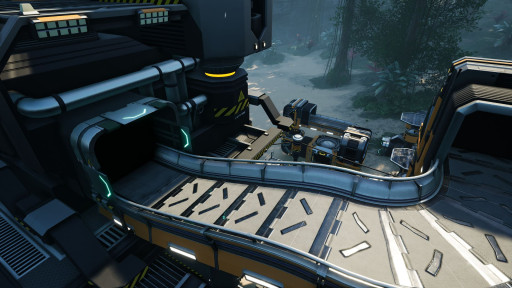
Encased Industrial Beams produce at low numbers, and they’re generally difficult to deal with. They’re a mid-game resource that you’ll need to become friends with, so it’s good to understand their production early.
An assembler can take in 30 concrete and 24 steel beams per minute and output 6 Encased Industrial Beams per minute. Without having to build an ungodly number of steel beam constructors, you can underclock steel beam production from 30 to 24 per minute. This means you can perfectly use two concrete constructors and 2 underclocked steel beam constructors to make 6 EIBs per minute.
What’s Good About This Layout:
- Produces 6 EIBs per minute
- Can be scaled up for more near-perfect efficiency (with added complication)
- Optimized for mid-game progress, when you unlock EIBs
- All components can be overclocked
3. Perfect Smart Plating

Completing Project Assembly is your primary mission as an employee of FICSIT. To do so, you have to finish the Space Elevator objectives. The most basic and integral Space Elevator part is Smart Plating.
In an assembler, you can make 2 Smart Plating per minute with 2 Rotors and 2 Reinforced Iron Plates per minute. A Rotor assembler produces 4 per minute and a Reinforced Iron Plate assembler produces 5 per minute, so the simplest way to balance it is to make 5 Rotor assemblers, 4 Reinforced Iron Plate assemblers, and 10 Smart Plating assemblers. That can be a lot to stock with iron, so you could also just underclock the Rotor and Reinforced Iron Plate assemblers to 2 per minute.
What’s Good About This Layout:
- Produces 20 Smart Plating per minute
- Perfectly efficient immediately
- Can be scaled up or down fairly easily
- All components can be overclocked
2. Power Storage System

When playing Satisfactory, I used to run into the same problem a lot: I would build some new, exciting project full of machines, and then, when I turned it on, it would increase power consumption just a little too much, causing a total power-outage. Here’s what to do so that doesn’t happen to you.
Each Power Storage building can have 100 MWh, or 100 MW for one hour. This means if you use exactly 100 MW in your factory, having one of these fully charged will give you a full hour of real time to go and fix your power issue before everything turns off. You can also connect multiple of them together to create massive amounts of saved power, like my friend and my 11 hour power buffer.
What’s Good About This Layout:
- Absolutely necessary in my opinion
- Prevents power outages 100% of the time if set up right
- Gives a lot of time to solve your power issue without everything shutting off
1. Balanced Mk3 Uranium

The best power producing machine in the game is the Nuclear Power Plant, and the simplest way to make power with it is through Uranium.
The best way to use a normal node of Uranium is to get a Mk3 Miner and overclock it to produce 250 instead of 240, so this design does require a power shard. If you use 250 Uranium per minute, going through the full process of converting Uranium to Encased Uranium Cells to Uranium Fuel Rods, you’ll be able to fill 22.5 power plants. Then, just underclock the last power plant to half, or overclock the 22nd to 1.5, and you have a perfect system.
What’s Good About This Layout:
- Produces 56,250 MW
- Perfectly efficient immediately
- Has some room to be scaled up, especially on a pure node
- All components can be overclocked to an extent


