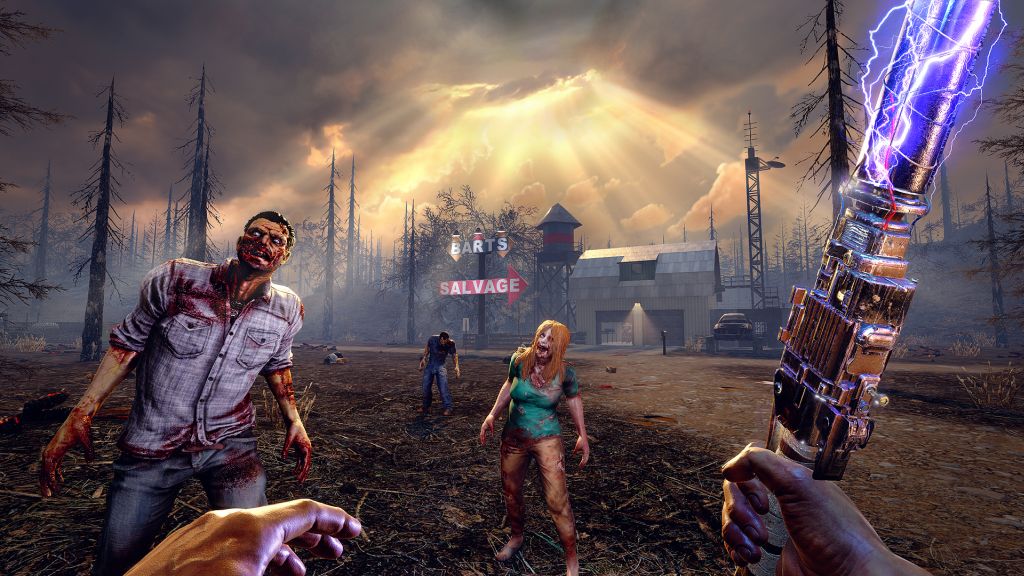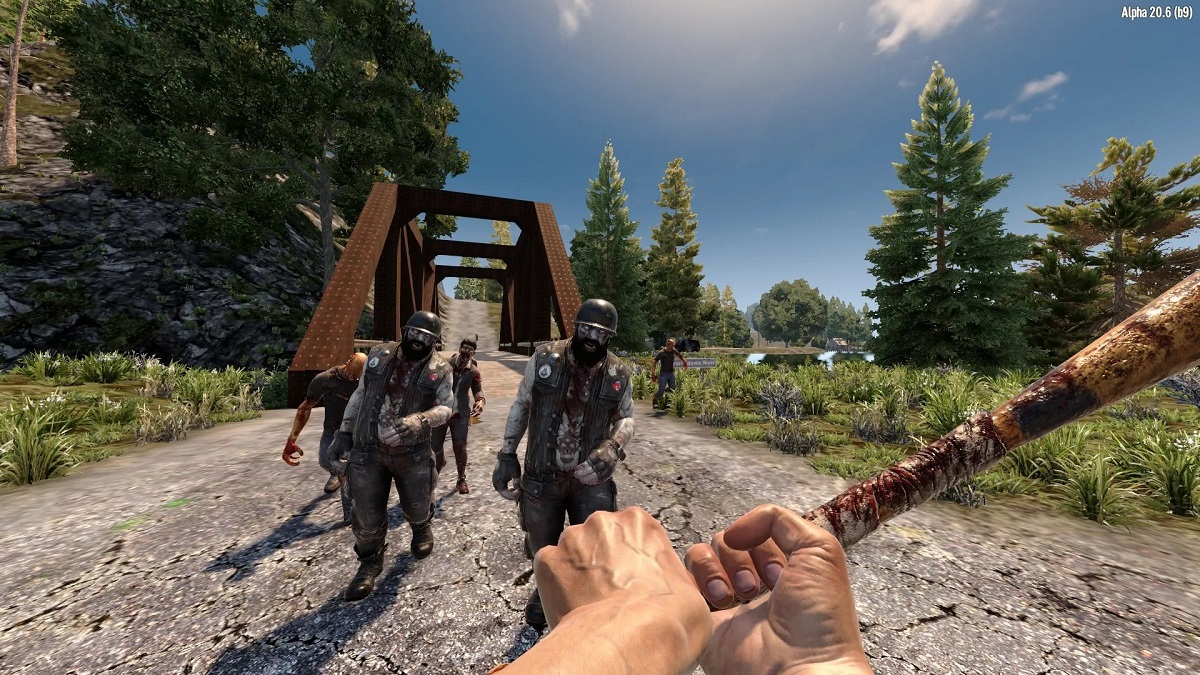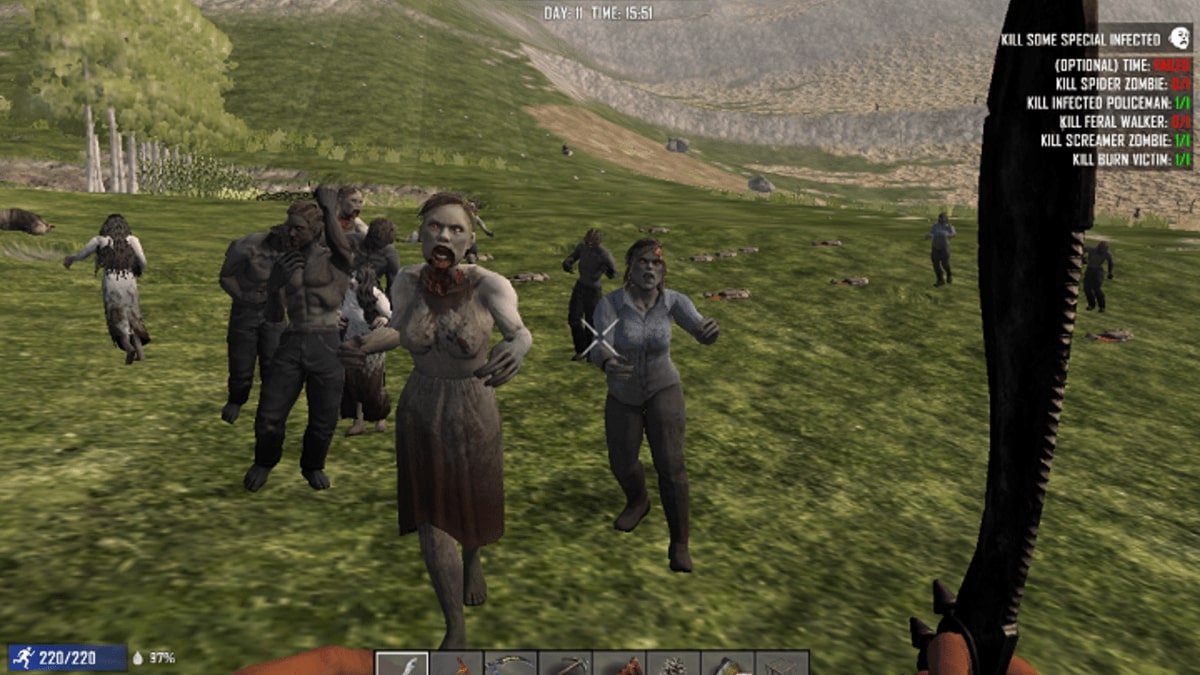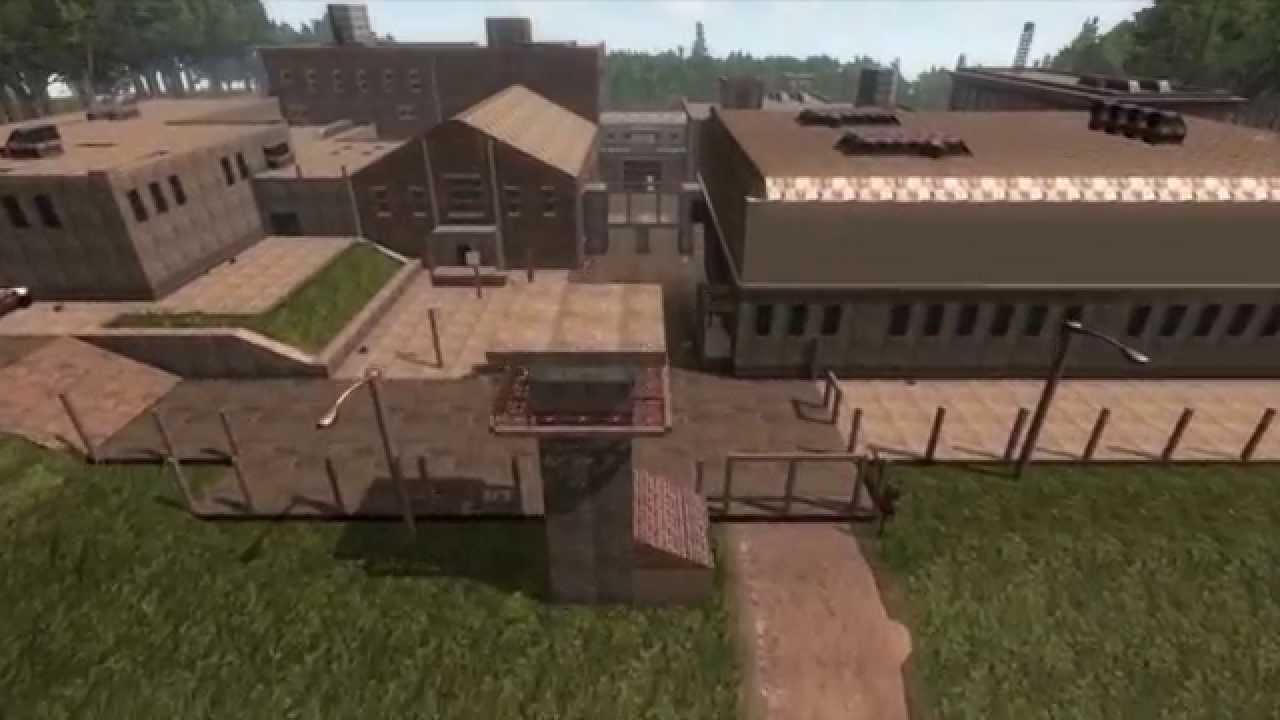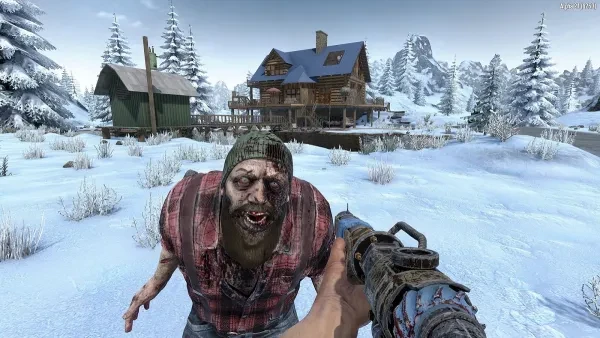
15. Craft a lot of ammo
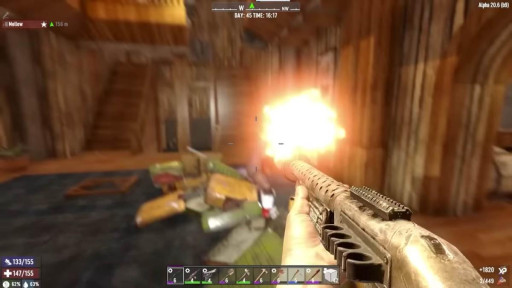
Don't get caught with your pants down, or with your ammo at 0.
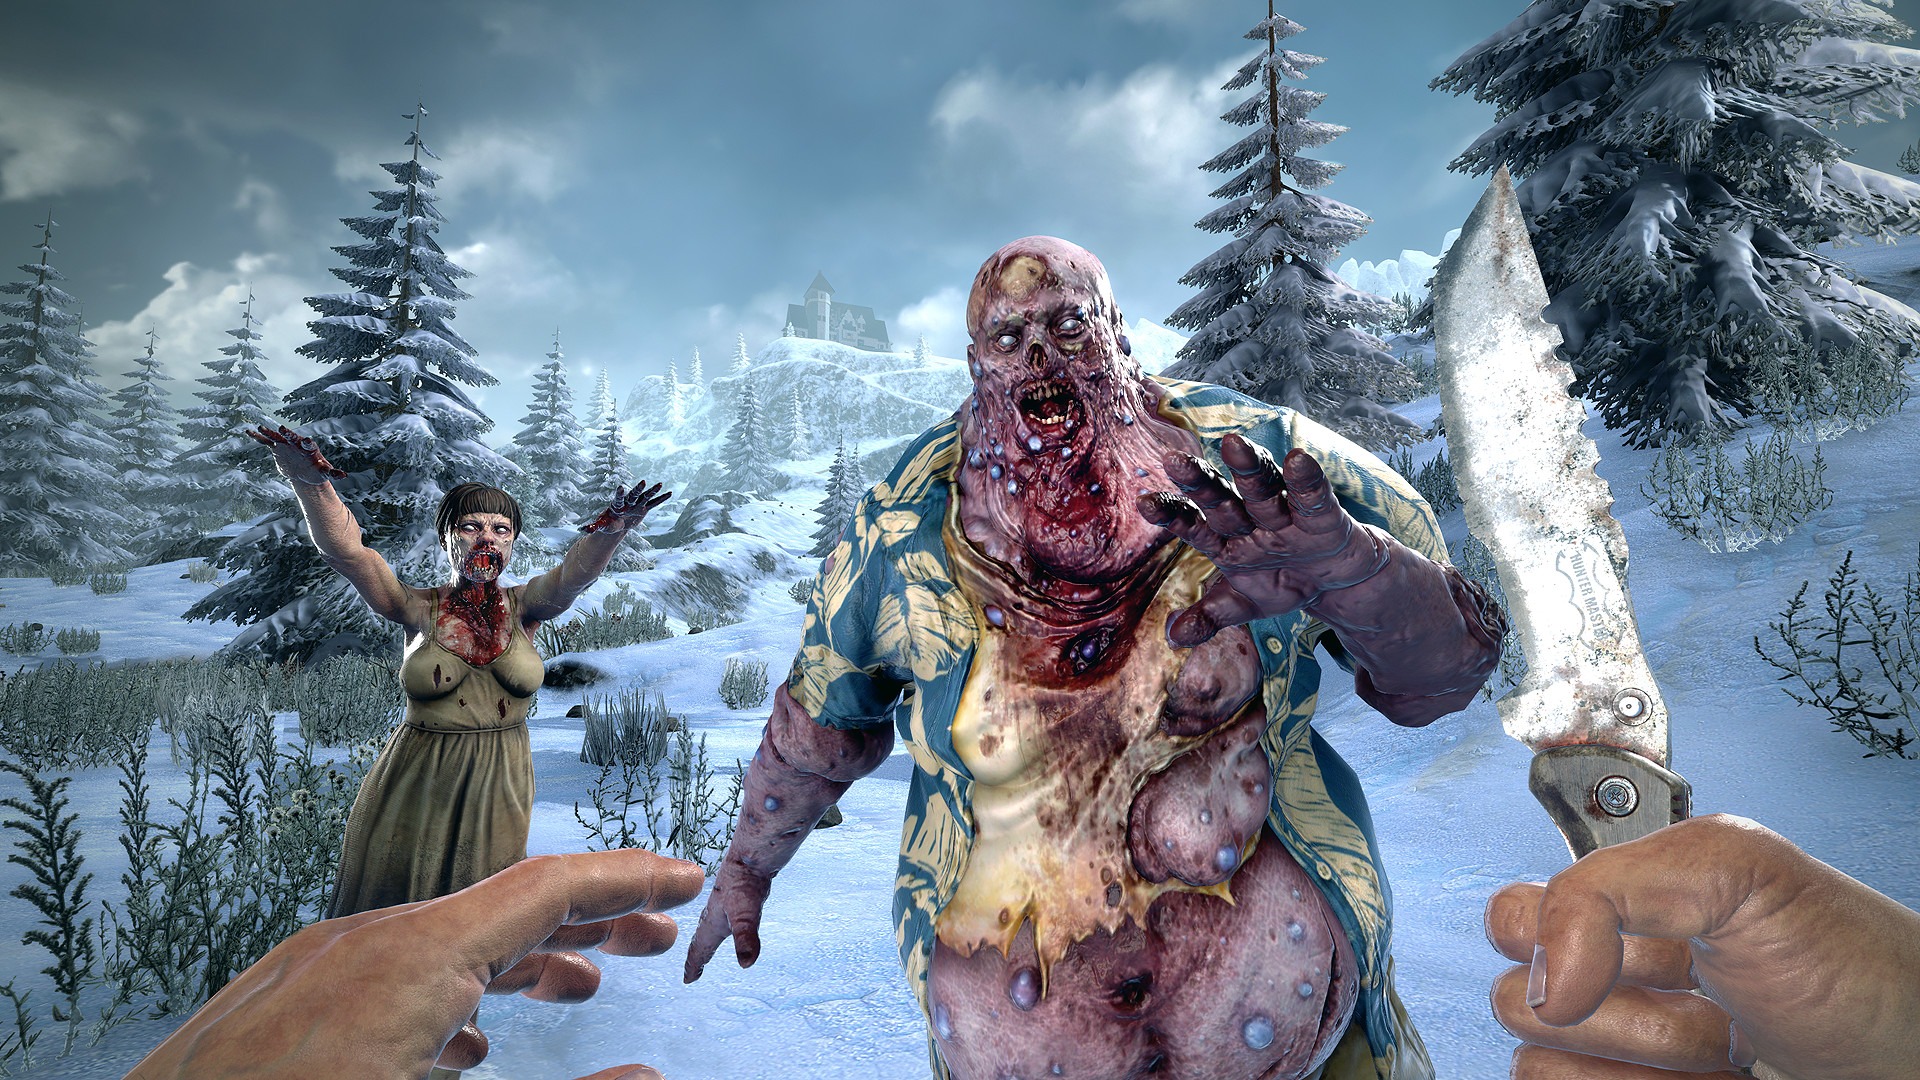
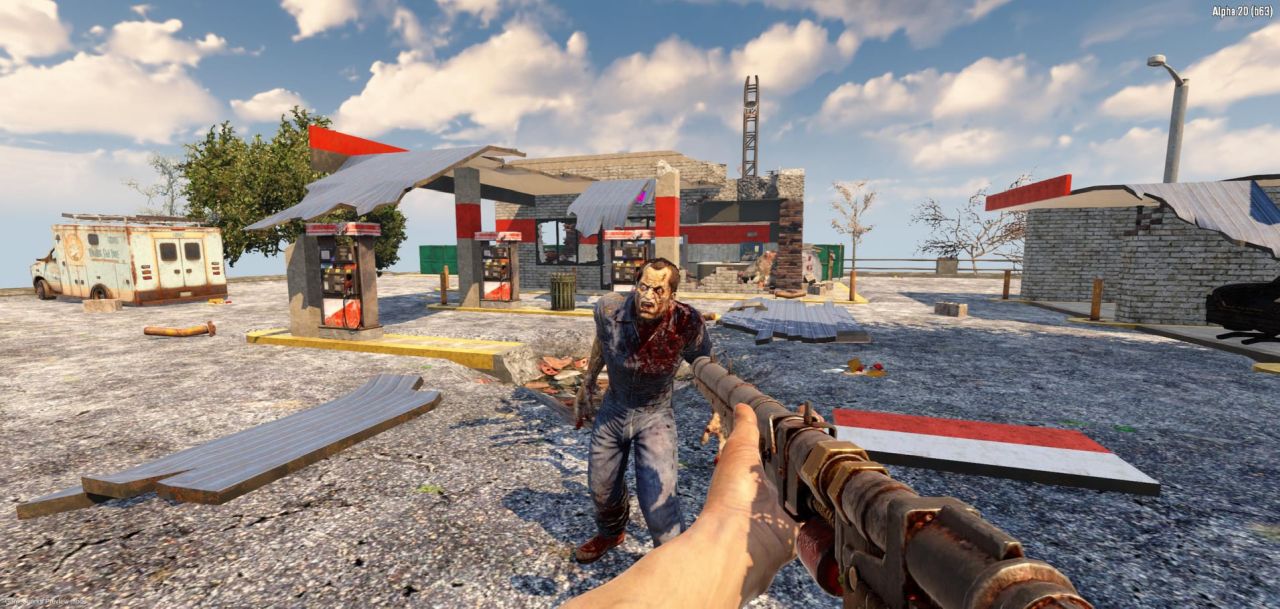
Every shot uses one unit of ammo, no matter what weapon you're using. Every time an auto turret takes a shot, it also uses a unit of ammo. Once auto turrets run out of ammo, they stop working. Once you run out of ammo, you die.
Yes! This is obvious and it's something that bears repeating: if you want to survive during the apocalypse, you have to keep a healthy supply of ammo.
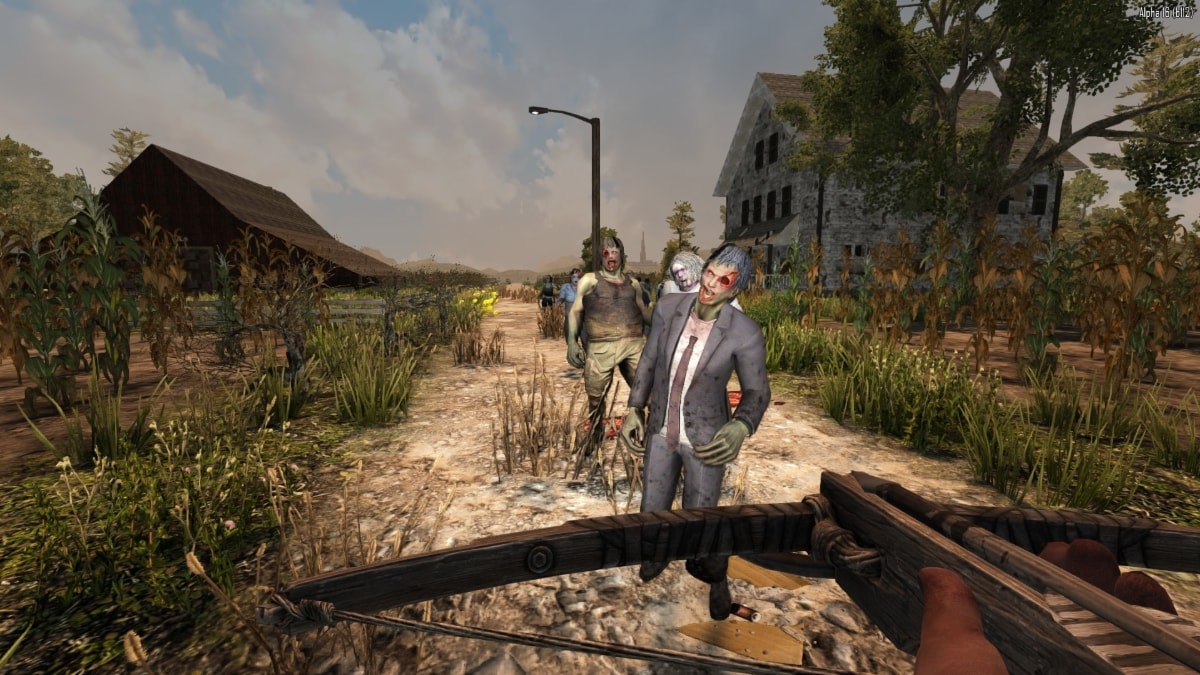
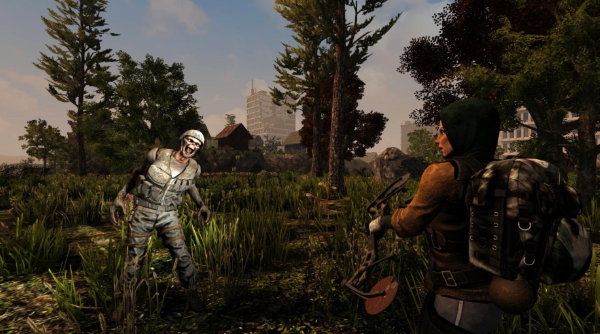
Bullets, arrows, and crossbow bolts stack up to 300 unless you're using inventory mods. Bullets take bullet tips and casings; shotgun shells take buckshot and paper; both take gunpowder. Arrows are simple: stones or iron or steel arrowheads, wood, and feathers.
How to get ammo:
- Craft most ammo in the workbench. Stone and iron arrows and crossbow bolts can be crafted from your inventory.
- Obtain it from a trader. The price depends on your perks and buffs.
- Loot it from containers.
- Get ammo from air drops.
- Complete quests. Ammo is sometimes among the quest reward options.
14. Prepare your supplies ahead of time
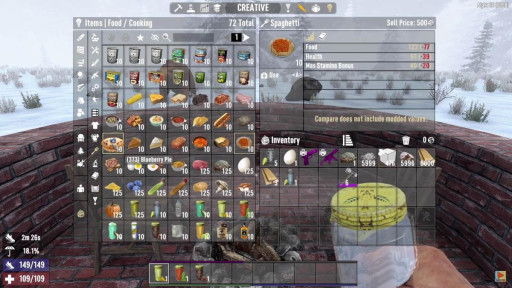
A balanced diet.
Make sure you have repair materials, food, and medicine stashed away ahead of time, because realizing you need something during a horde attack is too little, too late..
Hearty foods like Bacon and Eggs (Master Chef recipes are amazing) will serve you better in the long run because they recover more health and hunger than basic charred/grilled meat. Water is easy to obtain. Buffing drinks like beer are worth collecting because they make you kick more ass.
There's no simpler way to put it, y'all.
How to make sure you have a supply surplus:
- Loot everything. Every container, every drop, whatever you can carry. Your inventory will expand considerably once you unlock vehicles.
- Sell what you don't need, scrap trash, and store the scrap.
- Do quests as often as you can and select what you need from the rewards.
- Grow crops. They don't need to be watched, zombies won't destroy them, and they provide a source of food materials.
In short, just play the game.
13. Spike traps are cheap and efficient carnage
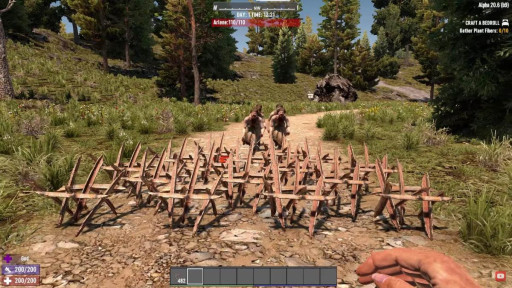
Extreme pain in 3, 2, 1…
Spike traps and barbed wire fences are great for softening up zombies before they get to you. Zombies don't care if they're running directly into danger, so you can place these things in their path and save some ammo.
These traps need to be repaired or replaced as they break because they wear out as they damage zombies. Listening to them growl and groan as they stab themselves is worth the extra work.
Spike traps are effective for dealing with running zombies because they'll slow the critters down and have a chance to dismember them. They're good defenses well into late-game, and they're really cheap to craft: wood spikes cost 20 wood, iron spikes need 4 forged iron.
To make and use spike traps:
- Open your crafting window and search 'spike'.
- Choose how many you want to make by typing in the quantity in the crafting window, or using the arrows.
- Click 'craft'.
- Once they're crafted, equip the spikes and right-click to place them the same way you would any other block. Rotate with the scroll wheel or left-click.
12. Don't rely on just one layer of protection
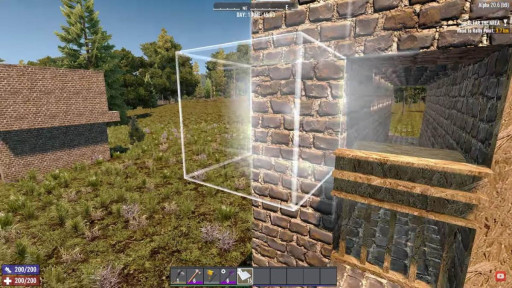
Plates, beams, more plates…
7 Days to Die gives you many different options for your building blocks: if you can dream it, you can build it. A habit you'll want to get into is adding extra 'padding' to your builds, which strengthens them against the zombie hordes. It's harder to break three layers of cobblestone than one layer.
It doesn't matter what the block thickness is, either. You can coat a cube with square plates on one side and you'll still have double the HP of a single wall. I like to lay down my initial wall, then add plates to the outside so they're flush with the original. If I want to be really extra, I'll add another layer inside. As things break, they get repaired and replaced.
How to pick different block shapes:
- First, search 'shape' in the crafting window. Depending on your progress in the game, you'll have Frame Shapes, Wood Shapes, Cobblestone Shapes, Concrete Shapes, or Steel Shapes.
- Decide how many you want and click 'Craft'.
- Equip your block stack.
- Hold 'R' to open the radial menu and click the shapes menu button.
- From here, scroll through all the different shapes. They're even sorted into categories, and you can use the search function to find the perfect fit.
11. Remember that zombies can jump—and climb
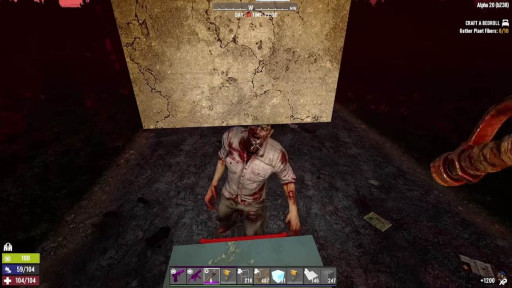
Zombie effing around, about to find out.
Zombies are able to climb ladders and jump up obstacles that are one block high. They are also able to jump on top of each other and stack, which they will do in a nightmare-inducing tacting to get your juicy brains..
Let's say you've taken refuge in a water tower. You've knocked off the bottom two blocks of the ladder. The only way to go is up—or smash the tower beneath you.
Most will scatter and beat up the tower, but you will also notice zombies piling up below the ladder. Once some are able to reach it, they climb the rest of the way.
Freaky, huh?
How to curb zombies' climbing and jumping habits:
- Don't let your ladders touch the ground. Knock the bottom two blocks off, so you can jump to climb, but they can't.
- Set up spike traps under the ladder, making it difficult for them to stack without injuring themselves. This will also help you with the kills.
- Block the bottom half of passageways with easy-to-adjust blocks like hatches. Open the hatches to slow the zombies down. While they're busy beating it up, you can shoot them. Close the hatches when they aren't needed.
10. Make strategic use of the Robotic Sledge and Robotic Turret
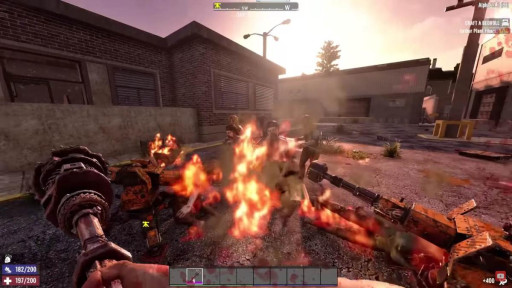
The power of the burning shaft mod.
The earliest turrets you can make are the Robotic Sledge and Robotic Turret. The sledge is kind of like a battering ram for zombies. The robotic turret shoots approaching enemies. Both require you to be in range for them to run, and as soon as you're out of range, they stop working—only one at a time of each can be active.
With 5 points in the Robotics Inventor perk, you can run two Robo-Turrets and a sledge.
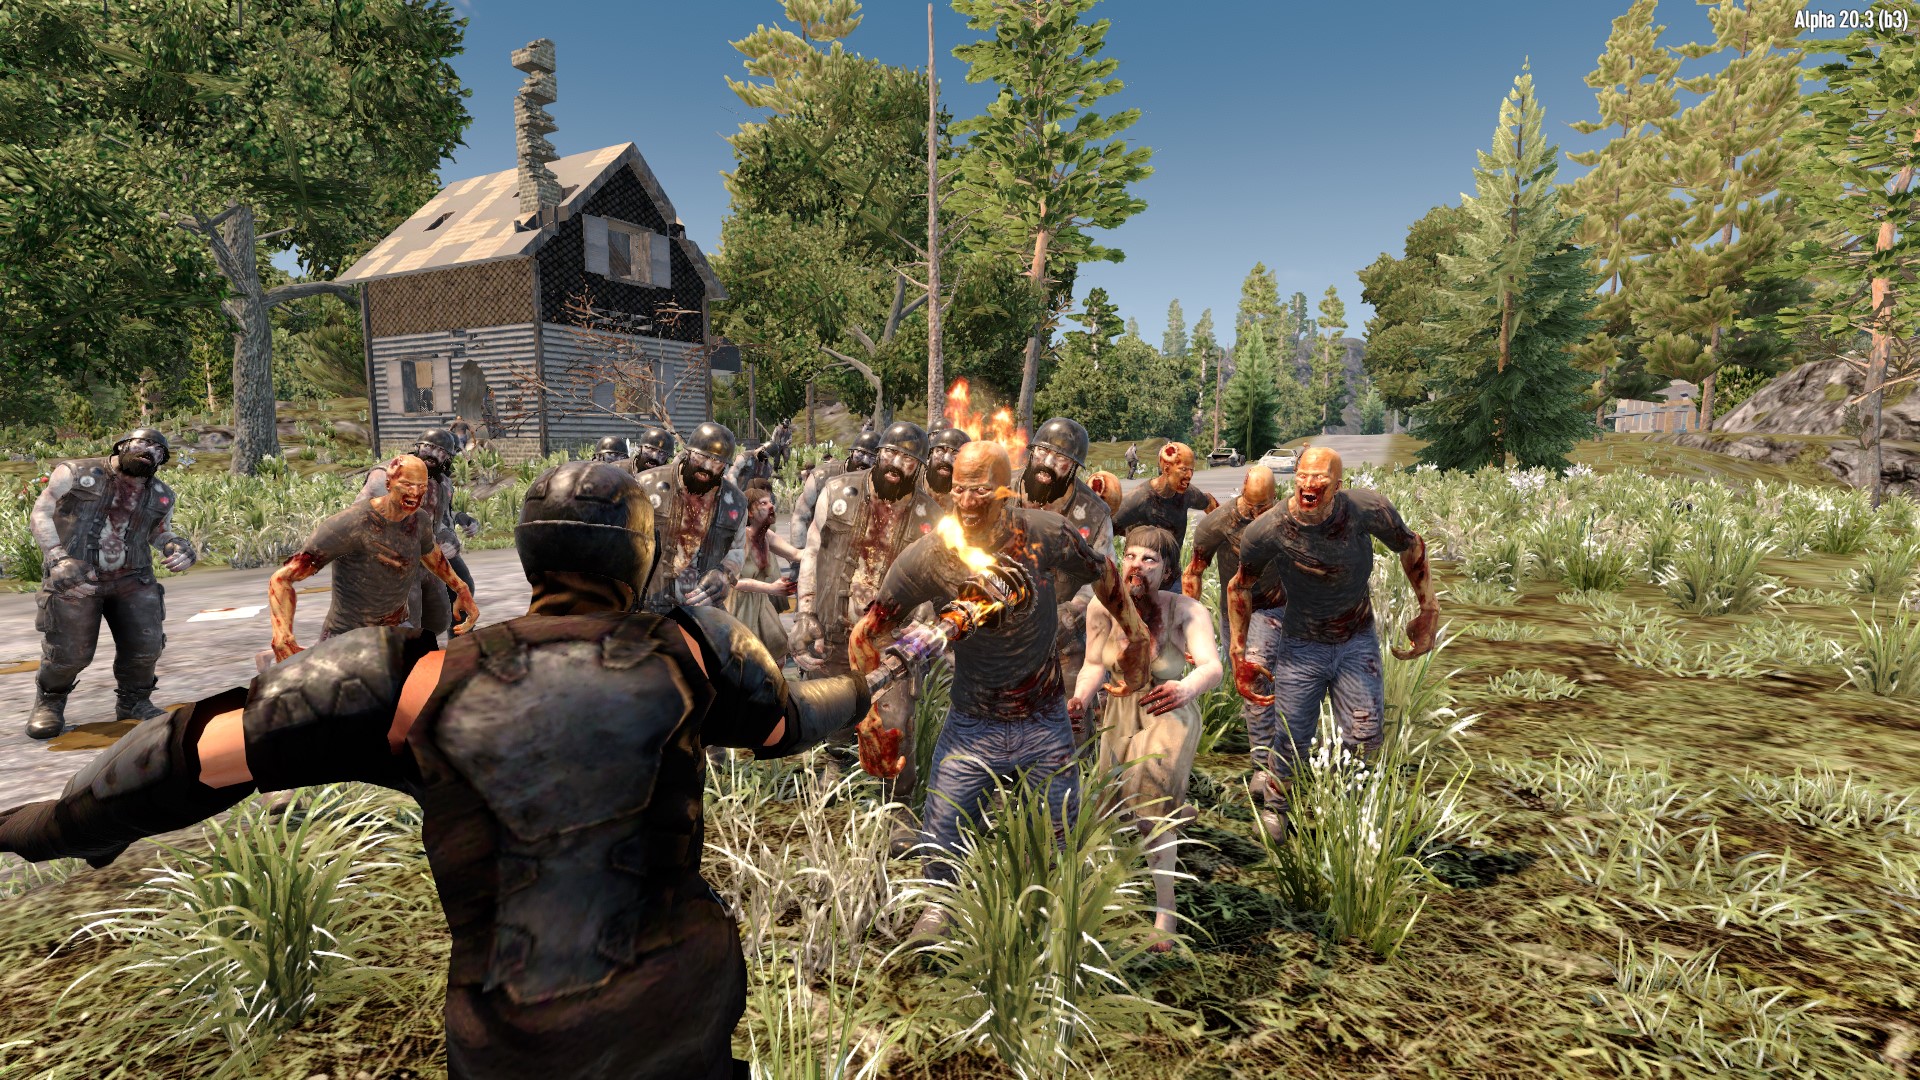
Sledges are great for knocking back incoming zombies, especially if placed beside a ladder or stairway. These robots pack a punch and get better as you upgrade the perk. Install a Weighted Head Mod and a Burning Shaft Mod to get more bang for your buck—and stunned, flaming baddies.
The Robo-Turret uses ammo that can be crafted from your inventory and is really cheap to make. Place one to assist mowing down zombies, or place two once you have the perk. Basic turret ammo costs only 3 scrap iron per unit.
How to place a Robotic Turret in sentry mode:
- Equip the turret.
- Right-click to trigger placement mode. Move the turret around until it turns green, which means you're allowed to put it there..
- Right-click to place the turret.
- To pick the turret back up so it can be reloaded, right-click on it when it's down. This will put it back into your inventory.
9. Invest in Auto Turrets as soon as possible
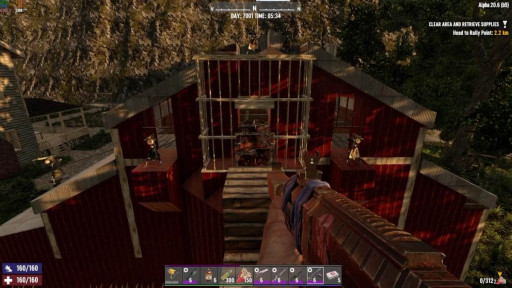
Nothing makes it up to the door.
The biggest advantage of SMG and Shotgun Auto Turrets is that they will operate without you present as long as they're powered up and have ammo. The disadvantage is that they use the same ammo you do in your guns (9mm for SMG and shotgun shells, respectively) and they require electricity to run. These turrets cannot be moved once placed, unless you're using a land claim block.
But they do their job very well.
Exactly like the shotgun, the Shotgun Auto Turret is meant to be used up close and personal. Its target range is 15 blocks versus the SMG's 30. Which one you use will be up to personal preference. Mix and match. They will operate while you aren't home, keeping your belongings safe from strangers and wandering hordes.
Some things to note: when facing Demolisher zombies, turrets are very likely to make them explode; turrets MUST be installed upright to work, even though you can install them horizontally; and if you place too many turrets, you may lose things like containers and crops because the game will freak out and objects could disappear. Remember the randomly disappearing vehicle glitch? Kinda like that.
How to load your Auto Turret:
- Interact with it by pressing 'E'.
- Drag your ammunition to the ammunition slots. Each slot holds up to 300 rounds.
- Click the 'lock' button. This locks ammo in place and the turret will not fire otherwise. You can't add more ammo or remove what's there until you unlock it again.
- You can also set the line of sight for the turret by clicking the camera display on the left side of the HUD. It will switch to a black-and-white view, just move the cone around to change what it takes for targets to piss off your turret.
8. Keep your enemy close, and blade traps even closer
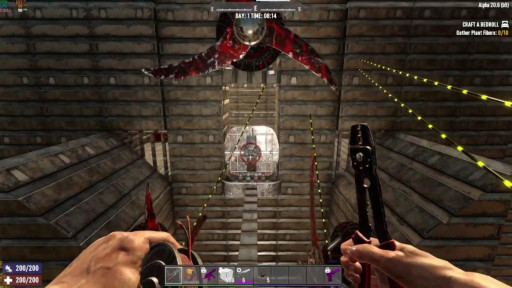
Fans from hell.
Blade traps are huge and expensive:. they take up a 3 x 3 space, need a power source, and require steel to repair them..
Few things are more satisfying than creating a zombie blender.
The most effective ways to use them are by mounting one on top of another like a twisted sandwich of death, or mounting it on walls as pictured above. The 'sandwich of death' requires placing one trap on the ceiling and one on the floor directly below that. As zombies pass by, they get cut up from two different levels.
This takes care of block-high zombies like crawlers and dogs, prevents the creation of more crawlers, and can decapitate walkers.
Blade traps will need to be repaired during horde nights—which is all the more reason to set them up as your last line of defense. One above your shooting perch helps clean up zombies while they try to beat the snot out of you.
How to make blade traps:
- Make sure you have leveled your 'Advanced Engineering' perk to 3.
- Have the following materials in your inventory for each blade trap: 10 forged iron, 10 forged steel, 8 mechanical parts, 6 electrical parts, and 10 oil.
- Search 'Blade Trap' in the crafting window. Choose how many you want to make, and click 'craft'.
- Place traps by right-clicking where you want them to go.
7. Plant mines around your base to soften up the horde
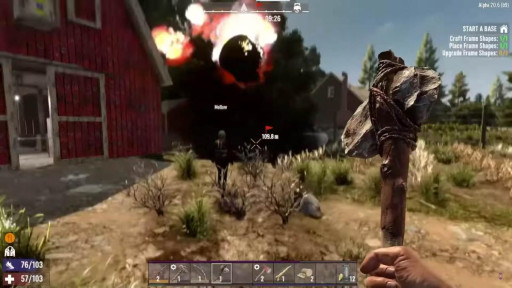
Accidental explosions are just a bonus.
Land mines are a good early-game defense because the most basic type can be crafted in your inventory from a handful of scrap, some gunpowder, nails, and duct tape. Basic zombies are annihilated when they step on it.. A bunch of 'em hitting a mine field at the same time is beautiful, beautiful carnage.
The damage and explosion range goes up with the better mines, and there's a 33% chance for them to detonate if caught in another explosion—so it's rare for a single zombie to set off a chain reaction. Not unheard of, though.
Mines are best used by placing them around the outside of your base, away from the outer wall, as a buffer between your base and incoming hostiles.
Or around your friends while they're offline.
How to use land mines:
- Craft them by searching 'mine' in the crafting window (or in the workbench, if using higher-tier explosives)
- Equip them and go to where you want to place them.
- Right-click to put them on the ground. Back away slowly. If you step on them, you'll likely die and have to start over again with placement.
- Go out and repeat the process after they've been trampled by zombies.
6. Use hatches and railings to protect yourself
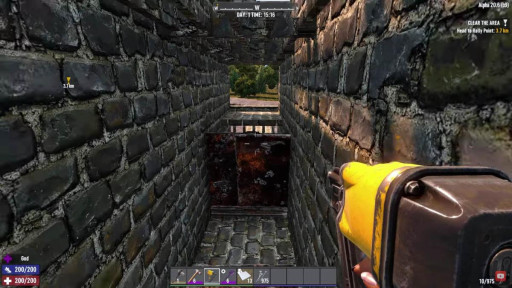
It's hard to believe that something so simple is such a headache for zombies.
Hatches, while 'open', will stop zombies in their tracks if they can't jump over them. This works to your advantage in a long hallway—they're stuck beating the hell out of that block while you shoot.
Use railings, selected from shape blocks, to create barriers as well. You can shoot through the gaps in the railings without damaging the block, and they possess the same health as their material's solid cube. Place railings back-to-back to double their strength.
How to effectively use short blocks to slow zombies:
- Place a railing directly in front of your shooting position. Add a narrow block, like a plate, on the ceiling directly above, flush with the top block. This helps keep shorter zombies from coming in. A short pillar or a second railing on top accomplishes the same task.
- Set up hatches on the blocks directly in front of the railing, along the route the zombies (should) take. If you do not have a hallway set up, then don't place the hatches. Expect to repair your railing while you fight, instead.
- Yes, you can reverse this set-up and it still works: railing at the far end of the hallway, hatches along the length toward where you're hiding.
5. Don't underestimate the power of throwable explosives
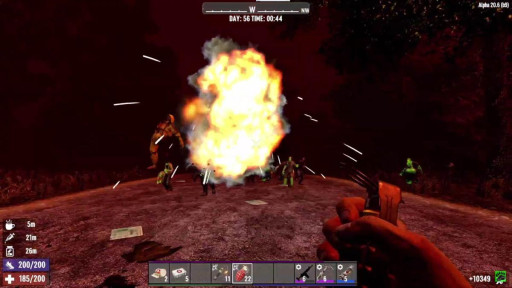
Ragdoll physics in action.
Zombies like to bunch up during horde nights. With just one point in Demolitions Expert, you can craft the cheap-and-effective pipe bomb to take them out in droves—once you have a workbench.
Why pipe bombs and not molotov cocktails? Pipe bombs do approximately 253 points of entity damage without adding any multipliers or resistances: that's an insta-kill for basic baddies. A molotov just sets them on fire. You're less likely to blow yourself up with a molotov, but you aren't going to dismember a boatload of zombies or experience the joys of 7 Days' ragdoll physics with one.
Of course, if you like fire… have fun! Just don't drop your bottle of fire at your feet.
You can also use grenades and contact grenades, just keep in mind that their range is greater at 5 blocks for entities—so don't be a weenie, throw that sucker as far as you can.
How to throw explosives:
- Equip the item. Your character's hand will now be holding the explosive.
- Prepare the item by right-clicking. In grenades, this pulls the pin. On dynamite (best for clearing blocks) and pipe bombs, it lights the fuse.
- Hold the left mouse button to charge your throw. The longer you hold, the farther it will go. With pipe bombs, you have 4 seconds after lighting it before it explodes in your hand.
- Let it fly! Enjoy the fruits of your labor.
4. Build multiple outposts with supply caches
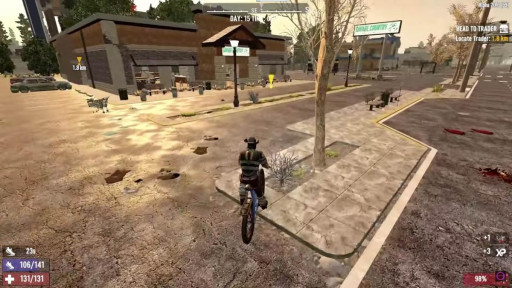
Hide your stuff wherever you like, mark it on your map so you'll find it later.
Having a back-up plan in case everything goes to hell is just the smart thing to do.
Whether they're placed by your world's various traders or peppered in the wilderness around your main base, setting up supply caches will help you recover a lot faster when things go to hell..
You won't need to turn these locations into impenetrable fortresses. If that's your thing, go for it. Instead, you'll have a chest with enough basics to get you back into fighting shape so you can take back what's yours (or so you don't just drop dead as soon as you set foot outside).
What to include in your outposts:
- Wooden chests are basic as hell, but get the job done. You only need one of them per outpost.
- Your preferred ranged and melee weapons at the highest quality you can craft (or get).
- At least one stack of ammo for your ranged weapon. If making bunches of ammo to scatter around the countryside doesn't work for you, then just stick to your melee weapon.
- Food. If you're still early game, go for whatever you can make. 10-20 of them will help recover lost health and boost your stats back to where you want them. The most accessible foods are corn bread, grilled/charred/boiled meat, and bacon and eggs. The best foods to stock without relying on canned foods are stews and pies. The best-hydrating drinks in the game are yucca juice and yucca juice smoothie. In a pinch, just have something.
- Repair kits. Get what gear you have left back into fighting shape, and be able to keep your tools sharp for taking back your base.
- Medicine. First aid bandages, first aid kits, or painkillers for recovering health and antibiotics for dealing with infection.
3. Repair and upgrade often, at least between every major horde
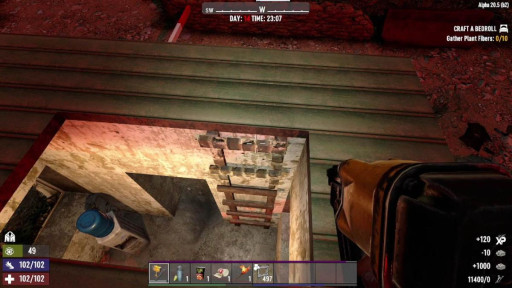
Nailed it.
All that stands between you and the ravenous dead is whatever you've built to hold them back. Once that fails, especially when dealing with Blood Moon Horde, you take the risk of being overrun. Injuries pile up, the dead take you down, you lose some XP and have to figure out what to do.
You can repair while defending against the horde—and you'll likely have to do some repairs during the event. It gets harder and harder to juggle this as the days go by, making it important to repair your builds and replenish anything that's broken before the next swarm.
How to repair your builds:
- Have the appropriate materials in your inventory: wood, cobblestone rocks, concrete mix, forged steel, etc.
- Equip a Stone Axe, Taza's Stone Axe, Claw Hammer, or Nail Gun, and right-click on the damaged block.
- Hold the right mouse button until the block is at max 'health', then move on to the next.
- Upgrading works the exact same way.
2. Understand how Blood Moon Hordes work

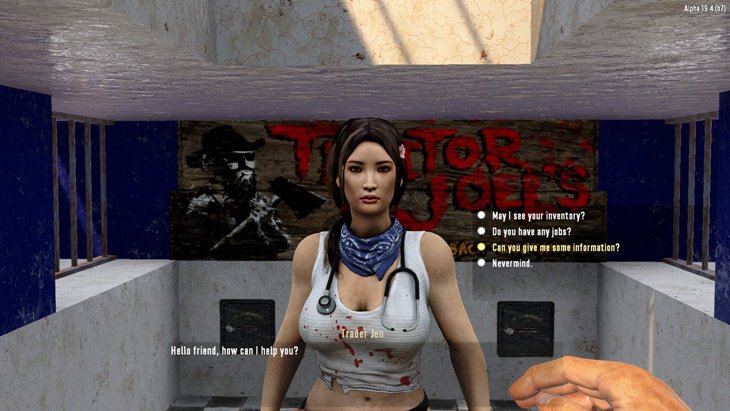
Our favorite medical trader knows the Blood Moon really well. Be like Jen.
A Blood Moon Horde is an event that happens, by default, every 7 days. It consists of a zombie attack followed by multiple waves of zombies, and they all know where you are. No amount of sneaking will save you.
This is the mechanic that drives your gameplay.
On the morning of a Blood Moon, the day indicator in the HUD turns red; later in the evening the sky turns red, too. It's a warning that you're about to have a bad time. It's usually stormy weather, the event is announced by thunder, and the first attacks happen around 22:00.
Everything goes back to normal around 4:00 the next morning the internal clock starts counting down again. This will repeat every 7 days, unless you change the game settings when you choose to load your save file.
What makes the Blood Moon Horde special is, aside from them knowing exactly where you are at all times, the zombies are stronger. You'll see more zombies than usual, they'll be faster, and you're more likely to see the special zombies. What you see depends on your game stage and settings, with the hordes getting bigger as time goes on.
How does understanding Blood Moon Horde mechanics help you?
- It gives you a timeline to follow, so you know exactly when you have to have everything repaired and stocked up before you hunker down.
- You know what signs and signals to watch for, so you know when to take cover. Sky turning red? Get to safety and get ready to fight!
- It helps you judge what strategies will work for you. If you know what's coming, and how hard it's going to hit you, you can better decide how you're going to ride it out.
1. Think like a zombie
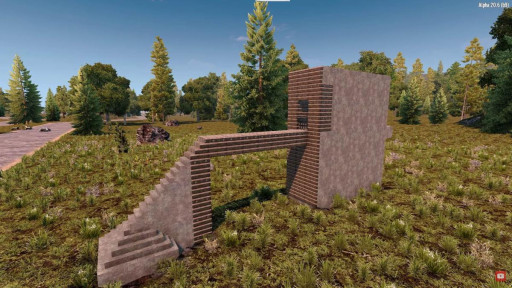
Think like a corpse! Corpses love convenience.
The key to defending yourself in 7D2D is understanding how the game's zombies work.
Zombies will use the most direct route to get to you. This is especially true of Blood Moon Horde zombies, who always know exactly where you are.
Tightrope that leads to a short wall, and you're standing behind that short wall? They'll walk the tightrope.
Tiny building with you standing at the back staring at the door? They'll bash in the wall directly behind you if they can reach it.
Veteran survivors use zombies' pathing to our advantage by providing one direct line to access us. The reason you see so many simple horde bases like the one above (by IzPrebuilt) is because they work. By setting yourself up high, out of reach from below, with zombie access being the comically-obvious stairway to hell, you're waving an "eat me" sign.
Except they can't eat you. They just think they can.
Very beautiful. Very powerful.
So, how do you use this information?
- Put your base up high (at least 5 blocks high) or surround it with an open pit (at least 5 blocks deep). If using a pit, make sure there is a way out that lets zombies run around and back toward their entrance. This keeps them on the path you want them to follow and prevents them from trying to make their own.
- If using a ladder to access your base, have it stop two blocks above the ground so zombies can't use the ladder, but you can. If your entrance is at 'ground level', use a drawbridge (that you can raise when you're inside) or set down frames that you can quickly pick up.
- Provide zombies with one active entrance into your base at a time (surprise, it's a trap). If your base is up on a pedestal or otherwise up high, give them a stairway to a 'killing hall' lined with hatches to slow them down. This buys you time to kill the zombies before they reach you.
- If your base is surrounded by a pit, give them a narrow bridge. As they try to pile up on that bridge they'll fall off and have to run back, which also buys you time to deal with them.
- Let them see you, but make yourself inaccessible with hatches or shorter blocks. I like setting up railings for this purpose. With your frame block in hand, hold 'R' to open the radial menu and click the top button to select the shape type. Type 'railing' in the search and pick it. You can shoot through them without destroying the block.
- Now sit back and wait.

