Deck 10: Magic P.E.K.K.A.
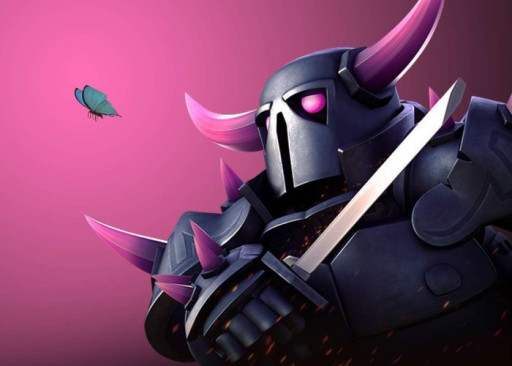
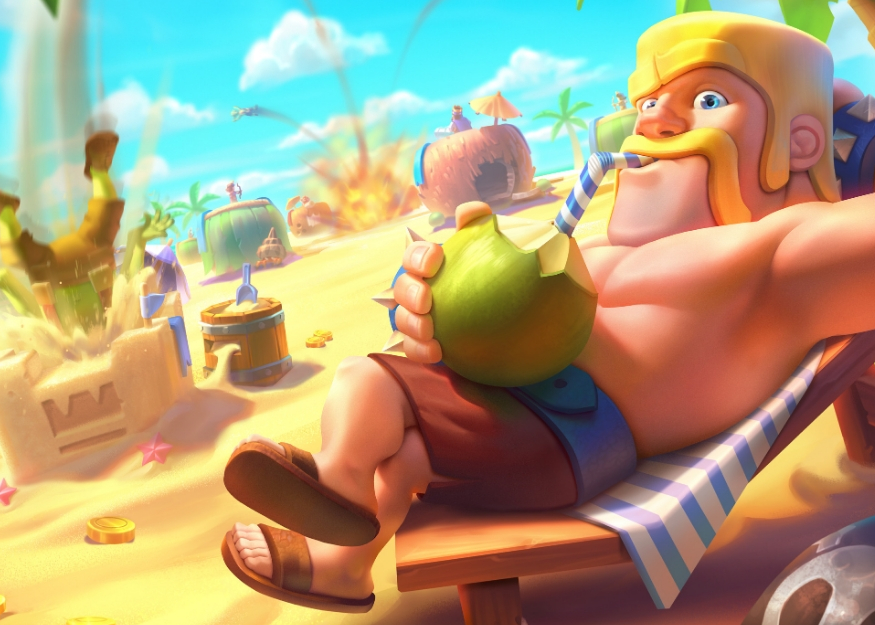
This frightening fellow is just a gentle giant.
The Magic P.E.K.K.A. deck is a magical and fierce deck. With many types of cards, you will be well prepared for any opponent. Play this right and you’ll pocket many wins.
What’s Great about this Deck
- You finally get to use the P.E.K.K.A.
- Uses an aggressive offensive strategy.
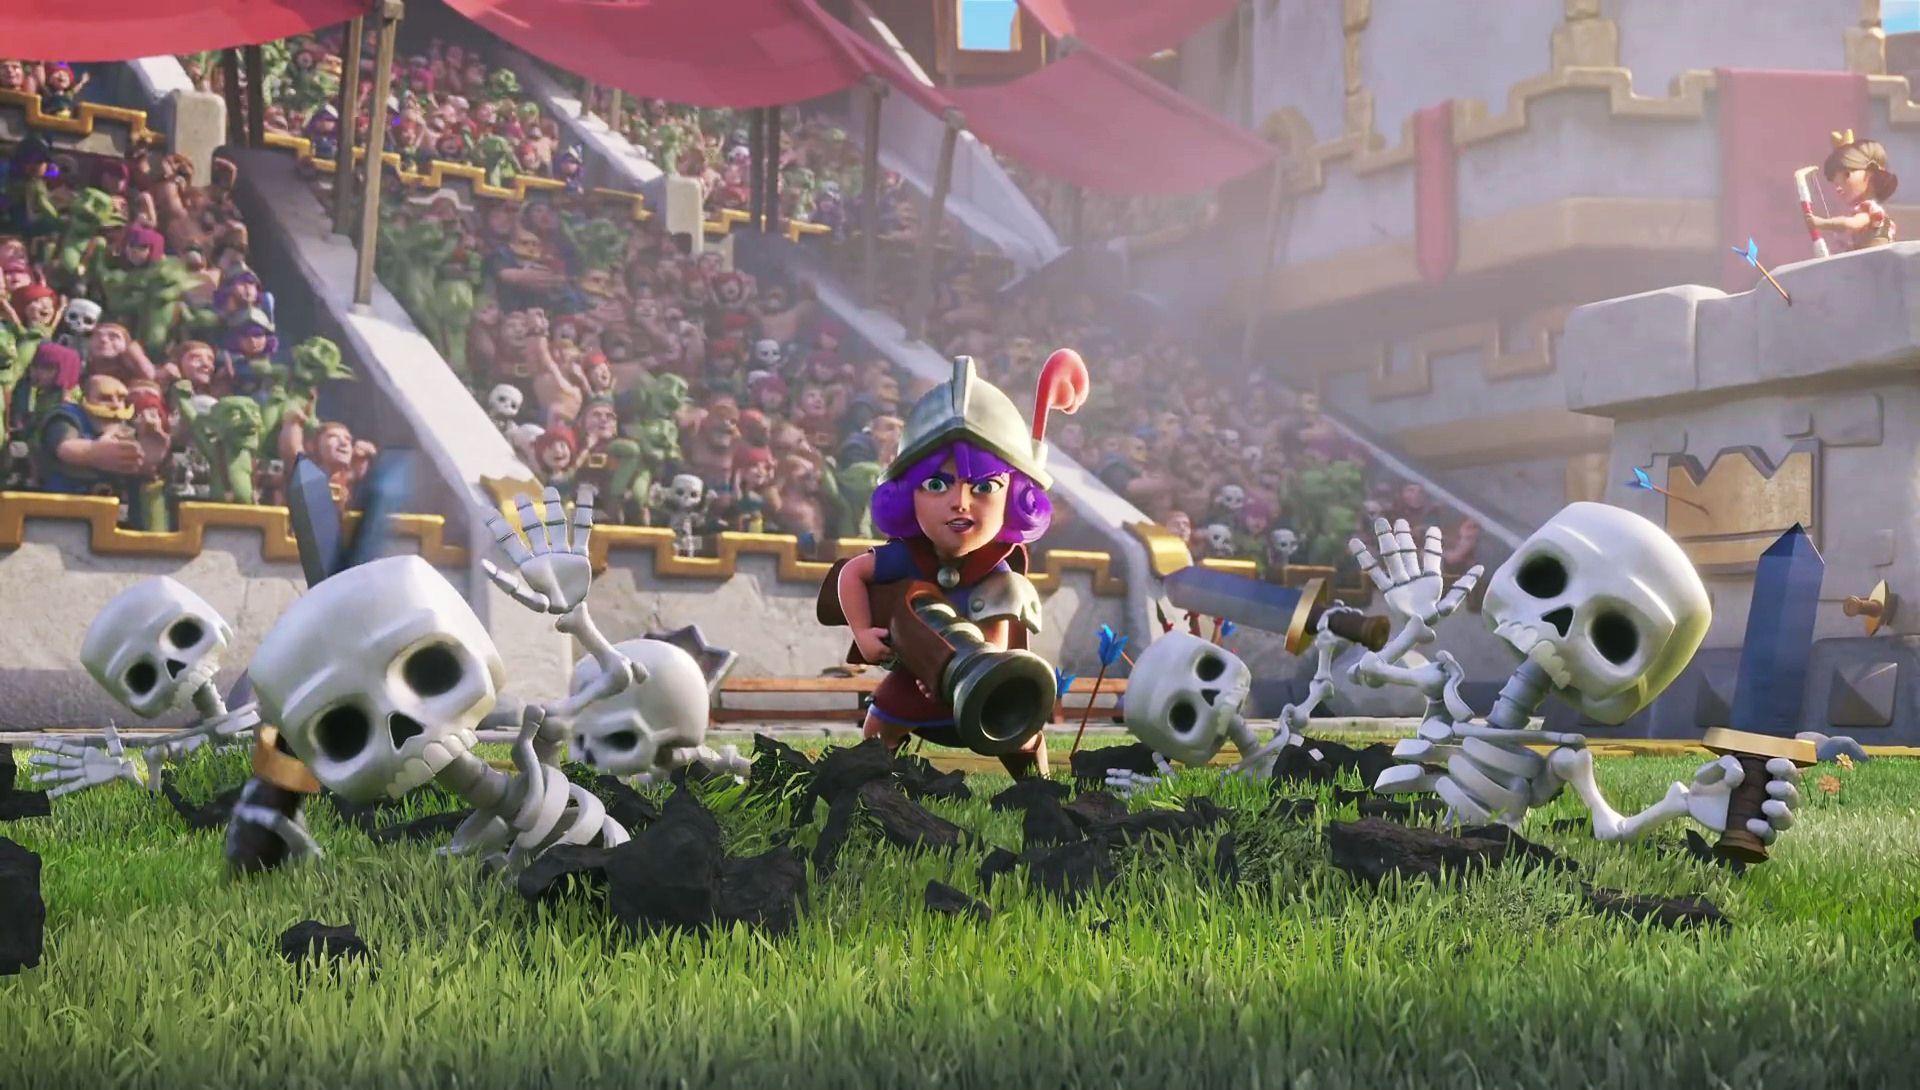
- The Magic Archer can shoot through units to apply damage to the enemy units and whatever is behind it (more enemy units or even the enemy tower).
How the Magic P.E.K.K.A. deck is Played
- Battle Ram and Miner are the center of you offense.
- Send in the Battle Ram, and as soon as the enemy base locks onto it that is when you are going to deploy the Miner. The Miner will be able to attack the tower while everyone else is focusing on the aggressive attack from the Battle Ram.
- You can also attack both side towers at the same time by sending the Battle Ram to one and the Miner to the other. It will force your oppenent to decide which one to defend. Don't use this as your primary attack, however. These cards are better used together. It is nice to use once in a while to keep your oppenent guessing.
- Poison and Magic Archer are supporting offensive units. Place the Poison spell on the enemy tower when your Miner arrives. This will defend your Miner and deal additional damage to the tower and nearby enemies. The Magic Archer is great because its attacks not only damage its target but what is directly behind them. That means that if there is an enemy unit guarding the tower, the Magic Archer will attack the unit and the tower at the same time.
- When defending your base, the P.E.K.K.A. is vital because enemy units have to get through them before they can get to your tower. It is especially good for defending against Hog Riders because it can usually take it out with one attack motion.
- The rest of the cards are good supporting untis on both offense and defense. Zap is good for slowing down attacking units on defense.
Cards
- P.E.K.K.A.
- Magic Archer
- Battle Ram
- Miner
- Dark Prince
- Mega Minion
- Zap
- Poison
Deck 9: Fly Baby Fly
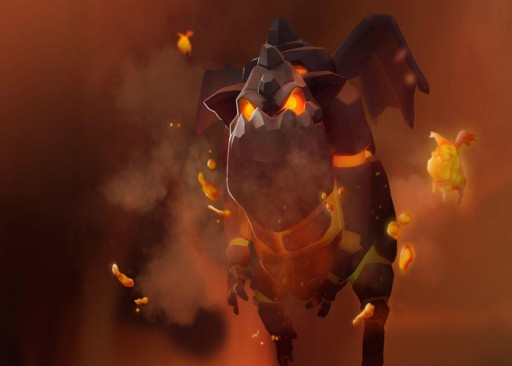
This mama raises hot headed pups.
Take advantage of Clash Royale’s air units with the Fly Baby Fly deck. This deck has three powerful air units, two of which are the center of the offense. This is a perfect choice of deck for someone who is flexible and enjoys keeping their opponent on their toes. It combines a slow build up offense with the option to deploy a sneak attack. In addition, the defending units and spells are adaptable as you can use them for offensive support when you see fit.
What’s Great about this Deck
- Run a fun and dynamic offense by mixing the lengthy offensive strategy using the Lava Hound or quick, sneak attacks with the Miner and Mini P.E.K.K.A.. This leaves your opponent frazzled, never knowing if they need to save up elixir for the Lava Hound or deploy immediately for Mini P.E.K.K.A. and Miner combo.
- The Lava Hound is very hard to destroy because of its high HP so it can soak up a lot of damage. This makes getting it to your opponent’s tower easy, especially if you use your supporting units.
- Occasionally you will come across an opponent who is ill equipped for air attacks and, having no way to defend, you will destroy their three towers with ease.
How the Fly Baby Fly Deck is Played
- With this deck your main offensive strategy revolves around the Lava Hound.
- The Lava Hound is expensive, taking seven elixir to deploy, so it is vital that when you have saved up the right amount of elixir, you start your Lava Hound back by your tower. This gives you enough time to build your elixir supply back so you can drop your supporting units when the Lava Hound crosses into enemy territory.
- The fundamental supporting unit in the deck is the Baby Dragon. When the enemy tower archer locks onto the Lava Hound that is when you want to deploy your Baby Dragon. The Lava Hound has a lot of HP, so it will easily survive to the tower. The Baby Dragon is there to defend the Lava Hound from enemy units.
- You can use the Mini P.E.K.K.A. and the Miner for defense and a sneak attack. If you notice that your opponent must be low on elixir it is the perfect time to launch your Mini P.E.K.K.A. and Miner. The Mini P.E.K.K.A. is quick and the Miner, as you know, digs under the ground and pops up wherever you desire, including going straight to the enemy tower.
- Your two spells (Poison and Lighting), the Guards, and the Inferno Dragon are used primarily for defense but you can use them for supporting offensive units when you see fit.
Cards
- Lava Hound
- Inferno Dragon
- Baby Dragon
- Mini P.E.K.K.A.
- Miner
- Guards
- Poison
- Zap
Deck 8: Giant Balloon Combo

Hot headed much?
This is a classic deck used by seasoned pros and beginners alike. The pure simplicity of the deck may make some players underestimate its value, but don’t be fooled. The focal point of this deck is the Giant Balloon combo attack. If you use the right strategy, this can be a game changer.
What is Great about this Deck
- Half of the cards in the deck are Common cards. This means they are easy to collect and level up.
- It utilizes the Balloon unit, one of the most powerful units in the game, to its full potential.
- The versatility of the chosen cards provides a perfect mix of offensive and defensive abilities.
How the Giant Balloon Combo Deck is Played
- This deck revolves around getting your Balloon unit to your opponent’s tower. Once your Balloon is there, it will destroy the tower in seconds. The biggest obstacle is getting the Balloon there in one piece.
- When deploying the Giant Balloon combo it is vital that you deploy the Giant first. The Giant has a lot of HP and the Balloon does not. Deploy the Giant as close to the opponent’s tower as you can and wait until the tower’s archer locks onto the Giant. Only then should you deploy the Balloon unit.
- This deck requires patience. Both the Giant and the Balloon unit are five elixir, meaning that you have to wait until your elixir bar is full before launching your attack.
- The three spells (Arrows, Fireball, and Log) are used to protect your Giant Balloon combo. Units like Minion Horde are especially dangerous to the Balloon’s health. The Fireball and Arrows spell provides the protection you need so the Balloon can reach the opponent’s tower. Barbarians and Skeleton Army threaten the Giant (who is protecting the Balloon), and the Log is effective against these units.
- The next biggest threat to your Giant Balloon offense are defensive buildings, specifically the Inferno Tower. The best way to combat the Inferno Tower is to save up the max amount of elixir, but this time instead of deploying the Giant as close as you can get to the other player’s tower you will place it as far back as you can. The Giant moves slowly, giving you time to build up more elixir. By the time the Giant moves into enemy territory you have enough elixir to deploy the balloon and support units (Goblins, Minion Horde, or Barbarians). With the aid of the support units you should be able to take down the Inferno Tower quickly.
- You can use your support units for offense and defense. The spells can also be helpful when defending your own towers. In addition, if you needed you could use the Giant as a sacrificial pawn. You can do this by deploying the Giant close to your tower when you see that your opponent has just placed a lot of offensive units. By doing this, the enemy units will target the Giant instead of your tower. This will buy you time to place other units and for your tower’s archer to deal damage.
Cards
- Giant
- Balloon
- Goblins
- Barbarians
- Minion Horde
- Arrows
- Fireball
- Log
Deck 7: Miner/Mortar Combo
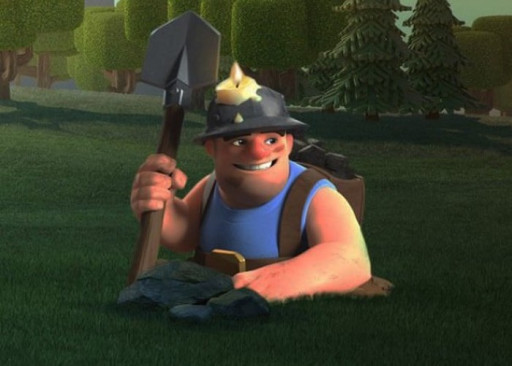
This deck optimizes the classic Miner and Mortar combination. Being able to deploy a close-combat attack with a distant attack puts the perfect amount of pressure on your unsuspecting opponent.
What’s Great about this Deck
- The Miner/Mortar Combo lets you attack the enemy tower from both sides of the bridge.
- All the cards in this deck are low cost. This makes it easy to spam your opponent, giving you plenty of opportunities to overwhelm them.
- This deck has units that are effective against ground and air units.
How the Miner/Mortar Combo Deck is Played
- The Miner and Mortar will be the center of your offensive strategy.
- The Mortar’s reach lets you place the unit on your side of the bridge, turning it into an offensive building.
- The Miner can dig undetected anywhere on the board, many players choosing to send it straight to the enemy tower.
- Units like Spear Goblins, Goblin Barrel (which can also launch directly to the enemy tower, similar to the Miner), Bats, and Wizard can aid the offensive team or stick back to help defend your home base.
- The Log and Fireball are used primarily for defense, but if the opportunity presents itself, feel free to send them on over to the other side.
Cards
- Spear Goblins
- Miner
- Goblin Barrel
- Mortar
- Fireball
- Bats
- Log
- Wizard
Deck 6: Divide and Conquer

The Divide and Conquer deck uses an aggressive offensive strategy in which you attack both side towers at the same time. Your opponent, usually unable to adequately defend both sides, has to choose which one to protect and which one will die. If your opponent is paralyzed with indecision, you might even take both towers down.
What’s Great about this Deck
- You can use a baiting strategy.
- If timed right, this deck will also force your opponent to choose between their two towers.
- You will show off your strategy skills because of the precise timing of attacks that are necessary for success.
How the Divide and Conquer Deck is Played
- Beware of Fireball and Rocket when deploying your Three Musketeers. This unit costs nine elixir to deploy so if they get killed right away it is a colossal waste.
- To prevent your Three Musketeers from being ambushed, you can use the baiting strategy. Place the Furnace down to do so.
- Many players feel the need to attack unit spawning buildings and will send a Fireball or Rocket your way. That is when you need to deploy your Three Musketeers. Timing is important for this strategy because sometimes they will only fall for the bait once.
- Another way to play the Three Musketeers is to place that at the very bottom middle of the board. This will make the Three Musketeers split off, two will go one way and one will go the other. When the Three Musketeers get near the bridge, deploy the Battle Ram to the side with the single Musketeer. This will force your opponent to choose only one of their towers to defend because they usually can’t defend both.
- You can use the other units for supporting offensive units or defensive units.
Cards
- Battle Ram
- Furnace
- Spear Goblins
- Miner
- Minion Horde
- Three Musketeers
- Zap
- Knight
Deck 5: Turtle Wins the Race
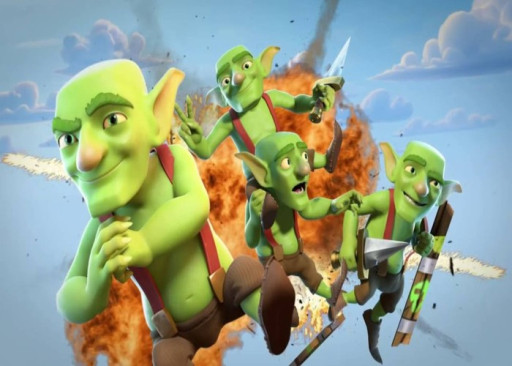
The attack units in this deck cost a minimal amount of elixir and this is used to your advantage. When deploying these low-cost cards, your opponent is reluctant to spend their elixir to kill them and they usually just let your units run their course. That line of thinking works if it is just once or twice, but if you are sending a constant stream of units that your opponent lets slide, those damage points add up.
What’s Great about this Deck
- Fairly cheap deck.
- Provides a failsafe for when your opponent’s tower has a small number of HP but you just can’t seem to get any units through (Rocket, anyone?).
- Has dedicated defensive units.
How the Turtle Wins the Race Deck is Played
- The goal is to carve away at your opponent’s tower little by little until you can finish it with the Rocket.
- Planning the optimal time to get the Goblin Barrel to hit the tower is vital to success. To do this, you will have to use the Princess as bait. Place the Princess down and your opponent will usually use their arrows, fireball, or zap to kill her. Once you know that those cards are now out of your opponent’s hand for the time being, send in the Goblin Barrel.
- If your opponent doesn’t fall for the bait, then your Princess will tick down the enemy tower’s HP instead of the Goblin Barrel. It is a win-win.
- To help the Goblin Barrel do even more damage, use the Zap spell. If you can get your Goblin Barrel to land and then summon the Zap spell to hit the tower, your Goblins will do maximum damage.
- For defense your Log, Knight, Archers, and Spear Goblins will be your go to units.
Cards
- Knight
- Princess
- Zap
- Spear Goblins
- Rocket
- Goblin Barrel
- Log
- Archers
Deck 4: Poison Miner

This deck uses the Poison spell for offense. Using a card such as Poison always gives you satisfaction because there is nothing that your opponent can do to defend against it. They are forced to just watch helplessly as their tower’s HP drains continuously.
What’s Great about this Deck
- Use spells for offense.
- Easy to damage to enemy towers.
- Makes use of one of the cheapest cards in the game (Skeletons).
How the Poison Miner Deck is Played
- Set up the Goblin Hut by your tower. This allows the units produced to make slow and steady damage to the enemy tower.
- Deploy the Baby Dragon or the Knight (depending on if your opponent is using air or ground units) and get the enemy tower’s archer to lock on (because both the Baby Dragon and the Knight have a higher HP).
- After deploying the Baby Dragon or the Knight add the Poison spell and send Miner directly to the enemy tower.
- You can use the Baby Dragon and the Knight for defense as well.
- The Skeletons are an excellent distraction and a net positive elixir exchange against large offensive units (P.E.K.K.A., etc.).
Cards
- Baby Dragon
- Goblin Hut
- Miner
- Knight
- Log
- Musketeer
- Poison
- Skeletons
Deck 3: When Pigs Fly

Remember all those people who told you your dreams were impossible? They would equate your success to pigs being able to soar through the air. Well, your time has come. A tornado has swept through your life, and with it swept up all the swine. Fly alongside those pigs to victory!
What’s Great about this Deck
- Uses the Golem unit for a strong offensive push.
- This deck uses the Tornado/Baby Dragon combination. This is very effective for getting rid of enemy units on either offensive pushes or defensive stands.
- All the cards can be utilized for offense and defense, giving you flexibility in your gameplay.
How the When Pigs Fly Deck is Played
- Golem is the center of your offense.
- Golem is expensive so you need to deploy him at the back of the field, near your tower. This gives you enough time to build up more elixir so you can deploy supporting units by the time Golem has crossed into enemy territory.
- The Baby Dragon and Tornado spell make an impressive combination. You can use the Tornado spell to gather all enemy units together. The allows the Baby Dragon to use its splash damage to rain down fire on all enemy units at once.
- Barbarian Barrel is like The Log; it can crush lower HP units on defense or offense. It also slows down attacking units.
- Over 2/3rds of your cards can damage air units. Use this to your advantage in defense.
Cards
- Tornado
- Baby Dragon
- Mega Minion
- Archers
- Golem
- Zap
- Spear Goblins
- Barbarian Barrel
Deck 2: Honor Guard
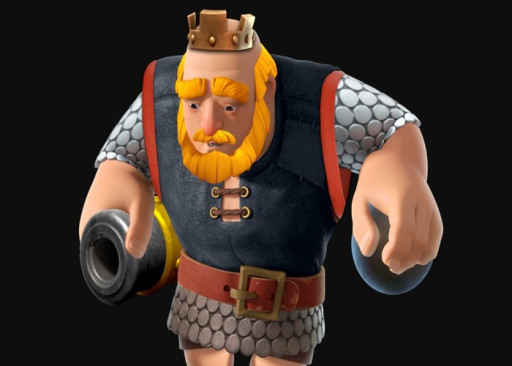
Every royal ruler needs protection, in this case it is the Royal Giant. The Honor Guard optimizes the Royal Giant’s abilities. By making the Royal Giant the center of the offense, the other cards can provide effective support, defending the Royal Giant against almost all attacks.
What’s Great about this Deck
- Effective offensive and defensive options.
- Versatile cards.
- It prepares you for almost all scenarios.
How the Honor Guard Deck is Played
- The Royal Giant is the center of your offensive strategy with this deck.
- The Royal Giant’s distance attack that focuses in on buildings is a noble way to tick down the enemy tower’s HP.
- The Furnace complements the Royal Giant because it provides a constant stream of Fire Spirits that defend the Royal Giant against smaller air and ground units (e.g.: Minion Horde or Skeleton Army).
- All the other units are used to protect the Royal Giant as it attacks.
- The supportive units can all be used for defense as well.
- While on the defensive, the Lighting spell is ideal for protecting your tower against bigger offensive units.
Cards
- Royal Giant
- Baby Dragon
- Mega Minion
- Guards
- Barbarian Barrel
- Arrows
- Furnace
- Lightning
Deck 1: Stop Hog-ing the Wins

This is one of the most honorable decks in all of Clash Royale. The Knight will do anything to defend and protect the Royal Hogs on their vital mission. While you’re advancing towards the enemy, the civilians back home don’t have to worry about an ambush because a good kingdom always leaves troops behind to defend the home base. You thought ahead and have equipped yourself with a multitude of adaptable cards to defend with.
What’s Great about this Deck
- The Royal Hogs are a very popular card used by many of the top players. This deck will give you the chance to see what all the hype is about.
- Supporting units are very versatile in that you can use them for offensive and defensive tactics and can target ground and air units.
- You get the chance to use many of the new cards you have received in Arena 7.
How the Stop Hog-ing all the Wins Deck is Played
- The primary goal is to get the Royal Hogs to the enemy tower.
- To do this, place the Knight first (as a meat shield) and follow it with the Royal Hogs.
- Aid the offensive attack by dropping the Poison spell to further protect the Royal Hogs and deal damage to the enemy tower.
- You can use the Three Musketeers for offense and defense. If you use them for offense, split them at the bottom middle of your deck so your opponent can’t kill them all at once.
- The Hunter, Skeletons, Guards, and Log are there primarily to provide defense to your towers. The Hunter is very versatile because of its ability to target ground and air units and deal a lot of damage.
Cards
- Royal Hogs
- Poison
- Guards
- Skeletons
- Knight
- Three Musketeers
- Hunter
- Log
