![[Top 5] DbD Best Cenobite Builds That Are Powerful best horror games 2016, michael myers, ghostface, scream, nightmare on elm street, leatherface, fun, dead by daylight](/sites/default/files/styles/responsive_image_600xauto/public/2022-07/cenobite.jpg.webp?itok=1-OgR7b9)
I love all of the killers that are in this game, but Cenobite is such a fun killer and I get asked frequently by various people what the best builds on him are. As the game adds updates and nerfs, this list is subject to change, and this is also just my humble opinion. ENJOY!
This list will be the top 5 Cenobite builds in Dead by Daylight.
5. Match Slowdown
This build was designed to slow the match down throughout.- Corrupt Intervention (The Plague) - 3 generators located furthest from you are blocked by The Entity for up to 120 seconds (depending on the Tier of the perk) at the start of the trial. Survivors cannot repair these generators for the duration.
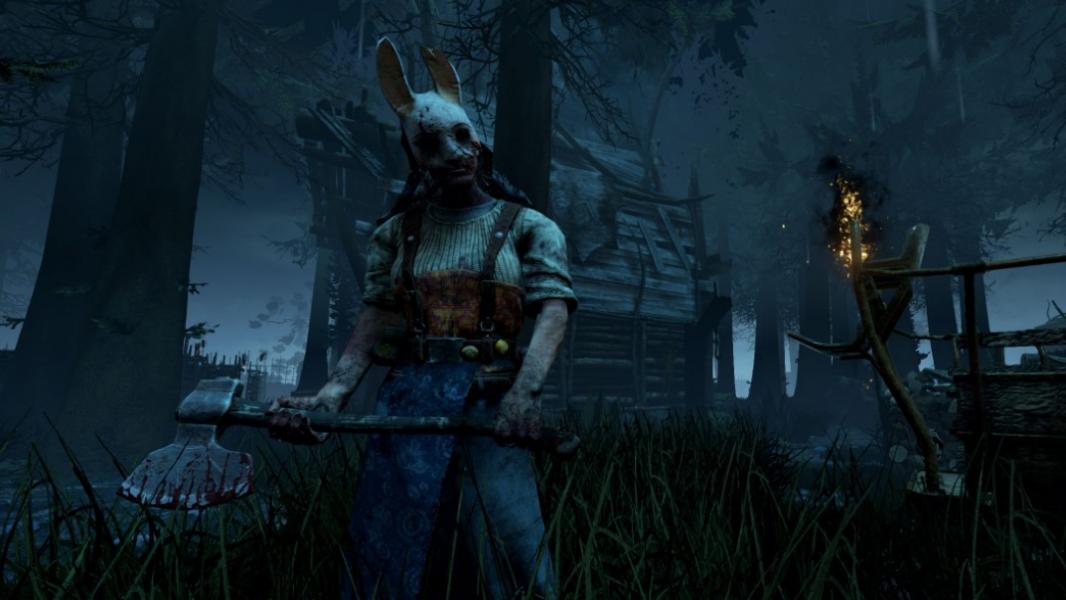
- Tinkerer (The Hillbilly) - This perk will give you a Loud Noise Notification when a generator repair progress reaches 70%. Moreover, it will also give you an Undetectable status effect for up to 16 seconds. This is an amazing perk that can catch survivors off guard.
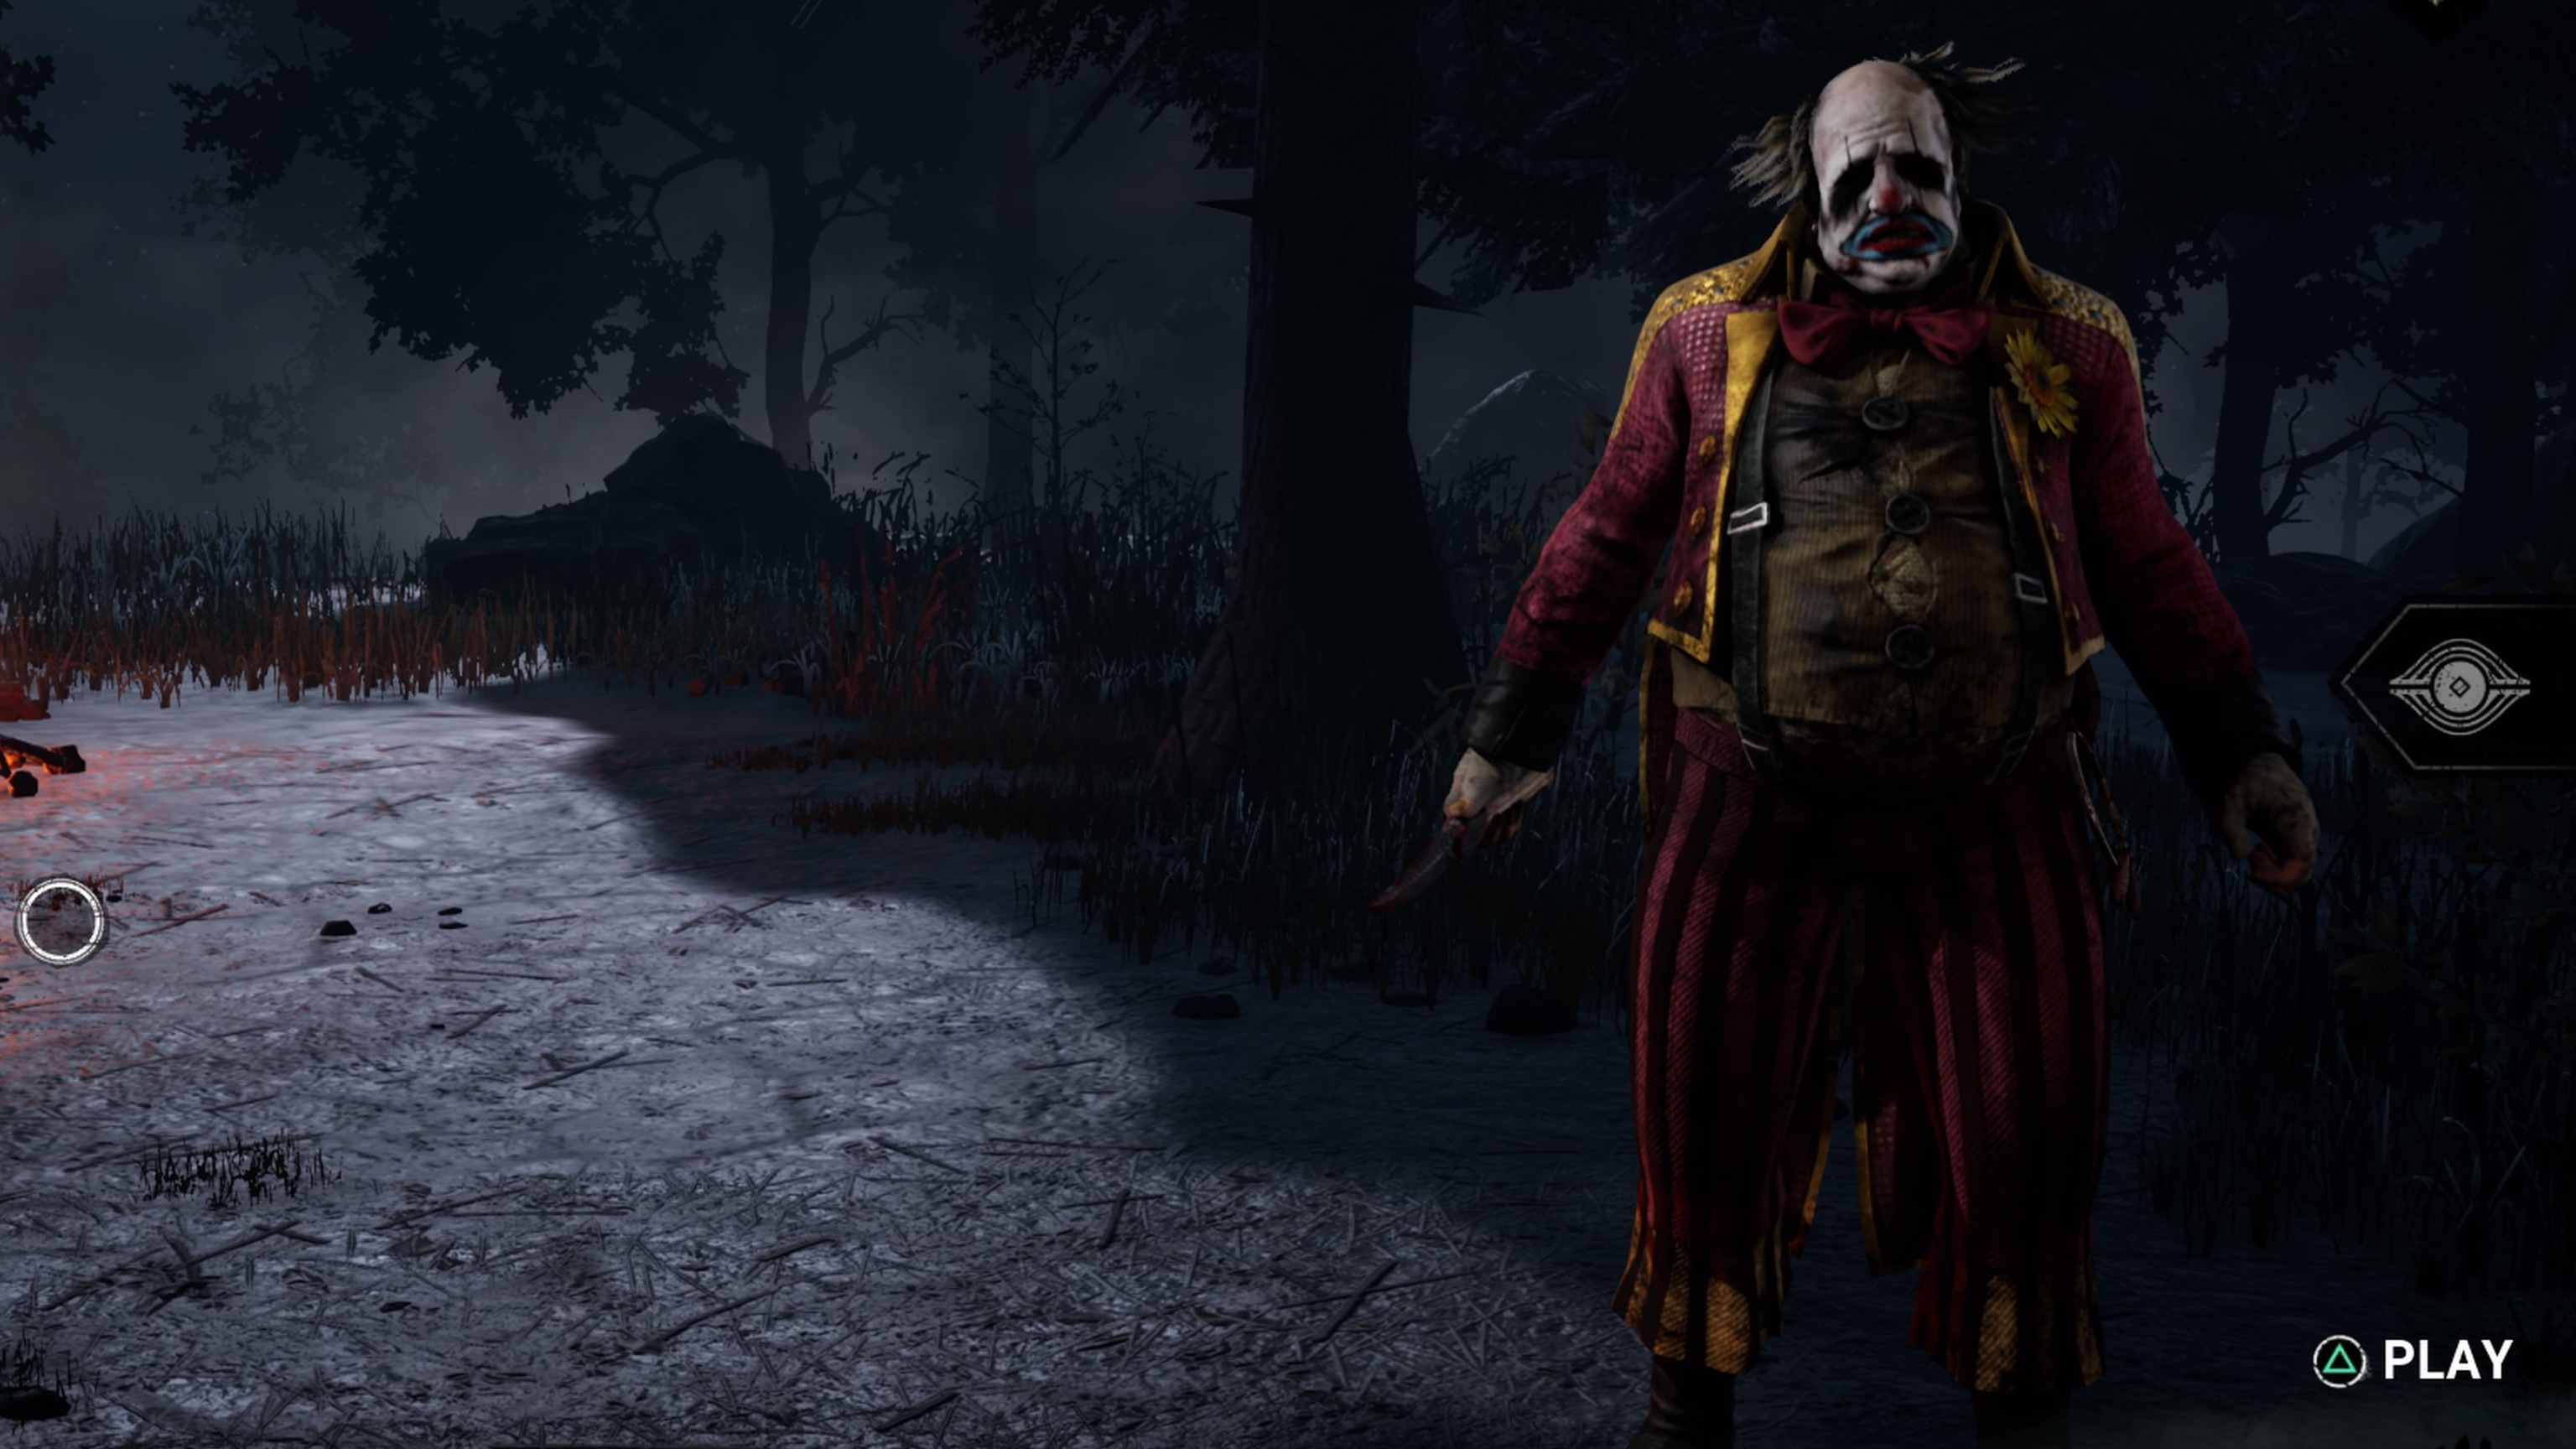
- Pop Goes The Weasel (The Clown) - After hooking a Survivor, Pop Goes the Weasel activates for the next 35/40/45 seconds:
The next Generator you damage instantly loses 25% Progression.
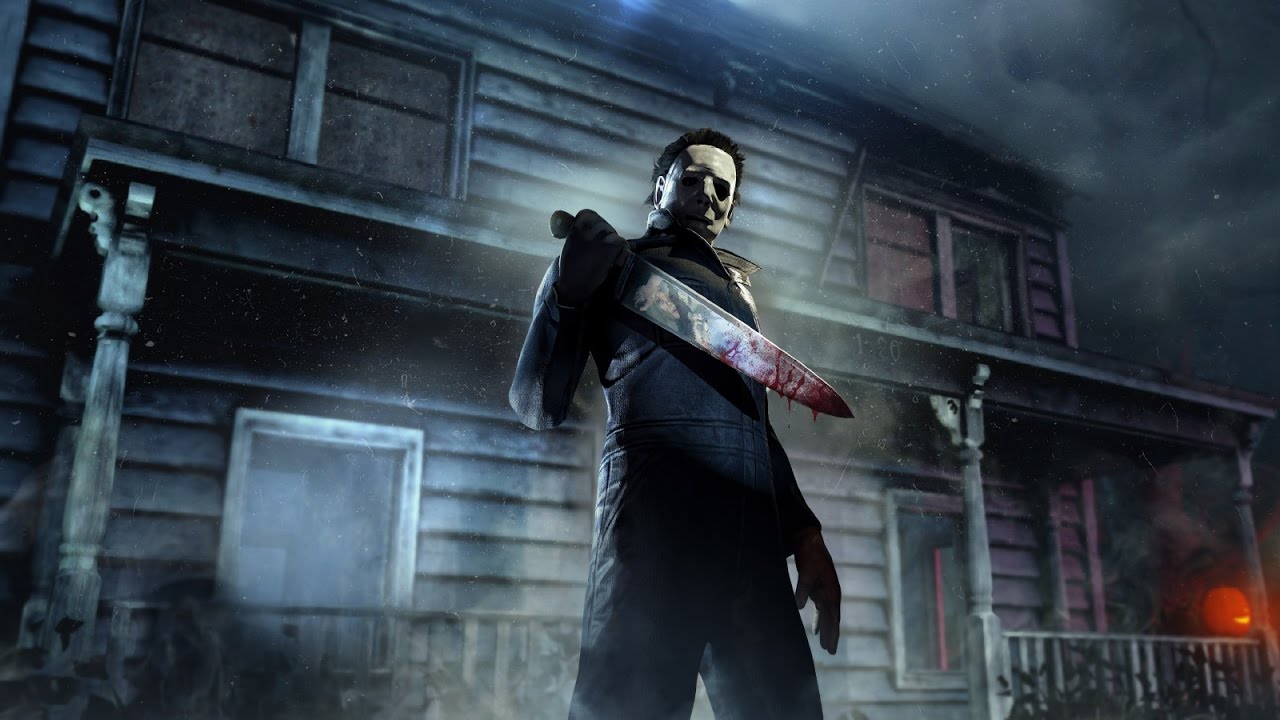
Regular Generator Regression applies afterward and Pop Goes the Weasel deactivates. - Save The Best For Last (The Shape) - You become obsessed with one Survivor.
Each time you hit a Survivor other than your Obsession with a Basic Attack, Save the Best for Last gains 1 Token, up to a maximum of 8 Tokens:
Gain a stackable 5% Cool-down reduction on successful attacks per Token, up to a maximum of 40%.
Each time you hit your Obsession with a Basic Attack, Save the Best for Last loses 4/3/2 Tokens.
When the Obsession is sacrificed or killed, you can neither gain nor lose any more Tokens.
Note: You can only be obsessed with one Survivor at a time.
4. Gen Slowdown
This build was designed to slow down generator progress.- Hex: Ruin (The Hag) - This perk is one of the best perks to use on a killer as it regresses Generator repair progression for all generators when they are not being worked on. The regression speed can go upwards by up to 200% of the normal speed.
- Hex: Undying (The Blight) - While Hex: Undying is active, Survivors within 2 meters of any totem have their aura revealed for up to 6 seconds (depending on the Tier of the perk). When another Hex totem is cleansed, transfers to an available dull totem around the map, losing any tokens in the process.
- Hoarder (The Twins) - Survivors reveal their location when they interact with a chest or when they pick up an item within (up to) 64 meters (depending on the Tier of the perk) of your location. The trial begins with up to 2 additional chests in the environment.
- Barbeque & Chili (The Cannibal) - Every time you hook a Survivor, this perk will activate giving away the location or auras of all Survivors within the 40-meter radius of the hook. If they are close to you or hiding in a locker, this perk won’t reveal them.
3. Newbie Friendly
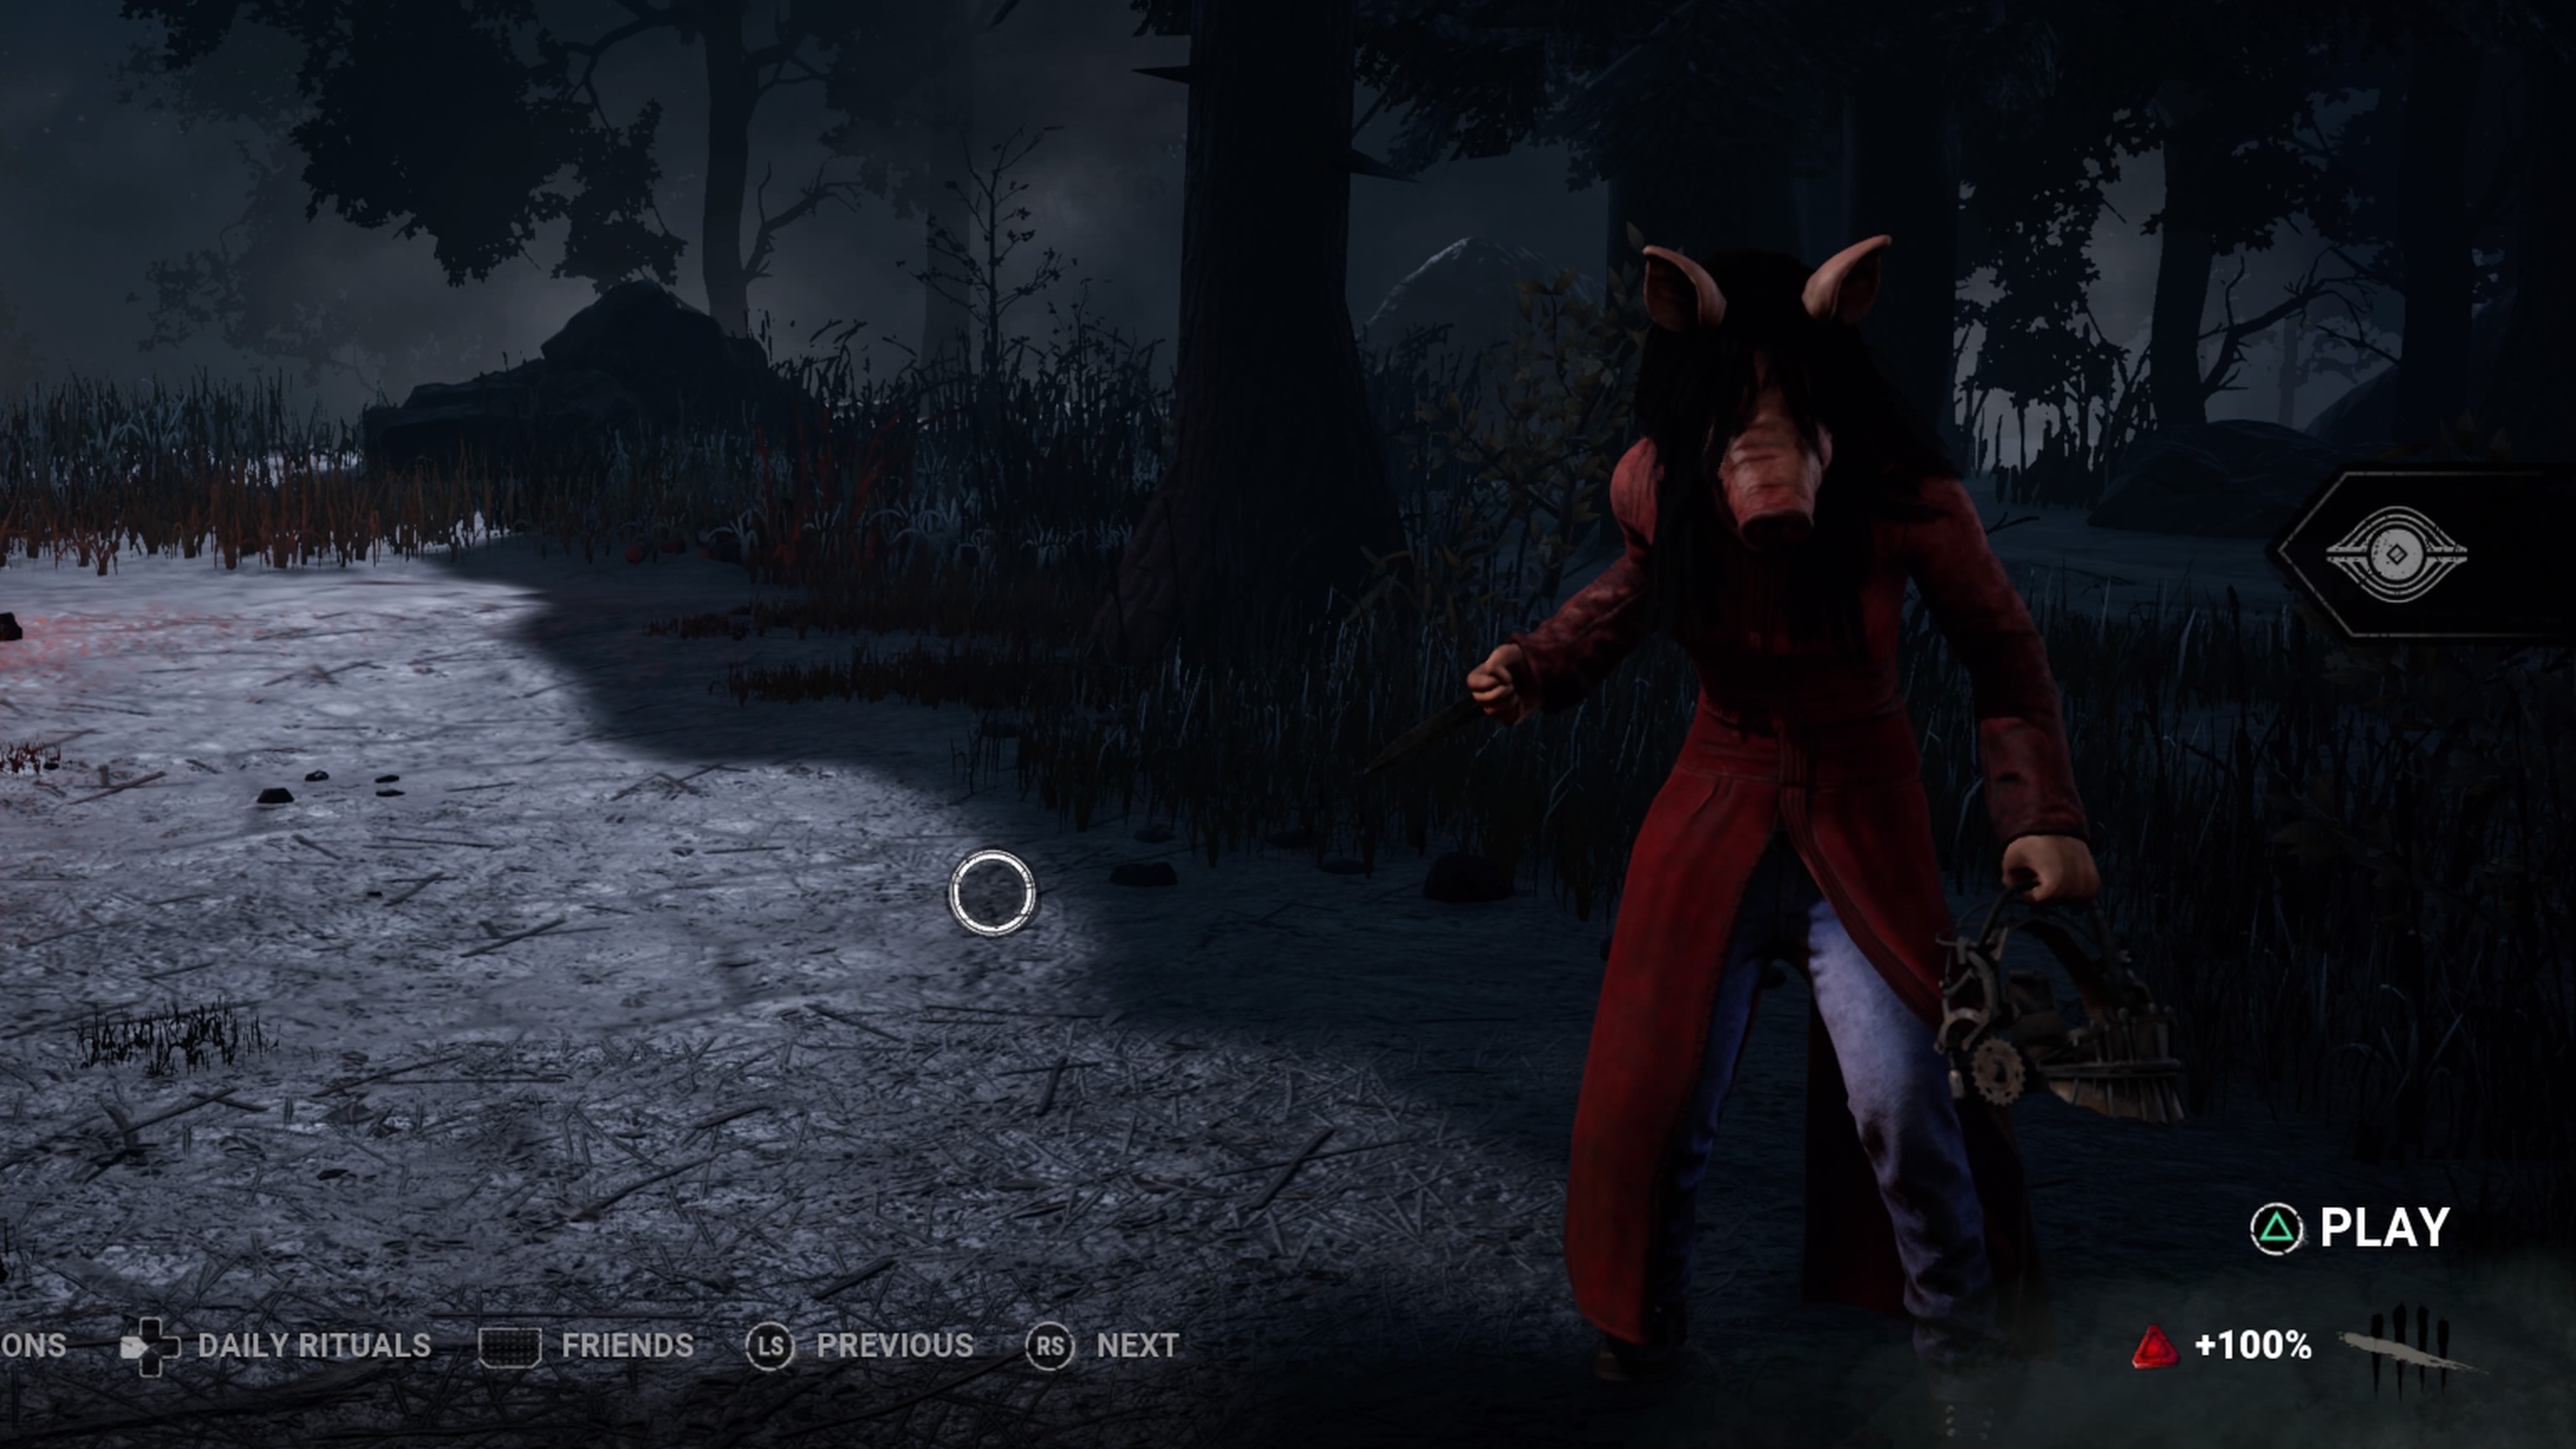
This build was designed to be newbie-friendly (Not having all perks unlocked)- Deadlock (The Cenobite) - Whenever a Generator is completed, The Entity blocks the Generator with the most progression for Several Seconds.
The Aura of the blocked Generator is revealed to you in white during this time. - Scourge Hook: Gift of Pain - At the start of the Trial, 4 random Hooks are changed into Scourge Hooks:
The Auras of Scourge Hooks are revealed to you in white.
Each time a Survivor is unhooked from a Scourge Hook, the following effects apply:
The Survivor suffers from the Haemorrhage and Mangled Status Effects until healed.
Upon being healed, the Survivor suffers from a Several Percent Action Speed penalty to Healing and Repairing until they are injured again. - Hex: Plaything (The Cenobite) - If there is at least one Dull Totem remaining in the Trial Grounds, Hex: Plaything activates on a random Totem each time a Survivor is hooked for the first time:
The hooked Survivor suffers from the Cursed and Oblivious Status Effects until Hex: Plaything is cleansed.
For the first 90 seconds, only the Cursed Survivor is able to cleanse the Hex Totem.
The Aura of Hex: Plaything's Hex Totem is revealed to the Cursed Survivor within Several Meters.
The Hex effects persist as long as the related Hex Totem is standing. - Bitter Murmur (Generic Perk) - Each time a Generator is completed, the Auras of all Survivors within 16 meters of that Generator are revealed to you for 5 seconds.
Once the last Generator is completed, the Auras of all Survivors are revealed to you for 5/7/10 seconds.
2. Gen Stopper
This build was designed to stop progress of gens throughout the match.- Hex: Ruin (The Hag) - This perk is one of the best perks to use on a killer as it regresses Generator repair progression for all generators when they are not being worked on. The regression speed can go upwards by up to 200% of the normal speed.
- Hex: Undying (The Blight) - While Hex: Undying is active, Survivors within 2 meters of any totem have their aura revealed for up to 6 seconds (depending on the Tier of the perk). When another Hex totem is cleansed, transfers to an available dull totem around the map, losing any tokens in the process.
- Pop Goes The Weasel (The Clown) - After hooking a Survivor, Pop Goes the Weasel activates for the next 35/40/45 seconds:
The next Generator you damage instantly loses 25% Progression.
Regular Generator Regression applies afterward and Pop Goes the Weasel deactivates. - Deadlock (The Cenobite) - Whenever a Generator is completed, The Entity blocks the Generator with the most progression for Several Seconds.
The Aura of the blocked Generator is revealed to you in white during this time.
1. I SEE YOU
This build was designed to keep visuals on survivors as pinhead.- Hoarder (The Twins) - Survivors reveal their location when they interact with a chest or when they pick up an item within (up to) 64 meters (depending on the Tier of the perk) of your location. The trial begins with up to 2 additional chests in the environment.
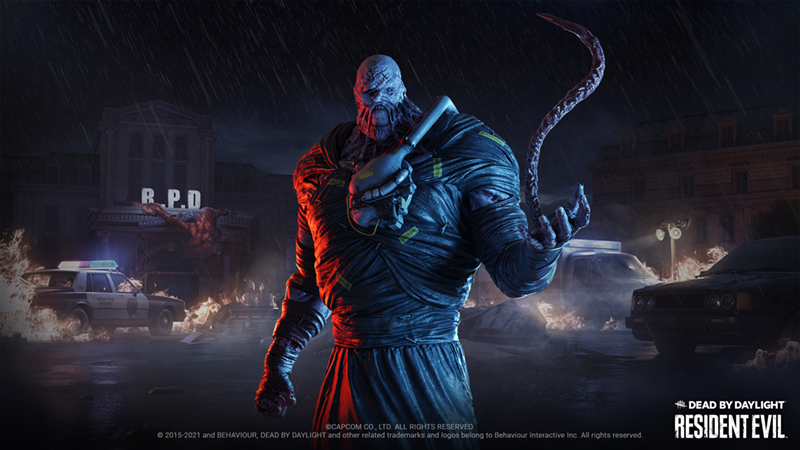
- Lethal Pursuer (The Nemesis) - At the start of the Trial, all survivors' Auras are revealed to you for 7/8/9 seconds.
- Barbeque & Chili (The Cannibal) - Every time you hook a Survivor, this perk will activate giving away the location or auras of all Survivors within the 40-meter radius of the hook. If they are close to you or hiding in a locker, this perk won’t reveal them.
- Franklins Demise (The Cannibal) - Your vicious Basic Attacks make Survivors drop their Items on impact.
If not recovered within Several Seconds, the lost Items will have their Charges depleted by The Entity.
The Auras of lost Items are revealed to you within 32 meters and slowly fade from white to red as the timer elapses.
Thank You For Reading
That concludes my Top 5 list of the best perks to use on the Cenobite in Dead by Daylight for 2022! Thank you very much for taking the time to see which build is right for you! All of the perks in the game are very fun and worth trying. Also, keep in mind this list is completely based on my individual opinion. If you want to know more about all things Dead by Daylight, click down below!
Until next time, I’ll see you all in the fog!
You May Also Be Interested In:
- Dead by Daylight Survivor Guide: Top 25 Tips
- Dead by Daylight Killers Guide: Top 25 Tips
- [Top 10] DbD Best Killer Builds That Are Great!
- [Top 100] Dead By Daylight Best Names
- [Top 10] DbD Best Survivor Builds That Are OP!
- [Top 10] DbD Best Killers And Why They're Good
- [Top 15] DbD Best Killer Perks And Why They're Good
- [Top 15] DbD Best Survivor Perks And Why They're Good
- [Top 10] DbD Best Survivors And Why They're Good
- [Top 10] DbD Best Survivor Builds That Are Great
- [Top 15] Ghost Games To Play Today
- [Top 15] Horror Movies That Were Books
- [Top 15] Best Horror Movies That Were Banned
- [Top 5] Dead By Daylight Most Fun Survivors
- [Top 5] Dead By Daylight Best Jane Romero Builds
- [Top 5] Dead By Daylight Best Meg Thomas Builds
- [Top 5] Dead By Daylight Best Claudette Morel Builds
- [Top 5] Dead by Daylight Best Jake Park Builds
- [Top 5] Dead By Daylight Best Nea Karlsson Builds
- [Top 5] Dead By Daylight Best Laurie Strode Builds
- [Top 5] Dead By Daylight Best Bill Overbeck Builds
- [Top 5] Dead By Daylight Best Feng Min Builds
- [Top 5] Dead By Daylight Best David King Builds

