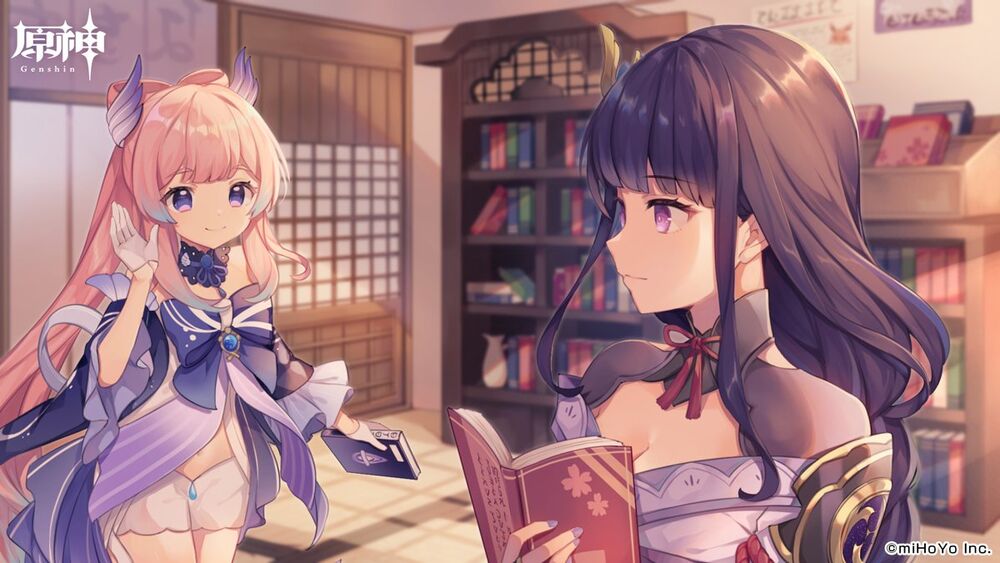
Kokomi might just be the most adorable and graceful character in the game so far. Before the introduction of the Dendro element, she was widely considered the most despised character due to her negative Crit rate. Many believed she was utterly useless. Yes, building Kokomi for Crit is almost impossible, but the truth is, we don't need to. Kokomi brings incredible healing and Hydro application potential to the table. She’s an S+ tier as a support and healer.
Moreover, building her up is surprisingly easy; you can achieve all these with minimal effort. Get ready to meet Kokomi, a character who inspires trust in allies and instils fear in enemies. Explore her current strength and witness the unmatched power of this charming character!
What are Kokomi’s strengths, and what makes her so exceptional?
1. Sustainable Healing:
- Her Elemental Skill, "Kurage's Oath," summons a "bake-kurage" that not only deals Hydro damage to opponents but also heals nearby active characters at fixed intervals. The healing is based on Kokomi's Max HP, providing a reliable source of sustainable healing for the team.
2. Max HP Scaling:
- Kokomi's Elemental Burst, "Nereid's Ascension," enhances her Normal Attack, Charged Attack, and "bake-kurage" damage based on her Max HP. This unique scaling mechanism allows her to deal significant damage while prioritising HP as a main stat.
3. Party Healing:
- When Kokomi's Normal and Charged Attacks hit opponents, she restores HP for all nearby party members. The amount restored is also based on her Max HP, turning her into a supportive healer for the entire team.
4. Walk on Water
- "Nereid's Ascension" increases Kokomi's resistance to interruption, providing added durability during battles. Additionally, it grants her the ability to move on the water's surface, enhancing her mobility in various scenarios.
5. Flawless Strategy Passive:
- While Kokomi has a 100% decrease in CRIT Rate, her "Flawless Strategy" passive talent gives her a 25% Healing Bonus. This emphasises her role as a dedicated healer, with a focus on sustained healing rather than critical hits.
6. Tamanooya's Casket (Ascension 1):
- If Sangonomiya Kokomi's own Bake-Kurage is on the field when she uses "Nereid's Ascension," the Bake-Kurage's duration will be refreshed. This passive ensures continuous support from Bake-Kurage during Kokomi's Elemental Burst.
7. Song of Pearls (Ascension 4):
- While donning the Ceremonial Garment created by "Nereid's Ascension," the Normal and Charged Attack DMG Bonus Sangonomiya Kokomi gains based on her Max HP will receive a further increase based on 15% of her Healing Bonus. This enhances her offensive capabilities during the Ceremonial garment state.
8. Princess of Watatsumi (Passive):
- Decreases swimming Stamina consumption for your party members by 20%.
Kokomi's passives contribute to her overall utility by extending the duration of her supportive elements, boosting her offensive potential during specific states, and providing a convenient Stamina-saving benefit for aquatic exploration. Her unique scaling and healing mechanics make her a valuable addition to teams looking for both offensive and defensive capabilities.
Now, let's delve into the exciting realm of optimal team synergies and build strategies that unleash the true potential of this aquatic powerhouse!
Kokomi Freeze

Kokomi in Freeze: Blanketing foes in an icy embrace, she reigns with frosty composure.
If the Freeze team were an orchestra, Kokomi would undoubtedly be its maestro, conducting the symphony of ice and precision. In the elemental ensemble of Freeze teams, Kokomi reigns as the essential core. This classical composition, well-known for its timeless effectiveness against all but the mightiest bosses, finds Kokomi as the indomitable force and irreplaceable healer. As enemies succumb to the icy embrace, fear dissipates, with Kokomi ensuring that defeat is a fleeting illusion. The Kokomi Freeze team isn't just a lineup; it's a saga of dominance and a testament to the unyielding spirit of elemental mastery.
Character and Equipment
Ayaka (Main DPS)
- Artifacts: Blizzard Strayer x4
- Main Stats:
- Sand: ATK%
- Goblet: Cryo DMG%
- Circlet: CRIT DMG
- Sub Stats Priority:
- CRIT DMG > CRIT RATE > ATK% > Energy Recharge%
- Best 5 Stars Weapon: Mistsplitter Reforged
- Best 4 Stars Weapon: Amenoma Kageuchi
Shenhe (Sub-DPS)
- Artifacts: Gladiator’s Finale x2 + Shimenawa’s Reminiscence x2 or Noblesse Oblige x4
- Main Stats:
- Sand: ATK%
- Goblet: ATK%
- Circlet: ATK%
- Sub Stats Priority:
- ATK% > Energy Recharge% > CRIT DMG > CRIT RATE
- Best 5 Stars Weapon: Calamity Queller
- Best 4 Stars Weapon: Wavebreaker's Fin
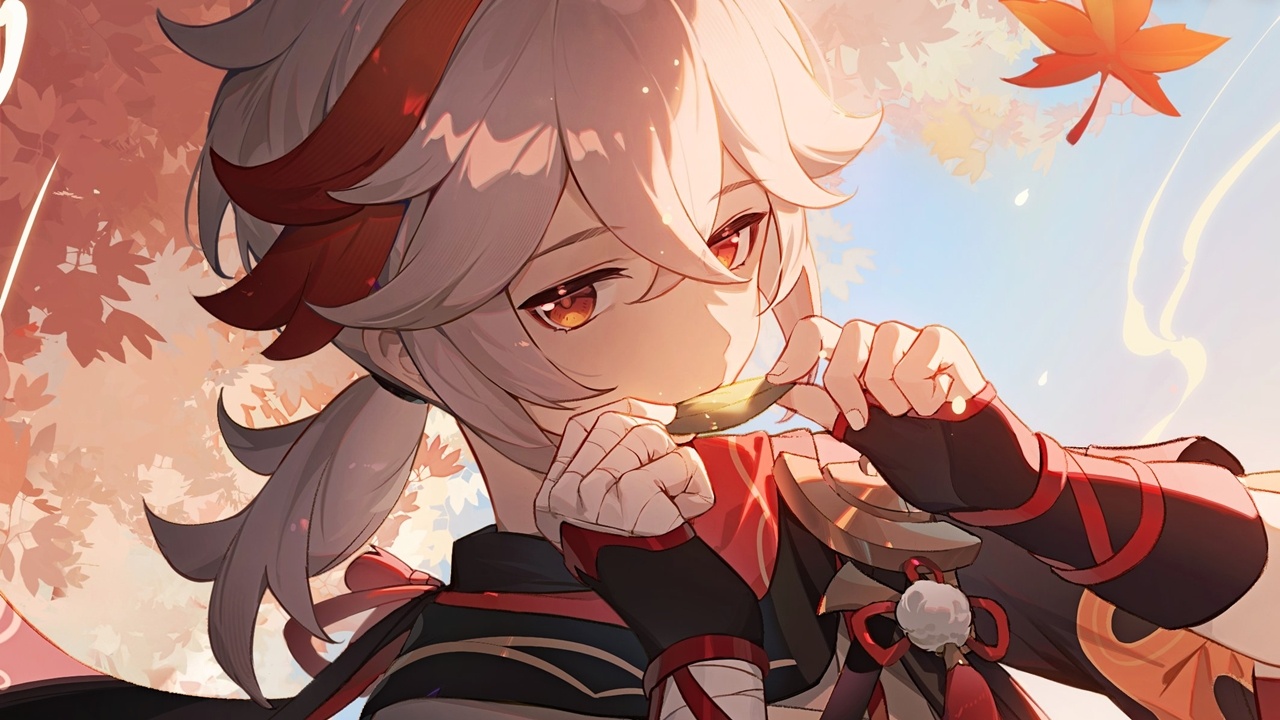
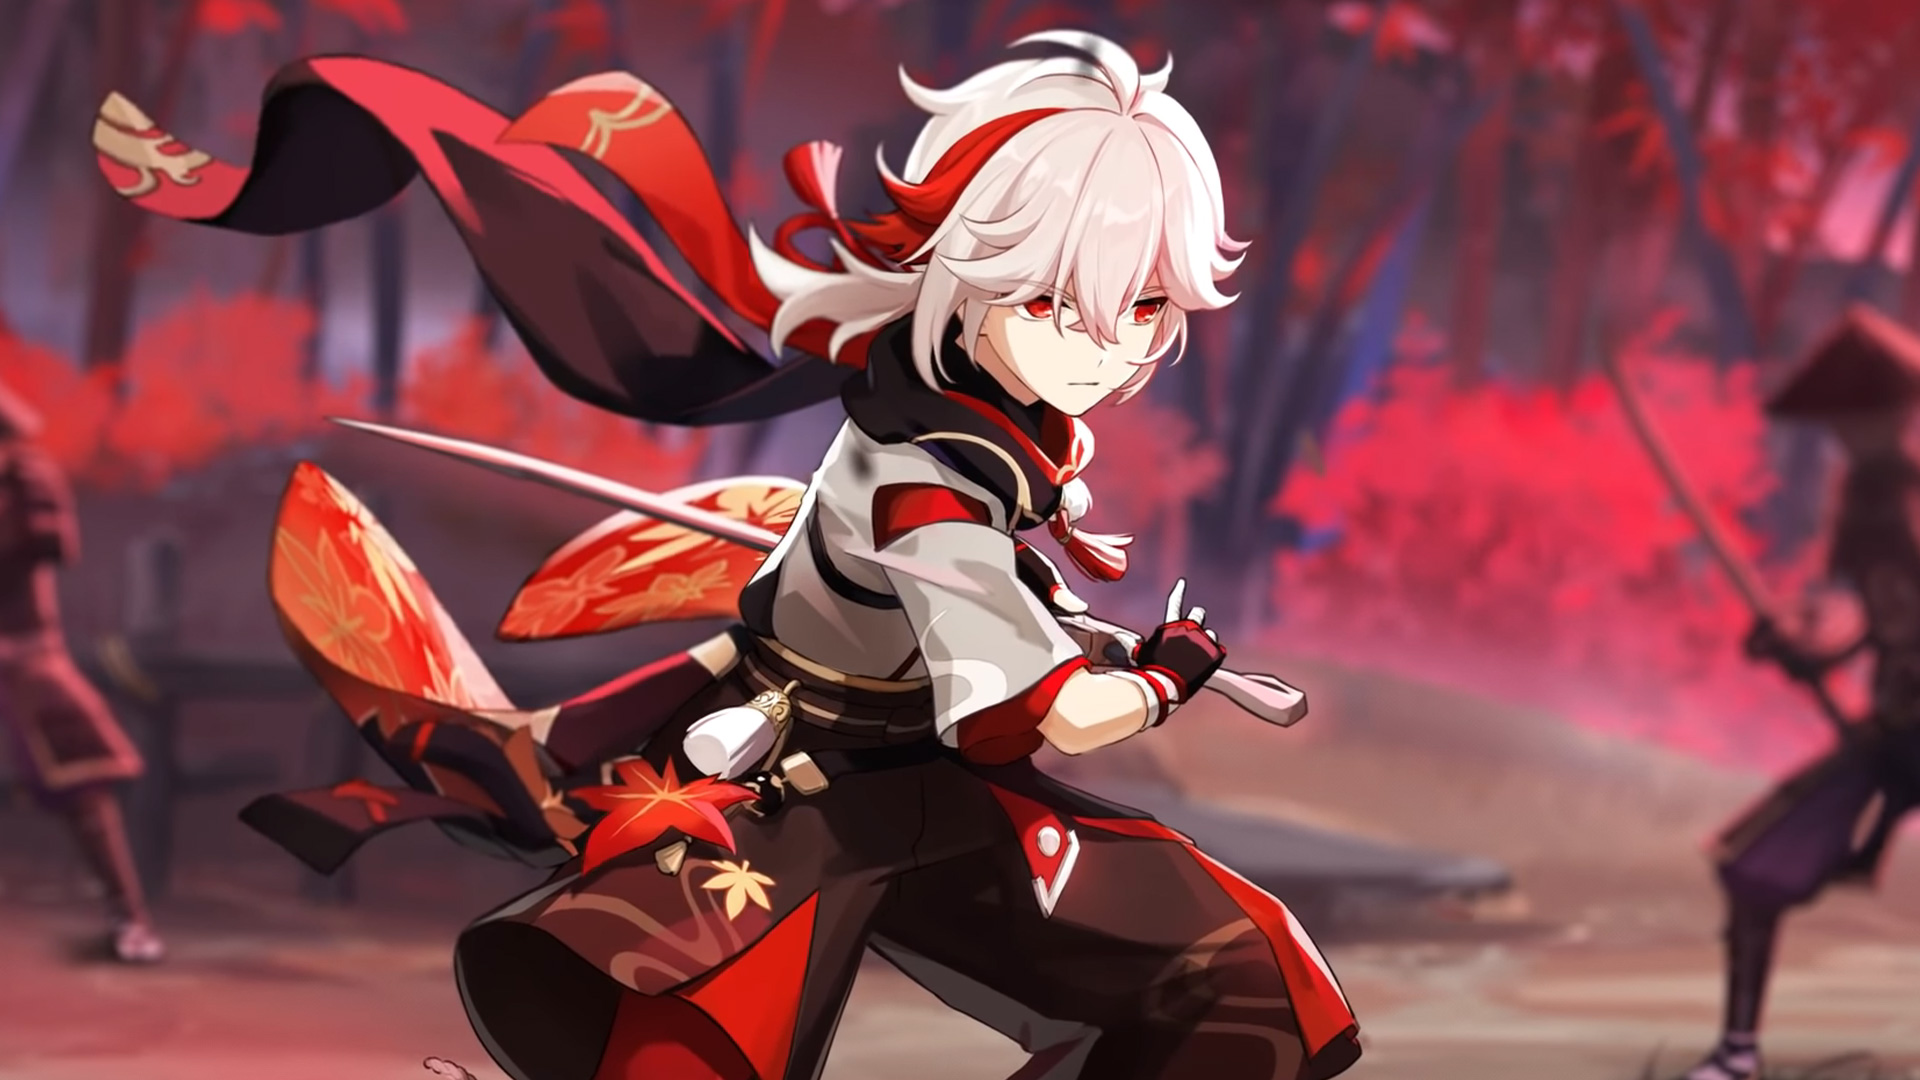
Kazuha (Support)
- Artifacts: Viridescent Venerer x4
- Main Stats:
- Sand: Elemental Mastery
- Goblet: Elemental Mastery
- Circlet: Elemental Mastery
- Sub Stats Priority:
- Elemental Mastery > CRIT DMG > CRIT RATE > ATK%
- Best 5 Stars Weapon: Freedom-Sworn
- Best 4 Stars Weapon: Iron Sting
Kokomi (Support/Healer)
- Artifacts: Tenacity of the Millelith x4
- Main Stats:
- Sand: Max HP%
- Goblet: Hydro DMG%
- Circlet: Healing Bonus
- Sub Stats Priority:
- HP% > Energy Recharge > HP > ATK% > Elemental Mastery
- Best 5 Stars Weapon: Everlasting Moonglow
- Best 3 Stars Weapon: Thrilling Tales of Dragon Slayers
Talent Priority
In a Freeze Kokomi team, the talent priority can be set as follows: Skill > Burst > Normal Attack. We are crafting a support-oriented build with an emphasis on enhancing Kokomi's skills for optimal team synergy.
Character Details
The synergy between Ayaka, Shenhe, and Kokomi in freeze teams creates a formidable force that thrives under optimal conditions.
Ayaka's proficiency in dealing damage through her Elemental Burst, coupled with the Cryo DMG that reacts with Kokomi's Hydro attachment, becomes a catalyst for the powerful Freezing reaction.
Adding to the team's potency, Shenhe steps in to provide an ATK Bonus to Ayaka while simultaneously reducing the Cryo RES of enemies, enhancing the overall effectiveness of the composition.
Kazuha, with his versatile support capabilities, plays a pivotal role in the freeze team dynamics. He excels at grouping enemies, applying crowd control, offering damage buffs to teammates, and reducing the Elemental Resistance of enemies. His presence amplifies the team's control and damage potential, creating a more strategic and impactful approach to battles.
Central to the freeze team's success is Kokomi's unique ability to rapidly and consistently apply Hydro in a large area of effect. Positioned as the Support/Healer, Kokomi's Elemental Skill's attacks trigger Hydro every two seconds, synergising seamlessly with the Tenacity of the Millelith (4) set. This continuous Hydro application ensures that Ayaka and Shenhe can consistently freeze enemies throughout the majority of the fight, establishing Kokomi as a linchpin in the team's freeze strategy.
Substitute Characters
Ayaka
- Subs: Ganyu, Eula and Wriothesley
- Details: We need a powerful DPS character in place of Ayaka – someone who can stand in the field, consistently applying Cryo through attacks and abilities. Ganyu, Eula, and Wriothesley fit this role perfectly.
Shenhe
- Subs: Rosaria, Diona, and Kaeya
- Details: Shenhe's role can also be filled by free-to-play Cryo characters like Rosaria, Diona, or Kaeya. While they may not match Shenhe's power, their Cryo applications make them viable options.
Kazuha
- Subs: Sucrose, Venti
- Details: An Anemo user who can gather and debuff enemies could be a valuable alternative in this composition. Sucrose and Venti can step in as substitutes for Kazuha in this scenario. Their proficiency in crowd control and the capability to bring enemies together make them crucial choices for perpetually freezing opponents. Leveraging the unique traits of Anemo characters, Sucrose and Venti contribute to the team's crowd control strategy, allowing for seamless and prolonged freezing of enemies.
Kokomi Bloom

Kokomi's Bloom: A blossoming spectacle, she paints the battlefield with serene beauty.
The Bloom Team stands as a formidable force, dealing tens of thousands of tonnes of damage with each explosion, making it exceptional against both multiple and single targets. Its only drawback is taking damage when the seeds burst, but fear not—the solution lies in having our beloved Kokomi on the team! Let's delve into the beauty of this powerful Bloom Team. May flowers bloom on our screens and in our hearts, just like this extraordinary team.
Character and Equipment
Kokomi (Main DPS)
- Artifacts: Ocean-Hued Clam x4
- Main Stats:
- Sand: Max HP%
- Goblet: Max HP%
- Circlet: Healing Bonus
- Sub Stats:
- HP% > Energy Recharge > HP > ATK% > Elemental Mastery
- Best 5 Stars Weapon: Everlasting Moonglow
- Best 4 Stars Weapon: Prototype Amber
Nilou (sub-DPS)
- Artifacts: Tenacity of the Millelith (2) + Vourukasha’s Glow (2)
- Main Stats:
- Sand: HP%
- Goblet: HP%
- Circlet: HP%
- Sub Stats:
- HP% > HP > Elemental Mastery > CRIT Rate or CRIT DMG
- Best 5 Stars Weapon: Key of Khaj-Nisut
- Best 4 Stars Weapon: The Dockhand’s Assistant
Nahida (sub-DPS)
- Artifacts: Deepwood Memories x4
- Main Stats:
- Sand: Elemental Mastery
- Goblet: Elemental Mastery
- Circlet: CRIT RATE or CRIT DMG
- Sub Stats:
- CRIT DMG > CRIT RATE > Elemental Mastery > ATK% > Energy Recharge%
- Best 5 Stars Weapon: A Thousand Floating Dreams
- Best 4 Stars Weapon: Solar Pearl
Dendro Traveller (Sub-DPS)
- Artifacts: Gilded Dreams x4
- Main Stats:
- Sand: Energy Recharge% or Elemental Mastery
- Goblet: Elemental Mastery
- Circlet: Elemental Mastery
- Sub Stats:
- Energy Recharge% or Elemental Mastery
- Best 4 Stars Weapon: Iron Sting or Favonius Sword
Talent Priority
In a Kokomi Bloom team, both skill and burst can carry equal importance. The Elemental Skill is crucial for enhancing survivability and increasing healing potential. If there are no other healers or shield providers in your team, prioritising the skill becomes essential for sustaining the team through challenges. On the other hand, the Elemental Burst serves as a key offensive tool, delivering higher damage and strengthening Bloom reactions for potent healing. Therefore, the priority order should be Burst = Skill > Normal Attack, emphasising the significance of both skills while maintaining offensive prowess and healing proficiency in your Kokomi Bloom setup.
Character Details
The Bloom team synergizes its damage primarily through the Blooming mechanism. Nilou takes on the role of Sub DPS, crucial to the team's strategy. Her passive talent transforms Blooming Cores into Bountiful Cores, resulting in larger AoE damage and enhancing the team's overall impact.
Kokomi assumes the mantle of Main DPS, utilising her continuous Hydro attacks. These interact with the Dendro element applied by Traveller (Dendro) and Nahida, setting off the Blooming effect.
Nahida focuses on dealing damage through her Elemental Skill, connecting with up to 8 enemies, and inflicting Dendro damage while triggering elemental reactions. Nahida's Elemental Burst enhances her Elemental Skill based on her teammates' elements. With the support of Nilou and Kokomi, who provide Hydro elements both on and off-field, Blooming can be triggered, leading to the production of Bountiful Cores. The inclusion of two Hydro characters in the team extends the duration of Nahida's Elemental Burst.
Finally, Dendro Traveller plays a crucial off-field role, providing Dendro elements to trigger Blooming and contribute to the team's overall damage output and Dendro Resistance.
Substitute Characters
Nilou
- Subs: Ayato, Neuvillette
- Details: Ayato and Neuvillette provide speedy core generation in the Bloom team, offering strong triggering abilities. While they are agile alternatives to Nilou, it's essential to recognise Nilou's unparalleled impact and unique strengths within the Bloom team. Nilou's specialisation and passive talent make her irreplaceable in this specific team dynamic. In the realm of Bloom teams, Nilou remains a crucial force, epitomising the team's strategy and enhancing its overall effectiveness.
Dendro MC
- Subs: Collei, Kazuha, Sucrose, Yayao
- Details: Kazuha and Sucrose offer great crowd control, complementing the Bloom team's strategy. Characters boosting Elemental DMG synergize well with Kokomi. Yayao and Collei add an extra Dendro element, providing versatility similar to Dendro Traveller and enhancing overall capabilities.
Nahida
- Subs: Collei, Yayao, Baizhu
- Details: Yayao and Collei add an extra Dendro element, providing versatility similar to Dendro Traveller and enhancing overall capabilities. Baizhu is a great choice because he not only provides shields and healing to protect you but also serves as a powerful Dendro character.
Kokomi Hyperbloom
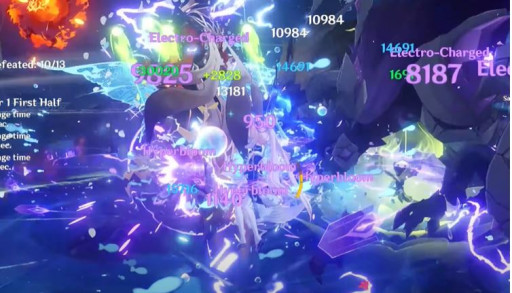
Kokomi's Hyperbloom: Unleashing a floral storm, she commands the battlefield with serene elegance and elemental might!
The team with the most anticipated reactions in the game is the Hyperbloom Team. Just like the Bloom Team, it promises a plethora of explosions and damage that will paint our screens with vibrant hues. Kokomi asserts herself on this team, providing players with exceptional comfort. The beauty of Kokomi's Hydro application, coupled with her ability to apply it from off-field, elevates her value even further.
Character and Equipment
Kokomi (Main DPS)
- Artifacts: Ocean-Hued Clam x4
- Main Stats:
- Sand: Max HP%
- Goblet: Max HP%
- Circlet: Healing Bonus
- Sub Stats Priority:
- HP% > Elemental Mastery > HP > Energy Recharge > ATK%
- Best 5 Stars Weapon: Everlasting Moonglow
- Best 4 Stars Weapon: Prototype Amber
Nahida (Sub DPS)
- Artifacts: Deepwood Memories x4
- Main Stats:
- Sand: Elemental Mastery
- Goblet: Elemental Mastery
- Circlet: CRIT RATE or CRIT DMG
- Sub Stats Priority:
- CRIT DMG > CRIT RATE > Elemental Mastery > ATK% > Energy Recharge%
- Best 5 Stars Weapon: A Thousand Floating Dreams
- Best 4 Stars Weapon: Solar Pearl
Raiden Shogun (Sub DPS)
- Artifacts: Gilded Dreams x4
- Main Stats:
- Sand: Elemental Mastery
- Goblet: Elemental Mastery
- Circlet: Elemental Mastery
- Sub Stats Priority:
- Elemental Mastery> Energy Recharge% > ATK%
- Best 5 Stars Weapon: Engulfing Lightning
- Best 4 Stars Weapon: Dragon's Bane
Kazuha (Support)
- Artifacts: Viridescent Venerer x4
- Main Stats:
- Sand: Elemental Mastery
- Goblet: Elemental Mastery
- Circlet: Elemental Mastery
- Sub Stats Priority:
- Elemental Mastery > CRIT DMG > CRIT RATE > ATK%
- Best 5 Stars Weapon: Freedom-Sworn
- Best 4 Stars Weapon: Iron Sting
Talent Priority
In a Kokomi Hyperbloom team, prioritise Elemental Skill for survival and healing, especially without other healers. Elemental Burst is essential for offence and potent healing. Priority order: Burst = Skill > Normal Attack.
Character Details
Kokomi serves as both the Main DPS and Healer on the team. The triggering of Hyperbloom is facilitated by Raiden Shogun's Electro DMG and Electro-Charged reactions.
In her role as the Main DPS, Kokomi's Elemental Burst damage relies on her Max HP%. She utilises her Elemental Skill and Normal Attack to generate Dendro Cores, setting the stage for the activation of Hyperbloom.
Nahida, as a Sub DPS, primarily inflicts damage through her Elemental Skill, connecting with up to 8 enemies and dealing Dendro DMG. Her Elemental Burst enhances the Elemental Skill based on the element of her teammates. Raiden Shogun's Electro support aids in triggering Catalyse, maximising overall team damage potential through Hyperbloom.
Raiden Shogun functions as the Sub DPS, employing her Elemental Skill to initiate the Electro-Charged reaction, subsequently triggering Hyperbloom through the activation of Dendro Cores.
Kazuha plays a supportive role by consolidating enemies, applying crowd control effects, buffing teammates' DMG, and reducing Elemental Resistance. All these elements contribute to the seamless execution of Hyperbloom within the team.
Substitute Characters
Nahida
- Subs: Al Haitham
- Details: Al Haitham is powerful in hyperbloom team scenarios, but keep in mind that Nahida is always there to support him.
Raiden Shogun
- Subs: Kuki Shinobu, Fischl and Yae Miko
- Details: They contribute hyperbloom reactions with their off-field elemental skills.
Kazuha
- Subs: Venti, Sucrose, Xingqiu and Yelan
- Details: An Anemo user who can gather and debuff enemies could be a valuable alternative in this composition. Sucrose and Venti can step in as substitutes for Kazuha in this scenario. Sucrose can increase the team’s Elemental Mastery.
Conclusion
In summary, Kokomi stands out as a versatile and valuable character in Genshin Impact, excelling in various team compositions and roles. Once considered controversial due to her negative Crit rate, she has proven her worth as an S+ tier support and healer, providing incredible healing and Hydro application capabilities.
Kokomi's strengths lie in sustainable healing through her Elemental Skill, "Kurage's Oath," which not only deals Hydro damage but also heals nearby characters based on her Max HP. Her Elemental Burst, "Nereid's Ascension," scales with Max HP, making her a unique and powerful character, prioritising health as a main stat.
Key passives, such as "Flawless Strategy," emphasise her role as a dedicated healer, compensating for her 100% decrease in Crit Rate with a 25% Healing Bonus. Ascension talents, like "Tamanooya's Casket" and "Song of Pearls," enhance her support capabilities and offensive potential during specific states.
Kokomi's utility extends to her passives, which contribute to extended durations of supportive elements and provide a Stamina-saving benefit for aquatic exploration. Her unique scaling and healing mechanics make her a valuable addition to teams seeking both offensive and defensive capabilities.
Exploring three distinct builds—Kokomi Freeze, Kokomi Bloom, and Kokomi Hyperbloom—reveals her adaptability and effectiveness in different team dynamics. Each build showcases her synergies with various characters, from Ayaka and Shenhe in Freeze teams to Nilou and Raiden Shogun in Bloom and Hyperbloom setups.
Ultimately, Kokomi's charm lies in her ability to contribute to the success of different team compositions, providing both healing and offensive support. Whether you're a newcomer or a free-to-play player, Kokomi's versatility and value make her an excellent addition to your Genshin Impact roster. Remember to personalise your approach based on your resources, weapons, and artifacts for an enjoyable and unique gaming experience.
With Kokomi on your team, survival is virtually guaranteed. Her animations and the ability to walk on water after using her burst add a charming touch. Thanks to the Dendro element, Kokomi's value has soared tenfold. Kokomi, particularly prominent in Hyperbloom and Bloom teams, proves to be immensely valuable for newcomers and free-to-play players alike.
Disclaimer: While this guide provides broad guidelines, it encourages personalising your approach based on your resources, weapons, and artifacts. Make decisions according to your playstyle, favourite characters, and available equipment. Enjoy the flexibility of customising Fischl's build, creating teams you love. For the latest information, consult in-game resources and recent guidelines. Most importantly, have fun crafting your unique Genshin Impact experience.

