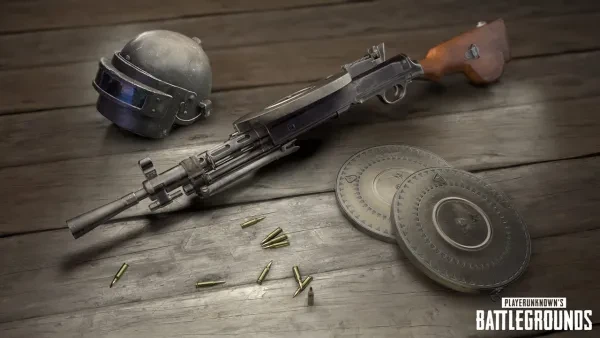
If you’ve read our Top 10 List of the Best PUBG Weapons, you might recall me saying something along the lines of “PUBG is absolutely not a pure numbers game” and “the best gun in the game is the one you’ve got on you”. While I still wholeheartedly stand by those statements, I know there are a lot of you out there who love hard numbers. There are a lot of you who know that any assault rifle can kill if it lands a single, unarmored headshot, but that the AKM does it harder than any other gun.
If you’re one of those people, rejoyce - Reddit user Exooo’s got you covered with this comprehensive PUBG Weapons Damage Chart spreadsheet breakdown.
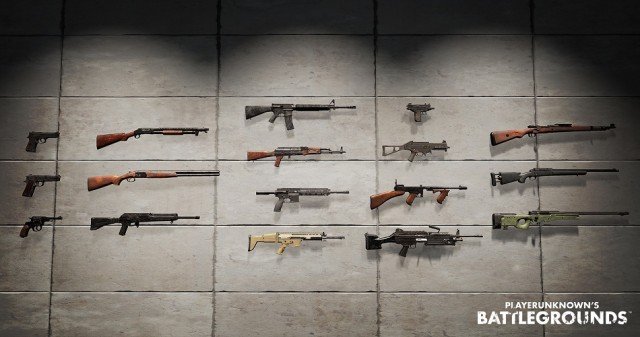
The chart’s regularly updated and covers everything from individual bullet damage rates given different levels of armor to comparative fire rates and time between shots. If you’re looking for raw stats, it doesn’t get much better than this. But for those of you who don’t feel like weeding through the numbers yourselves, here’s our breakdown of every single PUBG weapon by the numbers.
Pistols
P18C - Despite this being the only pistol with a full-auto fire option, this gun seems to have the lowest damage per shot across the board, with it taking a whopping six body shots to kill an unarmed opponent. This is less of a problem considering the gun’s ability to spit out bullets at a whopping 1000 rounds a minute. Coupled with the high probability of finding massive amounts of 9mm throughout a game, this gun makes for a great early game option if you haven’t found anything larger. It’s probably best not to keep the P18C as a main weapon past the early game, however, as it’s easily outperformed by any SMG weapon.
Best Used For: Hip-fire CQC. Unlike most pistols, a full-auto setting allows you to be a little more reactive with your engagements without having to place your shots too carefully.
P92 - This 9mm pistol boasts better per shot damage than the P18C, but lacks a full auto option. As such, its utility is diminished to an early game panic panic weapon, or a sidearm if you haven’t found anything heavier. It can kill unarmored enemies with 4 shots to the body or 2 shots to the head, so if you’re using this, it’s important to place your shots well. It’s got a fairly decent fire rate - 444.4 rounds per minute with only .135 seconds between shots - and a 15 round mag, making this also a great weapon to hip fire with if you’re fairly close to your target.
Best Used For: Careful engagements when you don’t have anything else. The P92’s larger mag size makes this gun more forgiving than other pistols, but you’ll still need to place your shots well. Aim for the head or pray that you land all your body shots.
P1911 - Chambered in a higher caliber than the previous two guns, the 1911 naturally packs more of a punch then 9 millimeter guns. It will only take three body shots to an unarmed enemy to down them, and can two-shot helmeted enemies all the way up to level two protection. Bear in mind that you’re dealing with a much smaller magazine however - you’ve only got 7 rounds - so you should make an effort to place your shots much more carefully than with a 9mm pistol.
Best Used For: Early game engagements against unarmored or slightly armored enemies. Aiming for the head maximizes this pistol’s effectiveness, as its .45 round does more damage than 9mm pistols, leading to faster kills.
R1895 (The Revolver) - And now, the elephant in the room. The revolver is known to be a less than preferable weapon given its slow rate of fire and six round capacity. It takes a whole half second after firing to shoot again, and given its low ammo capacity, is very unforgiving to recover from a miss with. However, you’re firing 7.62 rounds from a pistol, the same type of round used in the AKM and the SKS. A single headshot is enough to take down an enemy without a helmet, and this pistol can still kill in two headshots all the way up to level three helmets. If you’ve got a steady hand and a keen eye, the revolver is a much deadlier weapon than any other pistol option available in the game.
Best Used For: One or two shot assassinations against closer targets who haven’t spotted you. Unless you’ve got immaculately steady hands, a single miss with the revolver means nearly certain death against an enemy with a faster gun. This pistol makes for some efficient kills if they’re sure and careful shots, but isn’t much help in an active firefight.
SMGs
Uzi - This SMG fires 9mm rounds, has a stock 25 round magazine, and boasts the fastest rate of fire in the game at a whopping 1250 rounds per minute. Think of this gun as the P18C in submachine gun form, with the ability to whip mass amounts of the smallest round in the game at your opponent at very high volumes. It takes 5 shots to the body to kill an unarmored enemy with an UZI, but you’ll blaze past that threshold if you’re using this gun in its intended environment - close quarters combat. If all you have is a pistol when you find an Uzi, reallocate your 9mm towards this gun.
Best Used For: Early game running and gunning. While everyone is struggling to get looted up, this gun is a great option to push and play aggressively with. Switch on its full auto setting and hip fire away.
UMP-9 - Mechanically the Uzi’s older brother, the UMP has a larger stock magazine size of 30 rounds, access to three round burst fire and full auto fire modes, but fires bullets at only about half the speed of a Uzi, with 652 rounds per minute compared to the Uzi’s 1250. The UMP compensates by hitting slightly harder than its smaller counterpart. It only takes 3 body shots to kill an unarmed opponent (two less than the Uzi), and the UMP still has a fast enough fire rate to reach that threshold quite quickly. Like the Uzi, this gun is best utilized in the early game, but retains its utility longer due to its ability to take more attachments and engage at longer ranges.
Best Used For: Early game pushes and some mid-game CQC. If you take a UMP into any early game situation you’d use an Uzi in, you’ll probably get the same outcome, but cleaner. This gun is more forgiving with ammo, more adaptable, and more readily usable at later points in the game at the cost of firing slower than its smaller counterpart.
Tommy Gun - Unlike the previous two entries, the Tommy Gun fires .45 rounds, meaning it hits quite a bit harder than both the UMP and the Uzi. While it shares the same stock magazine size as the UMP - 30 rounds - its extended magazine has a massive 50 round capacity, making this gun a monster when it comes to sustained fire. You do have to compensate for the recoil of a much larger round, however, and this gun definitely kicks a whole lot more than every other SMG available. Like the Uzi, this gun is best used in CQC situations, especially since it also cannot be outfitted with any kind of optic.
Best Used For: CQC and close range suppression. The Tommy Gun’s iron sights are more than adequate at close range exchanges, and an extended mag allows for some active suppression if you want to take the heat off some of your teammates without wasting your more valuable ammo.
Vector - This gun is a bit of a tricky one. It fires .45 like the Tommy gun, but takes a whole 4 shots to kill an unarmored enemy. This makes the Vector the second weakest SMG weapon per shot, beating out the Uzi by a single shot. It has a blazingly fast fire rate of 1090 rounds per minute, but only a 13 round magazine - 25 if extended. However, this gun is incredibly accurate when fired, boasting recoil that’s basically negligible. It’s incredibly easy to place shots with the Vector, especially at close range, making it a much deadlier weapon than its stats make it seem. This gun’s attachments also allow for an even greater degree of stability, as it can take the tactical stock also available for the M416 assault rifle.
Best Used For: More careful mid-range engagements and CQC where you can aim down your sights. You can place shots consistently even with a stock Vector, meaning while you won’t be laying down massive amounts of fire like with other SMGs, you’re more than capable of making decisive hits where it counts. Slap on a silencer and maybe an extended mag, and you’ve also got yourself an ideal flanking weapon.
Shotguns
Just an initial note - shotguns are a bit peculiar with how they’re laid out in Exoooo’s spreadsheet. He notes that most shotguns can kill in a single shot regardless of armor and shot placement (with the exception of the S12K) if all the pellets fired from the shotgun make contact. However, as shotguns fire in spreads by nature, a lot of a shotgun’s effectiveness relies on maximizing the amount of spray that hits a target.
The main difference between the different shotguns boils down to their ammo capacity and time between shots.
S12K - The S12K is a magazine-fed shotgun with a stock 5 shell capacity. As such, it has a very short time between shots, .250 seconds to be exact, meaning you can lay down spreads with this gun quite quickly compared to the other shotguns. It does have marginally weaker damage stats than its counterparts, however, taking two shots to kill if both shots hit a limb or a level 3 vest. This gun is much more modular than the other shotguns in PUBG, though, as it’s compatible with most of the same modifications available for AR weapons.
Best Used For: Aggressive room clearing and close range suppression. Sure, you’ve got more potential to miss kills with this shotgun’s comparatively lower damage numbers, but its lower time between shots, faster reload, and ease of use make this gun not only forgiving to use, but intimidating even if you don’t hit your target.
S686 - The S686 is a double barrel shotgun, meaning it can be fired twice before it needs to be reloaded. It can, however, be fired faster than the S12K, with only .200 seconds between shots. It also has one hit kill potential regardless of armor level or shot location given the majority of its pellets hit its target. It also has a higher per pellet damage rate than the S12K, retaining three shot kill potential all the way up to level two defenses if the target is the head. The main weakness of this gun is how frequently it needs to be reloaded if you don’t hit decisively right away.
Best Used For: House defense. This gun lays down the fastest and most consistent damage out of the major shotgun options available in this game, but missing one or both shots immediately puts you at a major disadvantage against an active target. However, the speed at which you can fire both shells from this weapon makes this gun idea when it comes to house and room camping, surprising your unsuspecting enemies as soon as they wander into your room.
S1897 - This gun is much slower than the other two shotguns available since it’s a pump action, meaning the weapon needs to be pumped after every shot. This means that while you’ll be able to fire more shells before needing to reload completely, there’s more of a gap between shots, making damage areas a bit smaller despite this shotgun having the exact same damage stats as the S686. To give you a better idea of what this looks like, this gun takes .750 seconds between shots while the S12K and S686 take less than .300.
Best Used For: Most CQC situations. The S1897 is a good all-rounder shotgun, striking a good balance between the S686’s power and the S12K’s ease of use. It can perform any role both of the other shotguns can, just not as effectively, at the cost of being an overall very adaptable shotgun option.
Rifles
AKM - The AKM fires 7.62 rounds, making it pack a bit more of a punch than the glossier 5.56 options available for people looking for an assault rifle. It retains 2 hit headshot kill potential all the way up through level three helmets, and will only need 5 body shots to kill an enemy with level three body armor. Its rate of fire is slower than every other rifle available however, and is very difficult to maintain accurate lines of fire with at range. To efficiently harness the AKM’s raw power, it’s best used favoring medium range engagements, as it suffers at long range compared to other rifles.
Best Used For: Mid range engagements. The AKM’s per shot damage makes it the best of the non-crate rifles at taking down opponents at mid range, but the heavier and more damaging round makes for more inaccurate shots at longer ranges, even with the gun in single shot mode.
Groza - This crate weapon is identical to the AKM in all damage stats except one - rate of fire. It replaces the AKM’s modest 600 rounds per minute with a blistering 750, making this gun absolutely terrifying on full auto. This assault rifle is even more of a mid range gun than the AKM, however, so treat it more like an SMG with the stopping power of an AR.
Best Used For: Mid range engagements and CQC. The Groza is functionally an upgraded AKM that can absolutely shred closer targets while utilizing full auto fire.
M16A4 - This is the only assault rifle in the game that lacks a full auto option, only having access to three round burst and semi automatic fire. Despite that, it still has the highest potential fire rate of any PUBG rifle - tied with the M249 SAW, which is only accessible by crate. The M16 has nearly nonexistent recoil, especially on semi automatic fire, and is effective at much longer ranges than the other 5.56 rifles due to its much higher initial bullet speed. Despite this, however, the M16 lacks the ability to use optics higher than a 4x ACOG, meaning you can’t capitalize on its long range advantage with the added comfort of an 8x scope.
Best Used For: Long range engagements, particularly against targets that haven’t seen you yet. This gun is the most accurate out of PUBG’s assault rifle lineup, making it an ideal weapon to initiate engagements with, and a great weapon if you know how to place your shots well. Bear in mind, however, that this gun still lacks the ability to use an 8x scope.
M416 - The M416 is much more of an all-rounder gun compared to the M16, having access to more customization slots and trading off the M16’s three round burst setting for fully automatic fire. In raw damage, it is identical to the M16 and SCAR-L rifles but has a slightly slower rate of fire than the M16, along with more poorly handled recoil. With the added functionality of an 8x scope, this gun can perform well enough with semi automatic fire at range, but definitely requires its tactical stock attachment if fired on automatic at anything further out than 200 meters.
Best Used For: Mid range engagements. While this gun definitely doesn’t have the raw power that the AKM does, it can still perform at a more than adequate level at mid range, and doesn’t shut down completely when trying to engage enemies further away. It is recommended that you at least try to find a tactical stock for this weapon, as the attachment increases this weapon’s engagement potential quite a bit, and increases its full auto accuracy at range.
SCAR-L - Think of the SCAR as a more honed version of the M416 that handles recoil better. Its damage stats are effectively the same as the M416, but offers more stable fire without the need for attachments, making this gun more of a pick-up-and-play option than its heavier counterpart. Choosing between the M416 and the SCAR, however, is very much down to preference.
Best Used For: Mid and long range engagements. A stock SCAR handles distance and recoil much more efficiently than the M416, making it much more readily adaptable without having to hunt for attachments. While it doesn’t have the laser accuracy that the M16 does, the SCAR can also take utilize an 8x scope, making it a great long range weapon if you haven’t found a sniper rifle yet.
M249 - A squad automatic weapon available only in supply crates, this gun has better raw damage stats than the SCAR, M416, and M16 despite taking 5.56 ammo. It has a high rate of fire, matching the M16’s max rate of 800 rounds per minute, and the added functionality of fully automatic fire with a stock 100 round magazine. This gun excels at creating mass volumes of suppressive fire at range, and will absolutely destroy squads moving out in the open if they cross into its crosshairs. Recoil understandably becomes much more difficult to control the longer this gun is fired, however, so it’s important to fire from a stable crouched or prone position, or fire in bursts if you’re standing up straight.
Best Used For: Mid to long range punishment and suppression. You can fire this gun for a LONG time without having to reload, making it an ideal gun to park out somewhere and let loose with. This is a decisive weapon especially in late game situations where you’ve secured a favorable position and can fire on squads that haven’t gotten into the playzone or to cover yet.
Snipers
VSS - The VSS is the only sniper rifle in the game that fires 9mm rounds, and understandably deals the lowest per shot damage of any rifle in its category. It is the only sniper rifle that can’t kill an unarmored target at full health with a headshot, and also has a much shorter effective range because of its subsonic ammunition. However, this gun is far from useless. Unlike the other sniper rifles, it comes scoped at 4x and suppressed without the need for any additional attachments, and can also be fired at full-auto. The VSS is stealthy and incredibly accurate in mid and close range, and provides much more utility in the early game.
Best Used For: Close to mid range stealth kills. This gun comes with a scope and suppressor on pickup and takes one of the most abundant ammo types in the game. While every other sniper rifle will overpower it by a wide margin, this gun reaches its max damage potential much more quickly than any other option on this list.
Mini-14 - A sniper rifle chambered in 5.56, the Mini does comparatively less damage than nearly every other rifle in its category (naturally, it still beats out the VSS in terms of raw damage). It does, however, perform much more capably at range, and has much slower bullet drop than the heavier 7.62 rifles. It can kill an unarmored target with a single headshot, but starts to lose power more noticeably against level three helmets, requiring 3 shots to kill as opposed to the 2 or 1 shot kill potential you usually see on heavier rifles.
Best Used For: Mid and long range engagements, especially if you’re not quite comfortable with heavier snipers yet. This gun will definitely outperform most assault rifles at range while still producing a fairly substantial rate of fire (for a sniper class weapon, anyway) and is the most forgiving gun in its category.
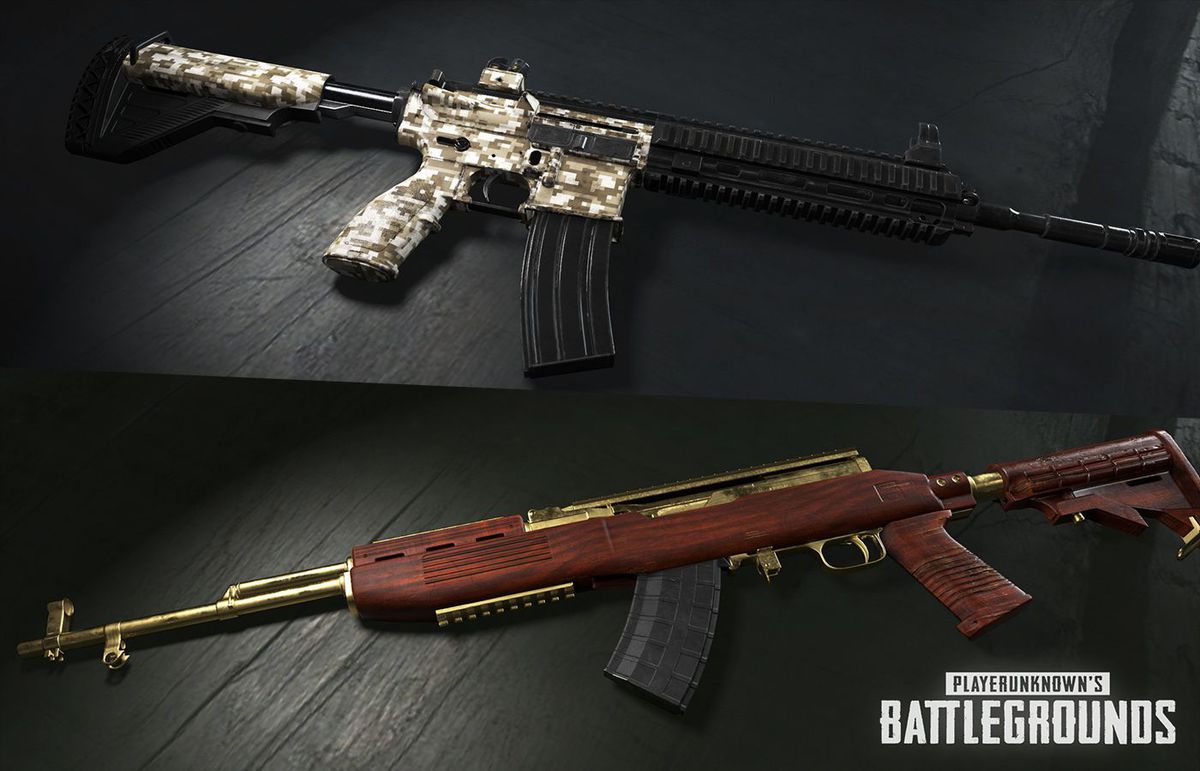
SKS - The only other mag fed 7.62 rifle in its category that can be found outside a supply crate, the SKS combines the ease of use of a Mini-14 with the stopping power of a 7.62 round. This gun retains 2 hit headshot kill potential all the way up to level three helmets, and can even be fired faster than the Mini-14 despite firing a heavier round. The SKS is slightly hampered by its 10 round stock mag, but you can easily raise the magazine to 20 round capacity with the help of an extended mag attachment.
Best Used For: Long range, multi target engagements. While this gun doesn’t pack as much of a punch as the heavier sniper rifles on this list, it can still lay down fire at a level comparable to a Mini-14 while firing 7.62 rounds, meaning you’ll be able to clear squads faster if you place your shots right. A smaller time between shots also means less of an opening for your targets to return fire with impunity.
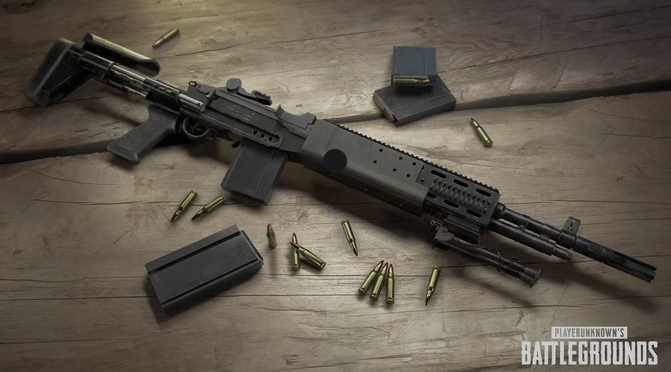
MK14 - This supply crate weapon is often seen as an improved version of the SKS with a similar rate of fire and ammo capacity, but stronger per shot damage. Its one shot kill potential extends past unarmored targets and into level one helmet protection, and has the ability to kill with 4 body shots against a level three vest.
Best Used For: Any situation you’d use an SKS in. Anything an SKS can do, an MK14 can do better - you just need to snatch one from a crate first.
Kar98k - The Kar outperforms the MK14 in raw damage and has the added bonus of being available outside of supply crates. It retains one shot kill potential against opponents wearing as high as level two helmets, but this brutal stopping power is hindered by the Kar being a bolt action rifle instead of a magazine fed one. This means the time between shots for the Kar is drastically longer, making it much more essential to place shots carefully, and much less forgiving when you miss.
Best Used For: Long range, single target engagements. With this gun’s slow bolt actuation and comparatively long time between shots, it’s going to be a lot more difficult to place shots effectively against squads that have a bead on you. Against single targets, however, this gun is an absolute masterclass without the need to even chase a crate.
M24 - A supply crate weapon comparable to the Kar98k, it is only slightly more powerful, with the ability to kill in two body shots against up to level two vests.
Best Used For: Anything you’d use a Kar98k in, as functionally this gun’s an upgraded version.
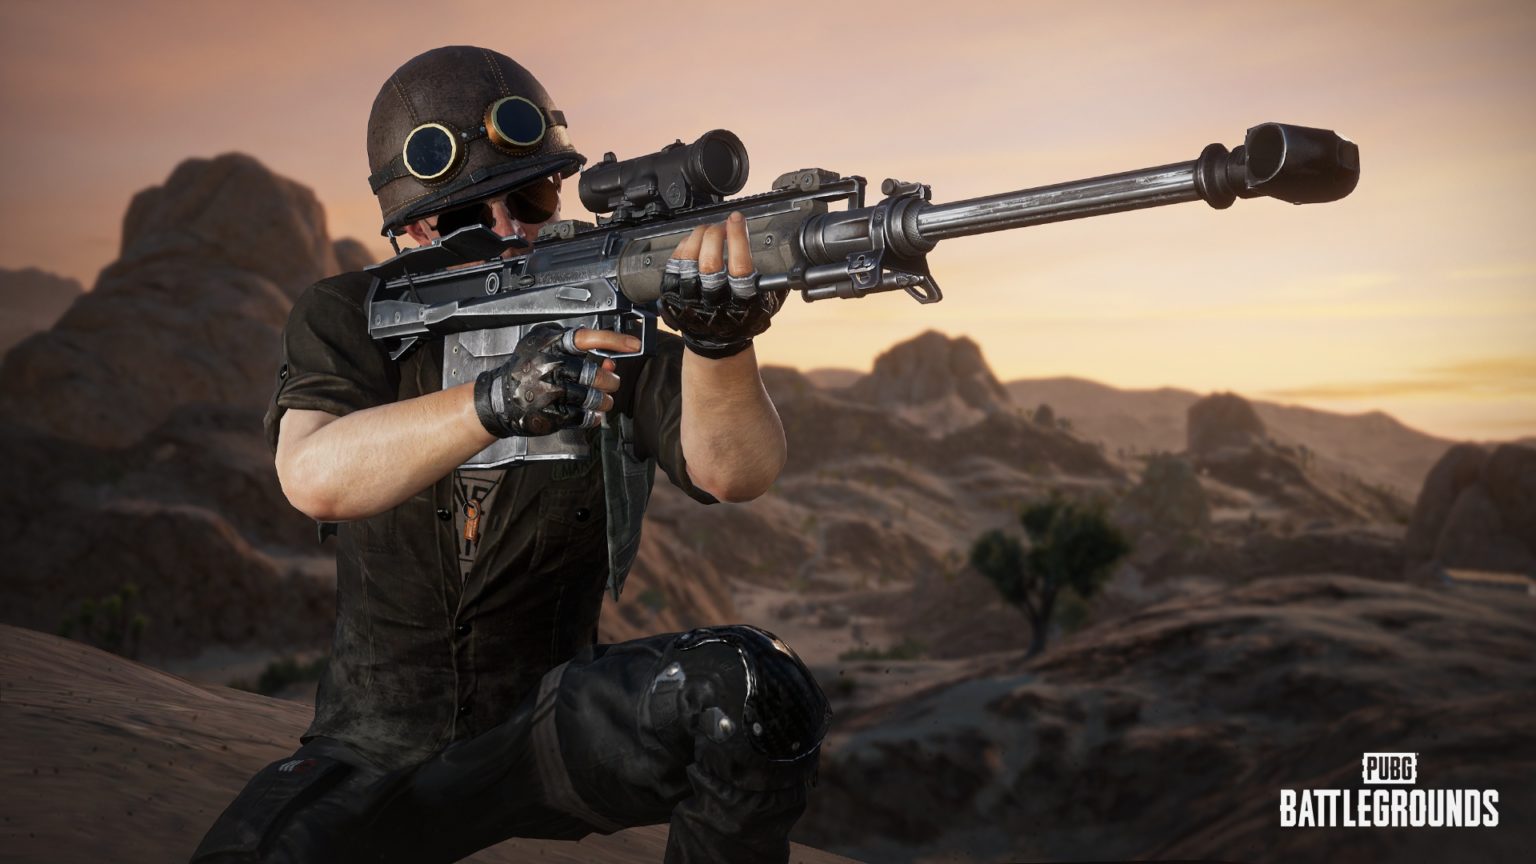
AWM - A supply crate weapon and the most damaging per shot weapon in the game. It can kill in a single headshot even against a level three helmet, and even has the added potential to kill unarmored targets in a single body shot. This gun handles similarly to other bolt action rifles like the M24 and Kar98k, but is chambered in .300 magnum instead, meaning you can only find ammunition for this sniper rifle in supply crates.
Best Used For: Long range headshots, even against armored targets. A single headshot from this weapon means death no matter what. This is objectively the most powerful sniper rifle in the game.
Crossbow - While not technically a sniper rifle and hampered by a pathetically low effective range, the crossbow is still a surprisingly damaging weapon. It shares the AWM’s ability to kill with a single headshot all the way up to level 3 helmets, and can even kill unarmored opponents with a single body shot. Shots with a crossbow need to be decisive however, given their slow reload time and necessity to reload after every shot.
Best Used For: Hunting deer? The crossbow is an absolute nightmare to use and shouldn’t be kept in your loadout for any longer than absolutely necessary. If you insist on keeping it, its usefulness won’t really extend past maybe the early mid-game, since players will be more likely to have guns that can perform at ranges further than the crossbow can engage at.
Melee
I won’t go too in depth with this category, being that you don’t want to be caught unarmed or with only a melee weapon any longer than you absolutely have to. But here’s a fun fact: in addition to supplying armor to a very small area of your backside when not equipped, the infamous PUBG pan can also kill with a single headshot all the way up to level two helmets.

