10. Goyo (Anti-Entry, Trapper)
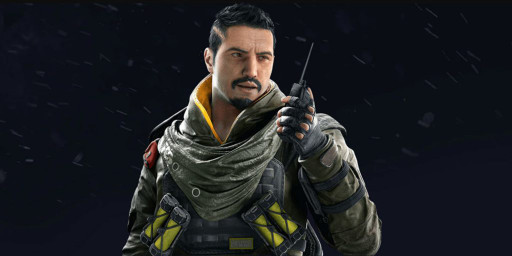
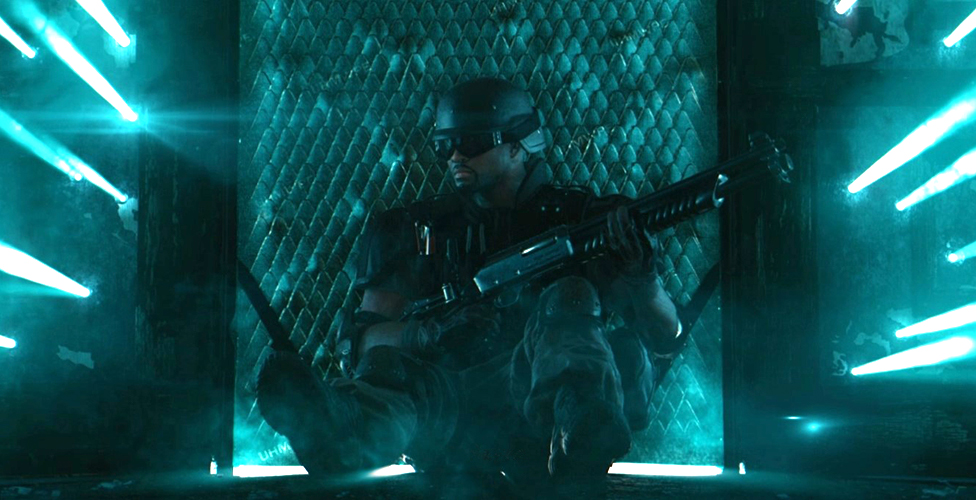
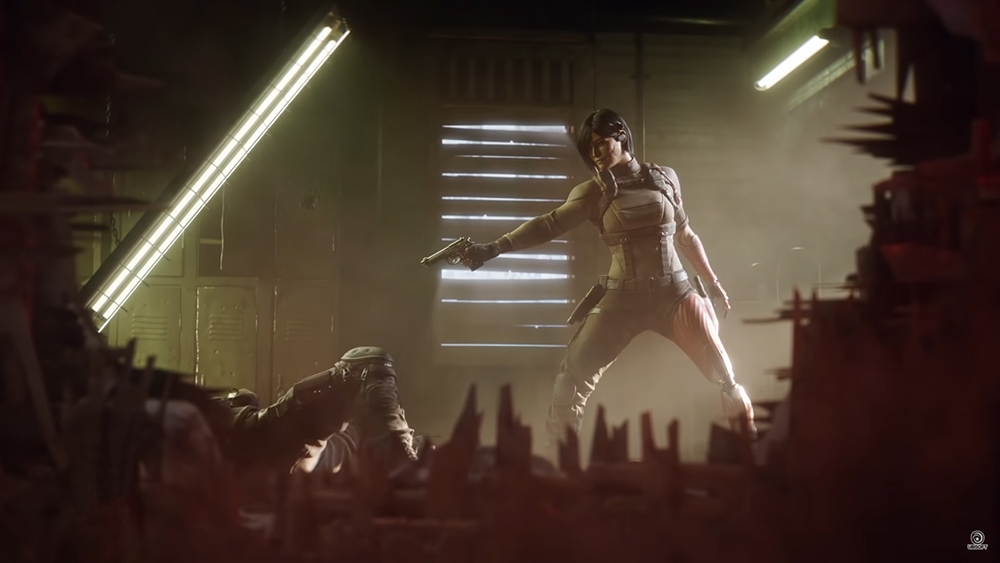
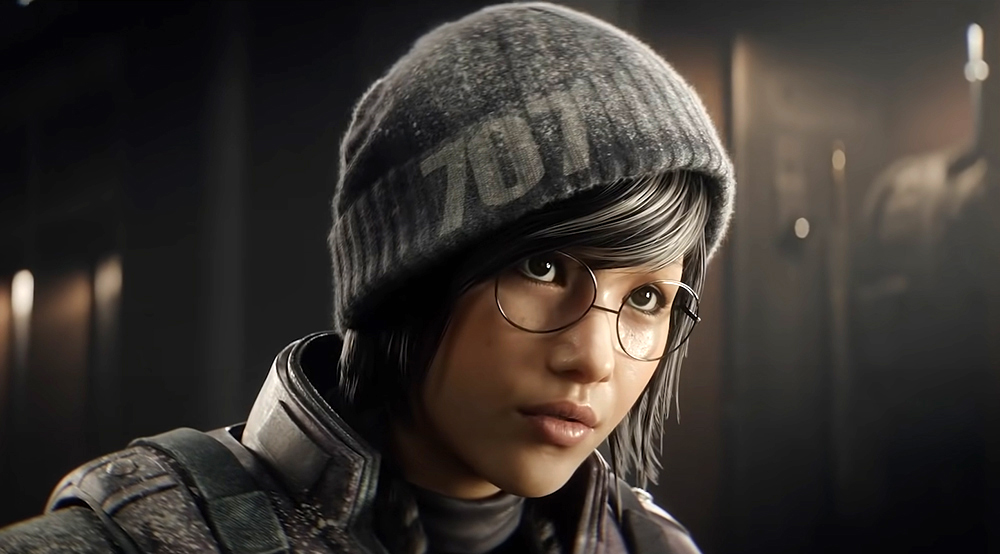
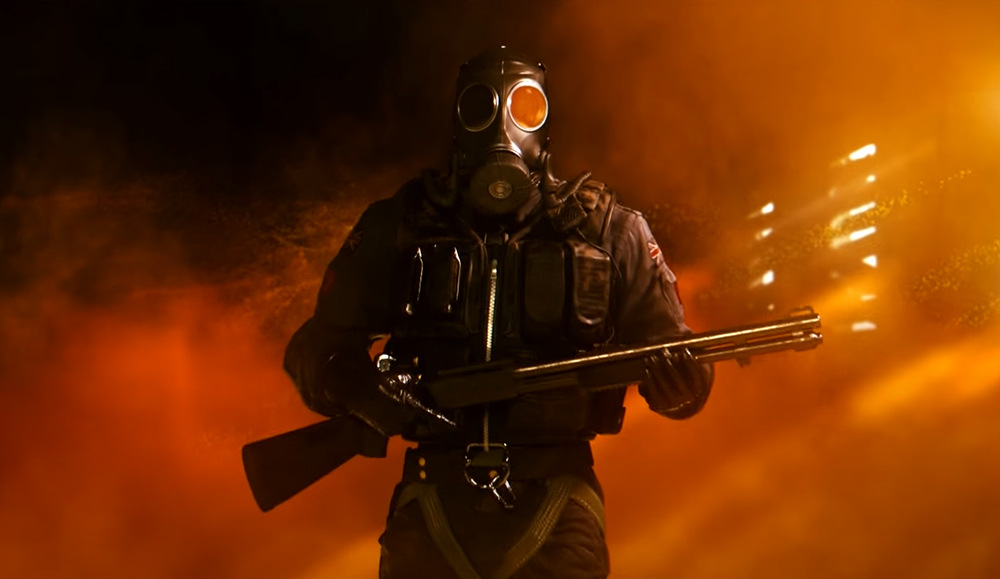
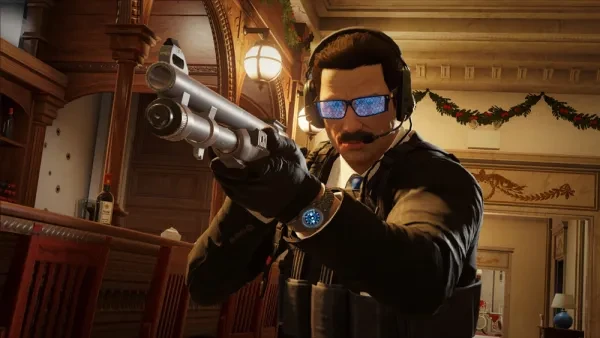
Goyo is a 2-speed 2-health operator, and those stats are quite versatile, and if you look at those stats alone, you could think that he’s quite suited for roaming, too. However, Goyo really reaches his full potential when he’s anchoring the objective spot. That’s because he’s the one who really knows where he deployed his four Volcan Canisters, which are his special gadgets. When shot or exploded, the Volcan Canisters will cover a large spot in fire, and it’ll take twenty seconds before that fire dissipates, effectively denying that large area to attackers and defenders alike.
And that’s why it’s important for Goyo to stay put and anchor, because he can focus on denying area to enemies with his Volcan Canisters. He’s the one who deployed them, and therefore, he’s the one who can really concentrate on when he should detonate them in order to deter enemies from taking control of that area. He also has an excellent weapon for anchoring in the TCSG12 shotgun as it’s basically a sniper rifle for the defending side. While it’s technically a shotgun, it shoots single slugs per shot which makes it capable of hitting headshots. Plus, it can be equipped with high powered scopes.
What Makes Goyo Great for Anchoring:
- His four Volcan Canisters will cover a large spot in fire when they’re shot or exploded, and that fire will take twenty seconds before dissipating, and that’s really great for area denial
- It’s important for Goyo to stay put in the objective spot and anchor because he’s the one who will know best when to detonate his Volcan Canisters and he has the best memory of where they’re deployed
- Goyo has a great weapon for anchoring which is the TCSG12 shotgun as it’s basically a sniper rifle for the defending side. It can be equipped with a high-powered scope and shoots single slugs per shot.
- With his impact grenades and TCSG12 shotgun, he can rework the map to the defending team’s advantage, so he has a lot of capability to setup the map
Best Loadout for Goyo:
https://www.gamersdecide.com/articles/rainbow-6-siege-best-goyo-loadouts
9. Smoke (Anti-Entry, Trapper)
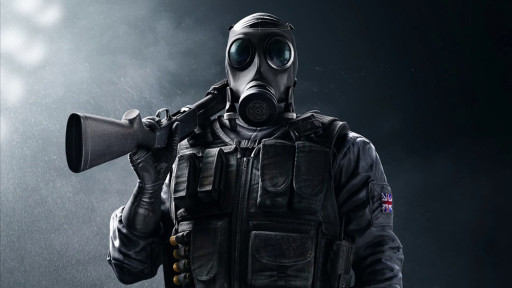
Smoke is another 2-speed 2-health rating operator that is great at anchoring, and frankly, he really should anchor. That’s because like Goyo above, his specialty is in area-denial. His special gadget, the Remote Gas Grenade, covers a large spot in a harmful chemical cloud for several seconds when detonated. He has three Gas Grenades and he can deploy them on a spot and just wait for enemies to go there before detonating it. But that runs the risk of the Gas Grenade being disabled by attacker anti-gadget utilities.
That’s why most Smoke users prefer to just use their Remote Gas Grenades when they’re already sure that enemies are pushing a particular area. And that’s why it’s very important for Smoke to stay put and anchor. With him on the objective spot, he can really delay attackers from pushing an area, and in a lot of cases, even kill them with his Remote Gas Grenade when they’re already inside the objective spot and the Gas Grenade pops off. Smoke’s best loadout setup is also great for anchoring as it consists of him equipping a shotgun for his primary weapon and a machine pistol for his secondary.
What Makes Smoke Great for Anchoring:
- Smoke reaches his full potential by anchoring as his Remote Gas Grenade special gadget is specifically made for area-denial, so if he’s not in the objective spot when enemies are pushing, his presence in the match could be wasted
- His Remote Gas Grenade covers a large spot in harmful chemical gas and it damages operators quickly. It can down an operator in just a few seconds regardless of their health rating.
- With Smoke anchoring the objective spot, he can perform his area-denial role well and since he’s not harmed by the effects of his special gadget, he can easily retake control of an area that was pushed by the attackers
- His best loadout consists of him equipping a shotgun for his primary weapon and a machine pistol for his secondary, and that kind of loadout really excels at close to medium-range shooting
Best Loadout for Smoke:
https://www.gamersdecide.com/articles/rainbow-6-siege-best-smoke-loadouts
8. Wamai (Anti-Gadget, Trapper)
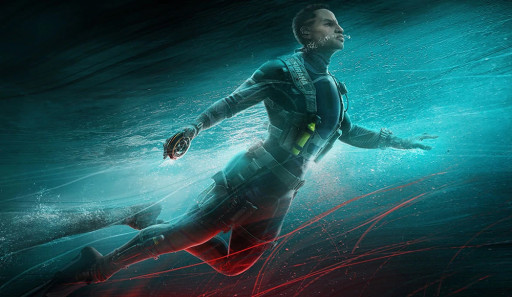
Wamai is another operator that reaches his full potential when he’s anchoring the objective spot. That’s primarily because of the deployment method of his special gadget, the Mag-NET. He can deploy a total of six Mag-NETs per round, but each of them only becomes available to him by cooldown. He starts with one Mag-NET and gains another every forty seconds. And these Mag-NETs are very important to be deployed in the objective spot as they pull back and neutralize attacker projectiles and throwables. So with them in the objective spot, it’ll be hard for attackers to use their grenades effectively.
So as one can imagine, if Wamai goes roaming, especially if he gets taken out quickly, his potential will be greatly wasted. When he’s anchoring the objective spot, he has a higher chance of surviving longer in the round, and the longer the round goes, he essentially becomes stronger at his role because he’ll be able to deploy more Mag-NETs and intercept more attacker projectiles or throwables. He can also use his impact grenades and keratos .357 handgun to rework the map, which makes him one of the best defenders when it comes to setting up the objective spot.
What Makes Wamai Great for Anchoring:
- His special gadget, the Mag-NET, intercepts and pulls back attacker throwables or projectiles, and in most cases, neutralizes them, which makes attacker grenades and other projectiles ineffective
- Wamai reaches his full potential when he’s anchoring because the longer he survives in the round and stays in the objective spot, the more Mag-NETs he can deploy for intercepting attacker throwables and projectiles
- Due to the heavy destruction rate of his impact grenades and keratos .357 handgun, he’s one of the best defenders when it comes to setting up the objective spot
- His MP5K submachine gun with its scope 1.5x is perfect for anchoring because it’ll allow Wamai to target opponents well from close to medium range which is where most enemy engagements happen when you’re anchoring
Best Loadout for Wamai:
https://www.gamersdecide.com/articles/rainbow-6-siege-best-wamai-loadouts
7. Warden (Anti-Gadget, Intel)
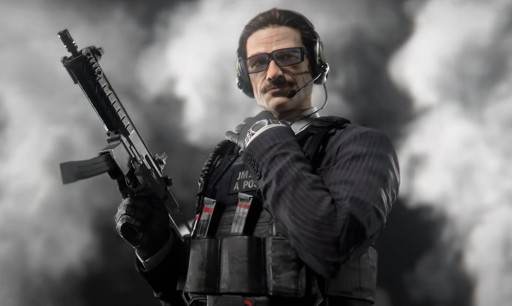
Warden’s special gadget, the Glance Smart Glasses, allows him to see enemies through smoke grenades and Sens’ R.O.U. Projector System. Upon activation of the Glance Smart Glasses, it’ll also remove any blind effects, whether it’s from Blitz’s Flash Shield, normal stun grenades, or Ying’s Candelas. This makes Warden such a great anchor, because normally, attackers will use their utilities that affect vision when they’re pushing the objective spot. But with Warden in it, especially when attacker drones didn’t scan him during the prep phase, they can be very surprised, and Warden can get some easy kills.
That’s why it’s very important for Warden to anchor, or at least stay near the objective spot. The effects of his Glance Smart Glasses will be greatly wasted if he’s roaming far away from the objective spot and the attackers begin pushing and popping off their utilities that can obstruct vision like smoke grenades, Sens’ R.O.U. Projector System, and stun grenades. Like Smoke above, the best loadout setup for Warden also excels at anchoring, because it consists of him equipping his M590A1 shotgun as his primary weapon, and his SMG-12 machine pistol for his secondary.
What Makes Warden Great for Anchoring:
- Warden’s Glance Smart Glasses allows him to see through smoke grenades and Sens’ R.O.U. Projector System, which is typically used by attackers when they’re pushing the objective spot
- When Warden activates his Glance Smart Glasses, it’ll also remove any blind effects, whether it’s from normal stun grenades, Candelas, or Blitz’s Flash Shield, which again, is typically used while pushing the objective spot
- It’s important for Warden to stay put and anchor the objective spot, or at least stay near it, because his special gadget, the Glance Smart Glasses, will just be wasted if he’s not there when enemies pop off their utilities that obstruct vision
- The best loadout setup for Warden has him equipping his M590A1 shotgun for his primary weapon and the SMG-12 machine pistol for his secondary, and that type of loadout excels at anchoring
Best Loadout for Warden:
https://www.gamersdecide.com/articles/rainbow-6-siege-best-warden-loadouts
6. Maestro (Anti-Gadget, Intel)
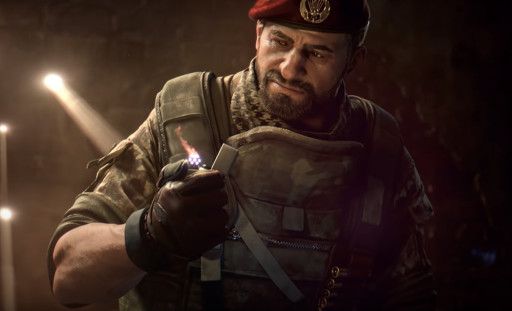
Maestro is a 1-speed 3-health operator, and even those stats alone make it a bad idea to use him for roaming. That’s because he’d be quite slow, and his footsteps would sound heavier. It would also be such a waste if he’s far away from the objective spot and he gets killed early on by attackers who are hunting for roamers. That’s because when Maestro is killed, a big function of his special gadget, the Evil Eye, will be unusable. Instead, defenders will only be able to use it for surveillance. And that’s very detrimental because while Maestro is alive and able to control his Evil Eye, it can give a lot of trouble to the attackers.
Maestro has two Evil Eyes, and they can shoot lasers which damage operators and disables utilities. Maestro’s Evil Eyes are bulletproof and very sturdy. They can’t be destroyed by a melee hit, and it’ll only shatter its viewing glass when the melee attack hits it directly. For an Evil Eye to be destroyed or disabled, attackers would have to use explosive utilities or emp grenades. And if they’re not disabled, they can present a lot of trouble to the attackers as it can keep peppering them with damage from its lasers which actually hurts. Plus, the Evil Eyes also have a thermal sight which allows them to see enemies behind smoke grenades or Sens’ R.O.U. Projector System.
What Makes Maestro Great for Anchoring:
- It’s important for Maestro to anchor and hide at a safe spot in order for him to concentrate in using his Evil Eyes for surveillance, destroying enemy gadgets, and damaging them with the Evil Eyes’ lasers
- It’ll be such a waste for the defenders if Maestro goes out of the objective spot and gets hunted down by attackers, because if Maestro is dead, the defenders will only be able to use the Evil Eyes for surveillance
- Maestro’s Evil Eyes have a thermal sight which allows them to see through smoke grenades or Sens’ R.O.U. Projector System, and this makes them a great asset for countering enemies who are pushing and attempting to plant the defuser
- Maestro also has access to great utilities for setting up the objective spot like the ACS12 shotgun, bailiff 410 revolver shotgun, as well as impact grenades
Best Loadout for Maestro:
https://www.gamersdecide.com/articles/rainbow-6-siege-best-maestro-loadouts
5. Mira (Intel, Support)
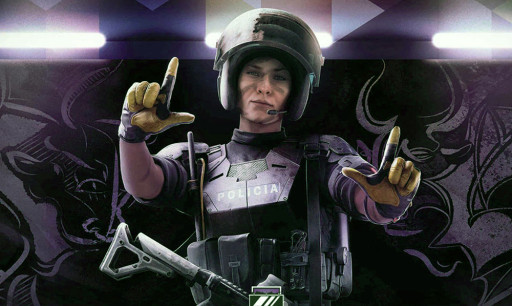
Mira is another 1-speed 3-health rating operator so it’s just generally a bad idea for her to leave the objective spot and go roaming. Besides, her special gadget, the Black Mirror, is specifically designed for anchoring. She has two Black Mirrors and they’re deployed on walls. Once deployed, one side will be heavily tinted while the other remains clear as day. This allows Mira and her teammates to clearly see enemy movements on the other side of the wall in two angles, while the attackers can’t see what’s going on inside, which of course greatly unsettles them.
But the Black Mirrors can do much more than make attackers uncomfortable in pushing an angle with them in sight. When deployed beside an unreinforced wall, which should always be the case by the case by the way, Mira can effectively use her Black Mirror for fragging opponents on the other side. That’s through using the intel that she’s gathered from her Black Mirror and quick leaning from it while firing her weapon straight to the enemy she’s had her sights on. And that’s why Mira reaches her full potential when she’s anchoring.
What Makes Mira Great for Anchoring:
- Her special gadget, the Black Mirror, is specifically designed for anchoring, as it provides a one-way view mirror that defenders can use to gather intel on enemy movements on the other side of the wall
- With her two Black Mirrors, Mira can make it very hard for attackers to push two angles, especially when they’re supported by anti-projectile gadgets like Wamai’s Mag-NETS or Jager’s ADS
- Mira’s two choices for her generic gadget, the proximity alarm and the nitro cell, are great for anchoring, as the former will warn of enemy presence, while the latter is great for countering attackers who are pushing
- Mira is also a great defender when it comes to setting up the objective spot as she can equip the ITA12S shotgun as her secondary weapon, and she can use it for creating rotation holes and lines of sight on soft walls
Best Loadout for Mira:
https://www.gamersdecide.com/articles/rainbow-6-siege-best-mira-loadouts
4. Rook (Support)
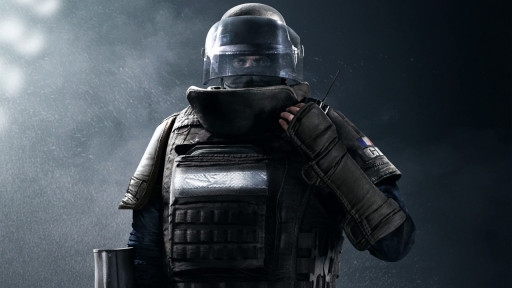
Rook is another 1-speed 3-health rating operator in this list, and operators with those kinds of stats just don’t really do well in roaming. That’s because they’re heavier so they make more noise, and they can’t move quickly. That makes it easier for attackers who are hunting roamers to pin them down and kill them. So even though Rook’s special gadget, the Armor Pack, isn’t really specifically made for anchoring, it’s just generally a good idea for Rook to stay put and anchor. At the very least, he can flank enemies pushing the objective spot, but it’s just not a good idea for him to roam far from it.
With that said, Rook is just generally great at anchoring because his Armor Pack gives him a health boost, essentially making him tougher, and anyone who equips the armor plates from his Armor Pack. So even though he’s already a heavy armored operator, that armor will even be heavier because of his armor plates, and that makes Rook a very hard operator to take down. He’s also one of the few defenders that can use the scope 2.0x which is perfect for anchoring, as it’ll allow him to exchange fire effectively with the attackers even from long-range.
What Makes Rook Great for Anchoring:
- Because of his 3-health rating and the health boost from his armor plate, Rook is one of the toughest operators in the game to take down, and that’s great for anchoring, because he’s basically like a tank
- Aside from his heavy armor, Rook’s offensive capabilities when anchoring is also great because he can equip the scope 2.0x on his MP5, and that’ll allow him to target opponents with great accuracy even at long distances
- Rook also has access to the impact grenades which makes him a great operator for setting up the objective spot, as they can be used for creating rotation holes which very important in competitive matches
- Because of his 1-speed 3-armor rating, it’s just generally a bad idea for Rook to roam, as his slow movements will make it hard for him to outmaneuver enemies, and he’d be making more noise due to his heavy armor
Best Loadout for Rook:
https://www.gamersdecide.com/articles/rainbow-6-siege-best-rook-loadouts
3. Azami (Anti-Entry, Support)

Azami is a very versatile operator with 2-speed and 2-health rating, and honestly, her special gadget, the Kiba Barrier, can be used in so many ways, not just for anchoring. They can be effective for spawn peeking, run outs, and even general roaming tactics. However, Azami, especially for competitive matches, is still best used for anchoring. That’s because she can only deploy five Kiba Barriers in total, and it’ll be best for the defenders if they’re used in providing more protection in the objective spot. And like Wamai’s Mag-NETs, they only become available to Azami through cooldown.
So when Azami stays up and anchors the objective spot, she has a better chance of surviving longer in the round, and the longer she survives, the more Kiba Barriers she can deploy. Each of her Kiba Barriers provide a large bulletproof cover and they can be deployed to most surfaces, the player just gotta know the proper angle for deploying them. So with that in mind, Azami’s Kiba Barriers are very valuable in stopping enemies, even if they’re an organized team, from pushing as they’ll provide cover on areas that were previously weak or exposed, essentially making them more defensible.
What Makes Azami Great for Anchoring:
- Azami’s Kiba Barriers are large bulletproof covers that defenders can use to protect themselves against enemy fire, and that’s great for defending exposed angles that attackers love to use
- Azami can use her Kiba Barriers to protect Kaid or Bandit when they’re concentrating on preventing attackers from hard breaching, as when they’re doing that, they can leave themselves vulnerable to flankers
- Azami has great utilities in the ACS12 shotgun and her impact grenades for setting up the objective spot with lines of sight and rotation holes which are very important for responding to enemies
- Azami achieves her full potential by anchoring as the longer she survives in the round, the more Kiba Barriers she can deploy for protecting her teammates or for denying area to attackers
Best Loadout for Azami:
https://www.gamersdecide.com/articles/rainbow-6-siege-best-azami-loadouts
2. Lesion (Anti-Entry, Trapper)
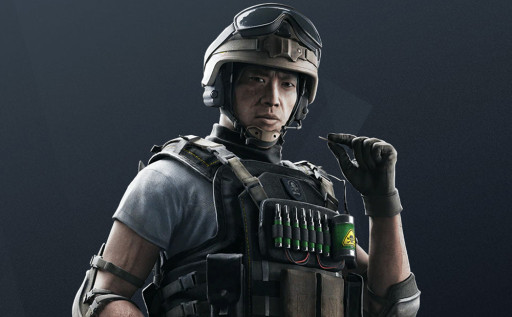
Lesion ranks so high in this list especially because he’s going to get buffed very soon. Starting next season, the initial damage from stepping on his Gu Mines will be back, and its damage-over-time will also be buffed. While they’re removing the invisibility on his Gu Mines, in turn, they won’t be detected by IQ’s Electronics Detector anymore, and they won’t be disabled or converted by EMP grenades, Twitch’s Shock Drones, or Brava’s Kludge Drones, because they technically won’t have any electronics part in them anymore.
With that, Lesion players can just be more creative in the deployment of their Gu Mines by placing them in awkward angles like right beside a doorway where they won’t easily be seen. That buff will greatly increase Lesion’s anchoring capabilities which are pretty great even in its current state, because he can deploy a total of eight Gu Mines per round, and enemies who steps on them will be unable to sprint and experience damage-over-time until they remove it. They also produce a pretty loud and distinct sound when they’re triggered which makes them great early warning devices as well.
What Makes Lesion Great for Anchoring:
- When an enemy steps on his Gu Mine, that enemy won’t be able to sprint and they’ll experience damage-over-time that won’t stop until they remove the Gu Mine which takes a few seconds
- Lesion can deploy a total of eight Gu Mines per round and his Gu Mines become available to him via cooldown, so the longer he stays alive, the stronger he becomes
- His Gu Mines also produces a pretty loud and distinct sound when triggered, which makes them great early warning devices, especially considering that Lesion can deploy them on common entry or flanking spots
- Lesion is set to receive a great buff soon which will increase his anchoring capabilities as the initial damage from his Gu Mines will be back, its damage-over-time will be increased, and they won’t have any electronic part anymore
Best Loadout for Lesion:
https://www.gamersdecide.com/articles/r6-best-lesion-loadouts
1. Fenrir (Trapper)
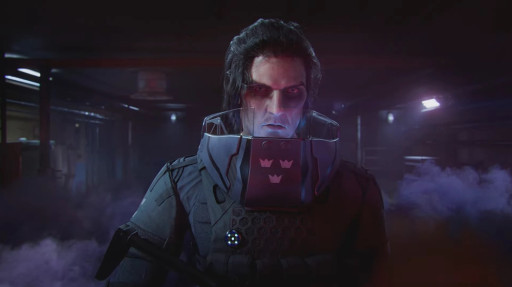
Fenrir’s ban rate has become so high since joining Team Rainbow this current season so it’s quite rare to see him in ranked games. However, during those rare times that you can use him for defending, you really should go for it. That’s because with Fenrir in the defending team, it can be really hard for attackers to push. His special gadget, the Dread Mine, acts like a proximity mine where it releases its fear effects on enemies within its radius. Fenrir has five Dread Mines and all of them are available to him from the start, but that doesn’t mean that he should just go about roaming after deploying them.
That’s because he can only activate three of them at the same time, so it’s better for him to stay in the objective spot so he can manage which Dread Mines he’d be activating. What’s scary about the Dread Mines is that they’re quite small so when hidden well, it’ll be hard for enemies to disable them, especially when they’re panicking from their fear effect which will limit their vision’s range severely. Enemies who are under the effects of the Dread Mines are very vulnerable as they will only be able to see a few meters ahead of them.
What Makes Fenrir Great for Anchoring:
- Fenrir can deploy five Dread Mines per round and have three of them active at the same time, so Fenrir can basically cover most if not all entry points to the objective spot, and it’s all about managing them
- The fear effects from Fenrir’s Dread Mines can really make enemies vulnerable as they will only be able to see a few meters ahead of them if they’re in the radius of a Dread Mine
- The Dread Mines are quite small, and they can be deployed to most surfaces, so when hidden well, it can be very hard for enemies who are under their fear effects to find and disable them
- Fenrir has access to the bailiff 410 revolver shotgun which he can use to for setting up the objective spot with rotation holes and lines of sight, which are always important for anchoring
Best Loadout for Fenrir:
https://www.gamersdecide.com/articles/rainbow-6-siege-best-fenrir-loadouts
Attention operator, please be advised. There is a new directive from Six. Read up on these related articles, and prepare for deployment:

