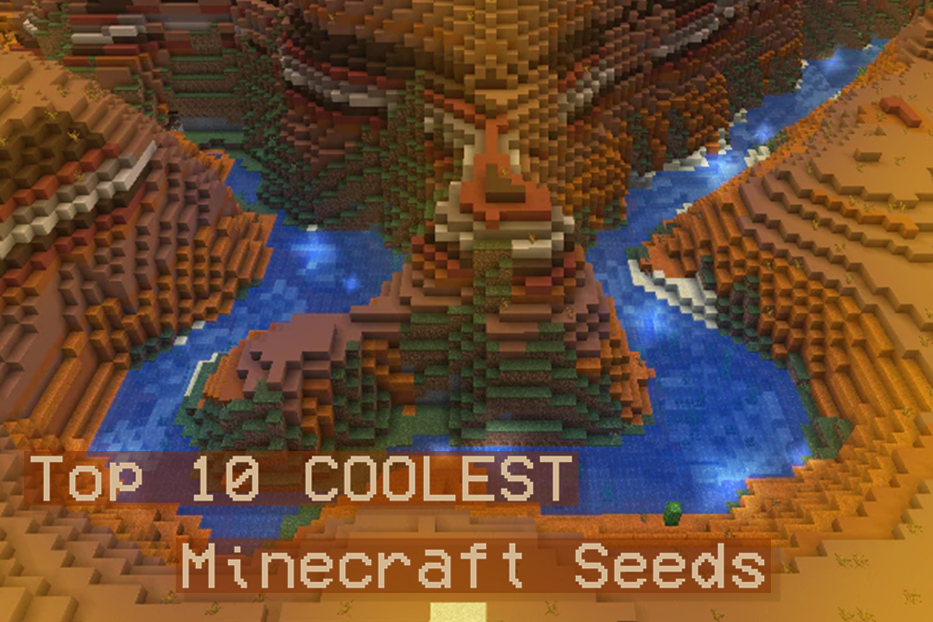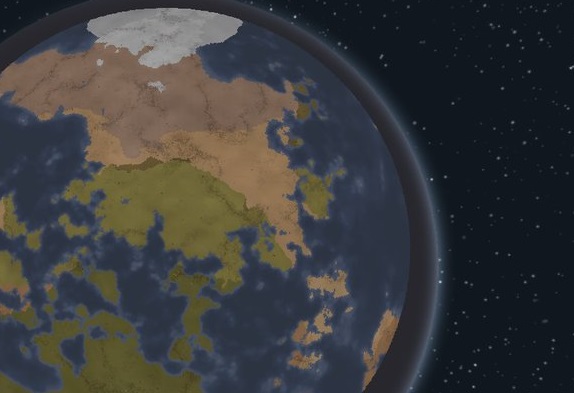
A seed is a code for a randomly generated world. You type these ‘seeds’ into your ‘world generator’. The ‘world generator’ will create a random world based on the values and variables assigned to each number or letter in your seed.
In Rimworld, you can play on whatever map you like with these seeds. You can choose a map that suits your needs so you can have a smooth playthrough. On the flip side, you can also choose maps that would be a challenging experience for you.
1. Karl Franz (40.77°S, 39.91°W, 50%)
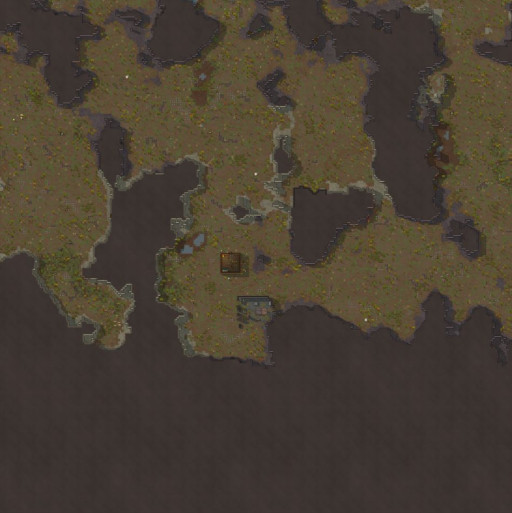
You’ll be lucky to find a base like this. Its natural walls shield your left flank. This means that you’ll only need to worry about threats coming from the north and the east.
Why you’ll want this map
- Defensible
There’s a defensible area in the middle portion of the map. There are only two openings enemies can pass through. Wall these up and you’ll be safe from most threats.
- Geysers
There are two geysers near your defensible area. These geysers are great sources of electricity. Make sure to secure these after you’ve walled up your base.
- Ruins
There are ruins of an ancient structure in the middle of the map. Its ancient granite walls are good for use. It has the potential to be rebuilt into a room or to be salvaged for its materials.
2.Malekith (1.50°N, 1.04°E, 50%)
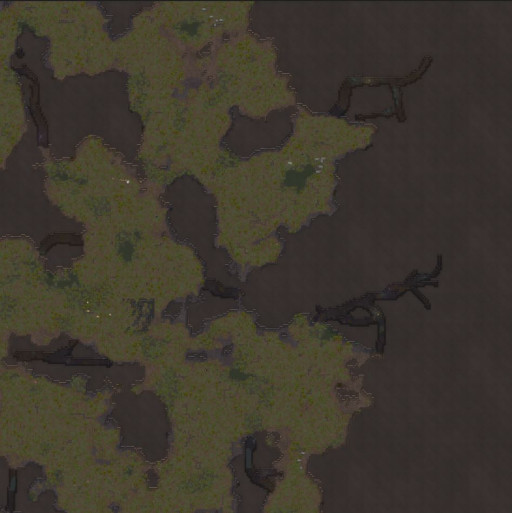
This seed is a tropical jackpot. There’s a defensible area with openings to the north of the map. There’s also a huge patch of fertile soil within the defensible area.
Why you’ll want this map
- Granite
Granite makes for great walls. Mine these up and set up your impenetrable fortress.
- Insect Hive
There’s a hive in the tunnels in the top-right portion of the map. Insect jelly can be harvested from these. You can steal them at night when insects are sleeping.
- Farmland
There’s enough area for growing zones within the defensible area. You may rest assured that your crops will be safe from raiders.
3. Tyrion (8.31°S, 4.43°E ,50%)
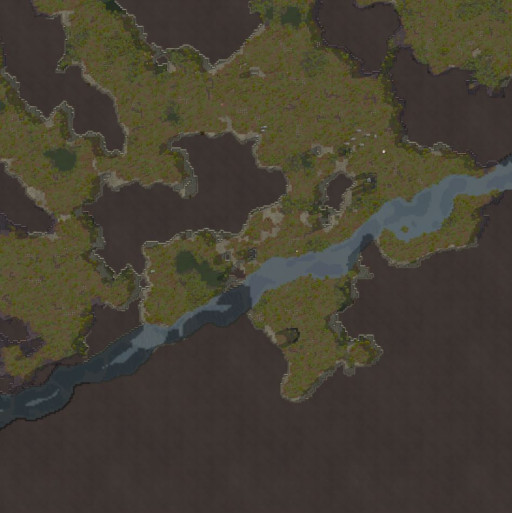
Your potential mountain base awaits. The best part is that there’s a river that provides a natural barrier against raiders. You can even set up several defensive positions.
Why you’ll want this map
- River Defense
Use the river to your advantage. Your colonists walk slower in water but so do your enemies. Keep this in mind.
- Steam Geysers
There’s a steam geyser just across the river. It will provide a huge amount of electricity. Make sure to secure it.
- Farmland
There’s enough room to establish grow zones on both sides of the river. If the outer farmlands get burned by bandits then you can rest assured that you’ll still have some left.
4. Thorgrim (55.68°S, 11.96°W ,50%)
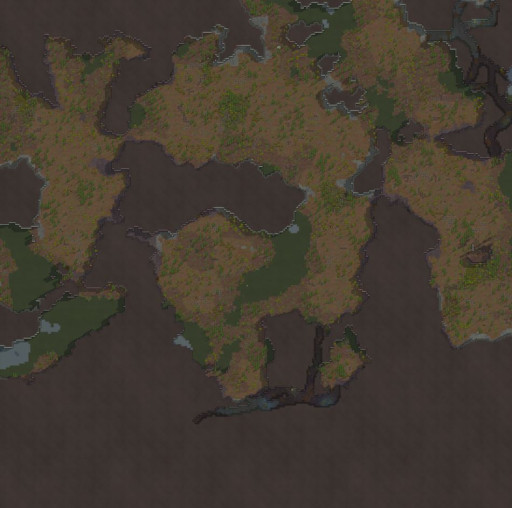
This boreal mountain map has everything you need. You have a big area where you can establish your base. There’s also a marsh where you can set-up a secondary defensive position.
Why you’ll want this map
- Huge Defensible Area
You can set up your base within the bosom of the mountain. There’s only one opening leading into it so use this to your advantage. Most of your enemies will funnel into the northern opening instead of trying to tunnel into mountain walls.
- Rich Soil
There’s a huge patch of rich soil at the opening of your mountain base. Crops will grow faster in these. Make sure to secure it.
- Marsh Defense
Use the marsh to your advantage. Establish a secondary defensive position behind the marsh. Your enemies will walk slower through it making them sitting ducks against your gunline.
5. Settra (0.84°N, 7.02°W, 50%)
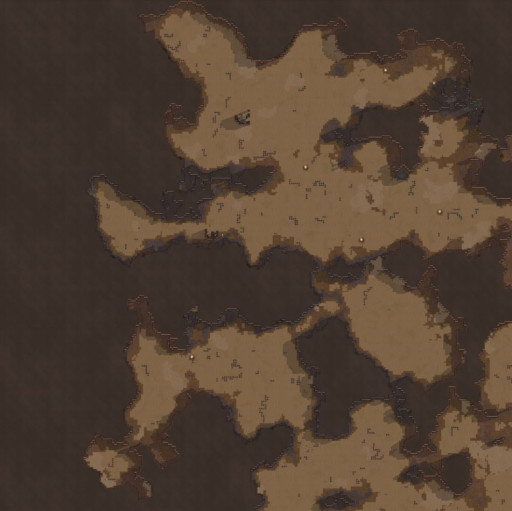
This is for the more experienced players. If you’re up to the challenge, then this is the map for you. Can you survive the extreme heat?
Why you’ll want this map
- Defensible Areas
There are several defensible areas to set up your base. Dig into the mountain but also establish defensible areas outside. Keep cool and keep safe.
- Stony Soil
Despite being in the desert, you can still have grow zones in the stony soil. Although not the most ideal grow zones, they can still be of use to you. Use whatever you can to grow food.
- Steam Geysers
There are several steam geysers within the defensible areas of the desert. These steam geysers might be of use in the late game. Make sure to secure them later on.
6. Guilliman (48.08°N, 15.19°W, 30%)
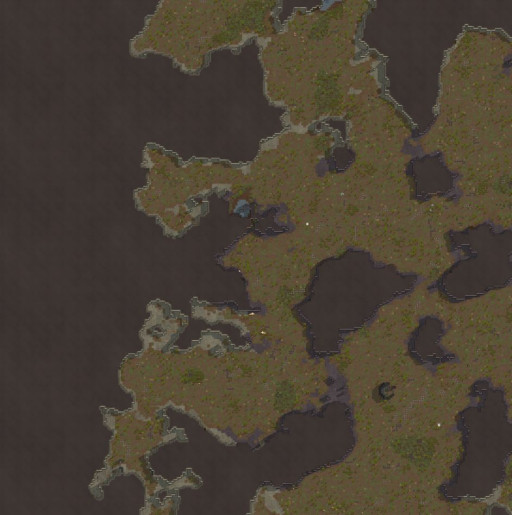
Despite living in the mountains, you’ll still have friends nearby on this map. You have three neighboring settlements in this mountain range. Caravans are still a viable option for securing key resources.
Why you’ll want this map
- Nearby Settlements
Be sure to befriend these settlements within the mountains. Trade is essential in securing specific resources.
- Defensible Area
There’s a small defensible area in the middle of the map. This will be essential in the early game. Make your enemies funnel into your maze and kill box.
- Rich Soil
There are huge patches of rich soil in the top portion of the map. Crops grow faster in rich soil. Make sure to secure this area later on.
7. Kislev (73.06°N, 7.01°W, 50%)
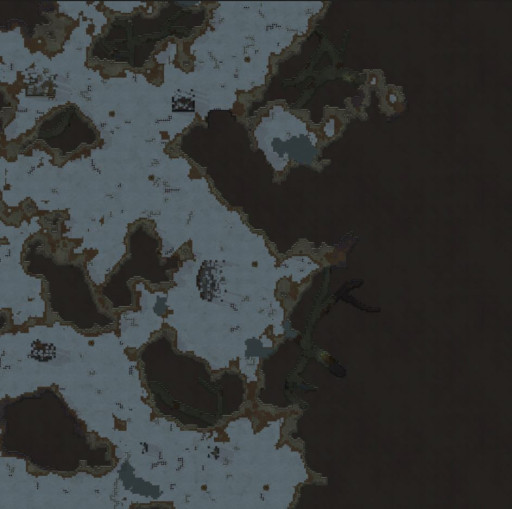
You can play around in the northern portion of the map. You’ll have everything you need there at the start of the playthrough. You’ll have construction supplies, heat, and food.
Why you’ll still want this map
- Ruins
There are ruins near the steam geyser to the north. You can deconstruct these for their resources. Salvage these construction materials for your first room.
- Steam Geyser
You can use the steam geyser as a heat source in this freezing environment. You’ll want to use those salvaged construction supplies to build a make-shift home around the geyser.
- Insect Hive
Food is scarce in the ice sheet. That insect hive to the north will be essential to your survival. Just make sure not to wake its guardians.
- Ancient Danger Site
There’s an ancient structure filled with mechanoids to the north. You can use it to your advantage and open it when a big raid arrives. Later on, you kill the survivors and keep all the spoils.
8. Mazdamundi (1.96°N, 5.98°W, 30%)
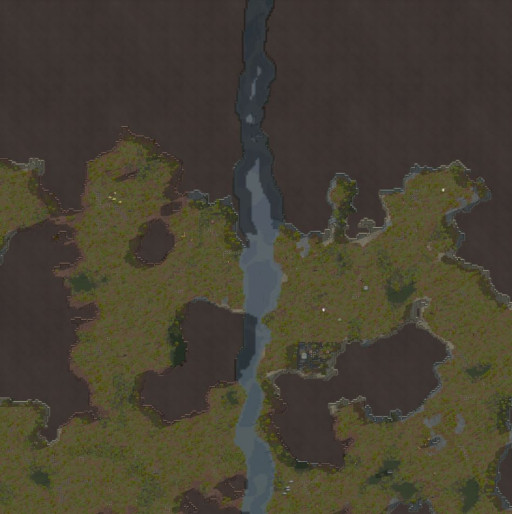
This map is unique because the river cuts through the mountain right in the middle. This opens up new ways to set up your mountain base.
Why you’ll want this map
- River-Mountain Base
This kind of map where the river cuts through the middle of the mountain is a rare find. You can set up a defensive position in the mouth of the mountain where the river exits. The water will slow down enemies making them better targets for your gunners.
- Defensible Areas
There are two defensible areas to the right of the mountain. These can provide you with safety in the early game. There’s also enough room for crops for a future large colony.
- Steam Geyser
There’s a steam geyser within the defensible area you can exploit later. That steam geyser is essential to keep your supply of electricity up. Make sure to secure it.
9. Queek (3.21°N, 5.72°E, 30%)
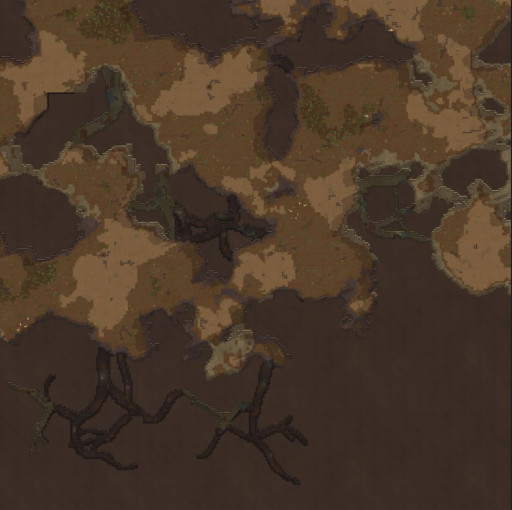
Enter the mountain to escape the heat. You’ll find caverns upon caverns once you enter. You can set up your base in the heart of the mountain.
Why you’ll want this map
- Partially Excavated Mountain
The mountain has natural caves and caverns for you to enter in. You can now escape the heat by sealing off the entrances to the mountain. This way, you can establish your mountain base much easier.
- Nearby Insect Hives
There are several insect hives on the map. These hives produce insect jelly throughout the day. Make sure to secure the jelly when the insects are asleep at night.
- Rich Soil
There’s a large patch of rich soil near the top-right portion of the map. Plants will grow faster here. Securing this area will be beneficial for the long term.
10. Kraka Drak (69.28°S, 35.14°E, 50%)
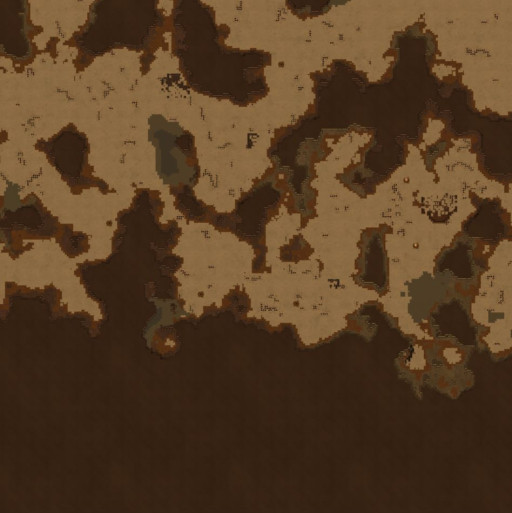
If you’re a beginner, then this might not be for you. Surviving in the ice sheet is harder than it sounds. But, if you’re up for the challenge, then why not?
Why you’ll want this map
- Ruins
There are ruins of ancient structures in the right portion of the map. Deconstruct these for their construction materials.You’ll need these to survive the first night.
- Steam Geyser
Use those materials to build around a nearby steam geyser. This steam geyser will be your main source of heat in this sub-zero environment.
- Steel
There are several exposed steel veins in the area. You might want to mine these to construct walls, and to forge weapons and armor.
You may also be interested in:
- 50 Most Useful 'Rimworld Tips' For Beginners
- Top 15 Best Rimworld Seeds
- Top 3 Rimworld Best Clothing and How To Get Them
- [Top 5] RimWorld Best Melee Weapons and How To Get Them
- [Top 5] RimWorld Best Armor and How To Get Them
- [Top 15] Best Rimworld Mods For A Brand New Experience
- [Top 10] Best Rimworld Combat Mods We Love!
- [Top 5] RimWorld Best Power Sources
- [Top 5] RimWorld Best Implants
- [Top 5] RimWorld Best Bedrooms
- [Top 5] RimWorld Best Crops

