Boss-type enemies are a true menace in Risk of Rain, with their ruthless attacks and excessive aggression making for a ridiculously strenuous fight during the teleporter event. Some of their looks aren’t exactly appealing either. Whether you’re crawling between the stampeding hooves of the Toxic Beast or avoiding the sulphuric charge of the gargantuan Cremator; you’ll always need an edge to survive. So, here are the best drops from the bosses in Risk of Rain. Whatever you pick, Providence won’t be happy.
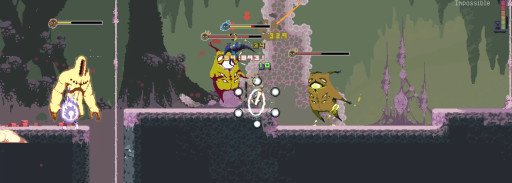
“Twin Imps… Twimps?”
7. Imp Overlord’s Tentacle
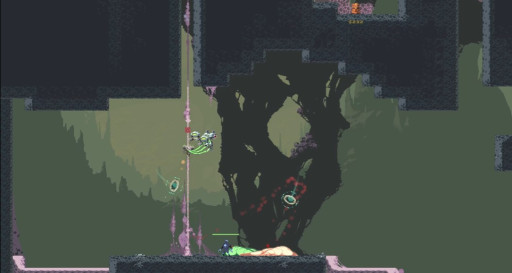
“We could all use a helping hand”
Summon an Imp to fight for you. Dropped by the Imp Overlord.
The Imp Overlord’s Tentacle provides an extra entity, much like a drone, to fight in your stead. Stacking this item increases the damage dealt by the summoned Imp by 15% per stack and reduces its respawn time by 10 seconds per stack - starting at 60 seconds. The snag for this item is that it doesn’t activate any item effects, making it so stacking this already rare item is necessary for increasing its damage.
Imp Overlord’s Tentacle is great for:
- Distracting enemy groups. Enemies will fight the Imp as if it were a player, making it so most of the hostile groups will focus on it while you hang back to heal or make purchases.
- Fighting from a distance. As just mentioned, using the Imp as a distraction allows you to hang back and make small shots to thin enemy numbers.
- Passive damage. While searching for the teleporter the Imp is likely to damage weaker base enemies within around 20 metres of the character, making it much easier to kill them yourself if they get in your way.
6. Burning Witness

“What is this - Mad Max?”
Create a path of fire that follows you, and activates after a kill. Dropped by the Magma Worm.
When defeating an enemy after picking up the Burning Witness the player receives a speed boost of 30% as well as a fiery trail behind them and does so for 6 seconds total. Stacking this item increases the time limit but doesn’t increase the total damage done. This means that the main benefit of the item is the speed boost. Leaving the Burning Witness as one of the lower-tier items in this category.
Burning Witness is great for:
- If you prefer to kite enemies. While using Huntress or Sniper, survivors that focus on doing damage while leading enemies, this item lets you do so while continuously dealing damage as they follow you, without having to fire any weaponry.
- Mobility. The combination of gaining a speed boost and creating a blazing path creates distance between you and the foes on your tail. Thus, allowing for an immediate escape if necessary.
- Dealing minor passive damage. While the damage from the fire isn’t excessive, it’s nothing to scoff at, as it will still weaken the targets that follow to a point where they are easier to dispose of.
5. Nematocyst Nozzle
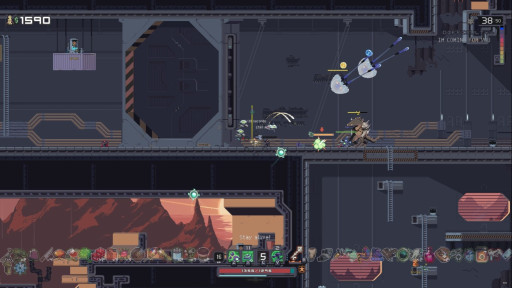
“Baby Vagrants are still just as deadly”
An equipment item fires out 6 homing projectiles for high damage. Dropped by the Wandering Vagrant.
As an equipment item, the Nematocyst Nozzle is activated manually and fires out a base total of 6 heat-seeking projectiles that deal 400% damage to their targets. This item is great for characters that can’t target those difficult-to-hit enemies or enemies that fly around or are even stuck in hard-to-reach areas. The issue with this volatile item is the cooldown time. Without items like Rapid Mitosis, stacking the Nematocyst Nozzle only increases the amount of projectiles and does not affect the overall cooldown of the equipment.
Nematocyst Nozzle is great for:
- Killing quick and agile targets. Based on the Wandering Vagrants' attack pattern of firing tracking orbs, this item fires and homes in on incoming enemies. If you can’t kill enemies like Jellyfish, this item will deal with them in your stead.
- Crowd control. The Nematocyst Nozzle can target multiple enemies, and if one is killed after the first projectile hits, the next projectile will immediately fly to another, closer target. This will happen as long as there is aggressive fauna to fire at.
- High damage is dealt quickly. The damage dealt by each of these nematocysts is high, not only that but it borders on instantaneous, making this equipment similar to that of the AtG Missiles which can kill enemies rapidly.
4. Legendary Spark

“So close yet so far”
Chance to create 2 sparks that spawn on and damage surrounding enemies. Dropped by the Ancient Wisp.
With a chance to create an overwhelming blast that erupts with 200% damage on random enemies, the Legendary Spark provides covering fire for those who prefer a more liberating playstyle that allows for more movement. The Legendary Spark works best with players that prefer leading enemies and making long-range attacks from a safe distance as the flames produced target those that are hit by the player’s shots with an 8% chance to PROC.
Legendary Spark is great for:
- Long-distance attacks. Since this item PROCs on hit, means the player doesn’t need to be close to the enemy for it to cause damage.
- Kiting enemies. Players that use Huntress will find the most cause for success as she can fire in the direction where most of the enemies are, allowing her to kite enemy numbers and deal the most effective damage with this item.
- Thinning enemy numbers. The balancing of both benefitting from long-range attacks and having an AOE that can damage multiple enemies at once means this item is guaranteed to dilute the enemy hordes you’ll inevitably face.
3. Ifrit’s Horn

“Toasty”
Chance to create a flaming wave that moves in your direction of fire. Dropped by the Ifrit.
Almost identically to the Legendary Spark, Ifrit’s Horn creates a wave of fire with an 8% chance to PROC that deals 300% damage. However, unlike the Legendary Spark, Ifrit’s Horn deals much more damage but has a much shorter range - only blasting forward from the direction the survivor is facing. This makes it ideal for melee characters and short-range attackers.
Ifrit’s Horn is great for:
- Close-range attacks. Mostly from melee characters, like Acrid or Loader, but even like a short-range character like Enforcer can actively utilise this item.
- Targeted damage. While only firing in front of you, there is no chance that you can miss with this attack unless the enemy is knocked out of range.
- Stun locking. With high enough DPS, the PROC chance skyrockets and you can continuously and consistently stun the enemy.
2. Scorching Shell Piece
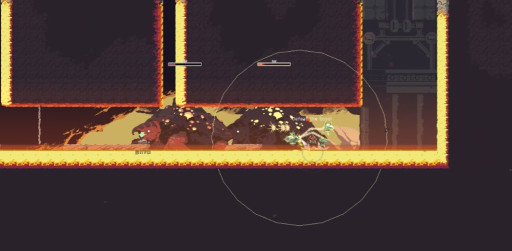
“Teenage mutant magma turtles”
Grants a shield that, when destroyed, fires 4 projectiles. Dropped by the Cremator.
Granting defence with a bonus 20 health shield, and offence with 4 devastating projectiles when the shield is broken, the Scorching Shell Piece specialises in countering heavy-hitting enemies like the Parent or Golem. It's another item, like the Nematocyst Nozzle that fires out projectiles, making it an item ideal for hitting more mobile targets. It’s surprisingly versatile in its application.
Scorching Shell Piece is great for:
- Survivability. This item grants armor equivalent to the item Guardian’s Heart, and applies a shield on top of the survivor's max health, letting the survivor take more damage with a shield that regenerates outside of combat.
- Damage output. When the shield is depleted it automatically retaliates similar to that of the Fire Shield, which is great for neutralising the threat that caused the damage initially.
- Flexibility. As mentioned the Scorching Shell Piece has multiple functions that mirror other items found in the game, which makes it extremely useful in many situations or dire straights.
1. Colossal Knurl
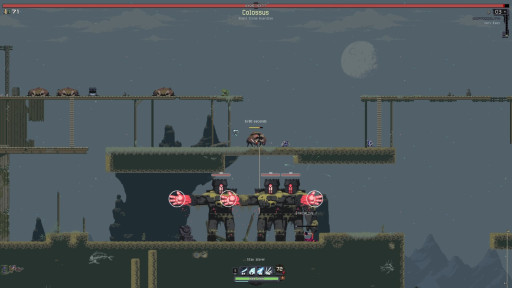
“Maybe they just want a hug - a BIG one”
Increases max health, health regeneration speed and grants extra armour. Dropped by the Colossus.
Adding three defensive boons to your arsenal, all at relatively high rates, the Colossal Knurl is the best passive item in this roster. Being dropped by one of the easiest bosses to defeat, and one of the most common, this item is easier than most to come across. This item adds a huge benefit of increasing maximum health by 40, increasing health regen by 1.2 per second, and increasing overall armour by 6 - all increased by these same amounts per stack - making it an incredibly useful item to gain for any character.
Colossal Knurl is great for:
- Preservation. This simple yet effective boss drop is overlooked by a lot of players for not being flashy or providing a damage buff, but there’s no point in doing high damage if you’re too dead to do it. The Colossal Knurl all but ensures you can make it to the tougher environments of Petrichor V.
- Versatile application. This item applies to all characters, however, collecting this item with the Engineer also means their turrets receive the perks of the Colossal Knurl, making them last even longer in the field.
- Damage absorption. The armour benefit and max health increase mean that any survivor picked can withstand much heavier hits than before. Armour is a passive buff in this game and is only increased by a few items and is only a starting stat for a couple of survivors, but it’s not to be scoffed at or ignored, it’s the key to becoming a true tank.

If you enjoyed this article, you may also be interested in:
- [Top 15] Risk of Rain Returns Best Items In The Game (Ranked)
- [Top 10] Risk of Rain Returns Best Builds That Are Powerful
- [Top 10] Risk of Rains Return Best Characters

