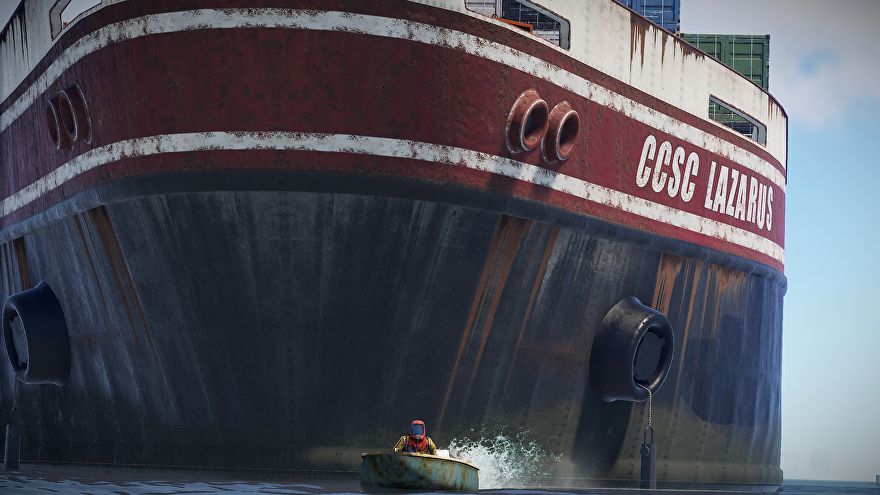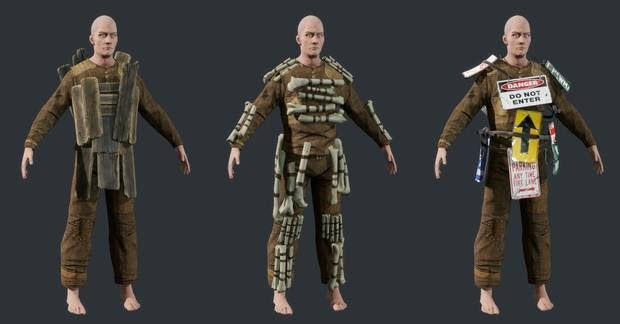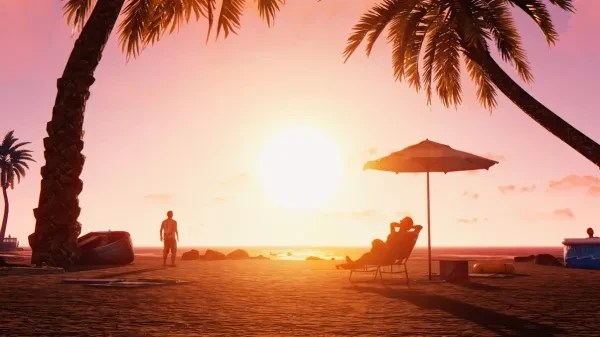
Discover the key to maximizing your Rust gaming experience with our guide on optimizing graphic settings and overcoming the memory-intensive nature of the game.
Rust is known to be memory intensive, especially in its recent years of development. With the game's system requirements mandating a minimum of 8 GB of RAM, optimizing graphic settings becomes important fast, and for most players, the presence of visual graphical perfection, understanding, and optimizing graphics settings isn't just a preference—it's a necessity.
So let’s talk about what to do and how to get the best out of your settings when playing Rust:
When playing Rust, you should update your changes so that you can have the best shot of enjoying the game both visually and performance-wise. Read through this guide and you’ll be shooting scientists and raiding loot with the best graphics and performance in no time.
Top 15 settings:
1. Resolution:
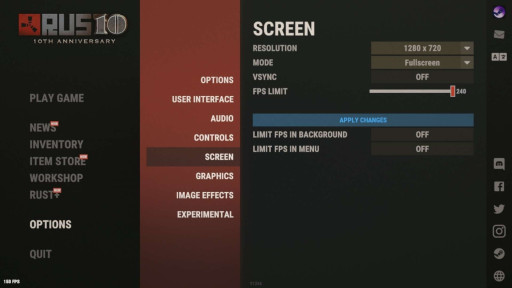
A screenshot showing a glimpse of the settings menu in Rust, featuring the different settings for your screen.
The cornerstone setting of the visual scene, responsible for increasing or decreasing the number of pixels. Make sure to set your resolution to match your monitor's native display for optimal clarity during your rust experience. This setting is sometimes overlooked when it comes to changeable settings so make sure you don’t skip this setting.
What Should You Set It To and Why: Set it to your monitor’s native display resolution, but for those rocking less powerful hardware be warned that playing the game at higher resolutions may decrease overall performance, leading to lower frame rates.
2. Graphics Quality:
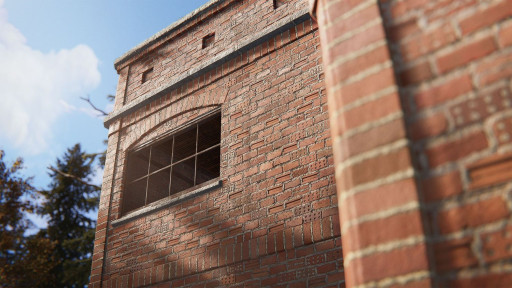
A beautiful brick building featured in Rust, showing off just how good the graphics can get.
This setting balances performance and visuals together and alters the general visual conditions of the world. Choose a preset that aligns with your PC specifications by using a scale of 0(Worst) and -6(Best).
What Should You Set It To and Why: Depending on how beefed up your PC is, set it to a comfortable rate that won’t cause your system to lose performance. For less powerful PCs, set it lower, and for higher power, set it as high as you’d like.
3. Shadow Quality:
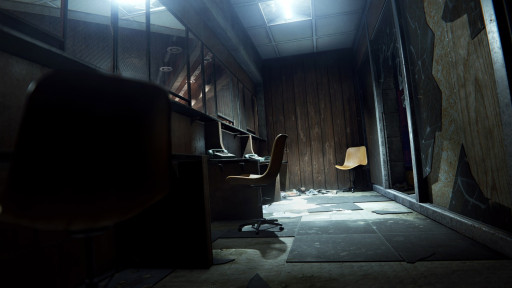
A dynamic example of shadow quality in Rust.
This setting is used for the general appearances of shadows in game. Shadows add depth to the gaming environment but can rack up frame rate fast.
What Should You Set It To and Why: Tailor the quality based on your hardware, higher for advanced GPUs, lower for more modest or lower setups. For the best performance, set this at 0 since lowering this setting will give you fewer shadows, but a better frame rate.
4. Anti-Aliasing:
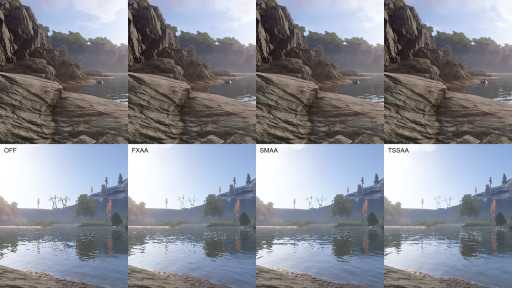
Anti-aliasing if you are not familiar with it, is used to reduce the visual artifacts and jagged edges in game, which improves the overall quality of the visuals.
What Should You Set It To and Why: This setting has 4 values to choose from: Off (0), FXAA (1), SMAA (2), TSSAA (3).FXAA is a lightweight option that provides a balance between visual improvement and system performance.SMAA achieves better edge smoothing with less blurring, resulting in improved visual quality at a slightly higher performance cost. Finally, TSSAA offers high-quality anti-aliasing but demands more resources, making it suitable for systems with ample power. Players seeking the most out of their performance might opt for off or FXAA, while those with better systems might prefer the enhanced visual quality provided by SMAA or TSSAA.
5. Shadow Distance:
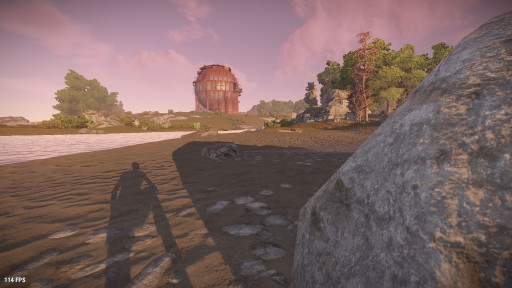
A screenshot showing an example of how shadow distances work in Rust.
This setting allows you to control the distance at which shadows are cast from objects, influencing the distance at which shadows are visible in the game environment.
Adjusting this setting can have a decent impact on both visual quality and performance.
What Should You Set It To and Why: If you are looking purely for optimal performance, then you may want to try starting with a lower setting and gradually increasing it until you find a level that suits your preferences. For higher-end systems try using 100-150, and for lower-end systems try using 1-50.
6. Water Quality:
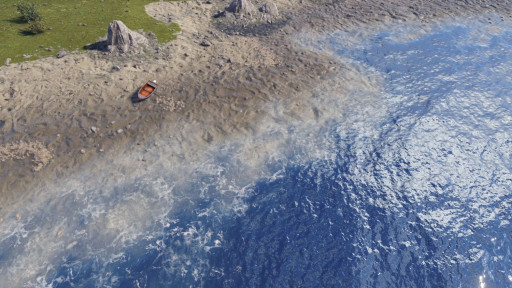
A screenshot of high-quality water in Rust, perfect for sailing on.
As the name suggests, this setting is responsible for the way water looks. It can make bodies of water look more realistic by adding a scalable level(0-2) of realness to the surface of the water, just like in real life! Keeping this setting turned down can also help you see players in water more easily.
What Should You Set It To and Why: Depending on your preference for realistic water, feel free to turn the setting up and enjoy a sunrise or sunset on that beautiful body of water.
7. Grass Quality:
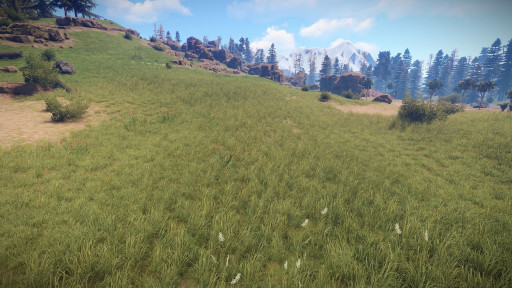
A screenshot from Rust showing off high grass quality, good luck looking for chickens in grass that thick.
Just like the setting above, this one is pretty self-explanatory. This setting is responsible for the visual quality of the grass in game. Dense patches of grass, especially on lower-end systems, can affect performance, particularly in open areas.
What Should You Set It To and Why: You should change the grass quality based on personal preference and system capabilities for a blend of both realism and performance. The scale goes from
8. Particle Quality:
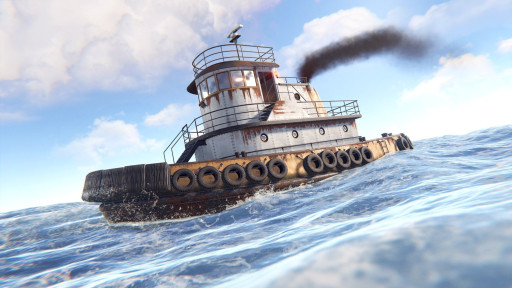
A tug boat in Rust emits lots of black smoke, made from particles in game.
This setting alters the quality of the particles that show up in game, like smoke, explosion, blood, etc, and lets you control the level of detail and realism for these particles.
What Should You Set It To and Why: The ideal setting for particle quality in Rust depends on your preferences and your computer's hardware capabilities. For lower-end systems set it to 0-10. For higher-end systems, feel free to crank it and enjoy your particles the way they were meant to be.
9. Shader Level:
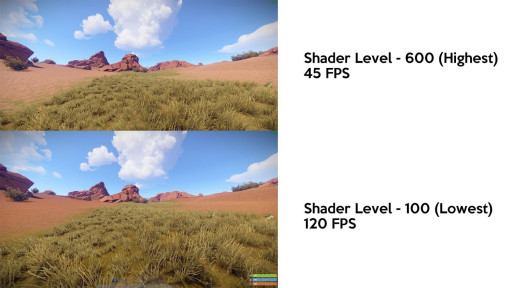
A comparison of different shader levels in Rust alongside their respective framerates.
This setting adjusts the detail of shaders used in the game and increases textures for rocks, clothing, etc. Shaders are programs that control how light interacts with objects, surfaces, and other visual elements. Just be aware that the more complex shaders you have, the more you can strain the GPU, but in turn, higher shader levels contribute to more realistic and detailed visual effects.
What Should You Set It To and Why: Once again depending on your system, for the best performance, set it to the lower levels, but if you have a better graphics card, feel free to turn it as high as you’d like.
10. Tree Quality:
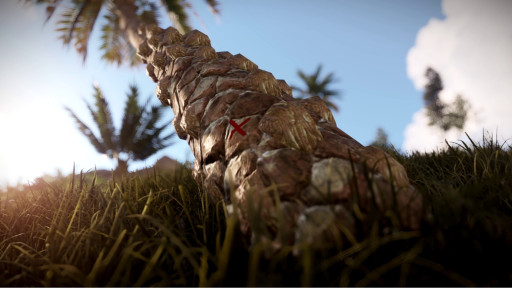
A super zoomed-in photo of a palm tree in Rust, note the attention to detail.
This setting is used to change the overall quality of trees that you encounter in game. The higher you set it, the higher the level of detail trees will be rendered at.
What Should You Set It To and Why: Since higher tree quality settings typically demand more graphical processing power, choose the fastest setting for lower power systems, and for higher power systems do the opposite and marvel at how beautiful and crisp those trees look!
11. Draw Distance:
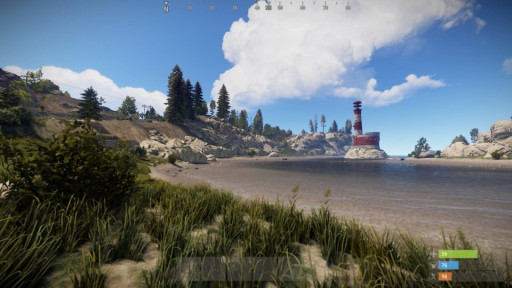
A screenshot featuring a high draw distance, showing off a lighthouse in the back.
This setting is responsible for altering the distance at which the game renders objects and elements in the world, and is especially important in a game like Rust where awareness of your surroundings is crucial for survival. It has an enormous impact on frame rate so keep that in mind when adjusting.
What Should You Set It To and Why:600-1000 depending on the power of your setup is a good range, but typically keeping it around 600 gives you a better framerate, especially for those lacking horsepower.
12. Max Gibs:
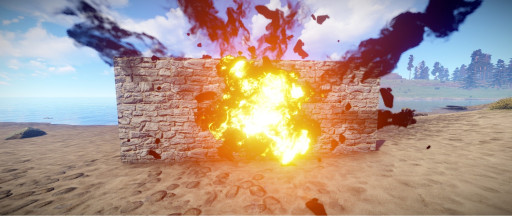
An explosion of a stone wall, featuring a high number of gibs for a more epic explosion.
This setting dictates how many “gibs” or destroyed building pieces are going to fall when you bring down walls, etc. The fewer gibs that are activated, the less PCs will need to load and render which can affect performance.
What Should You Set It To and Why: Set it on 0 for optimal FPS, especially during raids, but if you can’t live without your gibs, then feel free to turn it between 10-100 and bring on the C4s.
13. Max Tree Meshes:
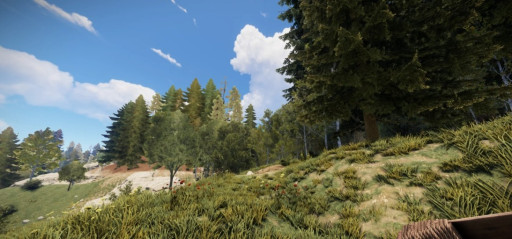
A demonstration of a player with a high number of tree meshes.
This setting allows you to control the maximum number of tree meshes that are rendered in the game, adding a touch of realism to your trees. A helpful tip for PVP servers is that with fewer tree meshes, you can see players who may be attempting to hide in the trees.
What Should You Set It To and Why: Try setting it to 50 to 75 for a blend of performance and realism.
14. Terrain Quality:
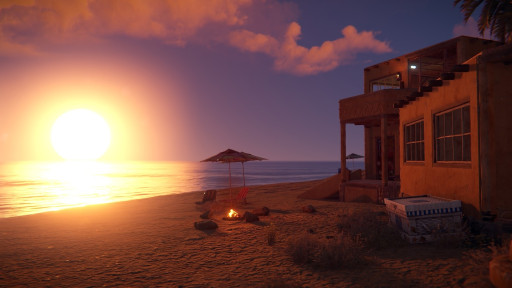
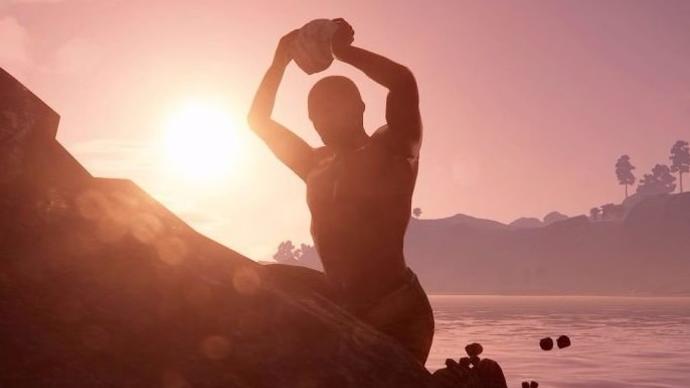
The perfect sunset, featuring high-quality graphics in Rust.
As the name suggests, this setting determines the level of detail and visual quality of the terrain in the game, and of course, higher terrain quality settings can strain the GPU, potentially leading to lower frame rates.
What Should You Set It To and Why: For lower-end systems, keep this setting all the way down for maximum performance. For higher end, you can turn it as high as you’d like, depending on how good your eye is for terrain quality.
15. NVIDIA DLSS:
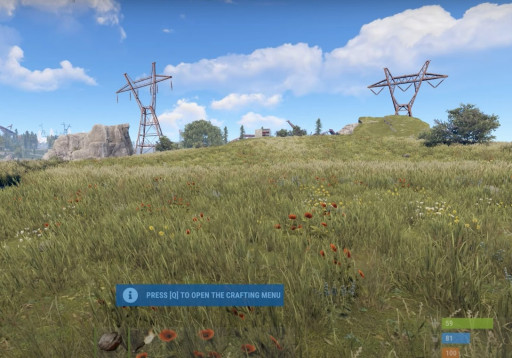
DLSS stands for deep learning supersampling. This setting was implemented in game as an attempt to help more underpowered machines to play games at better quality than low, but the Rust community has mixed feelings about this setting. DLSS can make rust look blurry, especially long range you might not see players especially if they are using camo sets to blend in. Depending on what server mode you may be playing on, but if you play casual PVE servers, then DLSS is a way to get extra FPS.
What Should You Set It To and Why: If you are playing PVP servers, keep it off. If you are playing PVE, and need the extra boost then give it a whirl.
Each adjustment is a note contributing to the harmonious blend of aesthetics and performance, so by changing your settings, you can extract an optimal performance and visual from your system while navigating the demands of this challenging but loveable survival game.
You may also be interested in:
[Top 25] RUST Best FPS Settings
[Top 15] RUST Best Graphics Settings That Give You An Advantage
