
The Ultimate Guide to the Ultimate Spider-Man Game

Dedicated to the memory of Stan Lee
(1922-2018)
Hey there, true believers, and welcome to my guide for Marvel's Spider-Man for the PlayStation 4. Playing as everybody's favorite wall crawler has never been this much fun, and with this trusty guide at your disposal, you will be web slinging like a pro in no time. It will help you through the main storyline and give you all sorts of tips and tricks for the Ultimate Spider-Man experience, pun intended! By the time you are done reading this, you will be able to play the hardest difficulty and still keep up with Spidey's quips!
Now, the game is split up into three acts, each with their own missions that you will have to go through. Each mission per act will thus break up this guide.
Act 1:
Clearing the Way and the Main Event
Marvel's Spider-Man PS4 Gameplay Part 1-Prologue
These two missions are so close together that I am just doing them as one. Here is the video in full. I will be providing links to important parts of each video below.
After a quick introduction and suit up, you are going to be thrown right into the role of Spider-Man. Just follow the on-screen prompts and you will be fine!

Web-Swinging is so easy, J. Jonah Jameson can do it!
Now head to Times Square. The Kingpin’s men are hitting the NYPD hard. Once you are there, you will get your first taste of combat.
Some quick tips for first-time players on how to fight and win. If you are playing on the higher difficulties, pay extra attention, as this could mean winning and losing.
- Always trust your spider-sense! If you feel that vibrating sensation and see the tingling on screen, you are about to be attacked. So keep a finger on the circle button at all times!

Trust your BSFF (Best Spider-Friend Forever): The Spider-Sense
- Deal with the enemies with guns first, since they can hit you at long range. Later, you will be able to disarm them. For now, though, use web bullets to incapacitate them
- Always build up focus as much as you can. Not only will help you do more damage, but since you can use it to heal yourself in combat, It can save your life.
- Use Web Strike to shorten the distance between you and an enemy.

Delivering Knuckle Sandwiches at the speed of light, or your money back!
- When facing multiple enemies, remember that Spider-Man’s combat relies on constant movement. When you are not attacking an enemy, jump, dodge, and keep moving to make yourself less a target.
- Finishers not only look cinematic, they also help give extra XP
- If you see some schmucks in range of something that can be brought down, do it. It is good to take multiple people out at once.
- Enemies with shields can be a pain, but they have another weakness besides vulnerable backs: throwables. Hit them with throwables, and they will be knocked out, either drop their shields, or be stunned long enough for a K.O.

Shields hate stuff thrown at them.
Now that you have cleared out the rabble, it is time to take on the big man himself: Wilson Fisk, AKA the Kingpin of Crime.
When dealing with Fisk’s turrets, remember to keep dodging. Hiding behind the other pillars is a good idea, but those guns will rip them apart eventually. Wait for an opening, jam them with your web bullets, and then throw them at Fisk’s safe area.

You're really going to use turrets on the guy who dodges bullets?
Fisk is tough, but he has a predictable attack pattern of charging at you. Keep some distance from him, and then either web him up or throw things at him to stun him. After that, move in and punch the daylights out of him.

I'mma Deck ya in the schnoz!
After Fisk moves the fight to outside his office, he will call in his goons for back up. Do not focus on Fisk! Take down his support or they will overwhelm you while you are dealing with their boss. In addition, Fisk will start rubble at you. Dodge it, or throw it back at him with a well-timed L2-R2.

Aww, he brought little minions. They are so punched!
Repeat the strategy I told you before, complete the QuickTime event, and watch as the Kingpin goes to prison!

Have fun in the slammer, Heisenberg!
My OTHER Other Job and Keeping the Peace

Excellent foreshadowing, Insomniac
After watching Dr. Octavius’ disastrous test run, Peter will want to run a diagnostic of the robot arm. Follow the video to solve the problem.
After you are done with the lab, you can leave. You will be able to come back later and work on the mini-games for extra XP and tokens. Those tokens are going to be important later, so make sure you get them.
Oh, and you will be able to listen to New York’s biggest grouch, J. Jonah Jameson, now in Podcast format! Head to meet with Captain Watanabe in Chinatown for the next mission.

Spider-Man and Yuri's voice actors are married in real life. Fun fact.
After meeting with Captain Watanabe, go ahead and connect to those Oscorp towers. It is easy.

I never had to deal with this in Far Cry 5. Ubisoft knew what to do.
This mission will also introduce you to the crime alert. Your map will show any criminal activities occurring in your part of the city, and you can intervene.
Later, you will be able to disarm enemies with melee weapons. For now, get them in the air and pound them.
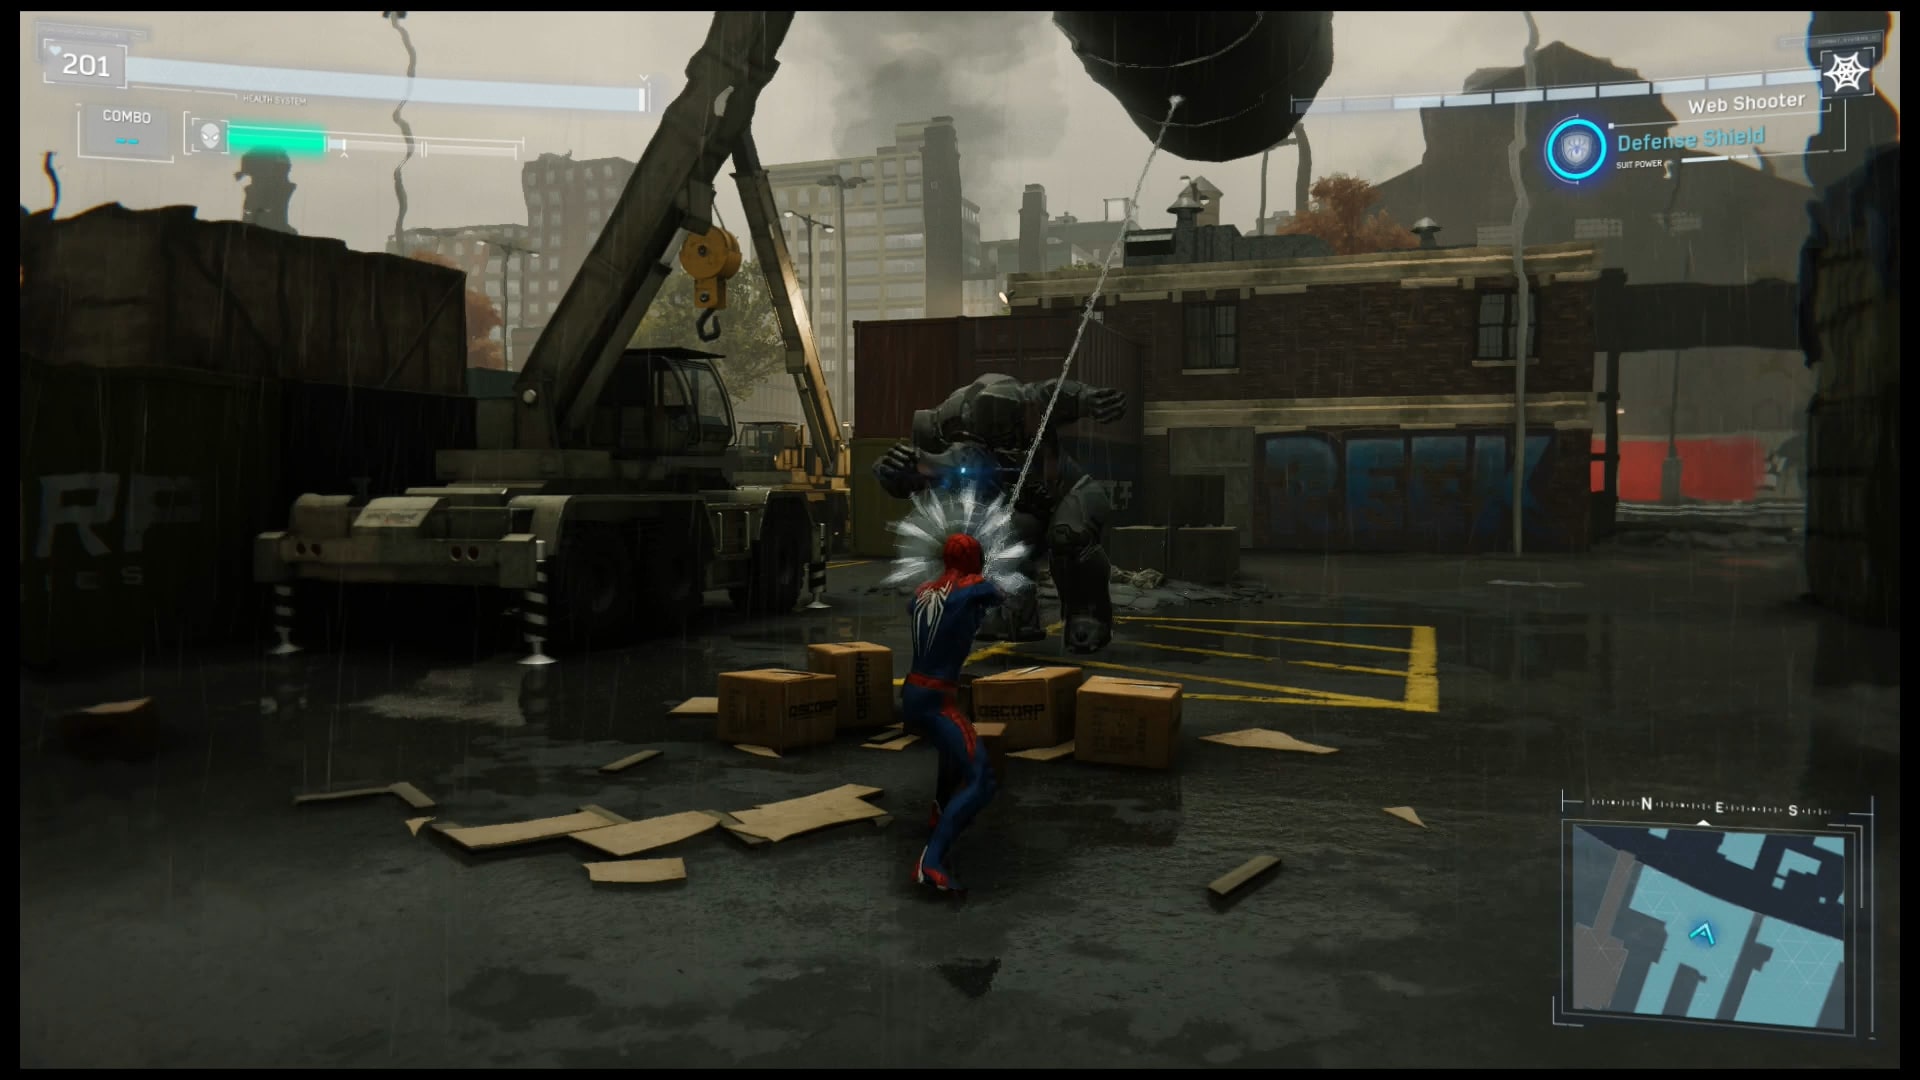
Brutes are a lot like the Kingpin: big, tough and can hurt if you let them. Use the same tactics you used on the Kingpin and teach them a lesson!

How could he forget where he put these?
The first of the many backpacks belonging to Spider-Man that you will find throughout the city. Not only do they provide Backpack Tokens for gear creating, they also provide mementos from Spidey’s life. Really helps to flesh out his in game backstory. In addition, you will a costume from Spider-Man: Homecoming if you get them all.
Find them by accessing more Oscorp towers to clear the map fog. It will show you everything from crimes to side missions and collectibles.
Take down these wannabe gangsters. However, always be prepared for them to get back up. Just use what I taught you and you will be fine.

Get I can get a pizza please?
Now that you have finished unlocking the towers in Chinatown, it is time to fix up your suit.
Something Old, Something New and Fisk Hideout Introduction
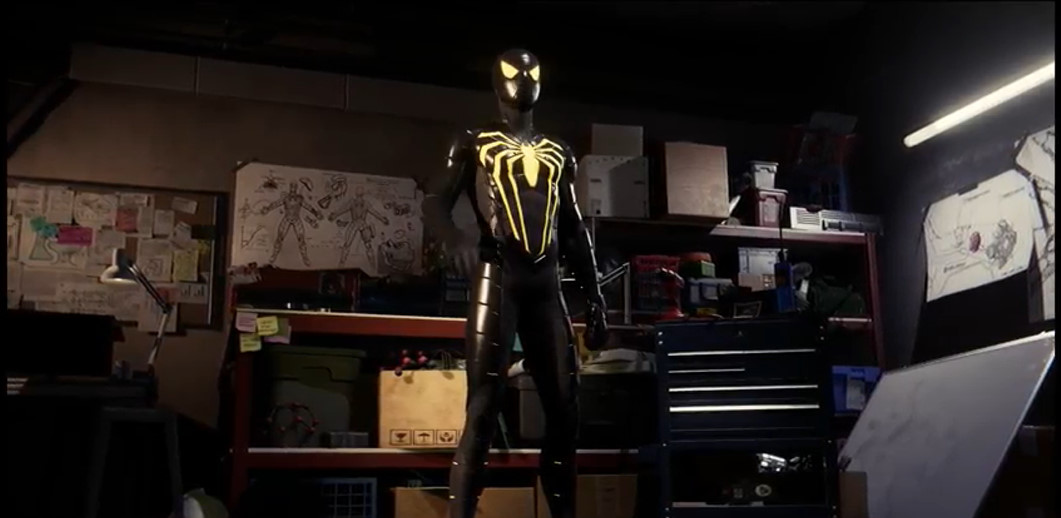
The Kingpin really did a number on Spider-Man’s costume. It is time to head to Octavius Industries to do some repairs on it.

They need to add this suit to the comics.
From here on out, you will be able to begin constructing spider suits and mods for Spider-Man to use. Each suit has its own power to use that unlocked by constructing them. After that, you can swap them out while keeping the suit you like.
Feel free to experiment to find what spider suit you like most, but the suit powers and mods come down to three categories: Defense, Offense, and Stealth
Defense increases your health and lets Spider-Man take more hits before he goes down. It is good if you want to play it safe and outlast the enemy.
Offense increases Spider-Man’s combat strength and how much hurt he can dish out. If you are confident in your ability to dodge your enemies, as if I was, this is for you.
Stealth is for players who want to take down enemies with as little fuss and danger. It makes it easier to track your enemies, but harder for them to track you.
After you finish showing off the White Spider suit, head to the Fisk Construction Site to see what his flunkies are doing.
You will now have access to the Gadget Tab. Here you can gain access to new weapons in Spider-Man’s arsenal and upgrade them so they become stronger.

I honestly thought these were wristwatches when I first saw them.
Side missions like the hideouts have bonus objectives that provide extra hideout tokens and XP. If you want to win them, you will have to be strategic about fighting.
To meet the bonus objectives here, I highly recommend that you have the suit power Battle Focus equipped. It automatically recharges your focus for a short amount of time, letting you get off enough finishers.
Getting more hits in a combo and finishers also helps refill your gadgets. Use that to refill your impact webs, and use them to web enemies to the walls.
As you level up, your focus bar will increase, allowing you to hit harder, perform more finishers, and heal more.
Dodge the bazooka thugs and the snipers. Get in close and beat them down to get rid of them before they become a nuisance.
If you mess up the hideouts the first time, you can come back and try again when you are stronger.
You can now equip your camera to photograph important landmarks throughout the city to get landmark tokens. Bonus: some of them are references to locations in the comic books, so that is awesome.

Just like old times, huh, Peter?
Full disclosure, there are also secret photo locations that are not on the mini-map until you get the upgrade at level 50. But here’s a link that will show you where they all are: https://www.polygon.com/spider-man-ps4-guide/2018/9/10/17832398/secret-photo-ops-locations-map-reward-esu-suit
Lastly, you will need to acquire tokens by doing side missions and quests throughout the game, like science mini games, backpack finding, photographs, and stopping crime. Start doing as many of these ASAP and build up tokens to craft new suits, gadget upgrades, and suit mods.
For she’s a Jolly Good Fellow
Head to the F.E.A.S.T. Center in Chinatown for Aunt May’s surprise party. This mission does not do much, but you can talk to the people in the center and Easter eggs. Talk to Martin Li after you are done looking around

Happy Work Day, Aunt May!
After you are done with May’s party, you will get a text from Yuri. Head outside through the front door to suit up
As you are passing by, you will run into Gloria, the homeless woman you saved as Spider-Man earlier. You will see her throughout the Center in the game.

Hi. I'm totally not a super-hero!
Do not touch the Art
This mission will be teaching you about stealth. Follow the prompts on screen
After taking down a few of the enemies, you will get a cut scene where Spider-Man’s saved by none other than Mary Jane Watson. His ex-girlfriend.

I can feel the awkwardness. And cut it with a knife
From here, you will be able to take control of MJ as she explains why she is at the auction house. As MJ, you are free to walk around the Auction house and listen to her comment on some of Fisk’s items. When you are done with that, head over to Ms. Rosemann.
After you ditch Ms. Rosemann, sneak inside her office. It is easy to avoid her, so do not worry too much.
Once you are inside the office, you will need to get inside that Nio statue’s secret compartment. To do this, look at Ms. Rosemann’s desk, the artifacts, and her photo to figure out how to set the statue in the proper pose.

Get the statue into this pose
You will find a table of weapons that can be equipped to the statue. Choose the one on the far right. and you’ll unlock the statue.

Use this item, the one on the right

Perfect statue pose
After retaking control of Spider-Man, you will need to take out the masked men one by one, quietly. Here is where the stealth power I mentioned comes into play.
Use the Sound of Silence power to get rid of the bad people without being detected. Even if they see you, they will not call for back up.
After MJ is caught, Spider-Man jumps in to save her. These masked men have the same move set as regular thugs, but their punches are much more powerful. They have access to Chi. Don’t let them hit you, or you will go down quickly!
Do not take them on at once. Try to separate them into smaller groups and then pick them off with your gadgets, punches, web throws.
Do not get comfortable after round one, because a new wave comes in. This time, one of them is using a scythe.

Are they using chakra or ki? Because it looks like they are!
When that scythe hits the ground, it will create shockwaves of chi that can hit you from a distance Avoid them best you can, and use the tactics you use on enemies with melee weapons to take him down.
After you have dealt with the masked bandits, meet up with MJ and enjoy their talk, and the Stan Lee cameo, before he is called away by police sirens

RIP Stan Lee and Steve Dikto, the legends who gave us Spider-Man
A Shocking Comeback

Yuri gives you a phone call to tell you what those police sirens are about: the Shocker is robbing banks. Head southeast to deal with him.
This is not really a boss fight, but a chase. Shocker will just run away from you. Keep up with him your web slinging. Use free diving to pick up speed: dive to the street, then web sling at the last moment to give you a burst of speed.
Once you have gotten close enough, hit the triangle button to pin him to the ground. However, he will get up again and run away.
Now, he will start hitting you with shock blasts Press circle to dodge them, or else you are going to get seriously hurt. Also, watch out for exploding cars. Get close to him, and then take him down!

I had a joke for this, but then I forgot it. Pretty shocking, huh?
The Mask
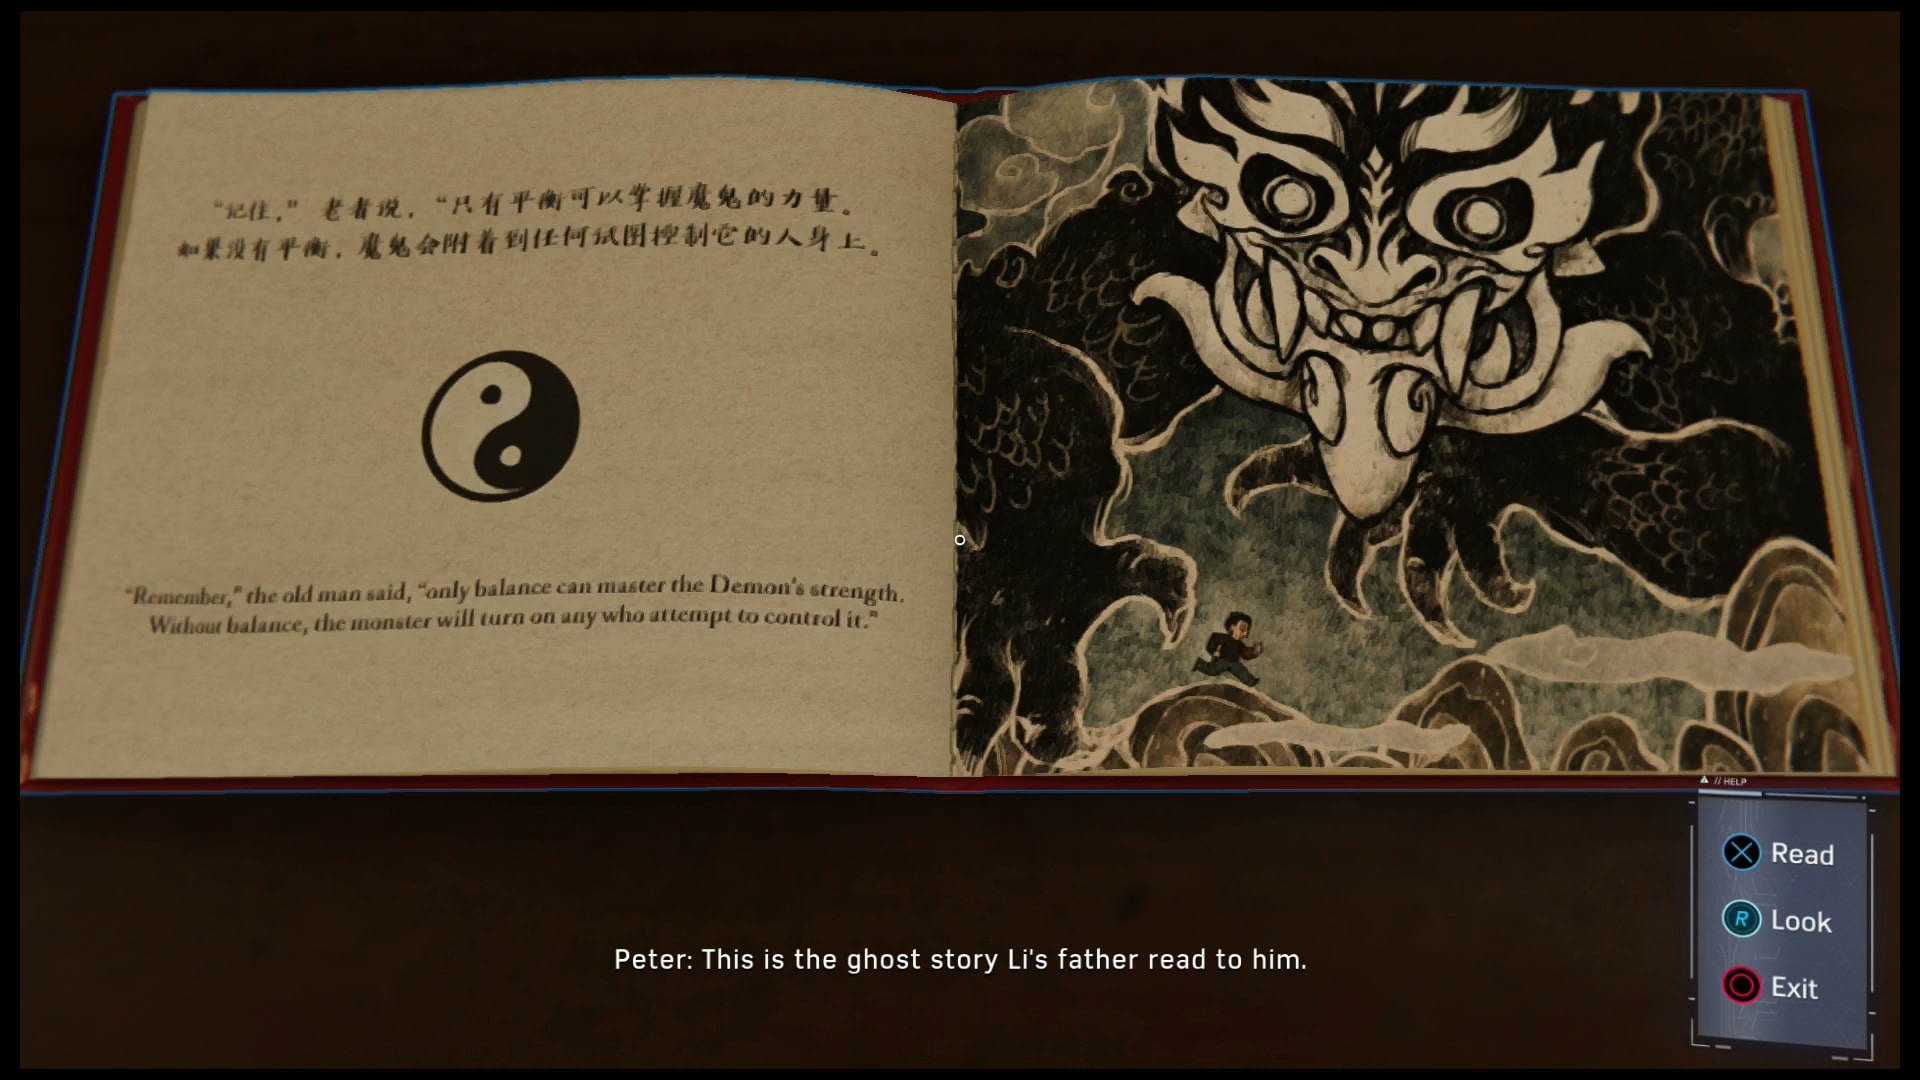
This is a straightforward mission. Go to the F.E.A.S.T. Center and ask Martin Li what he knows about the Demon mask. Afterwards, either talk with some of the residents or leave. (This mission is from 12:32-17:00. Everything else is side missions)
After you leave, you have to wait a little bit before you get your next story mission. If you have not already, explore the city, stop crimes, complete side missions to earn XP and earn tokens for upgrades.
A Day to Remember, Harry’s Passion Project, and Financial Shock
Head to Octavius Industries for arm fitting. Watch what happens. Proceed to get mad about happen
After that debacle at the lab thanks to Norman Osborn, Spider-Man decides to head over to one of Harry’s research labs stationed in the city. This will be your introduction to the Science Lab side missions. Complete these to earn research tokens for gear constructing.
After you are done with that mission, you get a call from Yuri: Shocker somehow got out of prison! He is robbing a bank on East Thirty-First. Head east to face off with him!

Spidey would wreck him in thumb-wrestling
Shocker is a tough opponent since you cannot get anywhere near at first. He throws up a sonic shield to protect from melee attacks, and will just keep firing shock blasts.
Dodge his strikes, and wait for him move to you. He will strike the ground with a shock blast, which will power down his shield. Web throw debris to stun him, and then deliver the punches.
Once you have webbed him up, he gets mad and just starts hitting the ground with shockwaves. Stay in the air, and wait for him to bring down more debris. Then rinse and repeat to web him to the floor.
He cannot move his legs, but with his arms free, he can still use shock blasts. Dodge him some more, and when he gets tired out, use your webs to pull down the pillars keeping the giant, metal thing up. Bring it down on him, and finish the fight!

And that's a wrap, people! Good job, today!
The fight with Shocker is over, but we learn something scary: Shocker was working for the people in the Demon masks. Whoever they are, they are dangerous. Now they will be out in full force in the city. Be on guard, as they will occasionally ambush you from the rooftops. They have rocket launchers, so be weary of them!
Wheels within Wheels
A short time after you finish the fight with Shocker, you get a call from Yuri: these “Demons” have been taking over Fisk’s operations, hitting his depots and caches across Manhattan, including one in the shipyards on the west side of the islands. Head there and investigate. Yuri will be sending backup in the form of one of her best officers: Jefferson Davis.
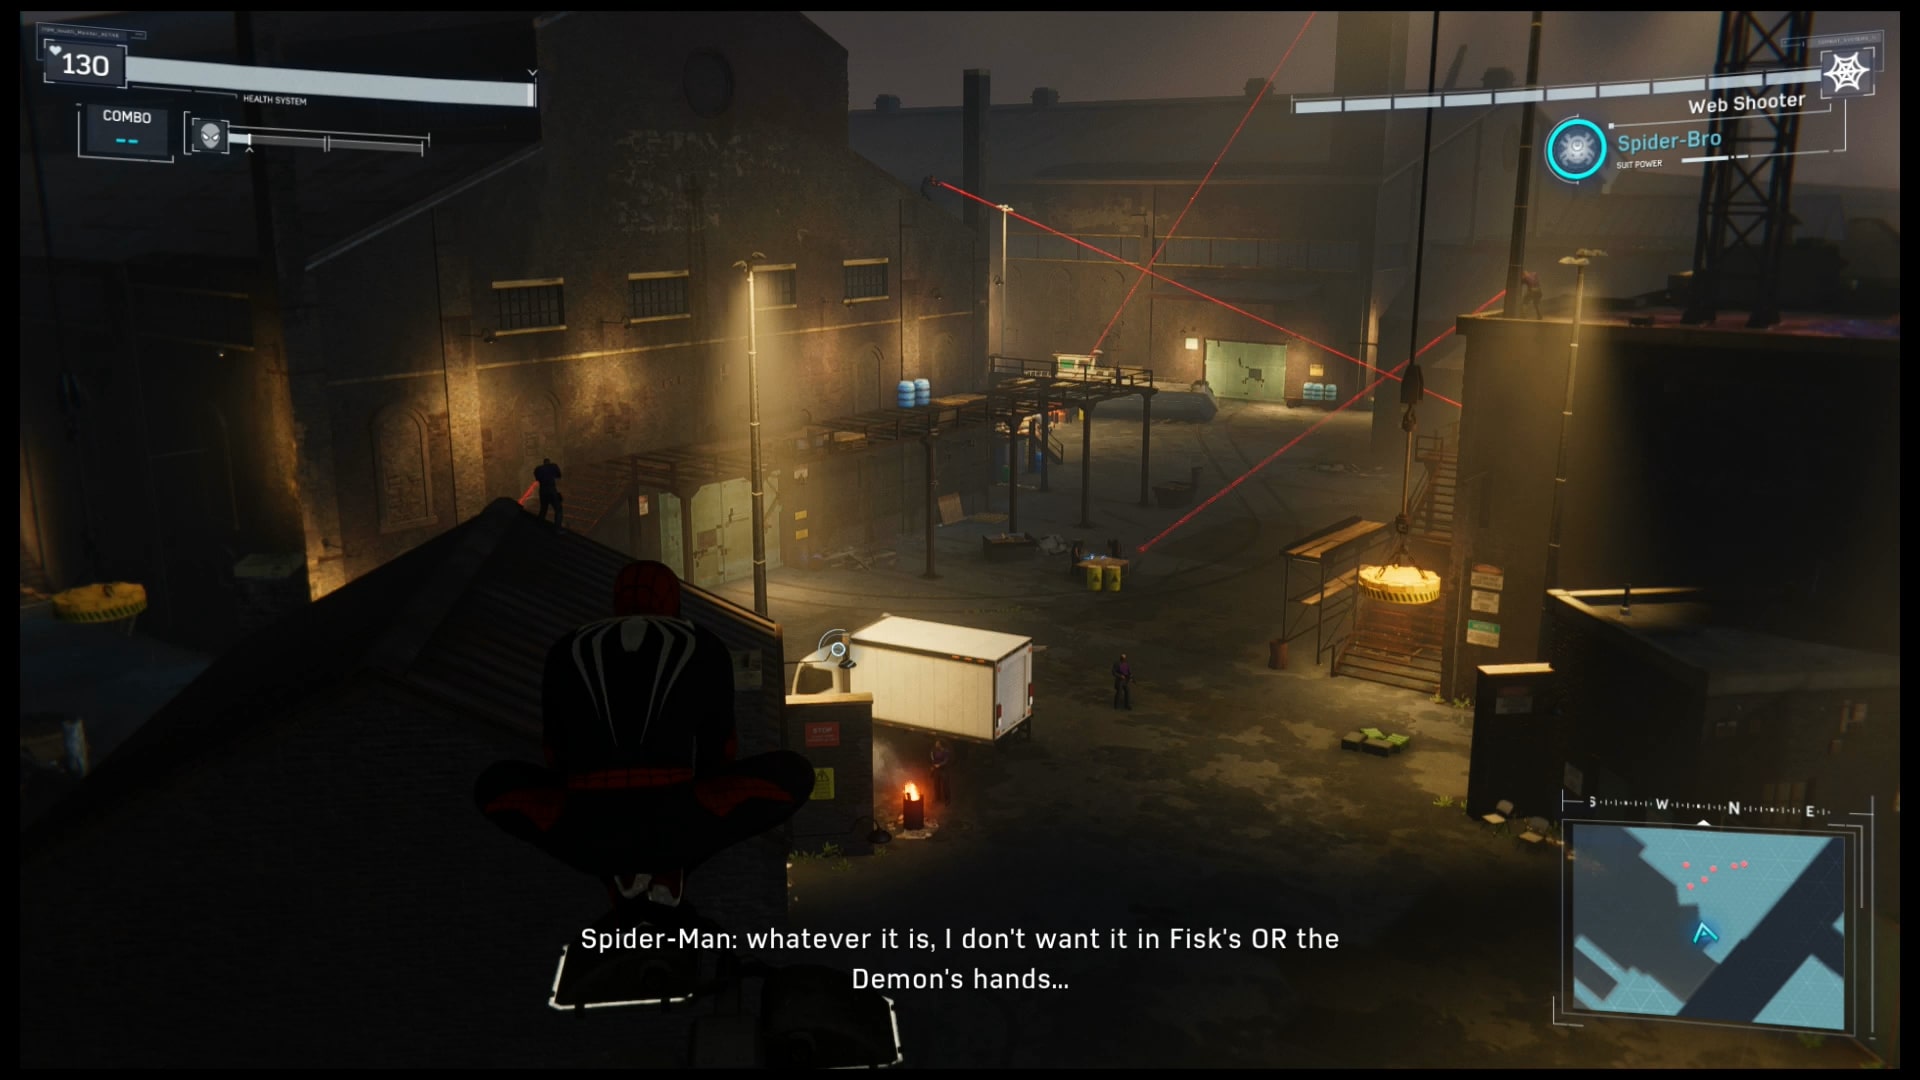
Where does Fisk get the money for these guys?
Sure enough, you arrive at the docks to find Fisk’s men are already there, guarding it from an impending Demon attack. In addition, they have the place heavily guarded and lined with snipers.
Unlike the last stealth mission, being seen will not mean game over. It just makes things a lot harder. If you are confident enough, you can go in guns blazing, but I recommend you thin out the enemy.

They never saw it coming.
- If you have any stealth mods crafted, equip them and the Sound of Silence Power. First, go after the snipers. They are isolated, so the guards will not notice if you pick them off.
Next, try to break up the groups. Use web bullets to create sounds to lure guards away from one another. Like flies caught in a spider’s web.
Eventually, the guards will start to check in. That is when they will realize something is up and start actively looking for their friends. Wait for them to split up, and then pounce on them.
Once you have thinned them out enough, mop up the rest quickly.
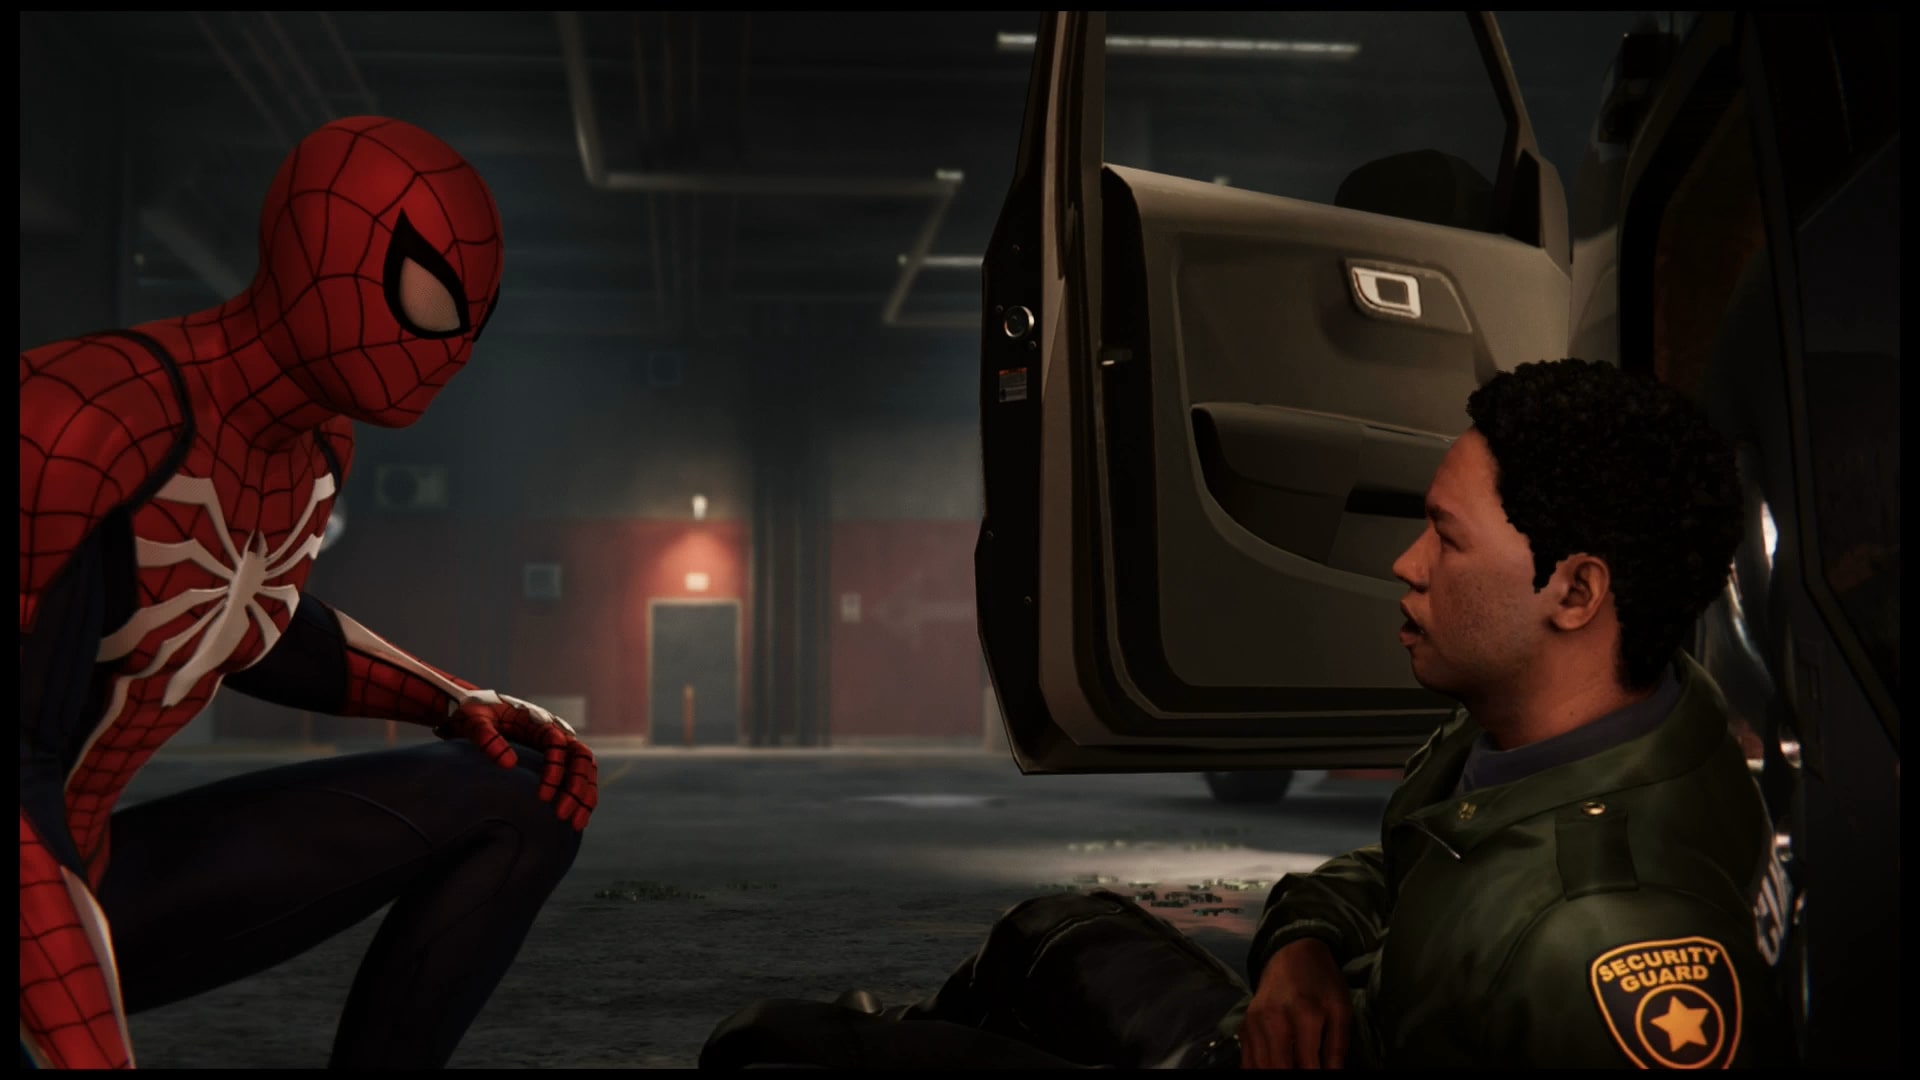
After you finish off the guards, Officer Jefferson Davis will arrive, and it is clear he respects Spider-Man.

Finally, a cop in this game who isn't worse than useless. If you play the game, you know what I mean.
After you finish talking with Davis, head to the back of the warehouse. There you will find an air duct to take you inside the warehouse.
The front door is locked, and the power junction to it is on the right. Officer Davis will hand you his stun gun. Use it to create the electric web gadget. Equip that, and then fire it at box to open the door.
Officer Davis will notice the scrape marks on the ground in front of one of the storage containers, but its lock by another junction box. Use R3 to scan for junction boxes to find three on the right side of the warehouse. It is going to be the one on the second floor.

The three junction boxes. Go for the middle one on the second floor
The Door opens to reveal…nada. Time to look for clues. Head up to the second floor on the left side. There will be a container with scrape marks. After that, head over to the elevator in the upper right corner of the warehouse and use your webs to pull it, and Officer Davis, up.

Going up, sir
Like the last one, this one is locked by a junction box. Head to the roof near the elevator, and use R3 to find the box and activate it. Again, nothing inside, except for another junction box.

They cannot hide from the Spider!
Follow the box’s trail back downstairs to the left side elevator. Pull it up to the top floor to reveal the second box. Turn it on to find a secret passage in the floor.
Help Jefferson get past the debris in the tunnels, and it will take you to the vault where Fisk was storing his weapons. Weapons that just were stolen by the Demons. You head outside and take them on!

Jefferson Davis is actually a good fighter! So why are the other cops so useless?!?
You can use your electric webs to stun enemies in combat. If you stun one while they are all bunched up, the shock will pass to them, stunning them all.
Unlike the rest of the police officers in this game, Davis is actually good at fighting. He will provide you support by stunning the Demons with his stun gun. Work with to take them all down.
After you defeat them all, one of the trucks manages to escape. Head after it, but be warned that they are carrying rocket launchers. Keep hitting the circle button to dodge them, and then get in close enough to jump on top of the truck.
Finish the QuickTime events and watch as Jefferson Davis saves Spider-Man in one of the coolest scenes in the entire game.

Pure. Cinematic. Action.
Home Sweet Home and Stakeout
Marvel's Spider-Man PS4 Gameplay Part 9- Dumpster Diving
Well, apparently Peter’s property owner decided to evict Peter before he even got home, and threw away all his stuff! Including the drive, that has all his Spider-Man Research on it!

Dude, throwing him out is one thing, but throwing his stuff away? That's harsh!
My only advice? GO. GET. THAT DRIVE!

That feeling when you find something you were sure you threw away by accident.
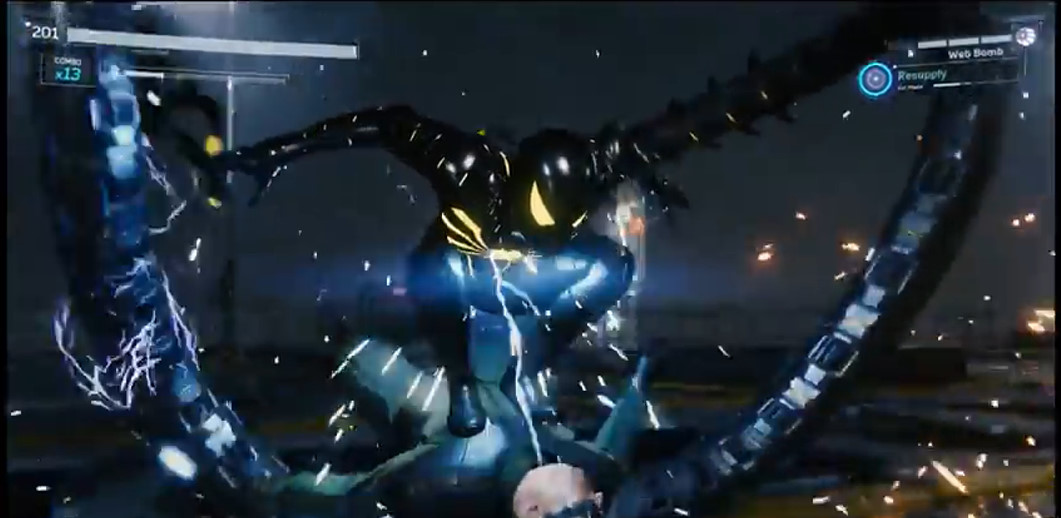
Once you get the drive, you get a new gadget: the web bomb. A grenade shoots out webbing to ensnare enemies. Test it out on the thugs conveniently about to attack you.

The web bomb. Basically Spidey's webs in a grenade form, and we're cool with that.
Use the web bomb sparingly, like when you are outnumbered and your health is low.
You get a mysterious message on your phone. You answer the message, and hear the voice of a very familiar femme fatale feline: Black Cat!
When you look for her cat, try to look for a drawing of her on one of the nearby buildings. The cat will be nearby. In addition, Baby Jameson is a secret photo op! I found that out by sheer accident.
In this case, look for the cat on the building to the left of your current position.

No spoilers! I haven't finished the DLC yet, and I don't want to know what happens
Couch Surfing and Straw, Meet Camel
After being unceremoniously kicked out of his apartment, Peter has no choice but to crash at the F.E.A.S.T. Center with his Aunt.
After you wake up, head outside of the F.E.A.S.T. and head to the building across the street. You will meet Howard, a kind man who looks after a flock of pigeons that just got scattered around the city. Help him out by finding them. In addition, you will get tokens out of them.
While Davis preps for the award ceremony, he wants you to go and check out another Fisk Construction Site. There is a lot of activity going on there. BTW, this level was seen at E3.
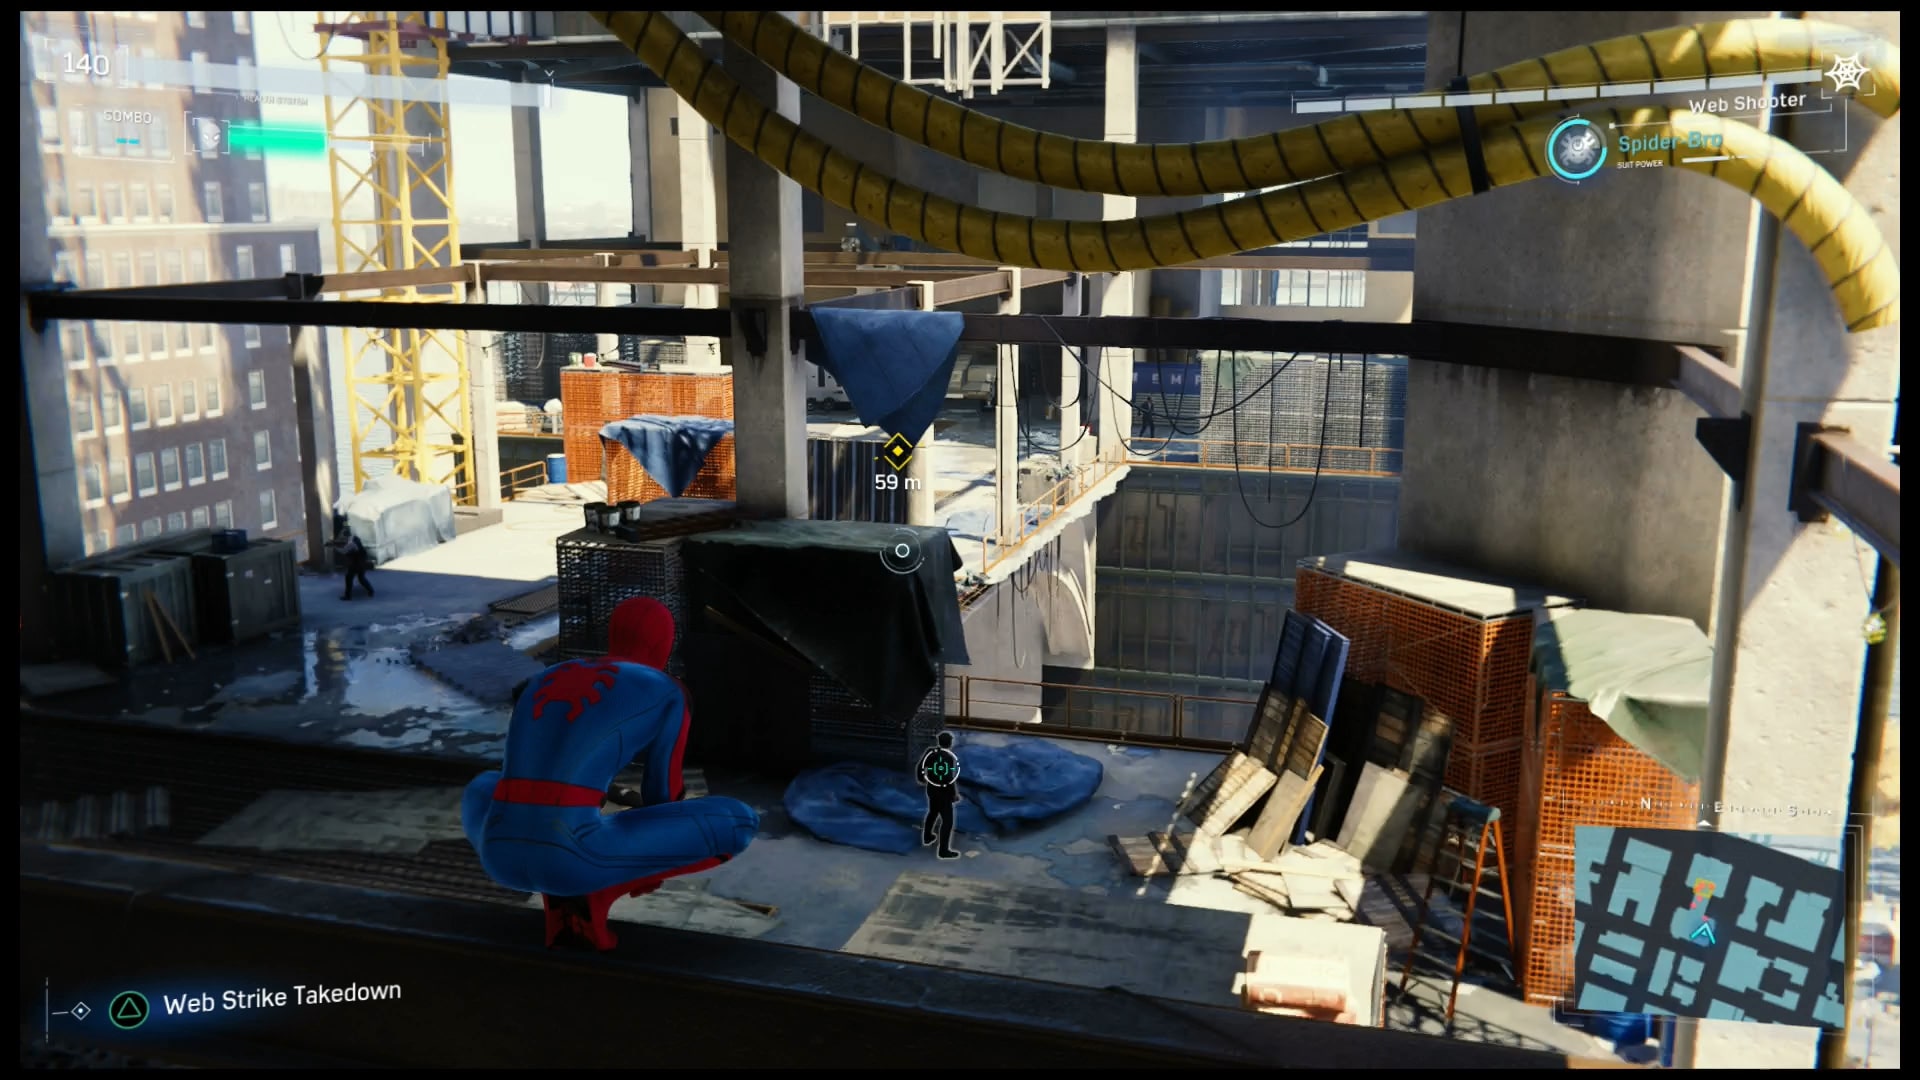
This is one of the highlights from E3
The Demons have overrun the construction site. Equip the Sound of Silence power if you want make sure you are not caught.
If you are going to go through with a full on assault, I would recommend equipping mods that specialize in increasing your defense and offense. Just make sure to separate the enemy from each other. The Demons may be tough, but they are vulnerable on their own.
Bring it on, Masked Maruaders!
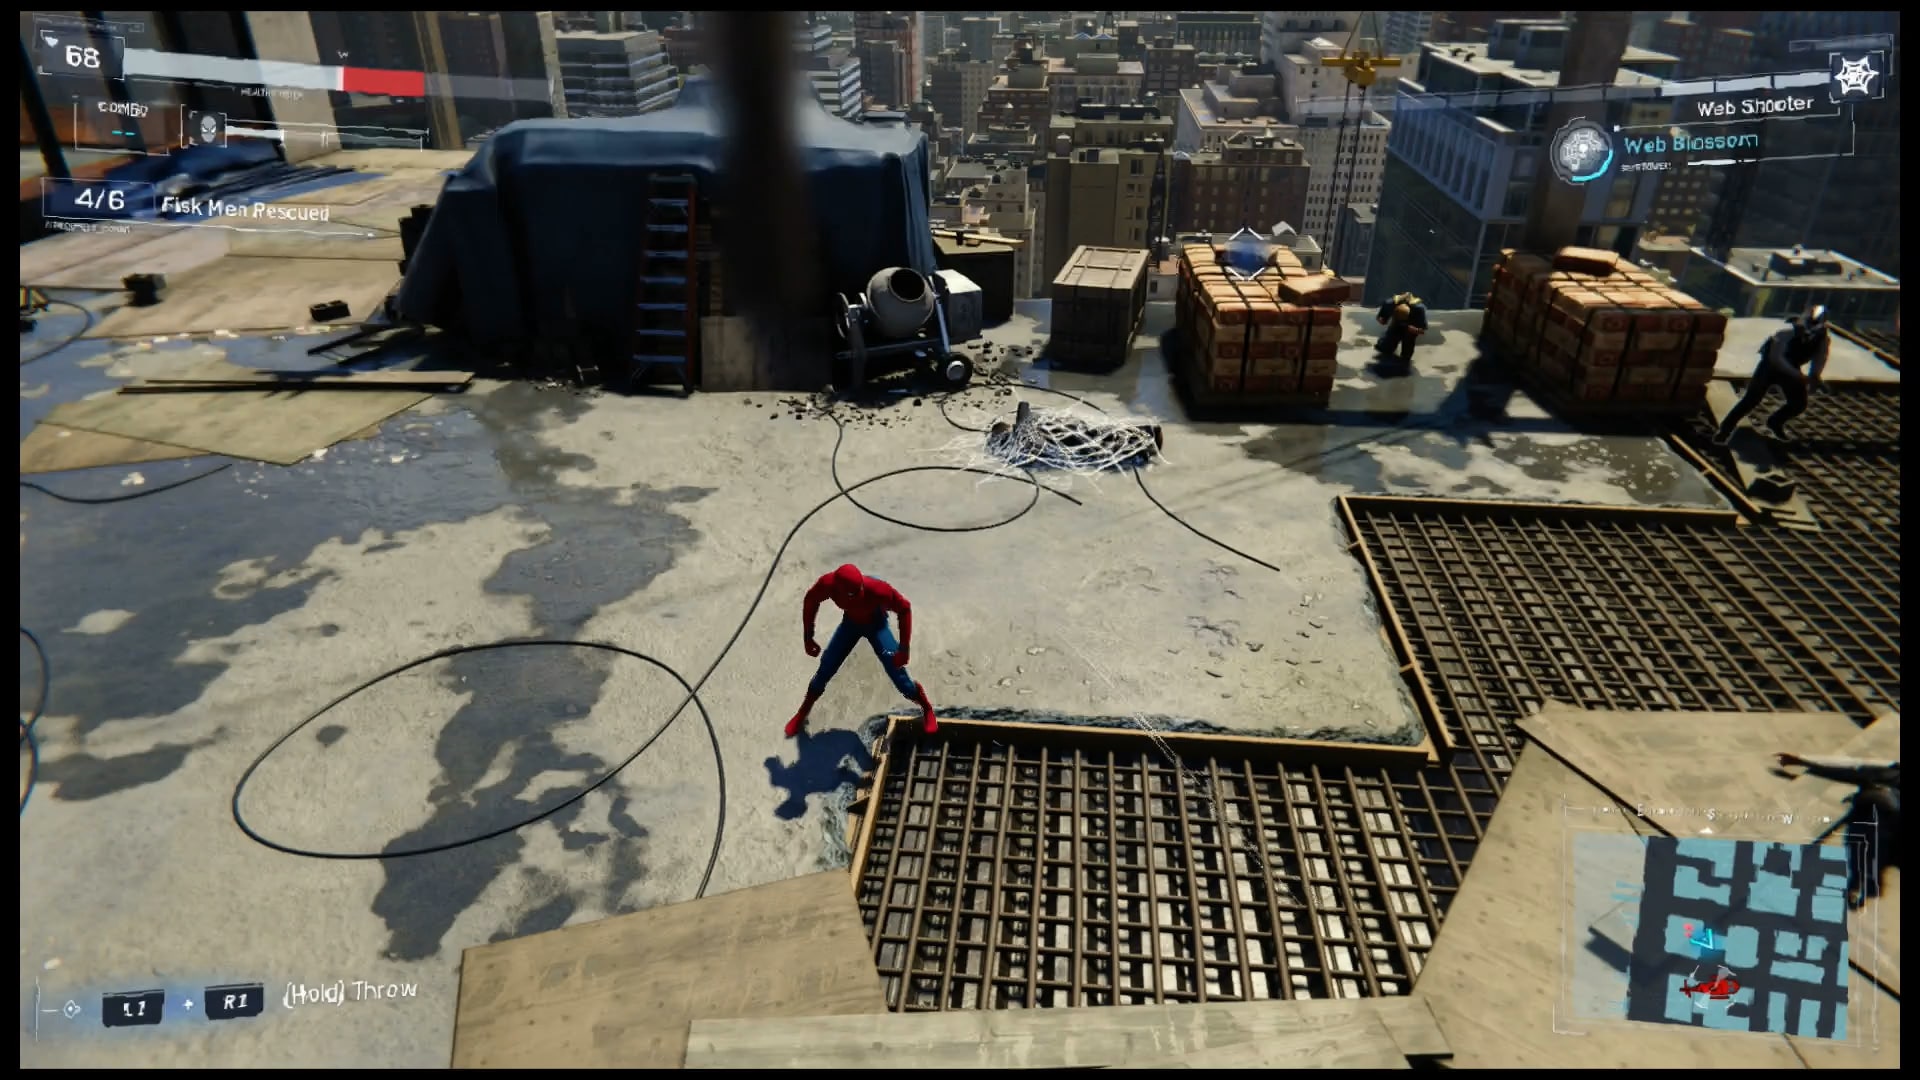
Once the big brawl with the Demons starts, swap out your suit power for Web Blossom. This lets you fire massive bursts of webbing that can capture enemies in one go. It is useful in fights with large opponents.
Use every trick you have so far. Web up your enemies and throw them at each other, throw objects at them, use finishers, and watch for the ones armed with swords and shields. They can use blasts of that dark energy.
It goes for the Demon Brutes. Just use your Brute tactics to stop them
Oh, and do not forget: DODGE!
I got nothing to help you with that helicopter. Just keep up with it, do not die, and do not mess up the QuickTime events.
And the Award Goes To...
I honestly got nothing to say here. Just watch and see what happens.
End of Act 1
Act 2
Dual Purpose
It has been days since the City Hall Bombings, and the city is still reeling from it. Worse still, there has not been any sign of the mastermind behind the Bombings, Martin Li. After getting the call from MJ, head to the recycling center.
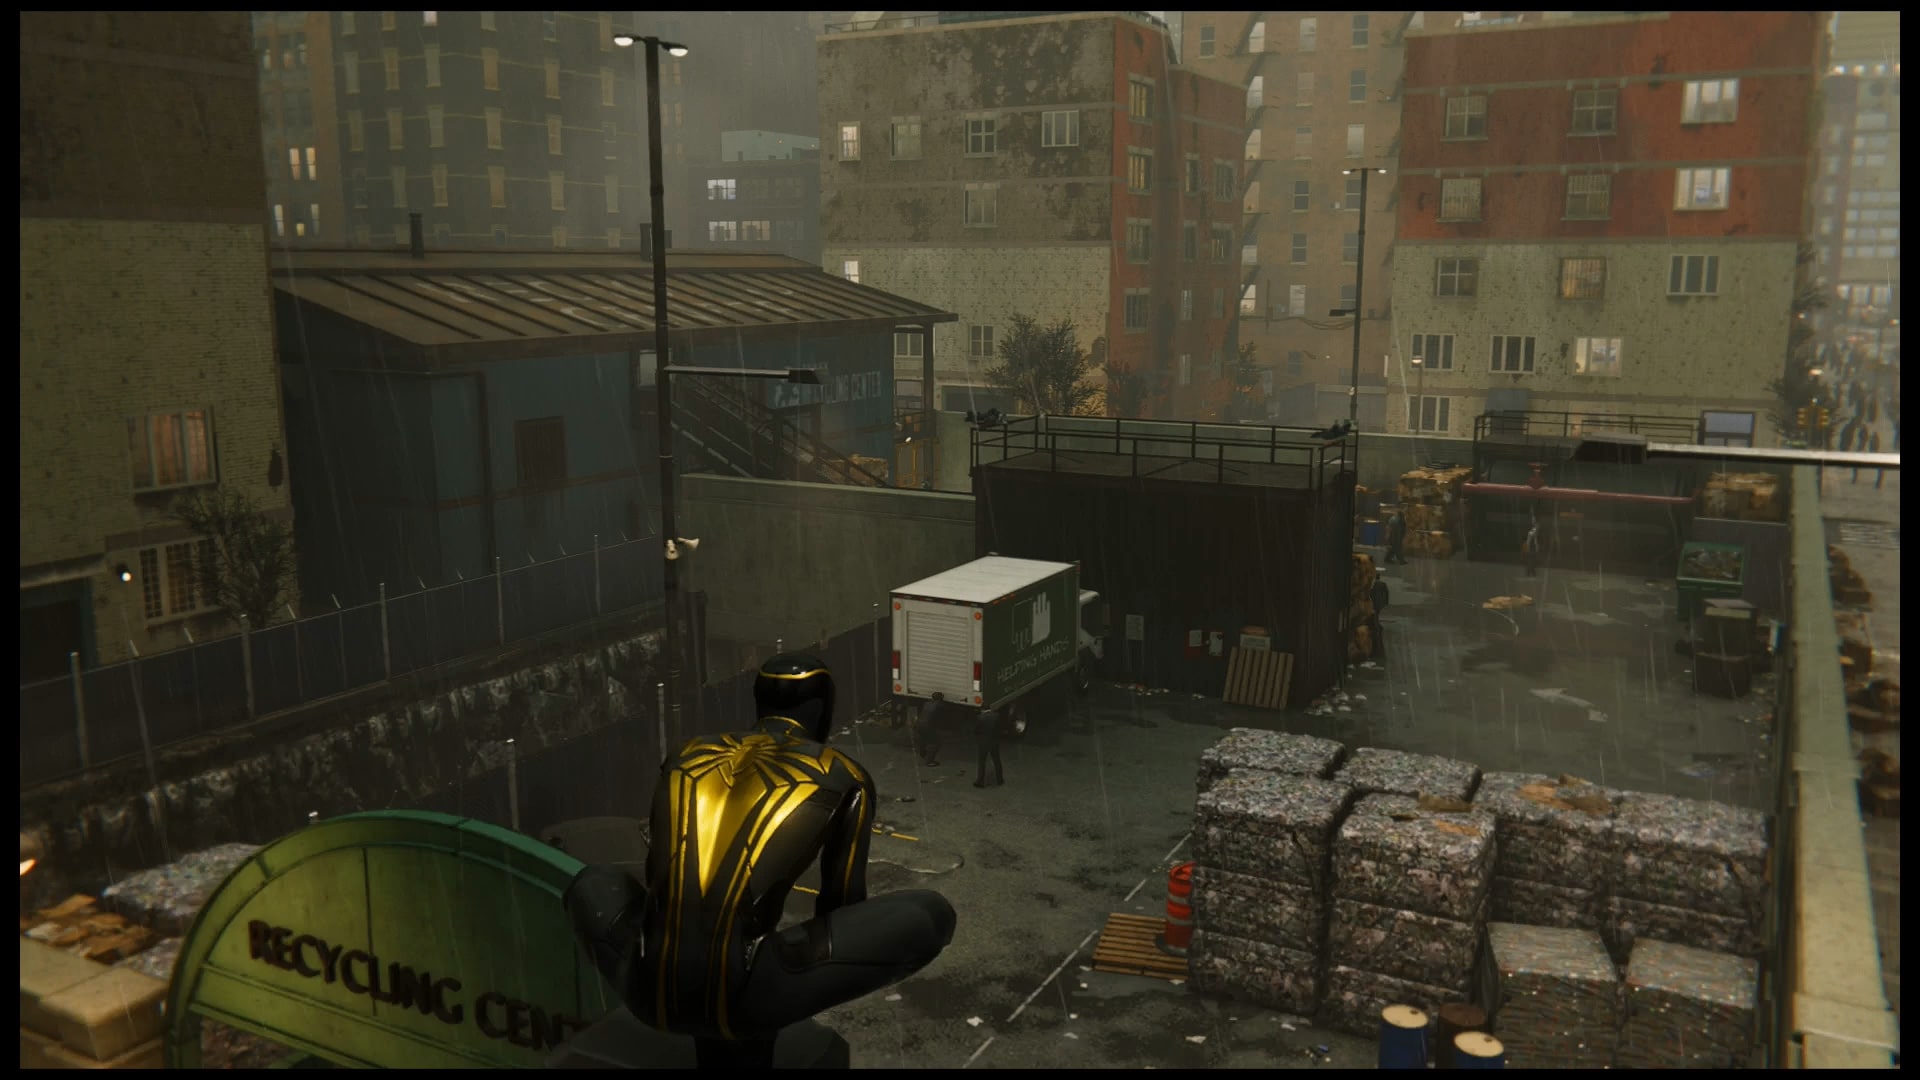
The enemy has been spotted. Move in to apprehend
Yep, it has demons. You know what to do: either go in quiet like, or just beat everyone up like in the video. After that, look for the junction boxes and use your electric webs to kick start them.

The second box is hidden behind this trash can. Move it out of the way to get to it.
The Demons have some big plans in the works. They have weapons, armor, and a grudge against Osborn. Head to Consolidated Shipping to stop their next attack.
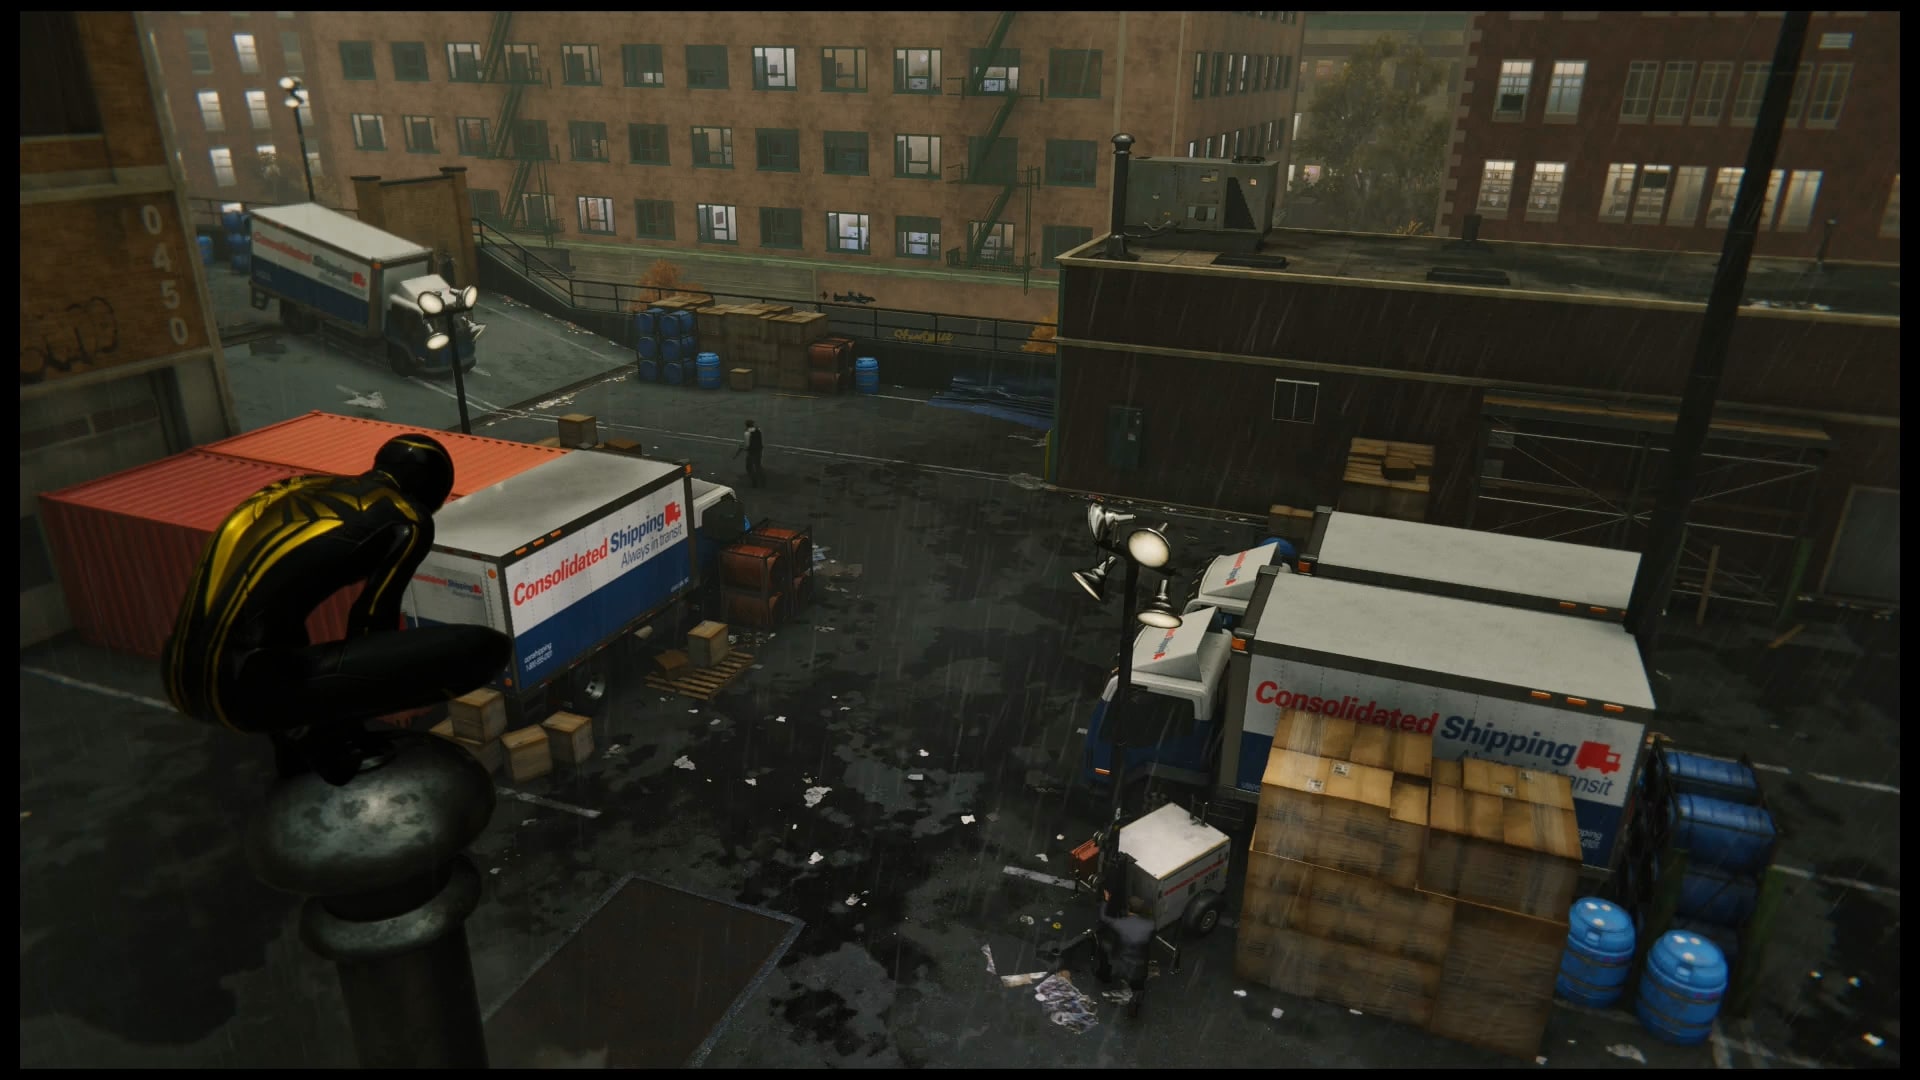
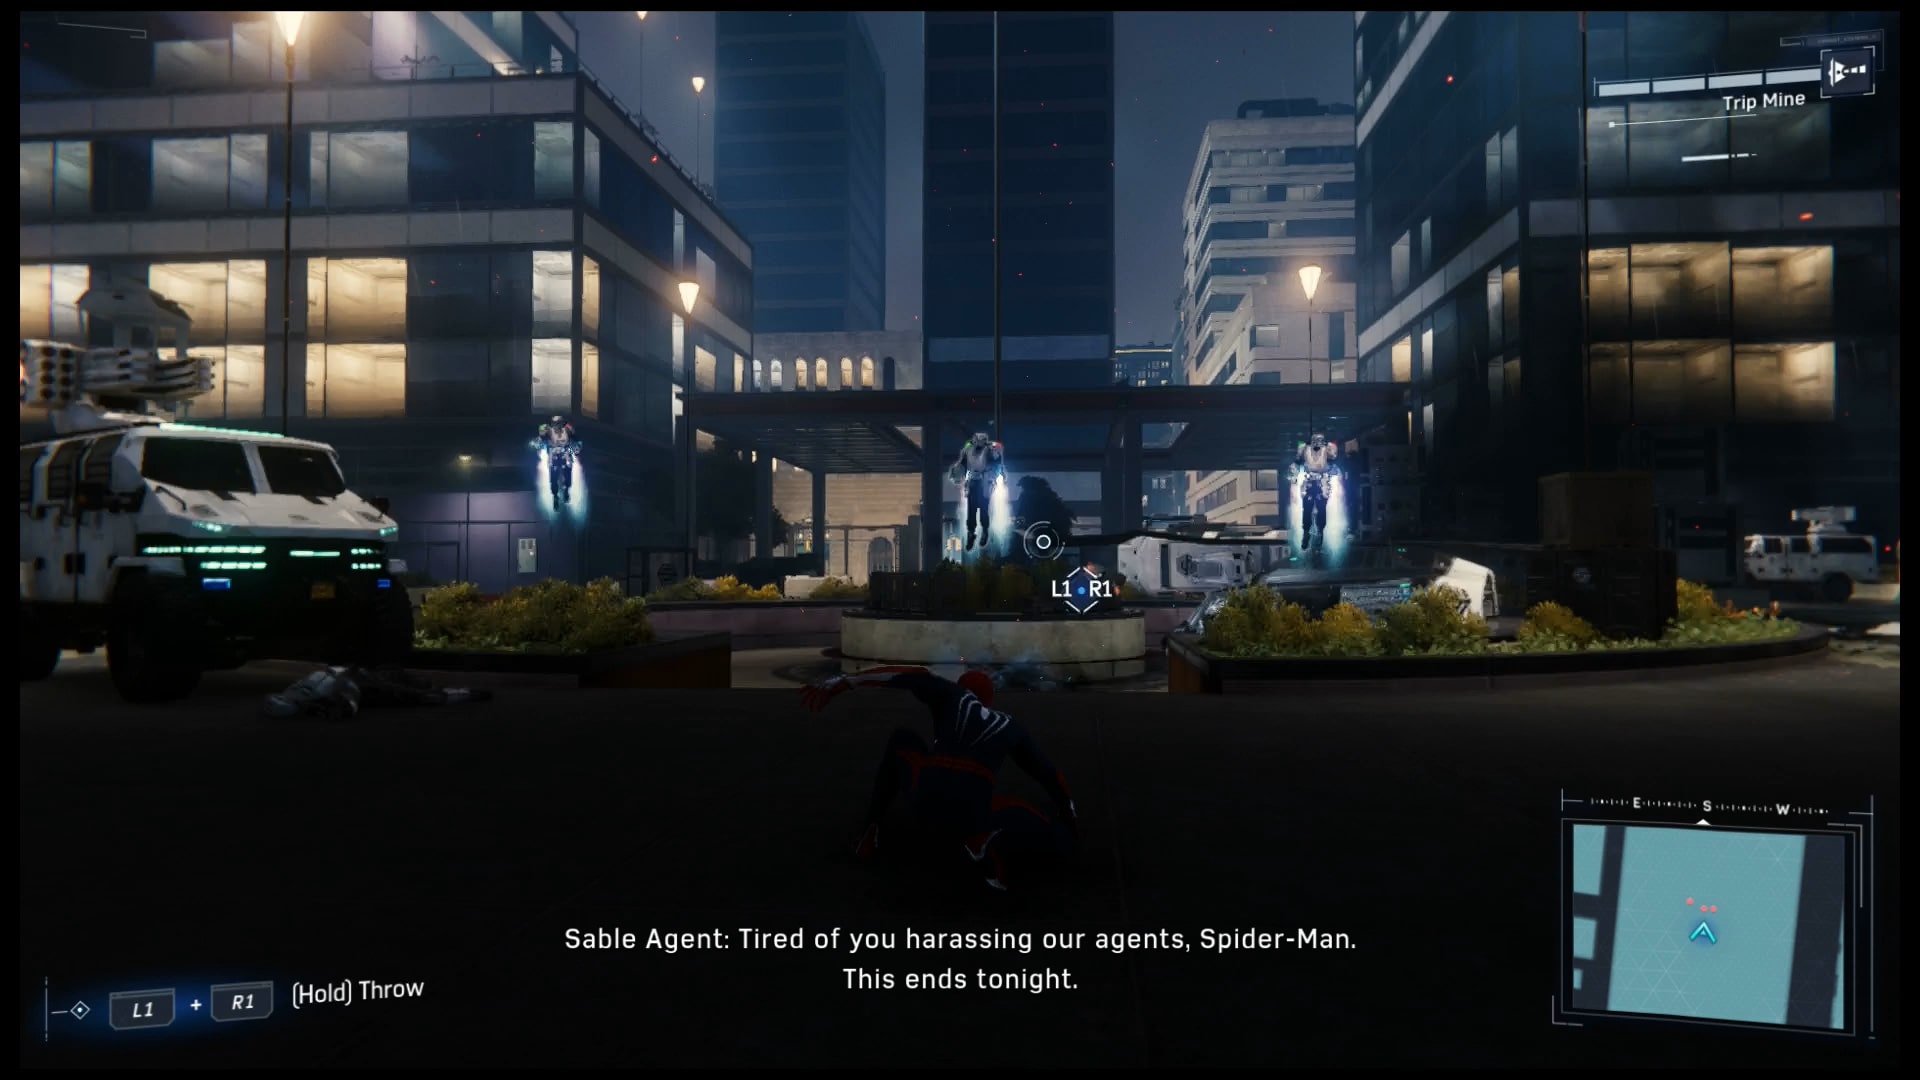
Does the black make Spider-Man look fat?
This mission will give you access to the Trip Mine, one of the sneakiest gadgets in Spidey’s arsenal. Throw at something; wait for the flies to come, and bam! They are caught
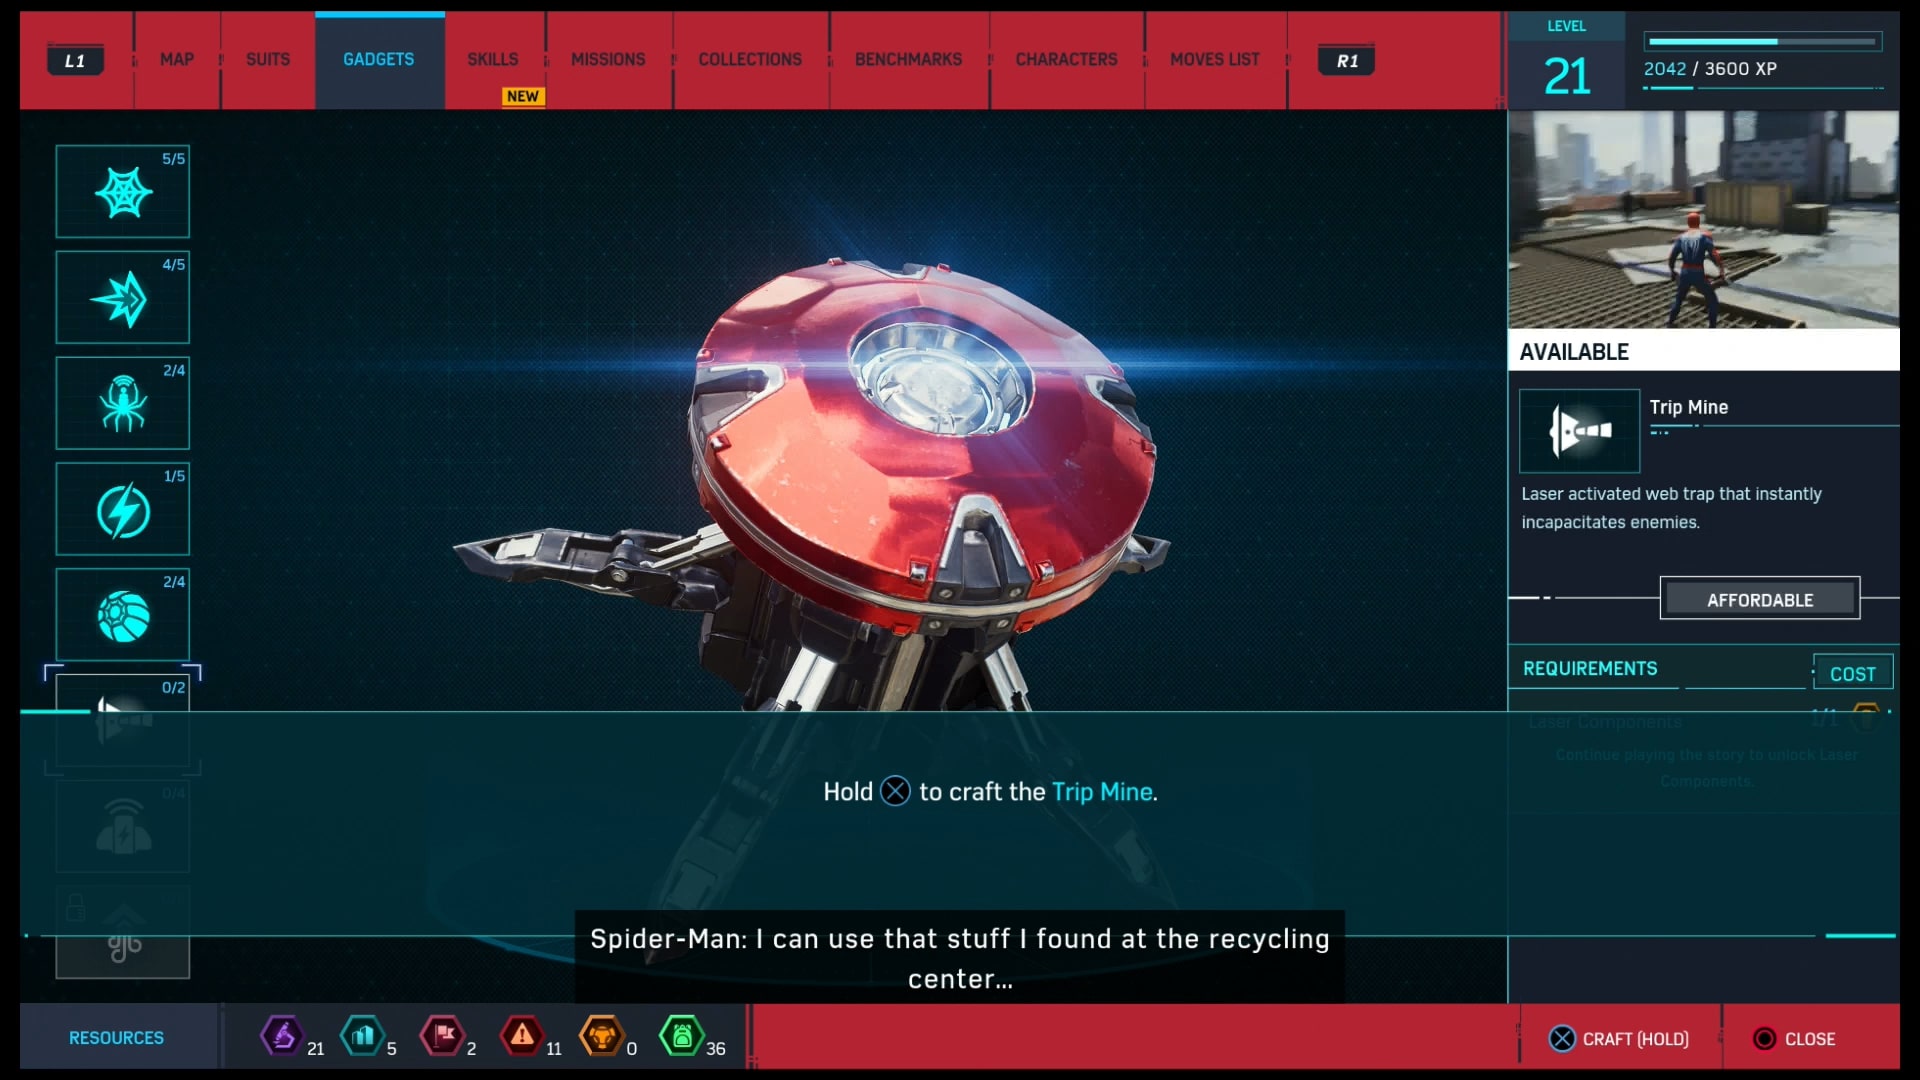
Courtesy of the Demon stockpiles. Which they got from Fisk. Which Fisk probably stole.
A little secret I learned: the mines also work great in outright combat. Throw them onto an enemy, and they will be webbed to a wall, or better yet, the nearest bad person. Great for killing two birds with one stone.
After you are done with the Demons, head inside the offices.
That is right, more bases to raid! Now, here comes the newest enemy: the Whip demons
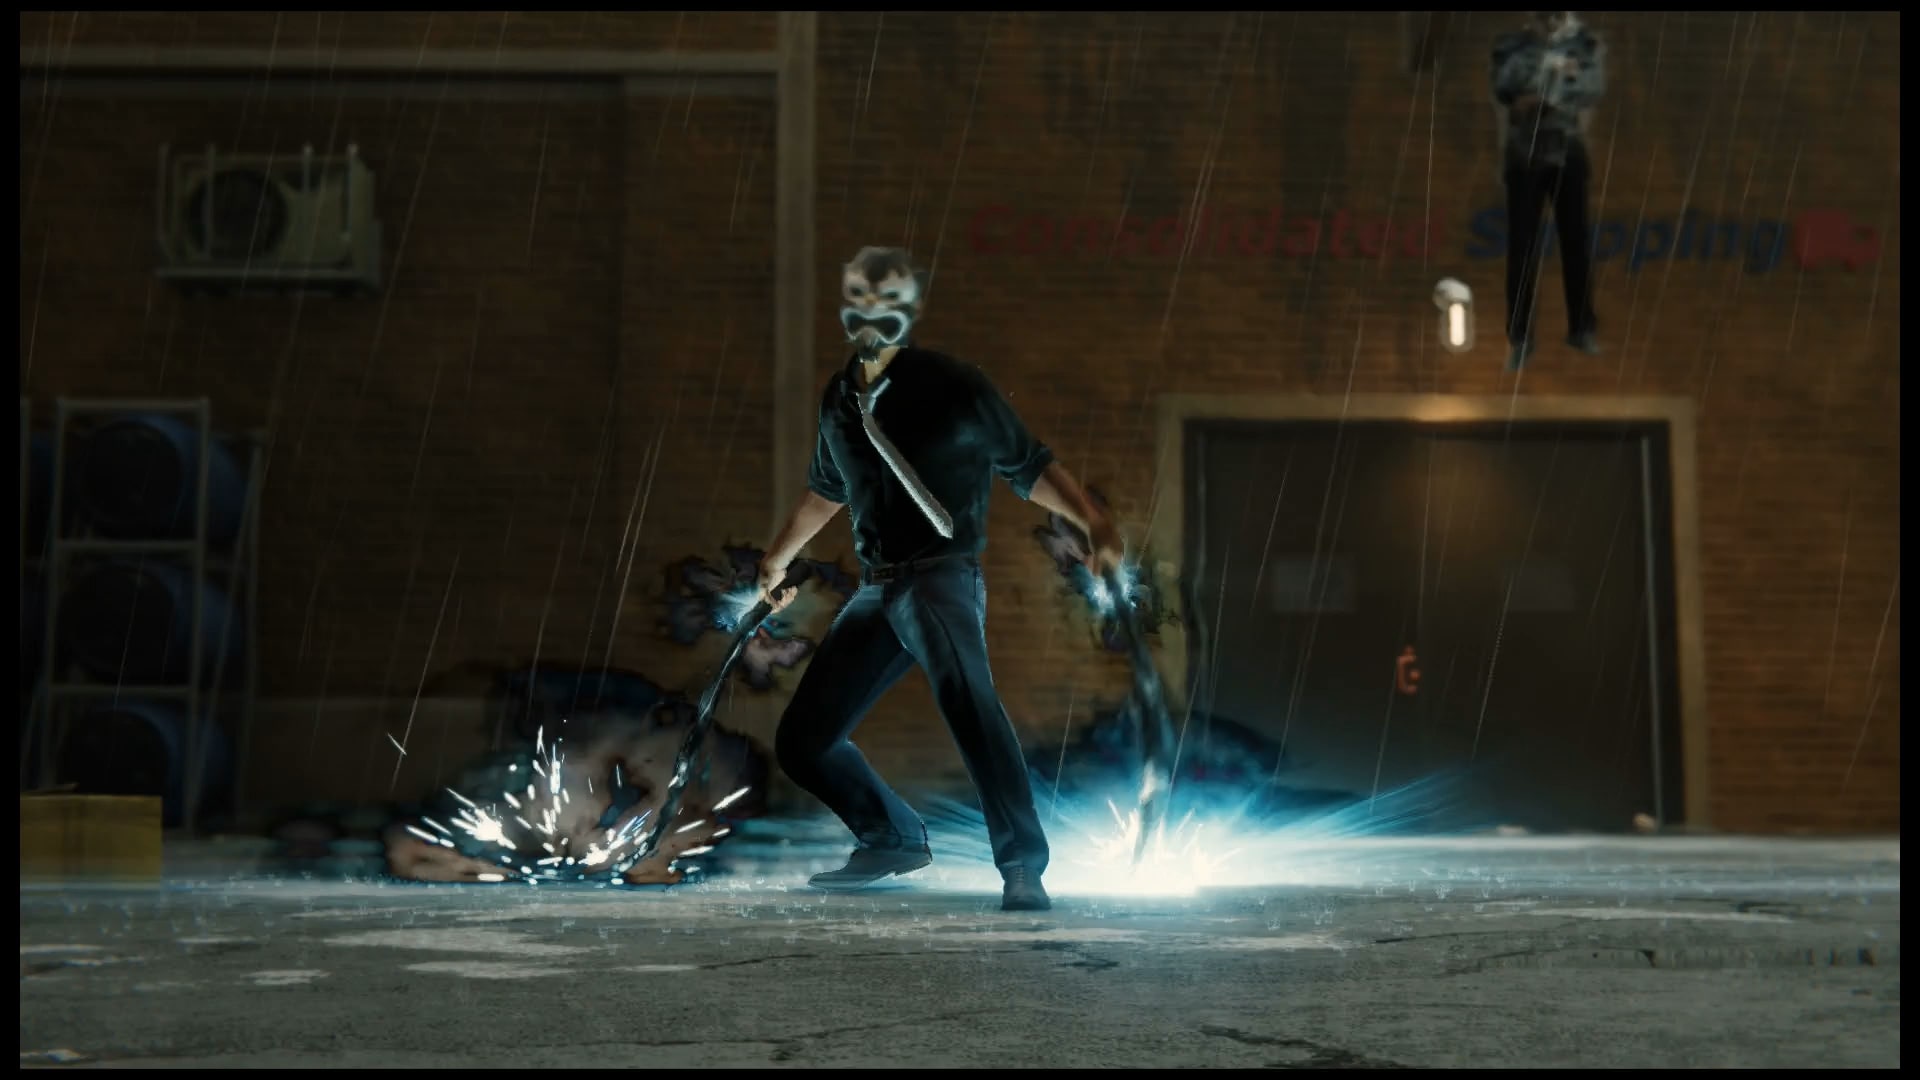
All right, Iron Man 2 much? Meh, shared universe.
Resist the urge to go airborne when fighting them. That is bad. Just dodge them and use throwables and gadgets to take them down.
If you have not gotten it at this point, I recommend getting the slow-mo spider-sense upgrade. It helps you react better.

Silver Sable, Crown Princess of Symakria/Symakria's Captain America
Osborn hired an army of Halo super-soldiers. In addition, they have countermeasures for Spider-Man. Don’t worry, they won’t attack you, but you are going to be seeing them around New York from here on out.
Hidden Agenda
Marvel's Spider-Man PS4 Gameplay Part 13- The Mask
Since there was nothing at the Demon warehouses linking back to Martin Li, we have to check his office. Head to the F.E.A.S.T. Center and find a way to get inside his office
Nice artwork they have there.
You are going to find things that reveal a lot about Li’s personality. It is as though the man who leads the Demons and runs F.E.A.S.T. are aspects of him.
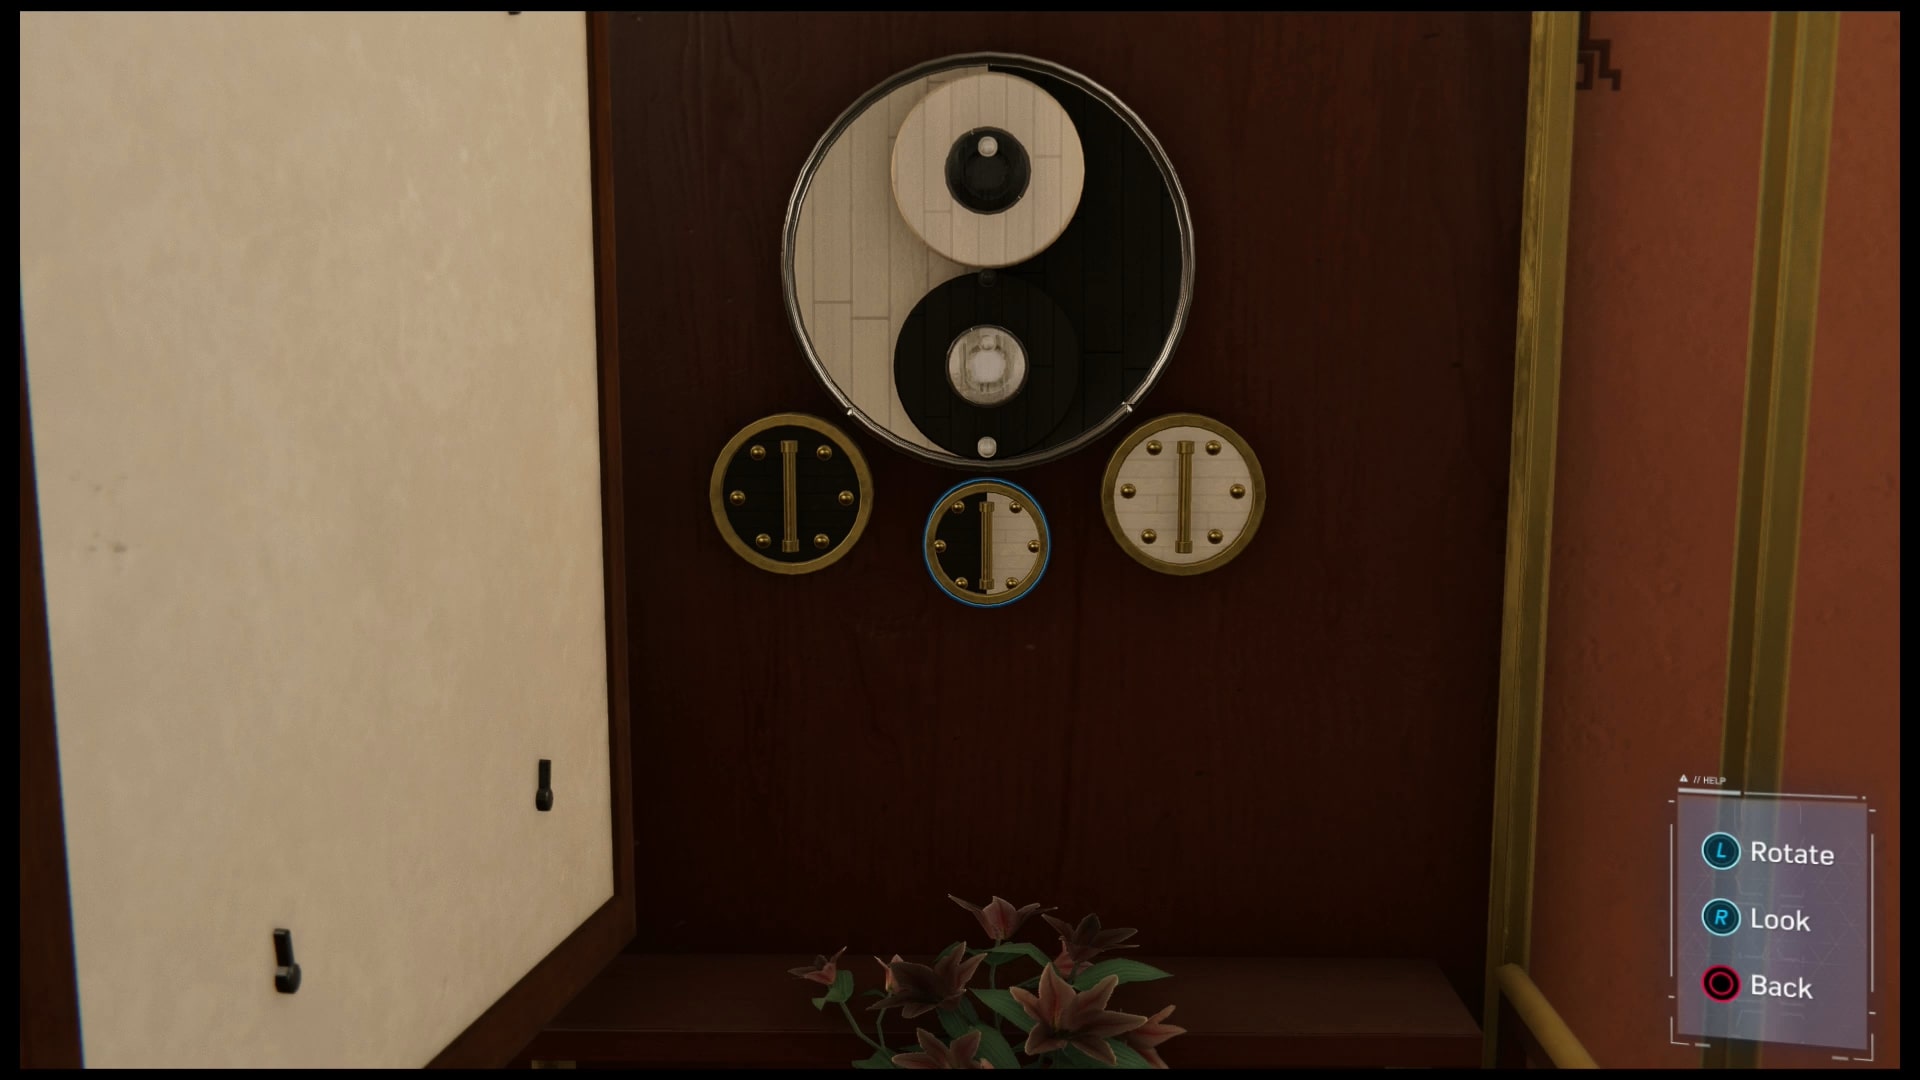
This is what the symbol should look like in the end.
The Yin-Yang puzzle may seem hard, but once you get the hang of it, it should be easy. Just follow the video and you will get it done.
Wow, there is a lot of incriminating evidence in here! This is per- I typed too soon. Just get out and watch the cut scene.
A Fresh Start
Marvel's Spider Man PS4 Gameplay Part 14- A Fresh Start
We just got another call from Octavius. He want’s Peter back at the lab.

This is Octavius' new robot arm, brought to you by Fullmetal Alchemist
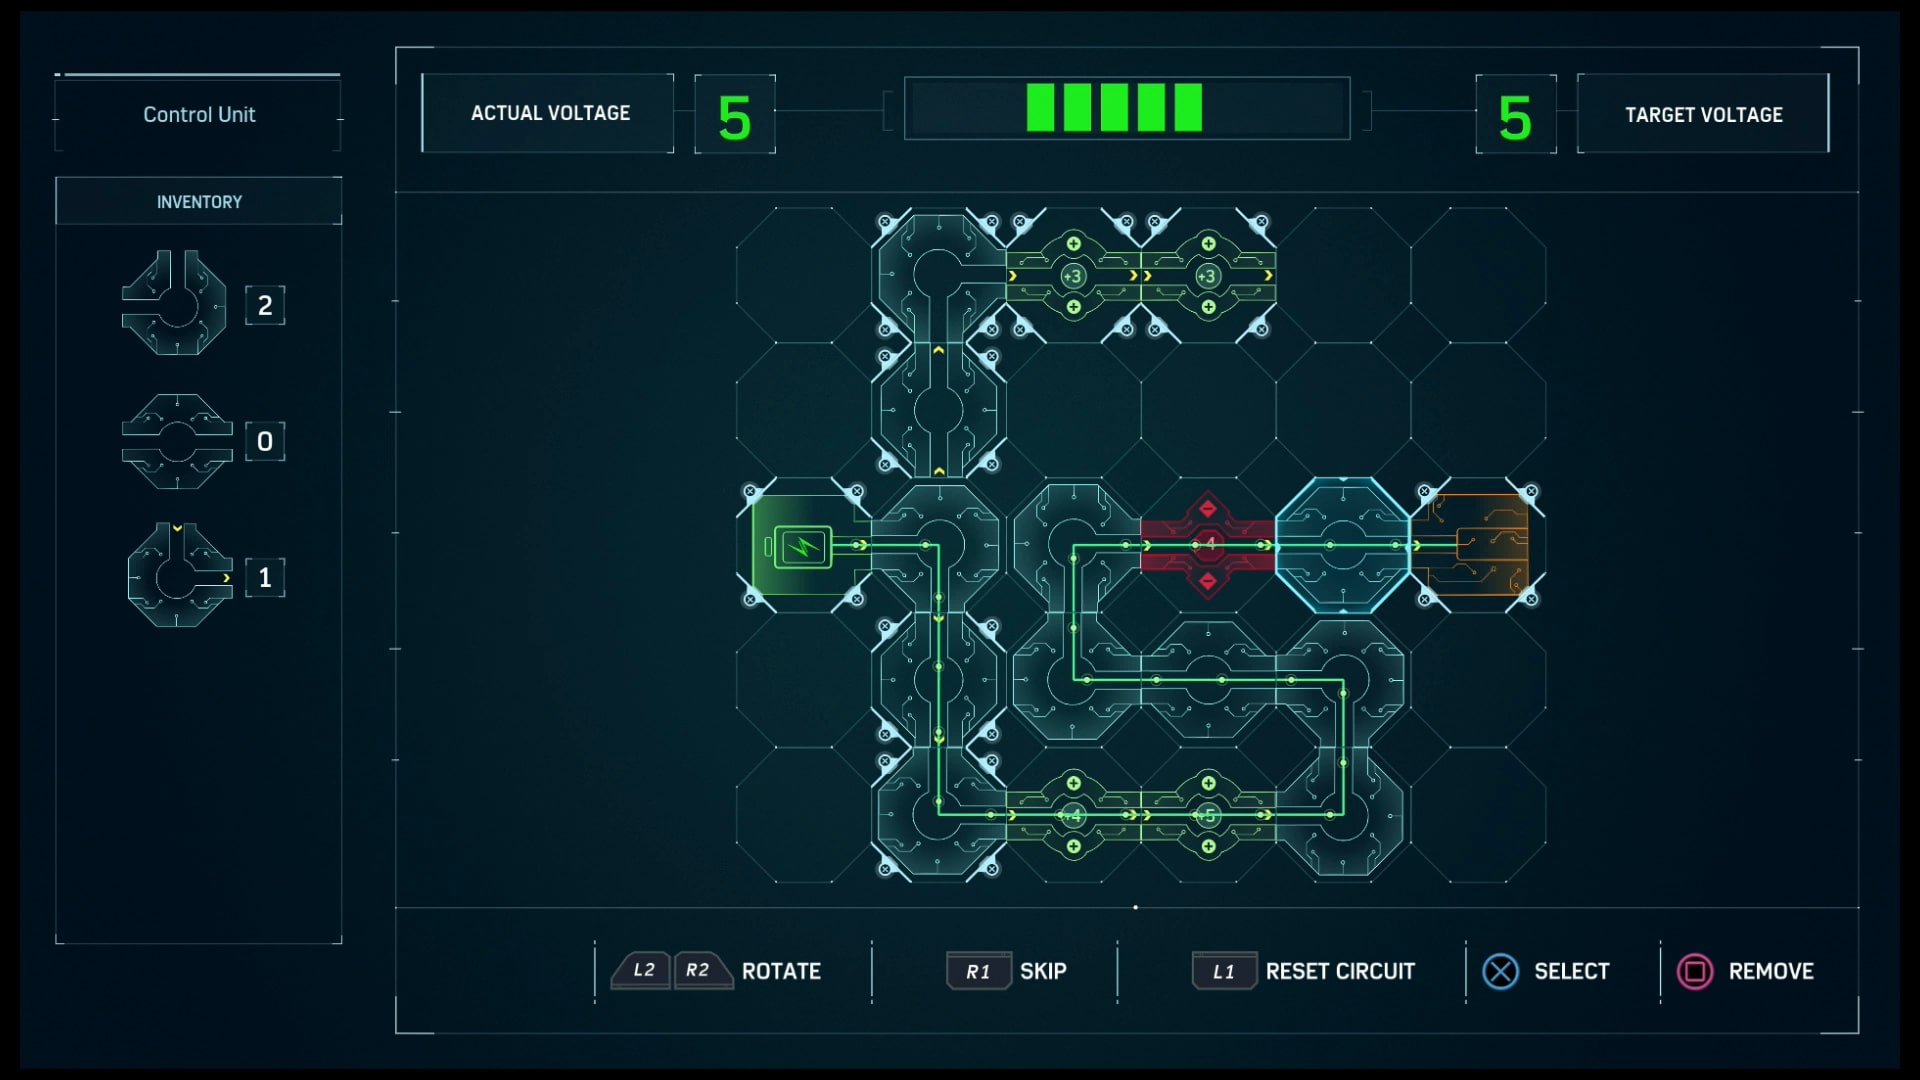
Robot arm circuit solutions. Hey, "Circuit Solutions" could be a company name
If you have not been doing it already, I recommend you do some of the science mini games in his lab. Also, look around for some of Otto’s audio logs and other stuff.
After you are done in there, you can swing around the city for a bit before you have to head over to MJ’s for dinner. It’s NOT a date (though I wish it were☺)
Dinner Date
Again, split between two videos. Here's the first part:
Marvel's Spider-Man PS4 Gameplay Part 14- A Fresh Start
I do not think I need to tell you twice what to do here: use the stuff around you to distract the bikers and get inside that office!
BTW, this leads to a series of side missions in Harlem involving Tombstone
Up the Water Spout
Head to Miles Standish’s apartment to find out what he knows about Devil’s Breath. Proceed to take care of the Demons outside.
If you have them already, you should start making use of the Spider-Drones. They can pack a punch and take the heat off of Spider-Man in combat.
Was parking really that bad, sir?
Fight your way through the parking garage and get to the elevators
If you have not gotten it yet, get the shield throw upgrade. It lets you yank shields out of an enemies hand and then throw them back at them.
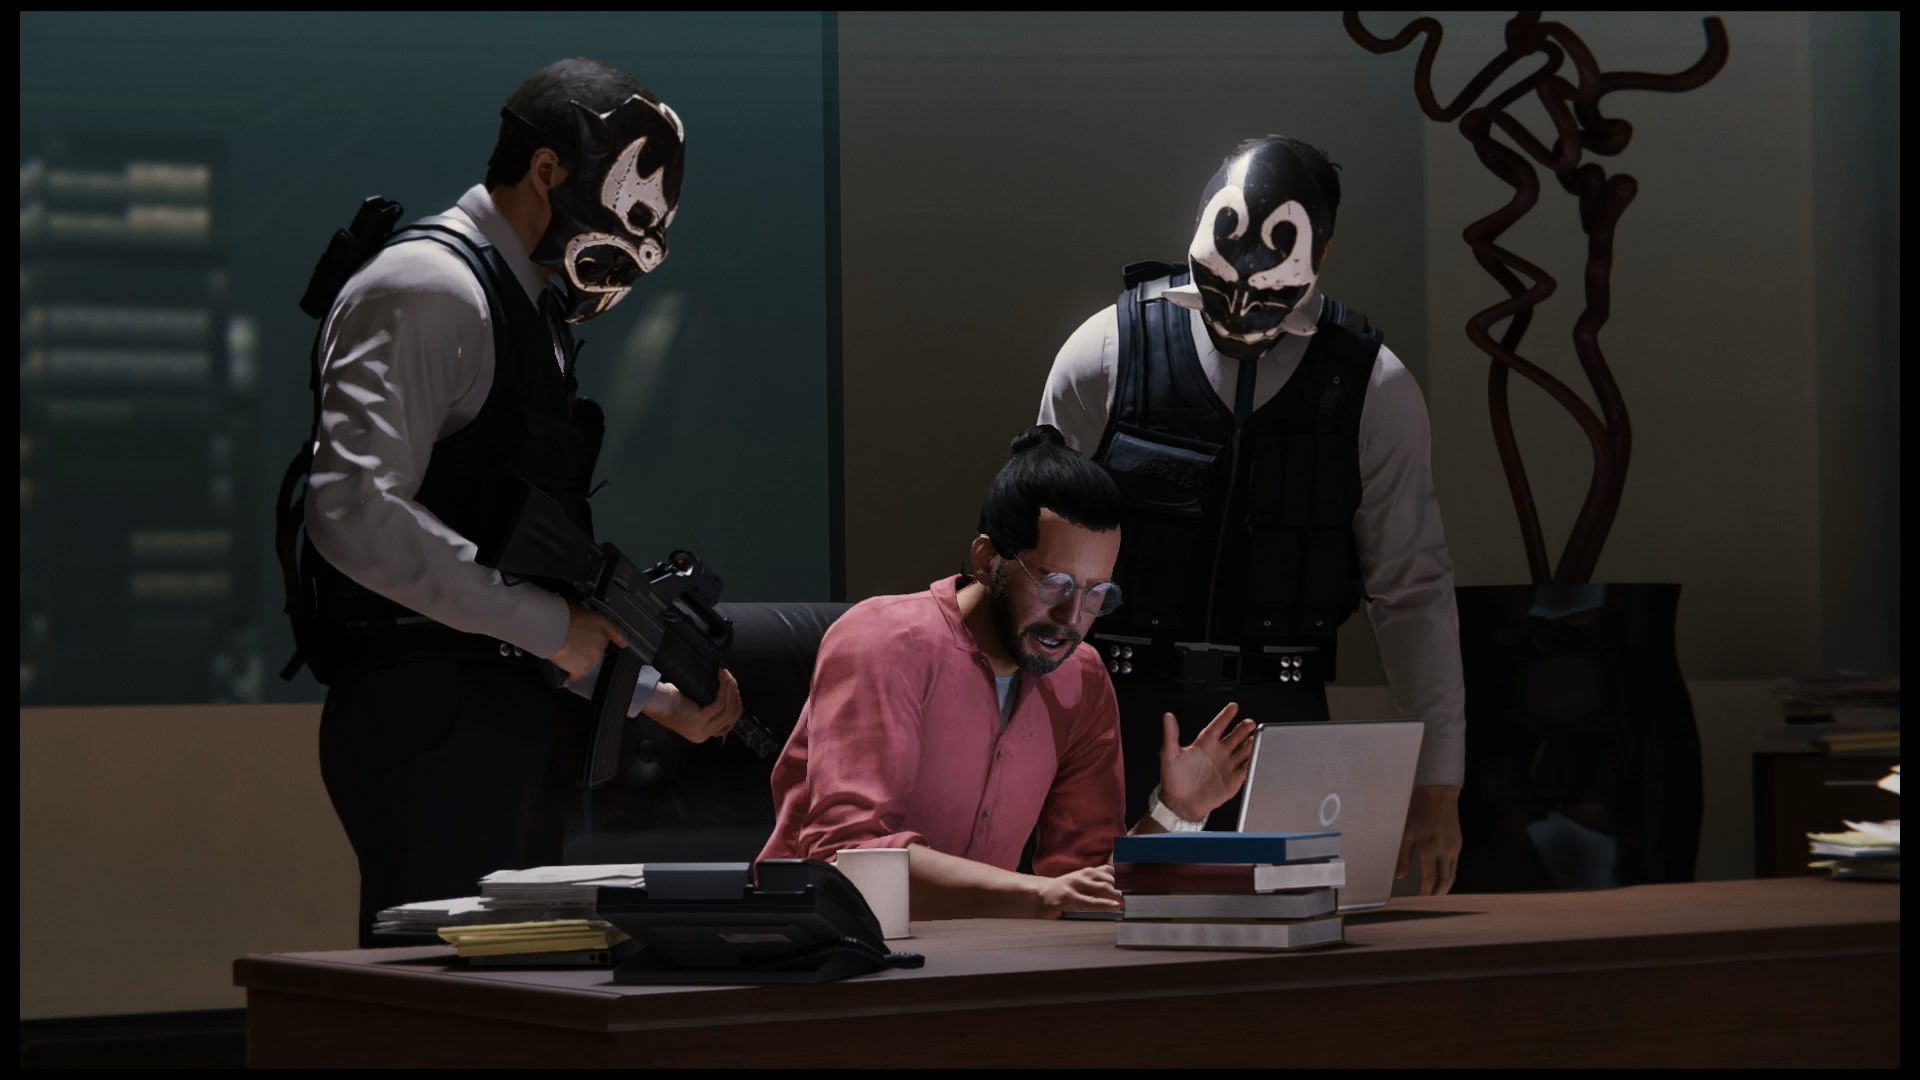
Wow, his office is really nice looking! What is that noodle sculpture?
Clear out the penthouse, and be quick about it. Try to take out as many guards without alerting them.
If you are caught, there is plenty of objects to throw at them or bring down on top of their masked faces.
Is it wrong that I want a sword like that?
Do not worry about the swordsmen. Just dodge and then deck him in the schnoz.
What is In the Box and Back to School
Head over to the mystery box to receive the challenge from the mystery man
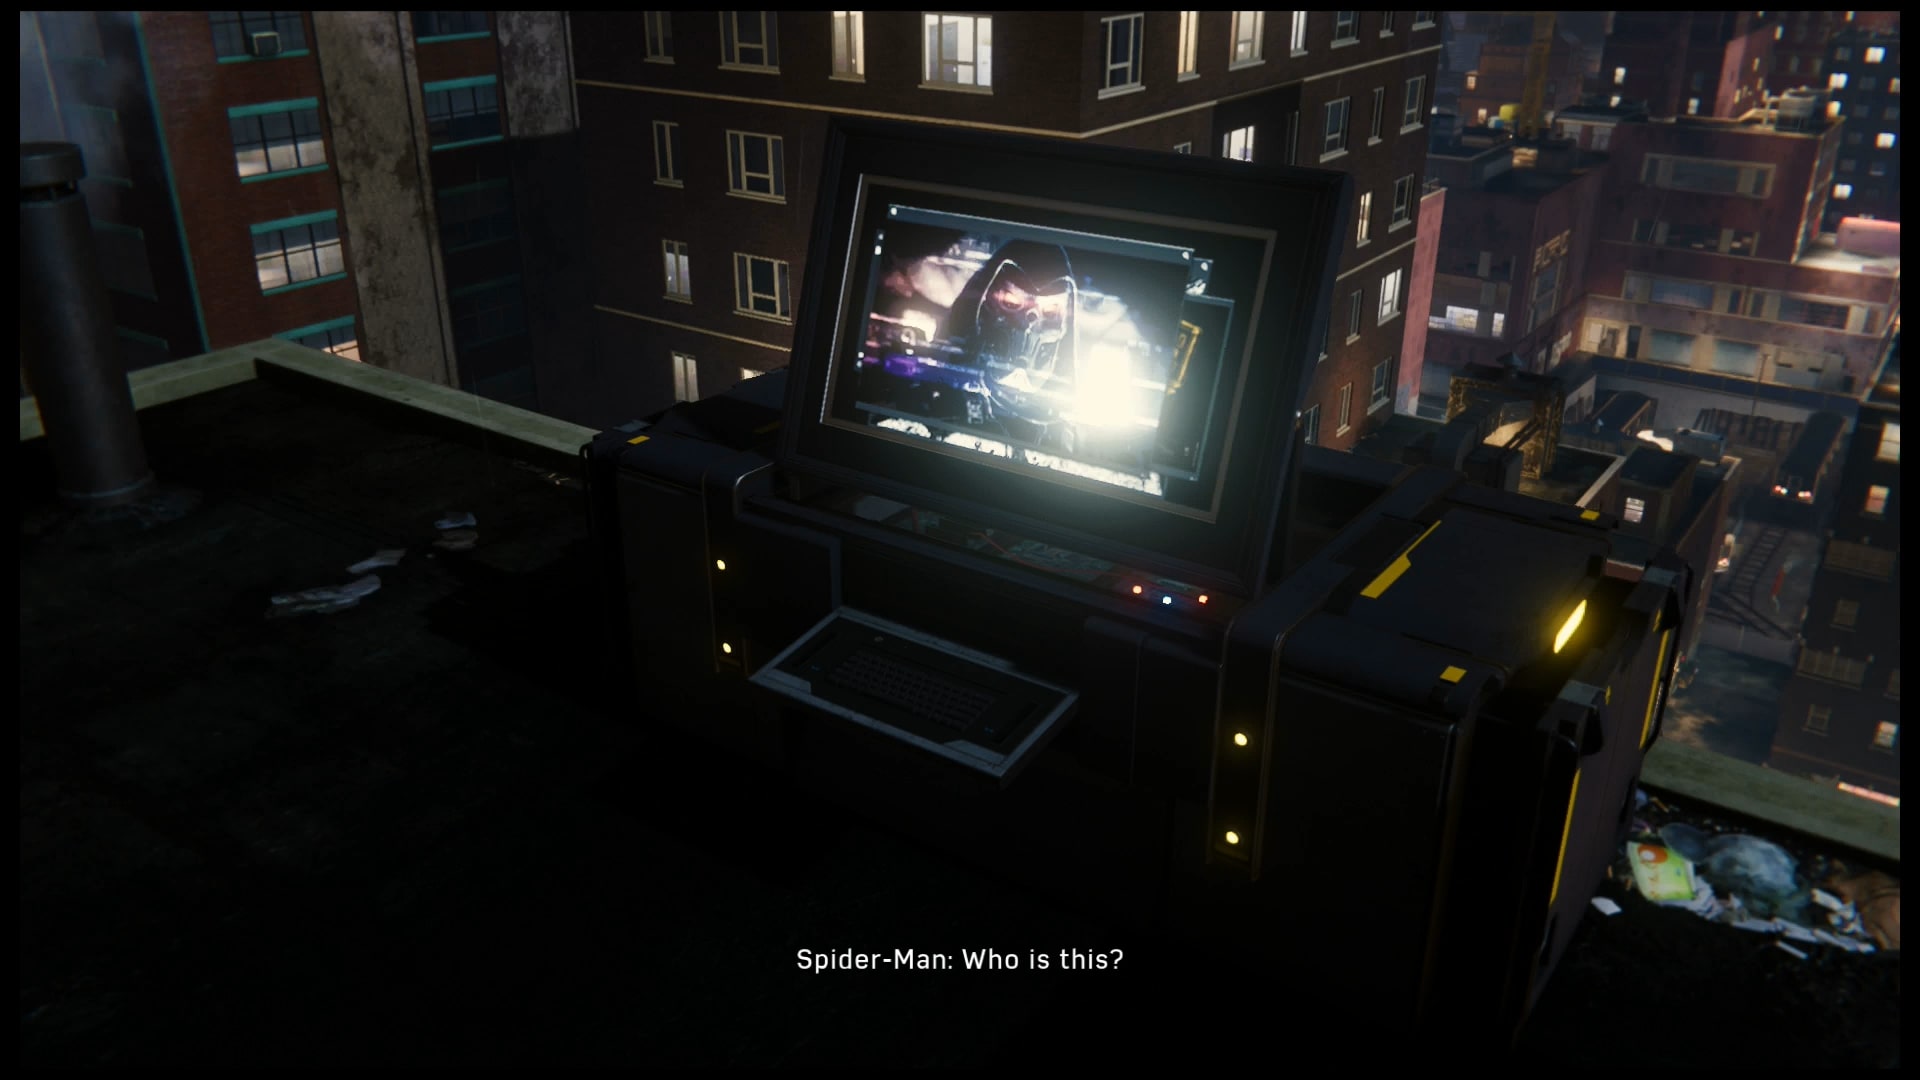
Hello, guy who Deadpool can wipe the floor with.
This is going to test your mastery at web-slinging. If you want to get gold trophy, you will need to be precise with your movements without losing any speed and momentum. Use web zip, L1+R1, and keep moving. You’ll need at least above 30 seconds left to get gold
Like the other token missions in this game, if you mess up, you can always come back.
Now, pick out your favorite Spider Suit, and head to ESU. You are going to be crashing their Halloween party.
If you have gotten plenty of costumes by this point, feel free to change them up and have fun with the photo mode. It is a costume party after all!
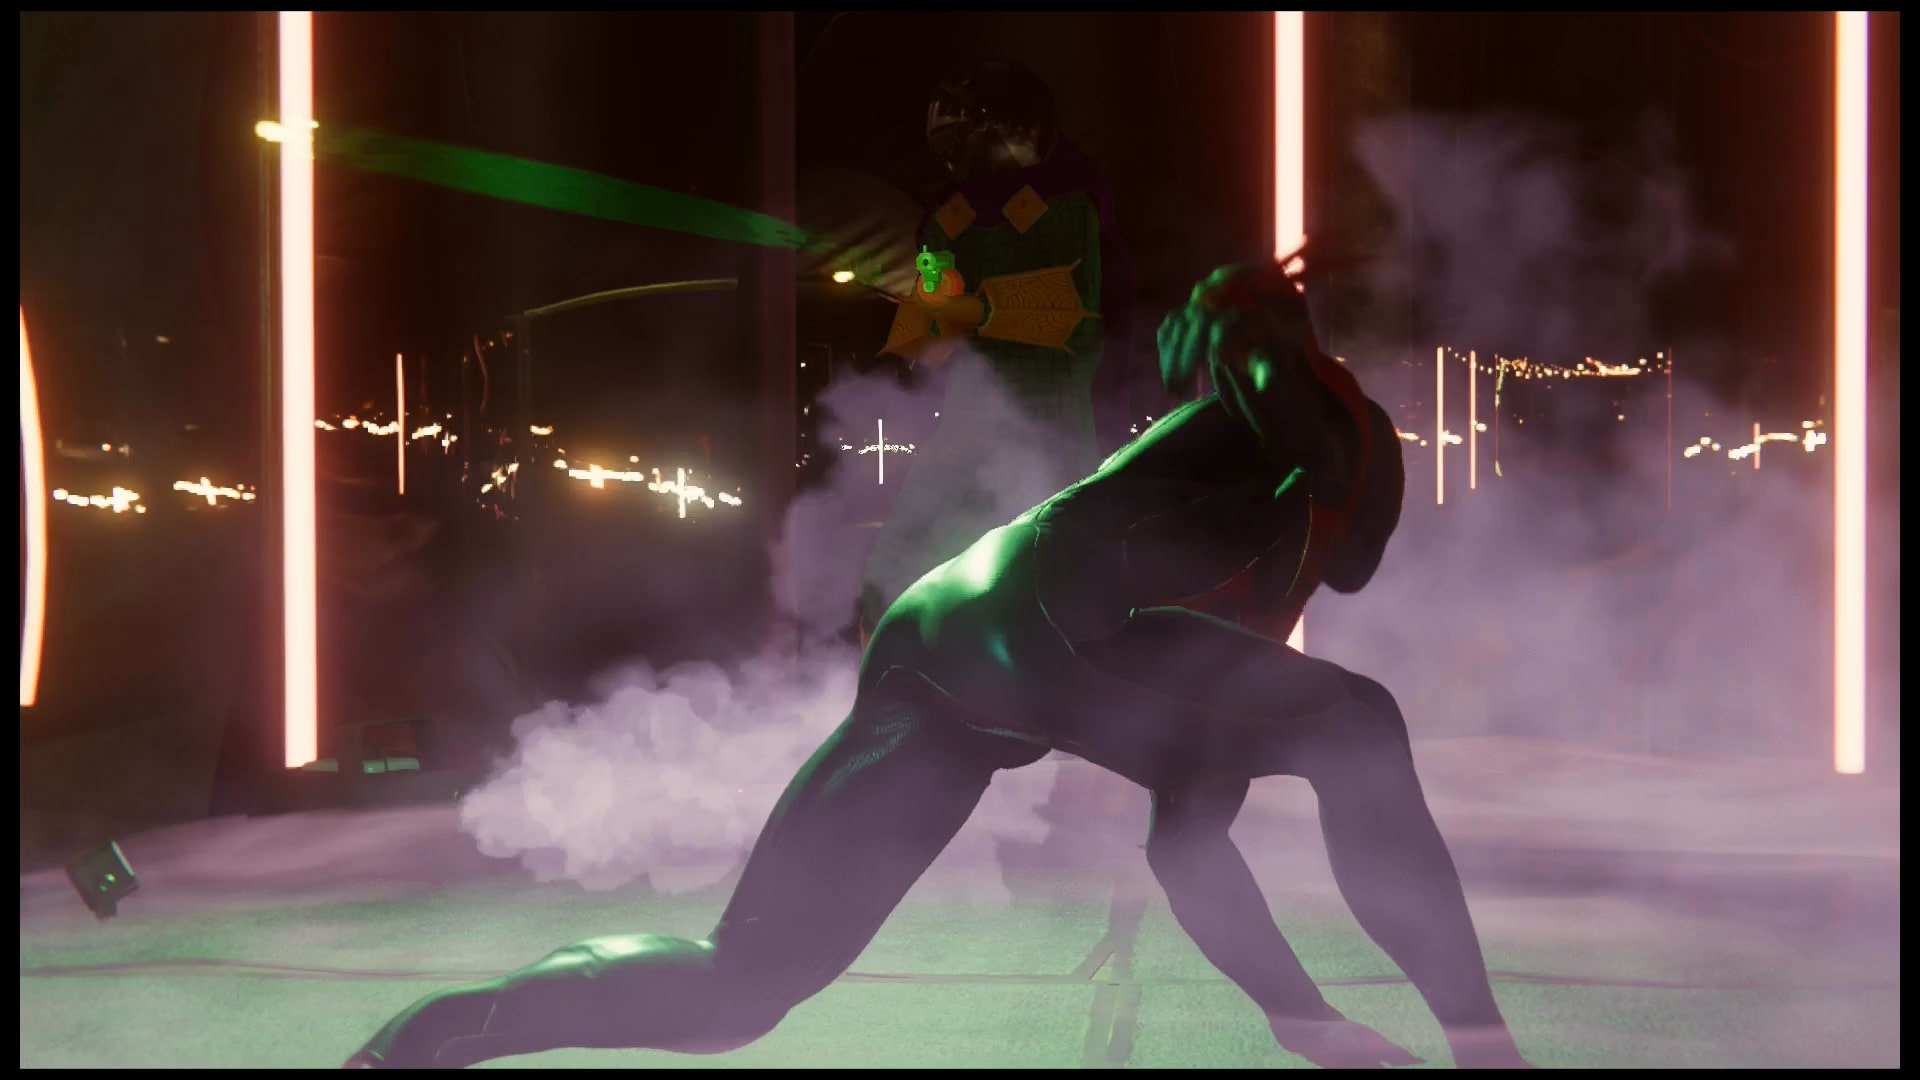
A classic Mysterio costume while Spider-Man is rocking it 2099 style.
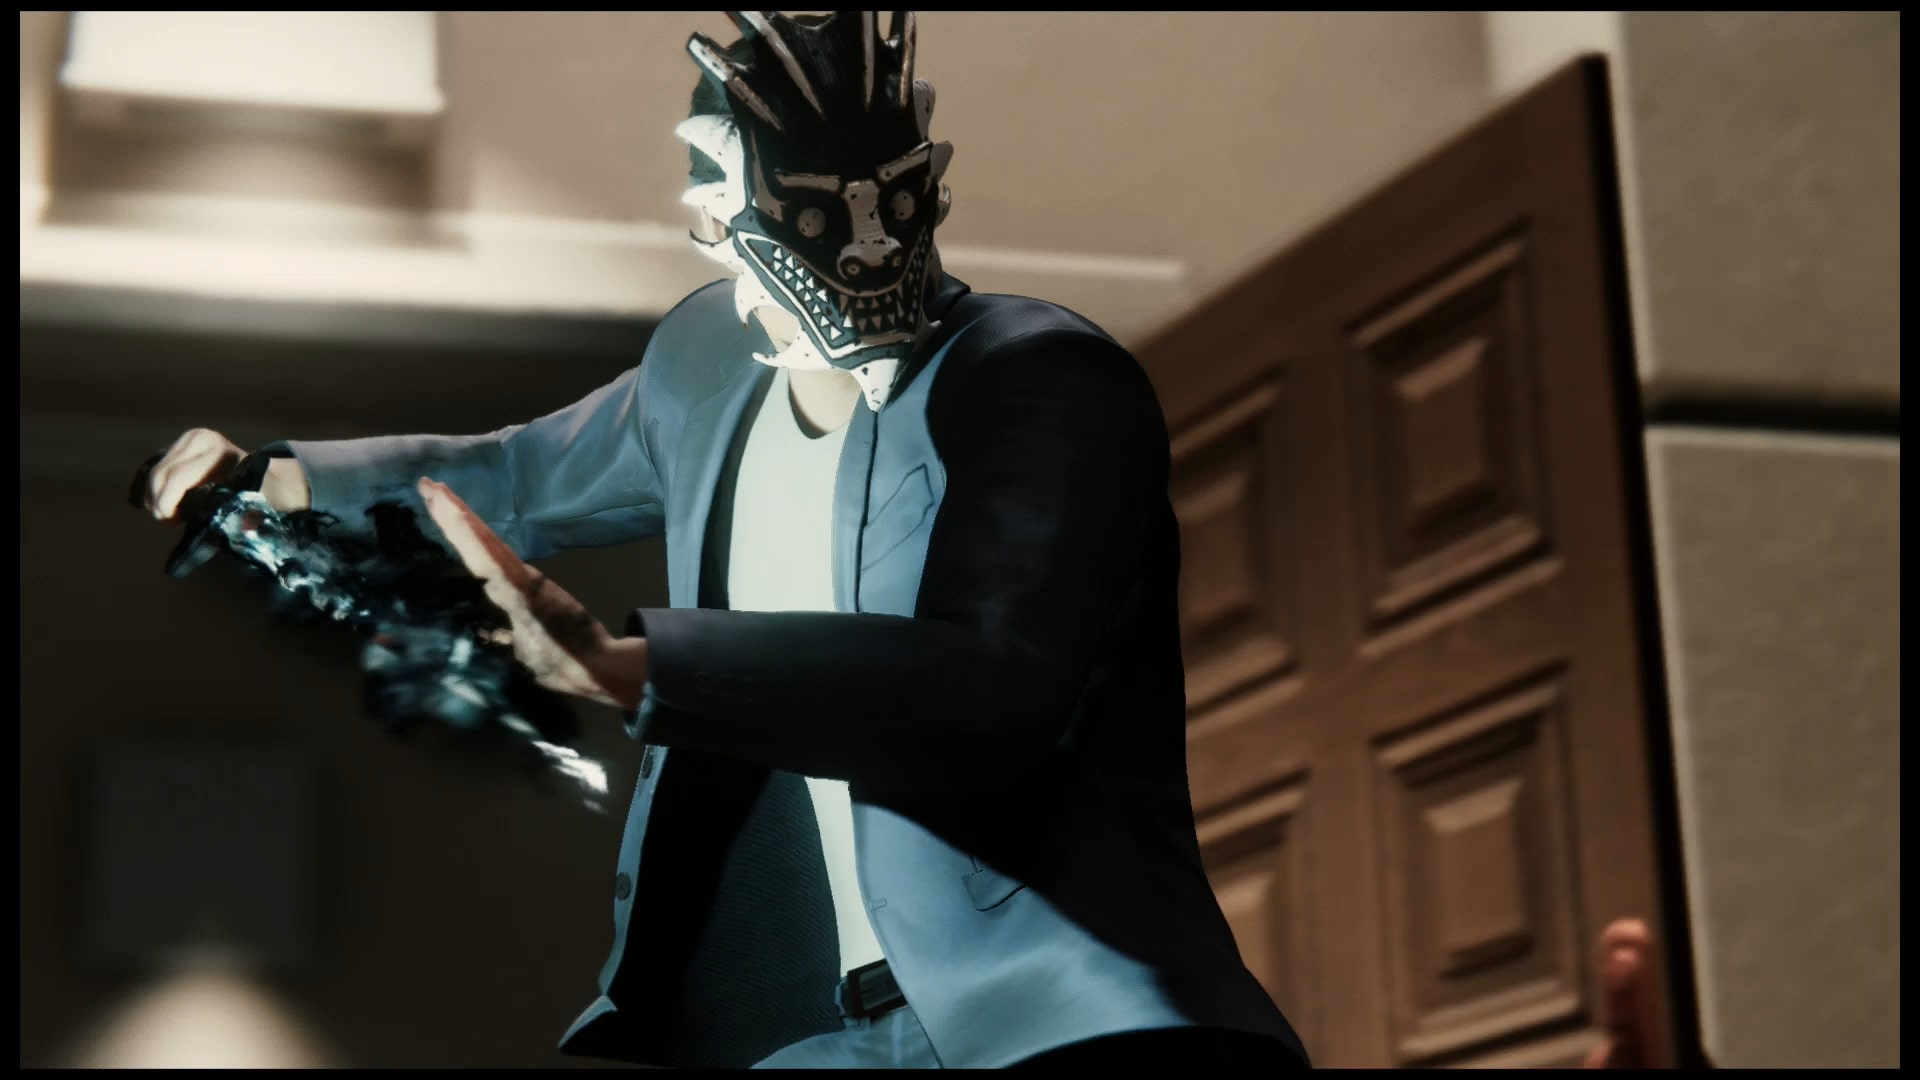
Once you are done messing around and find Dr. Delaney, head inside ESU to save him from the Demons. That is right, the Demons are here, and they blend in since it is a costume party.
Is it wrong that it felt good to fight that guy considering how obnoxious he was earlier?
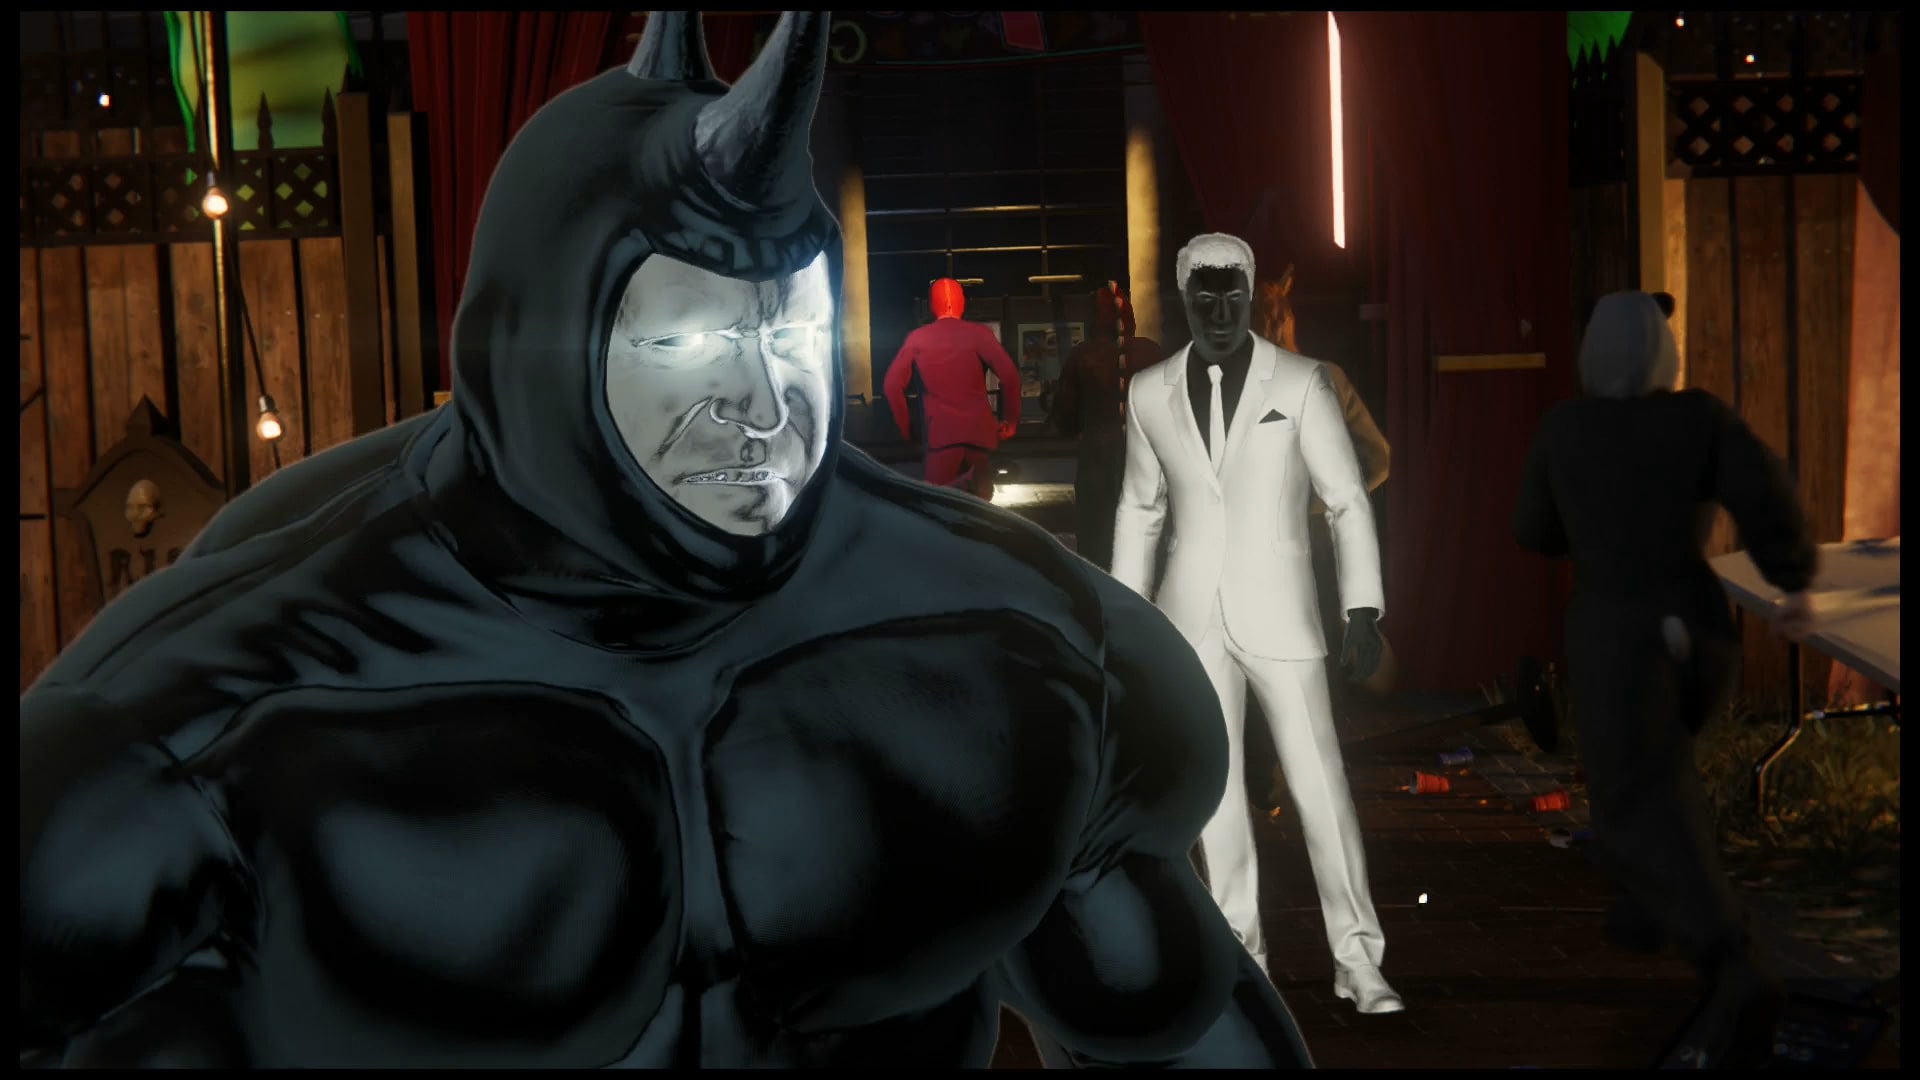
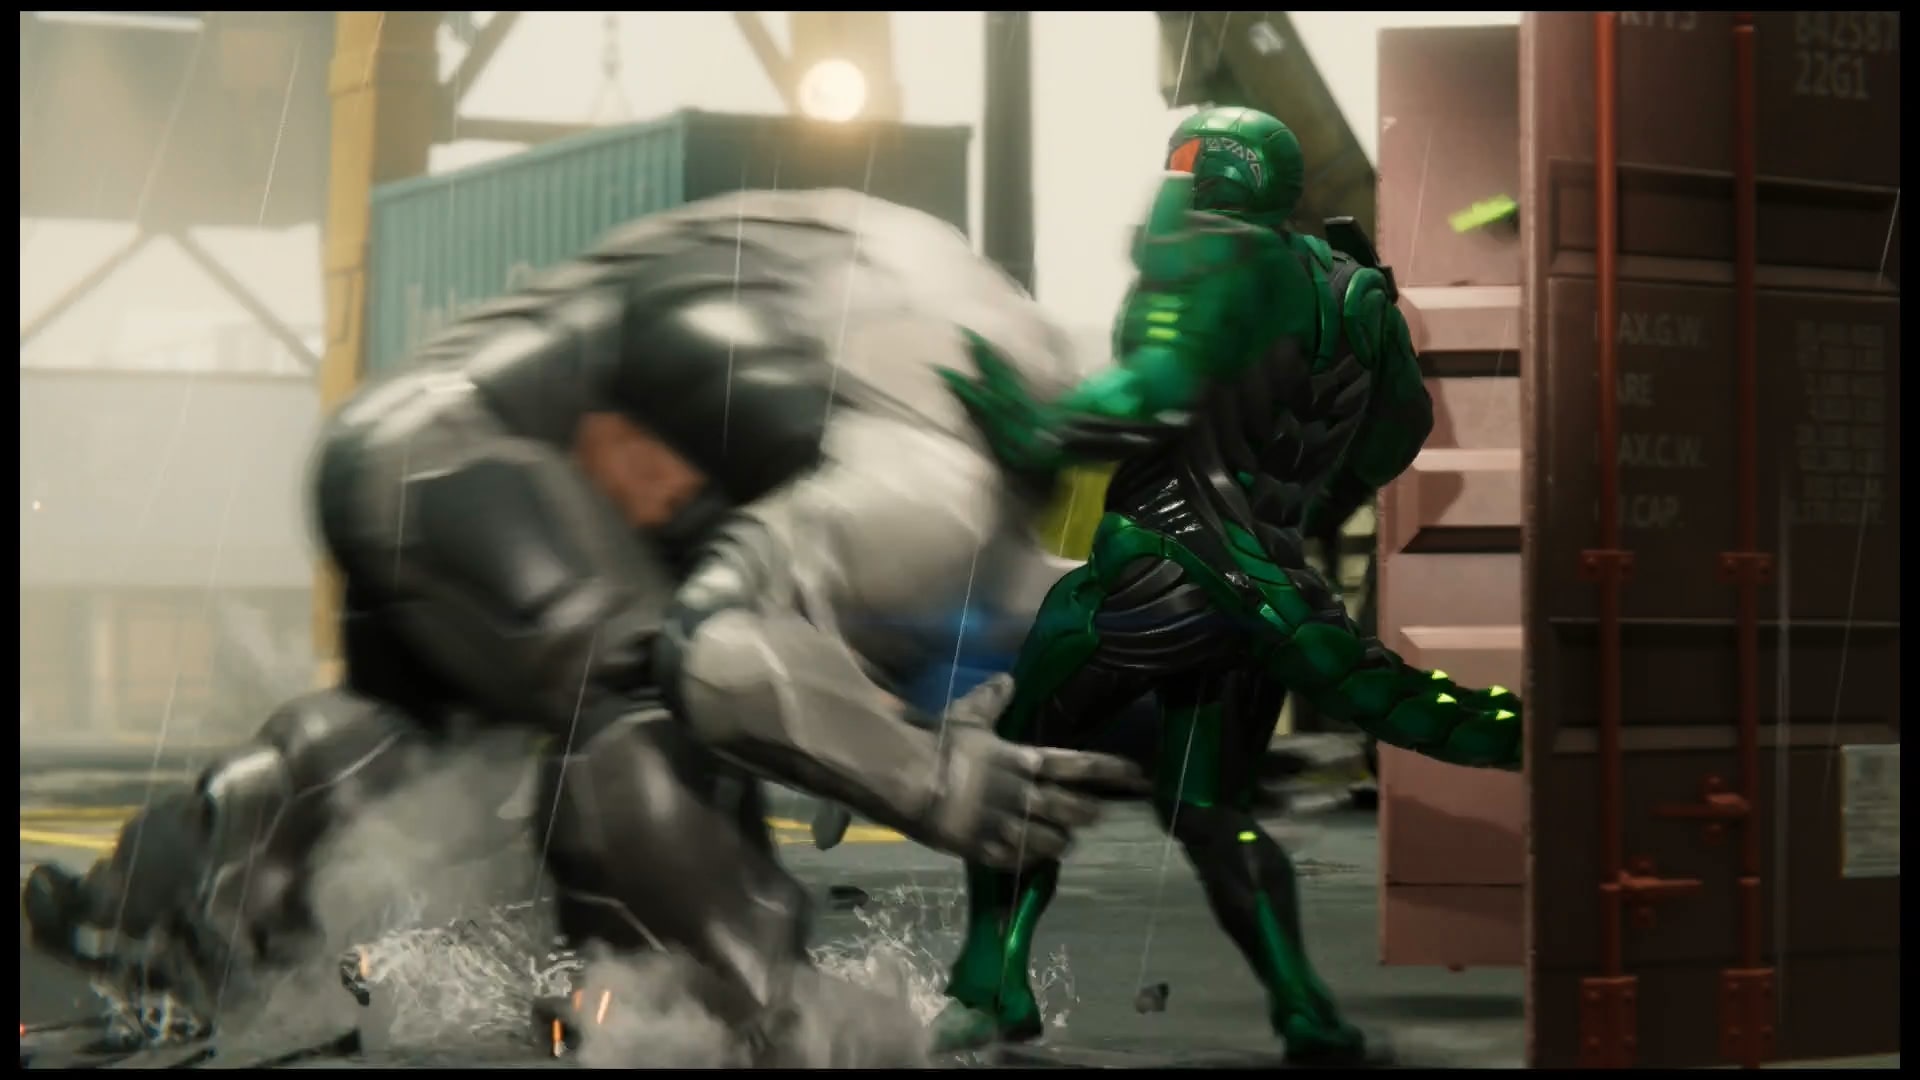
After the horrible event that you just saw, Martin Li will corrupt the partygoers and sic them on you. The only real problem is the person in the Rhino suit, but he is easy to beat.
Spider-Hack and Uninvited
To find info on the Morgan Michaels that you hear Delaney mention before his murder, you will need to break into Oscorp

Target has been acquired, Web-Warrior One. Move in to commence infiltration.
As you head further up to Norman’s Office, Sable International is going to continue tightening their security. Think on your feet and actively avoid the laser pointers, searchlights, and drones.
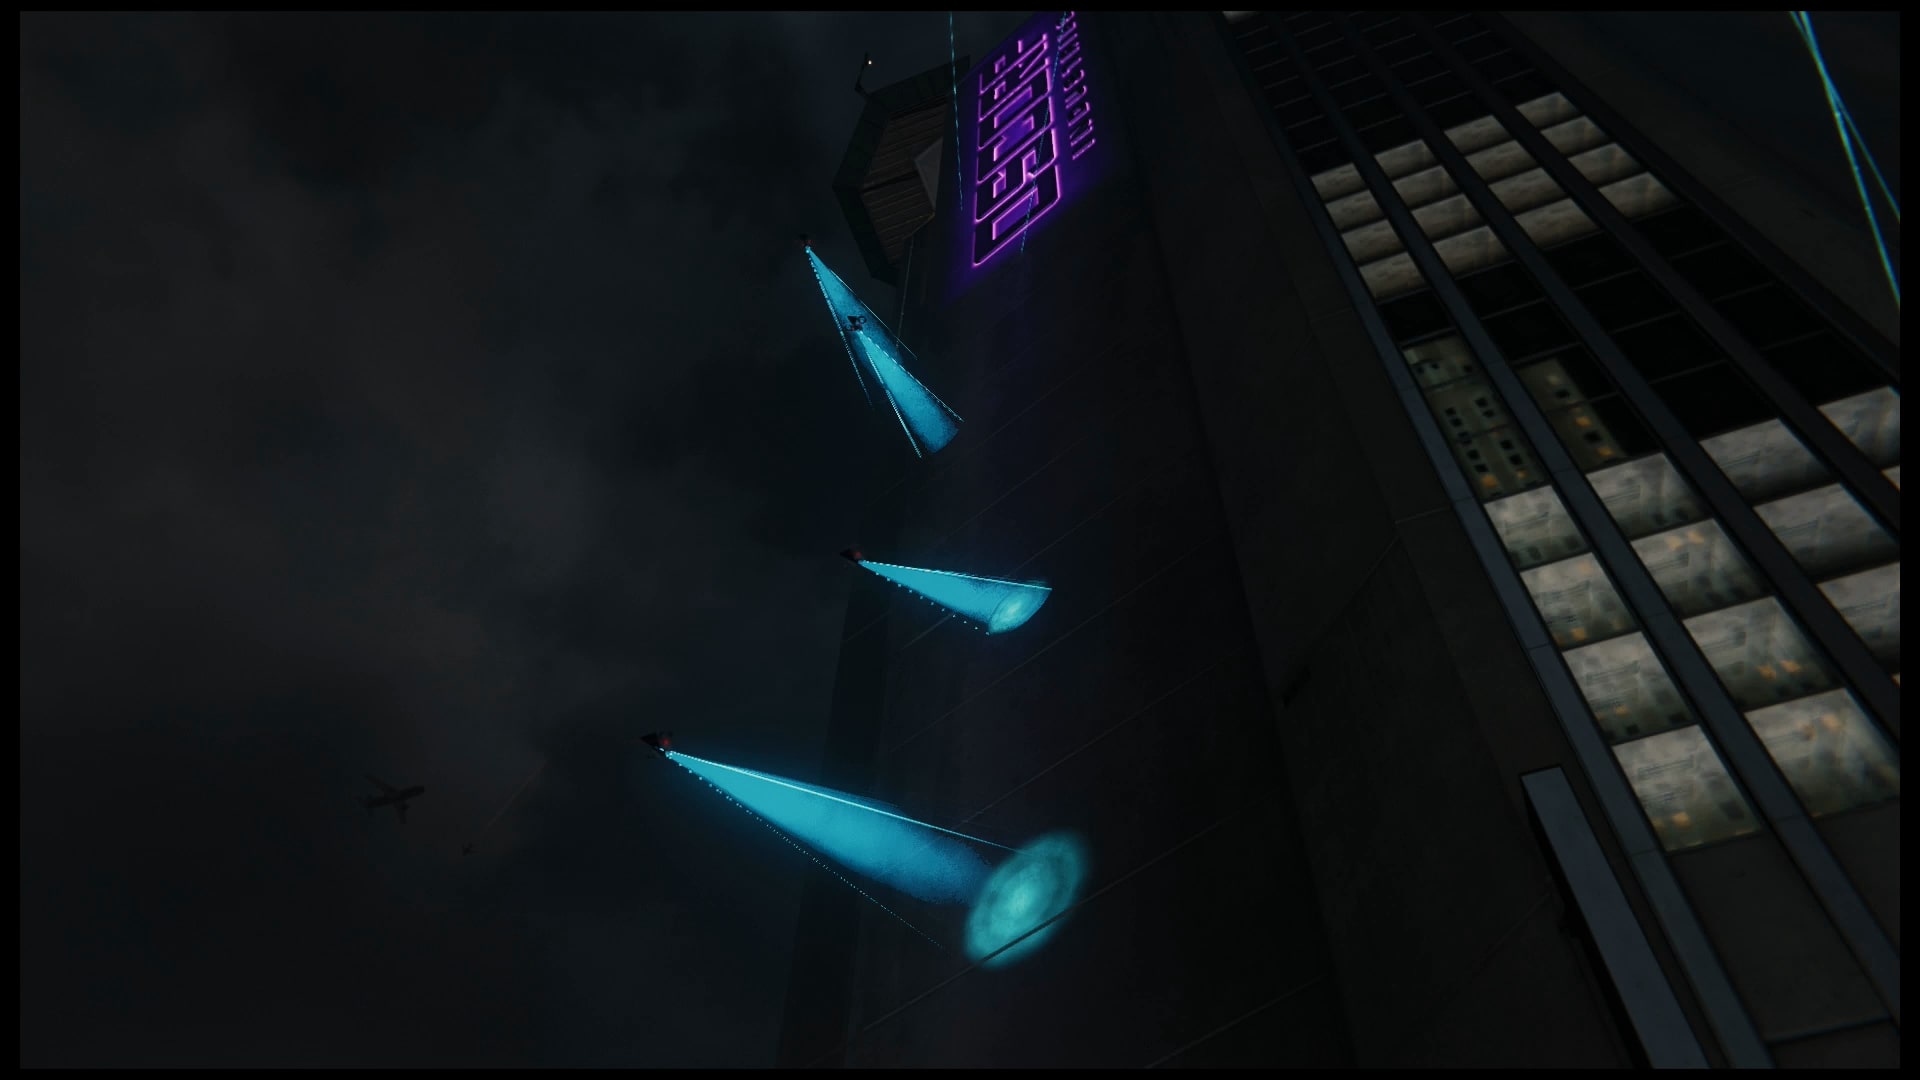
How can Osborn afford these guys?
Once you are inside Norman’s office, you will learn what Devil’s Breath was meant to do…and the terrifying results of what it can do. After you let that sink in, leave the office.
Head to Sable’s outpost as you listen to Dr. Octavius’ message.
Beep beep. Come over here, guard!
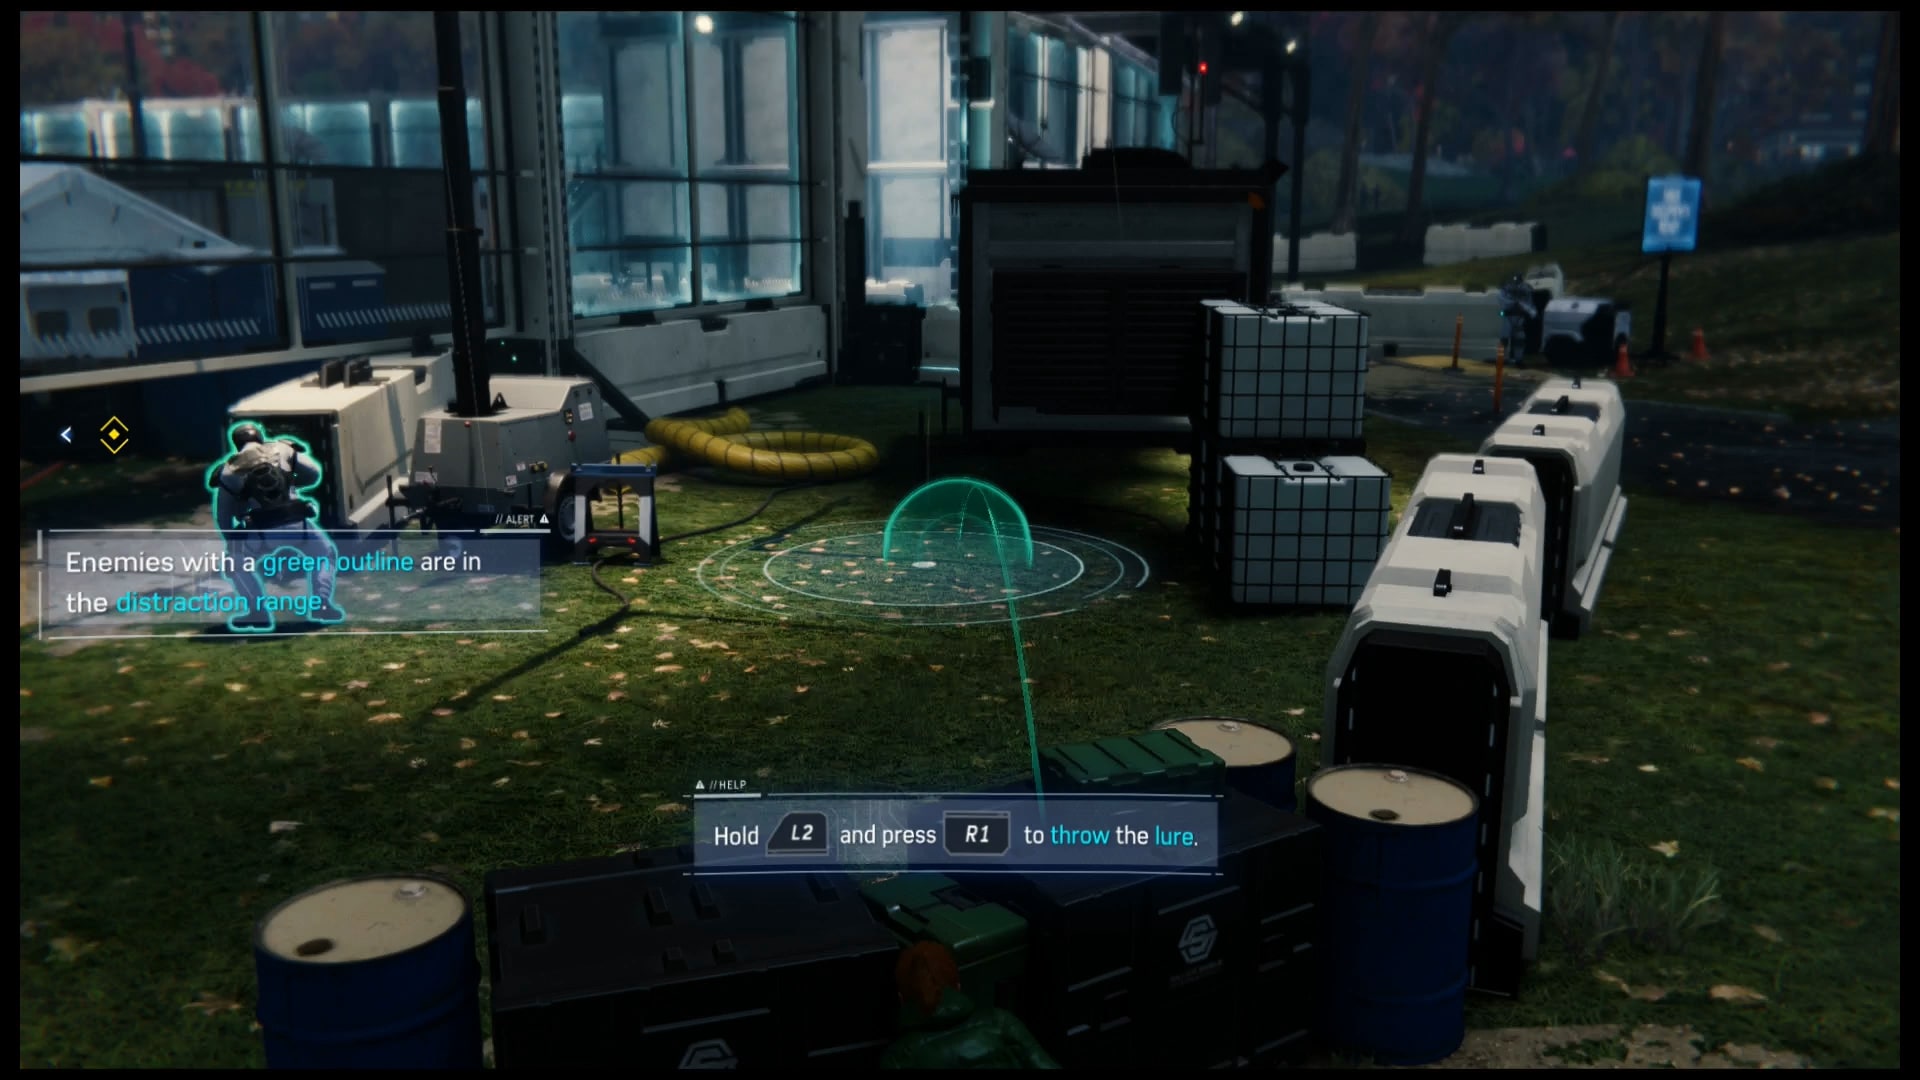
As MJ, you need to reach Miles Standish inside the Sable outpost. Fortunately, Peter gave her a spider lure to distract the guards. Place it in the right place, and then dart past them to get to Standish
Make sure the lure is close enough for the guards to hear it, but far enough that they will not see you as you move past them.
Be patient when waiting for the patrols to go by! Do not be afraid to start pressing stuff to lure them somewhere.
As you get closer, there will be more guards. Separate them to create an opening, and then rush in.
Well, MJ will. She's a reporter, so it's her job!
Watch as Spider-Man messes everything up. Way to go, Peter. You are back to square one. At least you learned where Li’s next move is going to be.
Strong Connections and First Day
Head to Dr. Octavius’ lab and see what he is doing.
Also, be sure you keep up with the token gathering and leveling up. You will unlock new mods and new skills that will help you.
Help Dr. Octavius get his neural interface’s response time down. Follow the video for the power relay. Or just look at these photo's.
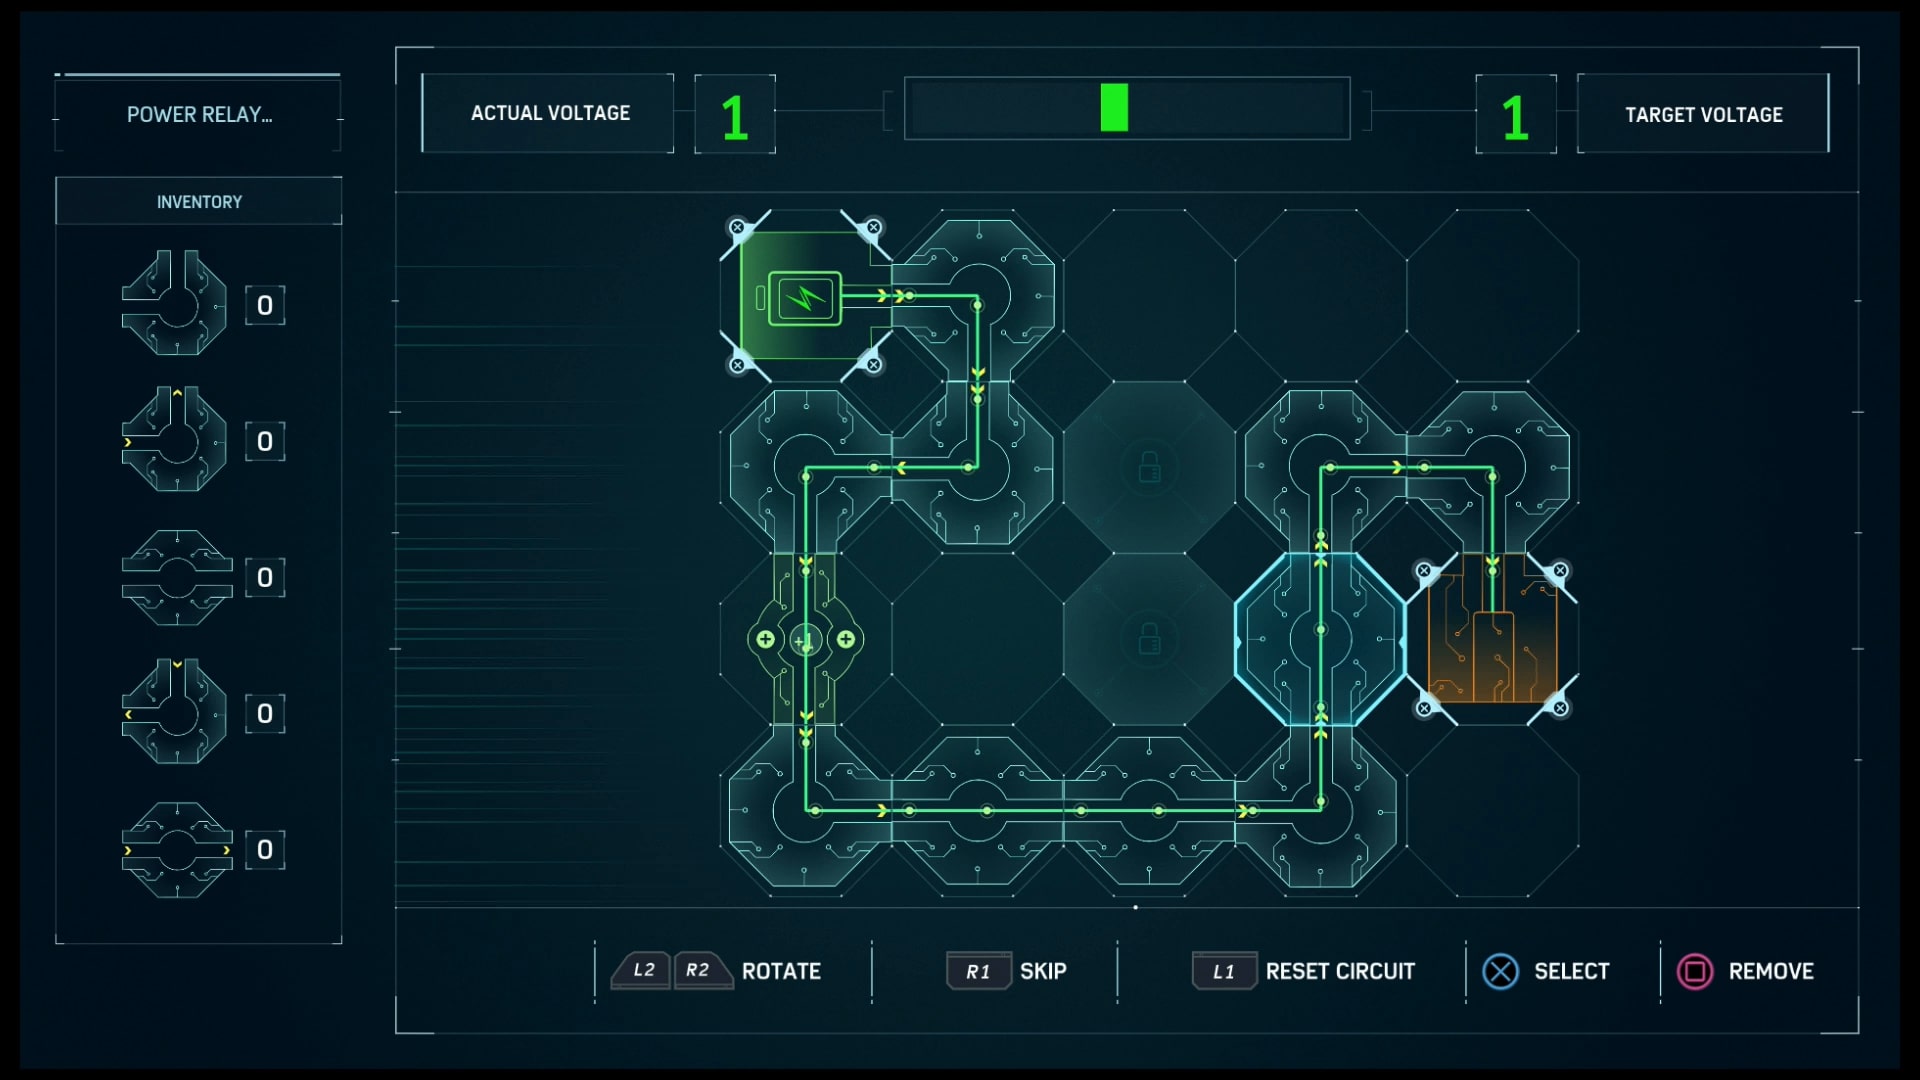
First solution
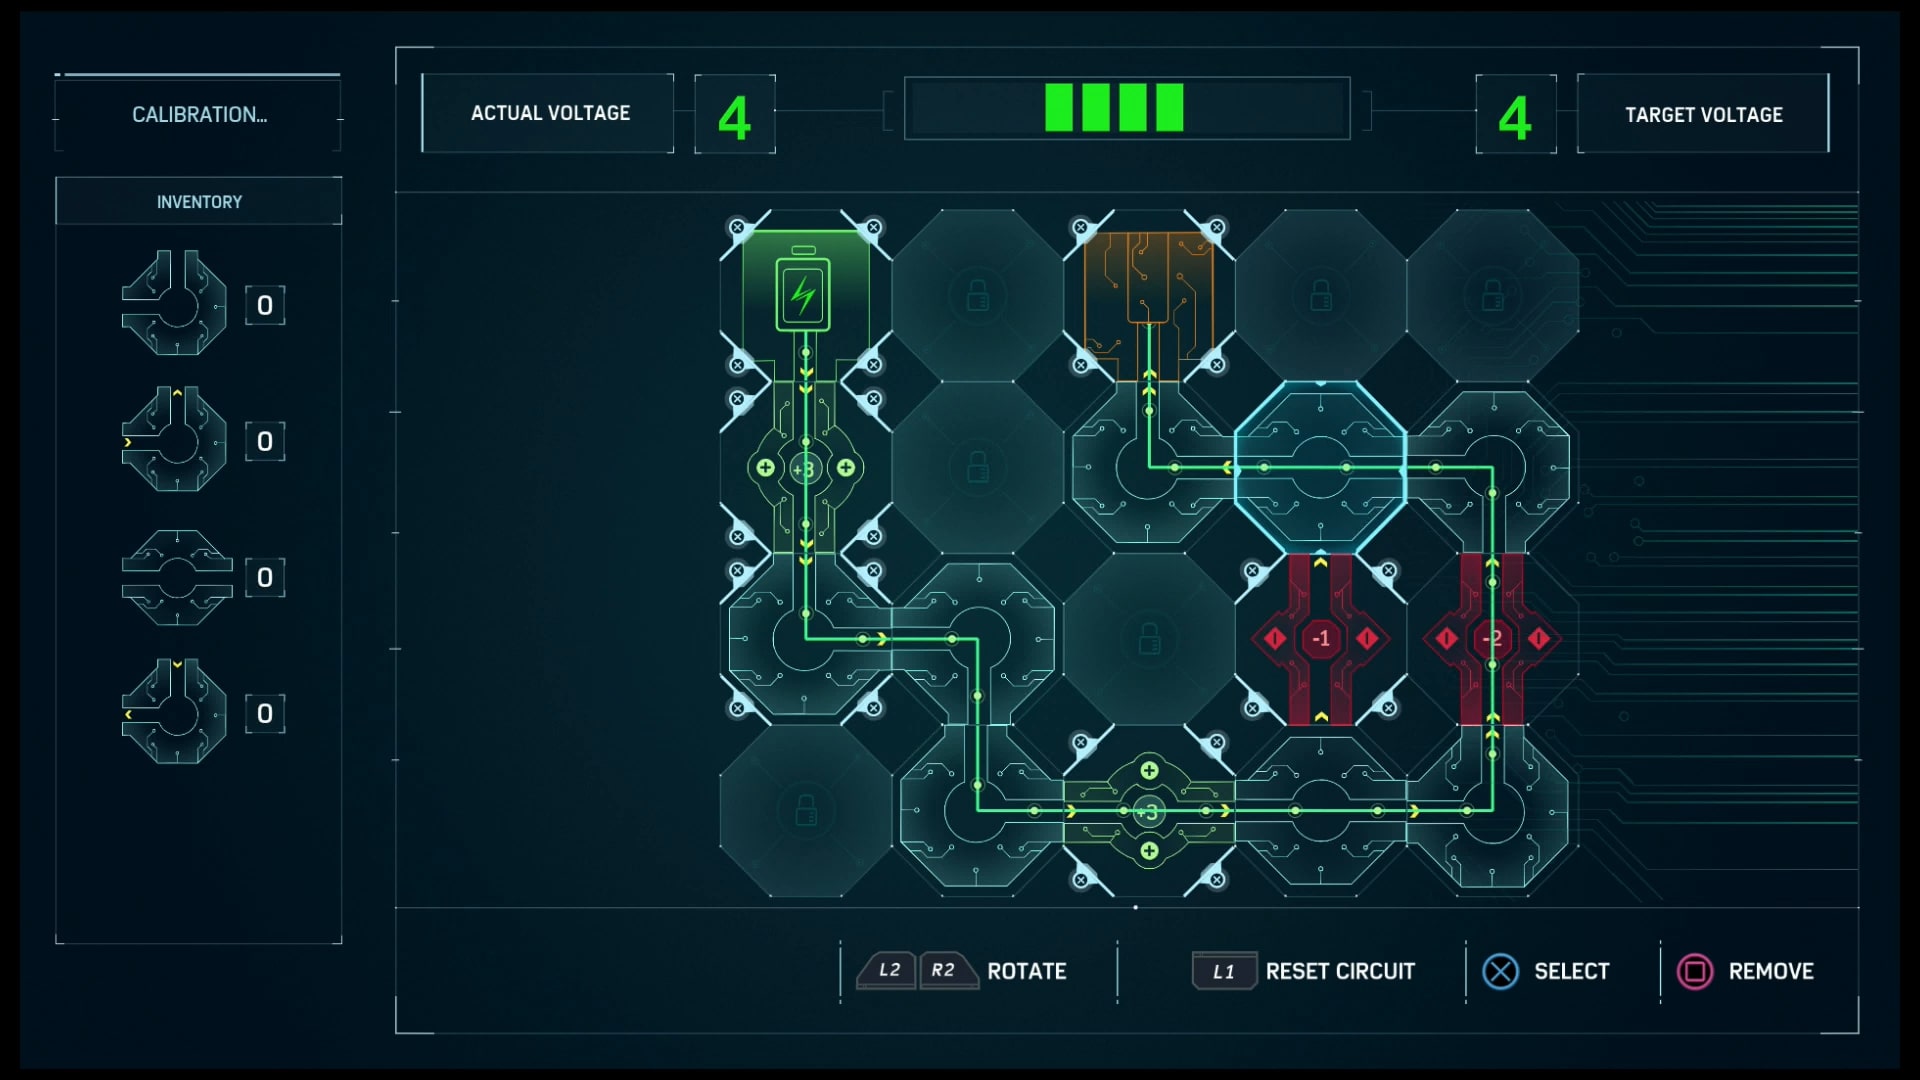
Second part. Or is it the third?
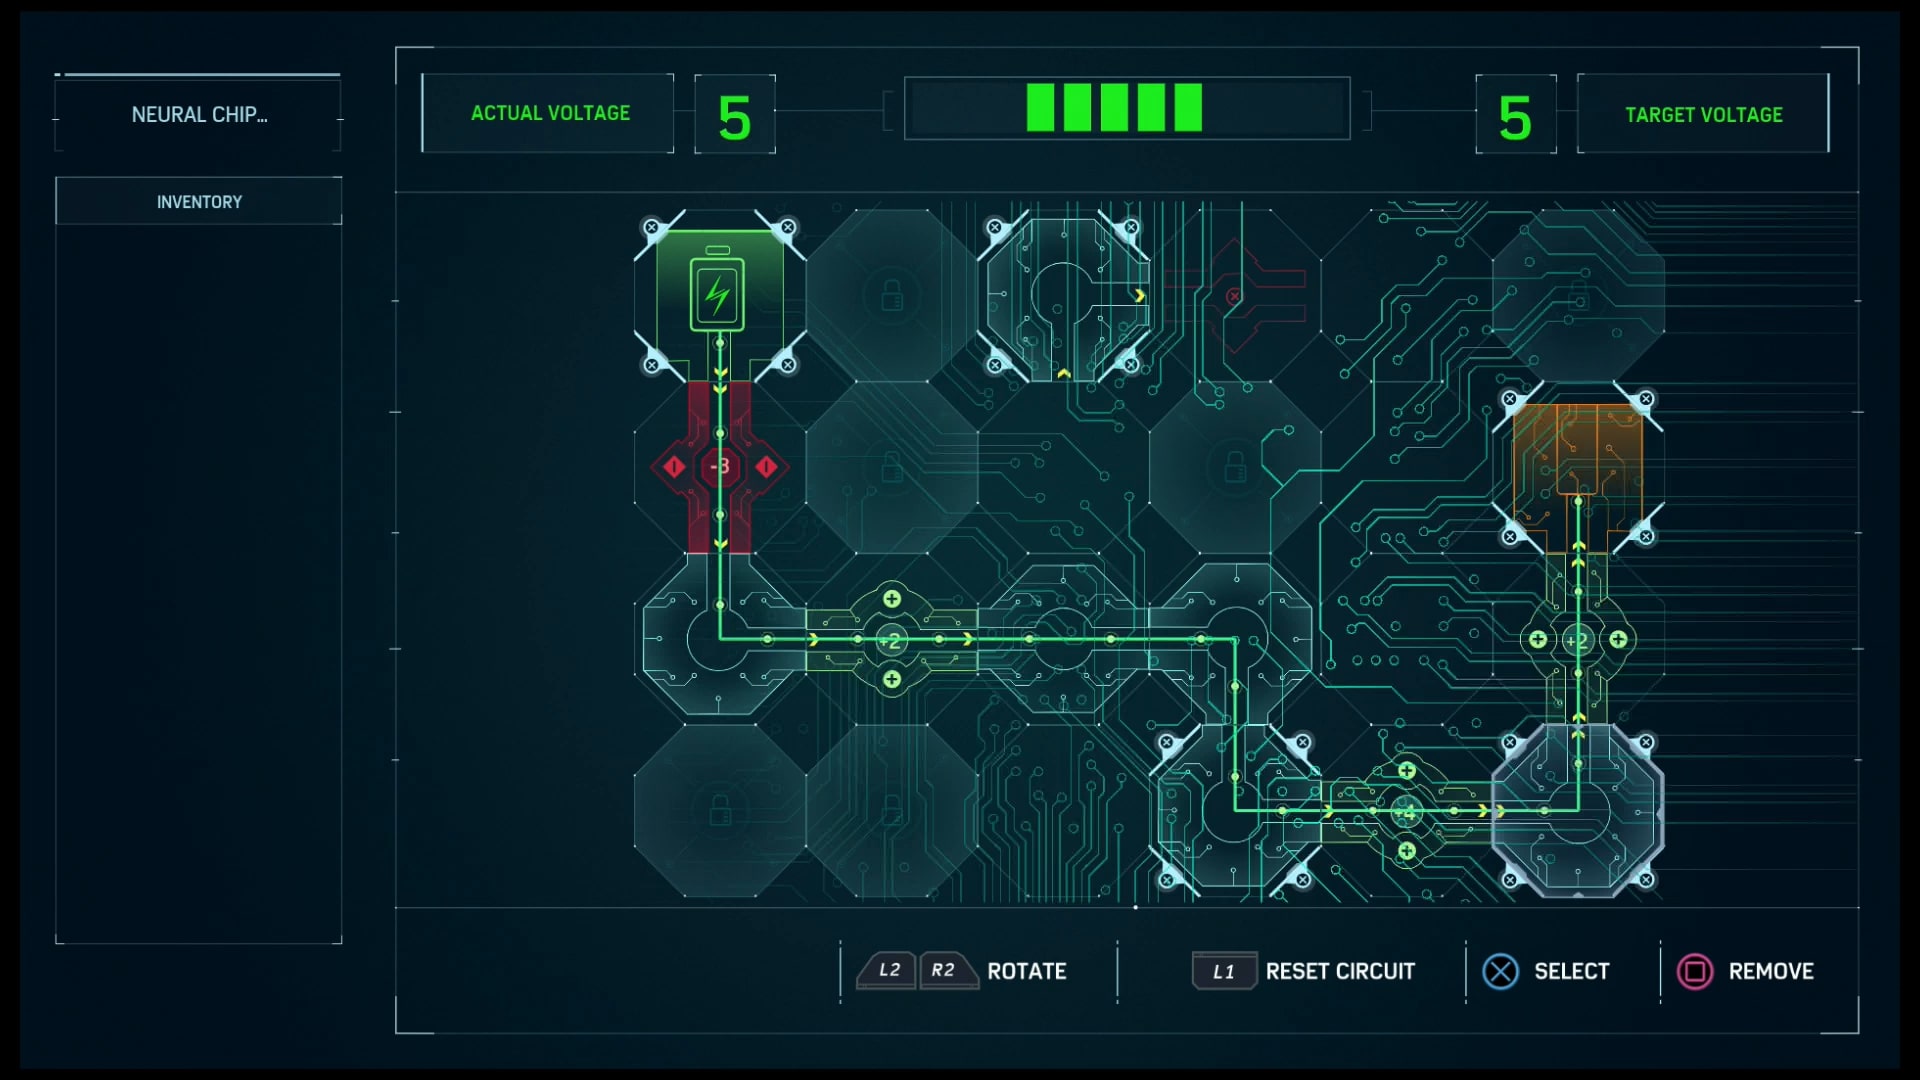
This is the third, unless I got it mixed up.
Watch the Neural Uplink test, be amazed/terrified, and then listen to Octavius. After that, you are free to move around the lab and look at what he has in store. In addition, if you know your Spider-Man lore, you are not going to like what you see. After that, leave the lab and head to F.E.A.S.T.
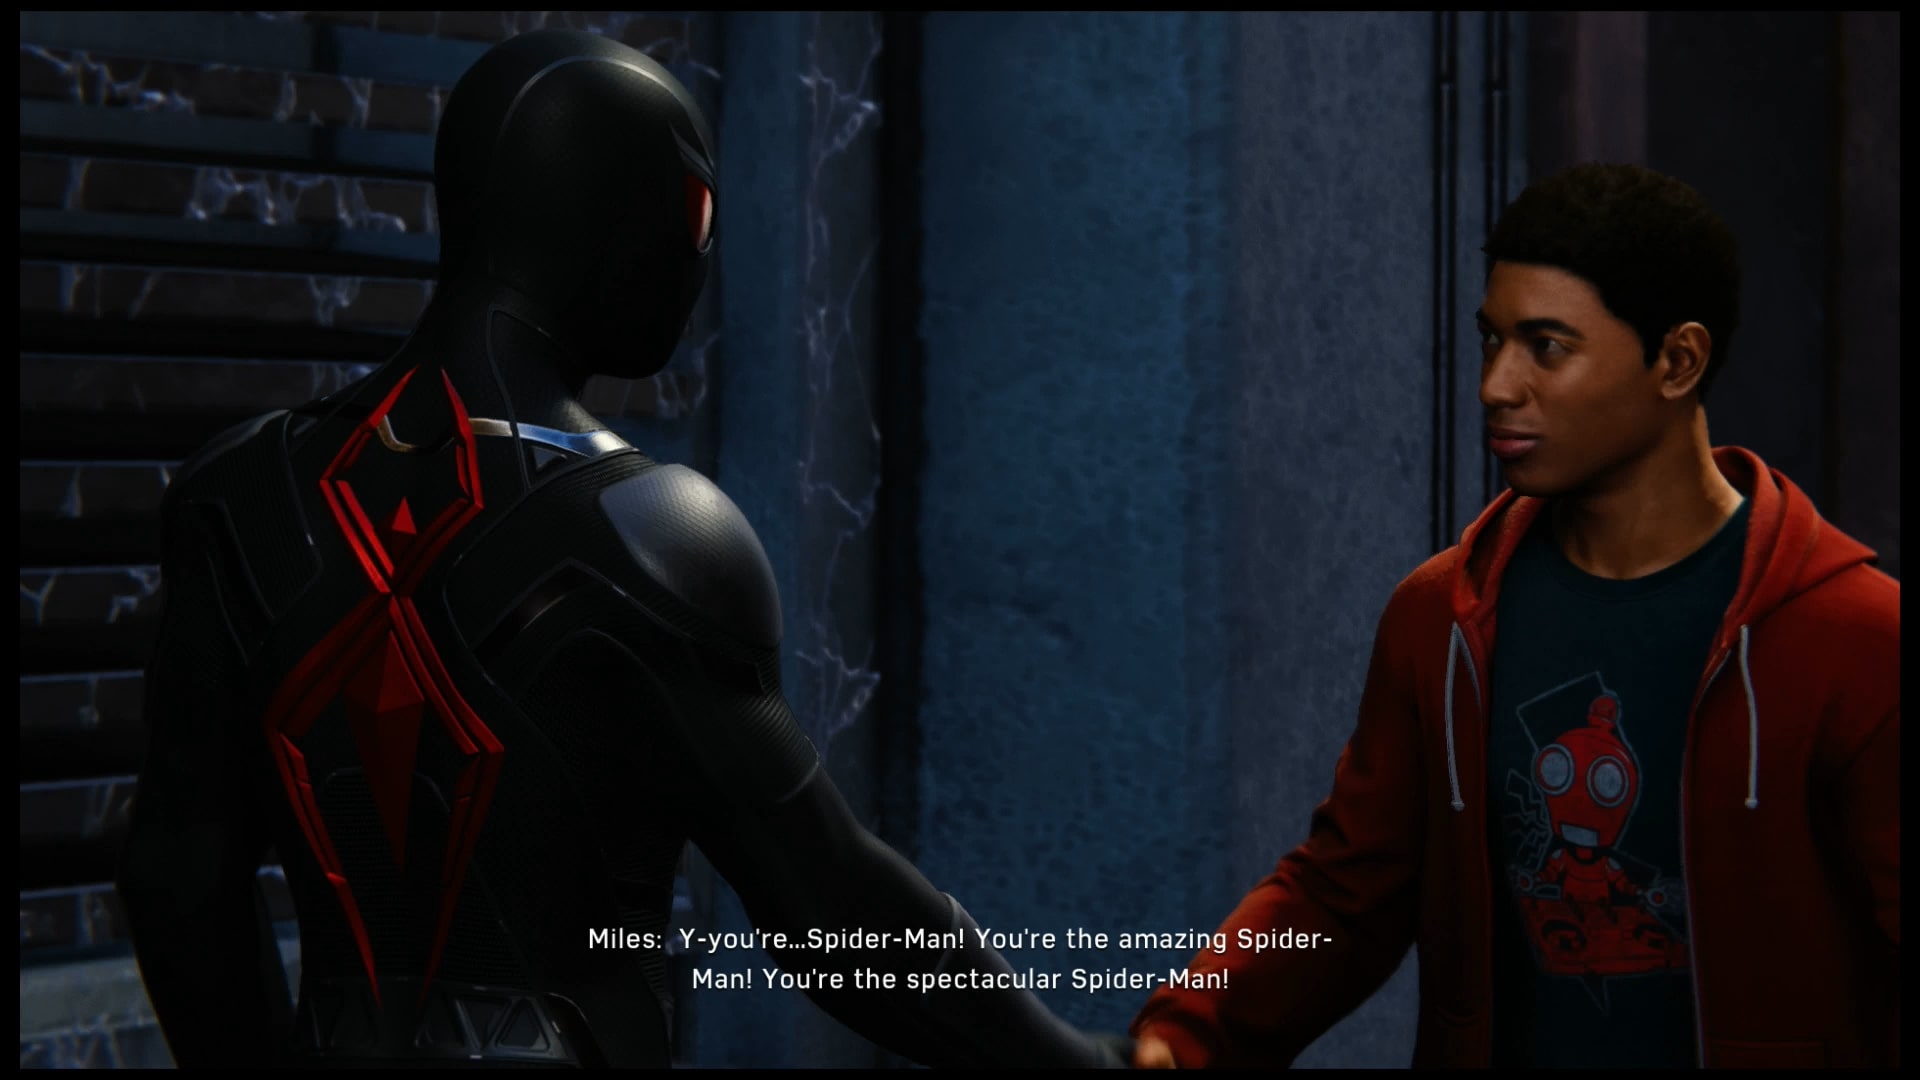
Like I said: Izuku "Deku" Midoriya. And Spider-Man is All Might here!
On your way there, though, you will run into Deku Miles Morales (Officer Davis’ son) being attacked by thugs. Save him, and then watch him gush over meeting his hero. What a sweet moment.
Play as Miles Morales as you walk to the F.E.A.S.T. center. Only problem is, Sable’s men are in the way. Sneak past them
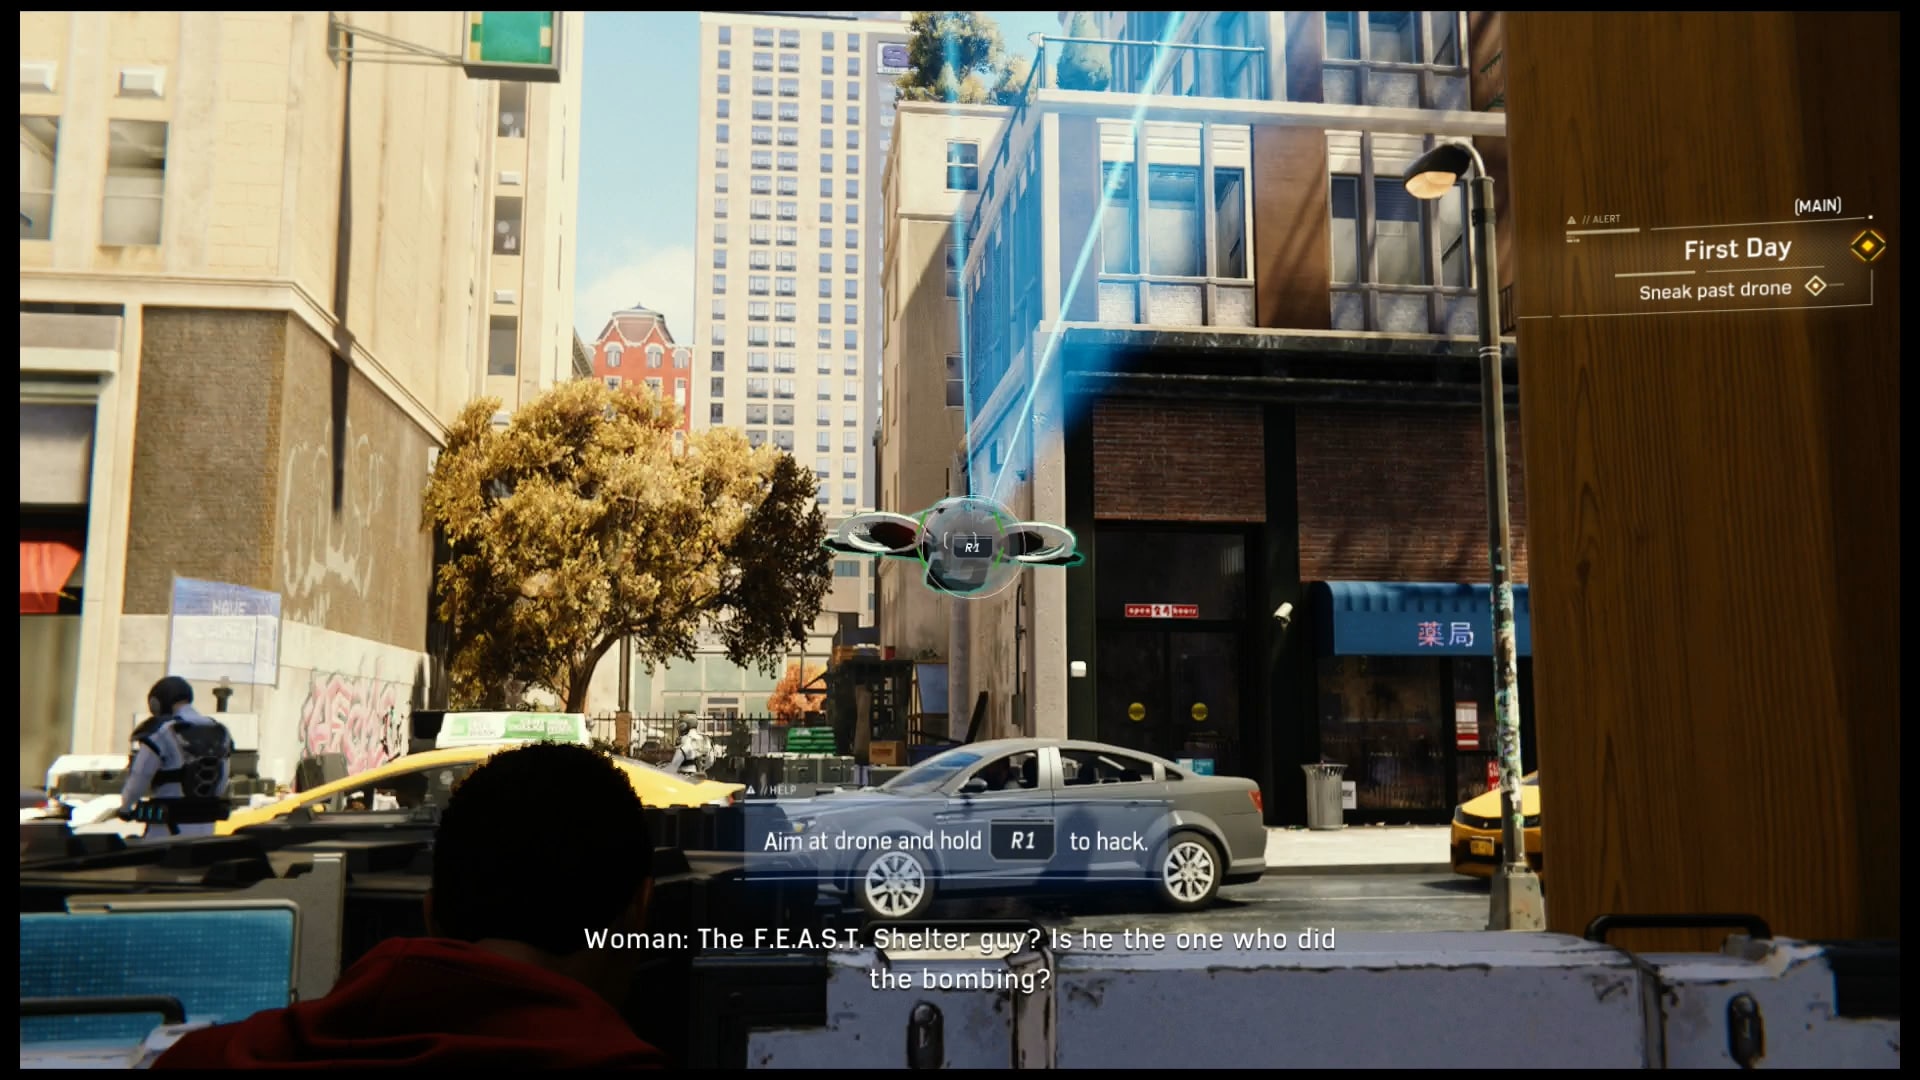
He's like a young Aiden Pearce or Marcus Holloway from Watch Dogs
Unlike MJ, Miles can use a hacking app he created to create distractions. It is just like Watch Dogs. Use that to distract the guards and disable the drones to get past them.
Enjoy!
Collision Course
This mission is going to be worthy of a movie, people! Remember that Giant ATV Tombstone was building for Li? It has to steal the Devil’s Breath. Chase it down; rescue Michaels and the Devil’s Breath!
It's like they took the best car chases and added Spider-Man to make them even more awesome!
They have rocket launchers on that monster truck, so remember: DODGE. Once you get in close, hit the triangle to get on the roof, and start clearing out the Demons.
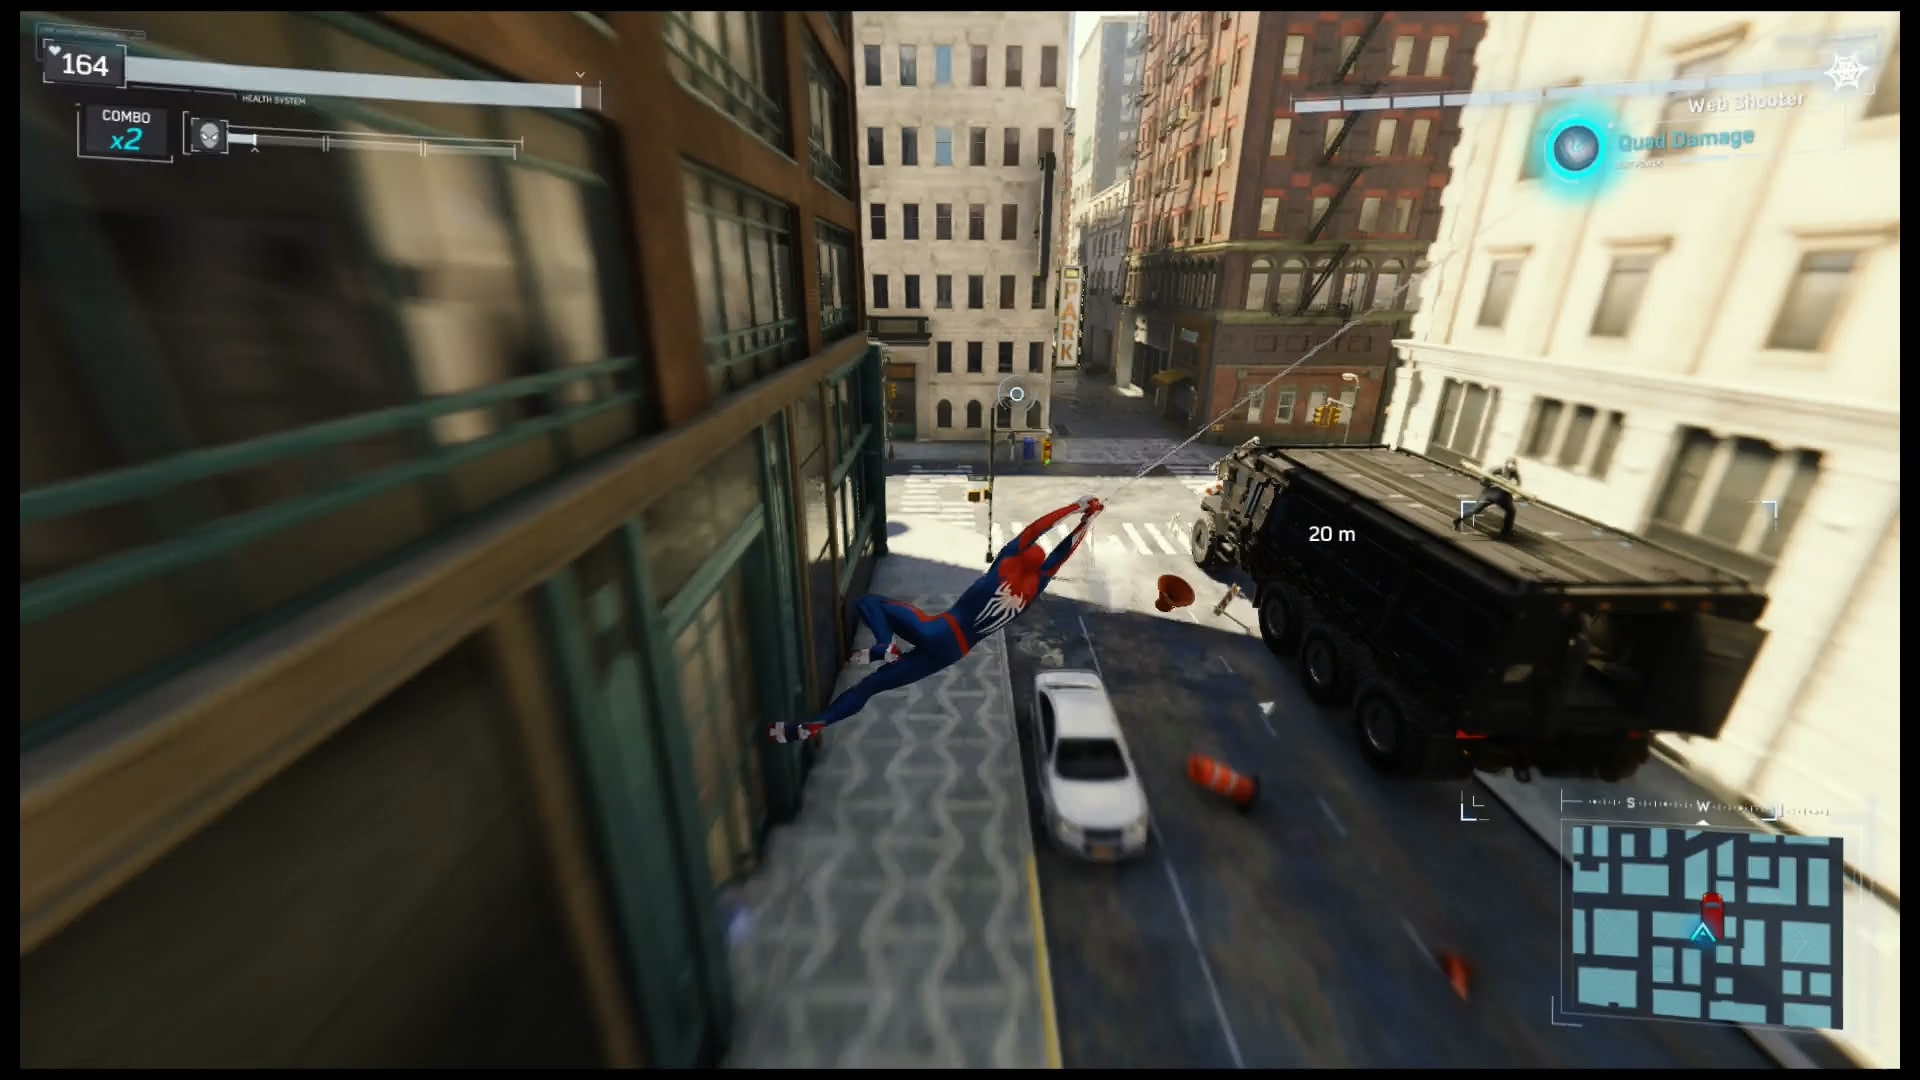
Use mods that increase the damage that you can do. If you have the “Fear Itself” suit, use its quad damage to briefly do more damage.
Follow the QuickTime events to stay on the ATV. As soon as you get to Li, though, he’ll try to corrupt you, and you’ll be transported to a mindscape I call “The Negative World”
Follow Li, or rather, Mister Negative, through The Negative World to the recreation of City Hall. When he tries to offer you the Demon Mask. Throw it back at him.
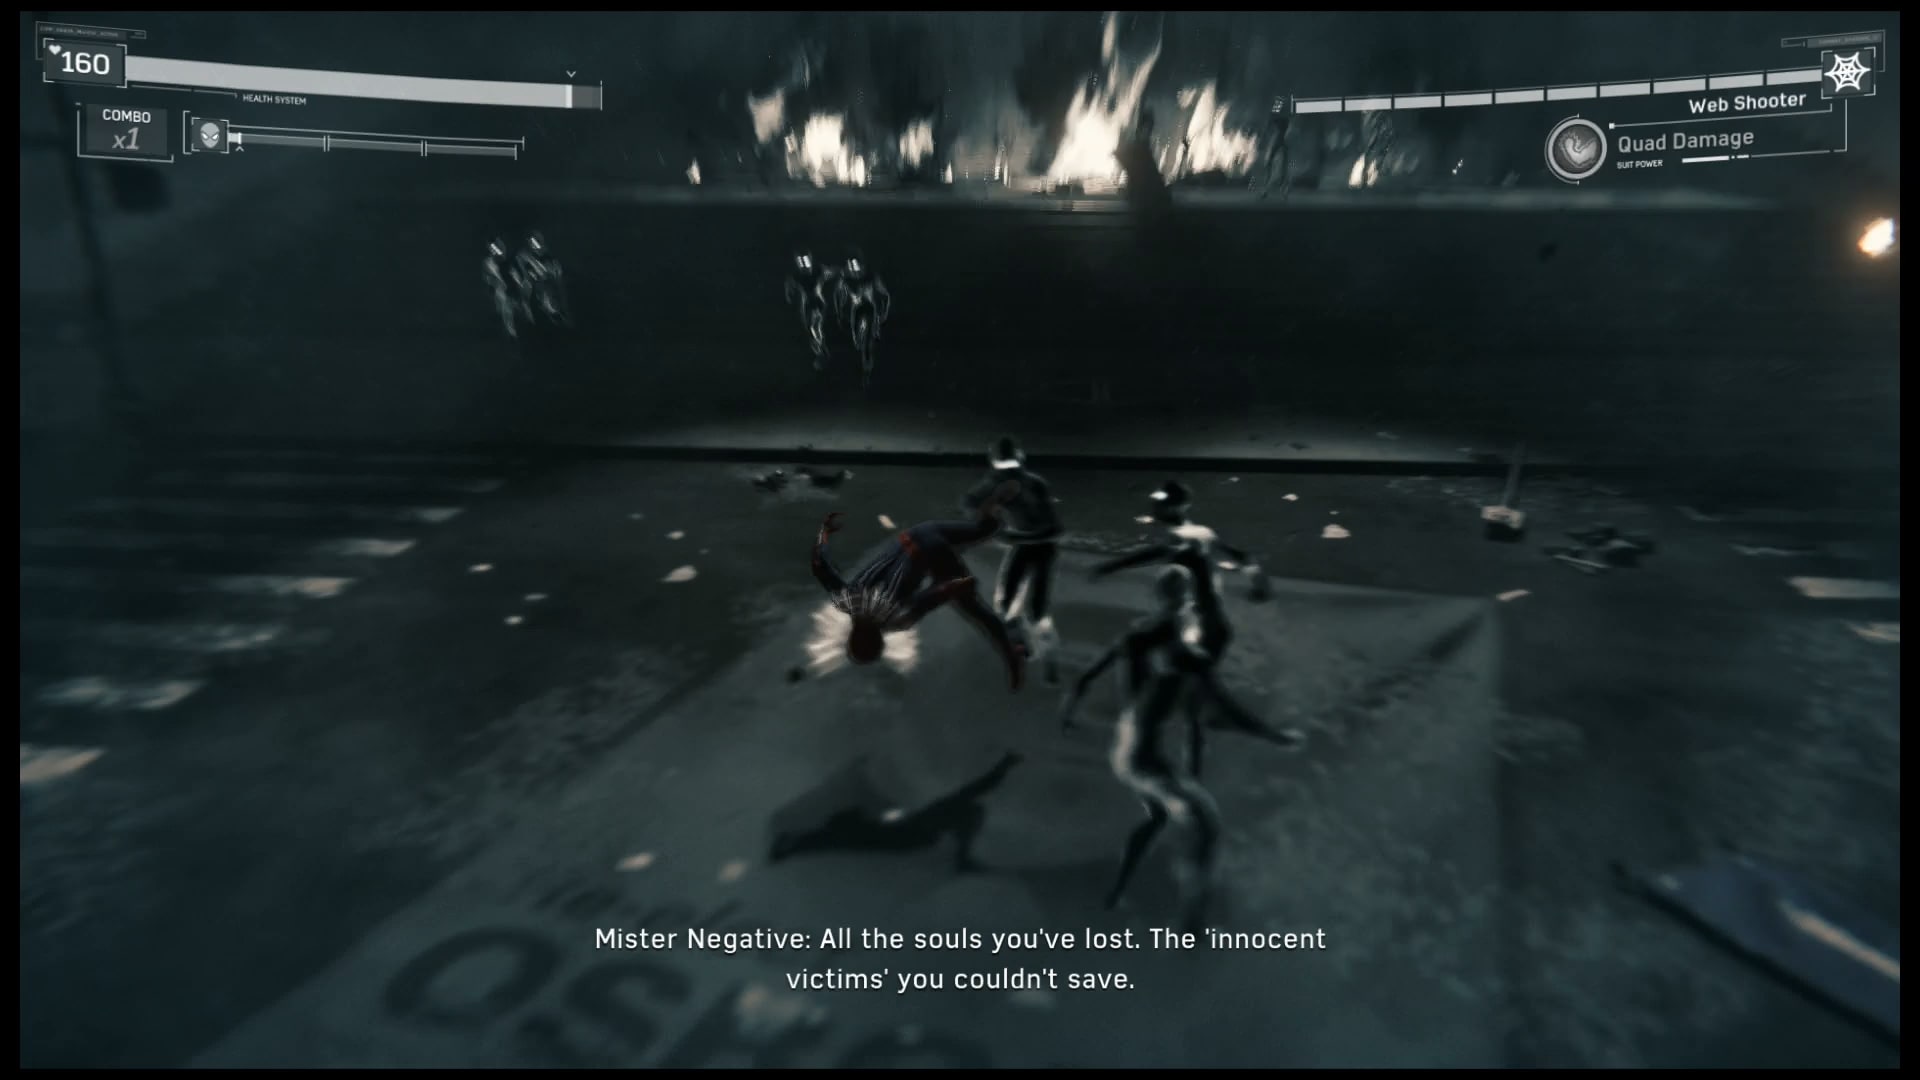
I'd call them Shadow Clones, but I don't know if Shonen Jump owns the rights to that.
Mister Negative will spawn negative clones to fight you. They will have largely the same abilities as regular thugs. There are a lot of them, but they are weak; like, one hit K.O. weak
Once you destroy enough of them, Mister Negative will try to grab you. Force him off, and he will spawn a giant Demon mask and start throwing stuff at you. Throw them back to smash it and bring you back to reality.
You saved Dr. Michaels, but Li got away with the Devil’s Breath. In addition, he plans to release it where to cripple New York City.
The One That Got Away
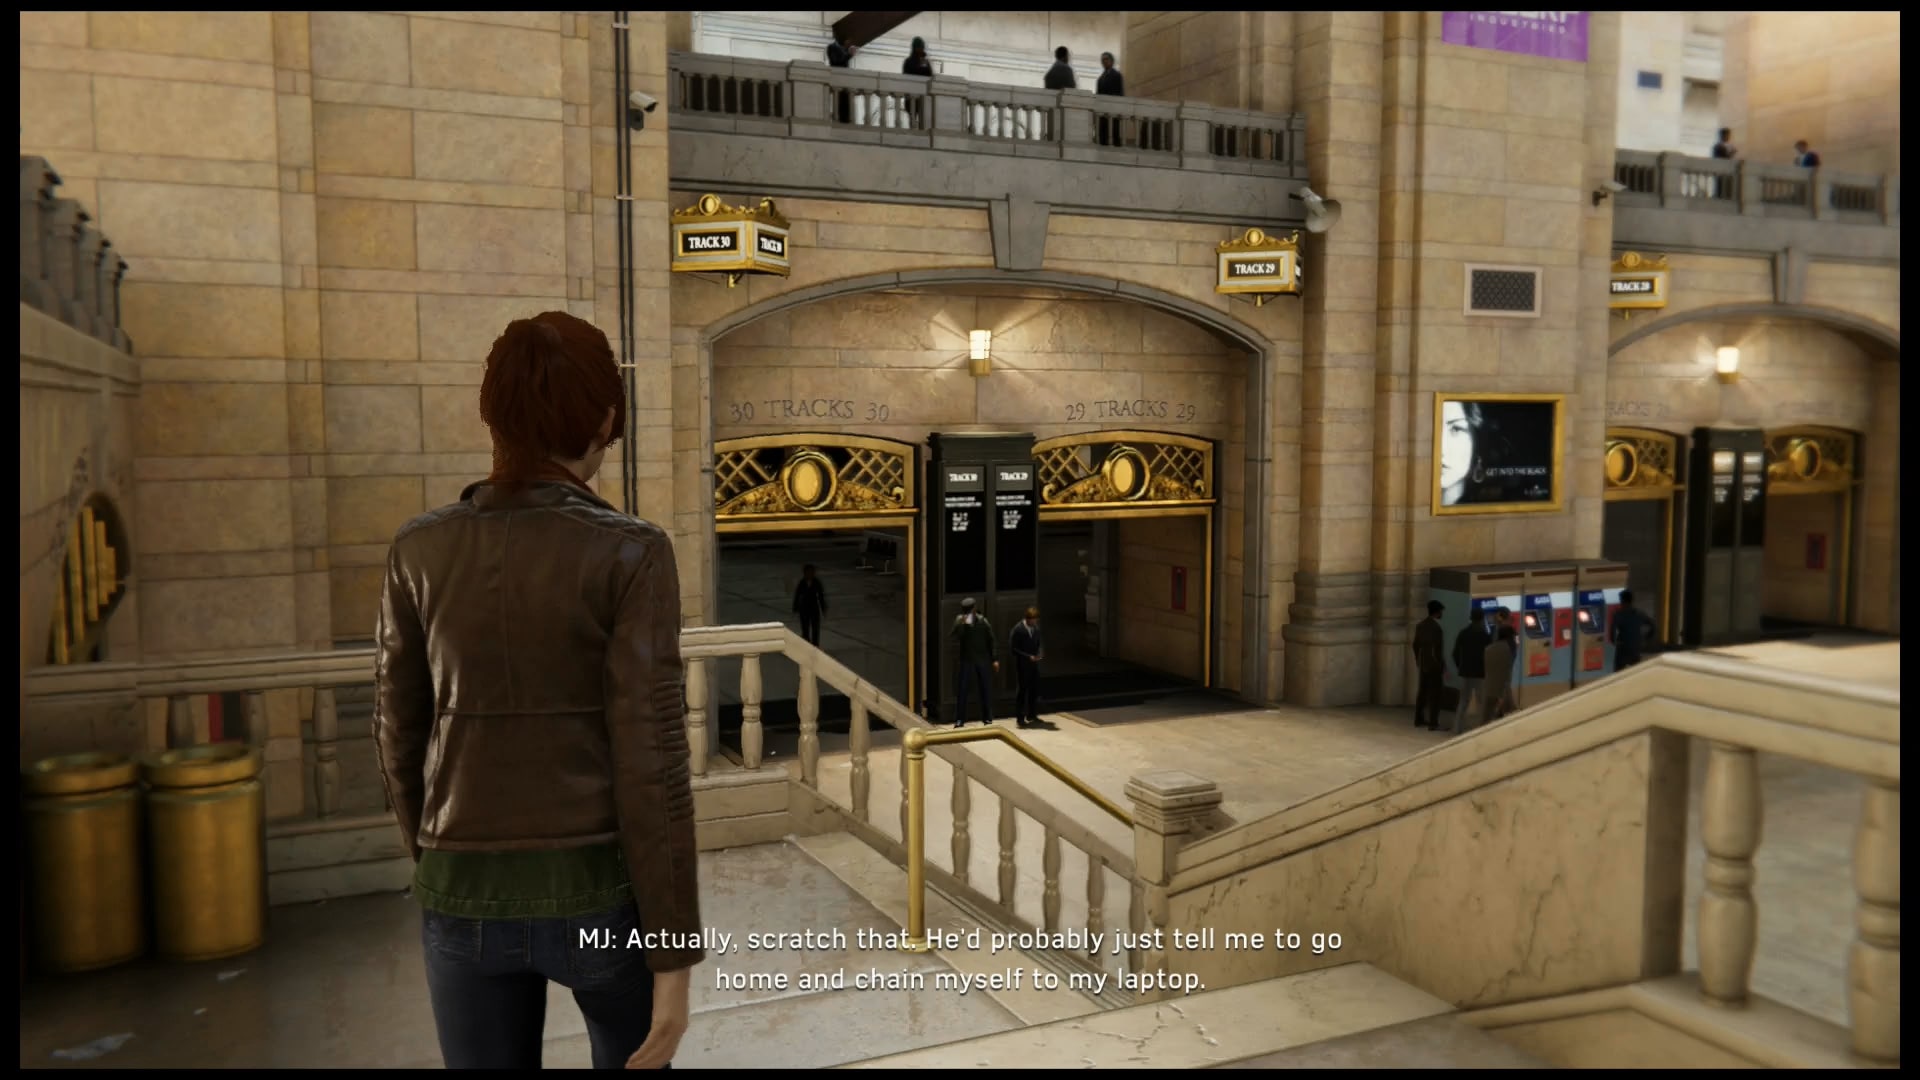
Acting on a tip from Yuri, you locate Li’s getaway car in Hell’s Kitchen, empty. Cut to Grand Central Terminal, where MJ is looking at the Oscorp
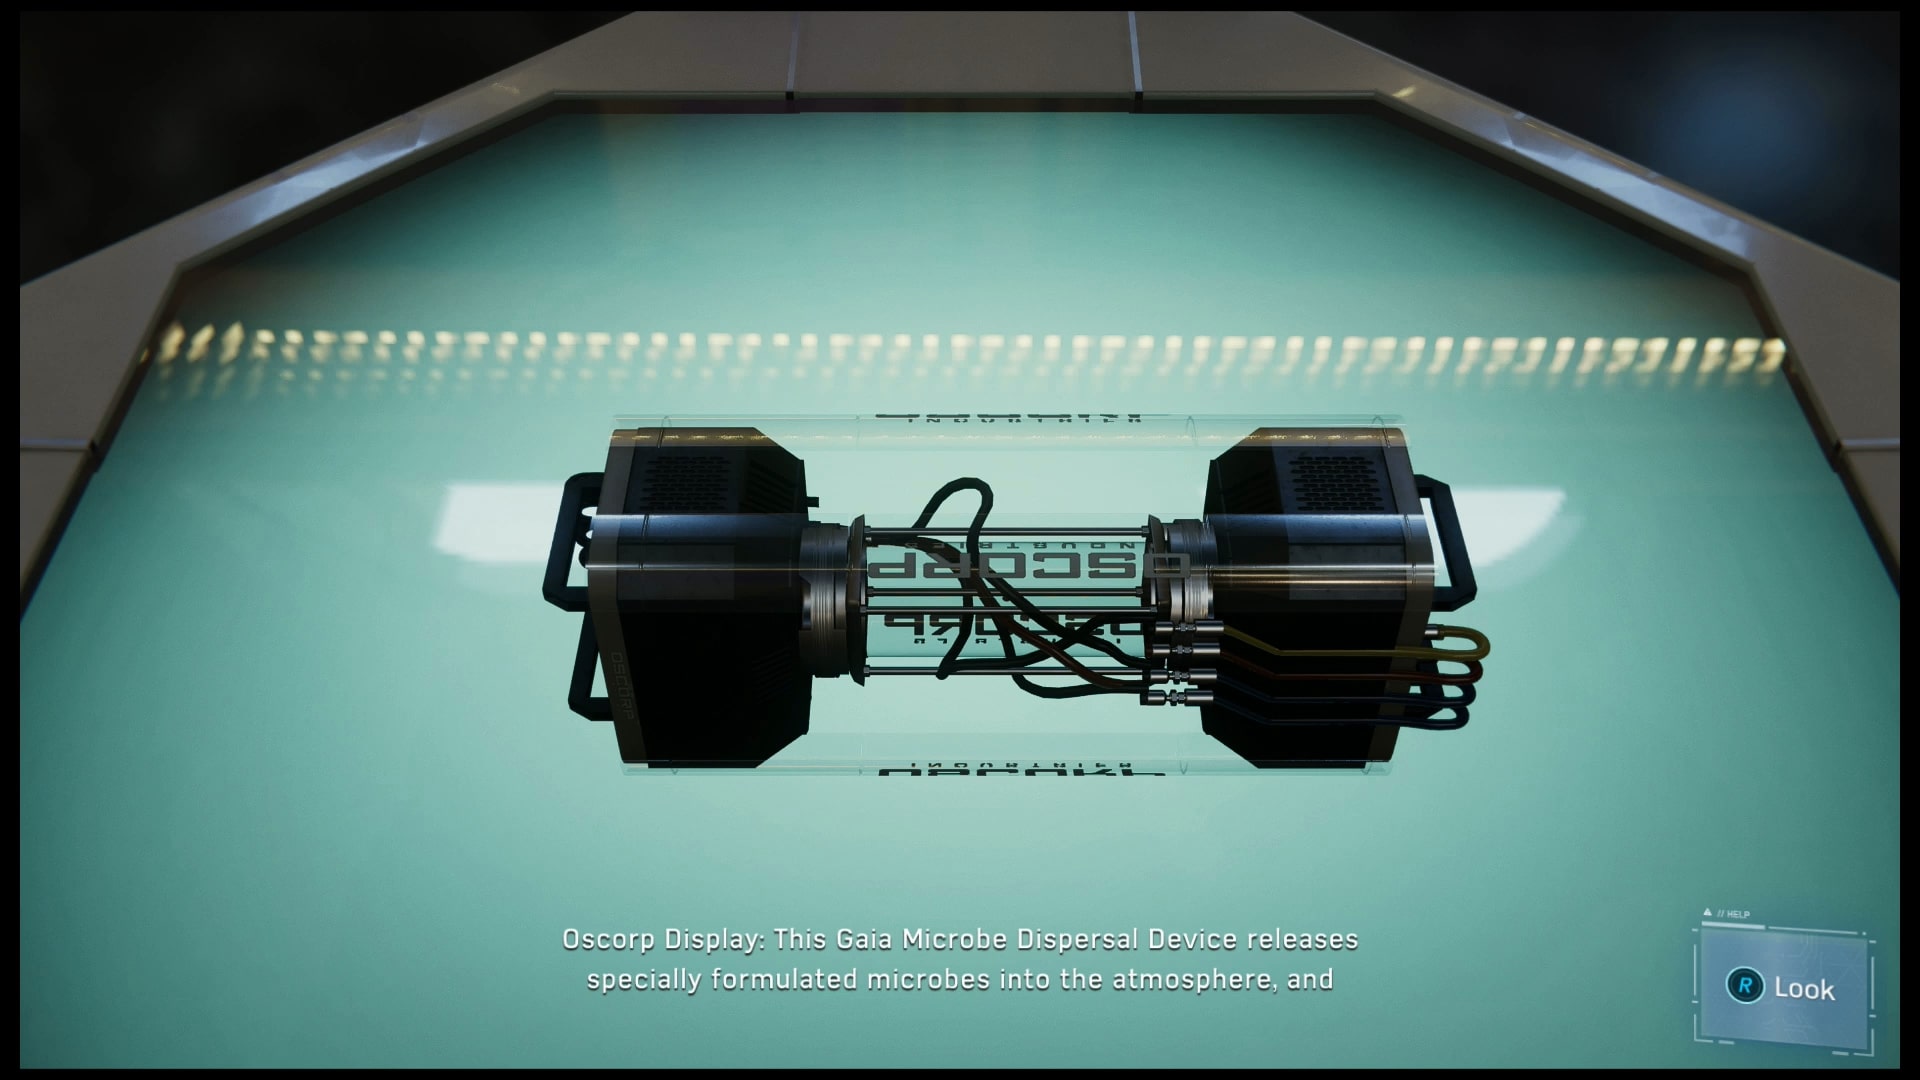
Look for this.
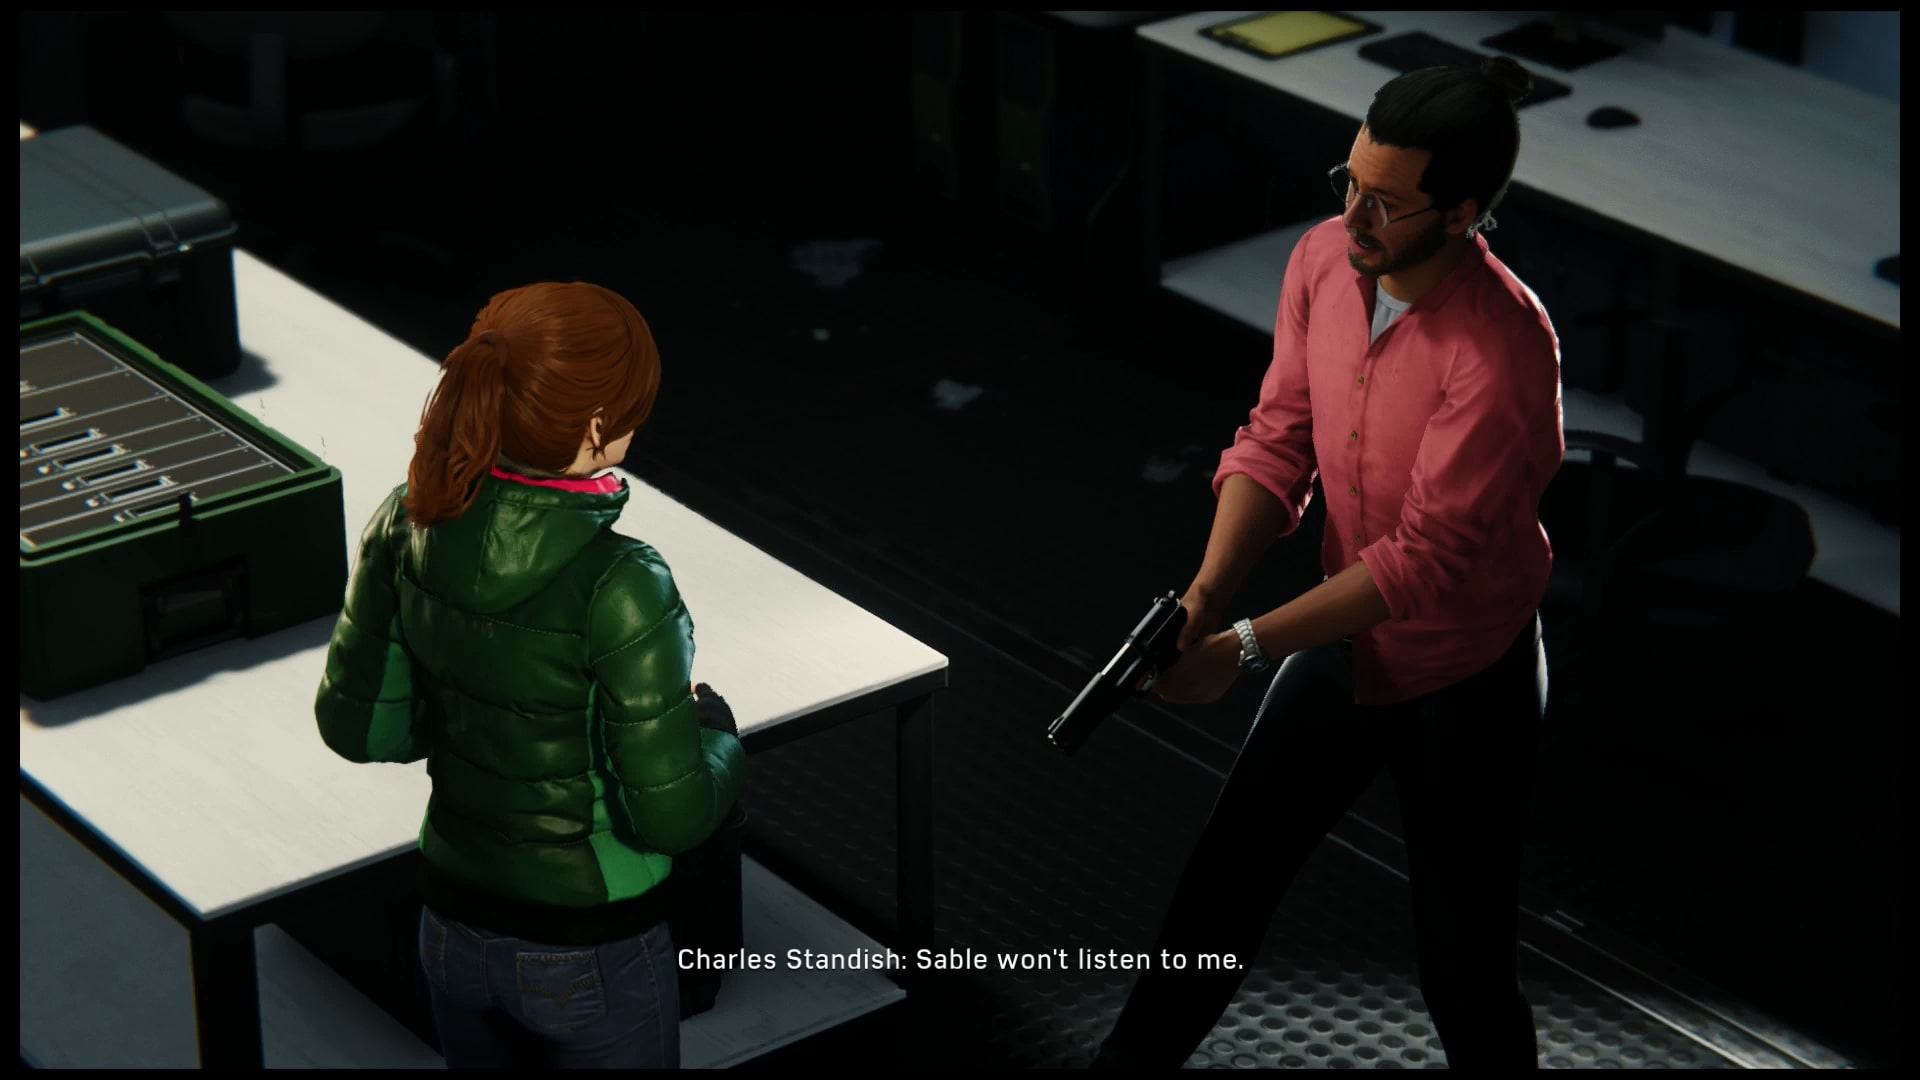
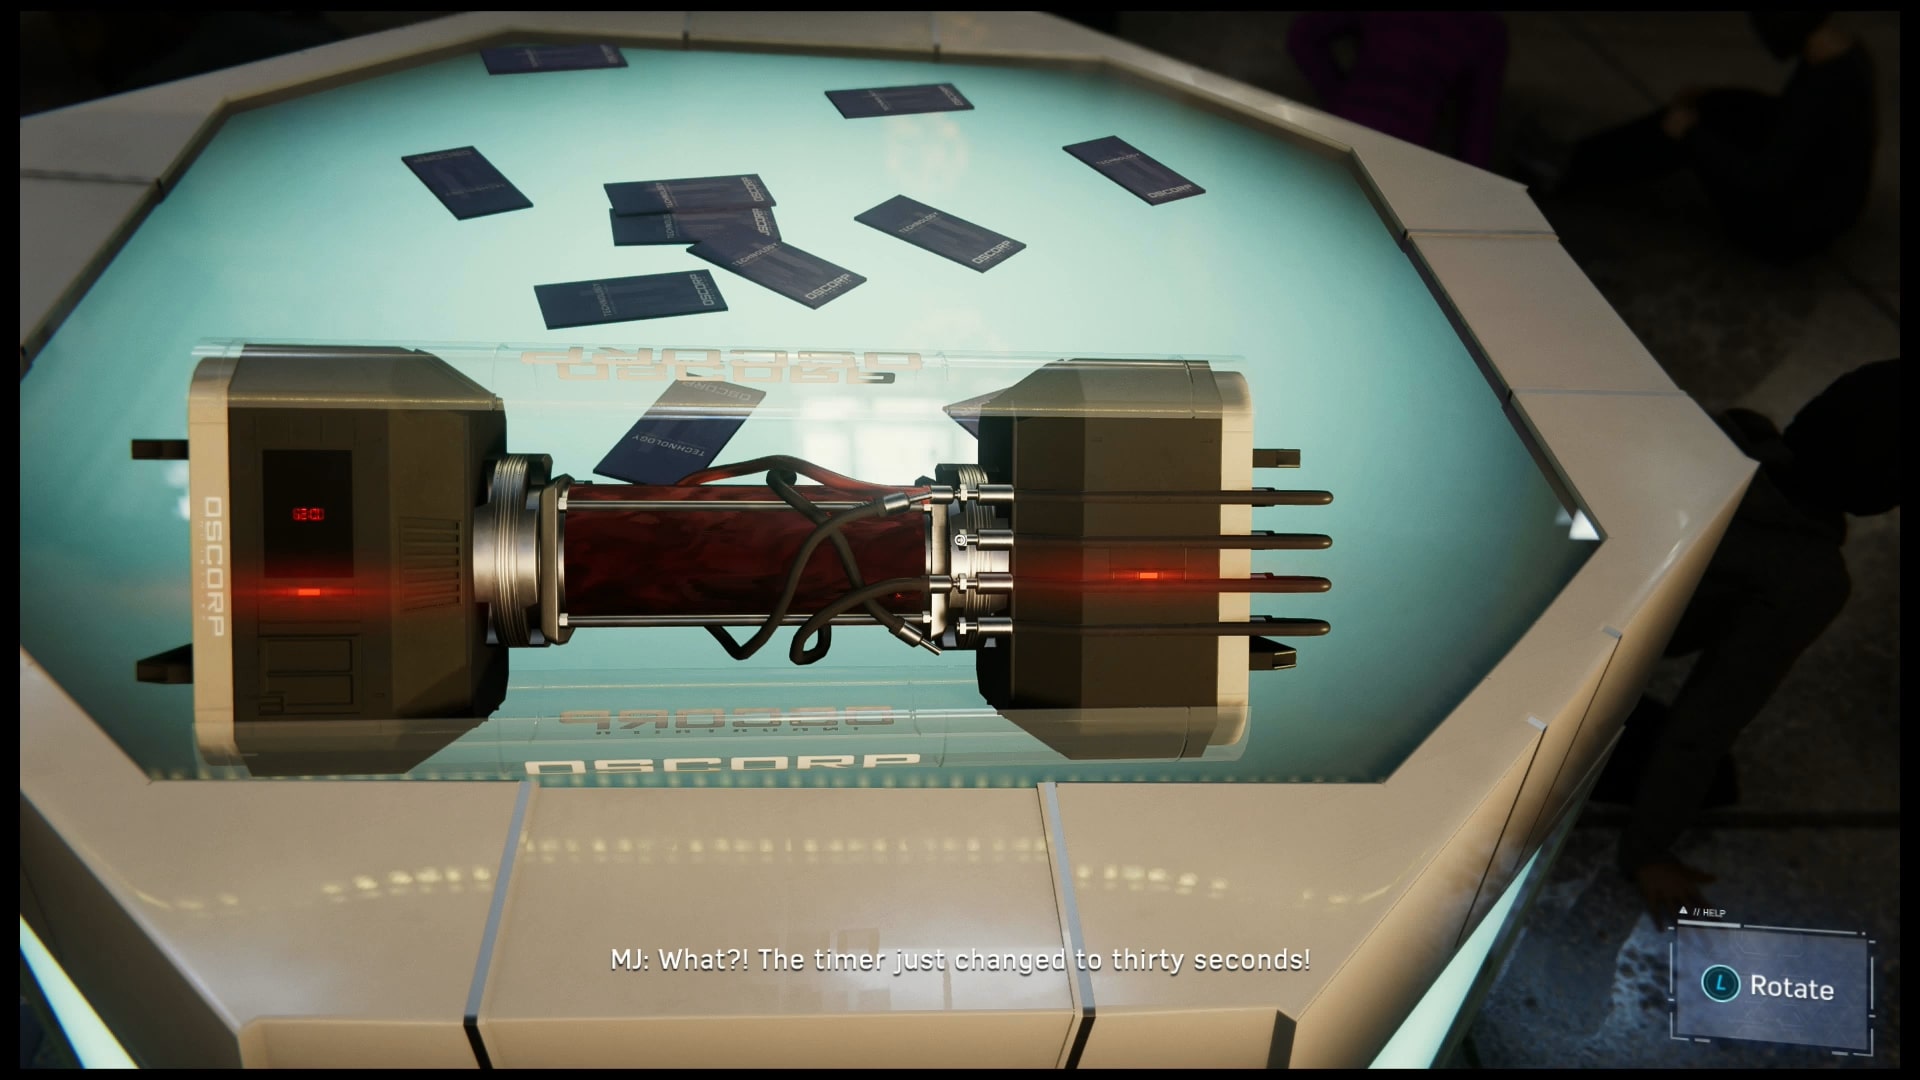
You will need to look around to find what Li is after: it is a rectangular storage container that looks like a homemade bomb. You cannot miss it. That is when Martin Li will show up and takes everyone hostage.
You cannot wait for Spider-Man to arrive at GCT: Li is going to release Devil's Breath and he has drones patrolling. Help guide Spider-Man through GCT
Once you are free from the crowd, help Spider-Man take down guards in order to clear a path to the Devil’s Breath so you can disarm it.
Remember to keep using lures to separate the guards so that Spider-Man can take them out
Once you get closer to the container, Li will start the timer. You have to disarm the bomb.
To detach the wires, pull the bottom wire, and the second one from the top. That accelerates the countdown. Do not panic. Pull the third wire, then finally the top one. The bomb will be disarmed
First the third wire needs to go
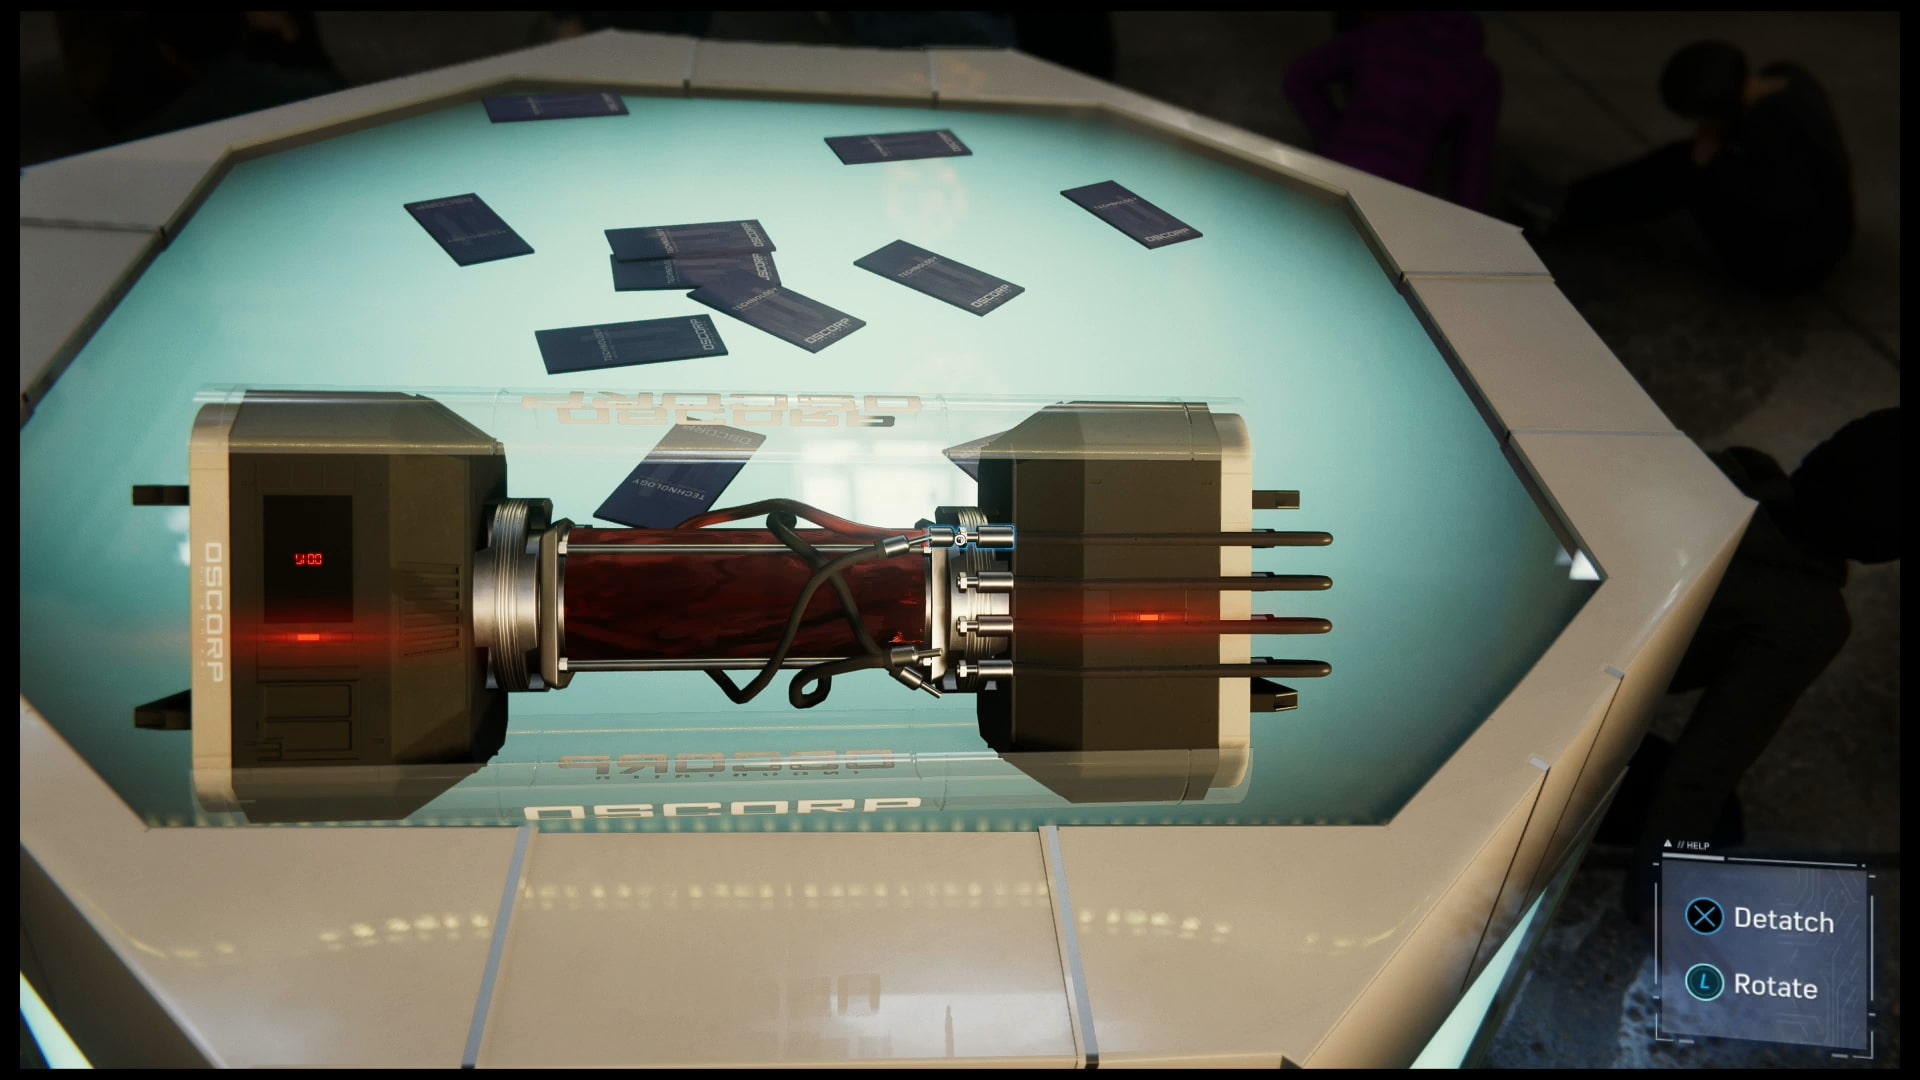
Now the second one from the top.
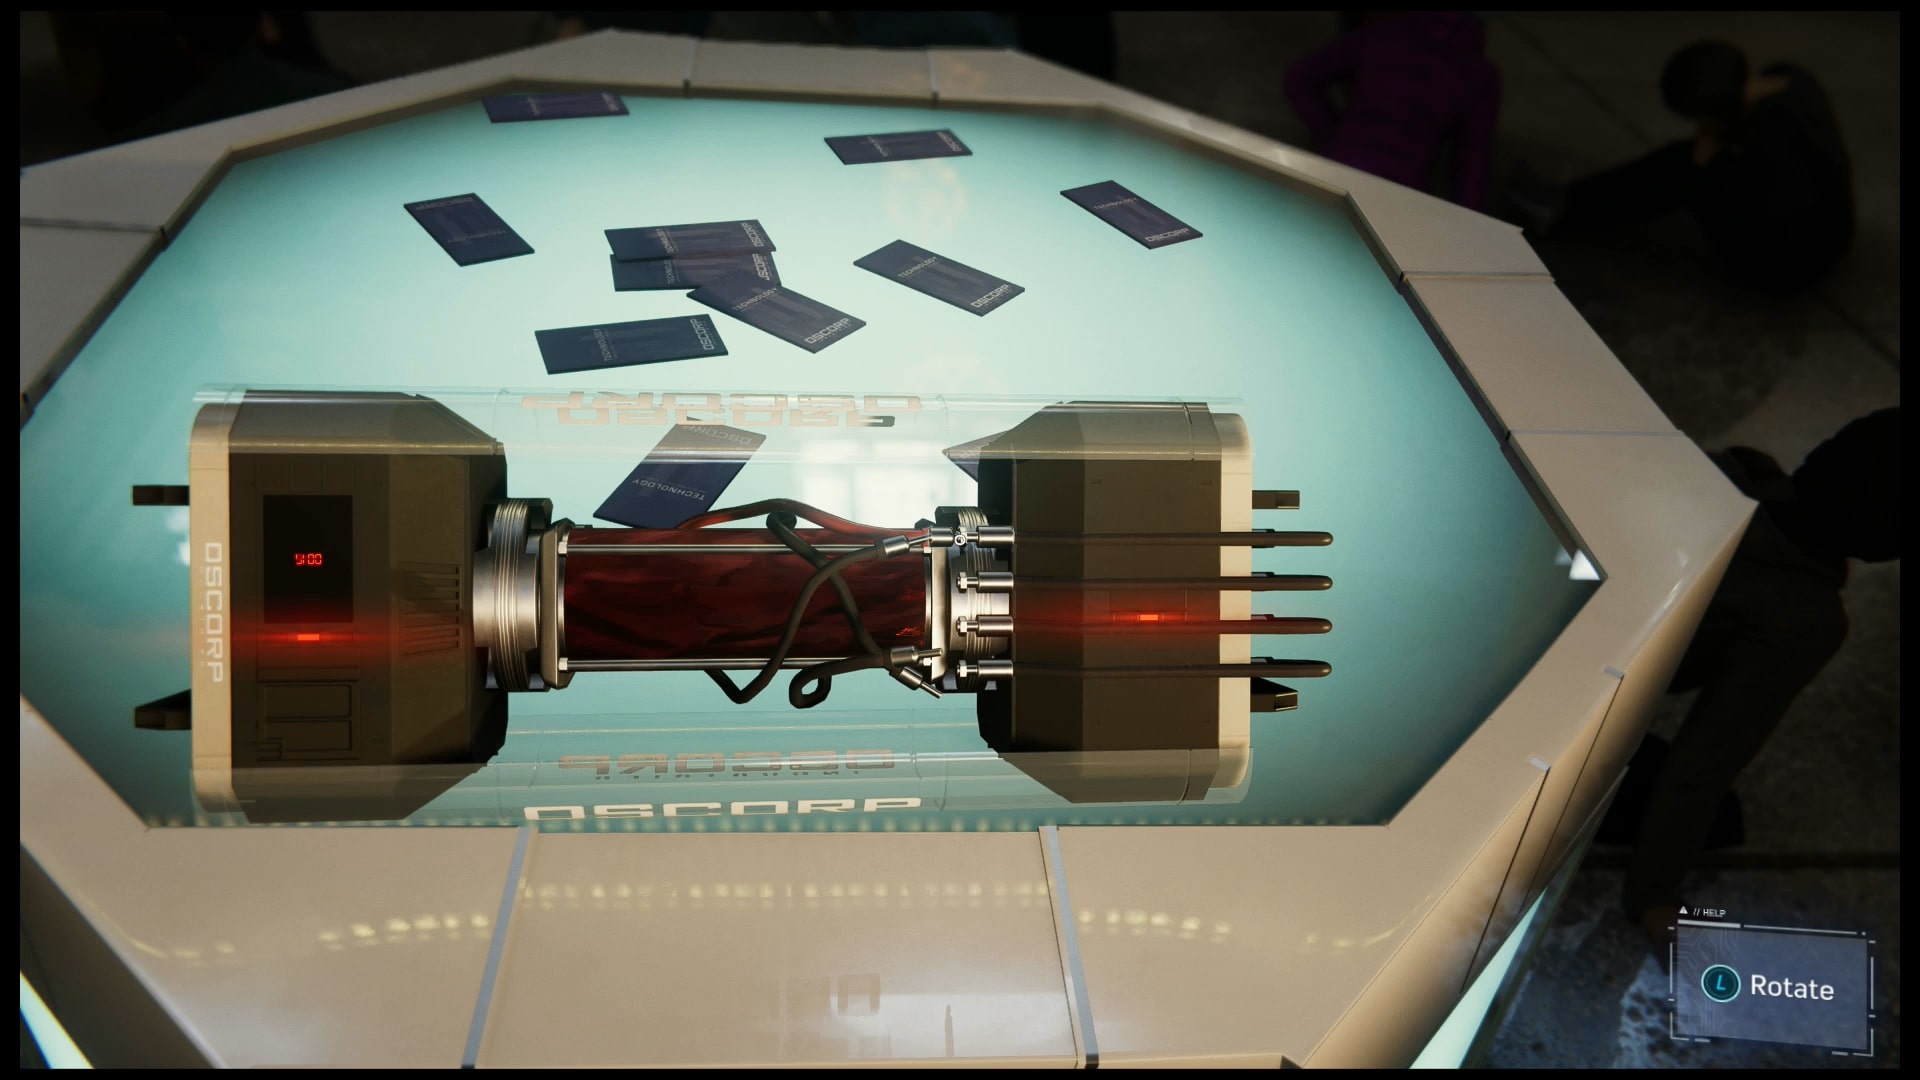
Now the third and final wire.
You will then gain control of Spider-Man. Try to clear the guards out as quietly as possible.
You can take the guards down from many vantage points. Pick them off one by one. If you are caught, do not worry. MJ will lead the hostages to safety while you fight the guards. Go all OUT.
They will have rocket launchers, swords, brutes, and whips. Use throwables to stun the tougher enemies., use finishers to gain extra XP, dodge the rockets, and do whatever you can to keep them off-balance
If you have the tokens for it by now, unlock the seismic charger gadget. It emulates Shocker by creating shockwaves that will throw enemies to the ground. Great for stunning large groups of foes.
Once you have dealt with all the enemies, chase after Li on the Subway.
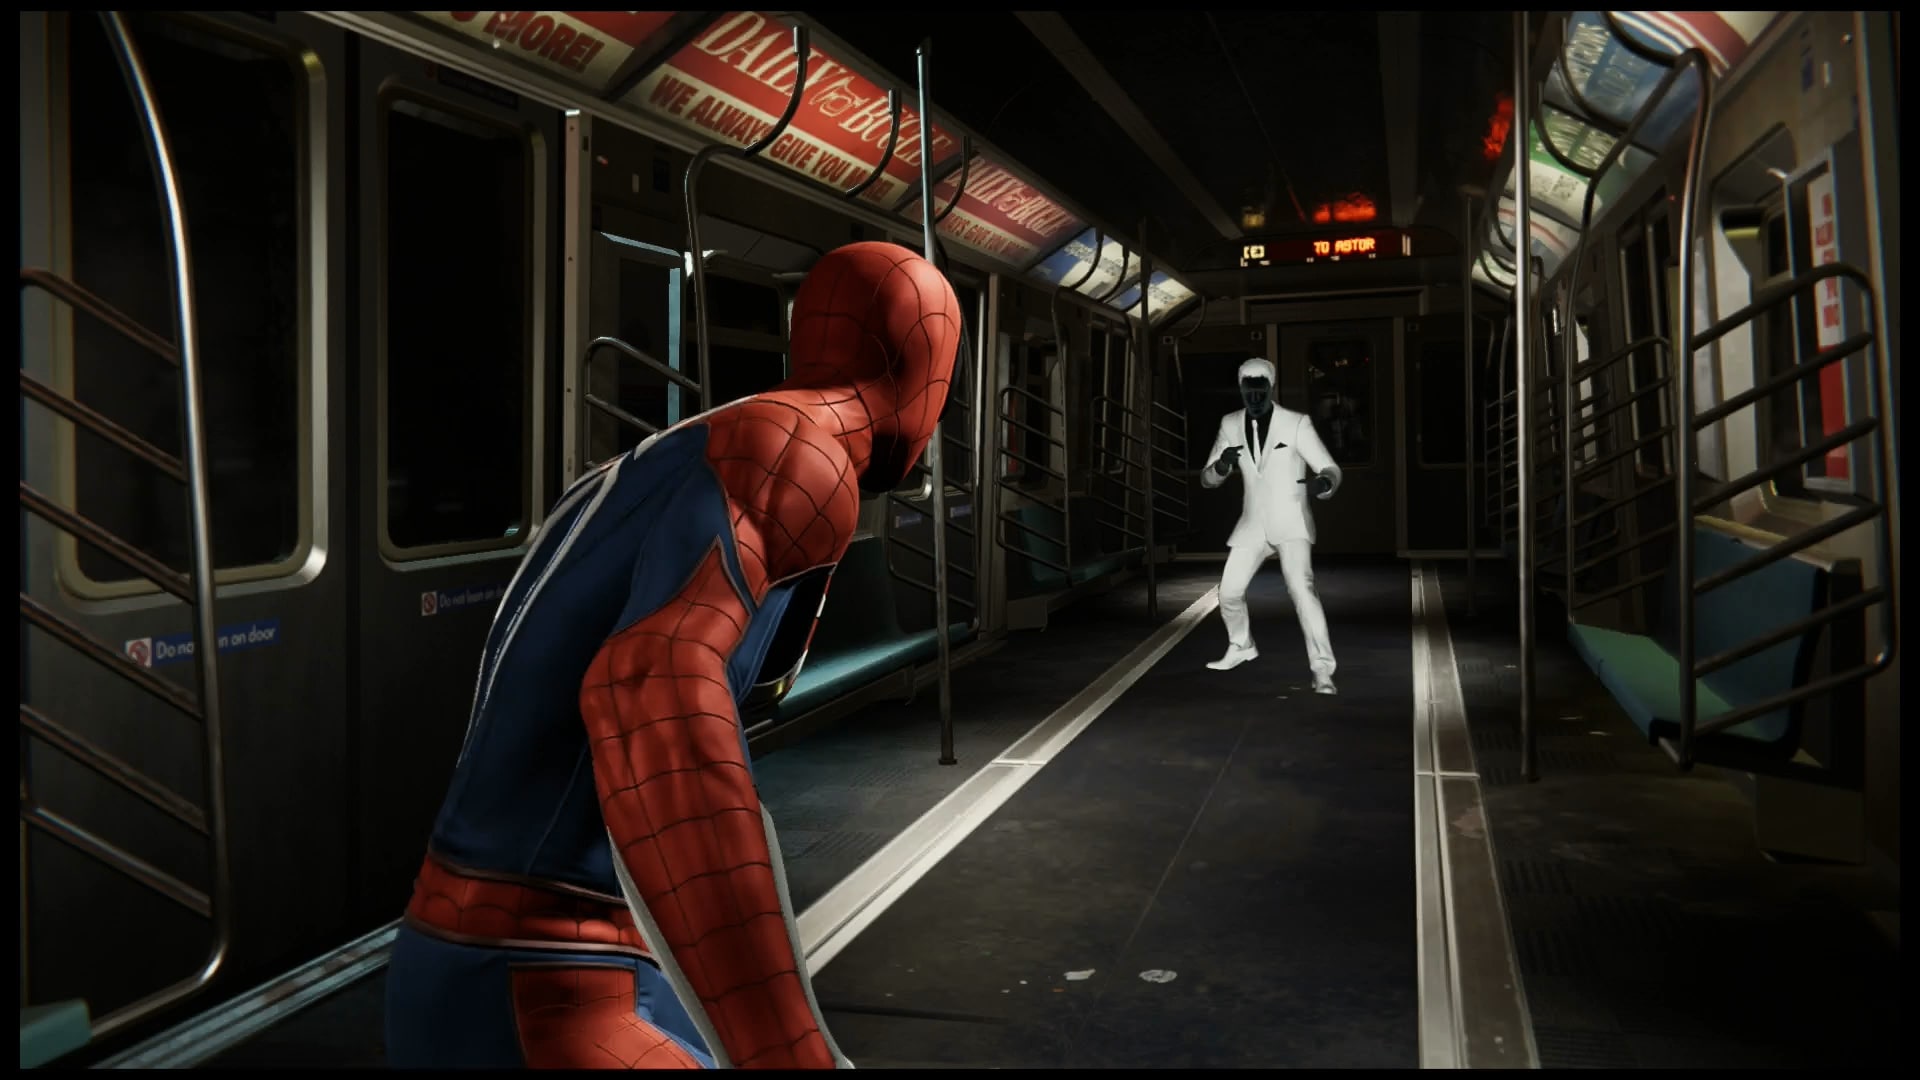
Prepare for close quarters combat. Trust your BSFF: the Spidey-Sense
You will not have that much room to move. When Li attacks, trust your spider-sense to keep your distance and then punch him.
Second car up, he will drain two of his men to gain a power-up. He will start slicing up the floor. Jump to the windows of the car to avoid his attacks.
When he aims for the windows, hit X to jump to the roof. When he finishes attacking, move in to attack.
Keep an eye on your health. If you are not quick enough, he will hit and it will sap your health.
Finish the quick time events to stop the train. Haul Li off to prison!
Li’s behind bars, but now Spidey’s relationship with MJ is worse than ever. Maybe now’s the time to start leveling up and completing some side missions. Get upgrades and new skills
Breakthrough and Reflection
Dr. Octavius just called Peter to his lab. He says he has something important to show him. Trust me; you are not going to like it.
After seeing what Octavius has created, check the circuitry to see that, contrary to what Octavius thinks, his new “arms” are not perfect
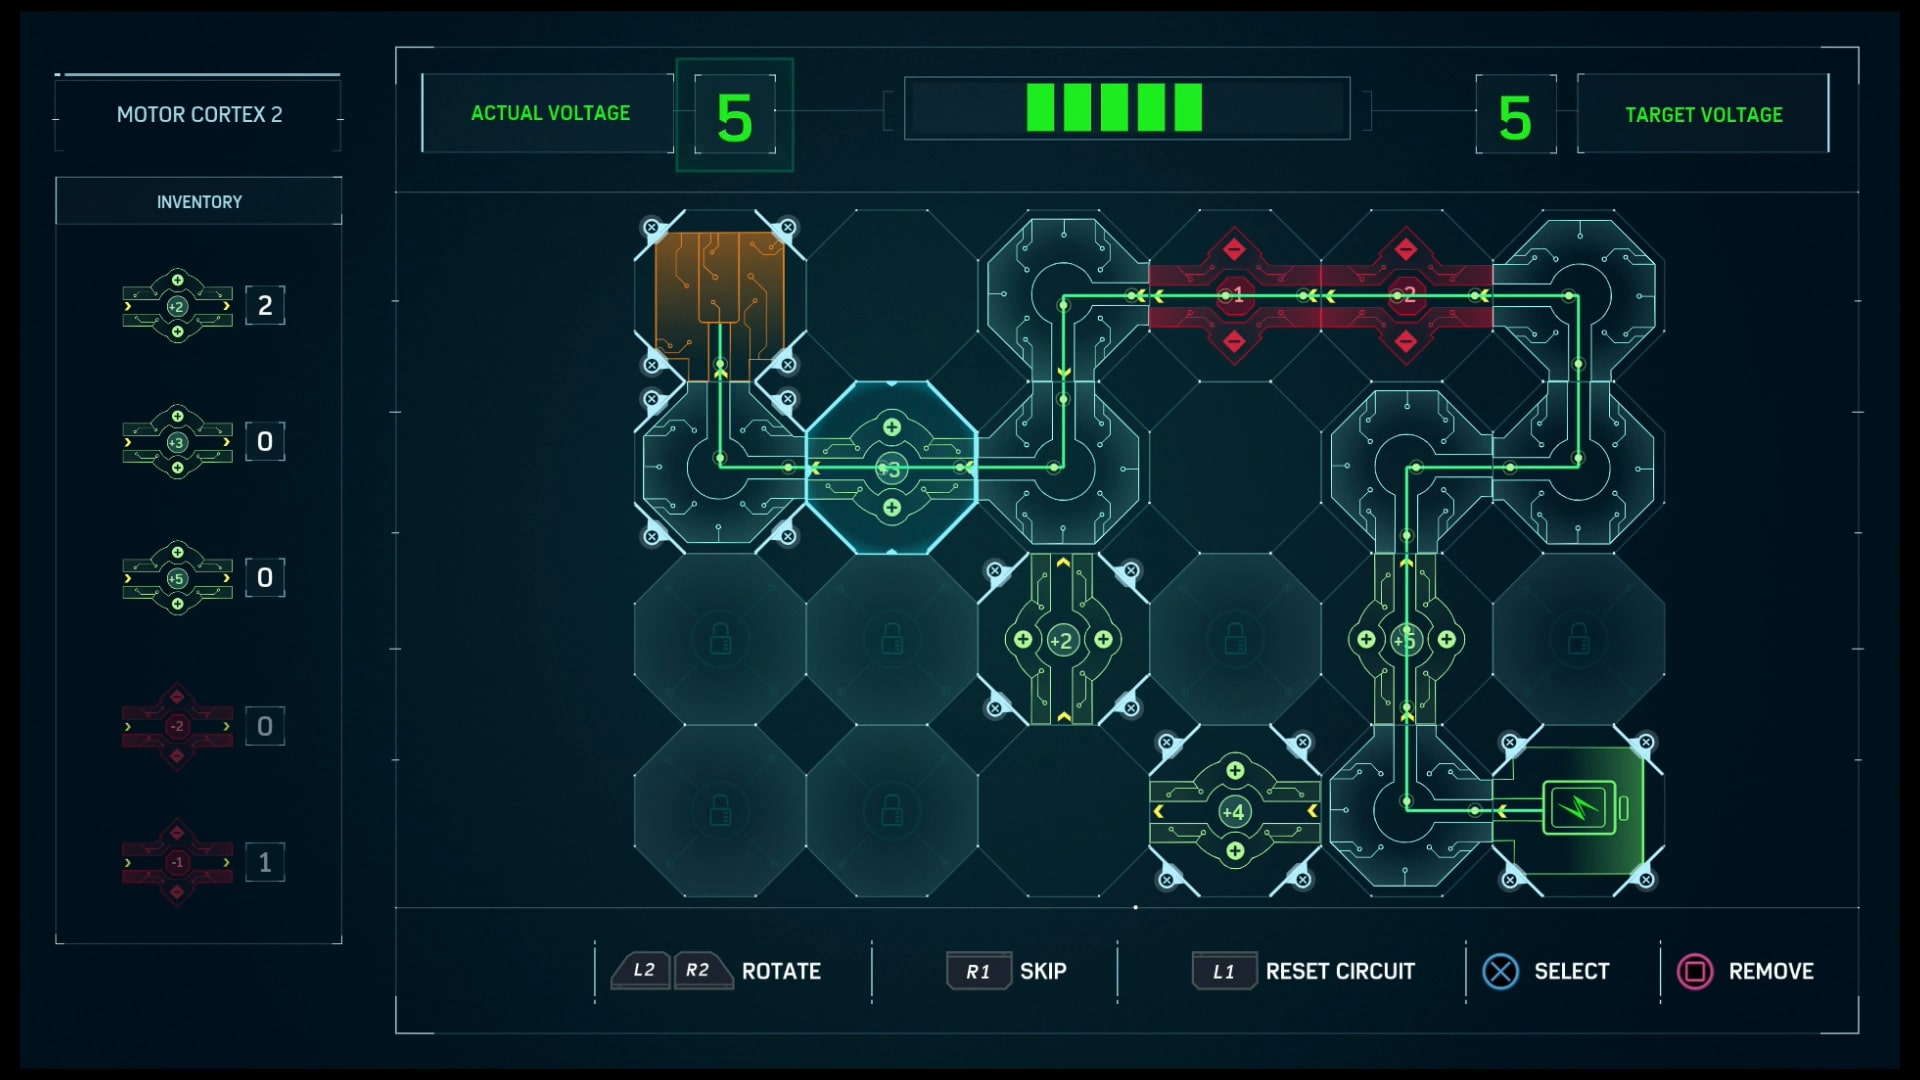
It's like an avalanche of critical failures.
The failures just keep adding up. The voltage is too high. I am no scientist, but I can tell that this, this is not good. This thing is dangerous!
After talking to Otto, head over to the F.E.A.S.T. Center to see how Miles and Aunt May are doing.
The truck carrying the Devil’s Breath has been attacked. Head there immediately!
If you have not already done so, I strongly encourage you to gain access to all of Spider-Man’s gadgets and upgrade them as much as you can. In addition, unlock as much of the skill tree as possible. You’re going to need it for what’s to come
Out of the Frying Pan…
It is worse than you thought. The Devil’s Breath is gone, but there are worse problems: Ryker’s is under attack. It is a full-scale riot! Work with Captain Watanabe to stop the prisoners from escaping.
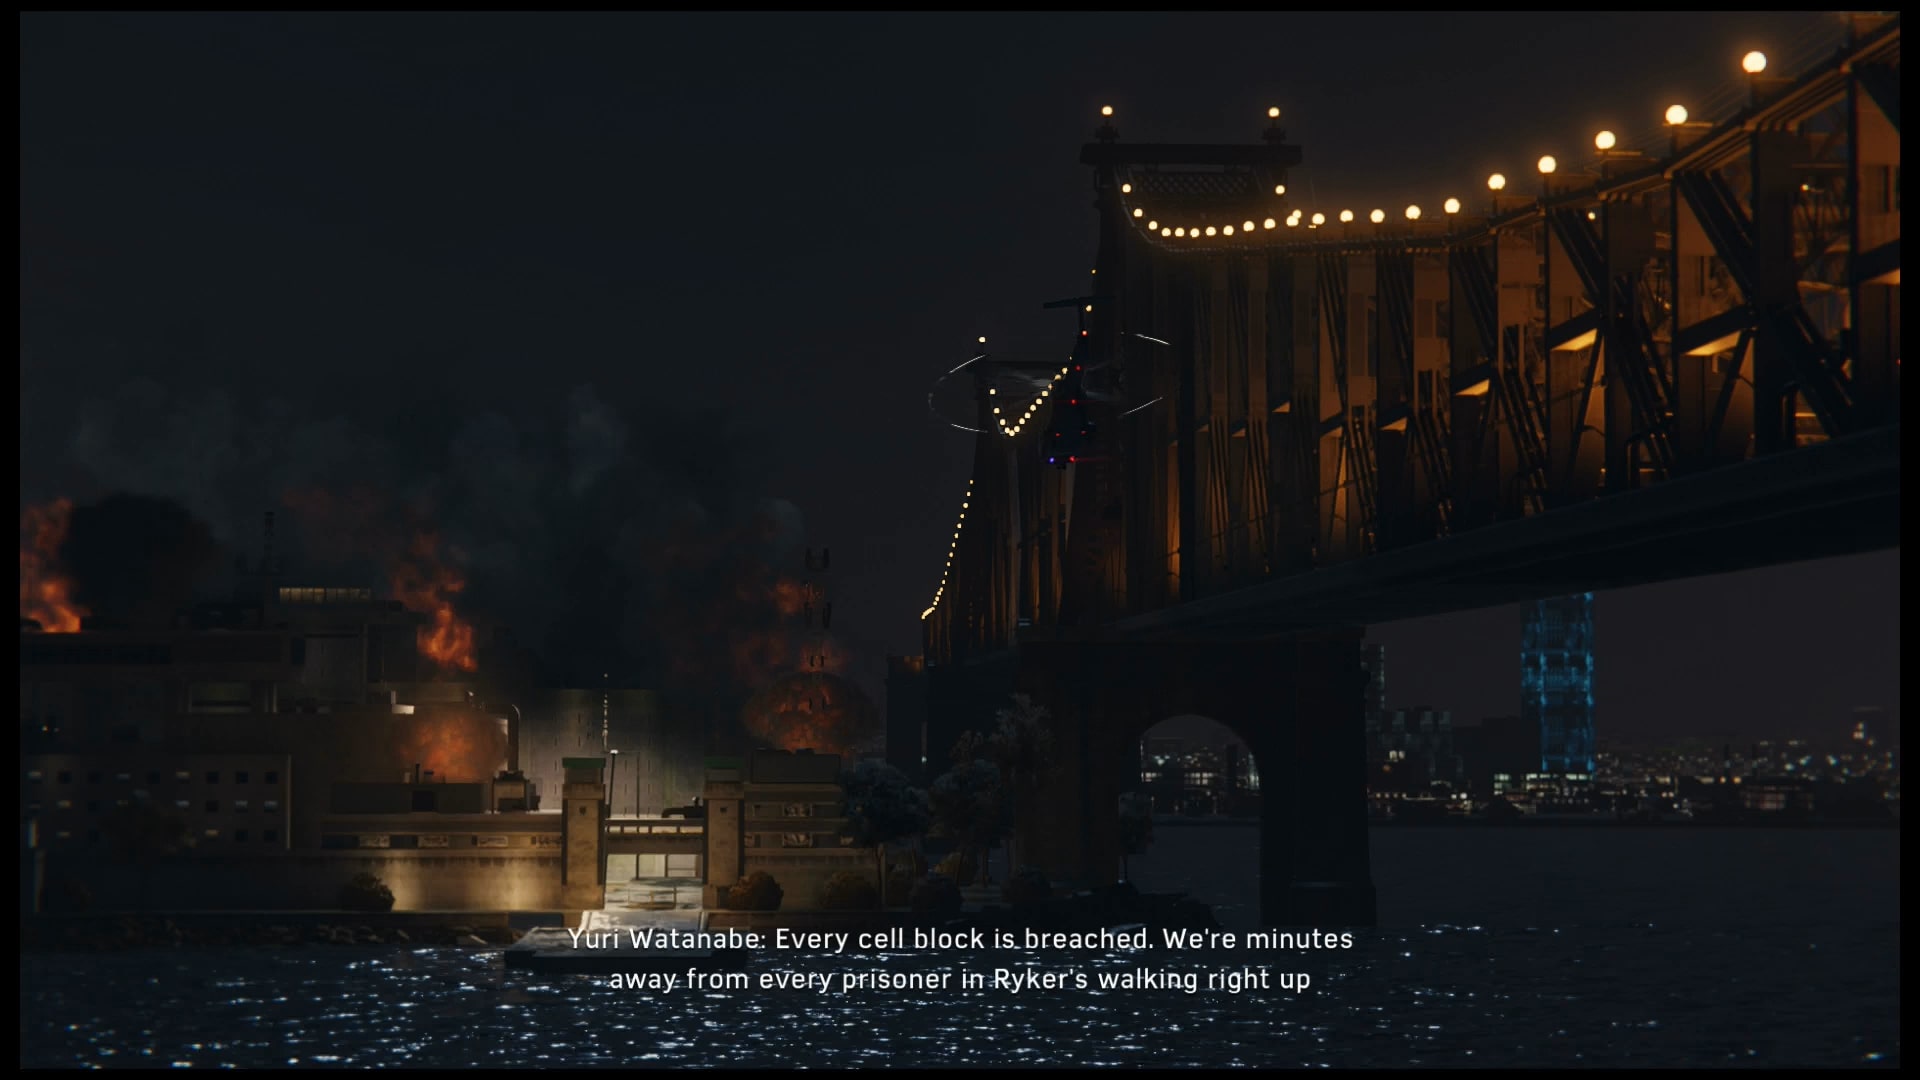
New York is about to become a war zone.
This first group of prisoners is unarmed. Use your gadgets to take them down before they can get away.
Head further into the prisoner. Deal with the prisoner with the rocket launcher first. Then head down and deal with the other prisoners
Here is a cool trick: if you have the chain finisher skill, equip the battle focus suit power.
Chain finisher lets you deal a second finisher immediately after a first one. Combine with the increased focus bar and battle focus’ continual recharging, you can deliver finisher after finisher and take out an entire group at once. Moreover, in style.
Remember to use web bombs, zero-g bombs, and electric webs when fighting large groups.
If you get the skills, you can web throw brutes after webbing them. Makes them much less a pain.
They bring guns; use your spider-drones to cover you.
To make things worse, now the Raft is under attack! Head to the Raft and ensure the prisoners do not escape.
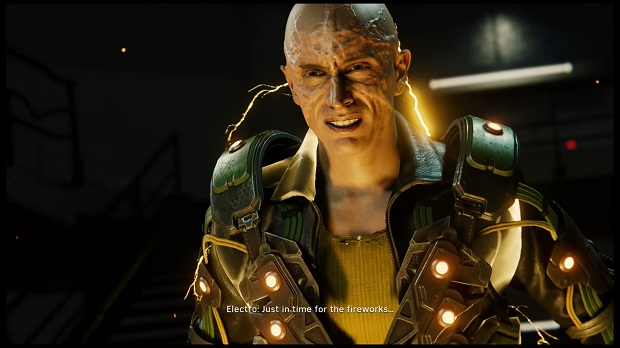
He has MAX-imum Electric Power! I'll see myself out.
Fight your way through the prison, and chase after Electro!
When you get outside the prison to chase Electro, dodge his electric blasts with the circle button.
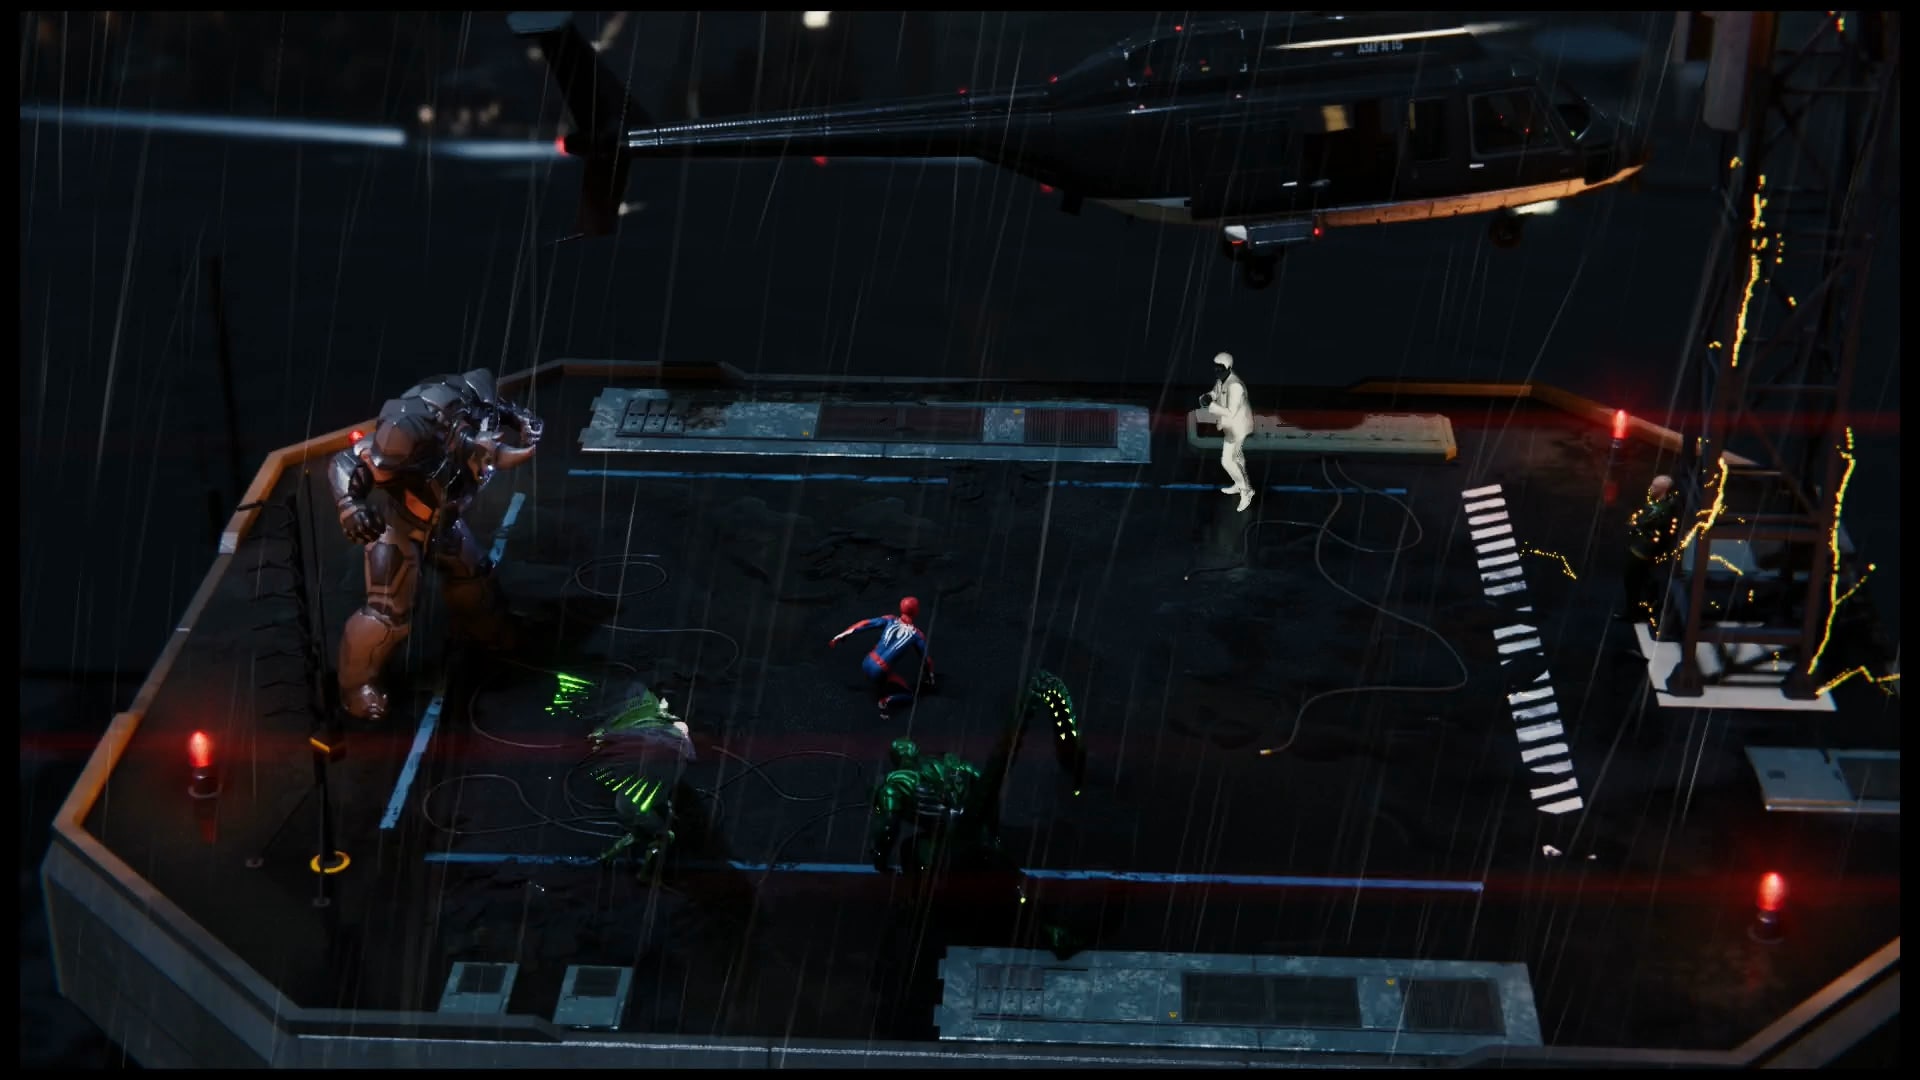
The Sinister Six. All ready to wreck Spider-Man
….Is there a way to show your jaw dropping to the floor using words. Because mine just did.
End of Act 2
Act 3
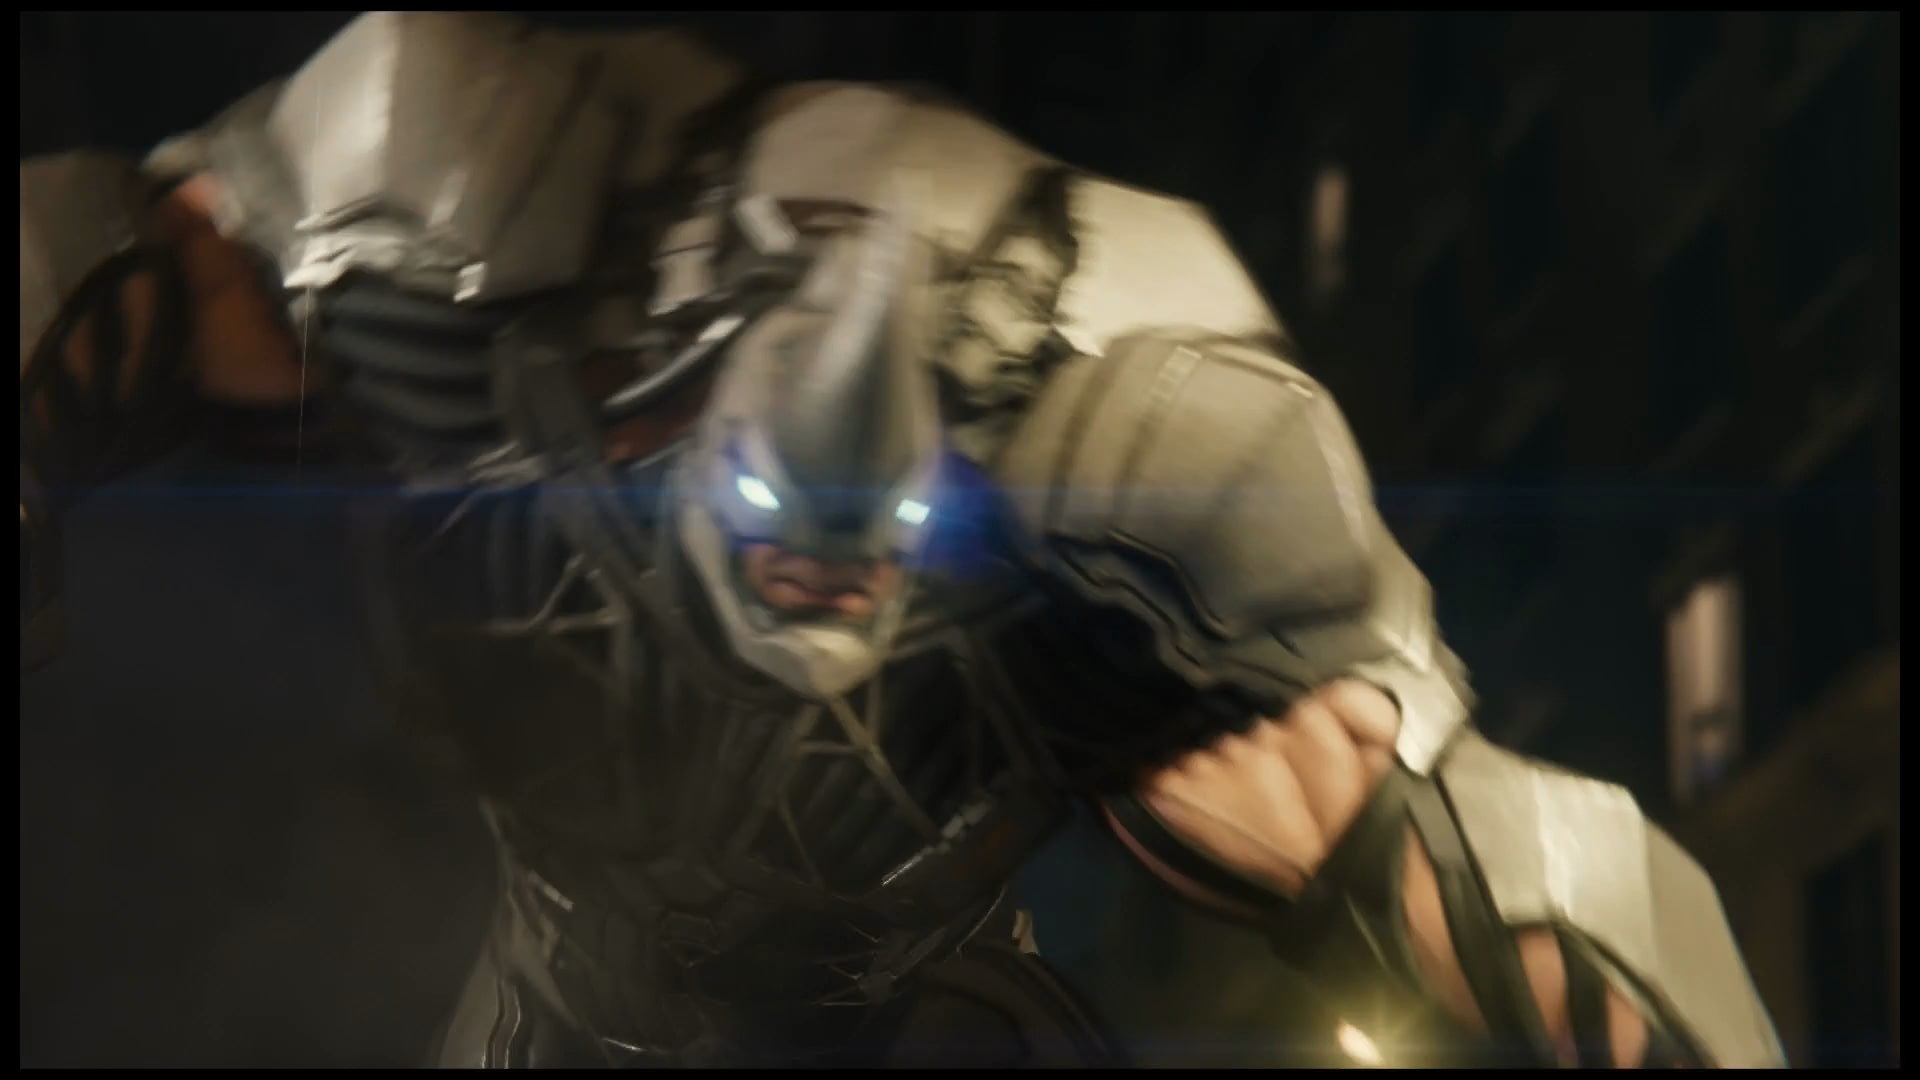
All right, let us recap what just happened. SPOILERS AHEAD!
Dr. Octavius has become Doctor Octopus, broken every inmate in Ryker’s and the Raft out, and teamed up with five of Spidey’s worst enemies to give Spider-Man a horrible beat down.
Doc Ock released the Devil’s Breath in Time’s Square, infecting New York City, which is now under martial law.
Mayor Osborn has declared Spider-Man a fugitive and now has Sable’s men actively hunting him.
This where Spidey finds himself now.
Into the Fire
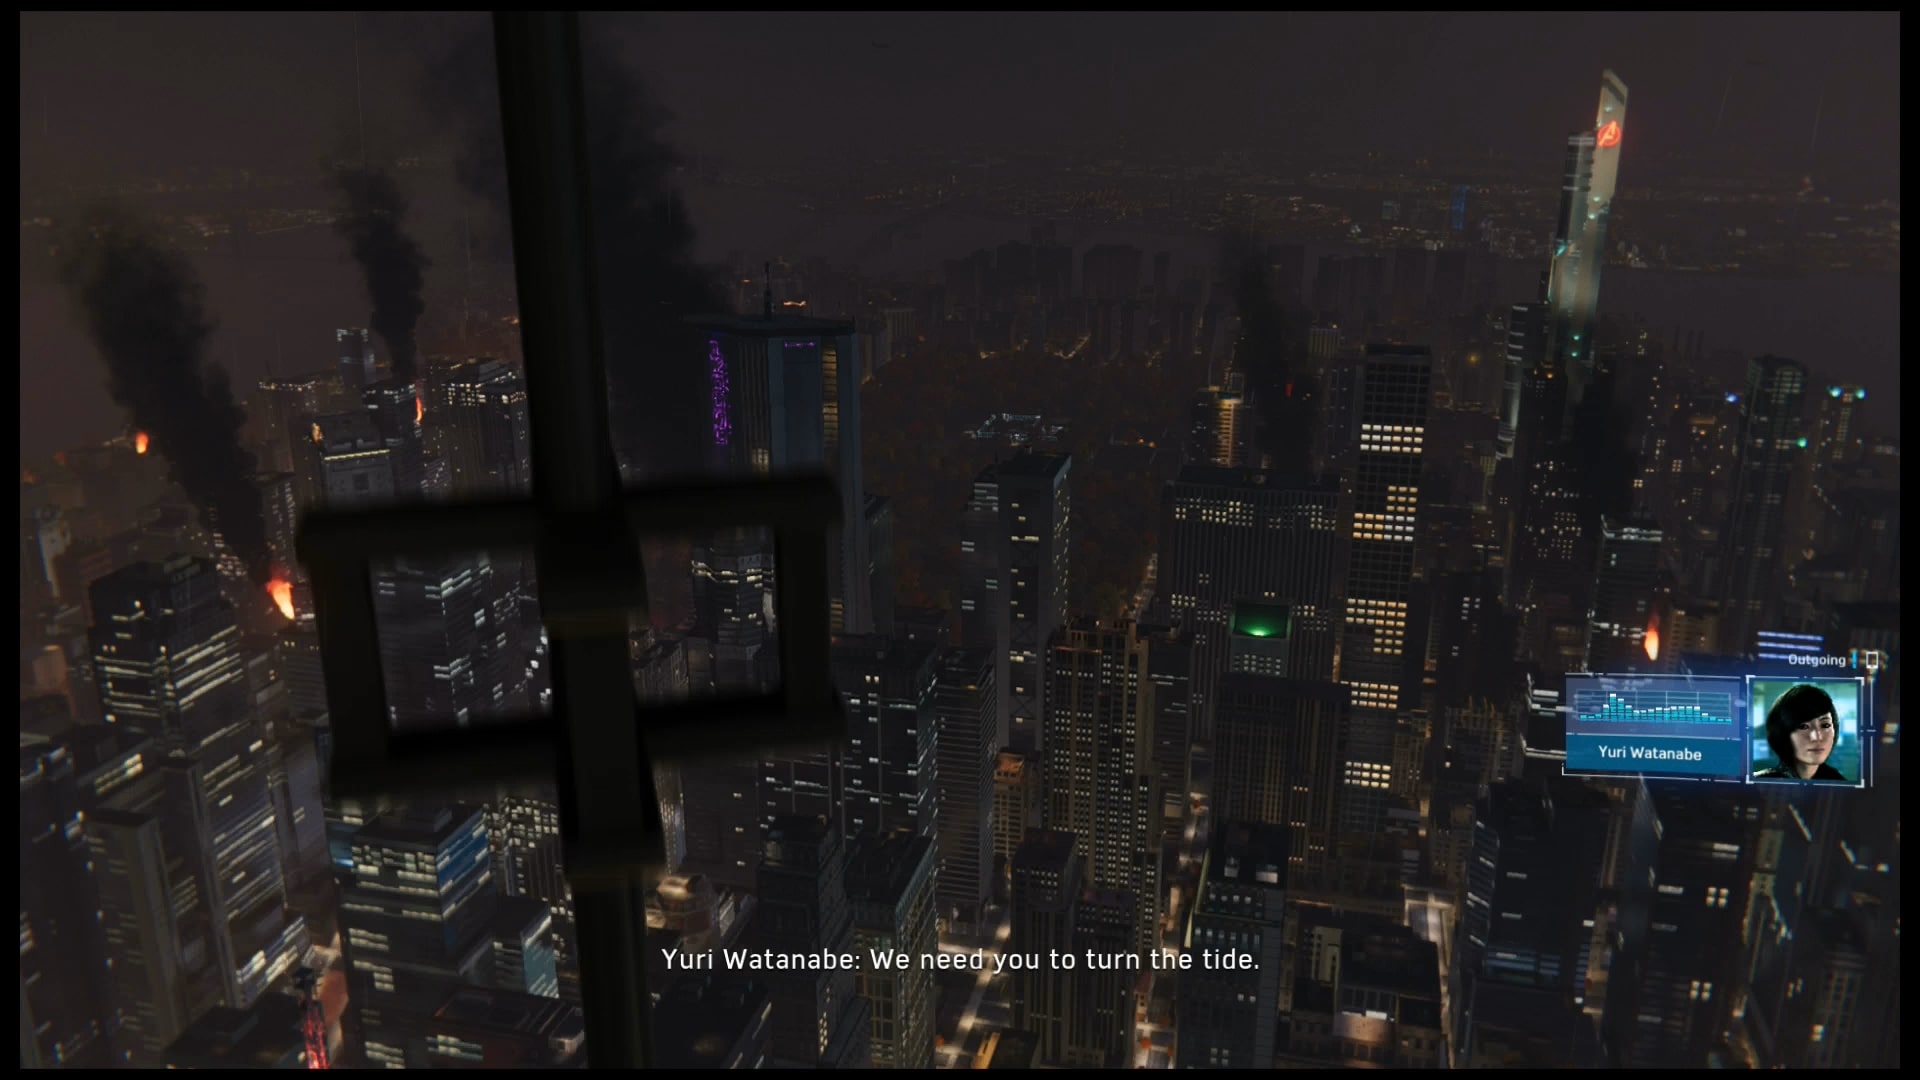
You need to start trying to get New York under control. Head for Midtown to help Yuri plan a counterattack
Be warned. Most of the people on the streets now are either criminals or Sable’s men. They will attack you on sight!
Sable has also started arresting anyone out on the streets. Help them out when you can, but be warned, they have units that can go airborne, and restraining devices that can nullify your gadgets
This is why I recommended getting all the gadgets and skills beforehand. You’re going to need them for the fight of your life
New York is a War Zone!
Choose which precinct to head to first
The Rhino is charging at the northwest precinct and clearing a path for prisoners to besiege it. Get down and provide them support
Good lord, he is strong!!
On the ground, the enemy will be packed together. Use your electric webs and web bombs to subdue them, and use spider-drones to deal with tougher ones such as brutes, shielded, and whip enemies.
Keep on your toes on the rooftops. Each of the prisoners has either a rocket launcher or a rifle.
Then Sable’s men show up and just decide to attack you. Now you have to fight them as well
They may have jetpacks, but they are still vulnerable to the same weaknesses as men on the ground. Get airborne and ground them with your electric webs and web shooters.
Do not forget to keep dodging. They are also vulnerable to throwables
When you finish there, head to the east precinct. Electro and the Demons have the police trapped inside.

I didn't even know Electro was powerful enough to do that.
If you want to free the police, you need to take out the transformers. Use what you have learned about fighting to deal with the Demons, and then take out the transformers with your web shooters. A helicopter is carrying the last one, and it will be shooting at you with rockets. Wait for them to get close, then hit with your webs.

SHOOT HER! SHOOT HER!!
After the police are free, help them take down the remaining Demons. Then head to Harlem to help Aunt May, Miles, and MJ!
Picking up the Trail
Now it is time to get on the trail of Doc Ock and the Sinister Six. Head to Times Square to start looking for Octavius’ base
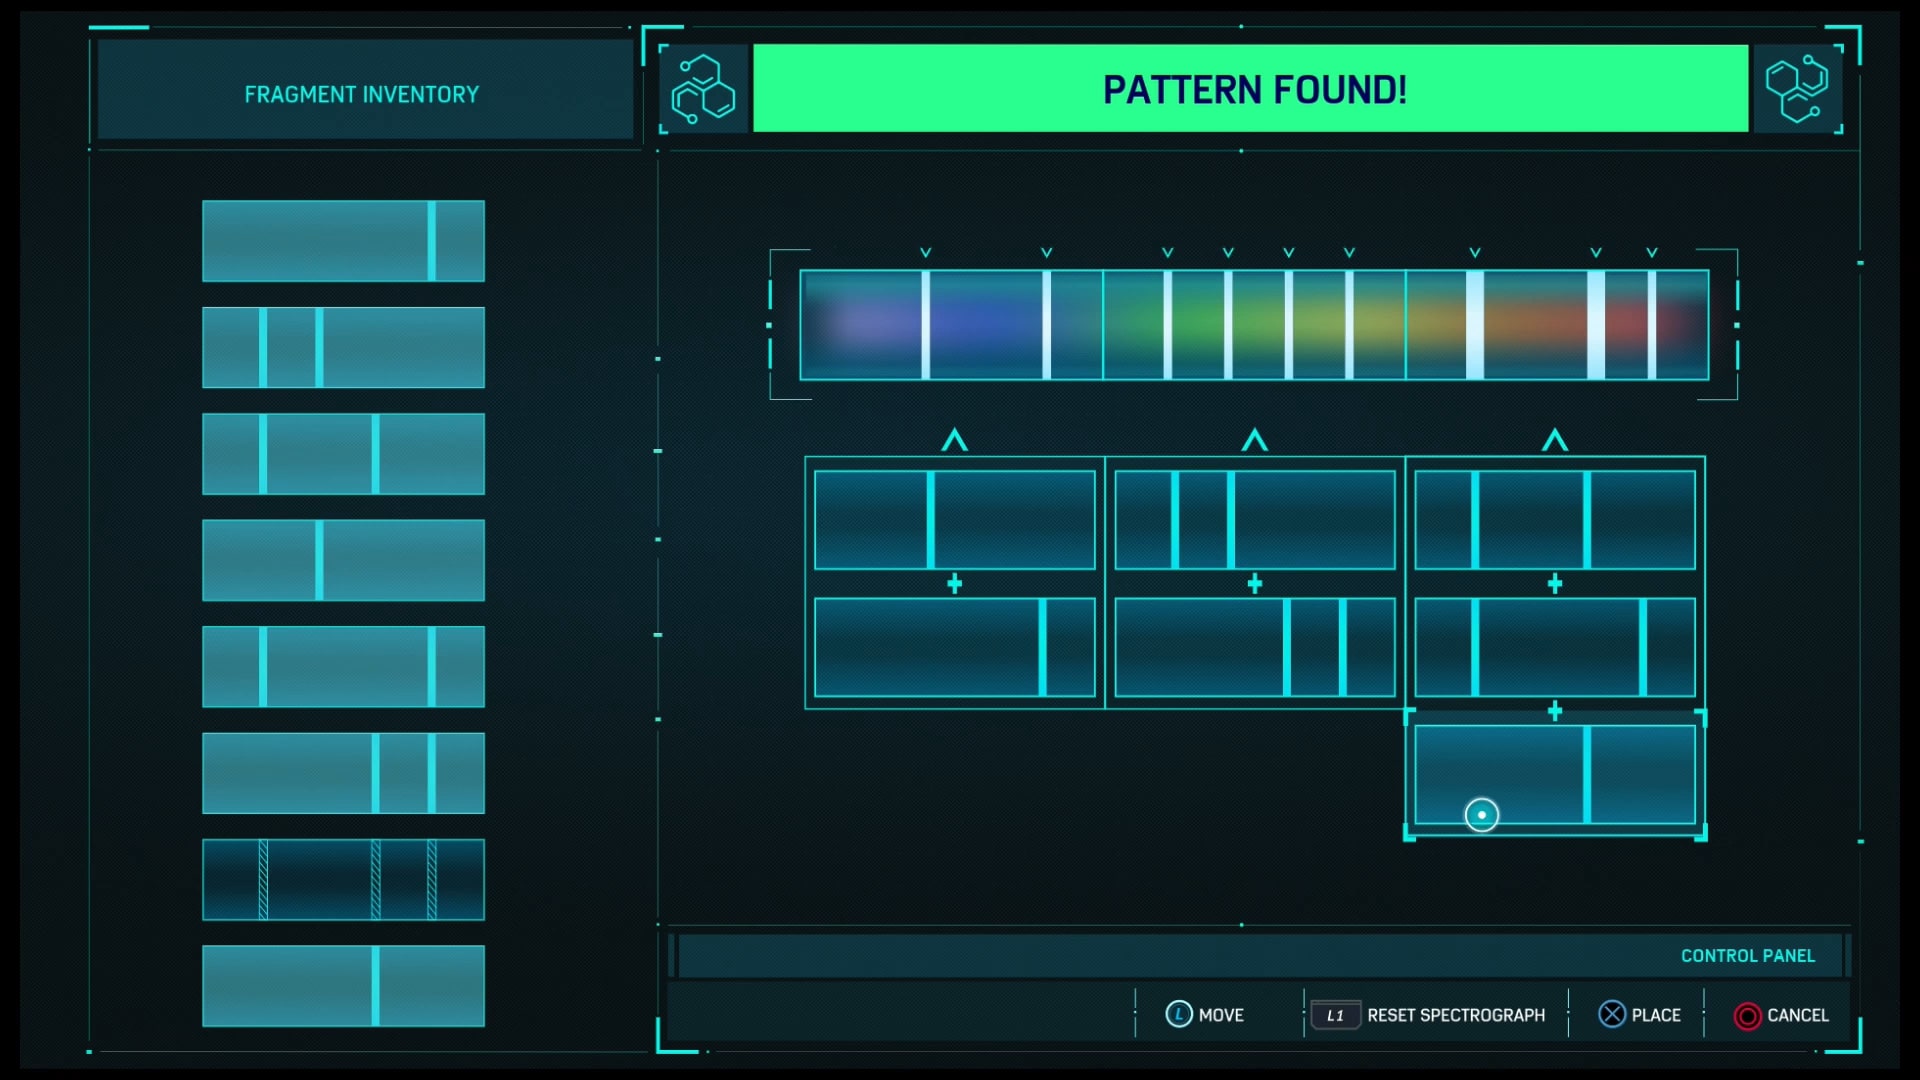
Here's the pattern analysis for Devil's Breath. This should save you some time!
Once you are inside the base, look at everything you find. All of Octavius’ plans are there, along with several audio logs. Once you are done looking at everything, watch Octavius’ video, and then get ready for a fight with Vulture and Electro.

I love the photo mode is this game. It's so much fun!
This battle is in the skies, so I hope you have mastered the art of web-slinging.
Electro will come at you first. Stay in the air and stay mobile. Wait for the on-screen prompt, and then target him with your web shooters. After that, move him to attack him
Electro will go for a nearby transformer to amplify his powers and release bolts of lightning in various directions. Dodge them, and then target the transformers to destroy them.
Now Vulture will switch out. He is faster than Electro, more maneuverable, and he can fire razor-sharp feathers at you. Dodge them, and the counter-attack.
Time it right, and you can throw Vulture’s feathers.
After you wear Vulture down, Electro returns and now you will have to fight both!
You will have to dodge both of their attacks at once. Wait for them to miss you, and then have at them. I recommend going after Vulture first. Since he’s more mobile, he’s a bigger threat
Complete the QuickTime event.
Electro’s movement will become more erratic, so alternate between him and Vulture. When he goes for the final transformer, shoot it to put him out of commission for good.
After that, all you need to do is stop the Vulture
Streets of Poison
Head to the Central Park Reservoir to look for Scorpion. Bear with me, this episode is going to get… trippy.
Well, the web head was poisoned with a neurotoxin. We need to create an antidote. By the way, I am not sure if this is right, but I think the spectrograph for this one changes every time. On the other hand, I could have remembered it wrong.
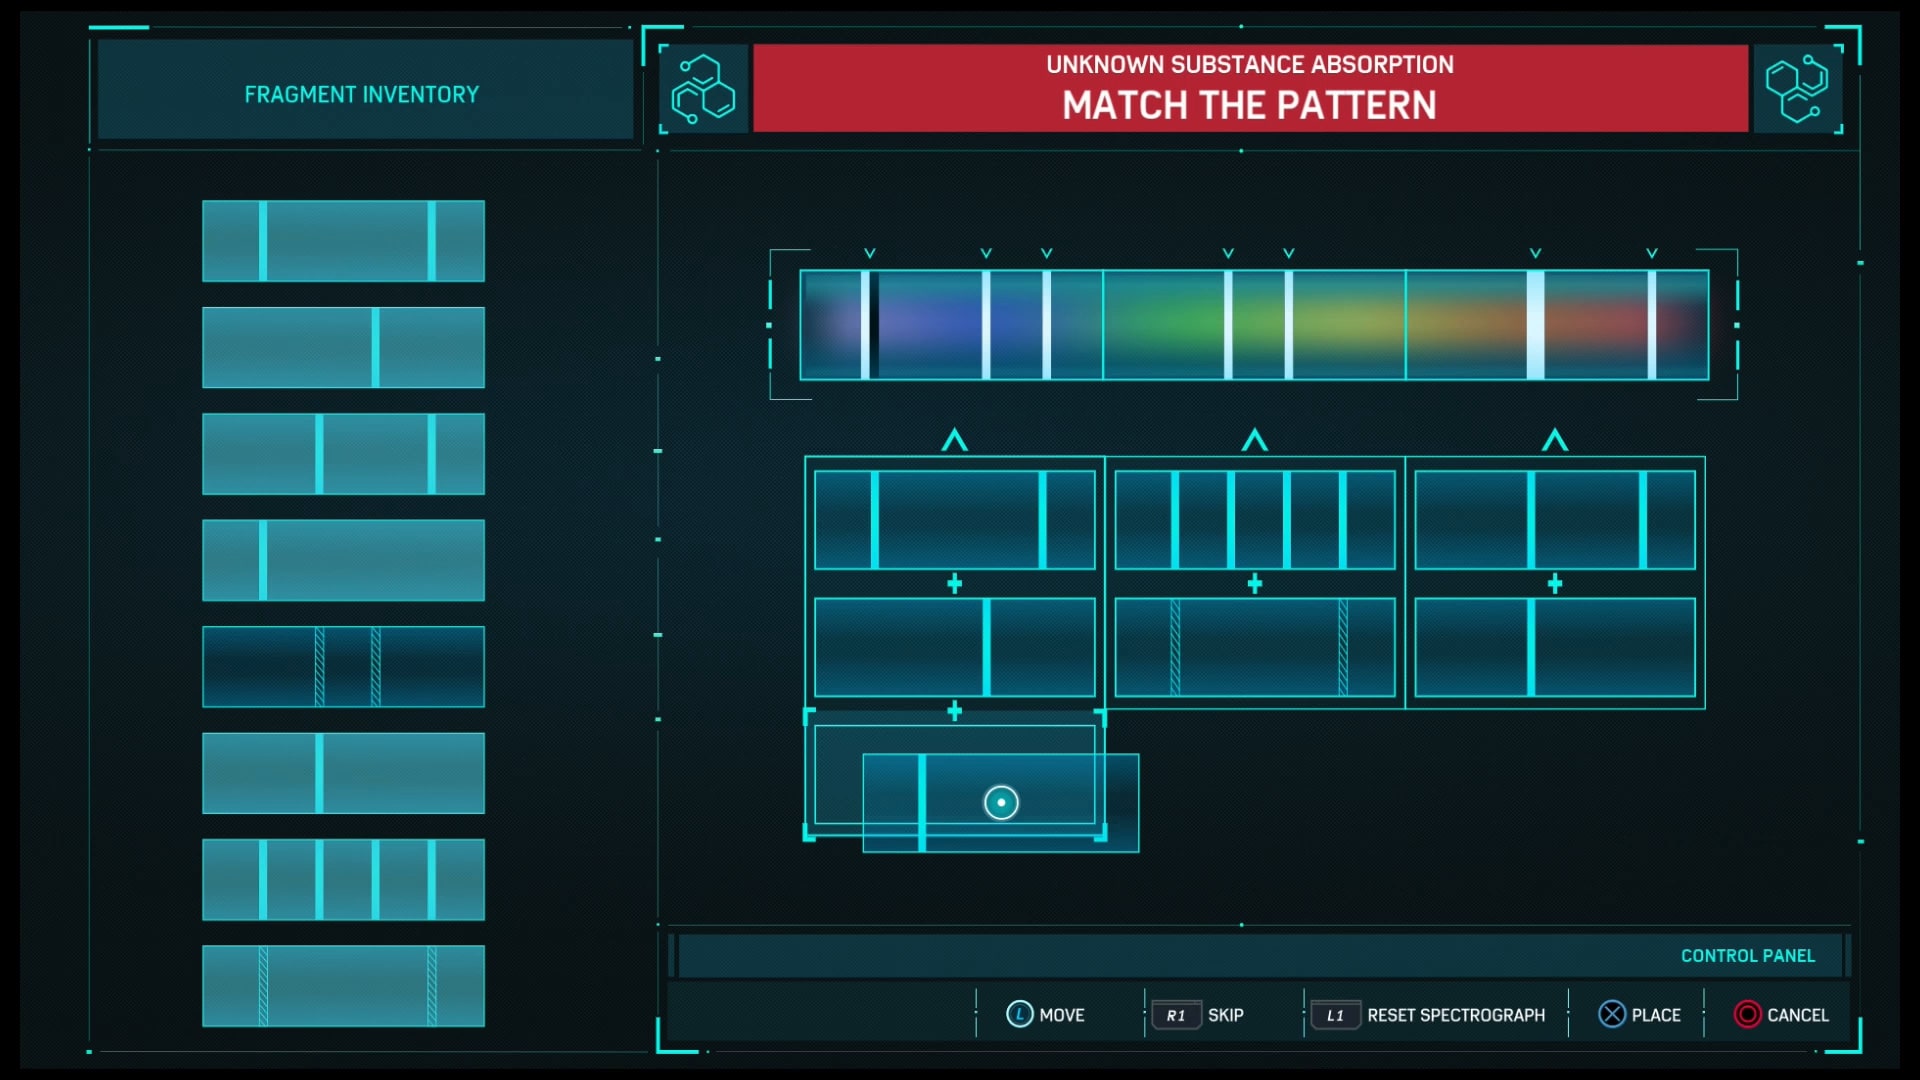
I think this might be the solution to the poison. I'm not sure.
Get to ESU’s greenhouse and do not touch the poison. It does not matter if it is real, it will kill you!
Use web zip to maintain altitude, and zip to point keep up your speed.
Find your way through the hallucination. Ignore the hallucination of Otto Octavius.
Make your way to Harry’s research station. Watch out for the GIANT SCORPION TAILS!
Hit circle button to dodge.
Make your way through yet another hallucination in Peter’s sub-conscious.
Get to ESU. NOW!
Now you are going to deal with subconscious manifestations of Scorpion in order to kill yourself.
Scorpion can shoot poison out of his stinger. Dodge it, web the fakes up, then drop kick them in the jaw to make them disappear.
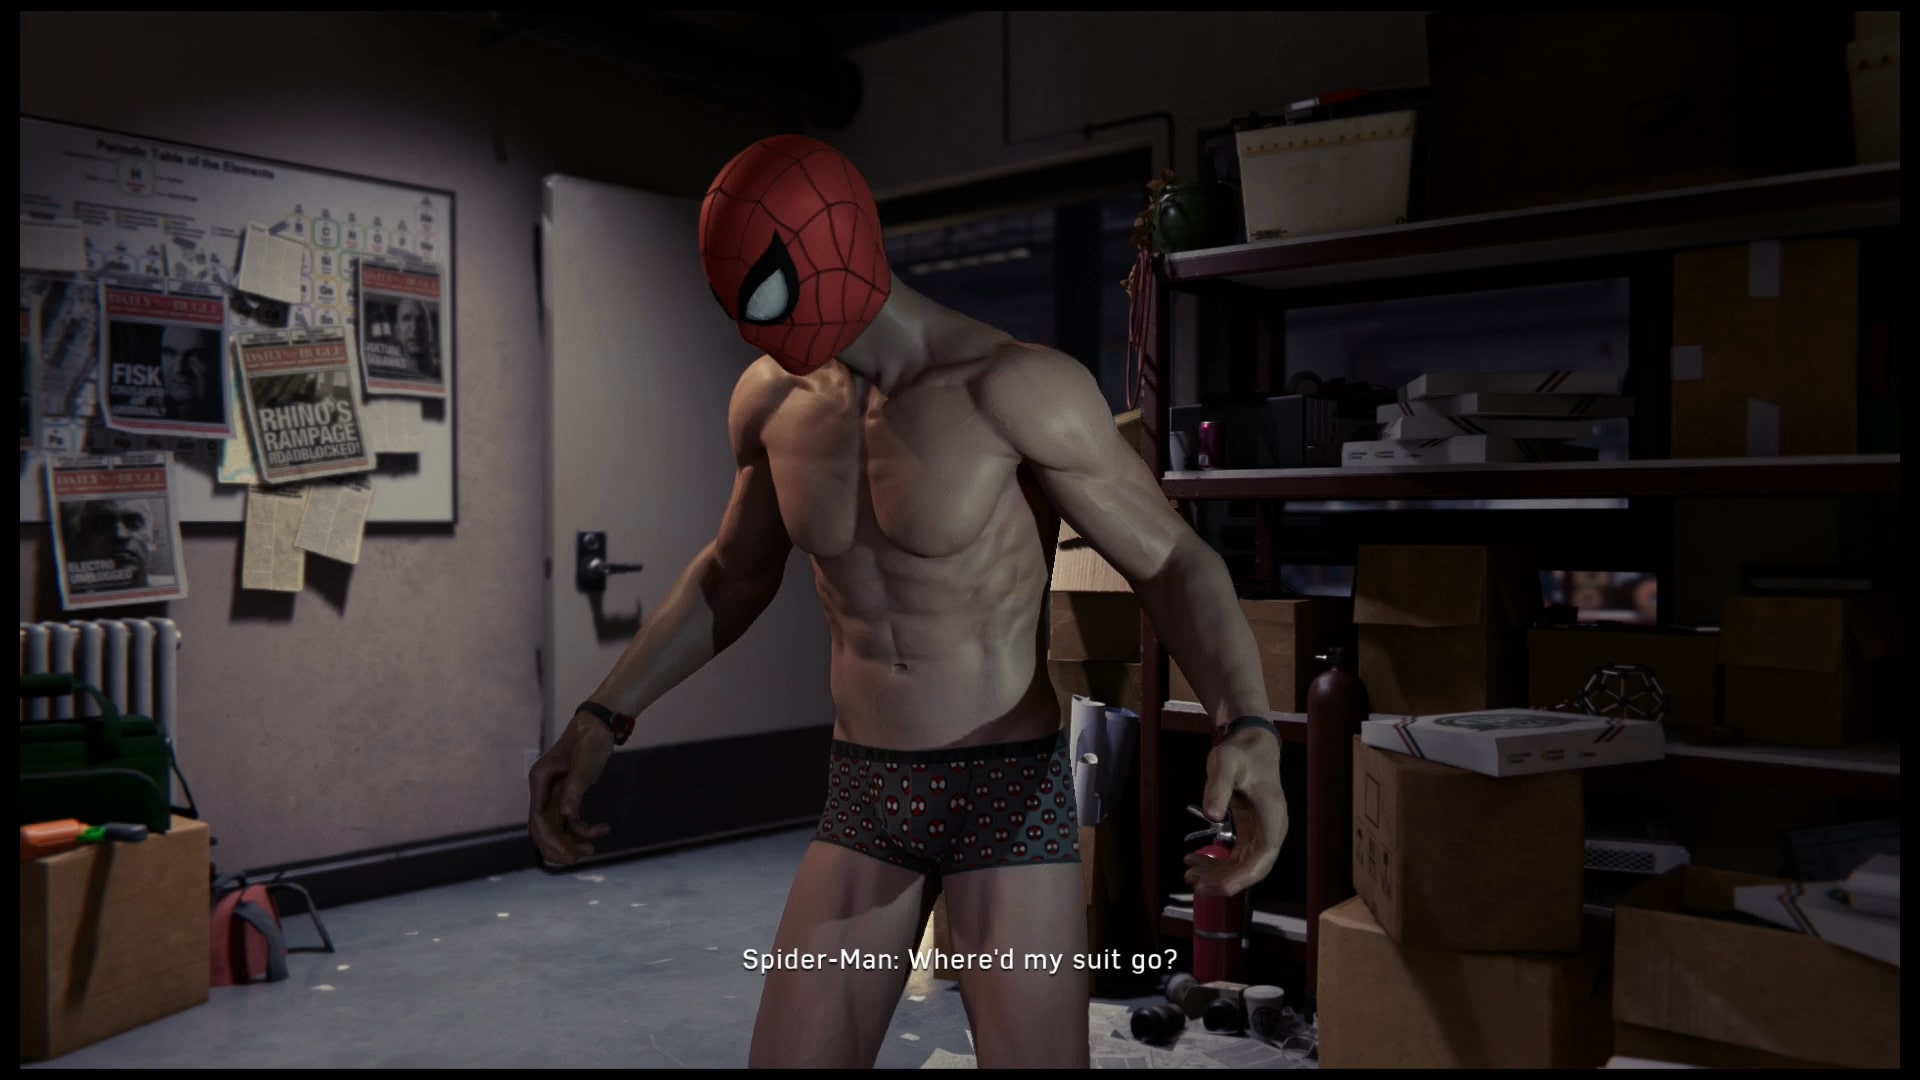
Wait, where did he get Spider-Man boxers?!? And why is his mask the only thing left?
Where did his suit go? Let us just forget that happened.
Supply Run
Have not been to the F.E.A.S.T. Center in a while. Go check on May and Miles. Speaking of Miles, he is in the middle of something bad…
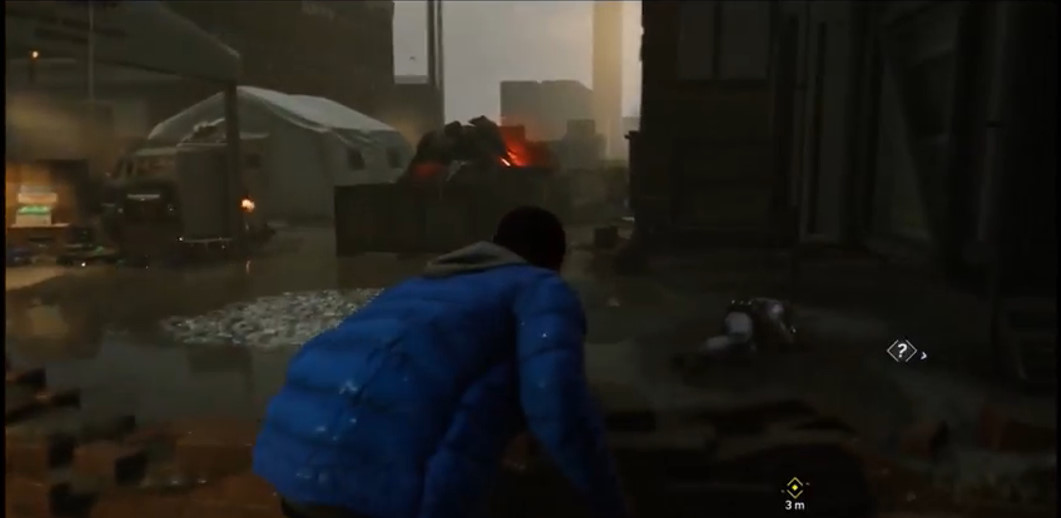
Stick to the shadows, man
Stick to the shadows, hide behind cars and other things, and use Miles’ hacking app to create distractions to get by the criminals. Also, watch out for broken glass on the ground. The prisoners will come running.
Keep looking for the supplies.
You found the medicine, but the Rhino and Scorpion are here. Moreover, he heard a noise! Now you have to hide from the human bulldozer.
Thank god Rhino is as dumb as a rock.
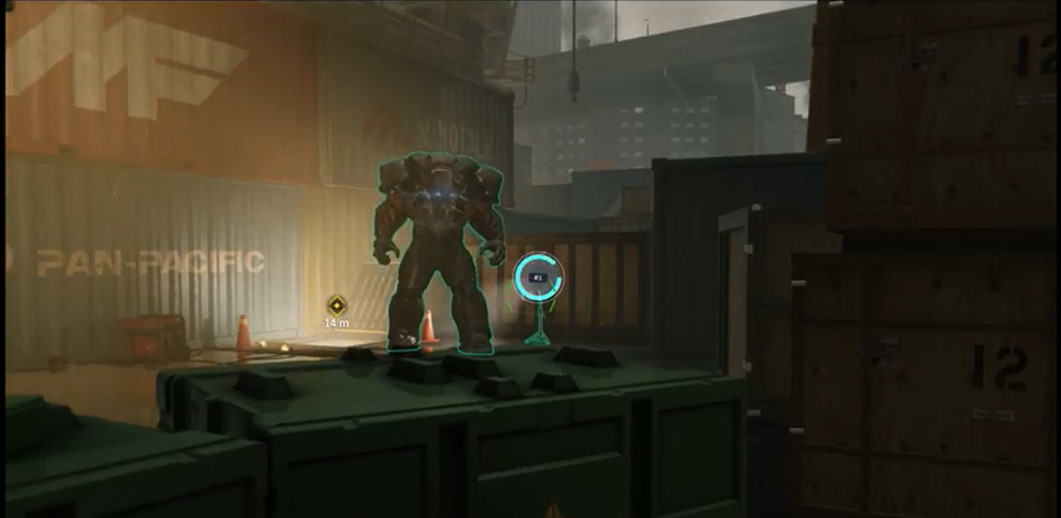
Use the hacking app to distract the Rhino. When he turns his back, dart between hiding spots
At the boxes, you are going to have to dart between them when Rhino is not looking, and then move like the wind. It is like Hide and Seek, but for keeps.
In the final area, use the hacking app to mess with some of the electronics and make a break for it.
Okay, you can breathe now.
Heavy Hitter
Time to capture Scorpion and the Rhino. Head to the dock where Miles was, and call them out.
Ohhh, he is Nettled. Super nettled!
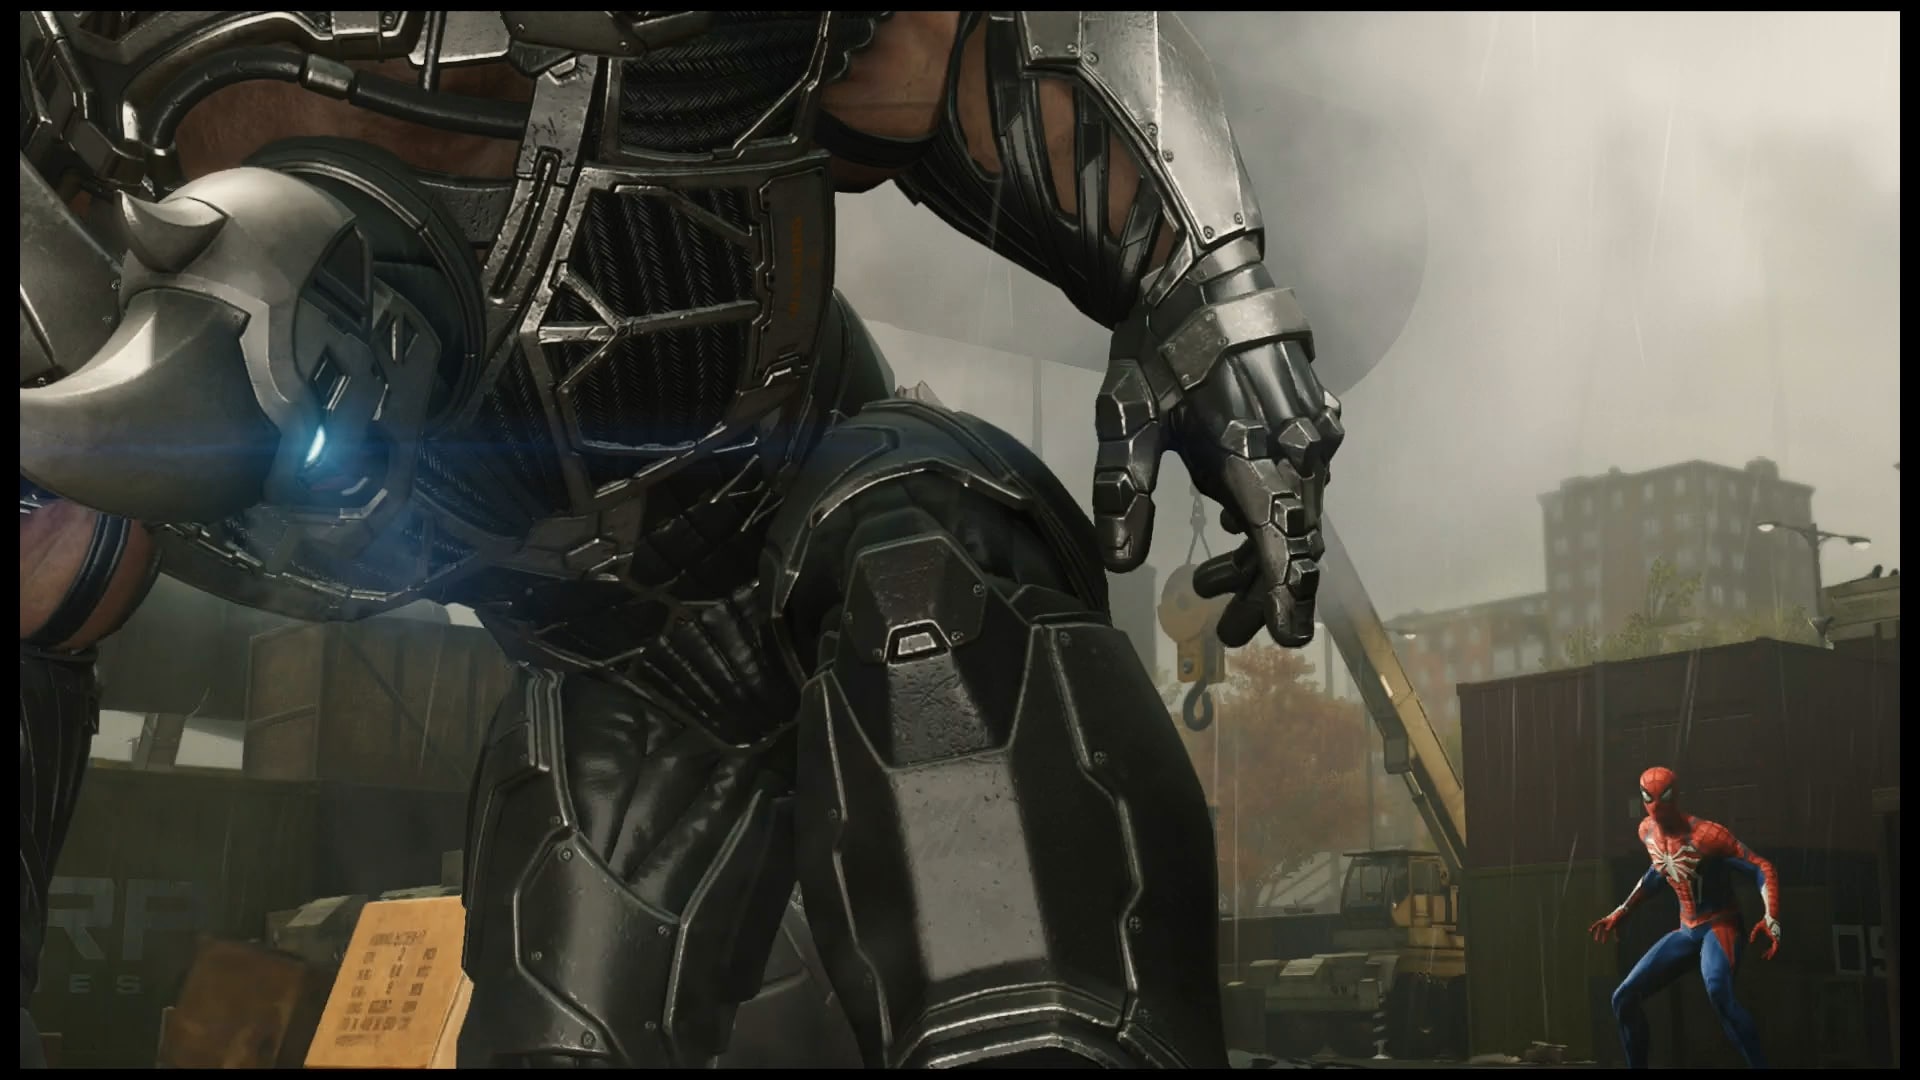
Pick on someone your size Rhino!
Rhino is a lot like Kingpin: big, powerful, and impossible to face head on. Fortunately, you don’t have to.
Drop it like it's hot and fresh.
Wait for him to get close to a heavy object, and then pull it down on him like an ACME anvil. Then, punch him
It helps that when charges at you, time slows down.
Now Scorpion joins the fight.
Want to know a secret? Scorpions attack pattern is the same as in the hallucination. He will shoot his poison, and then jump down to attack you with his tail. Get away from him, and then use your webs to tangle him up.
Don’t try to attack him otherwise
Meanwhile, Rhino will be throwing rocks at you if you get too far away. Be on the lookout for that.
The good news is that neither of them change their attacks after they team up. Take them down and Octavius will be down to Martin Li.
All right boys, play nice and I'll come back to check on you later. Or not, I don't like either of you.
Step into My Parlor
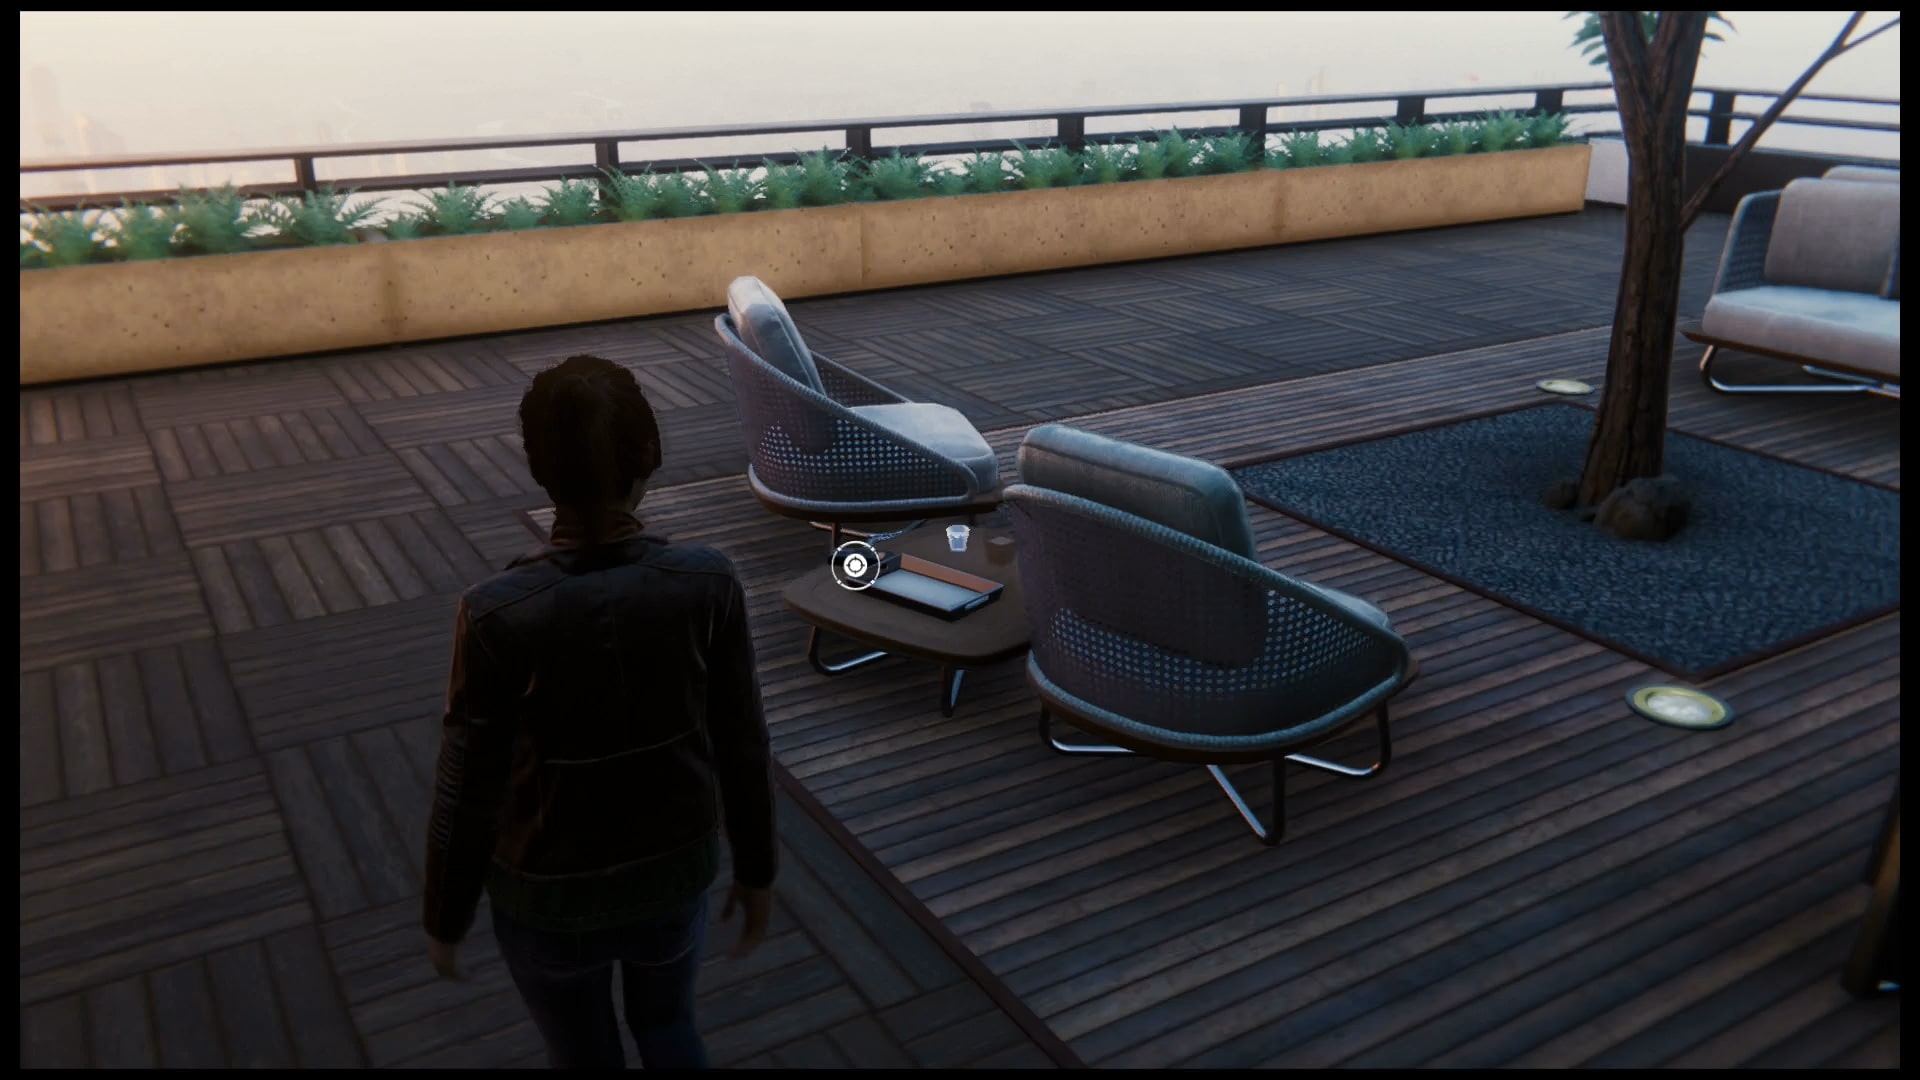
This will be a different walkthrough. Since you will just be snooping around Norman Osborn’s Penthouse, I will be pointing out the important objects that you need to look for.
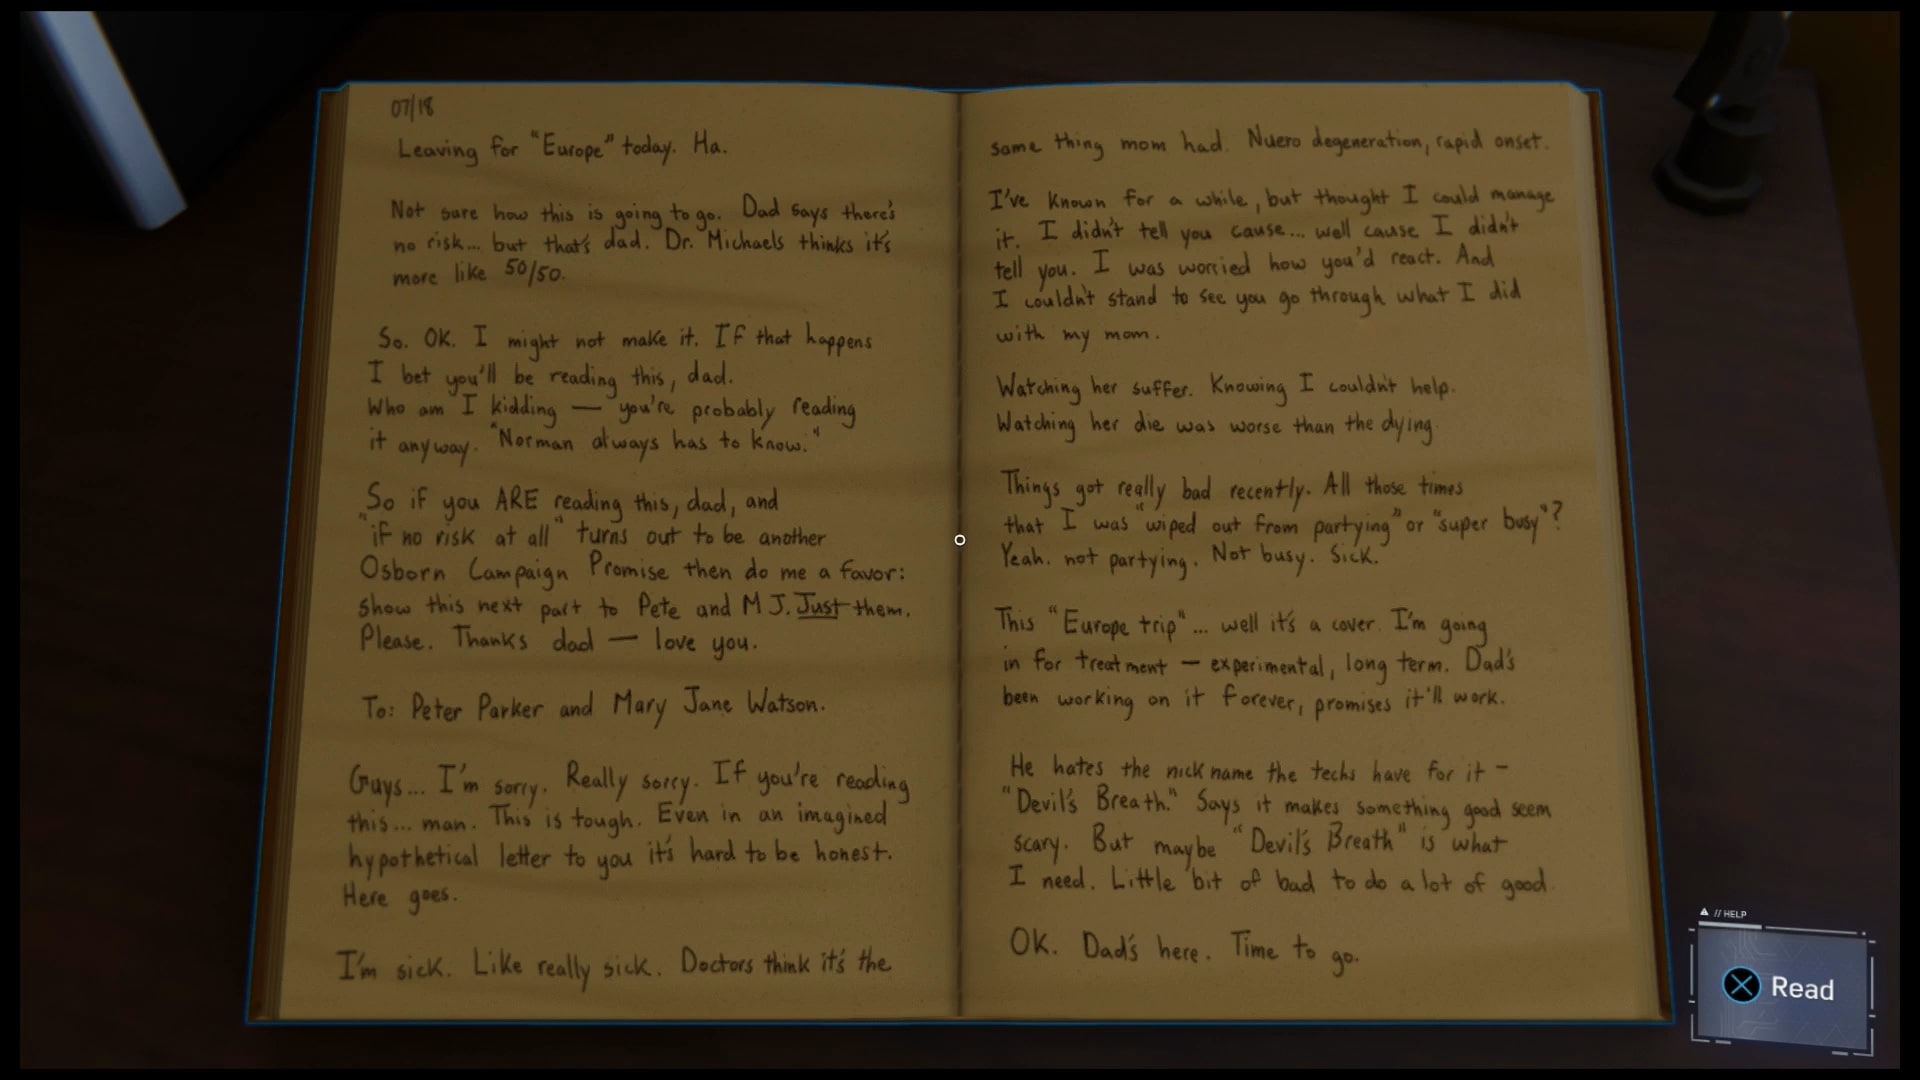
On the long kitchen table, right in front of you after you first come in, you will find an order for a keypad lock. The code is the date that Harry left for Europe.
Go Norman’s desk to the left of the entrance and put on the helmet. Put it on to find the secret room in the wall.
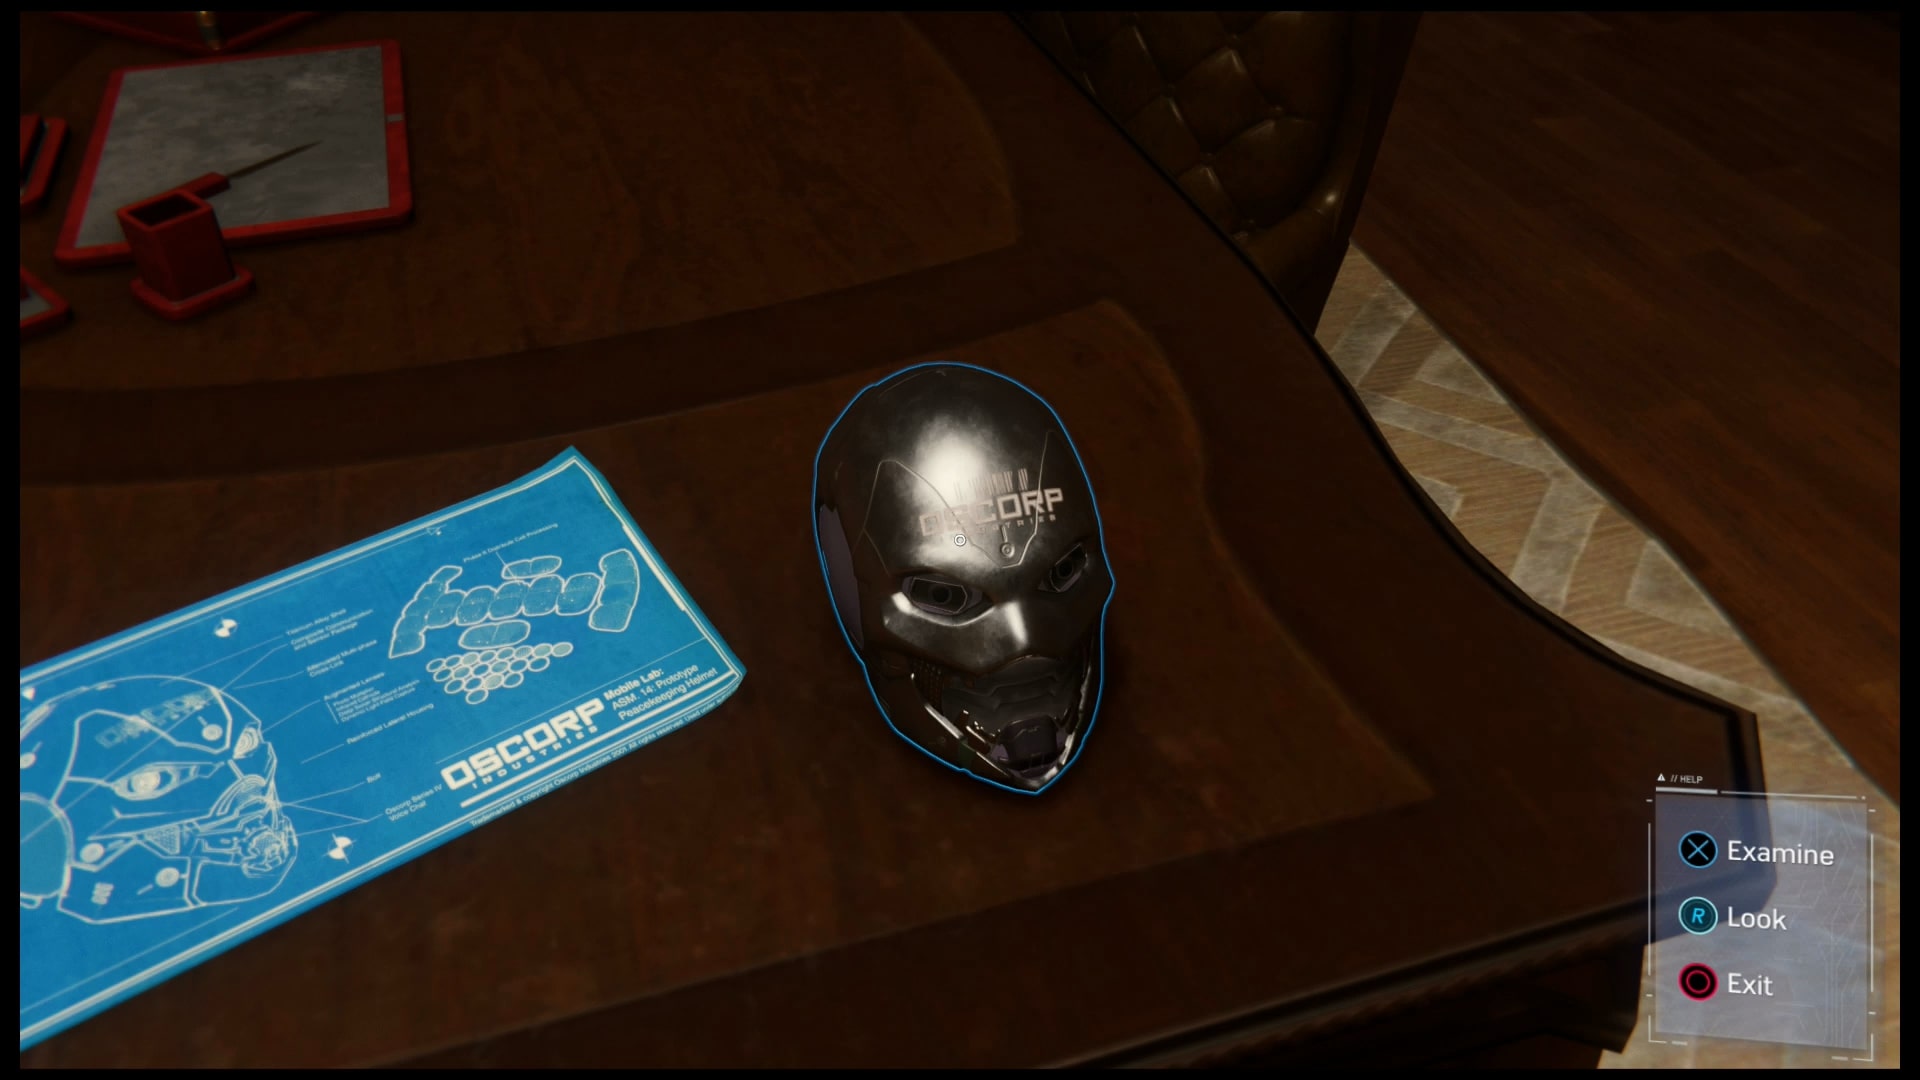
Why does this helmet feel like foreshadowing for a sequel? Because it probably is.
Find the keypad code in Norman’s house. It will be in Harry’s journal in his room. Which is locked. Go to the awning and listen to the audio log to find out where he keeps the key
Right here. You can't miss it!
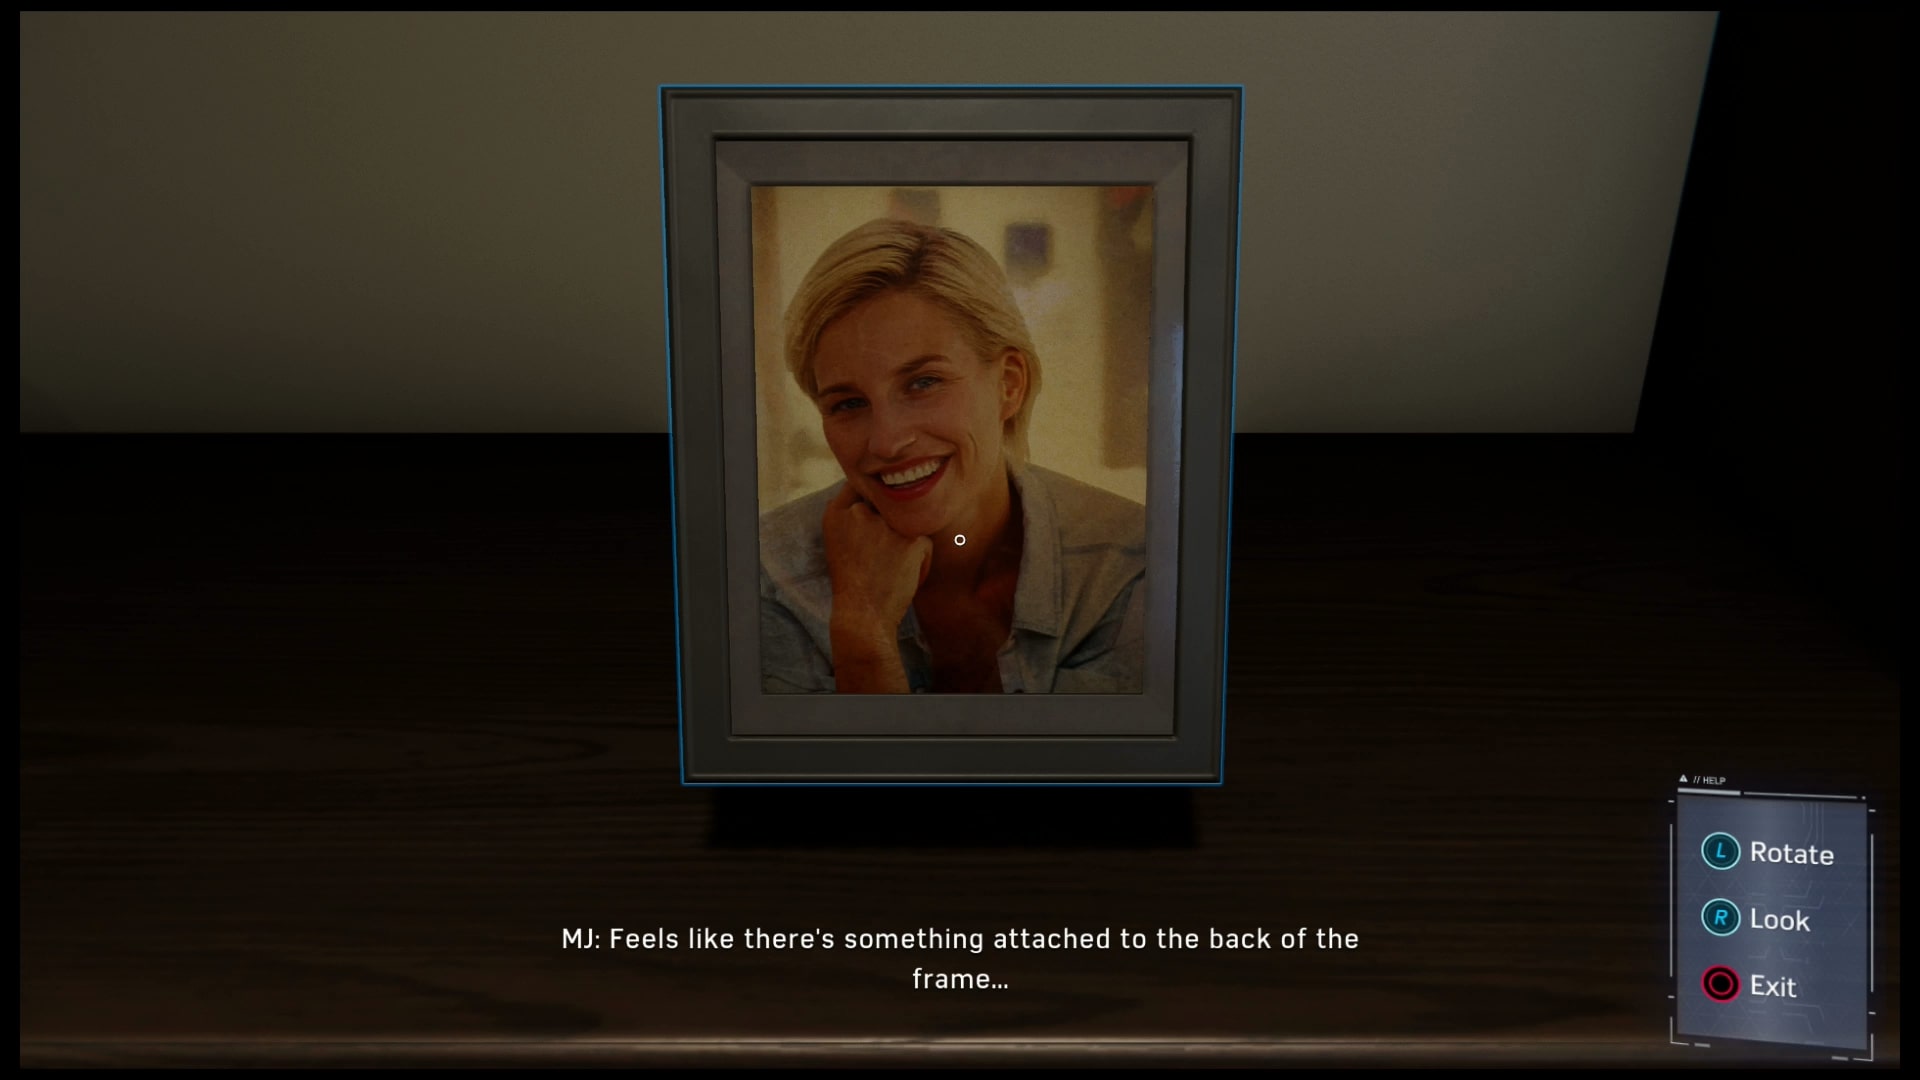
Pretty big bombshell, huh? Go to Norman’s bedroom, get the picture of Emily Osborn, and locate the key on the back of the photo.
Now turn the frame around...
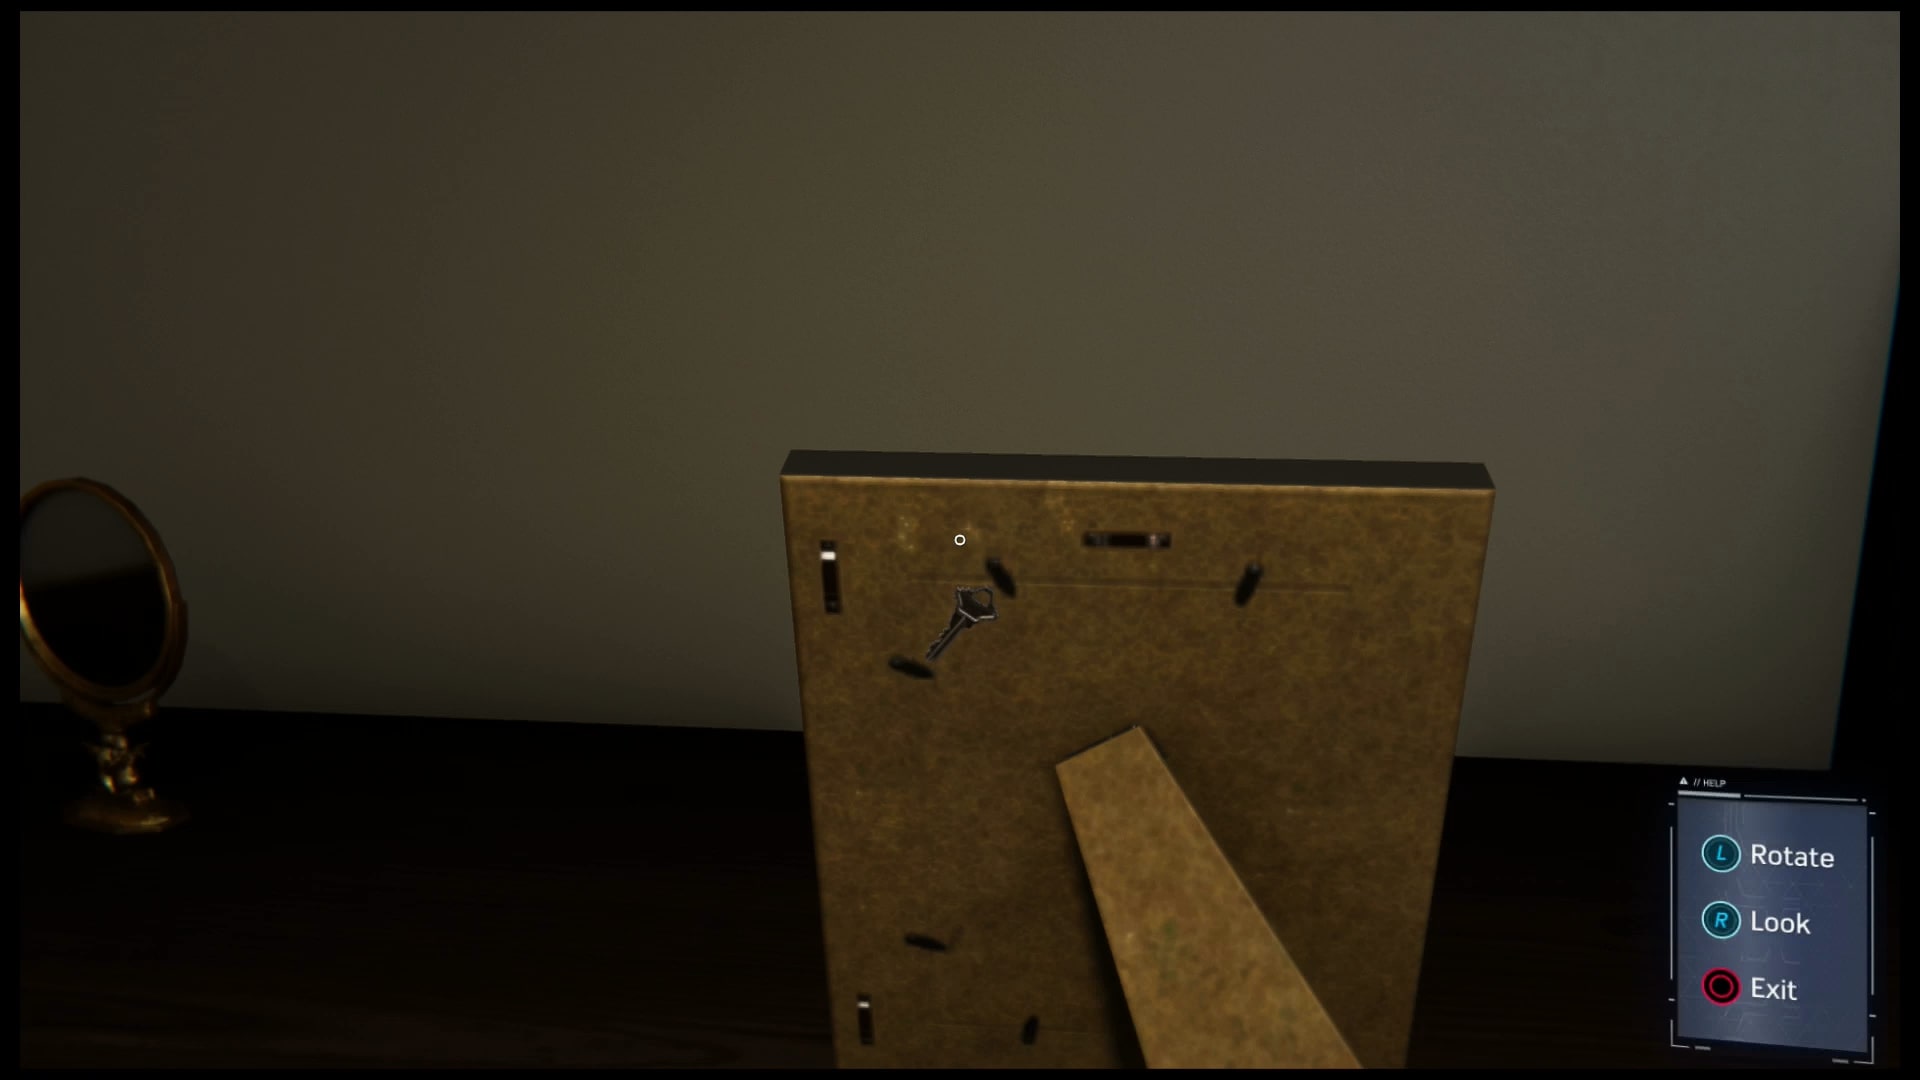
...boom, secret key
Unlock Harry’s room. Be prepared for the shock. His Journal is on his desk. Read the whole thing.
Whoa.
Oh my god…. Harry. Now Sable is back. Use the lures and your stun gun to incapacitate the guards and get to the secret room.
There is many insane things in here, but you will want to look at the cool map in the middle of the room. Use the combination: Dr. Michaels, Records, Bravo Patrol
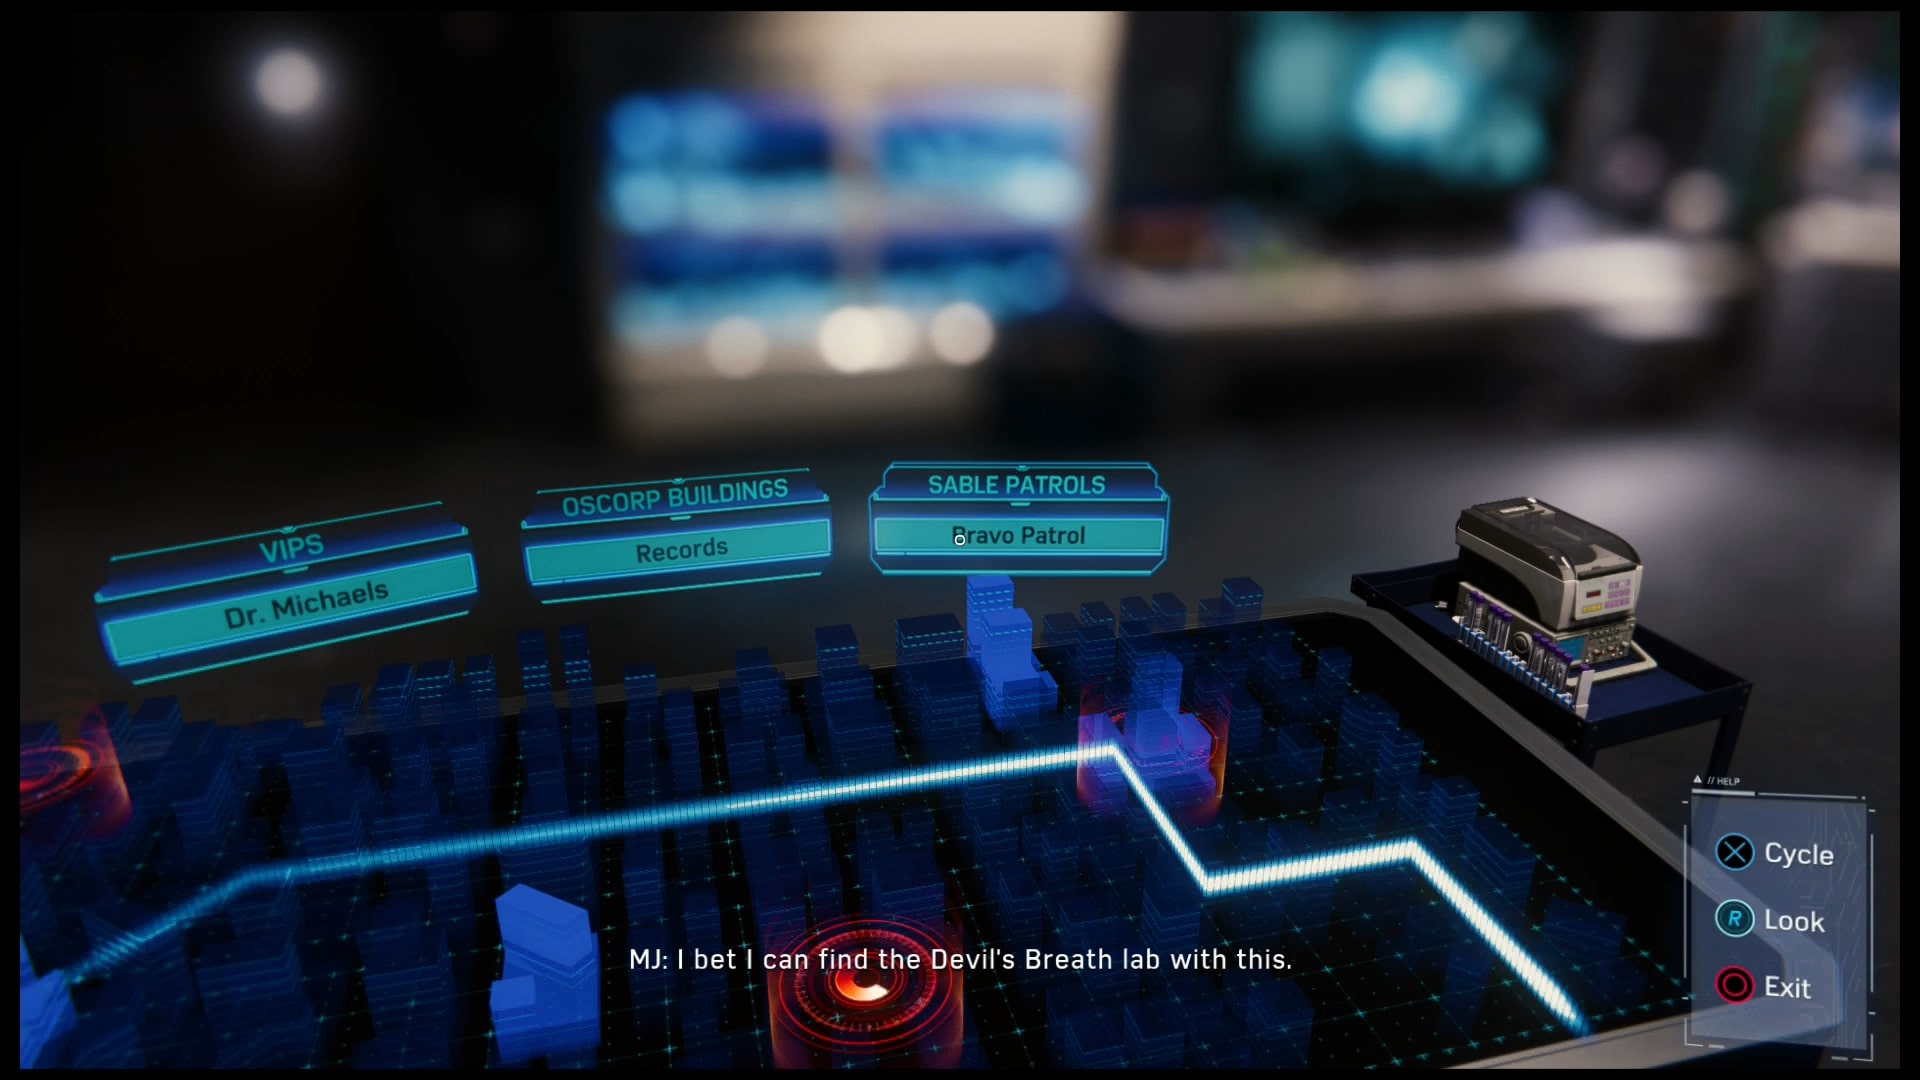
Use this Combination
While you are dealing with the shock of what you have witnessed, get to the awning.
The Heart of the Matter
Get to the Records facility. Stop Mister Negative. Get the Antiserum.
Outside the records office, take out the snipers first.
Split the Demons up to make the fight easier. Keep on the move so the snipers and rocket launchers can’t get a lock on you
Do not forget to web throw the rockets back at the Demons!
Hold down triangle to disarm enemies. At this point, it will work on melee weapons, rocket launchers, swords, guns.
Now Sable’s men show up. Bring it on!
All right, that's it. That is the last straw. You guys are going to regret messing with Spider-Man!
You know what to do: keep moving and watch out for their bolas and other heavy weapons
Keep an eye on your health. Soon as it gets low, use built up focus to recharge it.
After you get inside the building and down the rabbit hole, follow Mister Negative through his mindscape. This is totally tripping.
Round three, people! Let's finish this!
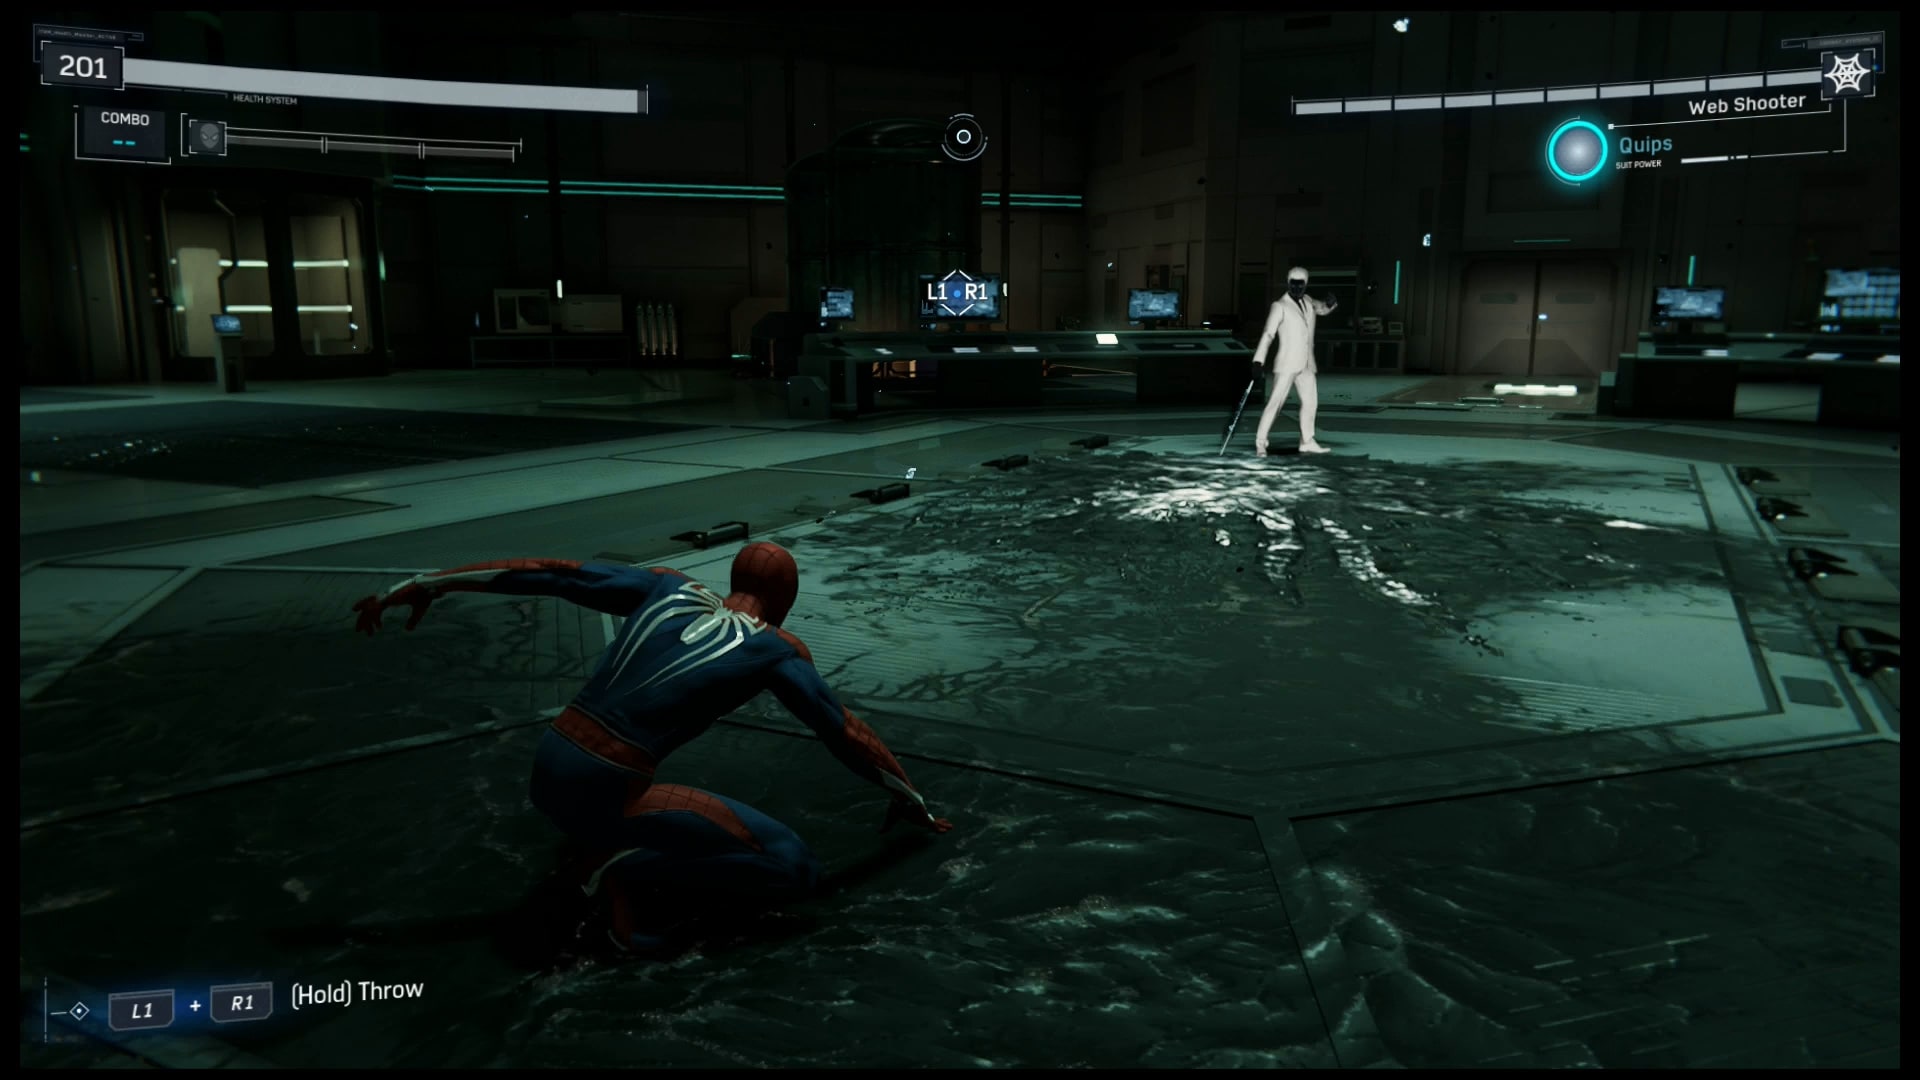
Now get ready for the real boss fight against Mister Negative. This is one of the toughest fights in the game, so be on your guard
Mister Negative will open up with his sword, creating blasts of negative energy in the ground. Dodge them.
He will then move in to try to slice you with his sword. Dodge his sword strikes, and bear down on him.
If you try to put distance between him, he will move fast, almost like teleporting, to get to you.
After a few misses, his power will run out and he turn back into Martin Li. Hit him then, then counter when he tries to grab you
Web strikes do not work on him. You have to keep wearing him down instead
Once you have beaten him a few times, Mister Negative will bring out his full power: summoning a massive demon. Now the real fight begins.
Remember those negative clones from before? They are back. Deal with them while avoiding Mister Negative’s attacks.
When he summons his demon, Get out of the way!
The negative demon will sometimes run attack the floor around it. Jump to avoid damage
Use the concussive blast gadget to clear out the clones quickly
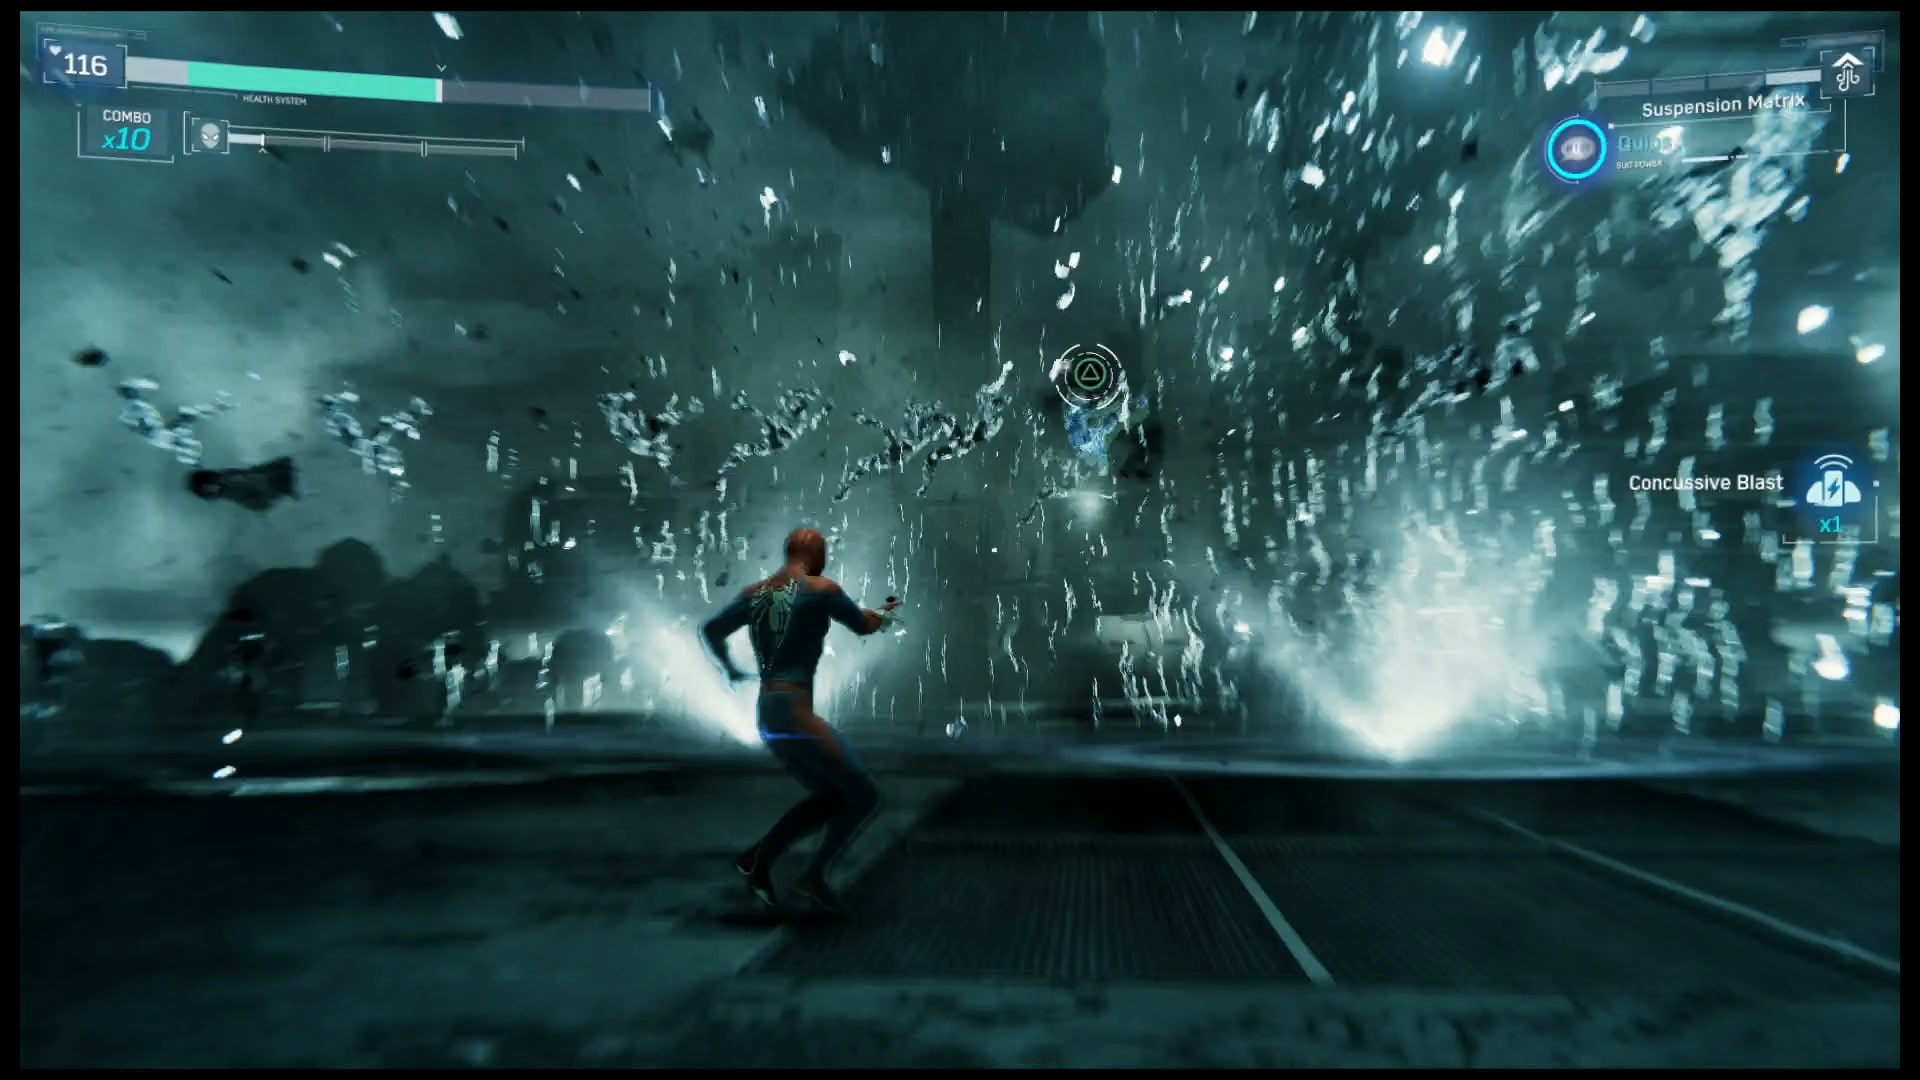
I never expected this to actually work when I tried it. But I was desperate, so I went for broke!
The Suspension Matrix works on Mister Negative and the clones! Use that hold them in place for a short amount of time!
This whole fight is a battle of attrition. You have to wear Mister Negative down to deal the final blow
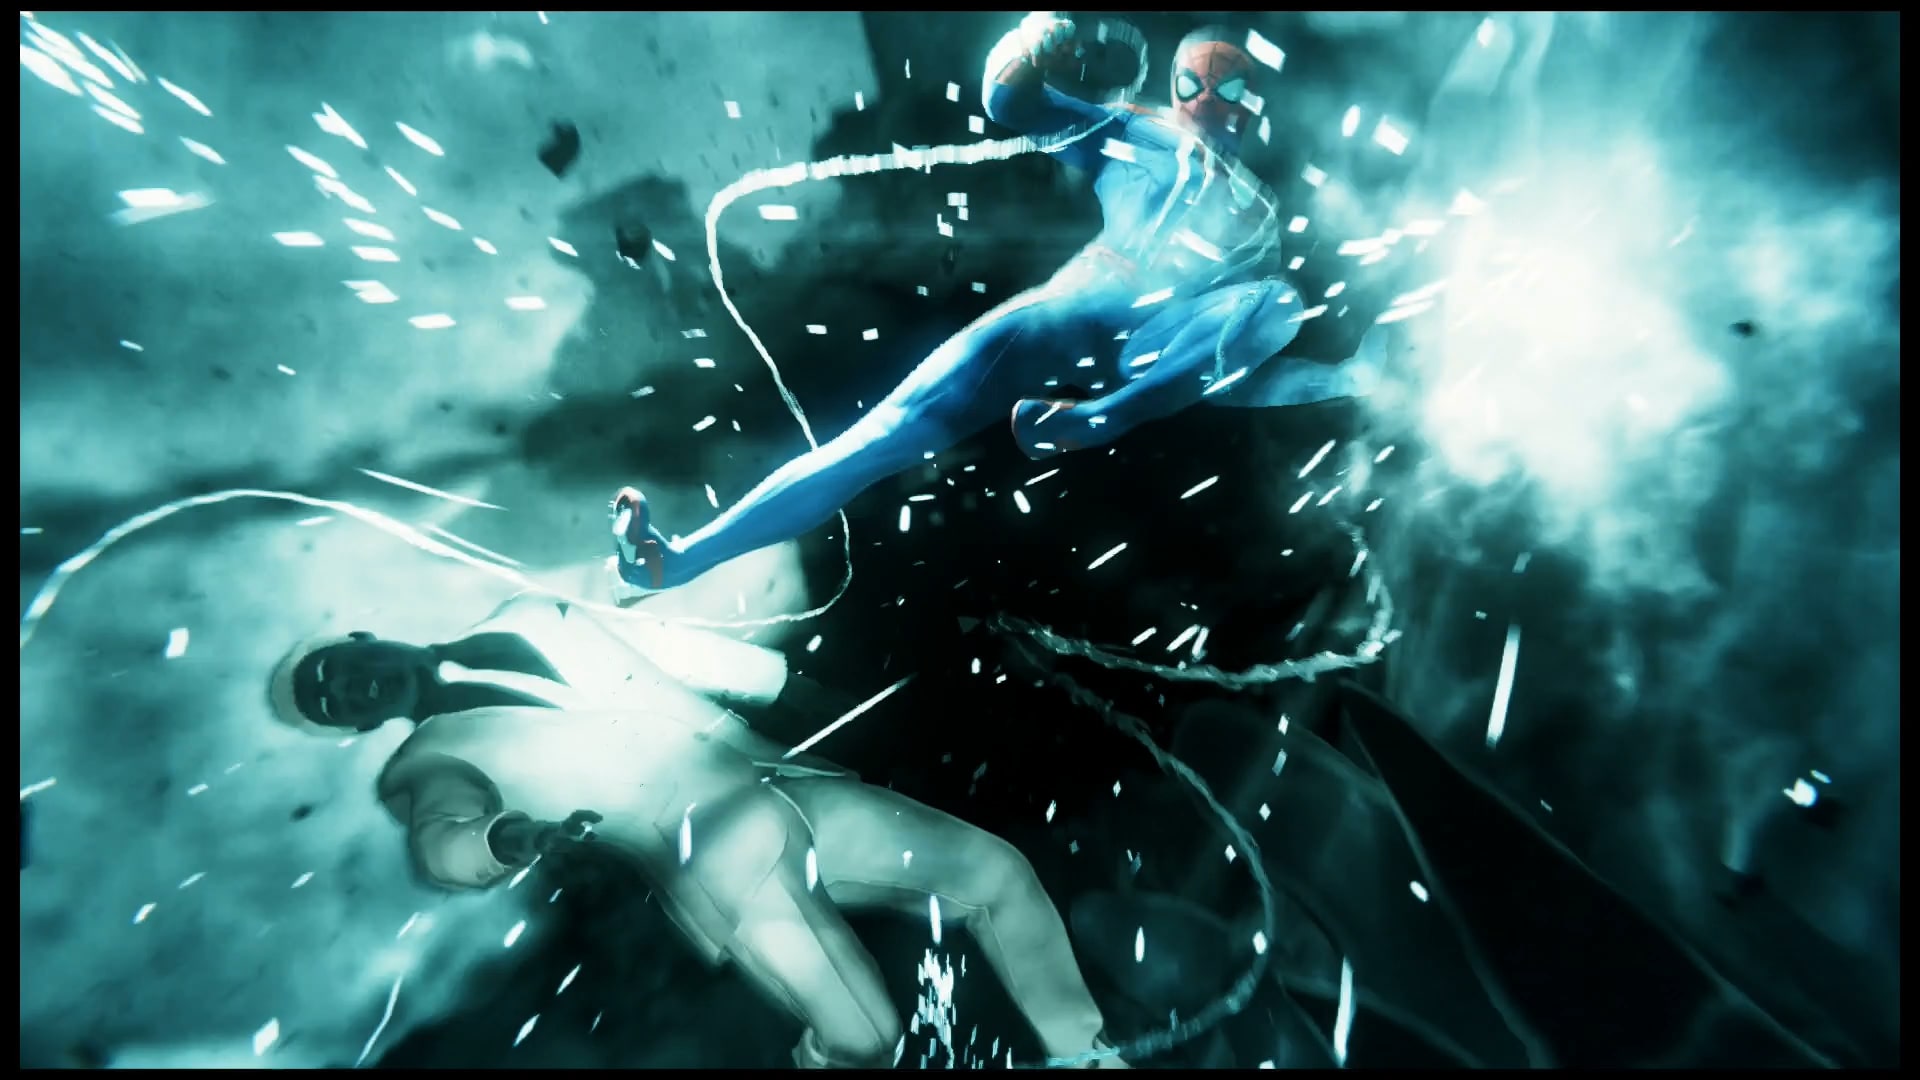
Aaannnd musical swell followed by epic drop-kick. Perfect photo shot.
Congrats! You have vanquished the demon!
Pax in Bello
I do not think I need to tell you people how high the stakes are at this point. Therefore, put on your Sunday b-who am I kidding, White Spider is better. Just tear Otto a new one.
Yeah, black and yellow are definitely not suited for Spider-Man
Doctor Octavius is the toughest boss in the entire game: he’s fast, he’s strong, and vicious
Keeping your distance will not work: his tentacles can reach very far. Keep him at by using throwables. Like the jars of explosives there.
Use your webs to ensnare Octavius and slow him down. It will not work for long, though, so make sure to get in there and attack.
Sorry if they're kind of blurry, but I was fighting for my life.
If he grabs you with his tentacles, tap the square repeatedly to break free.
If he starts throwing things at you, remember you can throw them right back.
Use all your gadgets to hold Octavius. The Anti-Ock Suit’s power will let you automatically refill your gadgets.
Your electric webs seem to have a strong effect on him, but
As the battle goes on, you will notice that Doc’s arms are starting to look beaten up. That means you are winning.
Once you get him down to a certain amount of health, he will set the fighting stage on fire. Get in the air, and take him down.
The second phase of the fight will be entirely on the side of the building. No gadgets, this time. Just your webs and your fists.
Octavius will move in to attack with his tentacles. His attack pattern is very predictable and can be anticipated using your spider sense. Dodge their attacks, then get in close and give him hell.
Only one strategy: hit him with everything you got!
After that, watch the remaining cutscenes, have tissues at the ready (several moments are going to make you cry). In addition, remember the golden rule of Marvel films: Stick around until the end of the credits.
Congratulations, you finished one of the greatest superhero games of all time. I hope you enjoyed yourself, and I hope that this walkthrough helped you a little bit. Now go enjoy the New Game Plus, Photo Mode, and DLC, True Believers!
You may also be interested in:


