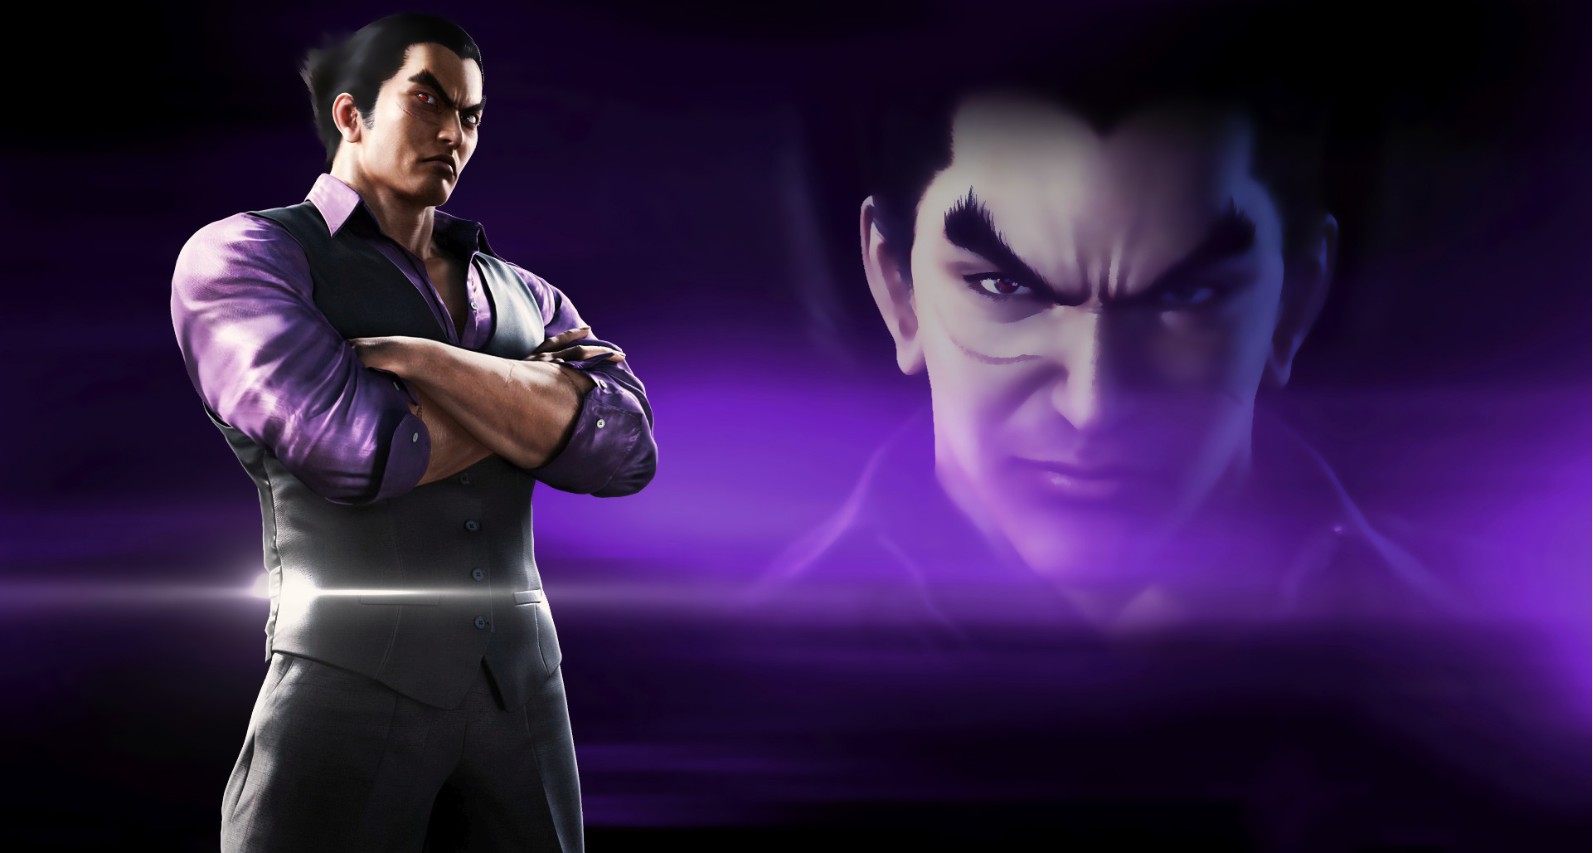
Tekken 7 Roster and Character List
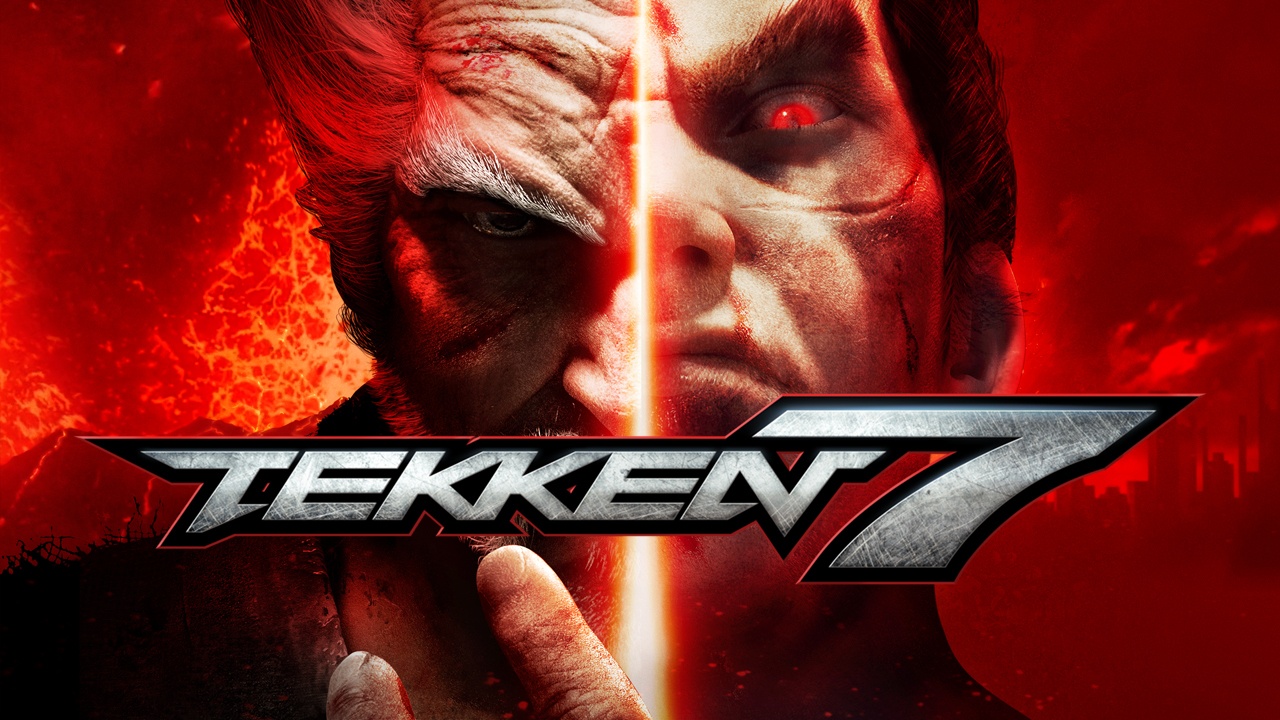
With global sales approaching 4 million units at the end of 2018, Tekken 7 is the best-selling instalment on the series since Tekken 5 and is set to continue its hot streak with the impending releases of Tekken 3 debutante Julia Chang and Negan from The Walking Dead as additional characters for Season Pass 2.
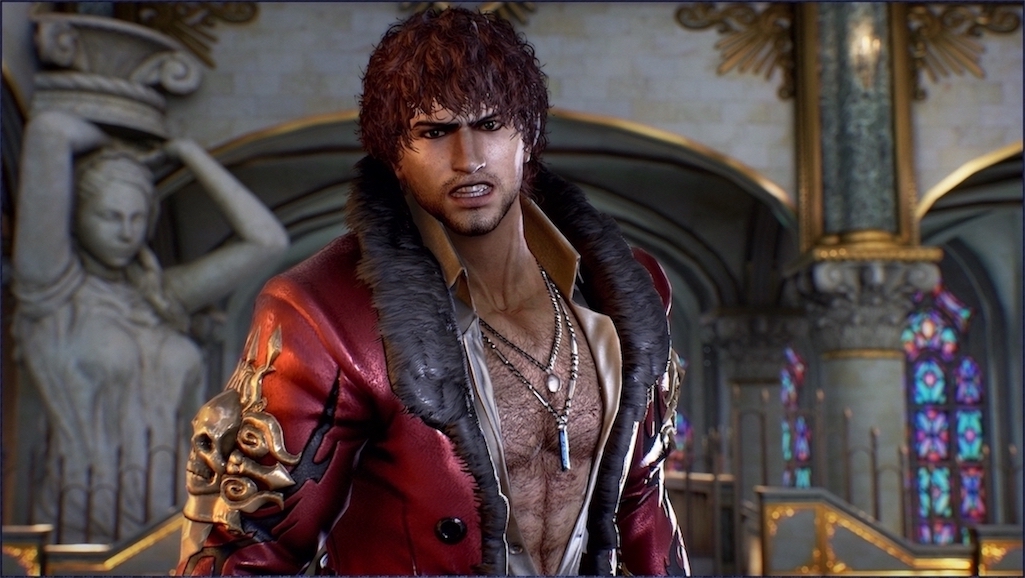
The game currently has 43 different characters on its roster, each with tens of moves (some more than others), but each has a few moves that are vital to their general game plan. Be sure to also check out our Tekken 7 tier list to get more detailed insights on each character’s strengths and weaknesses.
List of characters (Season 2)
- Akuma (57/100)
- Alisa (71/100)
- Anna (52/100)
- Armor King (76/100)
- Asuka (69/100)
- Bob (72/100)
- Bryan (78/100)
- Claudio (79/100)
- Devil Jin (90/100)
- Dragunov (82/100)
- Eddy (62/100)
- Eliza (59/100)
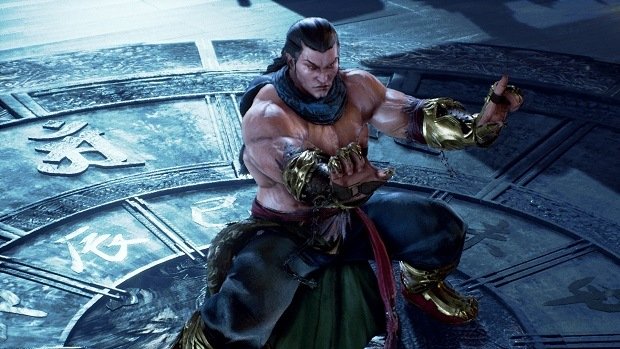
- Feng (81/100)
- Geese (76/100)
- Gigas (54/100)
- Heihachi (74/100)
- Hwoarang (67/100)
- Jack-7 (81/100)
- Jin (86/100)
- Josie (77/100)
- Julia (??/100)
- Katarina (79/100)
- Kazumi (76/100)
- Kazuya (80/100)
- King (82/100)
- Kuma/Panda (70/100)
- Lars (75/100)
- Law (77/100)
- Lee (65/100)
- Lei (73/100)
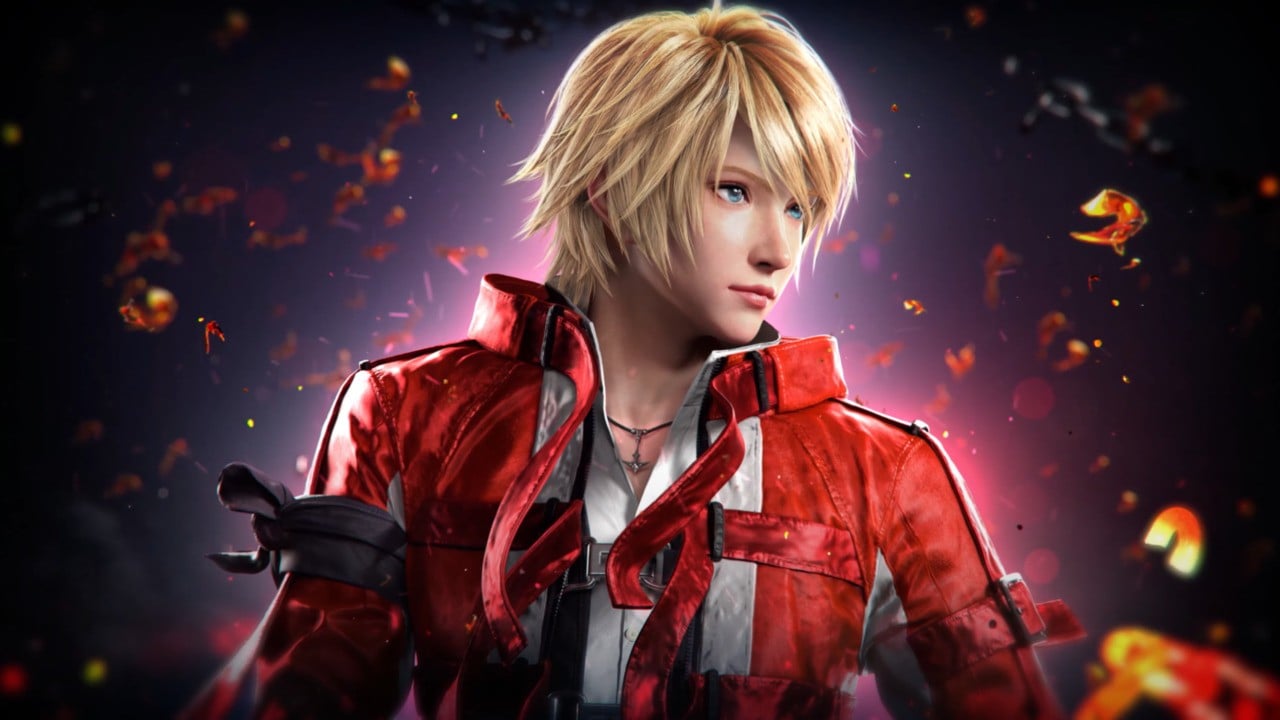
- Leo (80/100)
- Lili (81/100)
- Lucky Chloe (63/100)
- Marduk (70/100)
- Master Raven (71/100)
- Miguel (68/100)
- Negan (??/100)
- Nina (76/100)
- Noctis (80/100)
- Paul (85/100)
- Shaheen (72/100)
- Steve (76/100)
- Xiaoyu (84/100)
- Yoshimitsu (60/100)
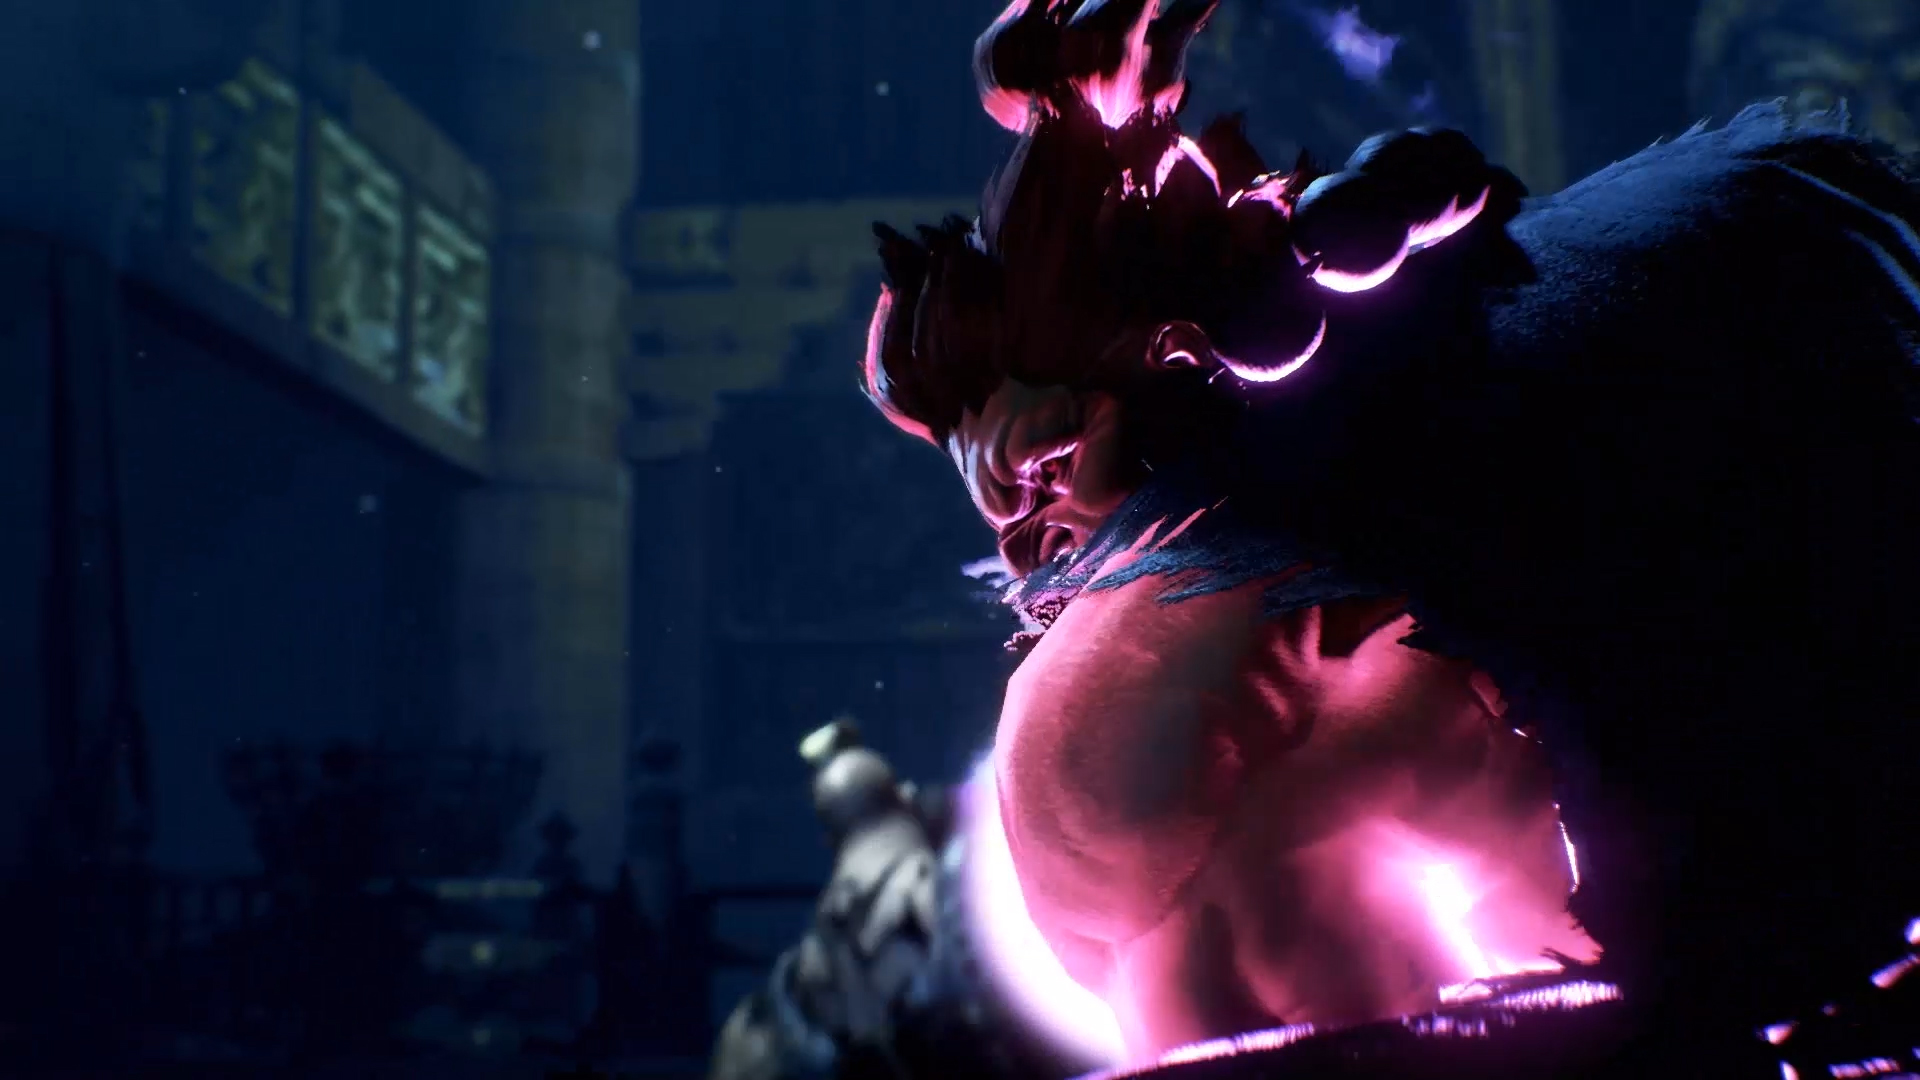
Akuma (Gouki)

qcf = Quarter-circle forward (d, d/f, f); hcb = Half-circle back (f, d/f, d, d/b, b)
- Gohadoken (qcf+1_qcf+2) – Though Akuma’s fireball loses some of its strength in Tekken 7 because players can sidestep it unlike in the Street Fighter series, it is still useful in zoning the opponent and chipping away at their health from a distance. The Shakunetsu Hadoken (hcb+1_hcb+2) does more damage and knocks down the opponent but is slower to come out.
- Goshoryuken (f, d, d/f+1_f, d, d/f+2) – Akuma’s dragon punch (DP) is fully invincible in Tekken 7 and therefore a useful “panic move” to throw out if you’re anticipating sustained pressure from the opponent. The EX version (f, d, d/f+1+2) spends one bar of meter and does more damage and Akuma performs his popular super move, Messatsu Goshoryu, if the EX DP connects on counter hit. However, Akuma’s DPs are all launch punishable on block, so don’t throw them out willy-nilly.
- Hyakkishu (f, d, d/f+3_f, d, d/f+4) – Akuma’s demon flip is a useful mix-up tool to use when pressuring the opponent, as well as a combo tool. It has various options with strengths and weaknesses that cover each other, so a player can act on their opponent’s reaction to the demon flip accordingly. However, as he is airborne, Akuma leaves himself open to being floated for a combo.
- Focus Attack (1+2) – Akuma’s Street Fighter IV focus attack is a power crush (armor move) that hits harder the longer you hold it. Its Level 2 variation stuns the opponent and leaves them open for a combo, while holding it for maximum charge makes it unblockable. Like in Street Fighter IV, it can also be cancelled into a dash for a Focus Attack Dash Cancel (FADC).
- Kurubushi Kick (d+3) – This is Akuma’s crouching medium kick from the Street Fighter series. It is a fast low poke that can be cancelled into his special moves, which are guaranteed if d+3 connects on a clean hit.
Akuma power rating: 57/100
Alisa Bosconovitch

- Accelerator (4) – A fast, high kick that is homing and safe on block. It tailspins the opponent on counter hit, leaving them open for a full combo.
- Pickup (d/f+2) – This is Alisa’s 16-frame launcher. It is safe on block and has decent range, making it a good punisher.
- Deep Link (d/b+3) – A fast low poke that crushes highs. It also gives you plus frames on counter hit, allowing you to continue your offense afterwards.
- Gadget Found (b+1) – A mid poke that is safe on block and leaves Alisa crouching. This is useful to use against opponents who like to retaliate with jabs, as Alisa will automatically duck as the move recovers and open up the opponent for a combo. The move also has an extension in b+1, 1+2, though this is very unsafe on block and can even be countered before last hit comes out.
- Trance (b+2) – A mid move with two useful extensions (this move should never be used on its own as it is unsafe on block and minus on hit). The Trance Hammer (b+2, 1) is a mid-mid string that is plus and forces the opponent to crouch on hit but is unsafe on block. The Trance Accelerator Kick (b+2, 4) is a mid-high string that is safe on block and knocks down the opponent, making it a nice whiff punisher, but the second hit can be ducked and punished on block if you throw out the string predictably.
Alisa power rating: 71/100
Anna Williams
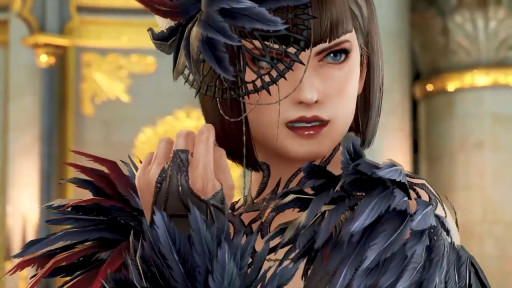
qcf = Quarter-circle forward (d, d/f, f); CJM = During Chaos Judgment
- Wine Opener (d/f+4) – A fast low poke with good tracking in both directions. It is plus and forces the opponent to crouch on hit, which means you can continue your offense after it lands. It is quite unsafe on block though.
- Rusty Hook (b+4) – A mid homing move that is safe on block, has great range and knocks down on counter hit. It also tailspins an airborne opponent.
- Assassin’s Danger (qcf+1) – A fast high attack that is plus on block and launches the opponent on counter hit, probably making it Anna’s best pressure tool.
- Caracal (CJM 1+2) – A useful mid attack from Anna’s Chaos Judgment stance that is safe on block, plus on hit and forces the opponent to crouch regardless of whether they block or get hit.
- Dendrobates Azureus (CJM d/b+3, 3) – A low-high poke string from Anna’s Chaos Judgment stance that is safe on block and very plus on hit, making it a useful offensive tool. The opponent can, however, duck and punish the second hit if they block the first hit.
Anna power rating: 52/100
Armor King
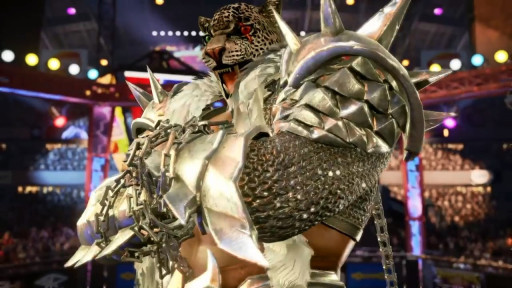
CD = Crouch dash (f, n, d, D/F)
- Dark Elbow Hook (f+2, 1) – A mid-high string that is safe on block. It has great range and does some chunky damage, making it a very good whiff punisher. It also sends the opponent over a long distance in a combo, making it good for wall carry.
- Stomp (d+3) – A fast, annoying low poke that is plus on hit.
- Stomping Headbutt (d/b+1+2) – A mid move with good range that knocks down the opponent on hit and is plus on block.
- Comeback Kick (f, f+3) – A high homing move that knocks down the opponent on hit with a combo guaranteed afterwards and is neutral on block. The move can be cancelled into Armor King’s Shadow Step by holding down; this version of the move is very plus on block.
- Dark Smash (CD 2) – This is Armor King’s version of the Mishima Wind God Fist. It is a fast high launcher that can be mixed up with his other crouch dash moves and is only just unsafe on block at -10.
Armor King power rating: 76/100
Asuka Kazama
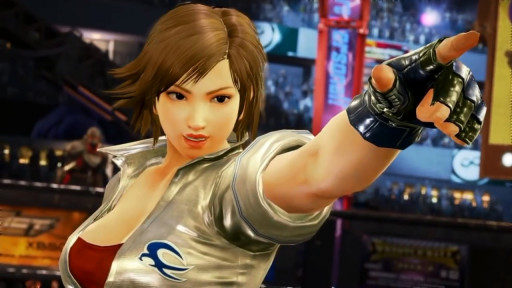
- Sacred Blade (3~4) – A homing, low attack that crushes high attacks and launches the opponents. It is slow to come out but tends to sneak by opponents before they realize what’s happening due to its animation. It is extremely unsafe on block, so use it sparingly.
- Demon Slayer (f+2) – A mid attack with excellent range that launches the opponent, making it a superb whiff punisher. It is launch punishable on block, however.
- Dragon Wheel Kick (b+3) – A mid attack with good crushing properties that launches the opponent and is one of the best “panic moves” in the game. It is very unsafe on block but due to its backflip animation, which also moves Asuka backwards, it is very hard to punish consistently.
- Heart Stopper (b+4) – A mid knee attack that is safe on block and launches the opponent on counter hit. It has a full string extension (b+4, 2, 3) with the second and third hits delayable. For Season 2, the third hit (which is launch punishable) was made guaranteed after the second hit, making the string a good hit-confirm tool against trigger-happy opponents.
- Matoi Hiragi (f, f+3) – A mid homing move with excellent range that knocks down the opponent. For Season 2, the move was made to tailspin the opponent on counter hit and in mid-air, turning it into an excellent keep-out tool with potential for a combo follow-up.
Asuka power rating: 69/100
Bob Richards

CD = Crouch dash (f, n, d, D/F)
- Huile Slip (d/b+3+4, 4) – Fast low poke string that is very plus on hit, allowing you to continue your offense. It is extremely unsafe on block, however.
- Ravenous (b+1, 2) – A mid-mid poke string that is safe on block, allowing for some set-ups against trigger-happy opponents, and very plus on hit.
- Zip Cutter (f, f+2) – A mid move that moves Bob forward, is safe on block and knocks the opponent backwards. It is minus on block, but the pushback opens up the possibility of baiting retaliation from the opponent for a whiff punish.
- Langue Washer (CD 1) – Fast high poke from Bob’s crouch dash. It is safe on block, crushes high attacks and tailspins the opponent on counter hit for a full combo.
- Cutting Coppa (CD 4, 1+2) – This is Bob’s hellsweep string that knocks down the opponent for some chunky damage. Like most hellsweeps, it is extremely unsafe on block, so be sure to mix it up with some mid attacks to keep the opponent guessing.
Bob power rating: 72/100
Bryan Fury
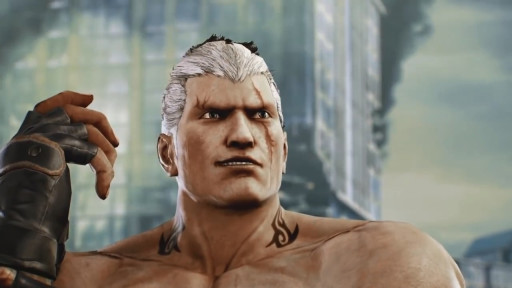
qcb = Quarter-circle back (d, d/b, b)
- Middle Side Kick (3+4) – Mid spacing tool with great range that stuns the opponent on normal hit and counter hit, though the stun on counter hit is much easier to start a combo from. It is unsafe on block but has a lot of pushback, which makes it hard to punish.
- Snake Edge (d/f+3) – A homing, low attack that has ridiculous crushing properties and good range. It launches the opponent for a full combo but is extremely unsafe on block.
- Orbital Heel (u/f+4) – A mid move that is safe on block, crushes low attacks and launches the opponent on hit for a full combo.
- Mach Kick (f, f+4) – A homing, high attack with good range. It is safe and forces the opponent to crouch on block, knocks them down on hit and tailspins them on counter hit for a full combo.
- Hatchet Kick (qcb+3) – One of the best low pokes in the game. It is an unseeable, annoying move that is very plus on hit, though it is unsafe on block.
Bryan power rating: 78/100
Claudio Serafino

STB = During Starburst; WR = While running (f, f, f)
- Sacred Edge (f+3) – A homing move with great range that is safe on block and tailspins the opponent on counter hit. It was a mid attack in Season 1 but was turned into a high attack in Season 2.
- Sky Slash Nova (u/f+4) – Claudio’s hopkick, which is the best one in the game due to its great range and stupendous crushing properties. It is good to throw out occasionally under pressure but, like all hopkicks, it is unsafe on block.
- Ira (WR 2) – A high pressure tool which is one of a few moves that activates Starburst. It has good range, does some heavy damage, is plus on block and knocks down the opponent on hit.
- Cross Arm Impact (STB f+1+2, 1+2) – A mid-mid string with good range that launches the opponent on hit and is safe on block, making it a reliable whiff punisher.
- Gravity Zone (STB d+2, 2) – A fast low-low string that launches the opponent on hit. However, the second hit can be blocked even though the first hit connects and is unsafe on block.
Claudio power rating: 79/100
Devil Jin
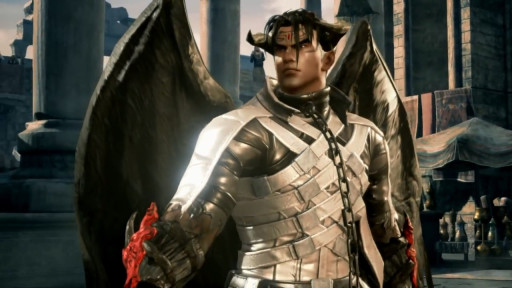
CD = Crouch dash (f, n, d, D/F); cd = Crouch dash (f, n, d, d/f)
- Malicious Mace (d/b+2) – A fast low poke that is plus and forces the opponent to crouch on hit, though it is unsafe on block.
- Demon Steel Pedal (b+4) – A mid attack that safe on block, does some chunky damage on hit and stuns the opponent on counter hit for a full combo. It also flips over grounded opponents for better pressure as they get up.
- Laser Cannon (b, f+2, 1, 2) – A mid-mid-mid string that is safe on block. The first hit tracks well in both directions, making the string useful against mobile opponents. However, the last hit can be stepped to the right, so most players only perform the first two hits.
- Electric Wind God Fist (cd 2) – The iconic Mishima-style launcher and whiff punisher also used by Heihachi and Kazuya. A fast high attack that is plus and has a lot of pushback on block, but is weak to sidestepping left.
- Spinning Demon (CD 4) – The Mishima-style hellsweep. Devil Jin’s version launches the opponent for a full combo and has an extension (f, n, d, d/f+4, 4) that knocks down the opponent. It is extremely unsafe on block, however.
Devil Jin power rating: 90/100
Sergei Dragunov

WR = While running (f, f, f)
- Razer (d+2) – Fast low poke that does decent damage. In Season 1, it was plus and forced the opponent to crouch on hit, making it a great pressure tool, but for Season 2 the forced crouch was removed, and the move was made minus on hit.
- Blizzard Hammer (b+1+2) – A mid move that is very plus on block and knocks down the opponent right by Dragunov’s feet on hit, making it a great pressure tool.
- Slicing Sobat (u/f+4) – A mid homing move that is safe on block and crushes low attacks. It knocks down the opponent on hit for a mini-combo with the Separator (d+4, 1, 3).
- Stinger Kick (f, f+3) – A high homing move with great range that knocks down the opponent on hit and tailspins the opponent on counter hit for a full combo.
- Russian Assault (WR 2) – One of the best pressure tools in the game. It is a mid move that is very plus on block, knocks down the opponent on hit and launches them on counter hit. It also has good tracking in both directions, making it hard to sidestep.
Dragunov power rating: 82/100
Eddy Gordo
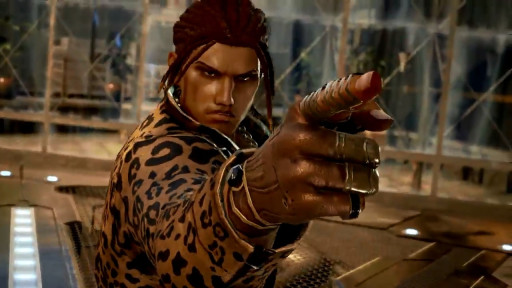
HSP = During Handstand; RLX = During Negativa (Relaxed stance); SS = During sidestep
- Slippery Kick (3~4) – Eddy’s version of the Snake Edge; a low attack that crushes high attacks and launches the opponent on hit for a combo but is extremely unsafe on block.
- Twister (SS 4) – Fast low poke that is plus on hit and has a few extensions, allowing for a mix-up afterwards.
- Batucada (HSP 3+4) – A high, unbreakable throw that can be mixed up with Eddy’s other options from Handstand.
- Negativa to Meia-lua Combo (RLX 1, 3) – Fast low-mid poke string from Eddy’s relaxed stance that is fully guaranteed on hit. The last hit can also be cancelled back into the relaxed stance or a Handstand for mix-ups afterwards.
- S-Dobrado (RLX 3~4) – Mid launcher from Eddy’s relaxed stance. It is very unsafe on block but can be mixed up with Eddy’s other options from the stance.
Eddy power rating: 62/100
Eliza
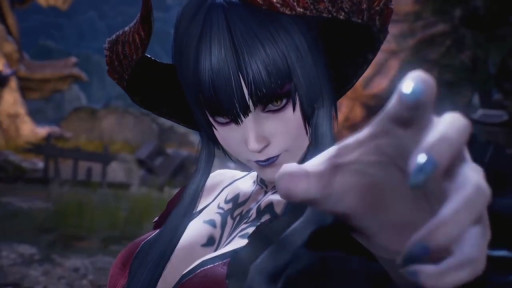
qcf = Quarter-circle forward (d, d/f, f)
- Dark Wave (qcf+1_qcf+2) – Eliza’s projectile attack, which is useful for zoning and chipping away at the opponent’s health from a distance.
- Arc Kick (4) – A high homing move that is safe on block, knocks down the opponent on hit and tailspins them on counter hit.
- Shadow Ring (3+4) – Eliza’s version of the Snake Edge. It is a low homing move that launches the opponent for a full combo and crushes both high and low attacks, but is very unsafe on block.
- Broken Dream (f+1+2) – A homing, mid power crush with good range that knocks down the opponent on hit but is unsafe on block.
- Sweeping Scarlet (d+3) – A fast low poke that Eliza can cancel into her special moves, making it a deadly tool to mix up with her mid pokes.
Eliza power rating: 59/100
Feng Wei
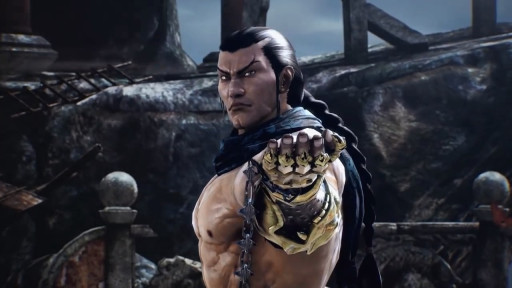
qcf = Quarter-circle forward (d, d/f, f)
- Piercing Arrow (d/b+3) – Fast low poke that is plus and forces the opponent to crouch on hit but is quite unsafe on block.
- Iron Palm (b+1) – A very fast high attack that knocks down the opponent on counter hit for a guaranteed Iron Fortress (b+1+2) follow-up, making it a great “panic move” to use under pressure.
- Deceptive Step (b+3+4) – Also known as the Kenpo Step. An evasive stance that has Feng taking a big step backwards and has four deadly options to follow up with, making it great to use if you expect your opponent to press buttons.
- Evading Palm Strike (u/f+2) – A fast mid attack with an in-built sidestep that stuns the opponent and does decent damage on counter hit, making it effective to use in set-ups.
- Landslide (qcf+1) – A chunky low attack that does good damage, is plus on hit and launches the opponent on counter hit for a full combo. However, it is quite unsafe on block.
Feng power rating: 81/100
Geese Howard
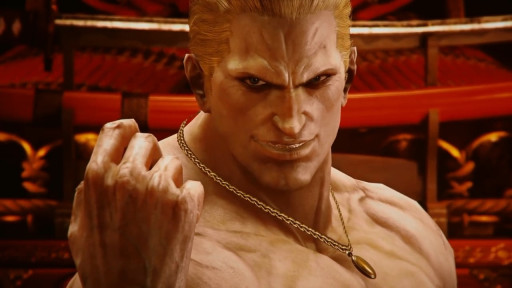
qcf = Quarter-circle forward (d, d/f, f); SS = During sidestep
- Reppuu Ken (qcf+1) – Geese’s projectile attack, which is good from frustrating the opponent and taking away small bits of their health from a distance to draw them in.
- Hien Shikkyaku (f+1+2) – A mid attack with good range that crushes low attacks and launches the opponent on hit for a full combo. It is also safe on block, making it Geese’s whiff punisher of choice.
- Kusanabiki-Geri (d+4) – This is Geese’s crouching heavy kick from The King of Fighters XIV. It is a low attack that can be cancelled into Geese’s special moves and launches the opponent on counter hit for a full combo. It is, however, very unsafe on block.
- Inazumageri to Tenyaburi (b+3, 2) – A mid-mid string that is best used by cancelling it into Geese’s MAX mode by pressing 1+2 afterwards to make it plus on block and allow you to continue with a combo on hit. Without the MAX mode cancel, the move is quite unsafe on block and cannot be followed up with a combo on hit.
- Urasigure-Geri (SS 3) – An annoying low poke that is very plus on hit and knocks down the opponent on counter hit for a small combo follow-up but is unsafe on block.
Geese power rating: 76/100
Gigas
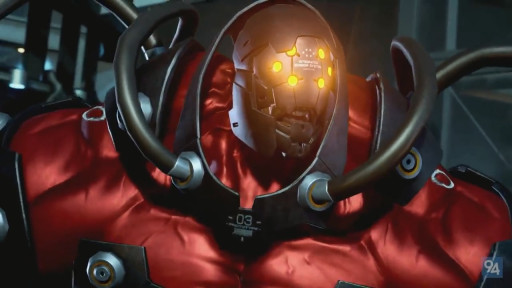
SS = During sidestep
- Iron Breaker (1, 2) – Fast one-two punch string which is Gigas’ fastest punisher. It knocks down the opponent and does some hefty damage on hit but is very unsafe on block.
- Hazardous Hook (d/f+1) – A mid move with great range that is safe on block and very plus on hit, making it a great poking tool.
- Sledgehammer (d+2) – A mid hammer punch with good range and a big vertical hitbox that launches the opponent on hit for a full combo, making it a good whiff punisher, but is quite unsafe on block.
- End Mill (d/b+2) – A fast low poke that does decent damage and is plus on hit but is quite unsafe on block.
- Flying Gauntlet (SS 2) – A high attack with good range that tailspins the opponent on hit for a full combo but is unsafe on block.
Gigas power rating: 54/100
Heihachi Mishima
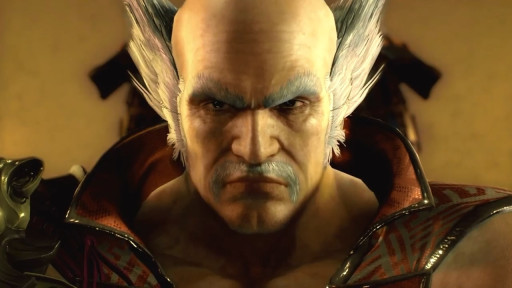
CD = Crouch dash (f, n, d, D/F); cd = Crouch dash (f, n, d, d/f)
- Right Splits Kick (f+4) – A fast, mid pressure tool that is very plus and forces the opponent to crouch on both hit and block.
- Eishomon (d/b+2) – A fairly fast low attack that does good damage and is very plus and forces the opponent to crouch on hit. However, it is very unsafe on block.
- Hell Axle (u/f+3, 4) – A jumping mid-mid string that crushes low attacks, is plus on block and tailspins the opponent on hit for a full combo.
- Demon Uppercut (f, f+2) – A mid move with excellent range that crushes high attacks and launches the opponent on hit for a full combo. It is unsafe but has a lot of pushback on block, making it hard to punish consistently.
- Electric Wind God Fist (cd 2) – Mishima-style launcher that is also used by Devil Jin and Kazuya with all the same properties; fast, high launcher that is plus and has a lot of pushback on block, primarily used as a whiff punisher.
Heihachi power rating: 74/100
Hwoarang

RFF = During Right Stance (Right Foot Forward)
- Smash Low Right to Right Flamingo (d+3, 4) – A low-high poke string that is very plus on both block and hit and leaves Hwoarang in his Right Flamingo stance, allowing you to enforce a mix-up and maintain pressure afterwards.
- Sweep Kick (d/b+3) – A fast low poke that crushes high attacks. It is neutral on hit and very plus on counter hit, but unsafe on block.
- Left Plasma Blade (b+3) – A mid move with good range that launches the opponent on hit for a combo, making it Hwoarang’s go-to whiff punisher. However, it is very unsafe on block, so don’t just throw it out anytime.
- Peacekeeper (f, f+4) – A mid attack with great range that is safe on block, knocks down the opponent on hit and leaves Hwoarang in his Right stance. It is a useful tool to set up a Backlash against opponents who like to press buttons.
- Backlash (RFF 3~4) – A homing, high power crush that does astronomical damage and tailspins the opponent on hit for a full combo. Due to its quick recovery, it is also a hard move for the opponent to whiff punish.
Hwoarang power rating: 67/100
Jack-7

SS = During sidestep
- Pinpoint Assault (f+2) – A high attack that is Jack’s fastest punisher. It knocks down the opponent on counter hit for a guaranteed Rocket Kick (f, f+4) follow-up, making it a good “panic move” to use under pressure.
- Savage Uppercut (d/f+2) – A mid attack with great range that launches the opponent on hit for a combo, making it a great whiff punisher. It also recovers fairly quickly, making it useful for whiffing intentionally to draw in and launch the opponent.
- Machinegun Blast (d/b+1) – Very fast, annoying low poke that is plus on hit, making it an effective pressure tool. It also has a full string extension (d/b+1, 1, 1, 2) that is best used to end a combo at the wall.
- Debugger (b, d/b, d, d/f+1) – A big, homing, low attack that sweeps the opponent on hit. It is very unsafe on block, but its pushback makes it hard to punish for some characters.
- Discharger (SS 1) – A mid attack that is plus and forces the opponent to crouch on block and launches them on hit. It is an effective tool to mix up with the Debugger (b, d/b, d, d/f+1) while the opponent is getting off the ground.
Jack-7 power rating: 81/100
Jin Kazama
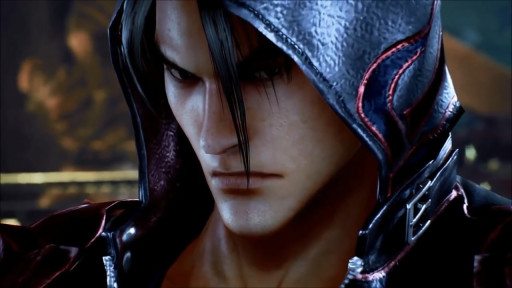
CD = Crouch dash (f, n, d, D/F); cd = Crouch dash (f, n, d, d/f)
- Front Thrust Kick (f+4) – A mid attack with excellent range that can be cancelled into Jin’s Zenshin stance by holding forward afterwards. It is safe with pushback on block, plus on hit and stuns the opponent on counter hit for a full combo, making it a great spacing tool.
- Right Low Roundhouse (d/b+4) – A fairly fast low poke that is plus on hit and launches the opponent on counter hit but is unsafe on block.
- Left Axe Kick (f, f+3) – A mid attack that is plus on block and launches the opponent on hit. It is useful to mix up with the L.L.R.K. from Jin’s crouch dash.
- Electric Wind Hook Fist (cd 2) – Jin’s version of the Mishimas’ Electric Wind God Fist. It is plus with pushback on block and tailspins the opponent on hit for a full combo.
- L.L.R.K. (CD 4) – Jin’s hellsweep, the Low Lunging Roundhouse Kick. It is slower than that of the Mishimas, but unlike them (except Devil Jin), Jin can follow up with a full combo on hit. The L.L.R.K. also has an extension (f, n, d, d/f+4, 3+4) that is best used as a round ender or a floor breaker.
Jin power rating: 86/100
Josie Rizal
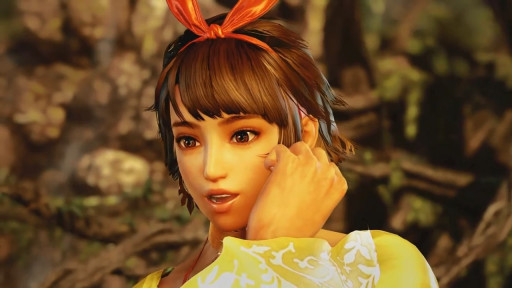
CD = Crouch dash (f, n, d, D/F); SWS = During Switch Stance
- Sonic Upper (d/f+2) – A mid attack with good range that crushes high attacks and launches the opponent on hit, making it a reliable whiff punisher, but is unsafe on block.
- Triaina Middle to Switch Stance (d/f+4) – A mid poke that transitions into Josie’s Switch stance and is extremely plus on block and hit. On counter hit, Josie gets a guaranteed Iligan Switch (SWS 1) follow-up.
- Butterfly Edge (u/f+3) – A mid flip attack with excellent crushing properties, is safe on block and launches the opponent on hit for a combo.
- Step In Tracer (f, f+4) – A homing, mid attack with great range that is safe on block and tailspins the opponent on counter hit.
- Slide In Low Kick (CD 3) – A big low attack that can be mixed up with the Slide In Elbow (f, n, d, d/f+2) from Josie’s crouch dash. It is plus on hit and knocks down the opponent right by Josie’s feet on counter hit but is unsafe on block.
Josie power rating: 77/100
Katarina Alves

- Nimble Cutter (4, 4, 4) – Fast high-high-high “magic 4” string that launches the opponent on counter hit for a combo, making it great for set-ups. The string has two more hits (4, 4, 4, 4, 4), the last of which knocks down the opponent.
- Tucano Tail (d/f+3+4) – Low poke that crushes high attacks and has great range. It is plus and forces the opponent to crouch on hit but is quite unsafe on block.
- Slipping Tail (d/b+4) – Katarina’s Snake Edge. A homing, low attack with great range and great crushing properties that launches the opponent on hit but is very unsafe on block.
- Wing Cutter (u/f+4, 4) – A mid-mid hopkick string with excellent range and good crushing properties. It launches the opponent on hit but is unsafe on block, though the string has an extension (u/f+4, 4, 4, 4, 4, 4) similar to that of Nimble Cutter.
- Plover Kick (f, f+4) – A homing, mid attack with great range that knocks down the opponent on hit and tailspins them on counter hit for a full combo. It is unsafe on block but has pushback that makes it hard to punish.
Katarina power rating: 79/100
Kazumi Mishima
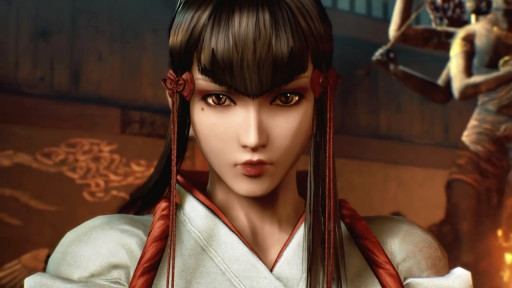
RSS = During Fearless Warrior; WR = While running (f, f, f)
- Crimson Dawn (d/f+1) – Mid poke with good tracking in both directions that is very plus on hit. It has an extension (d/f+1, 2) which knocks down the opponent on hit but is unsafe on block.
- Rolling Thunder (d/b+4) – Annoying low poke that does decent damage and is plus on hit but isn’t the fastest.
- Oroshi Heel (f, f+4) – A mid attack with decent range that is safe on block and launches the opponent on hit for a combo.
- Diamond Flash (WR 2) – A mid attack with great range that is minus (but safe) on block. However, its heavy pushback makes it seem plus on block, making it a viable pressure tool.
- Hellfire Burst (RSS 4, 2) – A fast low-mid string that can be mixed up with the mid options from Kazumi’s Fearless Warrior stance. It knocks down the opponent on hit but is extremely unsafe on block.
Kazumi power rating: 76/100
Kazuya Mishima

CD = Crouch dash (f, n, d, D/F); cd = Crouch dash (f, n, d, d/f)
- Oni Front Kick (f+3) – Mid attack with great range that is unsafe but has a lot of pushback on block, making it virtually impossible to punish. It also stuns the opponent on counter hit, making it a good spacing tool.
- Right Splits Kick (f+4) – Mid attack that is very plus and forces the opponent to crouch on both hit and block, making it an excellent pressure tool.
- Abolishing Fist (d/f+2) – A fast, homing, mid move that stuns the opponent on counter hit for a full combo but is unsafe on block. It is useful as a “panic move” when under pressure as well as setting up opponents who retaliate after blocking moves that are plus on block.
- Electric Wind God Fist (cd 2) – A classic Mishima-style launcher also used by Devil Jin and Heihachi. This is a fast, high attack that is plus and has a lot of pushback on block and is Kazuya’s best whiff punisher.
- Spinning Demon to Left Hook (CD 4, 1) – One of two extensions for Kazuya’s version of the Mishima-style hellsweep, which knocks down the opponent on hit and does some big damage but is very unsafe on block.
Kazuya power rating: 80/100
King

FC = Full crouch animation (while crouching)
- Elbow Impact (f+2, 1) – Mid-high string with excellent range that is safe on block and knocks down the opponent on hit. It is also a good wall carry tool as it sends the opponent over a long distance during a combo.
- Stomp (d+3) – A fast, chunky low poke that is plus on hit and does good damage.
- Quick Hook (b+1) – A very fast high attack that stuns the opponent on counter hit for a full combo, making it a useful “panic move” to use when the opponent is in your face.
- Jaguar Hook (f, f+1) – A homing, mid poke that is safe on block, extremely plus on hit and tailspins the opponent on counter hit for a full combo.
- Leg Breaker (FC d/f+1) – A low attack that is slow but launches the opponent on hit and is just mildly unsafe on block, giving it moderate risk (as it can also be low parried) and high reward.
King power rating: 82/100
Kuma and Panda


- Jab Elbow Smash (2, 1, 2) / Jab Elbow Stomp (2, 1, 3) – Fast one-two jab strings which can be mixed up with each other. The last hit of the first string is a mid that launches the opponent for a combo, while the last hit of the second hit is a low poke.
- G-Clef Cannon (f+1, 1, 1) – A very fast high-mid-mid string that launches the opponent and is fully guaranteed on counter hit. It is typically used at the beginning of rounds when expecting the opponent to start the round with an attack of their own.
- Kuma Musou (d/f+2, 1) – A mid-mid string with good range that launches the opponent on hit. It is the bears’ primary launch punisher and a great whiff punisher.
- Bear Lariat (d/b+2) – A fast low poke that is plus on hit and recovers in a crouching state, opening the opportunity to whiff punish retaliatory jabs from the opponent.
- Spinning Kuma (d/b+4) – A low attack that launches the opponent on hit for a combo but is very unsafe on block.
Bears power rating: 70/100
Lars Alexandersson
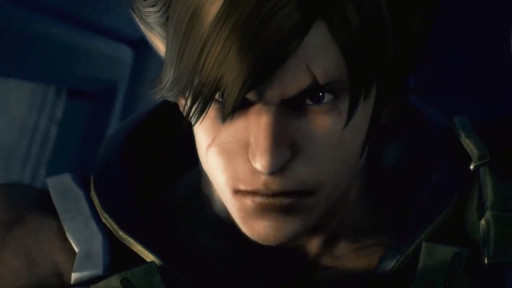
FC = Full crouch animation (while crouching)
- Alert L (d/f+1) – Lars’ go-to mid poke, which is plus on hit and almost neutral on block, allowing for a variety of different set-ups.
- Shadow Cutter (d/b+4) – A low attack that crushes high attacks, is plus and forces the opponent to crouch on hit and launches the opponent on counter hit.
- Lightning Screw (u/f+3) – A mid attack with insane crushing properties that is one of the best “panic moves” in the game. It launches the opponent on hit but is very unsafe on block.
- Storm Axle (u/f+4) – A jumping mid attack that crushes low attacks that is safe on block and launches the opponent on hit, making it a reliable alternative to the Lightning Screw.
- Double Smack (FC d/f+1+2) – An annoying low poke that is plus on hit and recovers in a crouching state but is unsafe on block.
Lars power rating: 75/100
Marshall Law
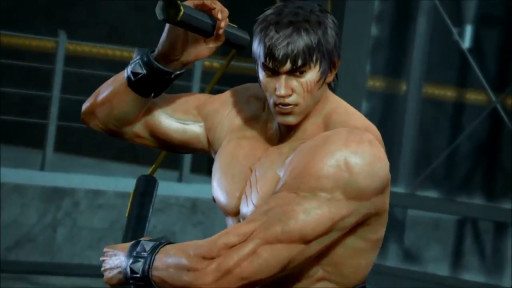
DSS = During Dragon Sign Stance (Dragon Charge)
- Pressing Kick Combo (3+4, 4) – A fast mid-mid-high string with excellent range that tailspins the opponent on hit for a combo, making it a great whiff punisher.
- Dragon Hammer (f+1+2) – A mid attack with decent range that is plus and forces the opponent to crouch on both hit and block, making it a great pressure tool, while it also launches the opponent on counter hit.
- Shin Crusher (d/b+3) – A fast, annoying low poke that is plus and forces the opponent to crouch on hit but is unsafe on block.
- Dragon’s Tail (d/b+4) – A low attack that crushes high attacks and trips the opponent on hit, allowing for a free Dragon Killer (f+3+4) follow-up, but is extremely unsafe on block. The move also has a somersault kick extension (d/b+4, 4) that knocks down the opponent.
- Dragon Cannon (f, f+3_DSS f+3) – A mid power crush with excellent range that does enormous damage and, from Season 2, causes a wall bounce. However, it is very unsafe on block.
Law power rating: 77/100
Lee Chaolan

- Right Roundhouse Kick (4) – A very fast high attack that is safe on block and launches the opponent on counter hit. It also has several extensions which have various uses.
- Pirouette Punch (1+2) – A homing, mid attack that is safe on block, plus on hit and knocks down the opponent on counter hit, after which you can pick them up with the Stinging Rush (b+3, 3) for a combo.
- Left Body Blow (d/f+1) – A mid poke that is neutral on block, allowing Lee to enforce multiple set-ups afterwards against trigger-happy opponents.
- Bump Kick (d/b+3) – Low poke with decent range that is plus on hit but unsafe on block.
- Blazing Kick (d, D/B+4) – A big, mid launcher that sends the opponent flying into space for a big combo and also flips over grounded opponents. It is very unsafe on block but has a lot of pushback, making it hard to punish consistently.
Lee power rating: 65/100
Lei Wulong
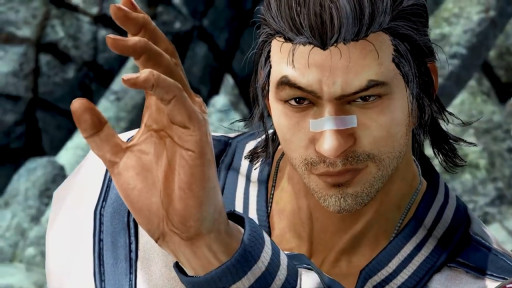
SS = During sidestep
- Right Uppercut (d/f+2) – A standard mid launcher. It lacks range but is safe on block and leads to a combo.
- Rave Spin (d/b+4) – A low attack that crushes highs and sweeps the opponent on a clean hit. It has an extension (d/b+4, 4) that does good damage and can also be cancelled into Lei’s Drunken Master stance by holding forward afterwards.
- Razor Rush (f, n, 1) – A mid attack that has several extensions and can be cancelled into Lei’s Five Gates Form stances, allowing for several mix-ups.
- Reverse Lotus (f, f+3) – A mid attack with great range that launches the opponent but is unsafe on block. It can be made safe by cancelling it into Lei’s back-turned stance by holding back afterwards, while it also has an extension (f, f+3, 4) which knocks down the opponent on hit.
- Snake Palm Fist (SS 1) – A fast high attack that is safe on block, very plus on hit and can be cancelled into Lei’s Tiger stance by holding forward or Dragon stance by tapping up or down afterwards.
Lei power rating: 73/100
Leo Kliesen
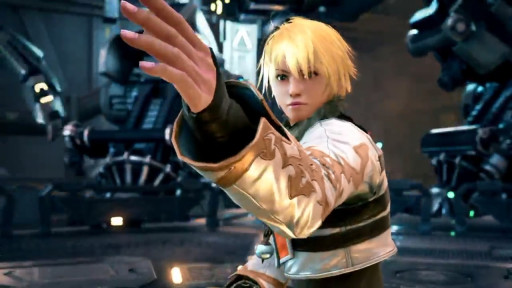
BOK = During Fo Bu
- Chuan Pao (d/f+3) – A homing, mid attack that is safe on block and knocks down the opponent on hit. It also tailspins airborne opponents.
- Qian Sao Lei Wang Quan (d/b+4) – A low attack that launches the opponent on counter hit for a full combo but is very unsafe on block. It also has an extension (d/b+4, 1) that knocks down the opponent on hit.
- Cuo Zhang (b+1+4) – A fast high, low poke string with both hits connecting at the same time. It is extremely plus on counter hit, allowing you to continue your offense for free, but is unsafe on block.
- Sky Vibration (u+3+4) – Jumping mid attack that crushes low attacks. It is plus and forces the opponent to crouch on both hit and block, while it also launches the opponent on counter hit.
- Tiao Shan Fu Ren (f, f+3) – Mid attack with great range that is safe and forces the opponent to crouch on block. It knocks down the opponent right by Leo’s feet on hit and cancelled into their Fo Bu stance, enabling a Fan Lan Chui (BOK 2) follow-up for Season 2 as it now flips grounded opponents.
Leo power rating: 80/100
Lili De Rochefort

qcf = Quarter-circle forward (d, d/f, f)
- Circle Knee (f+3) – A homing, mid attack that is safe on block and knocks down the opponent on hit.
- Submissive Heel (d/f+3) – A chunky, mid attack that is plus and forces the opponent to crouch on both hit and block and launches the opponent on counter hit for a combo.
- Backflip (d/f+3+4) – A mid flip attack with great range and good tracking in both directions that is safe on block and launches the opponent on hit. It also has an extension (d/f+3+, 3+4) that knocks down the opponent on hit.
- Matterhorn Ascension (d+3+4) – A mid attack with exceptional crushing properties that blasts the opponent into the sky for a big combo but is very unsafe on block.
- Cloisonne (qcf+3+4) – A homing, high-high attack that is very plus on block and knocks down the opponent on hit. It also tailspins airborne opponent.
Lili power rating: 81/100
Lucky Chloe

BT = Back turned
- Graceful Turn (b+3) – A homing, mid attack that is very plus on hit and can be cancelled into Chloe’s back turned stance for added mix-ups.
- Walking Knee (b+4) – A mid attack that is safe on block and stuns the opponent on counter hit for a combo.
- Happy Swing (b+1+2) – A high power crush with four hits that is safe on block and does some hefty damage.
- Surprise Hop (u/f+3) – One of Chloe’s two hopkicks. It has good crushing properties and launches the opponent on hit but is very unsafe on block.
- Kick Up (BT f+3+4, 3+4, 3+4) – A powerful mid-mid-mid string that is safe on block, does humongous damage and can be followed up with a full combo for even more damage.
Lucky Chloe power rating: 63/100
Craig Marduk

VTS = During Vale Tudo Stance (Ready Position)
- Crab Leg (d/b+4) – A sneaky low attack that crushes high attacks and trips the opponent, switching sides with them if done up close. It is very unsafe on block but leaves Marduk in a grounded position, making it tricky to punish.
- Spinning Backfist (b+2) – A homing, mid attack with great range that is safe on block, plus on hit and stuns the opponent on counter hit for a combo.
- Knee Sling (u/f+3) – A jumping mid attack that is safe on block, crushes low attacks, knocks down the opponent on hit and launches the opponent on counter hit.
- Babel Smasher (qcf+2) – A quick low attack that is plus on block and automatically transitions into a damaging throw on counter hit but is unsafe on block.
- Mount (VTS 1+2) – Marduk’s signature tackle, which has enormous range, can be done in a variety of situations, is very hard to avoid on reaction and leads to several options after mounting the opponent.
Marduk power rating: 70/100
Master Raven
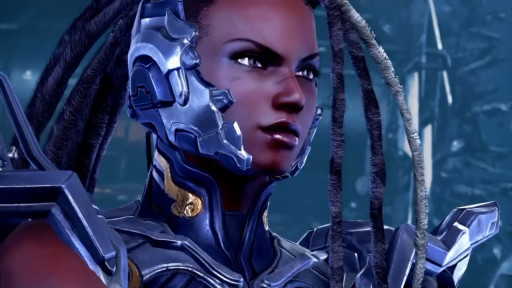
qcf = Quarter-circle forward; BT = Back turned
- Body Blow (d/f+1) – A mid poke with excellent tracking to Master Raven’s left that is neutral on block and very plus on hit.
- Right Uppercut (d/f+2) – A mid move that launches the opponent on hit. It is unsafe on block but has two extensions (d/f+2, 3 and d/f+2, 4) that are both delayable, prompting hesitation from the opponent to punish it. It also leaves Master Raven in her back-turned stance, making it useful to draw the opponent in by whiffing to set them up for another move.
- Low Kick (d+3) – A very fast low poke that is just about neutral on hit, unsafe on block and doesn’t do much damage but is an annoying move to deal with for the opponent.
- Buzzsaw (qcf+2) – A low attack that trips the opponent for a combo and can be mixed up with Laevateinn (qcf+2~1), which hits mid and knocks down the opponent on hit. Buzzsaw can also be cancelled into Master Raven’s back-turned stance by holding back afterwards but it unsafe on block.
- Crusader (BT 1+2) – A mid power crush that stuns the opponent on hit but is unsafe on block. It can be mixed up with the Shinobi Cyclone (BT d+3), which is a low attack that launches the opponent on hit.
Master Raven power rating: 71/100
Miguel Caballero Rojo

SAV = During Savage Stance
- Flanco (d/f+1) – A mid poke that is just under neutral on block but has a few extensions and can transition into Miguel’s Savage Stance, giving him several options with the move on offense.
- Segada (d/b+4) – Quick low poke that is plus and forces the opponent to crouch on hit but is unsafe on block.
- Guantazo (b+1) – A very fast high attack that stuns the opponent on counter hit for a combo, making it an effective “panic move” to use under pressure.
- Cumbre (SAV d/f+2) – A mid attack that crushes high attacks and launches the opponent on hit. It is very unsafe on block but has enormous pushback, making it hard to punish.
- Segada (SAV d/b+3) – Miguel’s version of Bryan’s Hatchet Kick. It is a chunky, annoying low attack that is very plus and forces the opponent to crouch on hit but is unsafe on block.
Miguel power rating: 68/100
Nina Williams

qcf = Quarter-circle forward (d, d/f, f)
- Siren’s Kiss (f+3) – A fast high-high string that is very plus on block, knocks down the opponent on hit and stuns them on counter hit. The second hit can be ducked after blocking the first hit but recovers quickly, making it hard to punish.
- Right Backhand Body Blow (d/b+2) – A mid homing move with great range with knocks down the opponent on hit and tailspins them on counter hit for a combo.
- Stiletto Heel (d/b+3) – A quick low poke that is plus and forces the opponent to crouch on hit and knocks them down on counter hit but is unsafe on block.
- Hellbringer (qcf+1) – A high attack with good range that is plus on block, plus on hit and launches the opponent on counter hit.
- Snakeshot (SS 1) – A mid poke that is plus on hit and can be cancelled into Nina’s forward and back sways, making them extremely plus on block and giving Nina access to her various sway options.
Nina power rating: 76/100
Noctis Lucis Caelum
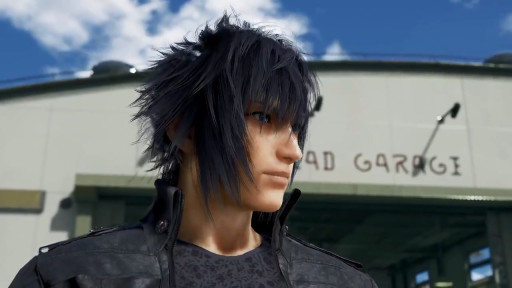
- Warp-Strike (f+2) – A quick, mid, projectile attack that has the best range of any move in the game. It knocks down the opponent on hit while Noctis warps forward.
- Royal Edge (d/f+2) – A jumping, mid attack with excellent range that launches the opponent on hit for a combo but is very unsafe on block.
- Delta Thrust (d/b+2) – Low attack with great range that knocks down the opponent on hit for a guaranteed Royal Slash follow-up. On counter hit, Delta Thrust can also be followed up with Dancing Edge (d/b+1, 1+2) for a combo.
- Royal Slash (d/b+1+2) – A mid attack with great range and good tracking in both directions that launches the opponent up high on hit and flips over grounded opponents but is unsafe on block. The move can also be charged for a more damaging version that is plus on block.
- Shadow Scissors (f, f+1+2) – A homing, mid attack that is safe on block, very plus on hit and tailspins the opponent on counter hit.
Noctis power rating: 80/100
Paul Phoenix
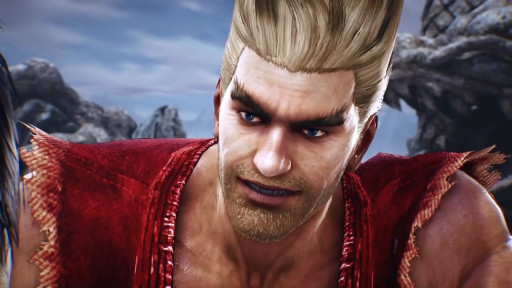
qcf = Quarter-circle forward (d, d/f, f)
- Hammer of the Gods (f+1+2) – A mid attack that is plus and forces the opponent to crouch on both block and hit, making it a good pressure tool.
- Hammer Punch (d+1) – A mid attack with a big vertical hitbox and good tracking in both directions that is plus on hit and has mid (d+1, 2) and low (d+1, 4, 2) extensions.
- Demolition Man (d+4, 2, 1+2) – A low-mid-mid string that trips the opponent and does big damage but is very unsafe on block. It can be mixed up with the Phoenix Smasher (qcf+2).
- Wrecking Ball (u/b+2) – A homing, mid attack that is safe on block, knocks down the opponent on hit and stuns them on counter hit for a combo.
- Phoenix Smasher (qcf+2) – Paul’s infamous deathfist, a mid attack that does an obscene amount of damage. It is unsafe on block but has a lot of pushback, limiting the opponent’s punishment.
Paul power rating: 85/100
Shaheen

- Hallux Kick (4) – Shaheen’s “magic 4”; launches the opponent on counter hit and has three extensions, the most popular of which is Hallux Kick to Algenib (4, 1) which allows Shaheen to continue with a combo.
- Whirlwind Kick (d/f+3) – A homing, mid attack that is safe on block, very plus on hit and tailspins airborne opponents.
- Vicious Stomp (d+4) – Quick, crunchy low poke that is plus on hit and does some good damage but is unsafe on block.
- Crescent Cleaver (u/f+3) – A jumping mid attack that is safe on block, crushes low attacks and launches the opponent on hit.
- Altair (u/f+4) – A mid flip attack with great crushing properties that launches the opponent on hit but is unsafe on block.
Shaheen power rating: 72/100
Steve Fox

PAB = During Peekaboo; FC = Full crouch animation (while crouching)
- Straight Hook (2, 1) – Quick one-two poke string that is plus on hit and safe on block. It is made plus on block by cancelling into Steve’s Peekaboo stance by holding forward or Flicker stance by holding back afterwards, while it also has a slightly delayable extension (2, 1, 2) that knocks down the opponent on hit.
- Crescent Hook (d/f+2) – A homing, mid poke that is plus on hit and stuns the opponent on counter hit. It can be cancelled into Steve’s ducking movements, allowing him to get a combo after a counter hit stun and evade any retaliatory jabs from the opponent.
- Foot Stomp Right Hook (d/b+3, 2) – A sneaky low-high string that knocks down the opponent and does good damage.
- Quick Hook (b+1) – A fast high attack that can be cancelled into Steve’s Flicker stance by holding back afterwards. It stuns the opponent for a combo and does some chunky damage on counter hit, making it a good “panic move” and set-up tool.
- Patella Smash (FC d/f+1_PAB d+1) – A quick low poke that is plus on hit and leaves Steve in his Peekaboo stance but is unsafe on block.
Steve power rating: 76/100
Ling Xiaoyu

RDS = Rain Dance stance
- Crescent Moon (4~3) – A jumping mid attack that is plus and forces the opponent to crouch on both hit and block, crushes low attacks and launches the opponent on counter hit. It can also be cancelled into Xiaoyu’s Phoenix stance by pressing d+1+2 afterwards.
- Nutcracker (d/b+4) – A quick low poke that is very plus and forces the opponent to crouch on hit but is unsafe on block.
- Raccoon Swing (f, f+3) – Mid attack with good tracking to Xiaoyu’s left that is plus on hit and leaves her in her Rain Dance stance, enabling her to enforce a mix-up afterwards.
- California Roll (RDS f+3+4) – An elusive roll from Xiaoyu’s Rain Dance stance that crushes highs and tends to condition the opponent to block, allowing Xiaoyu to enforce a mix-up afterwards. The move also has an extension (RDS f+3+4, 3+4) that launches the opponent on hit.
- Phoenix (d+1+2) – A very elusive stance that has Xiaoyu’s body position very low towards the ground, allowing her to crush all high and even some mid attacks to limit the opponent’s offense. It has multiple deadly options that can be mixed up with each other.
Xiaoyu power rating: 84/100
Yoshimitsu
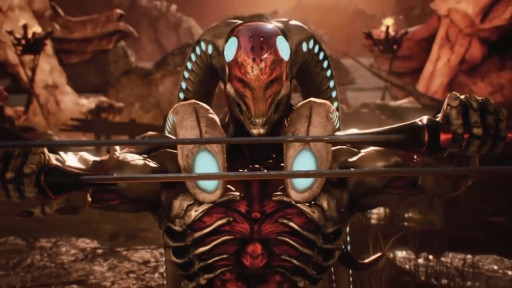
FC = Full crouch animation (while crouching)
- Tobi Ushiwaka (3~4) – A mid, mid poke string with good range that is safe on block and plus on hit. It can also be cancelled into Yoshimitsu’s Dragonfly state, in which case the move becomes plus on block.
- Kangaroo Kick (4~3) – A rolling mid move that crushes high attacks and launches the opponent high in the air
- Soul Stealer (1+4) – Yoshimitsu’s flash, which is the fastest move in the game. It stuns the opponent on hit for a combo and allows him to punish moves that would normally be safe on block against other characters.
- Kamikaze (f+3+4) – A mid power crush that knocks down the opponent on hit and leaves Yoshimitsu in his Flea stance but is unsafe on block. It can also be cancelled by holding back afterwards, with the armor still in effect.
- Samurai Cutter (FC D/F+1) – An unblockable low attack that launches the opponent for a combo. However, it can still be reversed by Geese Howard.
Also check out these articles:
