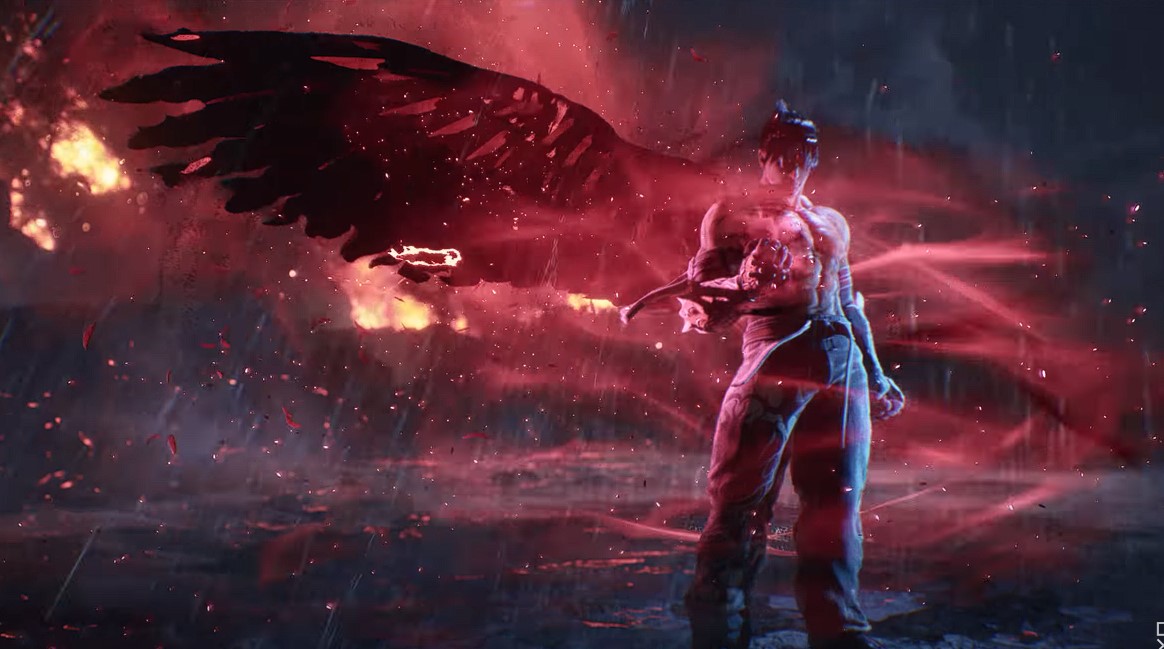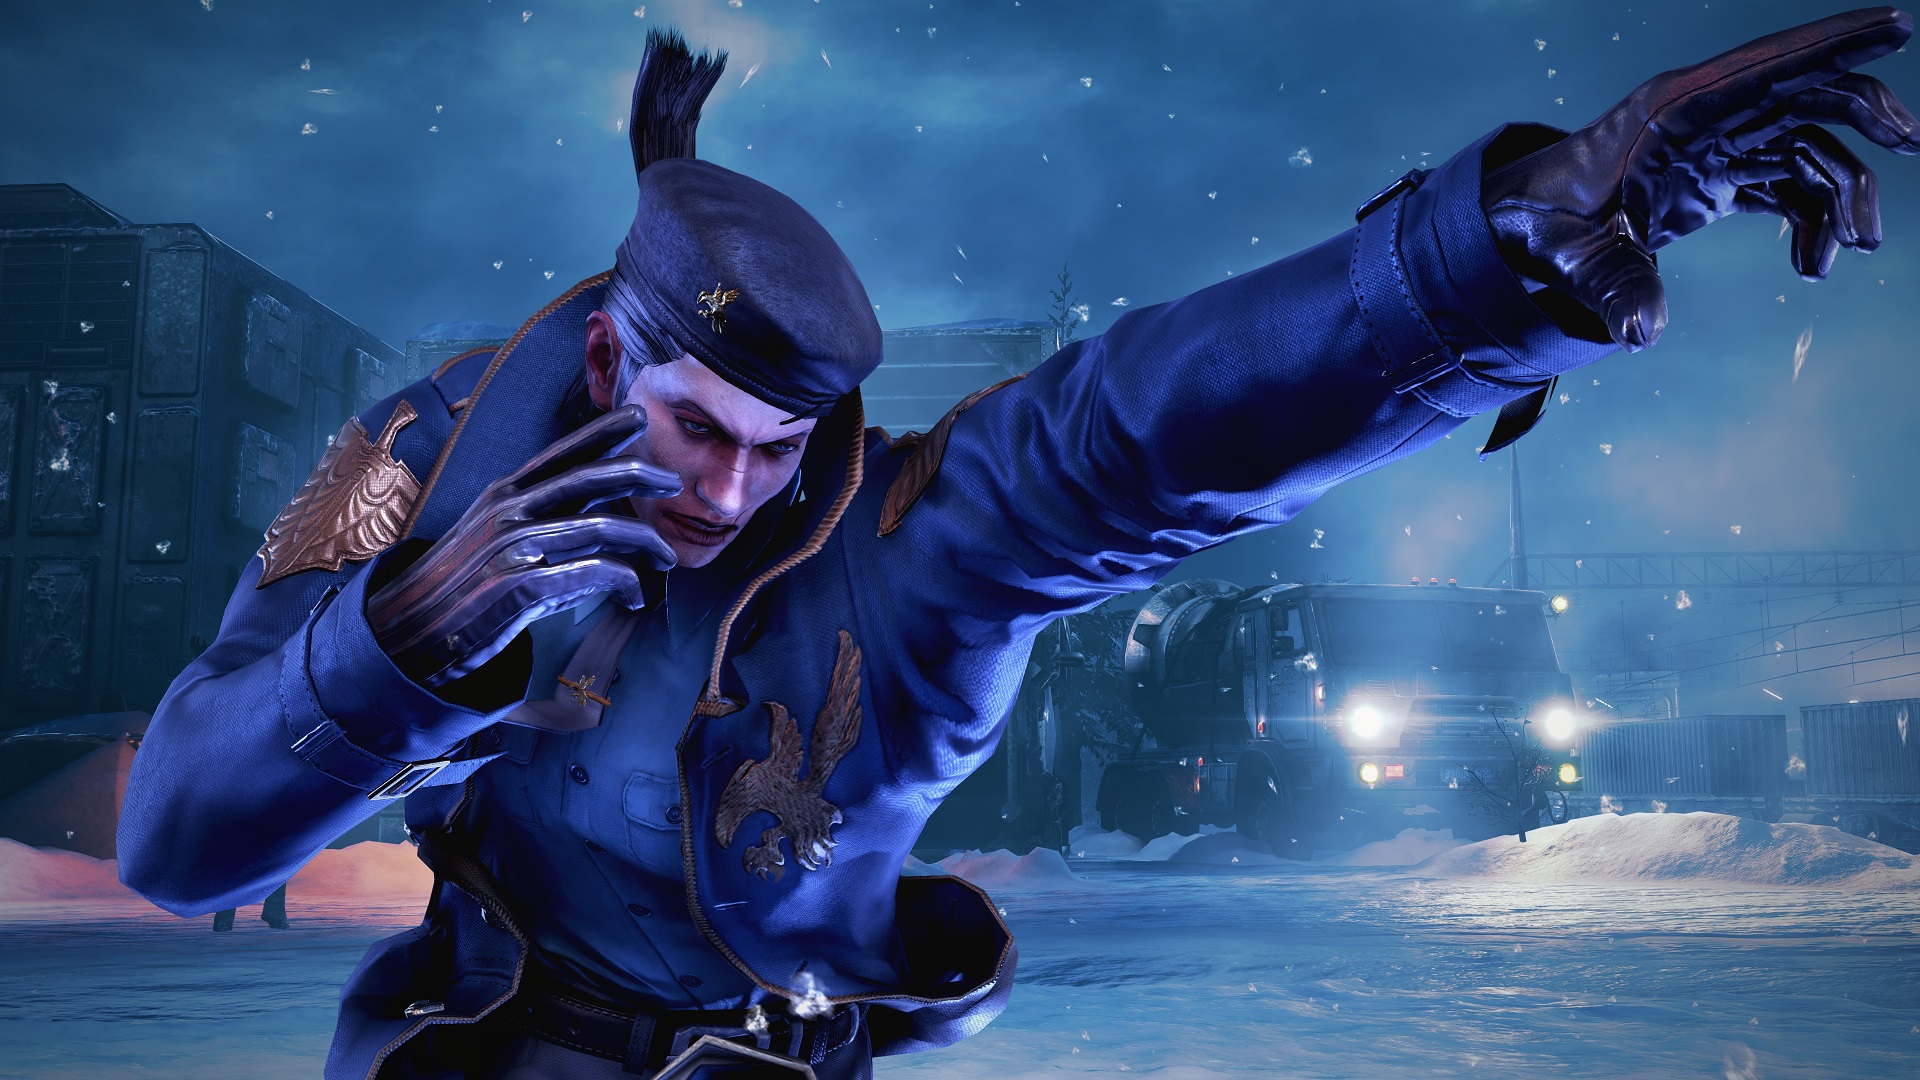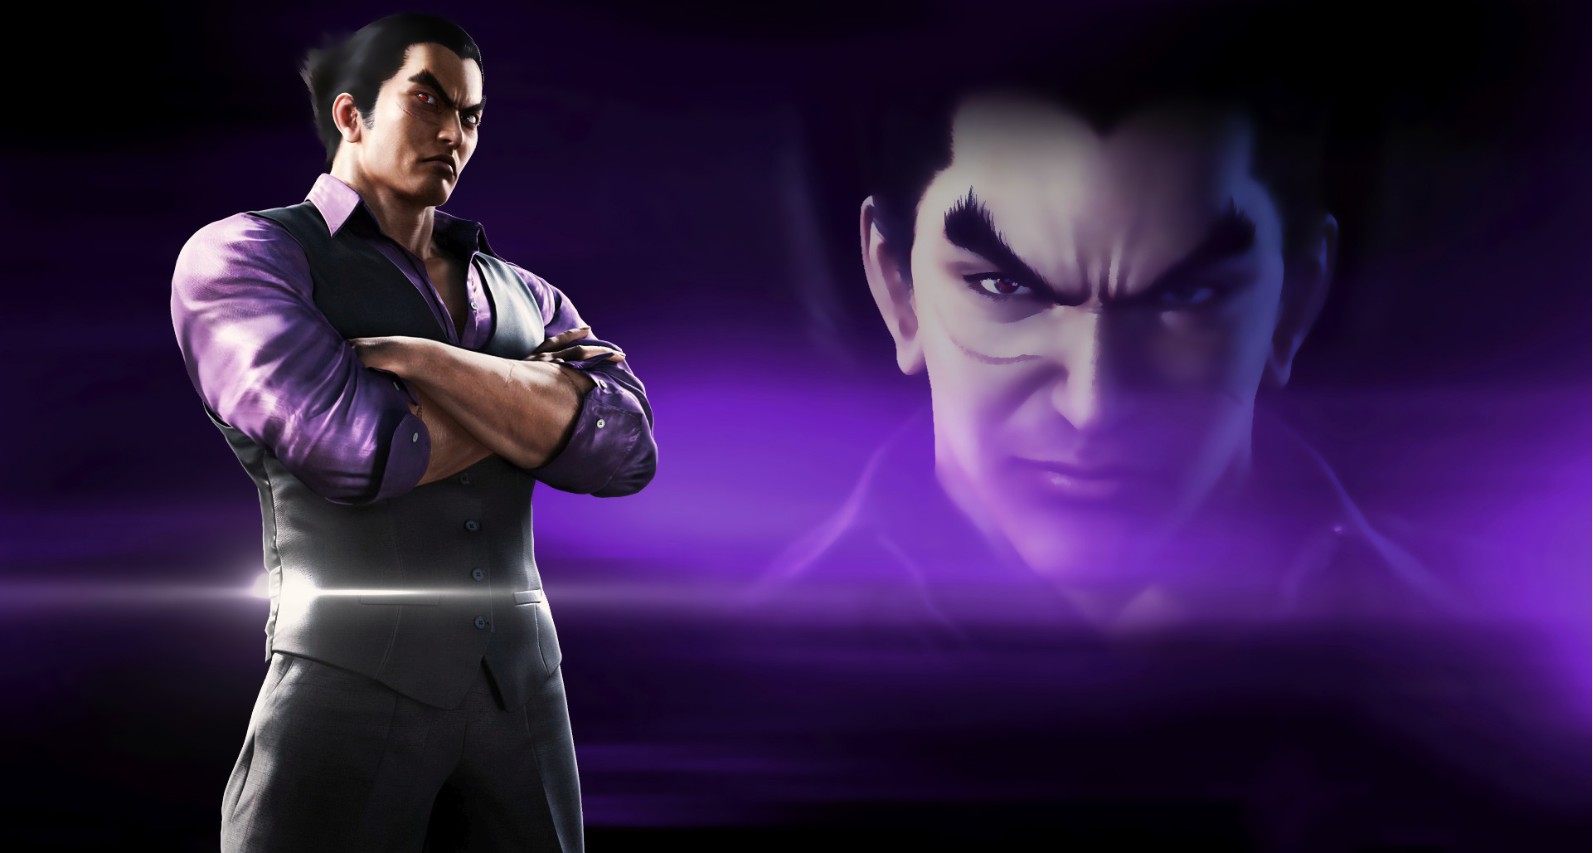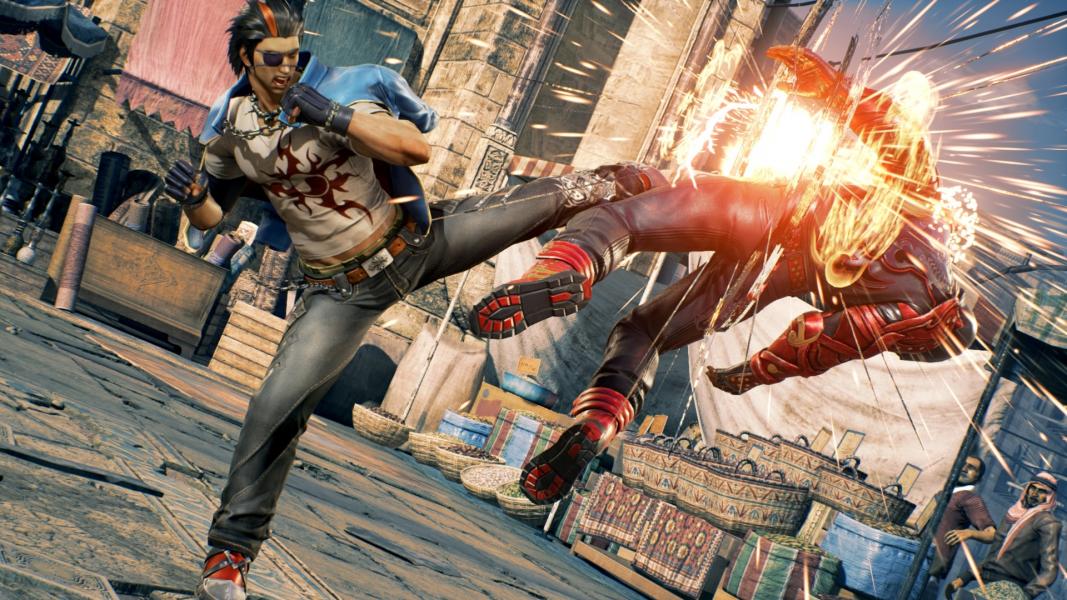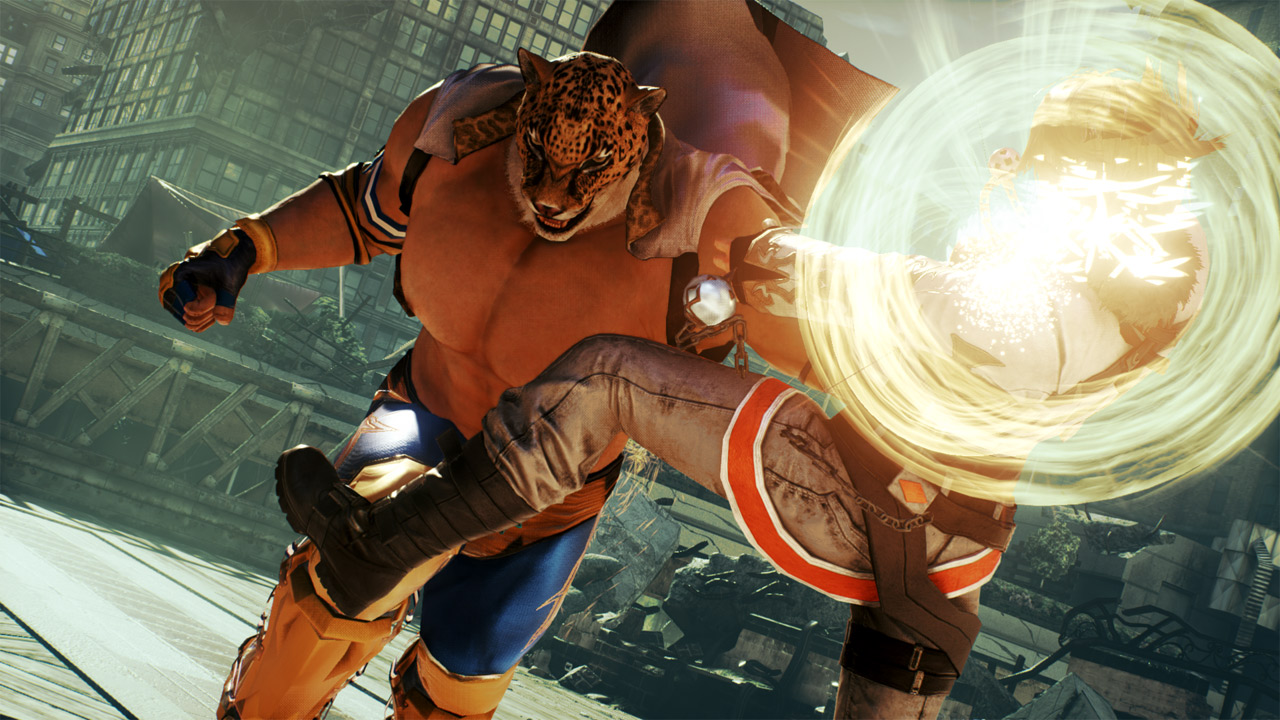
Tekken 7 is one of the best fighting games out there with clean mechanics that will probably make you a nerd or a semi-nerd after you become an above average player of this game. The dark lore of Tekken always revolves around a few characters of Mishima blood-line. So, we'll dig deep into the most hot-blooded and handsome character of all, the one and only Jin Kamza. This character can easily be considered an S-tier character, so it is one of the most highly rewarding characters to have.
Here are the top 10, best Jin combos that you should know to make the most of this powerhouse of a character. (Note: The capital letters in the move list, i.e., F, D and U, etc, means to hold down the respective command for a moment. And : before a move means it's a just-frame move)
10. Zenshin Push-back
Starts at 01:42
Jin Kazama Combo Guide
This amazing but short Jin combo is a 2-hit combo that gives you a decent amount of 44 damage. This combo is a must to learn as it is very easy to perform. Its opening move has a big range and the following command is also not very difficult to perform.
The starting move requires a zen stance which can easily be activated by pressing D+1+2. After the zen stance activates you can easily throw 3+4 which is +8 on-block making it an extremely safe move. The only problem is that your opponent can duck under so you can’t throw it more often.
As the combo starts with a zen stance, and the first move delivers a push-back to your opponents even on-block, the name “Zenshin Push-back” does explain the combo very well.
How to perform this combo:
- D+1+2 zen stance 3+4
- Ff+2
9. LLRK combo
Starts at 00:29
Jin Kazama Combo Guide
This is commonly known as Hell Sweep combo which gives a nice amount of 51 damage and is a 7-hit combo. Hell sweep is considered a vital move to open up your opponent as it is a low move which can only be blocked if your opponent is crouching. This low move is very fast and is very hard to react to.
However, this hell sweep move is -31 on-block which makes it extremely unsafe and launch punishable. After successfully delivering f, n, d, df+4 hell sweep, the following extension requires a bit of focus as you cannot make any pauses in between. So, you have to do some practicing to have this combo in your pocket.
The name of the starting move of this combo is LLRK (Lunging Low Roundhouse Kick) so it is fair to name the whole combo after this name.
How to perform this combo:
- f, n, d, df+4
- BF+2,3, f zen stance 3 (screw)
- Dash 3,1, f zen stance 2
8. Normal EWHF combo
Starts at 00:18
Jin Kazama Combo Guide
This peculiar Jin combo gives you 70 damage, which is pretty decent with an 8 hit combo. The combo starts with one of Jin’s iconic moves, which is f, n, d, df+:2, a just frame move which requires a lot of practice to master. This opening move is a homing high which is extremely safe with +5 to +6 frames on-block.
However, if you aren’t able to perform the just frame f, n, d, df+2 then this move becomes -12 on-block which is not safe. The extension combo moves after the opening move (launcher) are fairly easy except Dash UF+4 which requires a little bit of practice.
This combo starts with Electric Wind Hook Fist move so the name pretty much tells the story as you can join any extension following this move to make a nice combo including the one mentioned below.
How to perform this combo:
- f, n, d, df+:2
- Dash, UF+4,
- B+3,1
- Dash B+3,1
- Dash Dash B+2,1
7. CH Magic-4 Combo
Starts at 02:02
Jin Kazama Combo Guide
This is a counter-hit combo that deals a damage of 64 with 7-hits. Another must-have combo as the launcher is fairly easy to throw and extremely fast, not to mention because of its high hitbox properties. This combo also gives you a lot of benefits for wall carry, making it more damaging with a wall in access.
The opening move “4” gives a screw on counter hit leading to a whole combo. This move “4” is -9 on-block safe high. If you are facing an aggressive opponent then this move is your key to counter-hit them and then perform a whole combo which could be more rewarding with wall in access.
As this is a counter hit combo starting with a move “4”. This move is often known as magic 4 if it gives you a combo after that. So the name “CH Magic-4 Combo” is pretty much self-explanatory.
How to perform this combo:
- Counter hit 4 (screw)
- Dash f, n, d, df+2
- B+3, f zen stance 1
- BF+21+DF+2
6. CH Front Thrust Kick Combo
Starts at 02:53
Jin Kazama Combo Guide
This Jin combo is a bit execution dependent, but it gives you 69 damage with a 9-hit combo. This combo has one of the best Jin’s moves as a combo starter that will keep your opponent in check. It is a mid safe move that is -8 on-block with incredible range. So this makes is a go to move for you if you choose Jin as your character.
After you successfully land a counter hit F+4, you access the zen stance by pressing forward after this move. Afterwards is a double dash FF and then the normal stuff. This combo also has a high wall travel potential, so this must be learned.
Front Thrust Kick is one of Jin’s key moves and on counter hit (CH) it gives you a possible combo. So the name “CH Front Thrust Kick Combo” is a perfect name for this one.
How to perform this combo:
- Counter hit F+4, f zen stance df
- FF
- B+3, f zen stance 1
- 1,2,4 (screw)
- Dash B+3, f zen stance 1,3
5. Double Electric Combo
Starts at 01:14
Jin Kazama Combo Guide
This cool Jin combo is a showdown of electricity with a cool damage of 73 with an 8-hit combo. The combo is execution heavy, so it may require a lot of practicing as you’re going to throw two consecutive just-framed electric moves of Jin.
The combo starts with f, n, d, df+:1 a just-frame which is an unsafe mid with -13 ~ -12 on-block, making it punishable. After that you instantly need to execute another just-frame electric move f, n, d, df:+2 and then the rest of the combo.
The name suggests for itself the combo includes two electric moves so the combo can be remembered by the name “Double Electric Combo”.
How to perform this combo:
- f, n, d, df+:1
- f, n, d, df+:2
- BF+2,3, f zen stance 3 (screw)
- Dash B+3, f zen stance 1,2
4. Rage Drive Optimization Combo
Starts at 01:20
Jin Kazama Combo Guide
This beautiful Rage Drive combo gives you a damage of 75 and is a 6-hit combo. This is a good option when you are in “rage” as it can change the tide of the game in your favor. The combo isn’t very difficult to execute. However it might require mild practicing.
Since the starting move is high, you may think that it can be ducked under. However, you might also wanna rethink as the next move is a mid and it comes after very quickly making the rage drive almost not duckable. Moreover, this rage drive is -7 on-block.
As the name says, this combo is an optimization of Jin's Rage Drive to make the most out of it.
How to perform this combo:
- f, n, d, df+1+2 Rage Drive zen stance df+ hold 2
- B+3, f zen stance 1,2
3. RSAK Combo
Starts at 03:07
Jin Kazama Combo Guide
This powerful Jin combo is a counter-hit combo and gives you an above average damage of 82. It is a 9-hit combo. This combo is a must to have as this can also be advantageous to you if your opponent is aggressive. Moreover, the combo starts with a move which is almost similar to an orbital move.
The starting move DF+4 is a safe mid with -3 on-block. A mid hitbox that is safe on-block is a huge buff to any character as you can always abuse it to keep your opponents pretty careful around you. However, the rest of the combo is a bit difficult and might require a lot of practicing.
The combo starts with the RSAK (Right Spinning Ax Kick) move, so it is pretty much the only thing to tell the whole story in a few words.
How to perform this combo:
- Counter hit DF+4
- f, n, d, df+:2
- FF
- f, n, d, df N ws 4
- BF+2,3, f zen stance 3 (screw)
- Dash B+3, f zen stance 1,3
2. Triple Just-Frame Combo
Starts at 01:01
Jin Kazama Combo Guide
This stylish but difficult Jin combo is a 7-hit combo which gives you 70 damage. Another combo that starts with a just-frame electric. Anyhow, this combo requires you to perform three just frames in a single combo. Which makes this combo extremely difficult, meaning if you drop any of the just-frames then the combo will not work properly. And hence it is number 2 on the list, so you always have to lab this combo as much as possible.
The combo starter move is once again safe homing high that is -5 to -6 on-block, making it safe. After executing the opening combo starter move, you instantly go into the zen stance by doing D+1+2; however, the rest of the extension requires two precise just-frame commands.
This name might confuse you at first, but if you know your Jin inside out then this is the perfect name for this combo. Also the name is very intriguing to contain Triple Just-Frame in it.
How to perform this combo:
- f, n, d, df+:2 (just frame input) (screw)
- D+1+2 zen stance 3+4
- B+3, f zen stance 1
- : FF
- : B+3, f zen stance 1,2
1. Howard Estate Max Damage Combo
Starts at 05:24
Jin Kazama Combo Guide
This combo can only be performed on Howard Estate (Geese Howard’s stage) and you’ll find it very… well, a combo that won’t be ending soon. By looking at this combo you’ll say wow! However, to perform this combo you need some serious mental alertness. This is a 33-hit combo that ends with the rage art and gives a nasty amount of damage which is 125.
This stage-specific combo starts with a high safe move which is -9 to -8 on-block. This move is special as it gives you a wall bounce whenever the wall is in range. All the commands are easy to execute; however it is a tricky combo because it does 2 wall breaks so you need a pretty long list of moves to execute this combo.
This Howard Estate combo is a must-have if you want to make the most out of the amazing damage potential stage.
Again, the name does all the explaining and also any Tekken fan can easily imagine what this combo is going to do to the poor walls of the Howard Estate. Since the combo delivers max damage, so does the name “Howard Estate Max Damage Combo”.
How to perform this combo:
- F+1+2 (wall bounce)
- D+1 (wall splat)
- FFF 3 (wall break)
- 3,1, f zen stance df
- B+3, f zen stance 1,3 (wall splat 2nd)
- Dash F+4 (wall break 2nd) zen stance df
- FF N 4 (screw)
- Dash BF+2,1,2 (wall break 3rd)
- B+1+2 Rage Art
You may also be interested in:

