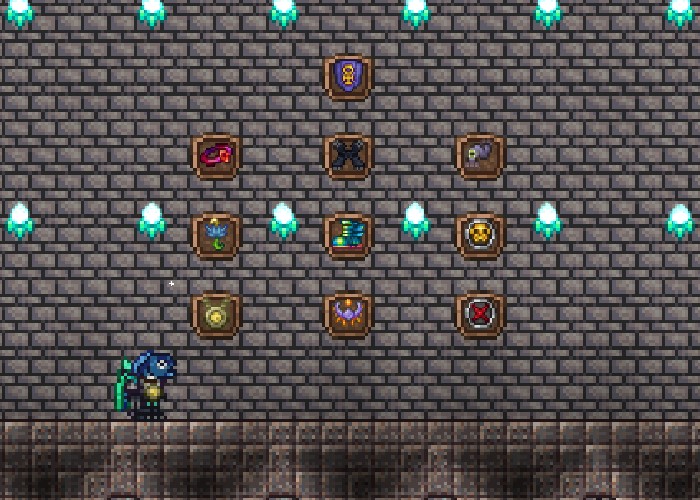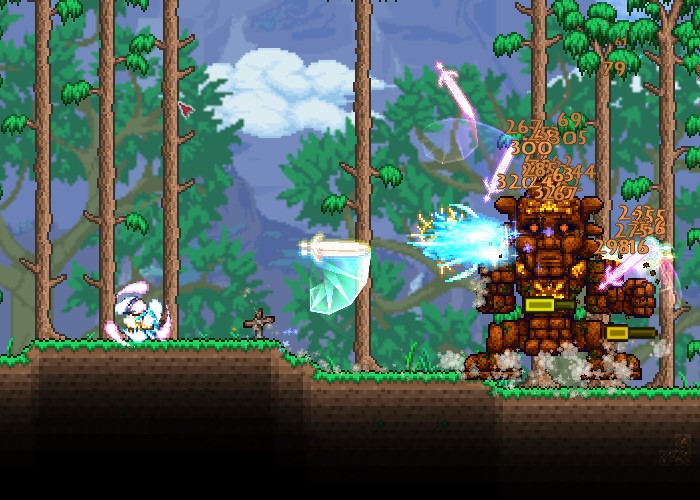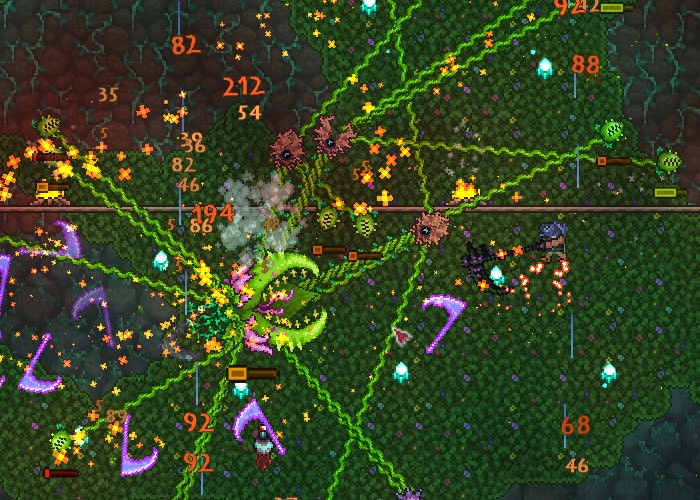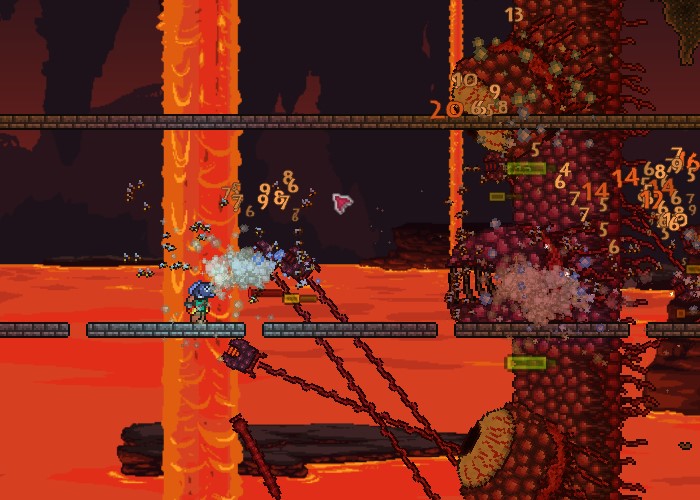
Starting off your Terraria journey is one of the memorable times in the game. It's also one of the most difficult times to progress through. You'll often find yourself dying to random enemies, lava, drowning, falling, and so much more. That's why it's best to be prepared for all situations in the game. If you're curious about which items can help you move forward, this list is made for you! This is our Top 15 Terraria Best Gear Pre-Hardmode and how to get them!
1. Gem Hooks

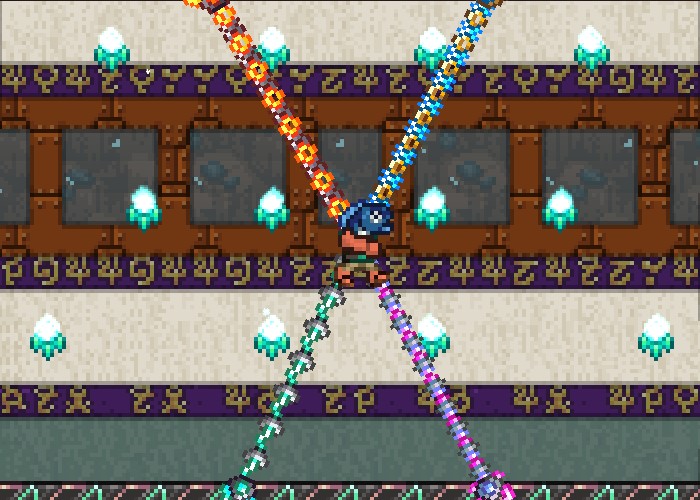
Terraria is a game filled with tons of platforming. Getting your first Grappling Hook is the best way to speed up your dungeon exploration and helps you to keep yourself alive even when falling to your demise. The earliest hooks you can obtain are the Gem Hooks which are made with 15 of the same gem. Hooks are a lifesaver, so getting them early is a must!
Item details:
- Allows for better platforming
What makes it great:
- Can keep you alive while falling
- Helps you traverse vertically efficiently
How to get it:
- Click here for more crafting info: https://terraria.wiki.gg/wiki/Hooks#Pre-Hardmode
2. Hermes Boots
You'll often find yourself moving all around your world's surface when you first start. If you've been playing for your first few hours, you'll soon get tired of your super slow movement speed. That's where Hermes Boots comes in. It allows you to move while constantly speeding up to 30 mph. The movement speed this provides is great when tackling boss fights and for exploration.
Item details:
- Allows you to run
What makes it great:
- Increased movement speed is always welcome
How to get it:
- Click here for more info: https://terraria.wiki.gg/wiki/Hermes_Boots
3. Bottle Accessories
What would a platformer be without the infamous double jump mechanic? Terraria is not shy enough to steer away from this, it's quite the opposite actually. There are multiple double jump items known as Bottle Accessories that have varying degrees of jump height. Once you get them, it's hard to go back.
Item details:
- Allows the player to double jump
What makes it great:
- One bottle gives one extra jump
- There are a total of 5 bottles, making a possibility of having 5 extra jumps
How to get it:
- Click here for more info: https://terraria.wiki.gg/wiki/Tsunami
4. Lucky Horseshoe
Now that you've achieved the Double Jump, you're more likely to die from fall damage. Luckily, pun intended, there's an item that can help you survive even a fall from space. The Lucky Horseshoe is a Sky Island item that allows you to survive any fall without taking damage. This allows you to be more reckless when exploring the world.
Item details:
- Negates fall damage
What makes it great:
- Be as reckless as you can when jumping and still survive!
How to get it:
- Click here for more info: https://terraria.wiki.gg/wiki/Lucky_Horseshoe
5. Fledgling Wings
Before 1.4 came out, there was no way for you to get wings before Hardmode. That all changed with the introduction of the Fledgling Wings. Like the Lucky Horseshoe, you can get this item from Sky Islands. Of the two items, however, this would be the luckier find. Not only does it allow you to fly for a very brief period, but it also negates all fall damage, making the horseshoe obsolete.
Item details:
- Flight time - 0.42 secs
- Height - 18 tiles
- Horizontal speed - 15
- Vertical Multiplier - 150%
What makes it great:
- It's the only wing pre-Hardmode
- Huge mobility upgrade at this point in the game
How to get it:
- Click here for more info: https://terraria.wiki.gg/wiki/Wings#Fledgling_Wings
6. Spectre Boots
After finishing your first Goblin Invasion, there's a chance for the Goblin Tinkerer to spawn in your world. While the Rocket Boots he sells are great, he sells the Tinkerer's Workshop at the same time, allowing you to immediately combine it with your Hermes Boots from earlier in the game. This item allows you to fly after using up all your jumps for a brief period. Pair this with the Bottle accessories and the Fledgling wings and you'll be soaring the skies in no time.
Item details:
- Flight time - 1.6 secs
- Makes your base speed 30 mph
What makes it great:
- It combines the Hermes Boots with the Rocket Boots, saving you an accessory slot
How to get it:
- Click here for more crafting info: https://terraria.wiki.gg/wiki/Spectre_Boots
7. Lightning Boots
At this point, you should be beating enough bosses and progressing yourself throughout the game. You'll be at the point where you can explore the Underground Jungle and the Underworld biomes. If you're lucky, you'd have picked up an Aglet or two from Wooden chests around the surface. Combine that with the Anklet of Wind in the Jungle Chests and the Spectre Boots and you'll get yourself Lightning Boots. Upgrading your Spectre Boots are not mandatory but the increased speed does help a lot.
Item details:
- Flight time - 1.6 secs
- Makes your base speed 34 mph
What makes it great:
- It's an upgraded Hermes Boots
How to get it:
- Click here for more crafting info: https://terraria.wiki.gg/wiki/Lightning_Boots
8. Terraspark Boots
Pre-1.4, there was no reason to upgrade past the Lightning Boots, even though the Frostspark Boots were still an option. It was such a niche to have the effects of the Ice Skates in the first place as Ice exploration was just a small part of the game. After the update came out, however, they added the Terraspark Boots which combines ALL boot effects, making it suitable to go upgrade your Lightning Boots.
Item details:
- Flight time - 1.6 secs
- Makes your base speed 34 mph
- Allows the ability to walk on liquids
- The player can submerge safely in lava for 7 seconds
- Immunity to the Burning debuff which is caused by stepping on burning blocks
- Allows you to not slide on ice blocks
What makes it great:
- It's the ultimate boot upgrade
- Combines the effects of the Ice Skates, Lava Waders, and Lightning Boots
How to get it:
- Click here for more crafting info: https://terraria.wiki.gg/wiki/Terraspark_Boots
9. Recall Potion

Potions are not really "gear" but this item is something you'll always have in your inventory. Lots of players will argue that once you get the Magic Mirror, you'll never use a Recall Potion ever again. But what some players don't know is that there's a great difference between the two, with the potion coming out on top. The Magic Mirror, when used, warps you back to your spawn point with a slight delay. Recall potions are superior since they'll teleport you instantaneously.
Item details:
- Warps you back to spawn
- Max stack of 30
What makes it great:
- The amount of recall potions in the world is wild. You don't really need to craft it.
How to get it:
- Click here for more crafting info: https://terraria.wiki.gg/wiki/Recall_Potion
10. Terragrim
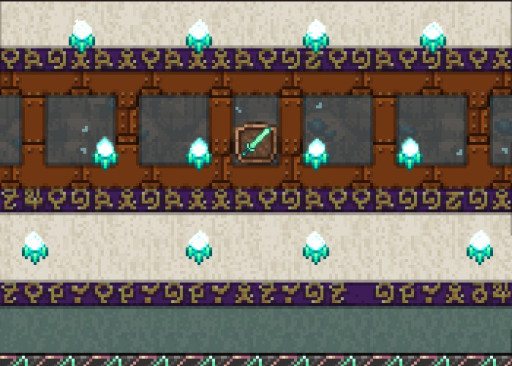
The Terragrim is a pre-hardmode version of the then rare sword Arkhalis. On patch 1.4, Arkhalis only drops from treasure bags while the Terragrim replaced the rare drop from Enchanted Sword Shrines. While there's no reliable way to ensure you'll get it in your world, you can always find seeds in the community that has a Terragrim in them.
Item details:
- Damage - 17 (Melee)
- Knockback - 3 (Very weak)
- Critical chance - 4%
- Use time - 25 (Fast)
- Velocity - 15
What makes it great:
- Although it's fairly short-ranged, the damage it deals is tremendous
How to get it:
- Click here for more info: https://terraria.wiki.gg/wiki/Terragrim
11. Quad-Barrel Shotgun
The Quad-Barrel Shotgun is a powerful close-range weapon but can be effective long-ranged when preparations are made. This weapon is capable of destroying the "harder" pre-hardmode enemies from the crimson and corruption in one shot. To get it, you'll have to be past Skeletron and have converted a Graveyard biome with the Arms Dealer in it. Only then will you be able to buy this weapon from the NPC.
Item details:
- Damage - 17 (Ranged)
- Knockback - 6.5 (Strong)
- Critical chance - 4%
- Use time - 55 (Extremely slow)
- Velocity - 7
What makes it great:
- The spread is bad, but it's good in constricted spaces when paired with the Meteor Shot
- Preparing a "tunnel" for the Wall of Flesh is also effective with this method as the bullets will pierce and bounce through the Hungry
How to get it:
- Click here for more info: https://terraria.wiki.gg/wiki/Quad-Barrel_Shotgun
12. The Bee's Knees
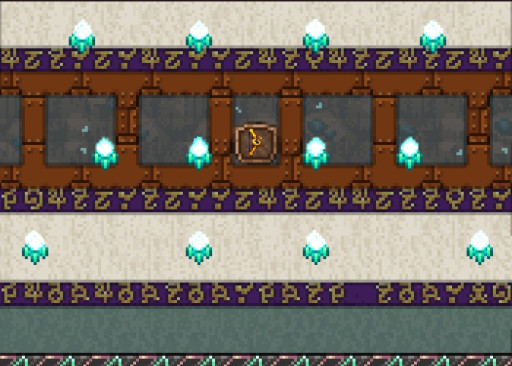
The Bee's Knees is a drop from Queen Bee, which is a fairly mid-level boss in pre-Hardmode. That said, this weapon shreds the Wall of Flesh with ease. The bees it spawns are great for dealing with the additional mobs that the Wall summons. This is also economical since the only ammo you need for this bow is regular wooden arrows.
Item details:
- Damage - 23 (Ranged)
- Knockback - 3 (Very weak)
- Critical chance - 4%
- Use time - 23 (Fast)
- Velocity - 8
What makes it great:
- Wooden arrows are converted to a string of bees that spawn bees on hit
- Behaves like the Meteor Shot. Bounces or pierces once but not both
How to get it:
- Click here for more info: https://terraria.wiki.gg/wiki/The_Bee%27s_Knees
13. Water Bolt
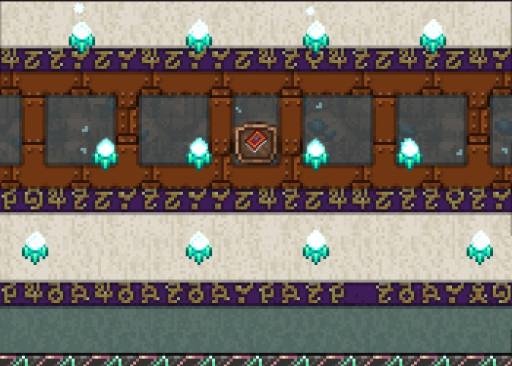
The Water Bolt is a Dungeon magic weapon that can be obtained on bookshelves in the biome. They're an excellent magic weapon that shoots out piercing and bouncing projectiles that are effective in enclosed spaces. This magic weapon is famous for being a Wall of Flesh destroyer if you build a tunnel to fight it the bolts it casts can hit it multiple times.
Item details:
- Damage - 23 (Ranged)
- Knockback - 3 (Very weak)
- Critical chance - 4%
- Use time - 23 (Fast)
- Velocity - 8
What makes it great:
- Wooden arrows are converted to a string of bees that spawn bees on hit
- Behaves like the Meteor Shot. Bounces or pierces once but not both
How to get it:
- Click here for more info: https://terraria.wiki.gg/wiki/Water_Bolt
14. Abigail's Flower
Abigail's Flower is an early summoner weapon that you can get by converting a biome into a Graveyard variant. They'll naturally spawn in the grass beside gravestones and can be farmed using a pickaxe. This weapon is a decent overall summoner weapon that can be used even in Hardmode as it gains more power with each minion slot used.
Item details:
- Damage - 6 (Summon)
- Knockback - 2 (Very weak)
- Critical chance - 4%
- Mana - 10
- Use time - 36 (Very slow)
- Velocity - 10
What makes it great:
- Scales well with each minion slot used
- Great when paired with the Snapthorn and Firecracker whips
How to get it:
- Click here for more info: https://terraria.wiki.gg/wiki/Abigail%27s_Flower
15. Beenade
This weapon is another that you'd be able to get from the Queen Bee. It looks like a regular grenade at first glance, but it explodes into a swarm of bees on a timer or on contact. It's one of the best weapons to use against slower enemies like Skeletron and the Wall of Flesh as it can greatly whittle down their HP in minutes.
Item details:
- Damage - 12 (Ranged)
- Knockback - 1 (Extremely weak)
- Consumable
- Critical chance - 4%
- Use time - 15 (Very fast)
- Velocity - 6
What makes it great:
- Great damage with swarms
- Very easy to use for all classes
How to get it:
- Click here for more info: https://terraria.wiki.gg/wiki/Beenade

