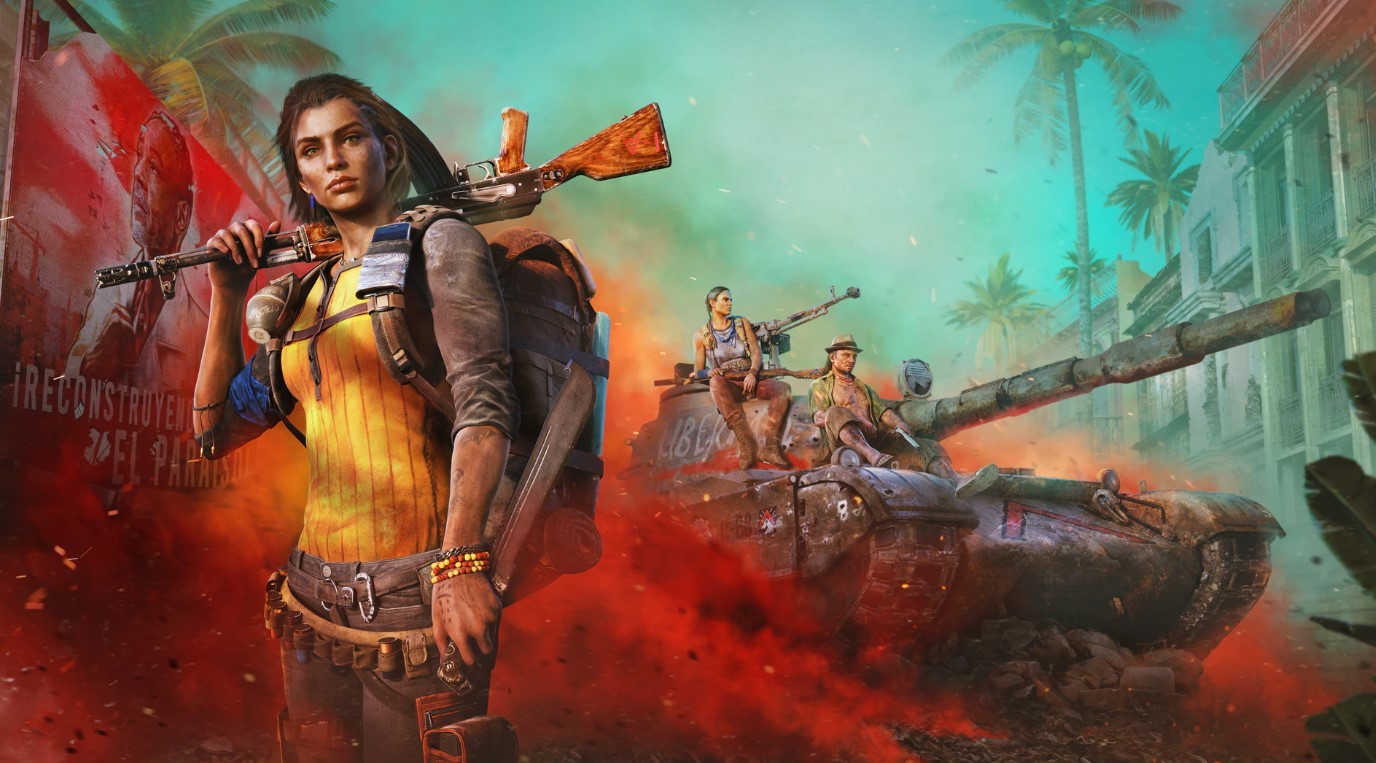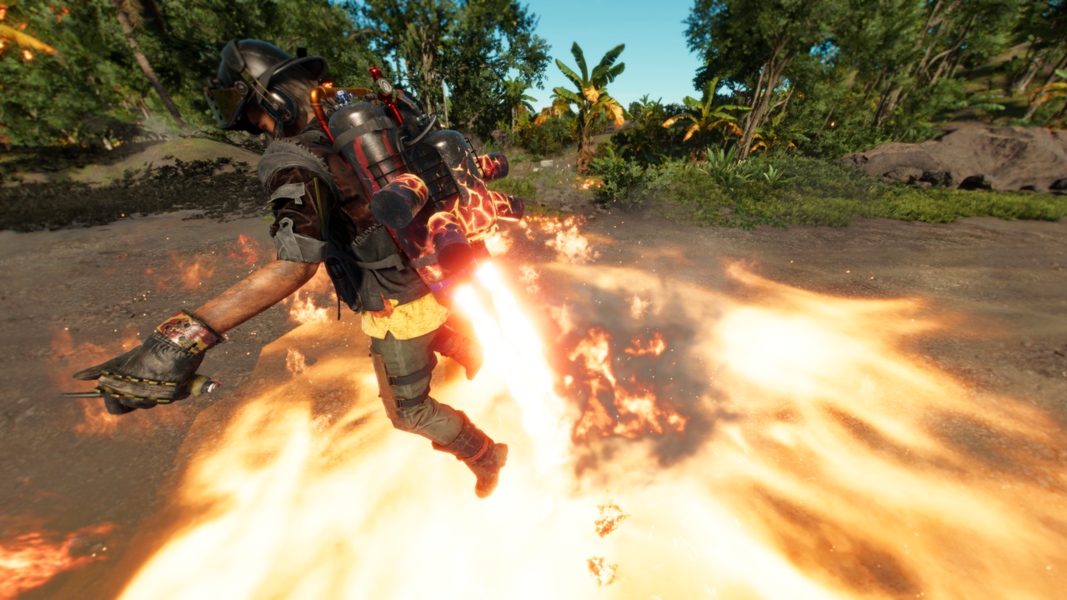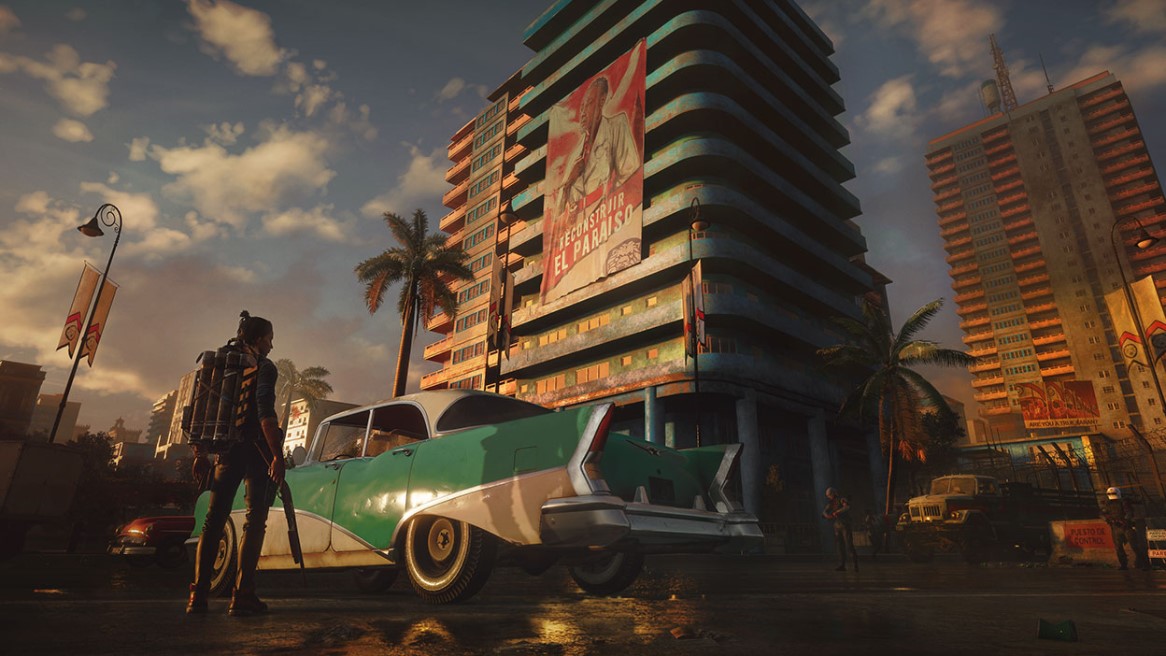
There are numerous settings you can adjust in Far Cry 6 to perfect your gameplay and have an easier time while gaming.
Far Cry 6 has numerous graphic settings that can take your gameplay from average to breathtaking. Some settings can help you with visuals, audio, and gameplay features. Here are the top 25 Far Cry 6 settings for the best experience.
25. Damage Feedback
The Problem:
When taking damage, your screen will start to fill up with blood splatter. This can cause extreme loss of view, prohibiting you from either fleeing or killing the enemy.
How Damage Feedback Solves The Problem:
When you turn the Damage Feedback setting OFF, the blood splatter will not show up on your screen. You will still have your health bar to show you your health limits, it just won’t be limiting your view.
How Damage Feedback Will Give The User An Advantage-
- You will no longer have a limited field of view while taking damage
- You will be able to see better to help you flee
- You can see enemies and targets to take out, that would otherwise be covered with blood
How To Apply Damage Feedback-
- From the main menu, select OPTIONS
- Select HUD
- Tab over to ELEMENTS
- Scroll down to DAMAGE FEEDBACK and select OFF
24. Reticle Position
The Problem:
If you are having a hard time seeing a bigger field of view while aiming, the Reticle Position is a setting you should try changing.
How Reticle Position Solves The Problem:
The Reticle Position, when set to OFFSET, lowers the reticle to get a greater view while aiming.
How Reticle Position Will Give The User An Advantage-
- It allows you to see a bigger view while aiming
- When you can see more, it tremendously helps gameplay
How To Apply Reticle Position-
- From the main menu, select OPTIONS
- Click on HUD
- Scroll down to RETICLE POSITION
- Turn it to OFFSET
23. Sound Subtitles
The Problem:
If you are not able to hear important sound events during your gameplay.
How Sound Subtitles Solves The Problem:
Sound Subtitles can tell you what sounds are going on in your gameplay. This is important to be able to hear enemies in vehicles and helicopters before they start shooting at you. If you are having trouble hearing important sounds, this is a great setting to turn on.
How Sound Subtitles Will Give The User An Advantage-
- You will be able to hear important sound events
- You can hear explosions, for missions requiring you to blow things up
- You can hear vehicles
How To Apply Sound Subtitles-
- From the main menu select OPTIONS
- Click on AUDIO
- Tab over to SUBTITLES
- Scroll down to SOUND SUBTITLES and turn ON
22. Reticle Sway
The Problem:
Sometimes the sway on a sniper scope is too much to be able to get a good shot.
How Reticle Sway Solves The Problem:
The Reticle Sway stops the sniper scope from swaying so you can get a good shot.
How Reticle Sway Will Give The User An Advantage-
- No movement when looking down your scope
- Can focus better on your target
- Better chance of hitting your target due to no movement
How To Apply Reticle Sway-
- From the main menu, click OPTIONS
- Tab over to the MOTOR section
- Under RETICLE SWAY, turn it to OFF
21. Driving Shooting Aim Assist
The Problem:
It can be hard to aim at enemies while in a vehicle, causing you to miss a shot.
How Driving Shooting Aim Assist Solves The Problem:
The Driving Shooting Aim Assist setting allows you to automatically target enemies when you aim at them.
How Driving Shooting Aim Assist Will Give The User An Advantage-
- Easier to shoot enemies and animals when driving
- Helps you not miss a target
How To Apply Driving Shooting Aim Assist-
- From the main menu, click OPTIONS
- Tab over to the MOTOR section
- Under DRIVING SHOOTING AIM ASSIST, turn to ON
20. Sprint Type
The Problem:
Having problems sprinting or are tired of pushing stick 100% to engage in sprinting.
How Sprint Type Solves The Problem:
The Sprint Type setting allows you to change the setting to Classic, which automatically sprints when you press the button.
How Sprint Type Will Give The User An Advantage-
- No need to hold the stick down anymore
- Just press the button to start sprinting
How To Apply Sprint Type-
- From the main menu, click OPTIONS
- Tab over to the MOTOR section
- Under SPRINT TYPE, change it to CLASSIC
19. Lock-On Aim
The Problem:
Some people have a hard time aiming and following enemies/animals with their reticle.
How Lock-On Aim Solves The Problem:
Lock-on Aim will automatically follow targets while you are aiming. It allows you to comfortably shoot at a target that has movement.
How Lock-On Aim Will Give The User An Advantage-
- You no longer need to worry about following enemies to make a quick shot
- Automatically follows enemies while you are aiming
How To Apply Lock-On Aim-
- From the main menu, click OPTIONS
- Under the VISION tab, scroll down to LOCK-ON AIM
- Turn to ON
18. Pickup Outline
The Problem:
Collectible items can be extremely well hidden, sometimes you can walk right by an object and not even see it.
How Pickup Outline Solves The Problem:
The Pickup Outline setting allows items that can be collected or picked up to have a white outline around them.
How Pickup Outline Will Give The User An Advantage-
- Outlined objects are easier to see, taking less time to collect valuables
- This setting even works with objects you need to collect for missions
- You can change the outline color to whatever works best for you
How To Apply Pickup Outline-
- From the main menu, click OPTIONS
- Under the VISION tab, scroll down to PICKUP OUTLINE
- Turn it to ON
17. Enemy Outline
The Problem:
Sometimes enemies can be hard to spot, they can also camouflage into the environment.
How Enemy Outline Solves The Problem:
The Enemy Outline setting outlines enemies with a yellow color to increase visibility.
How Enemy Outline Will Give The User An Advantage-
- Will outline enemies, making it easier to get kills and avoid detection
- You can change the outline to any color that works for you
- No more accidentally glossing over enemies
How To Apply Enemy Outline-
- From the main menu, click OPTIONS
- Under the VISION tab, scroll down to ENEMY OUTLINE
- Turn it ON
16. Subtitles
The Problem:
If you are hard of hearing, or just having trouble hearing what is being said in gameplay, subtitles can help you.
How Subtitles Solve The Problem:
By turning on Subtitles, you can fully understand what is going on with your mission, or what is being said to you in general.
How Subtitles Will Give The User An Advantage-
- You can fully read your mission summaries and narration from characters
- When NPCs talk, it will show up on the screen, giving you important details
How To Apply Subtitles-
- From the main menu, click OPTIONS
- Then select AUDIO
- Tab over to the SUBTITLES options
- Under SUBTITLES, turn it to ON
15. DXR Reflections (Ray-Tracing)
The problem:
Low performance and problems with reflective surfaces.
How DXR Reflections (Ray-Tracing) Solves The Problem:
Keeping this setting on OFF will give you a 10% increase in performance. Because the game does not have a lot of reflective areas, your gameplay experience will stay the same.
How DXR Reflections (Ray-Tracing) Will Give The User An Advantage-
- Includes screen space reflections on a lot of surfaces
- Gives you a 10% performance increase
- Default screen space reflections appear identical to DXR
- The game does not have a lot of reflective surfaces, and will not interfere with gameplay
How To Apply DXR Reflections (Ray-Tracing)-
- From the main menu select OPTIONS
- Under the VISION section, tab over to QUALITY
- Scroll down to DXR Reflections
- Keep this OFF
14. Camera Shakes
The Problem:
When the camera shakes too much not only can it be annoying, it can make some people experience motion sickness. Or if your camera shakes too intensely during action moments, it’s hard to get an accurate shot.
How Camera Shakes Will Solve The Problem:
If you suffer from motion sickness or don’t like how the camera shakes too much you can set the camera shakes setting to MINIMAL.
How Camera Shakes Will Give The User An Advantage-
- Less camera shaking can allow you to focus better
- It can limit motion sickness
- Keep on MINIMAL for less motion sickness
How To Apply Camera Shakes-
- On the main menu, select OPTIONS
- Click on the VIDEO selection
- Scroll down to CAMERA SHAKES
- Turn it to MINIMAL
13. Motion Blurr
The Problem:
If you are having motion sickness from movement in the game or have poor image quality.
How Motion Blurr Solves The Problem:
By turning OFF the Motion Blurr setting, it can reduce motion sickness for some people who play the game. When OFF it also results in a cleaner quality of objects and doesn’t impact the performance of the game.
How Motion Blurr Will Give The User An Advantage-
- Motion Blur controls different effects related to motion in Far Cry 6
- These settings can be adjusted to your personal preference
How To Apply Motion Blurr Settings-
- Select OPTIONS from the main menu
- Select the VIDEO selection
- Scroll down to MOTION BLURR
- Set this to OFF
12. Field Of View Scaling
The Problem:
Your viewpoint is too zoomed in or too zoomed out, giving you a hard time seeing the action.
How Field Of View Solves The Problem:
This option is essential to your first-person gaming experience, it controls the observable area that you can see. Adjusting the settings to 90* gives you the perfect combination, so the camera viewpoint is not too far away or too close.
How Field Of View Settings Will Give The User An Advantage-
- Allows you to see more field of view, giving you a wider area
- You can adjust the Field Of View so it’s more zoomed-in as
How To Apply Field Of View Settings-
- From the main menu, click VIDEO SETTINGS
- Go over to QUALITY
- Scroll down to FIELD OF VIEW settings
- Adjust this setting to 90* for the best gameplay experience
11. Poisoned And Drunk Effects
The Problem:
There are times in Far Cry 6 when you are either poisoned or you can get drunk. Some people like the effects and the blurry screen, but some people don’t like it.
How Poisoned And Drunk Effects Solves The Problem:
You can choose to either keep this setting On or Off. If you like how the screen and movements look (I like it) you can keep it on, but if you are finding that it interferes with your gameplay, you can always turn it off.
How Poisoned And Drunk Effects Will Give The User An Advantage-
- You can complete missions without having a blurry screen and drunk movement
- You won’t be under the effects of the poison or alcohol.
How To Apply Poisoned And Drunk Effects-
- From the main menu, select OPTIONS
- Click on VIDEO
- Scroll down to POISONED AND DRUNK EFFECTS
- Turn it to OFF
10. HD Textures
The Problem:
If objects on your screen have low texture or are not realistic you may need to adjust this setting.
How HD Textures Solve The Problem:
It enhances the looks of objects that are on screen a lot, like vehicle interiors and weapons. Whatever you set for your Terrain settings you should set the same for your HD Textures, so either HIGH or MEDIUM for both settings.
How HD Textures Will Give The User An Advantage-
- Goes hand and hand with Terrain settings
- Helps enhance textures with objects
How To Apply HD Textures-
- From the main menu, click SETTINGS
- Go over to QUALITY
- Scroll down to HD TEXTURES
- Adjust this setting to HIGH or MEDIUM
9. Volumetric Fog
The Problem:
If you are having issues with light shafts, fog quality, or resolution; changing this setting would help you. Or if sunbeams are not shining through the tree branches properly, Volumetric Fog will help that.
How Volumetric Fog Solves The Problem:
Volumetric fog will give you clearer edges on fog. It changes the quality and resolution of volumetric effects in things like light shafts and fog.
How Volumetric Fog Will Give The User An Advantage-
- Big performance impact
- Makes fog and lights look more realistic
How To Apply Volumetric Fog-
- From the main menu, click VIDEO SETTINGS
- Go over to QUALITY
- Scroll down to VOLUMETRIC FOG
- Adjust this setting to HIGH or MEDIUM
8. Terrain
The Problem:
Your ground textures are not having any depth, making the ground textures not look good.
How Terrain Settings Solve The Problem:
The Terrain settings control the quality of terrain deformation. It gives you a visual of how deep tire or animal tracks are, as well as holes and craters.
How Terrain Settings Will Give The User An Advantage-
- It can show more depth with terrain, allowing you to track better
- It makes your gameplay more realistic
How To Apply Terrain Settings-
- From the main menu, click SETTINGS
- Go over to QUALITY
- Scroll down to TERRAIN
- Adjust this setting to HIGH
7. Water
The Problem:
Water quality is not great, lines and waves in the water are poor or nonexistent.
How Water Settings Solve The Problem:
The Water setting can be adjusted so the quality of the water lines is more pronounced. The lines that are produced with water movement will be more noticeable and realistic. The higher you adjust the Water setting, the more moving water lines you will get. Adjusting the Water setting to LOW gives you a 10% increase in frame rates; a huge difference you will notice in water.
How Water Settings Will Give The User An Advantage-
- The water will look hyper-realistic
- You can see objects in the water better
- There will be more waterlines around objects
- The picture quality of the waves is more realistic
How To Apply Water Settings-
- From the main menu, click SETTINGS
- Go over to QUALITY
- Scroll down to WATER
- Adjust this setting to LOW
6. Environment
The Problem:
If you are having trouble seeing at night or your screen space reflection is off, you may need to adjust your Environment settings. If your Environment settings are LOW, objects in your game may not reflect into the water at all.
How Environment Settings Solve The Problem:
Environment settings control the screen space reflection and the quality of lighting at night. This setting also allows you to fix your space reflection, which makes objects reflect better, giving them a more realistic look. Changing your Environment setting to HIGH will give you more precise visuals with lighting and reflections.
How Environment Settings Will Give The User An Advantage-
- Improves your lighting at night from light sources
- Allows you to see better
- Shadows at night are crisper and easier to detect
How To Apply Environment Settings-
- From the main menu, click SETTINGS
- Go over to QUALITY
- Scroll down to ENVIRONMENT
- Adjust this setting to HIGH
5. Geometry And Vegetation
The Problem:
When using your phone, the picture quality can seem poor and even blurry on objects far away.
How Geometry And Vegetation Settings Solve The Problem:
There is a great amount of detail in Far Cry 6, which is known for its vast environment and amazing detail. This setting adjusts the level of details and the quality of foliage and vegetation far from the camera.
How Geometry And Vegetation Settings Will Give The User An Advantage-
- It provides you with more foliage details, which will tell you more about the terrain
- You can see the geometry of buildings better, letting you know where to access them
- You can see objects better, letting you collect more items
How To Apply Geometry And Vegetation-
- From the start menu, click SETTINGS
- Tab over to QUALITY
- Scroll down to GEOMETRY AND VEGETATION
- Select Ultra or HIGH
4. Shadows
The Problem:
Without adjusting the Shadows setting, sometimes shadows do not look accurate and they don’t look realistic. Or, your gameplay shadows don’t add up with the performed movement.
How Shadow Settings Solve The Problem:
Adjusting the Shadows setting allows you to take advantage of the game’s lighting, it controls the resolution of shadows and the quality of filtering. It allows soft shadows, the closest shadow to the object casting the shadow, to be sharper. The best way to adjust shadows for Far Cry 6 is by setting it to HIGH. This will make shadows look good in the game and allows you to have shadows that emulate real-world shadows.
How Adjusting The Shadows Setting Will Give The User An Advantage-
- Shadows will now emulate real-world shadows
- Shadows will match the movement being performed
- Makes your gameplay more realistic
How To Adjust Shadows-
- From the main menu, click SETTINGS
- Tab over to the QUALITY section
- Scroll down to the SHADOWS setting
- Change it to HIGH
3. Texture Filtering
The Problem:
When playing with standard start-up settings, the texture filtering on objects has a decreased resolution. If textures viewed from an oblique angle look bad, you may need to adjust this setting.
How Texture Filtering Solves The Problem:
Texture Filtering allows you to adjust the level of filtering for features. If you have the texture filter on LOW, it decreases the texture resolution. This setting will make textures look better with the higher options. The recommended choice to use with Texture Filtering is the ULTRA setting.
How Texture Filtering Will Give The User An Advantage-
- Makes a visual difference that improves your gameplay
- You can see things that you might have not seen before
- Improves the quality of characters, weapons, environments, and locations.
How To Apply Texture Filtering-
- From the main menu, click GRAPHICS
- Tab over to QUALITY
- Scroll down to TEXTURE FILTERING
- Change the setting to HIGH or ULTRA
2. Photo Mode
The Problem:
Unless you capture a screenshot on your system, Far Cry 6 requires you to assign a button to take a photo.
How Photo Mode Solves The Problem:
The Photo Mode allows you to either press or hold up to two buttons and sticks; you get to pick which ones. After you assign the buttons you want for taking pictures, while in-game, hold or press the new Photo Mode buttons to take a picture.
How Photo Mode Will Give The User An Advantage-
- You can take great pictures documenting your journey through YARA
- You can take photos of things related to your missions for later
- It’s fun to go back over your pictures when you have finished the game
How To Apply Photo Mode-
- From the main menu, select OPTIONS
- Then click CONTROLS
- Tab over to ON FOOT
- Click PHOTO MODE
- Assign the buttons you want to take photos in your game
1. Vertical Sync
The Problem:
If you are having a lot of screen tearing or stuttering; where the screen shows parts of multiple frames in one go. Or, if your GPU has more frames than your monitor can display.
How Vertical Sync Solves The Problem:
Vertical Sync works by reducing screen tearing and stops multiple frames from appearing at once. It also makes sure your monitor is capable of displaying a lower amount of frames.
How Vertical Sync Will Give The User An Advantage-
- It helps prevent any lags
- It reduces tearing and micro stuttering
- You will no longer see multiple frames appearing
- If you have a 60hz monitor Vertical Sync is good to leave on
How To Apply Vertical Sync-
- From NVIDIA click on 3D settings
- Click on VERTICAL SYNC
- Turn it OFF

