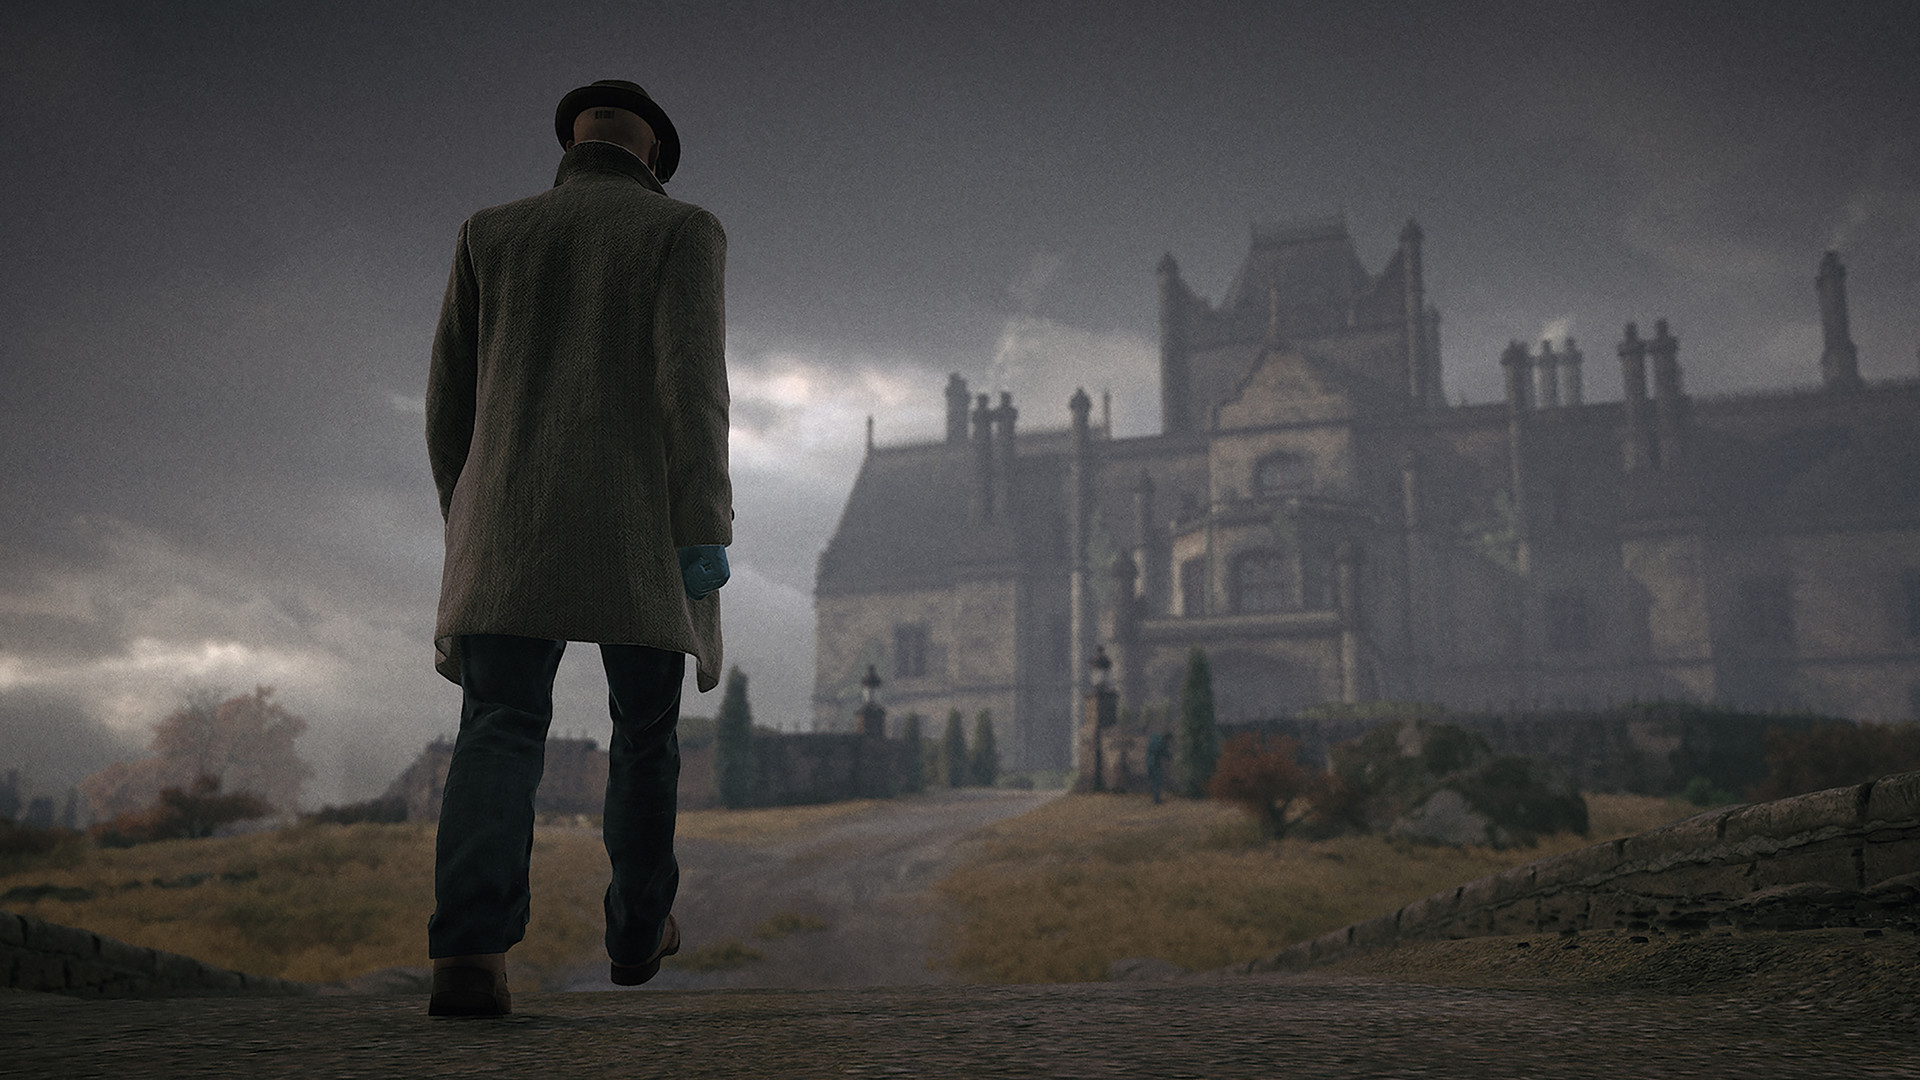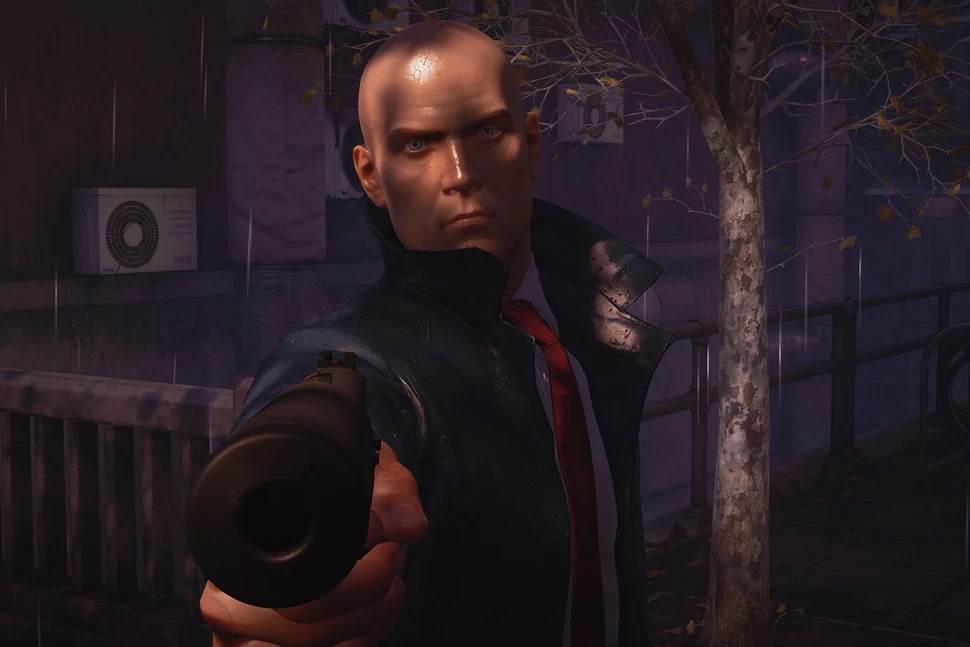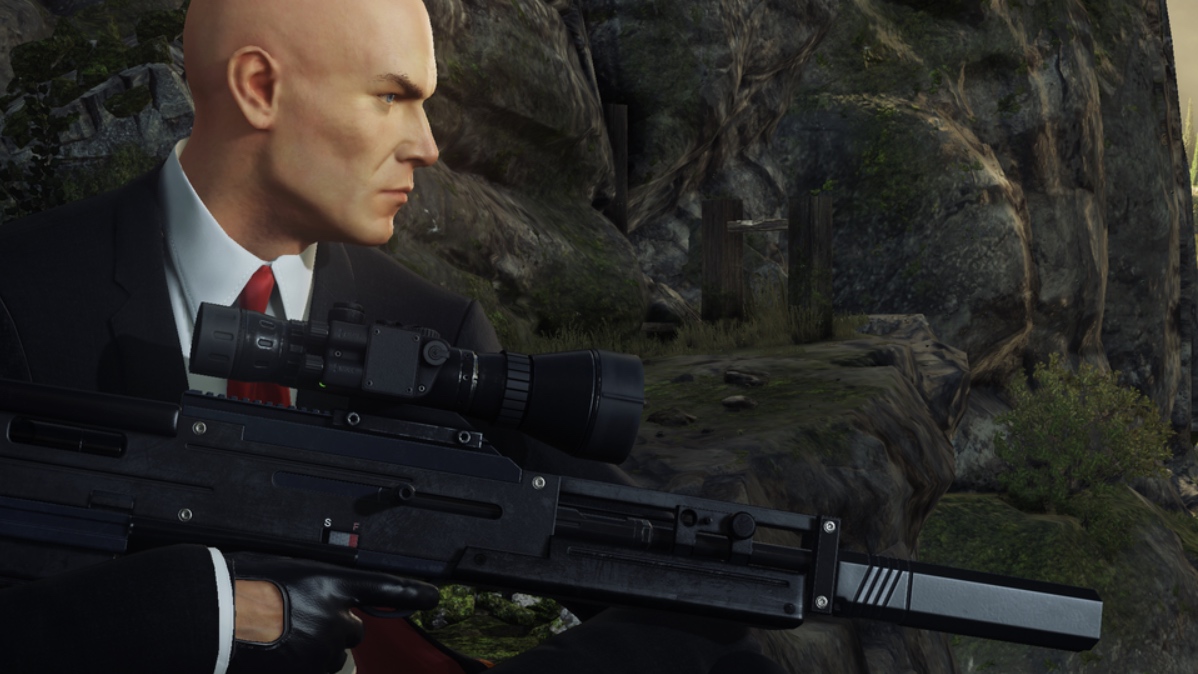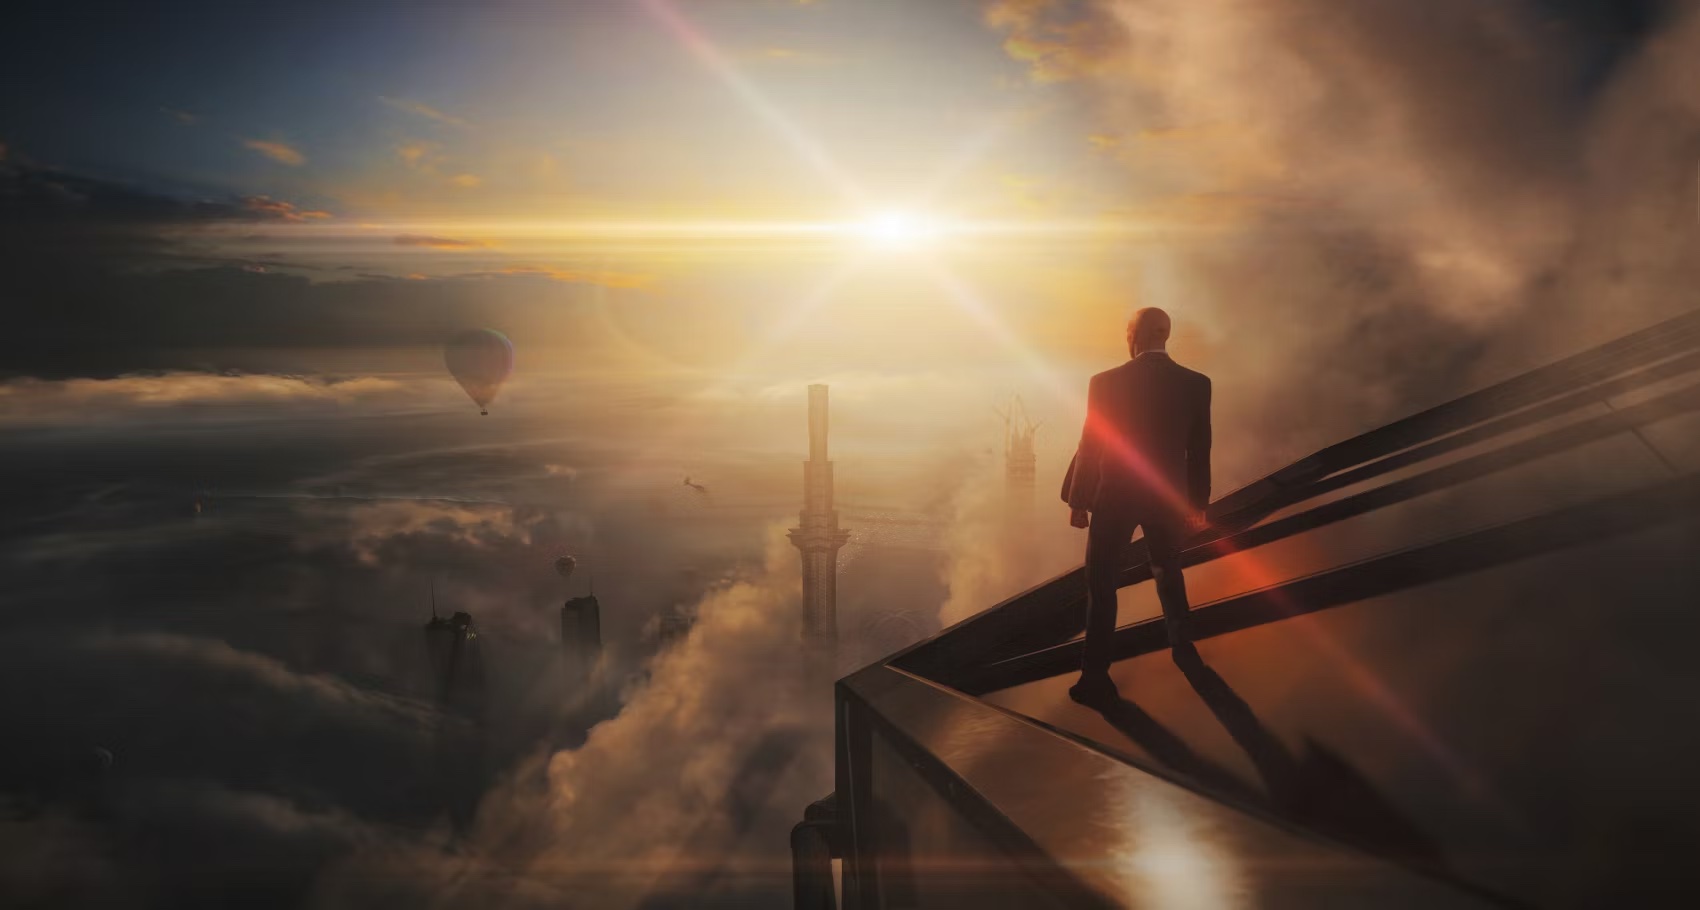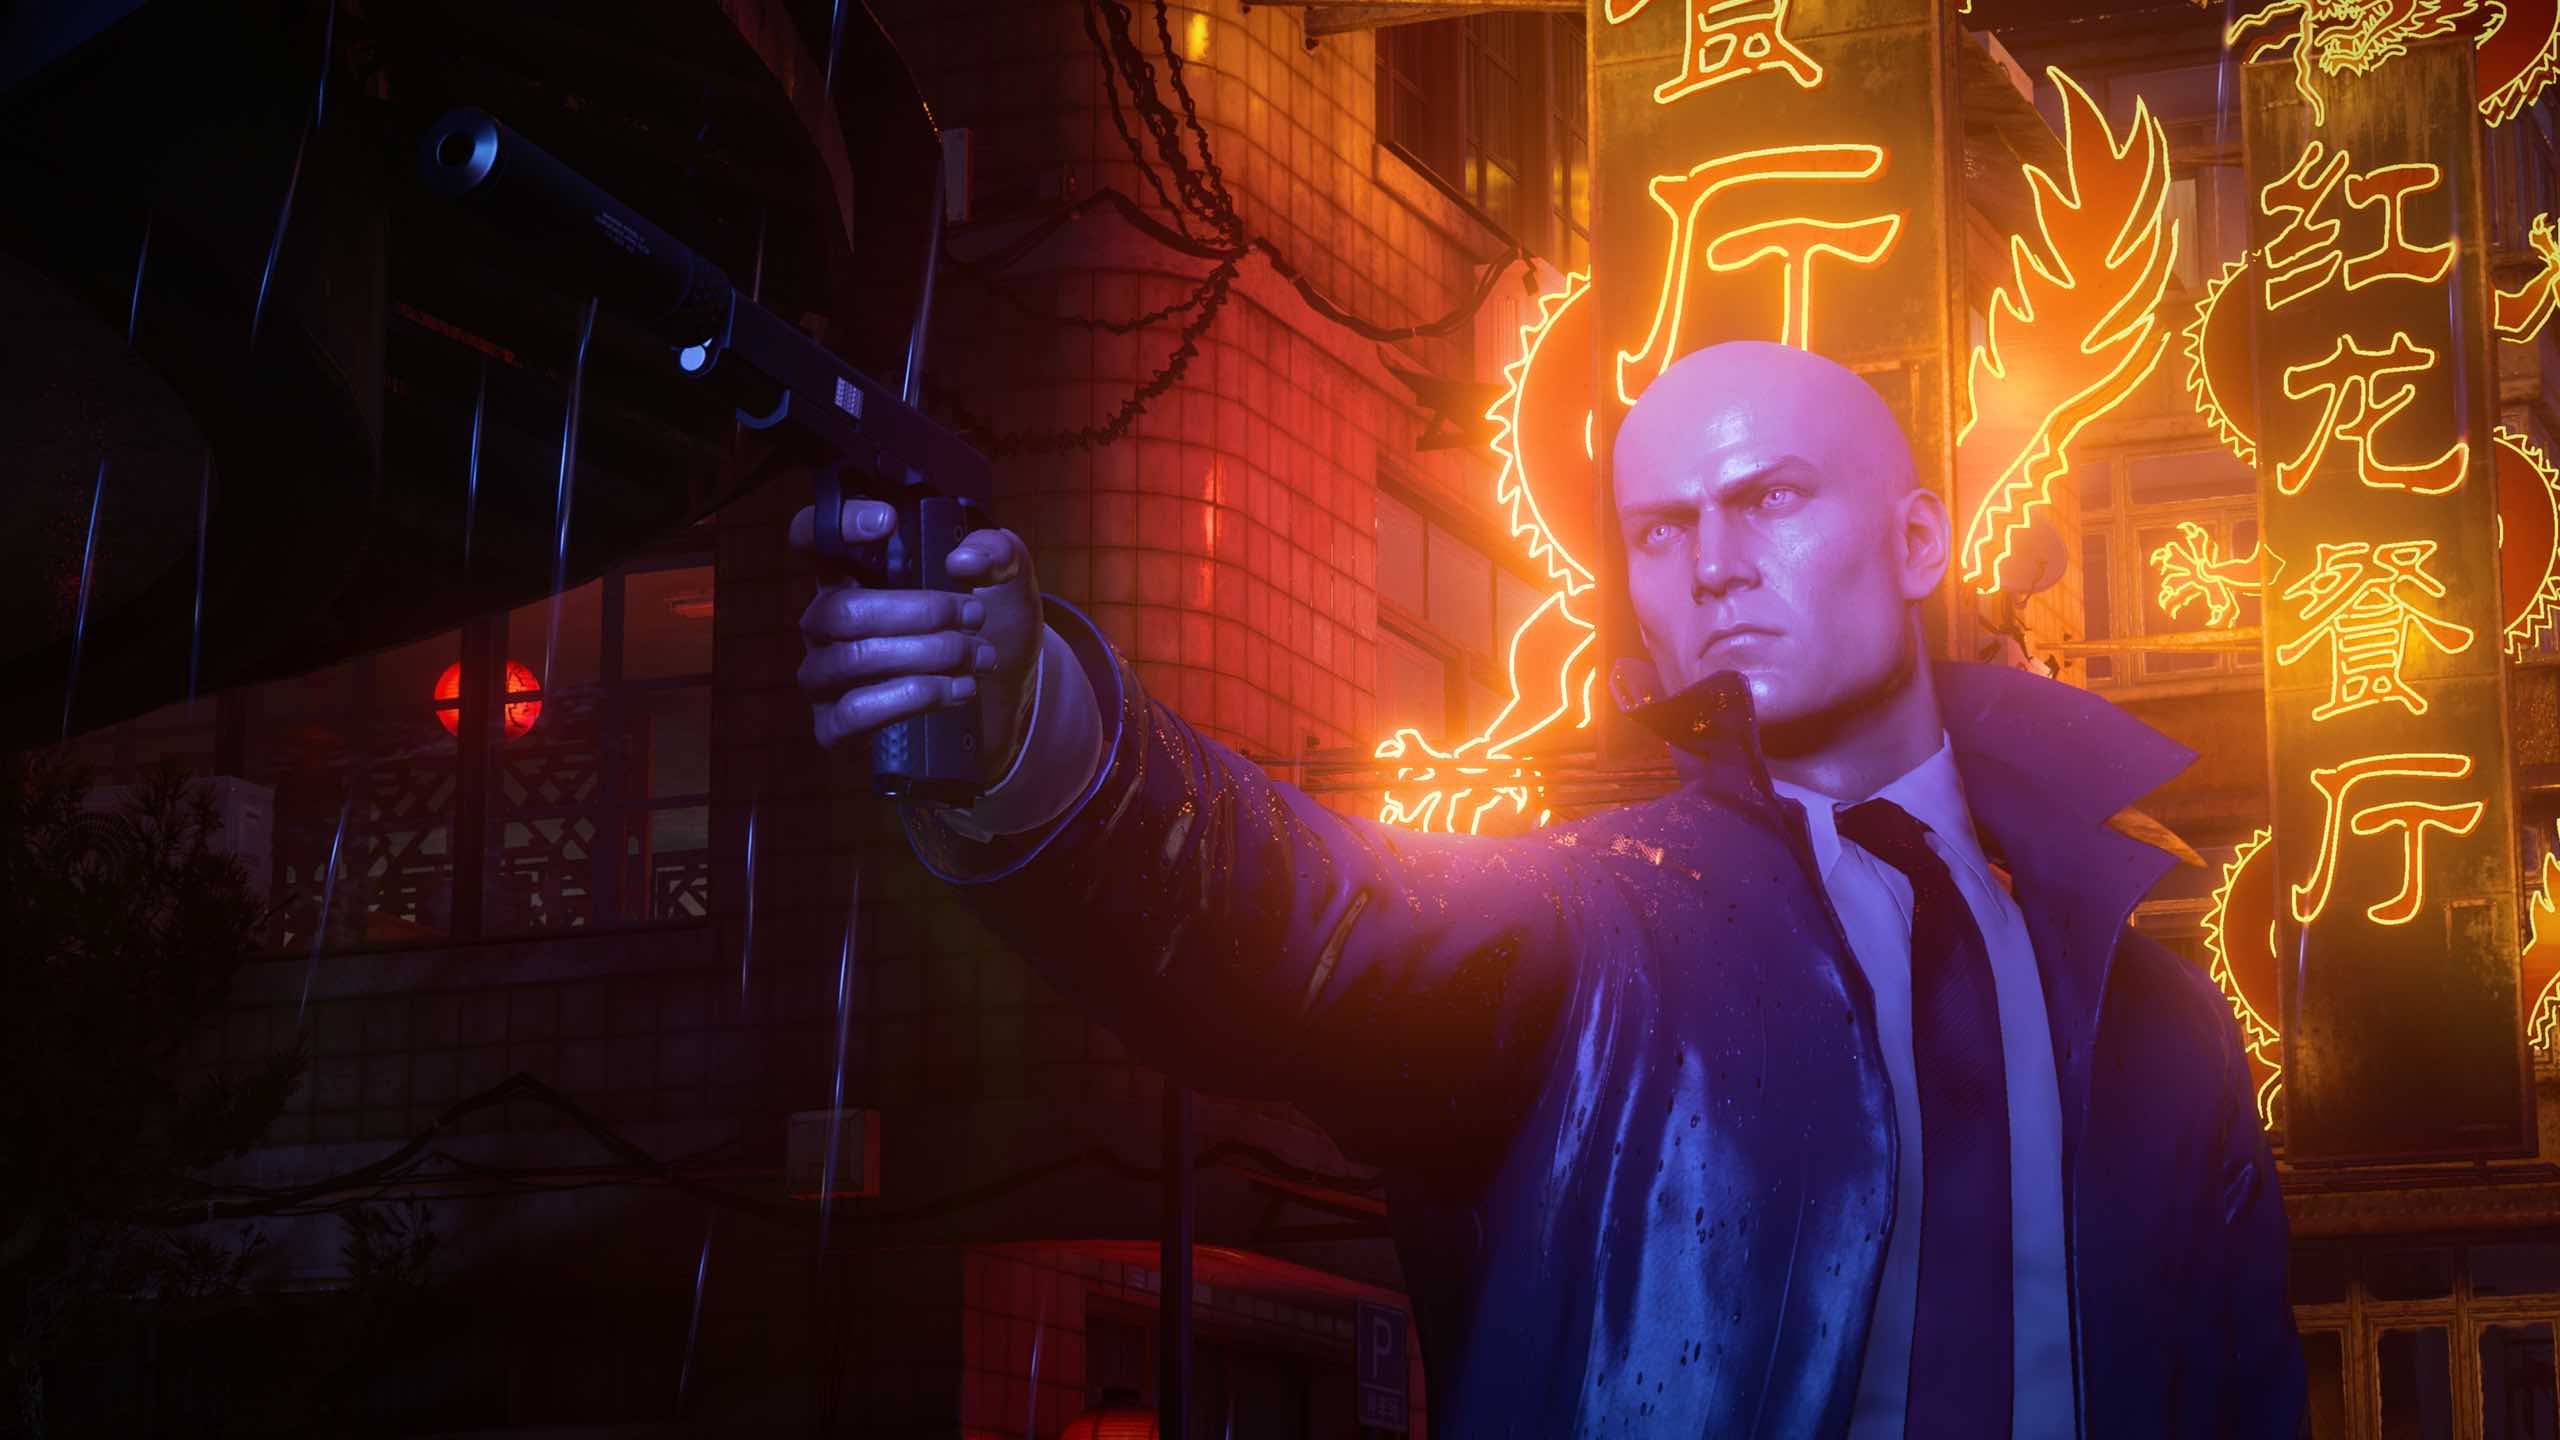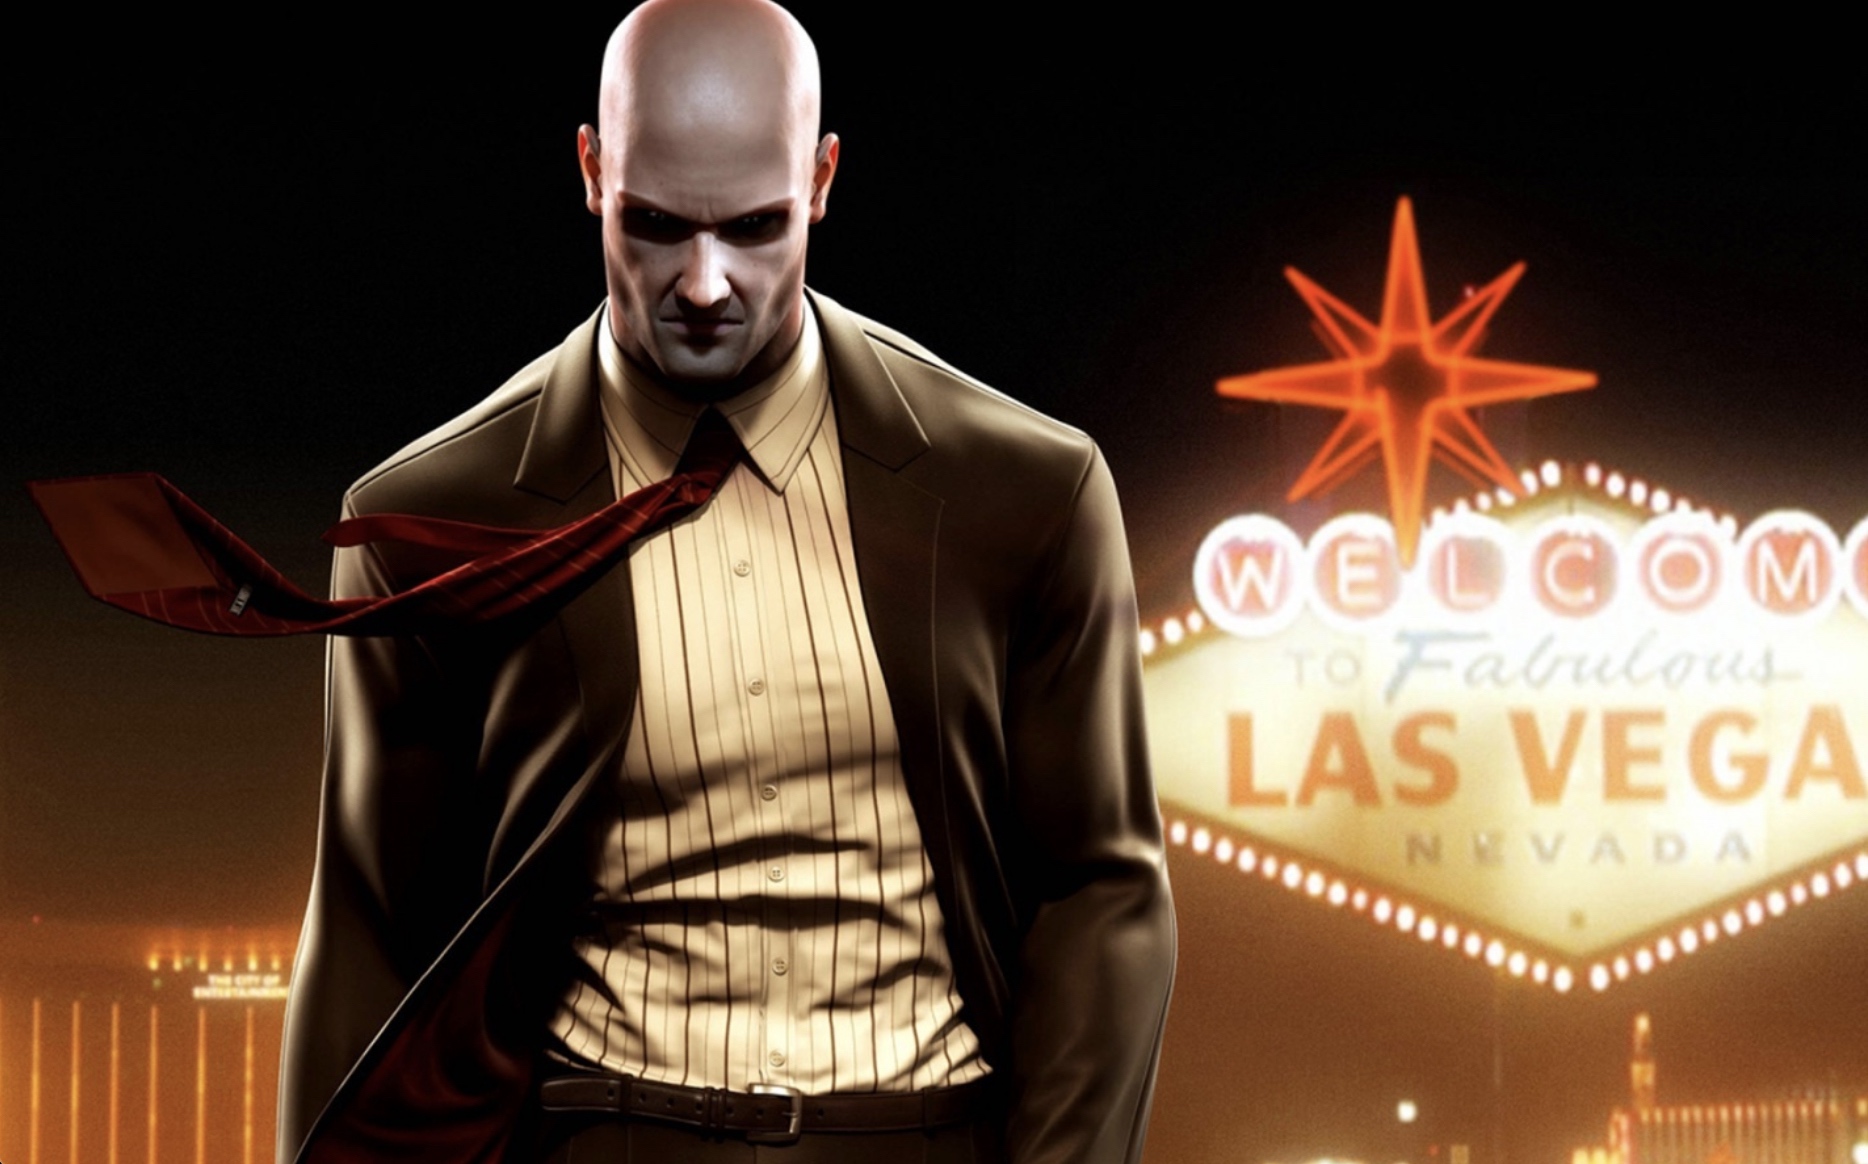
With every new addition to the Hitman franchise, each game seems to be better than the one before it. That’s definitely true for the graphics, and definitely true for Hitman 3. As the latest addition to the franchise, Hitman 3 has some of the best graphics in the entire franchise. Each level seems to take advantage of the newest technology and innovations, leading to some beautiful levels like Dubai and Chongqing, which are a spectacle to behold.
Hitman 3 looks beautiful by default, but with so many settings to mess with, you can make it look even better. It doesn’t really seem possible, but it is – you just have to know what to do. There are about 15 different settings to mess with, so here are the best ways to optimize these settings.
All of these settings can be found when booting up the game on PC. There will be an option to either play, quit, or go into the game’s options. Depending on your PC, you may need to play around with these settings to suit the equipment you have. Though you don’t need an amazing PC to get the best out of this game, for a game as big and beautiful as Hitman 3, some good hardware really goes a long way.
Display Mode: Exclusive Fullscreen
The Display Mode has to do with the screen’s resolution and how the game is displayed. There isn’t a whole lot of difference between Exclusive Fullscreen and the regular Fullscreen option, but Exclusive improves the overall game performance a little bit.
V-Sync: On
This is a setting that really depends on your PC and your preference, but I recommend keeping V-Sync turned on. The purpose of V-Sync is to stop screen tearing, which is when the image messes up and doesn’t align, resulting in the screen “tearing” or splitting. Now, the reason this setting is optional is because it locks the game’s max FPS, or frames per second, which can sometimes keep it lower than preferred. If FPS is a priority, then keep V-Sync turned off, but I recommend most players to keep it turned on.
V-Sync Interval: 1 (100%)
This setting is essentially an FPS cap which keeps the FPS dependent on your monitor display. Setting it to 2 will halve the frame rate, so that setting is not necessary unless your PC really can’t run the game smoothly. It’s not necessary to play with this setting if you have V-Sync enabled, but I recommend keeping the V-Sync Interval on 1.
Super Sampling: 1.00
Super Sampling controls the game’s resolution and works on a scale, so it’s essentially a resolution scaler. It’s best to keep this as high as possible because the higher the resolution the better the game will look. 1.00 is the highest, so that’s what I recommend if you want your image to look the sharpest it can be.
HDR: Off
HDR, or High Dynamic Range, is in charge of making the game graphics better. You would assume it would be bestto keep this on, but using HDR uses a lot of CPU, which can slow down game performance since it’s hard to run. It can make the game look really good but at the expense of making it unplayable. So, I recommend keeping HDR turned off.
Level of Detail: High
This setting is pretty self-explanatory. The higher level of detail the better the game will look, so I recommend keeping this high. There is an option for ultra, and it does look slightly better, but it’s harder to run and can slow the game down. Even the high setting might be a little too much to handle for an average PC, but if you want the game to look the best it can be without risking FPS, keep it on high.
Texture Quality: High
Again, I don’t think I need to explain this setting. Texture Quality controls the quality of textures of objects and surfaces, like the floor or a pistol, and everything else, basically. Keep this one high for the best-looking textures.
Texture Filter: x16
The Texture Filter keeps the textures in-game from being blurred when the player is moving or looking at things from an angle. There are a few different options with this one, but I recommend keeping with x16 as it makes certain textures look even better and doesn’t risk FPS.
SSAO: Medium
SSAO, or Screen Space Ambient Occlusion, affects only the ambience of the objects in the player’s view. This can make the game look better, but it also has an effect on game performance, so it’s recommended to keep this set to medium to have your graphics look better while also keeping gameplay fast and efficient.
Shadow Quality: Medium
This setting controls the quality of shadows, like the name suggests, and setting this higher will make the shadows look better. Again, you would assume that setting this to the highest setting would be best, but shadows can be hard to render, so the higher the setting the more CPU the game uses which can slow everything down. If your PC can handle it, then set this to high, but for most I recommend keeping this set to medium.
Mirrors Reflection Quality: Medium
This setting controls the quality of reflections in the game with everything like glass and water. Like shadows, you would assume that setting this as high as it can would be best, but it uses a lot of CPU and can slow down your game. So, keeping this at medium is a nice middle-ground between keeping reflections at a good quality without sacrificing game performance.
SSR Quality: Medium
Screen Space Reflections, or SSR, controls the quality and resolution of reflections but only the ones in the player’s field of view. As we know, reflections are hard to render, so putting this any higher than medium can affect the game’s performance, so I recommend keeping this at medium.
Variable Rate Shading: Quality
Variable Rate Shading is an option that can lower the shading rate or quality of some scenes to increase FPS and game performance. I was stuck between keeping this one off or not, but I think setting this on Quality can keep the game as sharp as ever while optimizing performance. VRS can be a big help sometimes while playing, but again, it’s up to the player whether to keep this on or not.
Motion Blur: Off
This setting can blur certain actions when being performed, like moving or shooting a gun, and is really up to the user’s playstyle. Having motion blur turned on can sort of hide low FPS by blurring certain actions, but for most players with a good FPS rate, I recommend keeping this off.
Simulation Quality (Graphics): Best
This setting is in charge of the rendering of crowds, environments, and AI, so it’s good to have this at best for the best game performance. Depending on your PC, it can slow down the game just a tad, so if you’re facing difficulties then I recommend keeping this setting on Base, but for the best possible graphics, I recommend Best.
With these settings in place, you can really play Hitman 3 with it looking the best it can be. It looked great before, but I hope you can see the difference between these and the default settings. A lot of these will have to be messed with to suit your PC, as each setting may not suit your hardware exactly, but for most people, this is what I recommend to make Hitman 3 look better than before.
